Home>Storage Ideas>Bathroom Storage>How To Clean A Bathroom Floor
Bathroom Storage
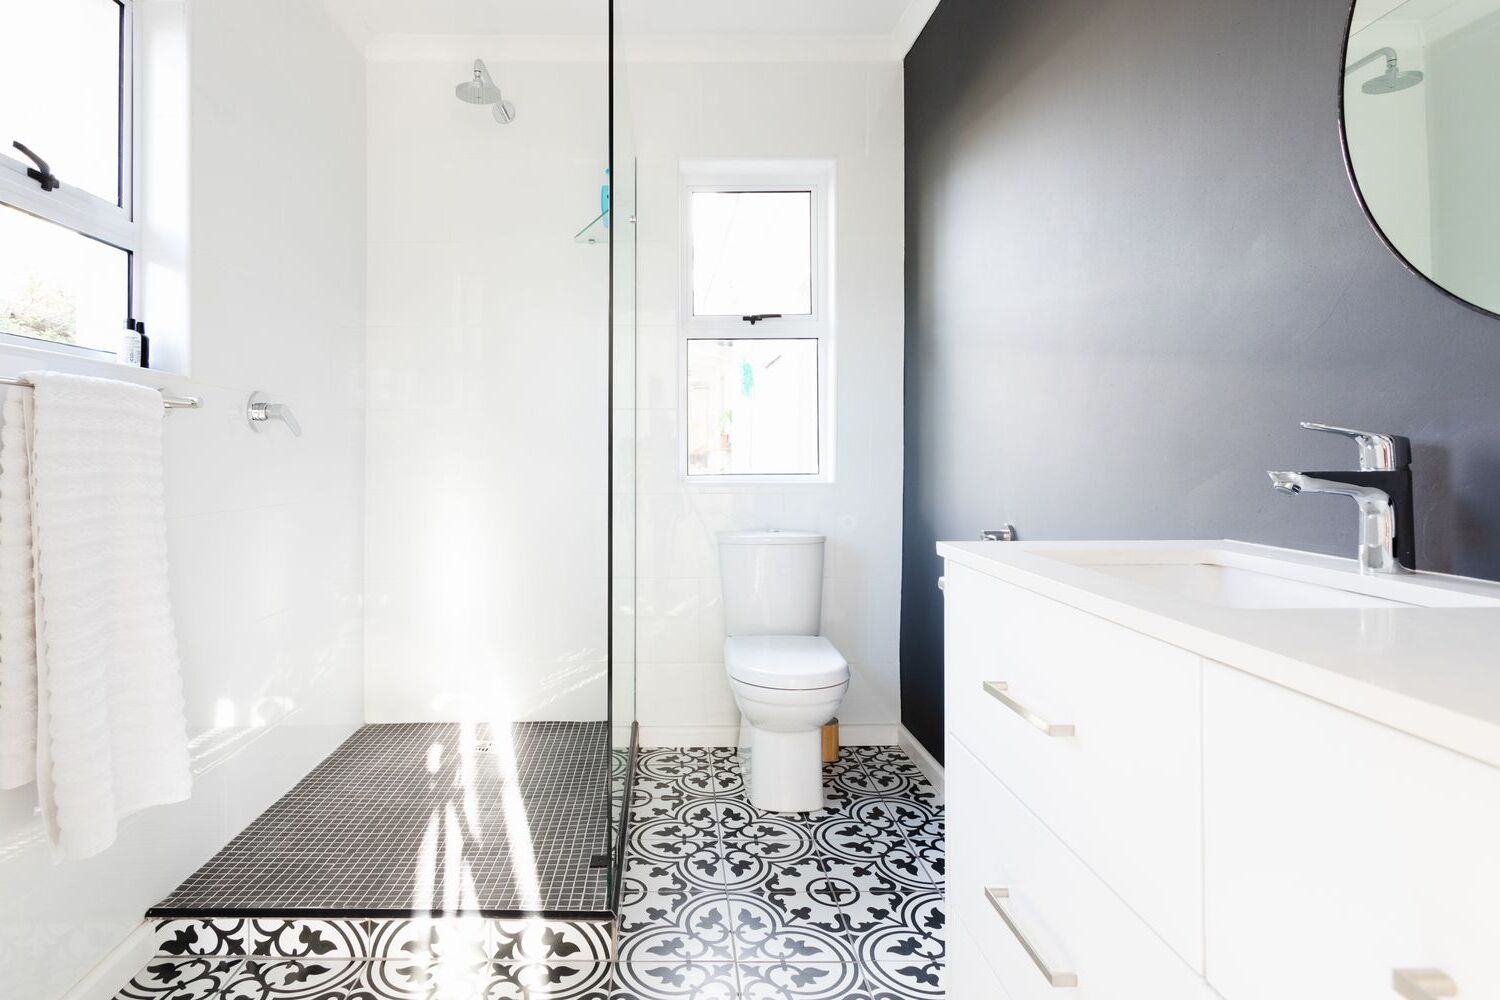
How To Clean A Bathroom Floor
Modified: October 20, 2024
Learn how to clean your bathroom floor effectively with our expert tips and tricks. Enhance your bathroom storage and keep your space looking fresh and tidy.
(Many of the links in this article redirect to a specific reviewed product. Your purchase of these products through affiliate links helps to generate commission for Storables.com, at no extra cost. Learn more)
Introduction
Keeping your bathroom floor clean and organized is essential for maintaining a hygienic and pleasant bathroom environment. A clean bathroom floor not only looks visually appealing but also helps prevent the growth of bacteria and mold. If you’re wondering how to clean a bathroom floor effectively, you’ve come to the right place.
In this article, we will guide you through the step-by-step process of cleaning your bathroom floor. Whether you have tile, vinyl, or any other type of flooring, these tips and tricks will help you achieve a sparkling clean bathroom floor.
Before we get started, it’s important to gather all the necessary supplies. Having the right tools and cleaning products will make the cleaning process easier and more efficient. Here are the essential supplies you’ll need:
- Mop or microfiber cloth
- Bucket
- Mild floor cleaner or vinegar
- Scrub brush or toothbrush
- Broom or vacuum cleaner
- Old towels or mop pads
- Protective gloves
Now that you have all your supplies ready, let’s dive into the cleaning process.
Key Takeaways:
- Regularly inspect and clean grout to maintain a sparkling bathroom floor. Utilize storage solutions and doormats to minimize dirt accumulation and simplify cleaning routines.
- Prioritize proper drying techniques to prevent water damage and mold growth. Follow manufacturer’s guidelines for specific floor types to ensure effective and safe cleaning.
Read more: How To Clean A Floor
Gathering Supplies
Before you begin cleaning your bathroom floor, it’s important to gather all the necessary supplies. Having the right tools and cleaning products on hand will ensure that you can tackle the task efficiently and effectively. Here are the essential supplies you’ll need:
- Mop or Microfiber Cloth: Choose a mop or microfiber cloth specifically designed for floor cleaning. Microfiber cloths are highly effective at trapping dirt and debris, leaving your floor spotless.
- Bucket: You’ll need a bucket to hold your cleaning solution and warm water. Opt for a bucket with a handle and a capacity that suits your cleaning needs.
- Mild Floor Cleaner or Vinegar: Select a mild floor cleaner specifically formulated for the type of flooring in your bathroom. Alternatively, you can use a simple solution of vinegar and warm water, which is a natural and effective cleanser.
- Scrub Brush or Toothbrush: A scrub brush or toothbrush will come in handy for scrubbing away stubborn stains and grime, particularly in hard-to-reach areas or grout lines.
- Broom or Vacuum Cleaner: Before you start mopping, it’s essential to clear the floor of loose dirt, hair, and debris. Use a broom or a vacuum cleaner with a brush attachment to sweep the floor thoroughly.
- Old Towels or Mop Pads: Having old towels or mop pads at hand will help you dry the floor after cleaning, avoiding any risk of slipping on a wet surface.
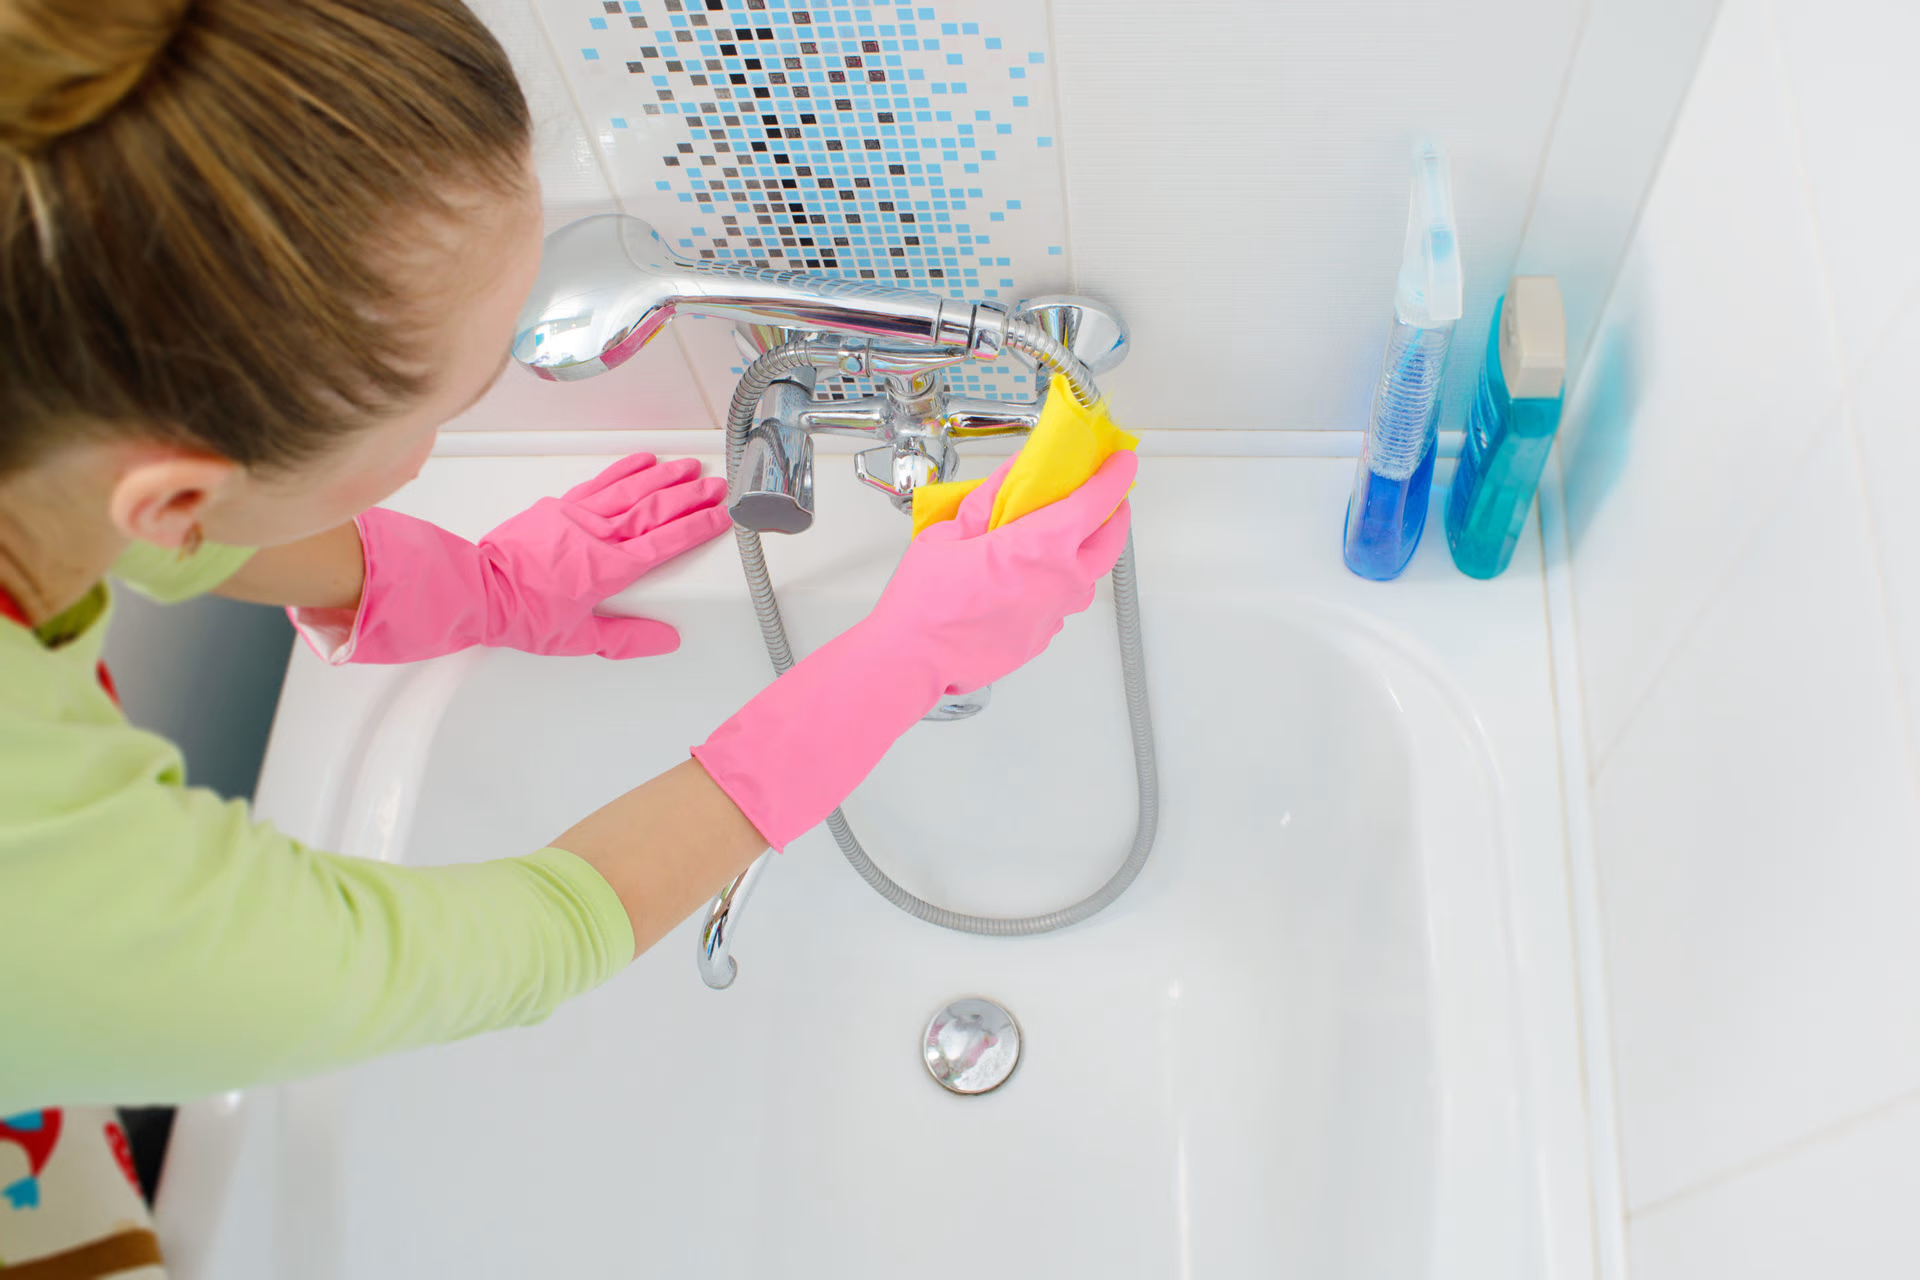
- Protective Gloves: It’s always a good idea to wear protective gloves while cleaning to minimize contact with cleaning solutions and maintain the hygiene of your hands.
Once you have gathered all these supplies, you’re well-equipped to start cleaning your bathroom floor. Remember to read the manufacturer’s recommendations for your specific flooring type and cleaning products to ensure you use them correctly and avoid any damage.
Clearing the Floor
Before you begin cleaning your bathroom floor, it’s important to clear the area of any obstacles or items that might get in the way. This step will make the cleaning process easier and allow you to access all areas of the floor without any hindrances. Follow these steps to clear the floor:
- Remove Bath Mats or Rugs: Take any bath mats or rugs off the floor and set them aside. Shake them outside or give them a quick vacuum to remove any loose dirt or debris.
- Clear the Floor of Objects: Remove any bathroom accessories, such as trash cans, laundry baskets, and scales. Place them in a safe and temporary location to ensure they won’t obstruct the cleaning process.
- Put Away Personal Items: If you have any personal items, such as clothing or towels, on the bathroom floor, pick them up and put them away. This will prevent them from getting wet or tangled in the cleaning process.
- Empty the Trash: Take this opportunity to empty the trash can in your bathroom. Discarding any waste will not only clear the floor but also reduce any unpleasant odors during the cleaning process.
- Clear Small Debris: Look out for small debris, like hair or dust, that may have accumulated on the floor. Use a broom or vacuum cleaner to sweep it away or vacuum it up. This step will make the mopping process more effective.
Once you have cleared the floor of any objects and debris, you’re ready to move on to the next step: dry sweeping. This step will help remove loose dirt and prepare the floor for a more thorough cleaning.
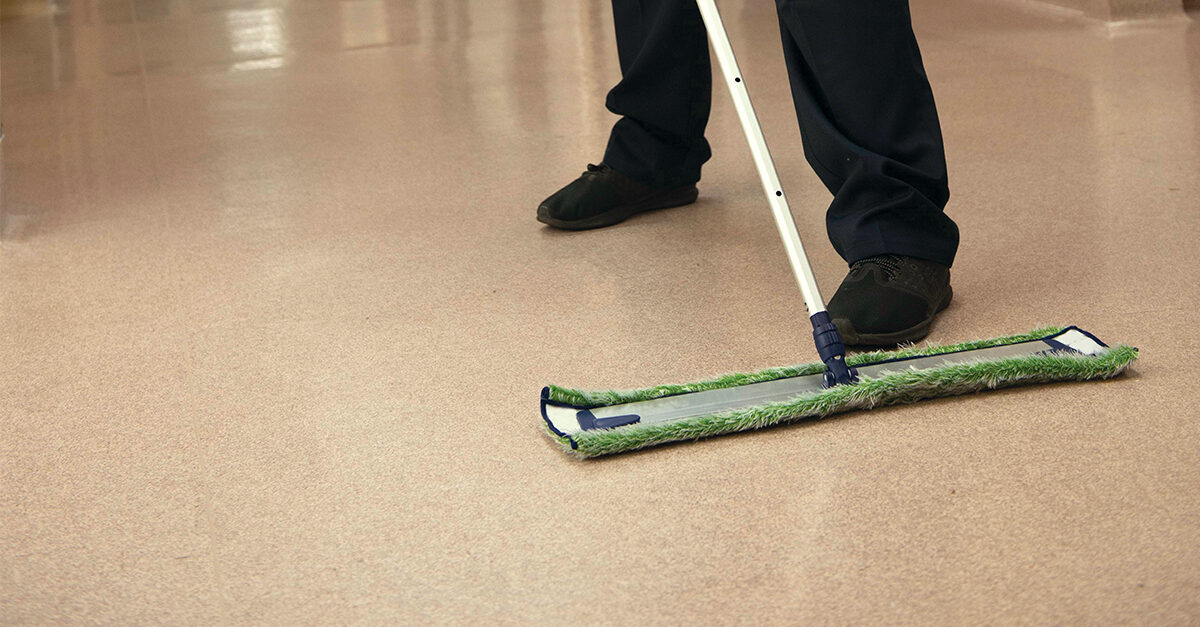
Dry Sweeping
Once you have cleared the bathroom floor of any obstacles or debris, it’s time to start dry sweeping. Dry sweeping is an essential step in the cleaning process, as it helps remove loose dirt, dust, and hair from the surface of the floor before mopping. Follow these steps to effectively dry sweep your bathroom floor:
- Choose the Right Broom or Vacuum Cleaner: Depending on the type of flooring in your bathroom, select a broom or vacuum cleaner that is appropriate for that surface. For tiled floors, a broom with soft bristles is usually suitable. For vinyl or laminate floors, you can use a broom or a vacuum cleaner with a soft brush attachment.
- Sweep from the Farthest Corner: Start sweeping from the farthest corner of the room and work your way towards the entrance. This method prevents dirt and debris from being pushed back onto the already cleaned area.
- Use Short, Gentle Strokes: Sweep the floor using short, gentle strokes. This will help dislodge any dirt and ensure that it is removed from the surface.
- Pay Attention to Corners and Edges: Don’t forget to focus on the corners and edges of the bathroom floor, as dirt and dust tend to accumulate in these areas. Use a smaller broom or a handheld vacuum to reach these harder-to-reach spots.
- Collect the Swept Debris: As you sweep, collect the dirt, dust, and hair into a dustpan or vacuum cleaner bag. Dispose of it in a trash bag or bin.
By dry sweeping the bathroom floor, you ensure that loose dirt and debris are removed, allowing for a more thorough and efficient cleaning process. Once you have completed this step, you’re ready to move on to the next stage: wet mopping the floor.
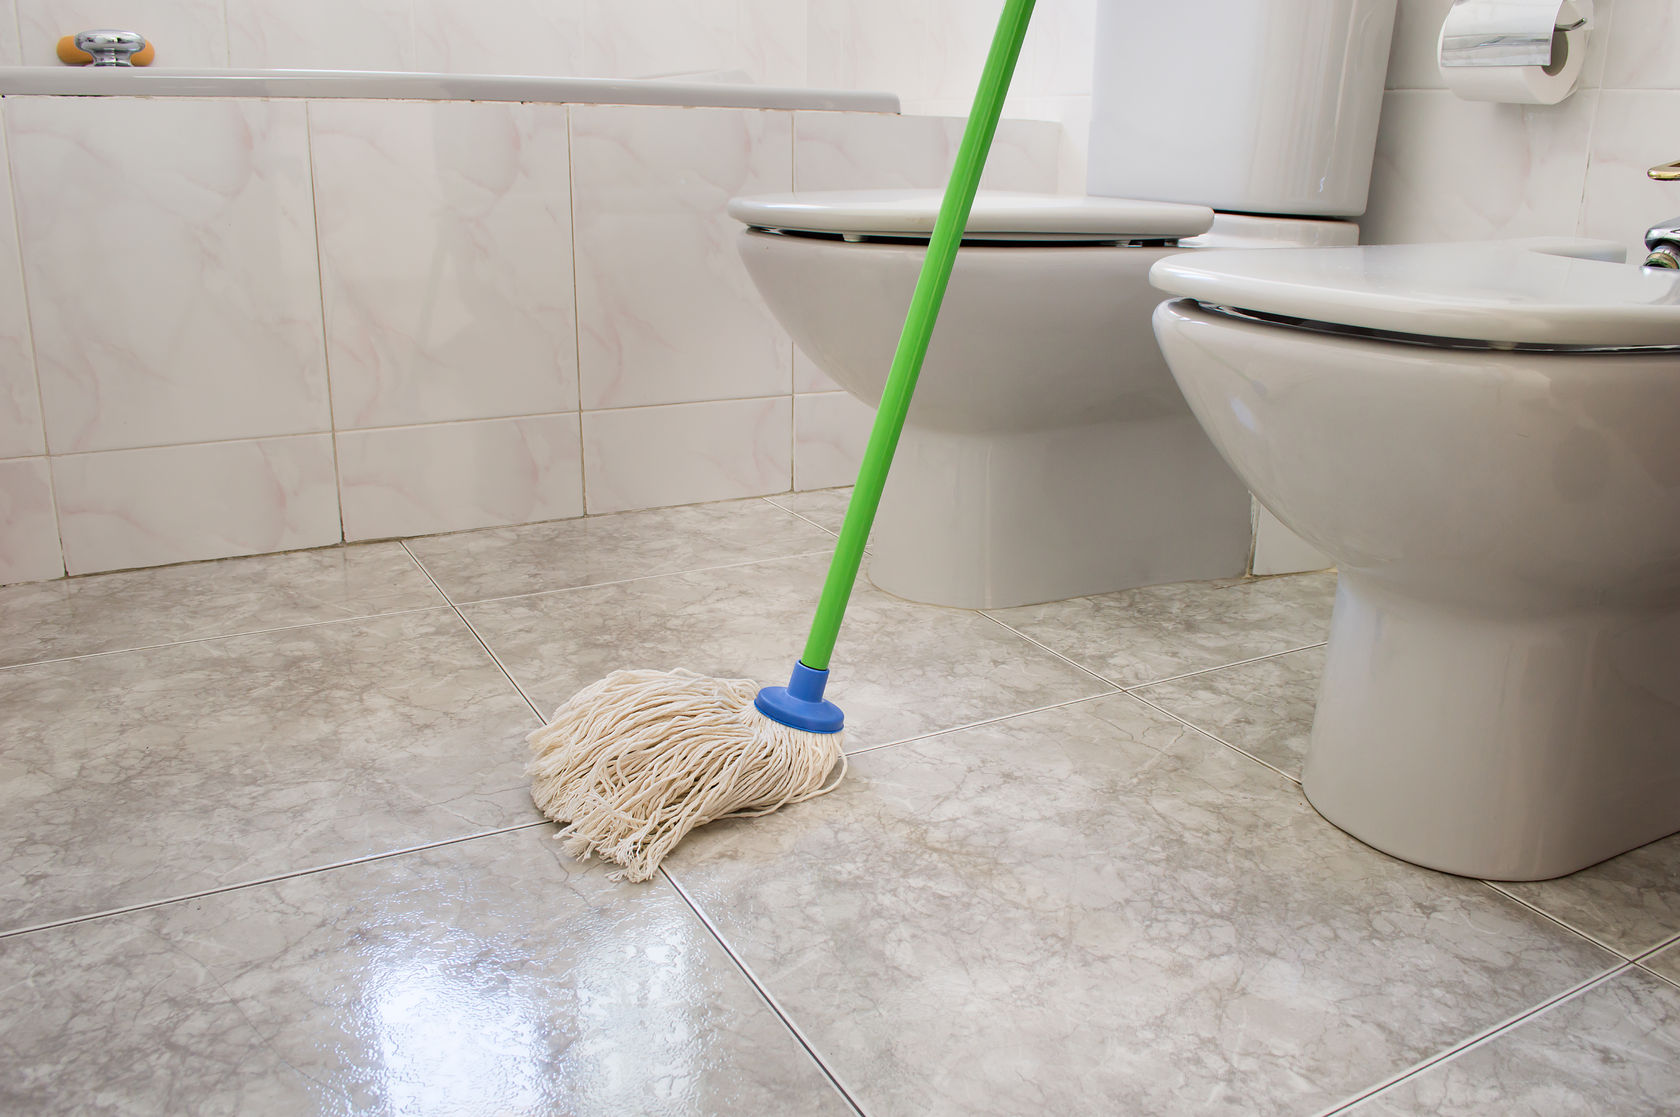
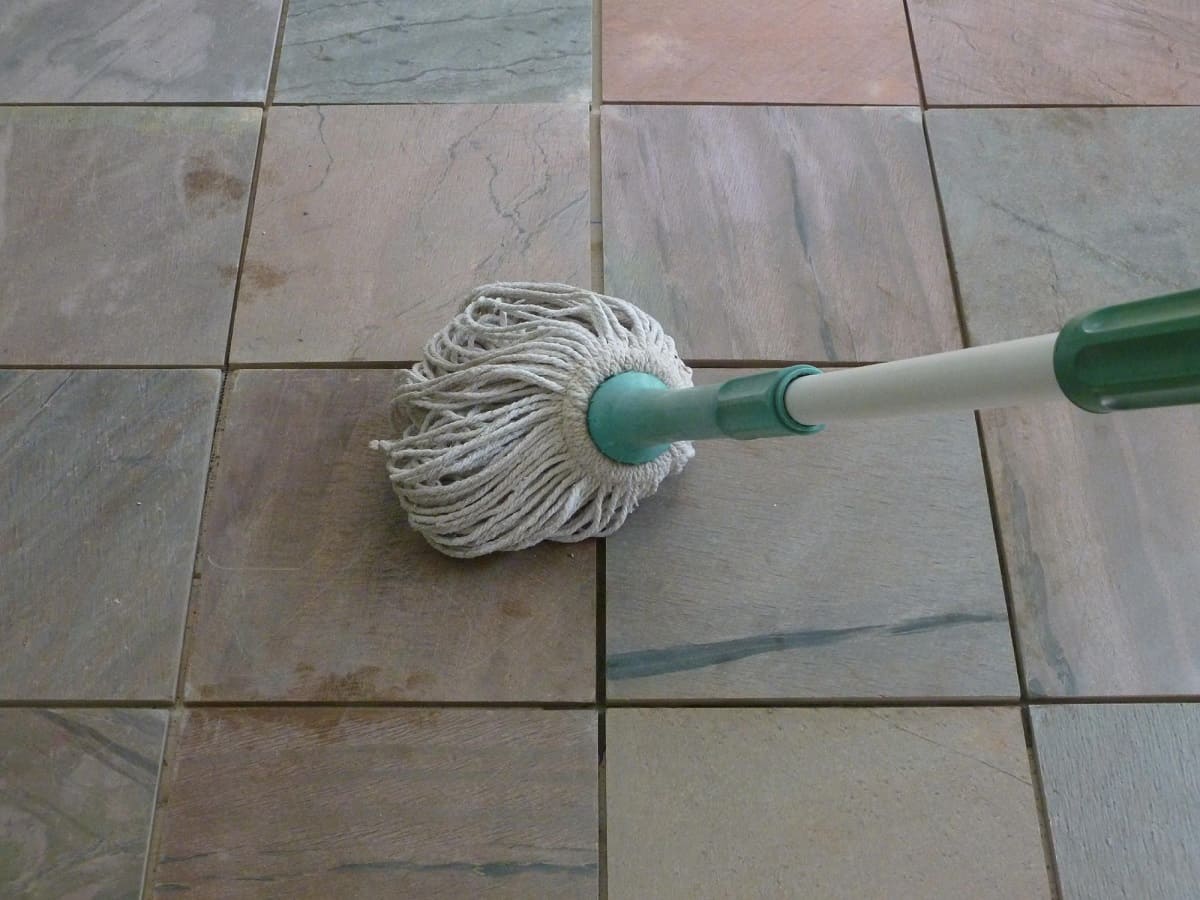
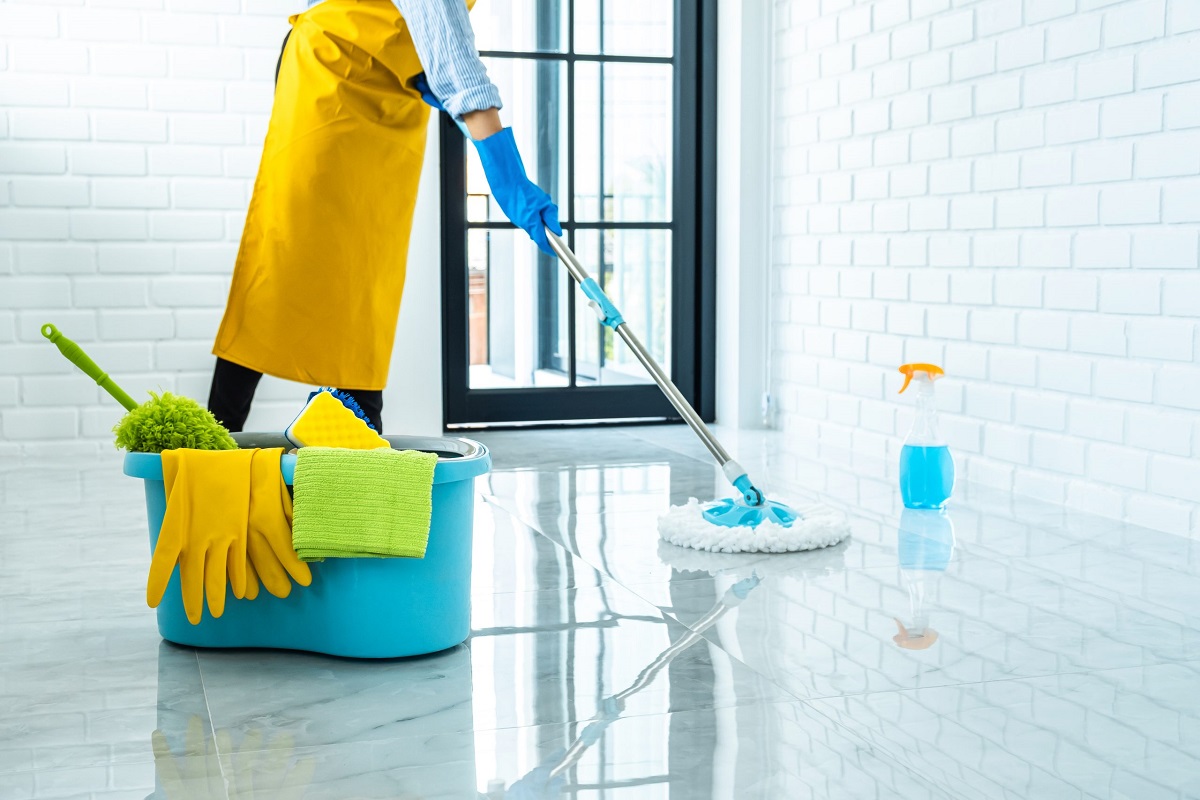
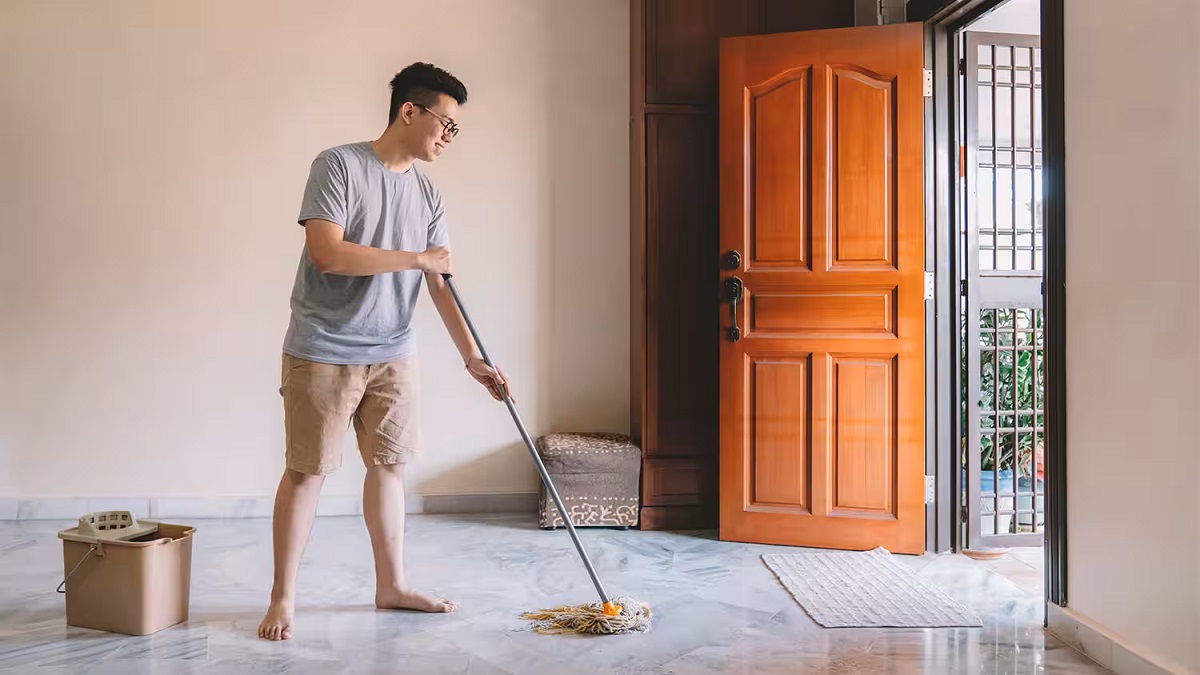
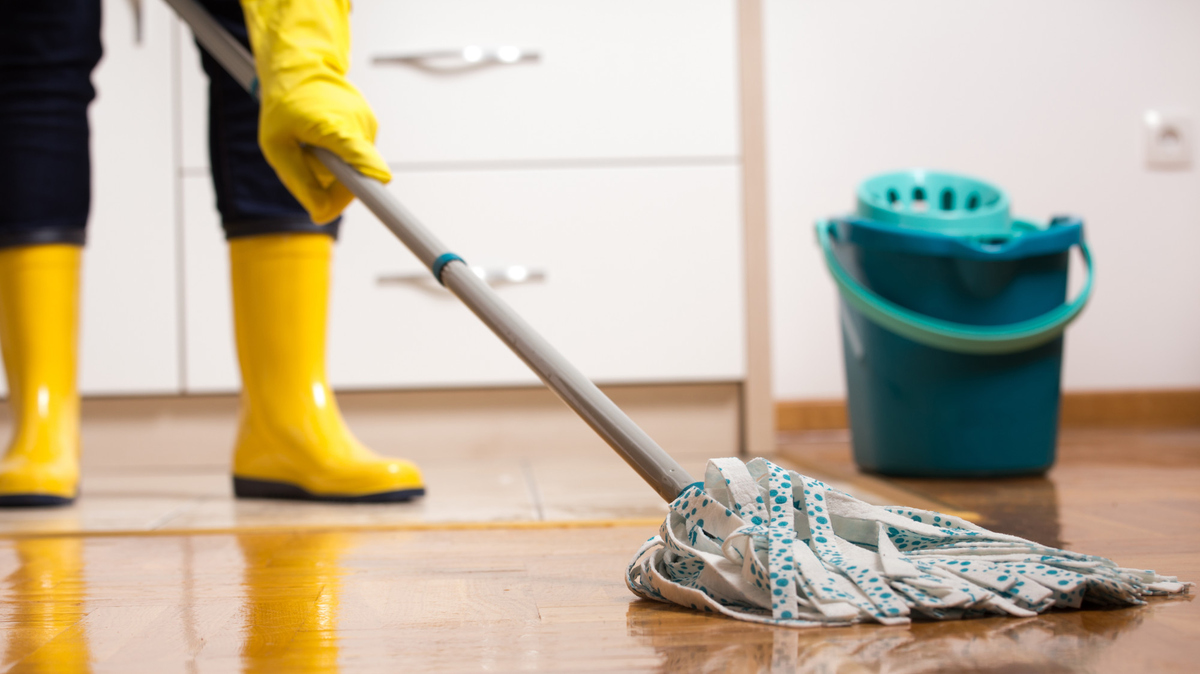
Wet Mopping
After dry sweeping your bathroom floor to remove loose dirt and debris, it’s time to move on to wet mopping. Wet mopping is a crucial step in cleaning your bathroom floor, as it helps to thoroughly remove stains, grime, and any remaining dirt. Follow these steps to effectively wet mop your bathroom floor:
- Prepare Your Mopping Solution: Fill a bucket with warm water and add a mild floor cleaner according to the manufacturer’s instructions. Alternatively, you can use a mixture of vinegar and warm water, which is a natural and effective cleaner.
- Submerge Your Mop: Dip your mop or microfiber cloth into the mopping solution, allowing it to soak up the cleaning liquid. Make sure the mop is sufficiently damp but not dripping wet.
- Start from the Farthest Corner: Begin mopping from the farthest corner of the bathroom and work your way towards the entrance. This ensures that you don’t walk on the freshly mopped areas and leave footprints behind.
- Mop in a Figure-8 Motion: Use a figure-8 motion as you mop, covering small sections at a time. This movement ensures that you clean the floor thoroughly and reach all areas.
- Pay Attention to Stains and Spills: For stubborn stains or spills, apply a bit of extra pressure and scrub the area gently with the mop or a scrub brush. This will help lift the stain or spill and eliminate any residue.
- Rinse Your Mop Regularly: As you mop, rinse your mop or microfiber cloth in the cleaning solution regularly. This helps to avoid spreading dirt or grime from one area to another.
- Change the Cleaning Solution if Necessary: If the mopping solution becomes visibly dirty or cloudy, it’s time to change it. Using a clean solution ensures that you’re not just spreading dirt around the floor.
Remember to mop the entire bathroom floor, including hard-to-reach areas and corners. Take your time to ensure that the floor is thoroughly cleaned and free from stains and grime. Once you have completed the wet mopping process, you’re ready to move on to the next step: scrubbing the grout, if needed.
Use a mixture of warm water and a mild detergent to mop the bathroom floor. For tough stains, use a scrub brush or sponge. Rinse with clean water and dry with a towel to prevent water spots.
Read more: How To Clean Car Floor
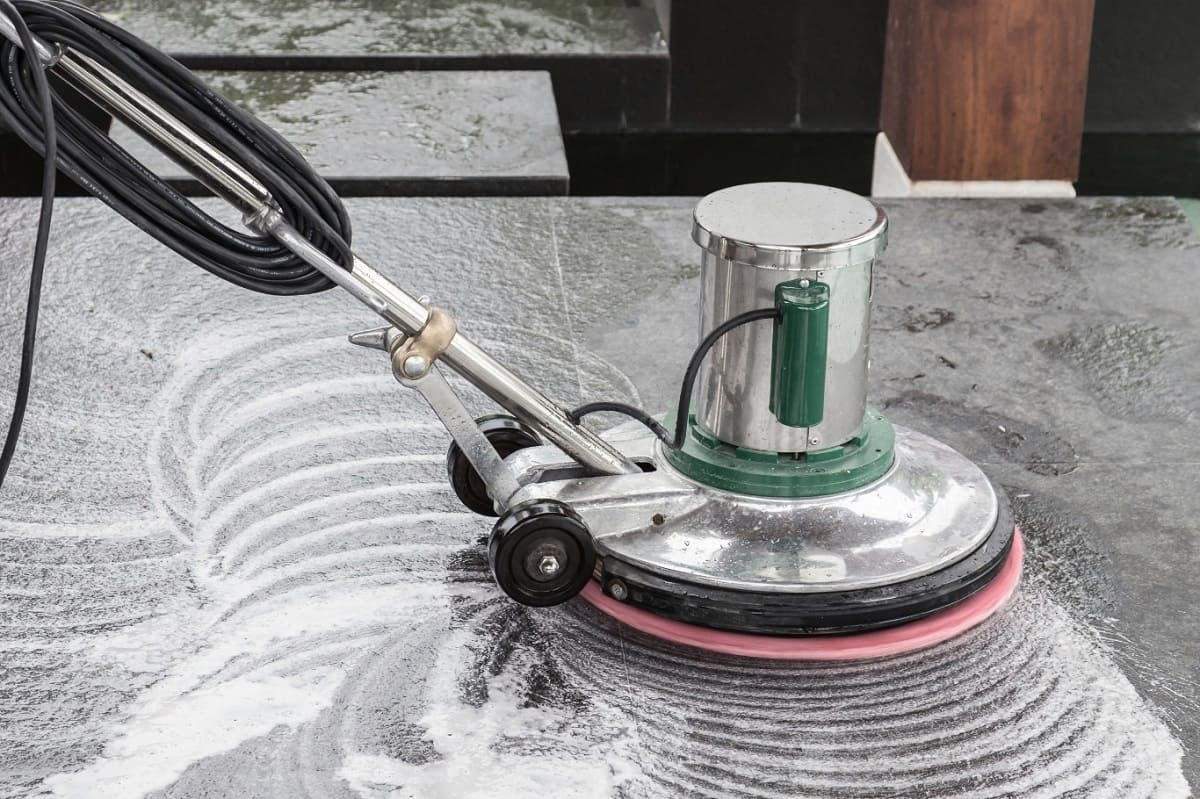
Scrubbing Grout
Over time, grout between tiles in your bathroom floor can become dirty and discolored. To restore its original color and cleanliness, scrubbing the grout is necessary. Here’s how you can effectively scrub the grout of your bathroom floor:
- Mix a Grout Cleaning Solution: Prepare a grout cleaning solution by mixing equal parts of water and vinegar or hydrogen peroxide. You can also find commercial grout cleaners at your local store.
- Apply the Cleaning Solution: Using a spray bottle or a small brush, apply the grout cleaning solution onto the grout lines. Ensure that the solution is evenly distributed and covers all the stained areas.
- Let the Solution Sit: Allow the grout cleaning solution to sit on the grout lines for a few minutes to penetrate and loosen the dirt and stains. This will make the scrubbing process more effective.
- Scrub the Grout: Use a scrub brush or an old toothbrush to scrub the grout lines vigorously. Apply some pressure to remove the dirt and grime. Scrub in a back-and-forth motion along the grout lines.
- Rinse with Clean Water: Once you’ve finished scrubbing, rinse the grout lines with clean water to remove any residue or remaining cleaning solution. A damp cloth or sponge can be used for this purpose.
- Dry the Floor: After scrubbing the grout, it’s important to dry the bathroom floor thoroughly. Use old towels or mop pads to absorb any excess water and ensure that the floor is completely dry.
Scrubbing the grout lines not only improves the appearance of the bathroom floor but also helps to eliminate any bacteria or mold that may have accumulated. If the grout lines are heavily stained or damaged, you may need to consider resealing or regrouting the tiles.
Now that you’ve done all the necessary steps to clean the bathroom floor, let’s move on to the next stage: removing any stubborn stains that may still be present.
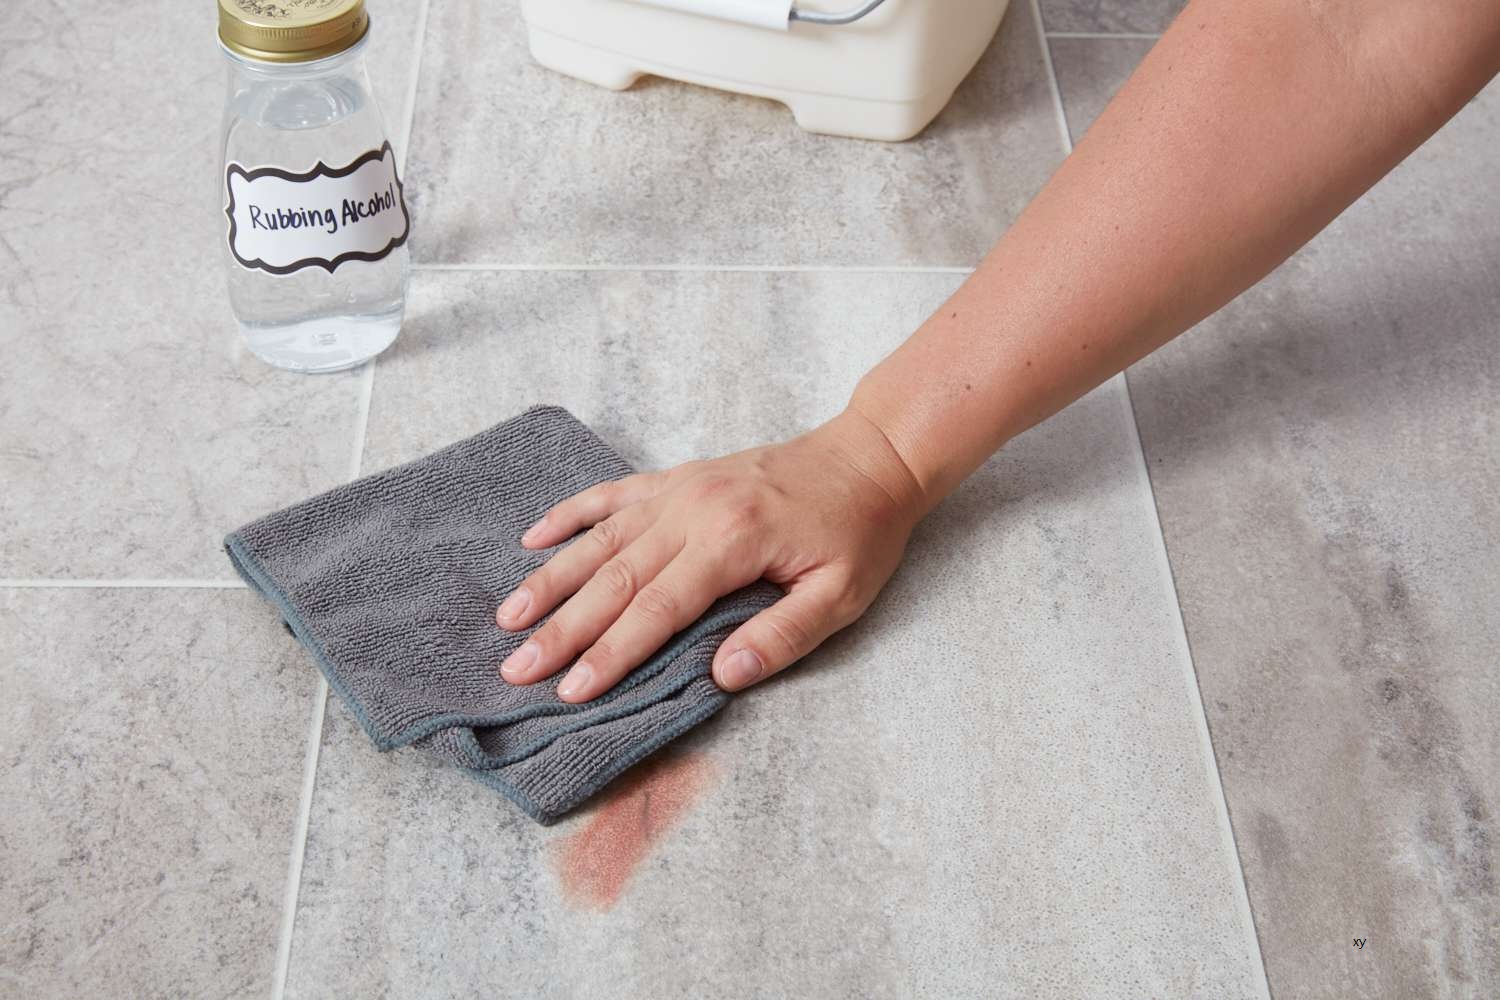
Removing Stains
Even with regular cleaning, bathroom floors can sometimes develop stubborn stains that are difficult to remove. These stains can be caused by various factors, such as hard water, soap scum, or spills. Here’s how you can effectively remove stains from your bathroom floor:
- Identify the Type of Stain: Before attempting to remove a stain, it’s important to identify the type of stain you’re dealing with. Common bathroom floor stains include hard water stains, rust stains, or soap scum. Different stains may require different cleaning methods.
- Use the Right Cleaning Solution: Choose a cleaning solution that suits the type of stain you’re trying to remove. For hard water stains, a mixture of vinegar and water or a mild acidic cleaner can be effective. For rust stains, a commercial rust remover may be required. Soap scum can often be tackled with a mixture of baking soda and water.
- Apply the Cleaning Solution: Apply the cleaning solution directly onto the stained area. Allow it to sit for a few minutes to penetrate and break down the stain.
- Scrub the Stain: Use a scrub brush or sponge to scrub the stained area gently. Apply some pressure to help lift the stain. For tough stains, you may need to scrub more vigorously or repeat the process multiple times.
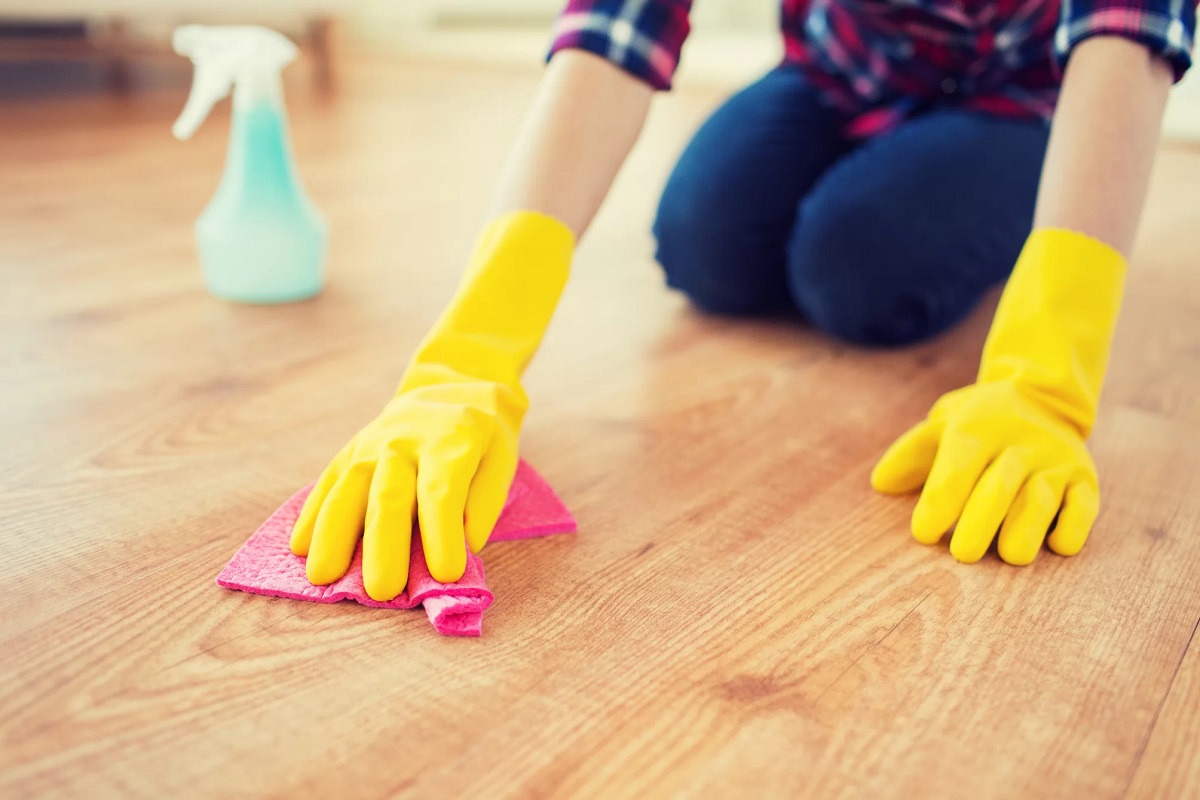
- Rinse with Clean Water: Once the stain has been successfully removed, rinse the area with clean water to remove any residue from the cleaning solution. Wipe the floor dry with a towel or mop pad.
- Seek Professional Help if Needed: In some cases, particularly for deep or stubborn stains, it may be necessary to seek professional help. Professional cleaners have specialized tools and products that can effectively remove even the toughest stains.
By using the appropriate cleaning solution and employing proper scrubbing techniques, you can successfully remove most stains from your bathroom floor. Remember to test the cleaning solution in a small, inconspicuous area first to ensure it doesn’t cause any damage or discoloration to your flooring.
With the stains removed, the next step is to ensure that the bathroom floor is completely dry.
Drying the Floor
After cleaning and removing stains from your bathroom floor, it’s crucial to ensure that the floor is thoroughly dried. Drying the floor not only helps to prevent slip hazards but also keeps the surface looking clean and shiny. Here’s how you can effectively dry your bathroom floor:
- Remove Excess Water: Start by removing any excess water from the floor. Use old towels, mop pads, or a wet/dry vacuum to absorb the water. Pay extra attention to corners, edges, and any areas where water may have pooled.
- Air Circulation: Open windows or turn on fans to increase air circulation in the bathroom. This will help evaporate any remaining moisture from the floor more quickly.
- Use Dry Towels or Microfiber Cloths: Take dry towels or microfiber cloths and gently pat the floor to absorb any lingering moisture. Move them around in a sweeping motion to cover the entire floor surface.
- Check for Damp Areas: Take a close look at the floor to make sure there are no remaining damp areas. If you notice any, repeat the drying process in those specific spots.
- Keep the Bathroom Ventilated: Leave the bathroom door open and ensure proper ventilation to help speed up the drying process. This will prevent moisture from lingering in the room and potentially causing mold or mildew growth.
- Inspect and Polish: Once the floor is completely dry, inspect it for any leftover streaks or spots. Use a clean, dry cloth or microfiber pad to polish the surface and make it shine.
By following these steps, you can effectively dry your bathroom floor and ensure a clean, safe, and visually appealing surface. Remember to regularly clean and dry your bathroom floor to prevent water damage, mold growth, and the buildup of dirt and grime.
Now that your bathroom floor is clean and dry, let’s explore some additional tips and tricks to maintain its cleanliness and organization.
Tips and Tricks
Keeping your bathroom floor clean and organized doesn’t have to be a challenging task. Here are some helpful tips and tricks to maintain the cleanliness and organization of your bathroom floor:
- Regular Maintenance: Make it a habit to clean your bathroom floor regularly. Regular sweeping or vacuuming can prevent dirt and debris from accumulating and making it easier for you to maintain a clean floor.
- Use Doormats: Place doormats both inside and outside the bathroom to trap dirt and moisture before it reaches your bathroom floor. This will help minimize the amount of dirt that needs to be cleaned from the floor.
- Wipe up Spills Immediately: Accidental spills can happen in the bathroom. Promptly wipe up any spills to prevent them from seeping into the floor or causing stains.
- Use Proper Cleaning Techniques: When cleaning your bathroom floor, always follow the manufacturer’s guidelines and use appropriate cleaning products for your specific floor type. Avoid using harsh chemicals or abrasive materials that could damage the floor.
- Focus on Grout Maintenance: Regularly inspect and clean the grout lines between your tiles. Use a grout sealer to protect against stains and moisture, and consider resealing the grout periodically to maintain its integrity.
- Prevent Water Damage: Avoid leaving wet bath mats or towels on the floor for extended periods, as this can lead to water damage and mold growth. Hang towels and mats to dry after use.
- Use Storage Solutions: Maximize the organization of your bathroom by utilizing storage solutions such as shelves, cabinets, and baskets. This helps reduce clutter on the floor and makes cleaning easier.
- Keep Cleaning Supplies Handy: Store your bathroom cleaning supplies in a designated area where they are easily accessible. This way, you can quickly grab them when it’s time to clean your floor.
- Regularly Inspect for Damage: Periodically inspect your bathroom floor for any signs of damage, such as cracks or loose tiles. Address any issues promptly to prevent further damage and ensure the longevity of your floor.
- Consider Floor Mats or Rugs: Place floor mats or rugs in high traffic areas of your bathroom to protect the floor and add an extra layer of comfort and style. Just make sure to clean and maintain them regularly to prevent dirt buildup.
By incorporating these tips and tricks into your cleaning routine, you can keep your bathroom floor looking its best and extend its lifespan. Remember, a clean and organized bathroom floor not only enhances the appearance of your bathroom but also contributes to a healthier and more enjoyable bathroom experience.
With these tips in mind, you’re now equipped with all the knowledge and strategies to maintain a clean, tidy, and inviting bathroom floor. Enjoy your sparkling bathroom!
Read more: How To Clean Marley Floor
Conclusion
Cleaning and maintaining a bathroom floor doesn’t have to be a daunting task. By following the step-by-step process outlined in this article, you can easily achieve a clean and organized bathroom floor that enhances the overall look and hygiene of your bathroom.
We began by gathering the necessary supplies, ensuring that you have everything you need to effectively clean your bathroom floor. Clearing the floor of obstacles and removing any loose debris is an essential first step before proceeding with dry sweeping. Dry sweeping helps remove loose dirt and prepares the floor for wet mopping.
Wet mopping is a crucial step in the cleaning process, as it eliminates stains, grime, and remaining dirt. Scrubbing the grout, if necessary, ensures a thorough cleaning of the entire floor. Removing stubborn stains and drying the floor completely are vital for maintaining a pristine bathroom floor.
To enhance your bathroom floor cleaning routine, we provided tips and tricks such as regular maintenance, using doormats, and focusing on grout maintenance. Additionally, we advised on the importance of preventing water damage, utilizing storage solutions, and regularly inspecting for any signs of damage or wear.
By implementing these tips and tricks, you can ensure that your bathroom floor remains clean, organized, and visually appealing. With a clean and well-maintained bathroom floor, you can enjoy a hygienic and welcoming bathroom environment.
Remember to always consider the specific needs and requirements of your bathroom floor type, as different materials may necessitate specific cleaning techniques and products. Following the manufacturer’s instructions and using appropriate cleaning solutions will ensure optimal results and prevent any damage to your floor.
Now that you have the knowledge and insights to clean and maintain your bathroom floor effectively, it’s time to put these tips into action. Enjoy a fresh and sparkling bathroom floor that adds beauty and cleanliness to your overall bathroom experience.
Frequently Asked Questions about How To Clean A Bathroom Floor
Was this page helpful?
At Storables.com, we guarantee accurate and reliable information. Our content, validated by Expert Board Contributors, is crafted following stringent Editorial Policies. We're committed to providing you with well-researched, expert-backed insights for all your informational needs.

0 thoughts on “How To Clean A Bathroom Floor”