Home>Home Appliances>Cleaning Appliances>How To Clean A Steam Mop

Cleaning Appliances
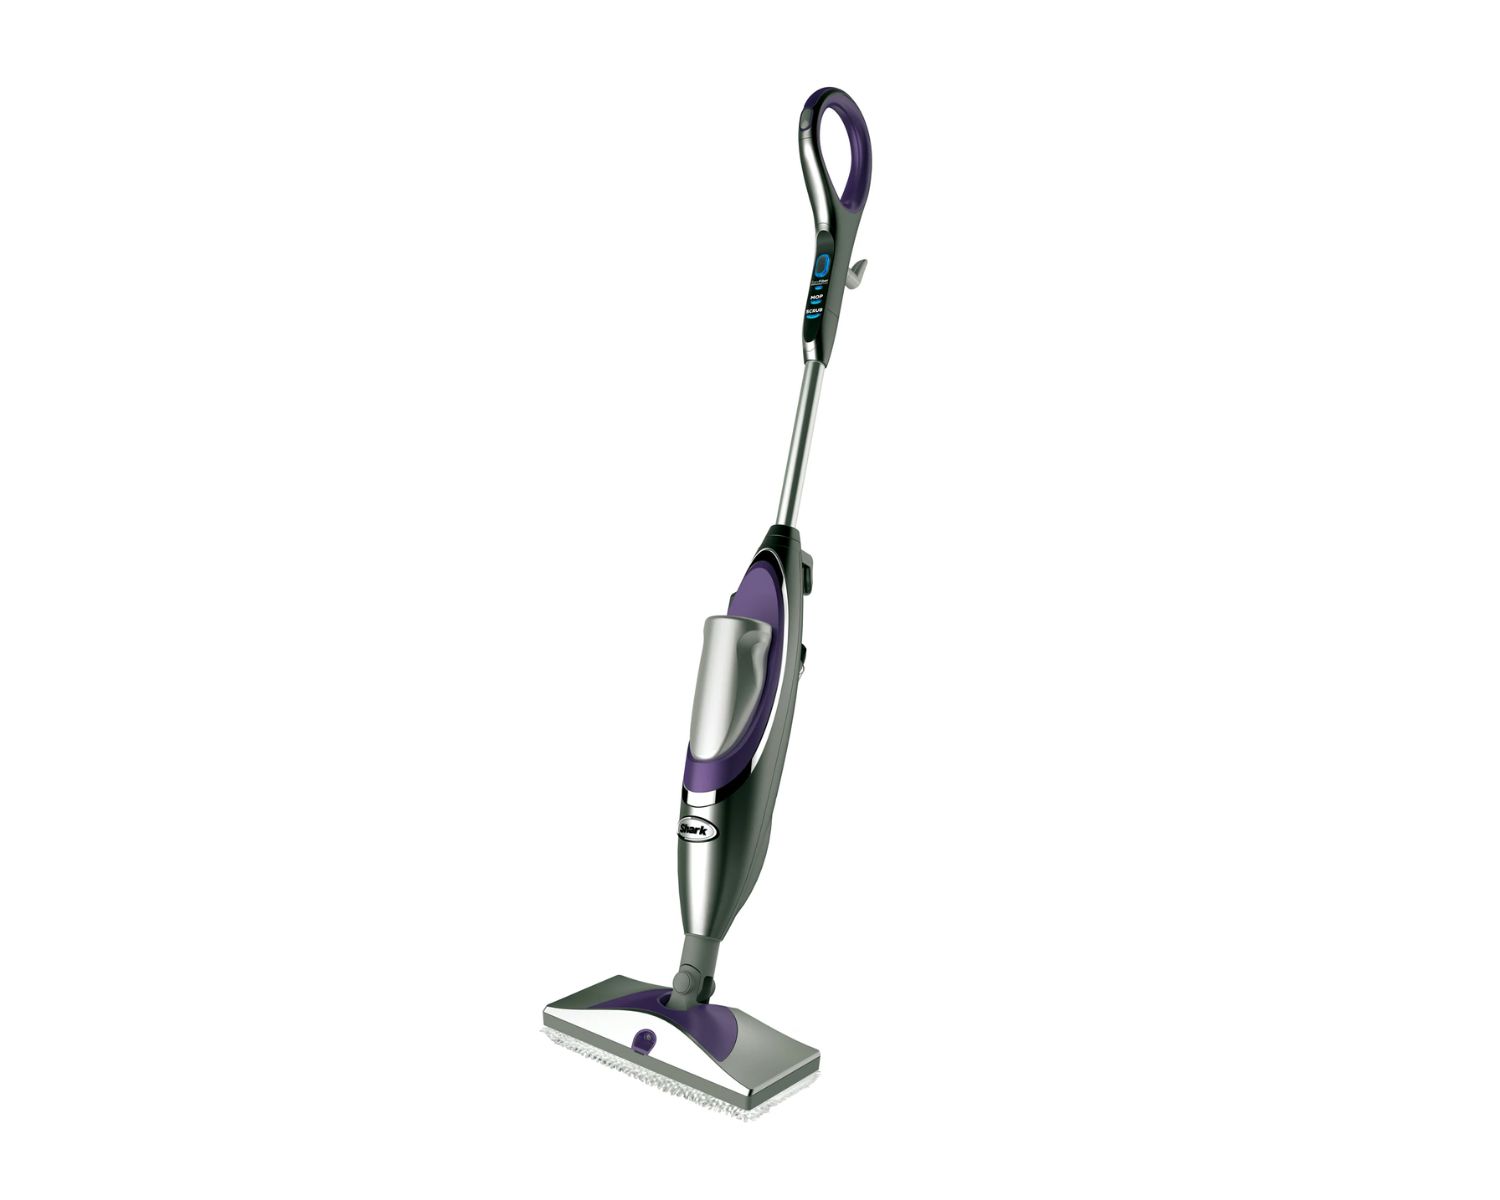
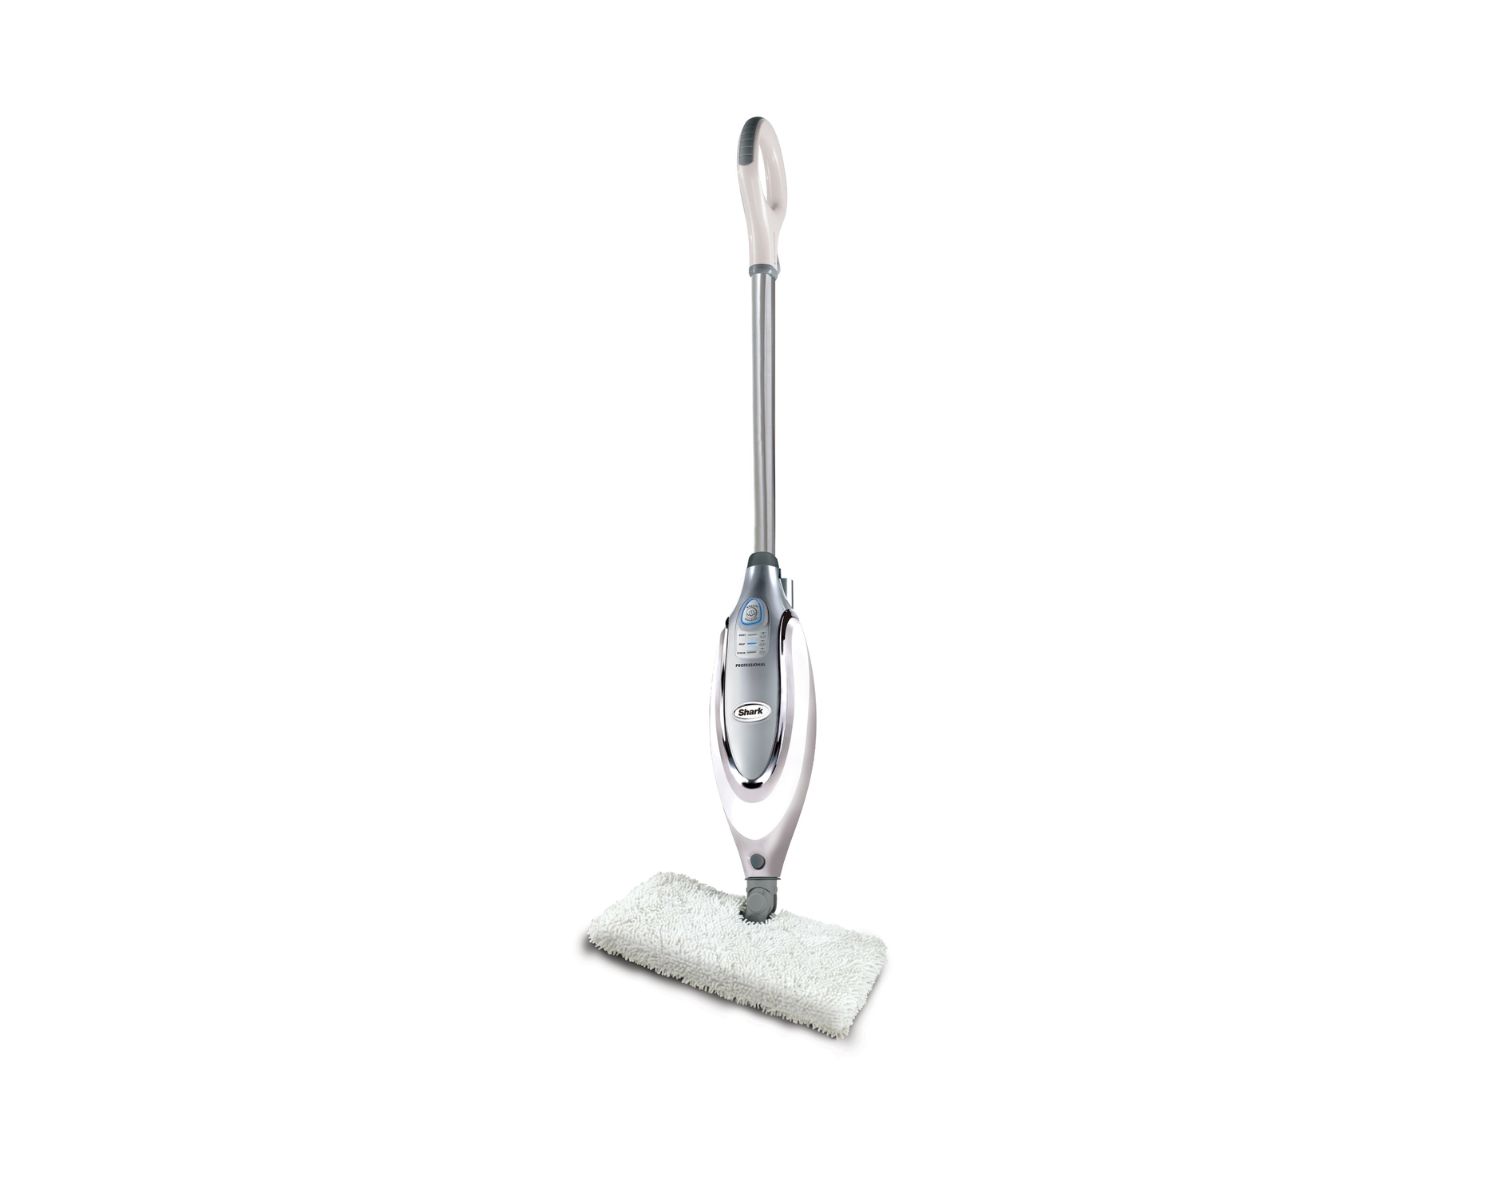
How To Clean A Steam Mop
Modified: August 17, 2024
Learn the best techniques for cleaning a steam mop and keeping your cleaning appliances in top shape. Discover the secrets to maintaining a sparkling clean home.
(Many of the links in this article redirect to a specific reviewed product. Your purchase of these products through affiliate links helps to generate commission for Storables.com, at no extra cost. Learn more)
Introduction
Read more: How To Get Steam Mop Pads Clean
Introduction
Cleaning your home with a steam mop is a convenient and effective way to maintain a sparkling clean environment. However, to ensure that your steam mop continues to deliver optimal performance, it is essential to clean and maintain it regularly. Over time, mineral deposits and dirt can accumulate, potentially compromising the effectiveness of the steam and the overall functionality of the mop. By following a few simple steps, you can keep your steam mop in top condition, ready to tackle any cleaning task with ease.
In this comprehensive guide, we will walk you through the process of cleaning a steam mop, providing valuable insights and practical tips to help you maintain your appliance. From preparing the steam mop for cleaning to descaling and tidying up the water tank, we will cover all the essential steps to keep your steam mop in pristine condition.
Whether you are a seasoned steam mop user or new to the world of steam cleaning, this guide will equip you with the knowledge and techniques to ensure that your steam mop remains a reliable and efficient cleaning companion. Let's dive into the step-by-step process of cleaning a steam mop and discover the secrets to prolonging the life and performance of this essential household appliance.
Step 1: Prepare the steam mop
Key Takeaways:
- Regularly cleaning and maintaining your steam mop is crucial for optimal performance and longevity. From descaling to storing it properly, these steps ensure a reliable and eco-friendly cleaning companion.
- By following the steps outlined in this guide, you can keep your steam mop in top condition, ready to tackle any cleaning task with ease. Proper maintenance preserves its functionality and appearance, providing a convenient and effective solution for maintaining a sparkling clean home.
Step 1: Prepare the steam mop
Before diving into the cleaning process, it is crucial to prepare the steam mop properly. This step sets the foundation for a thorough and effective cleaning session, ensuring that you can address all the essential components of the appliance. Here’s how to prepare your steam mop for cleaning:
- Unplug the steam mop: Always start by unplugging the steam mop from the power source to prevent any potential accidents during the cleaning process. Safety should be the top priority when handling electrical appliances.
- Allow the mop to cool: If the steam mop has been in use, it is essential to allow it to cool down before initiating the cleaning process. This helps prevent any burns or injuries while handling the appliance.
- Empty the water tank: To prepare the steam mop for cleaning, ensure that the water tank is empty. This prevents any accidental spills or leaks during the cleaning process and allows for thorough maintenance of the tank itself.
- Remove the mop pad: If your steam mop has a removable mop pad, take this opportunity to detach it from the mop. This will facilitate a more comprehensive cleaning of the pad and the mop head.
By following these preparatory steps, you can ensure that your steam mop is ready for a deep and effective cleaning session. Taking the time to prepare the appliance sets the stage for a thorough maintenance routine, allowing you to address each component with care and attention to detail.
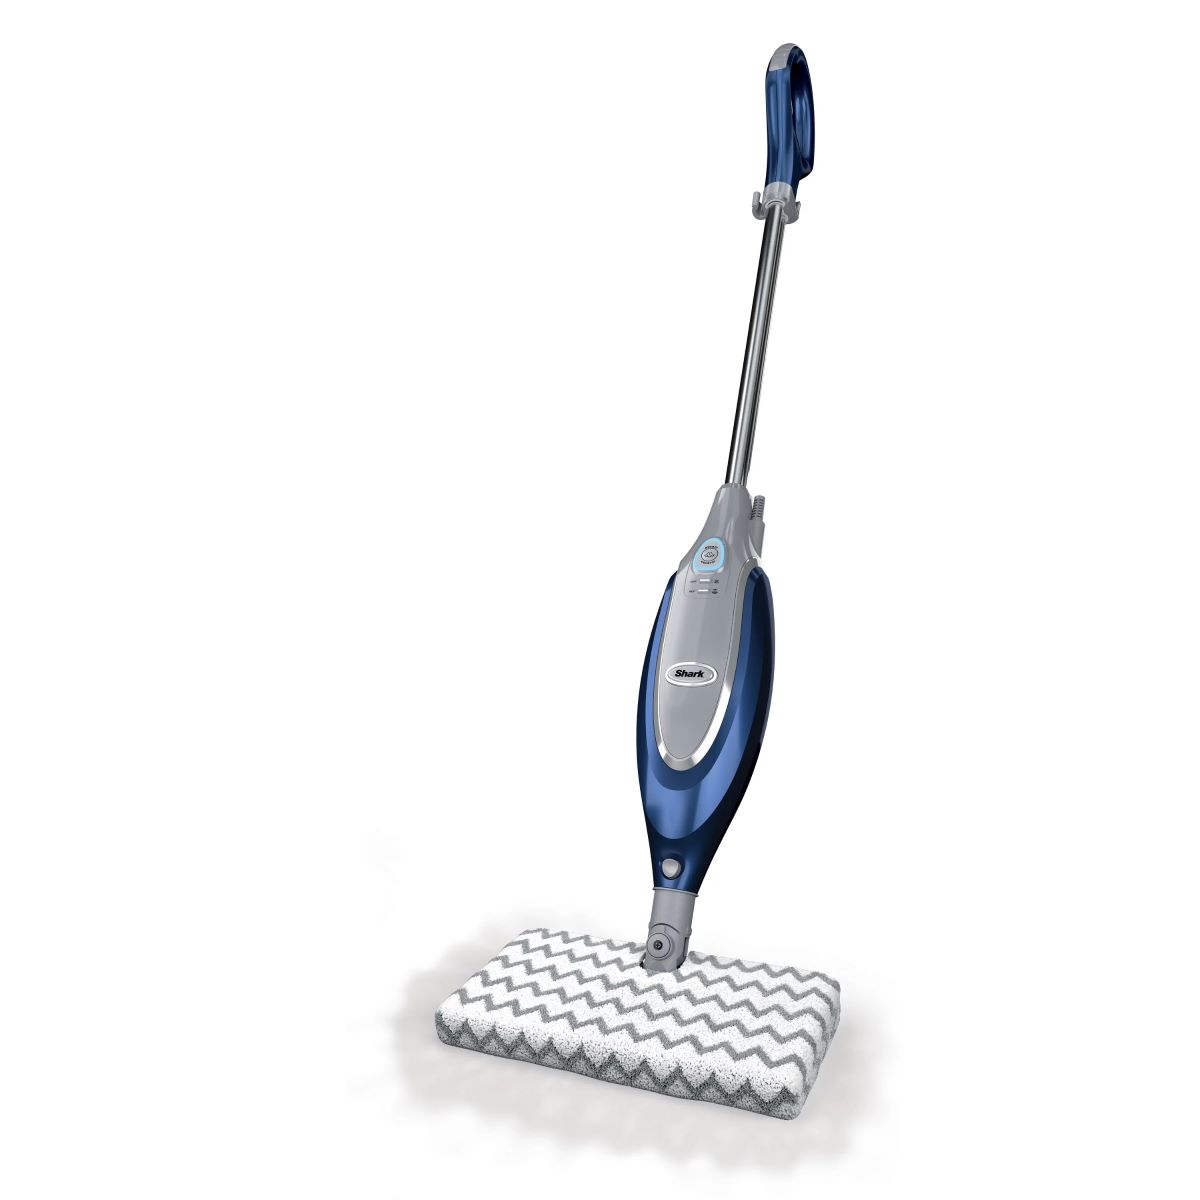
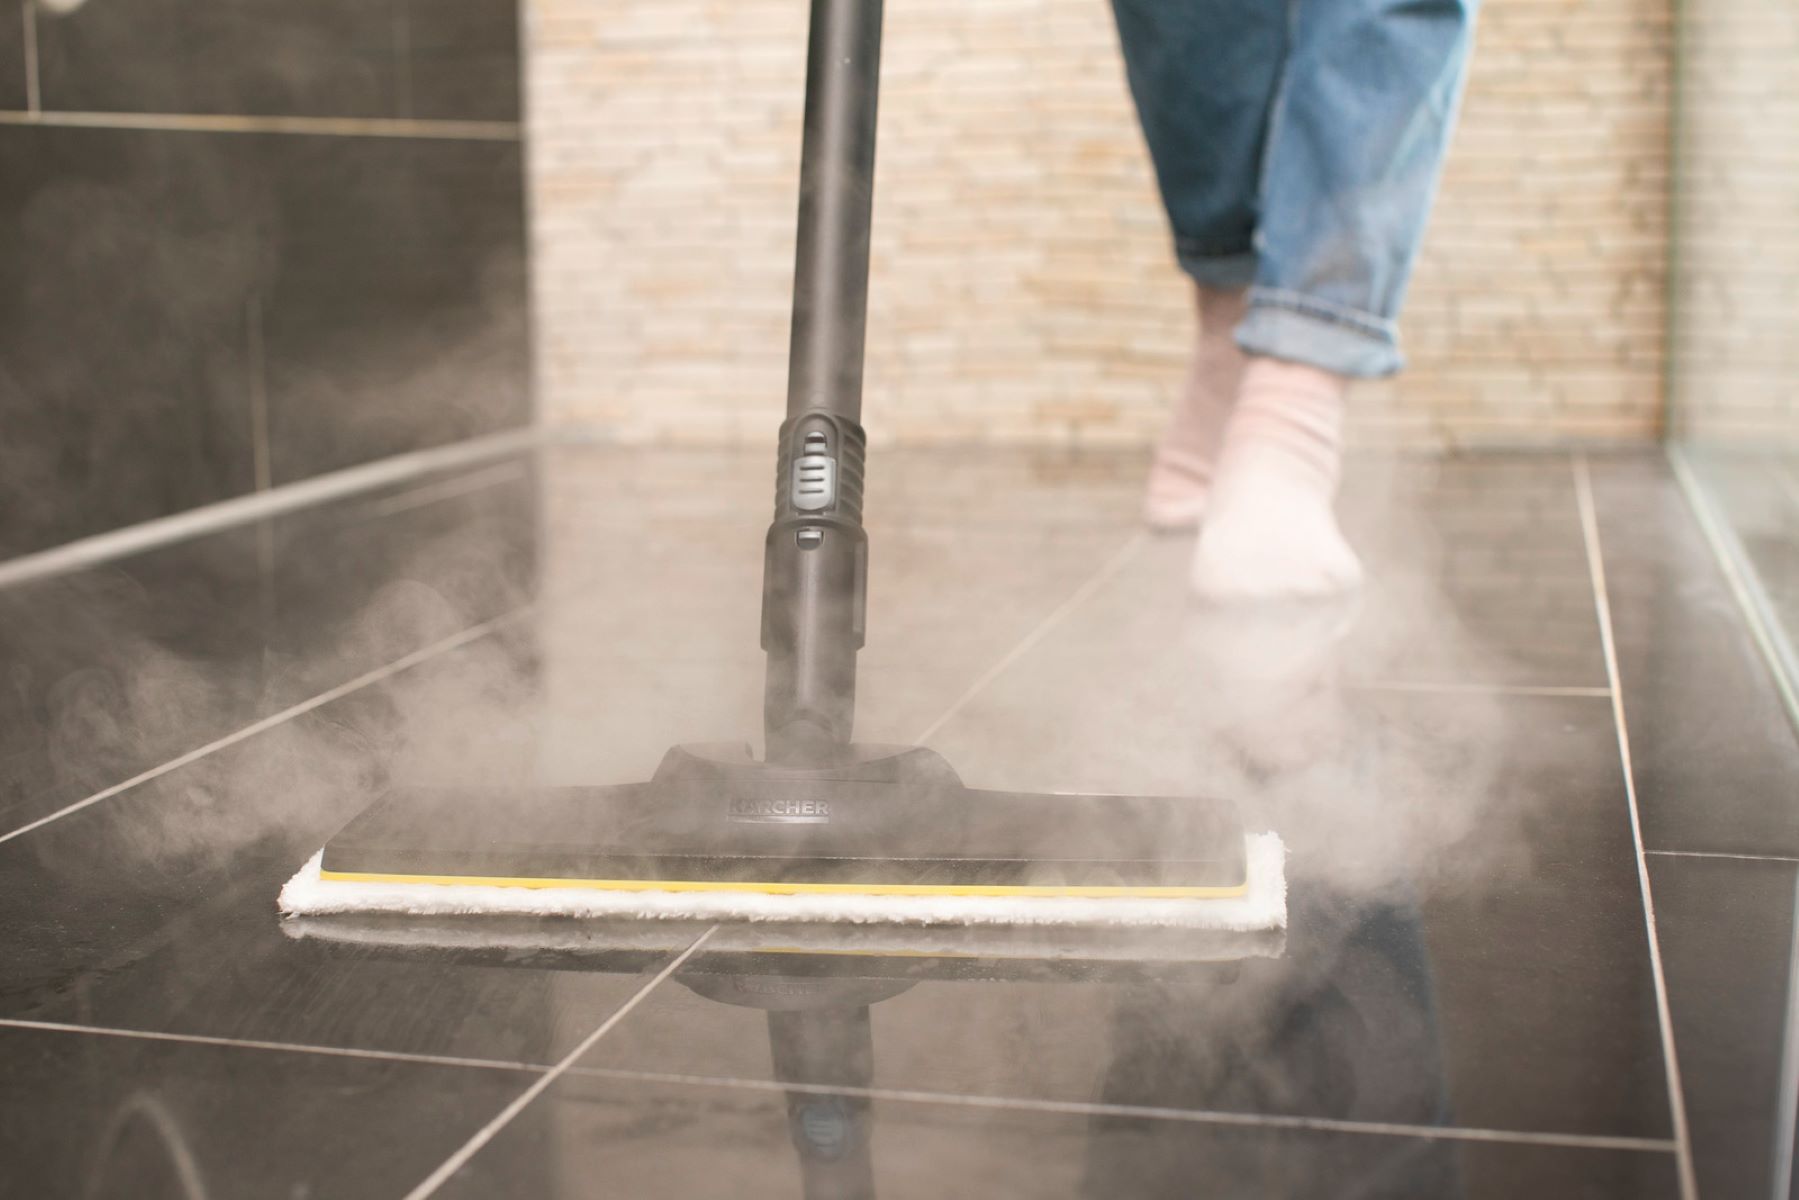
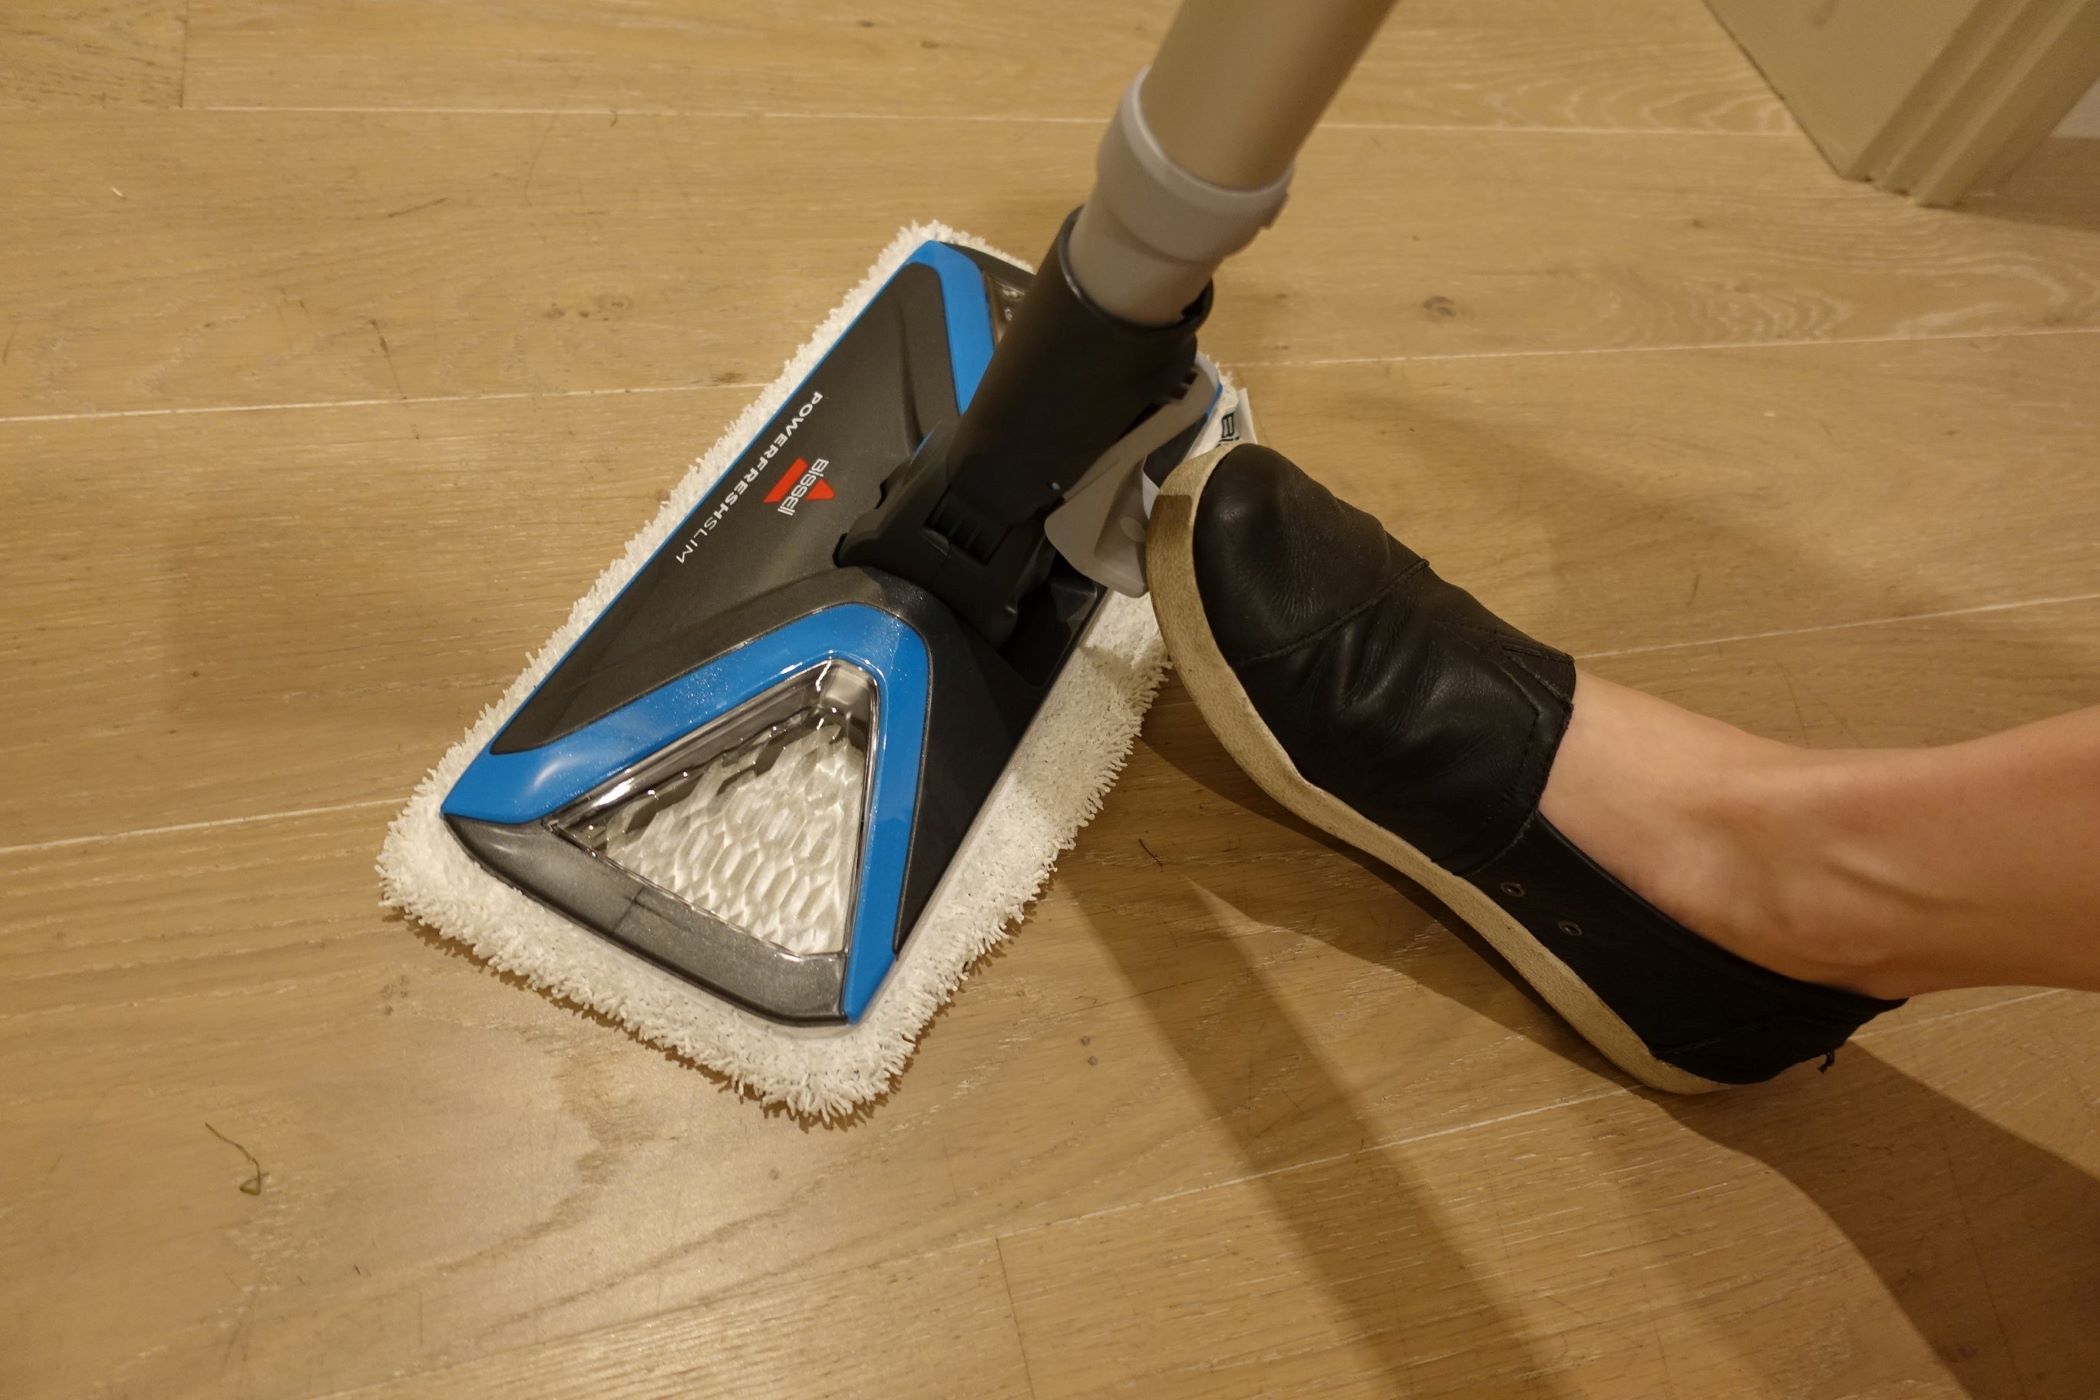
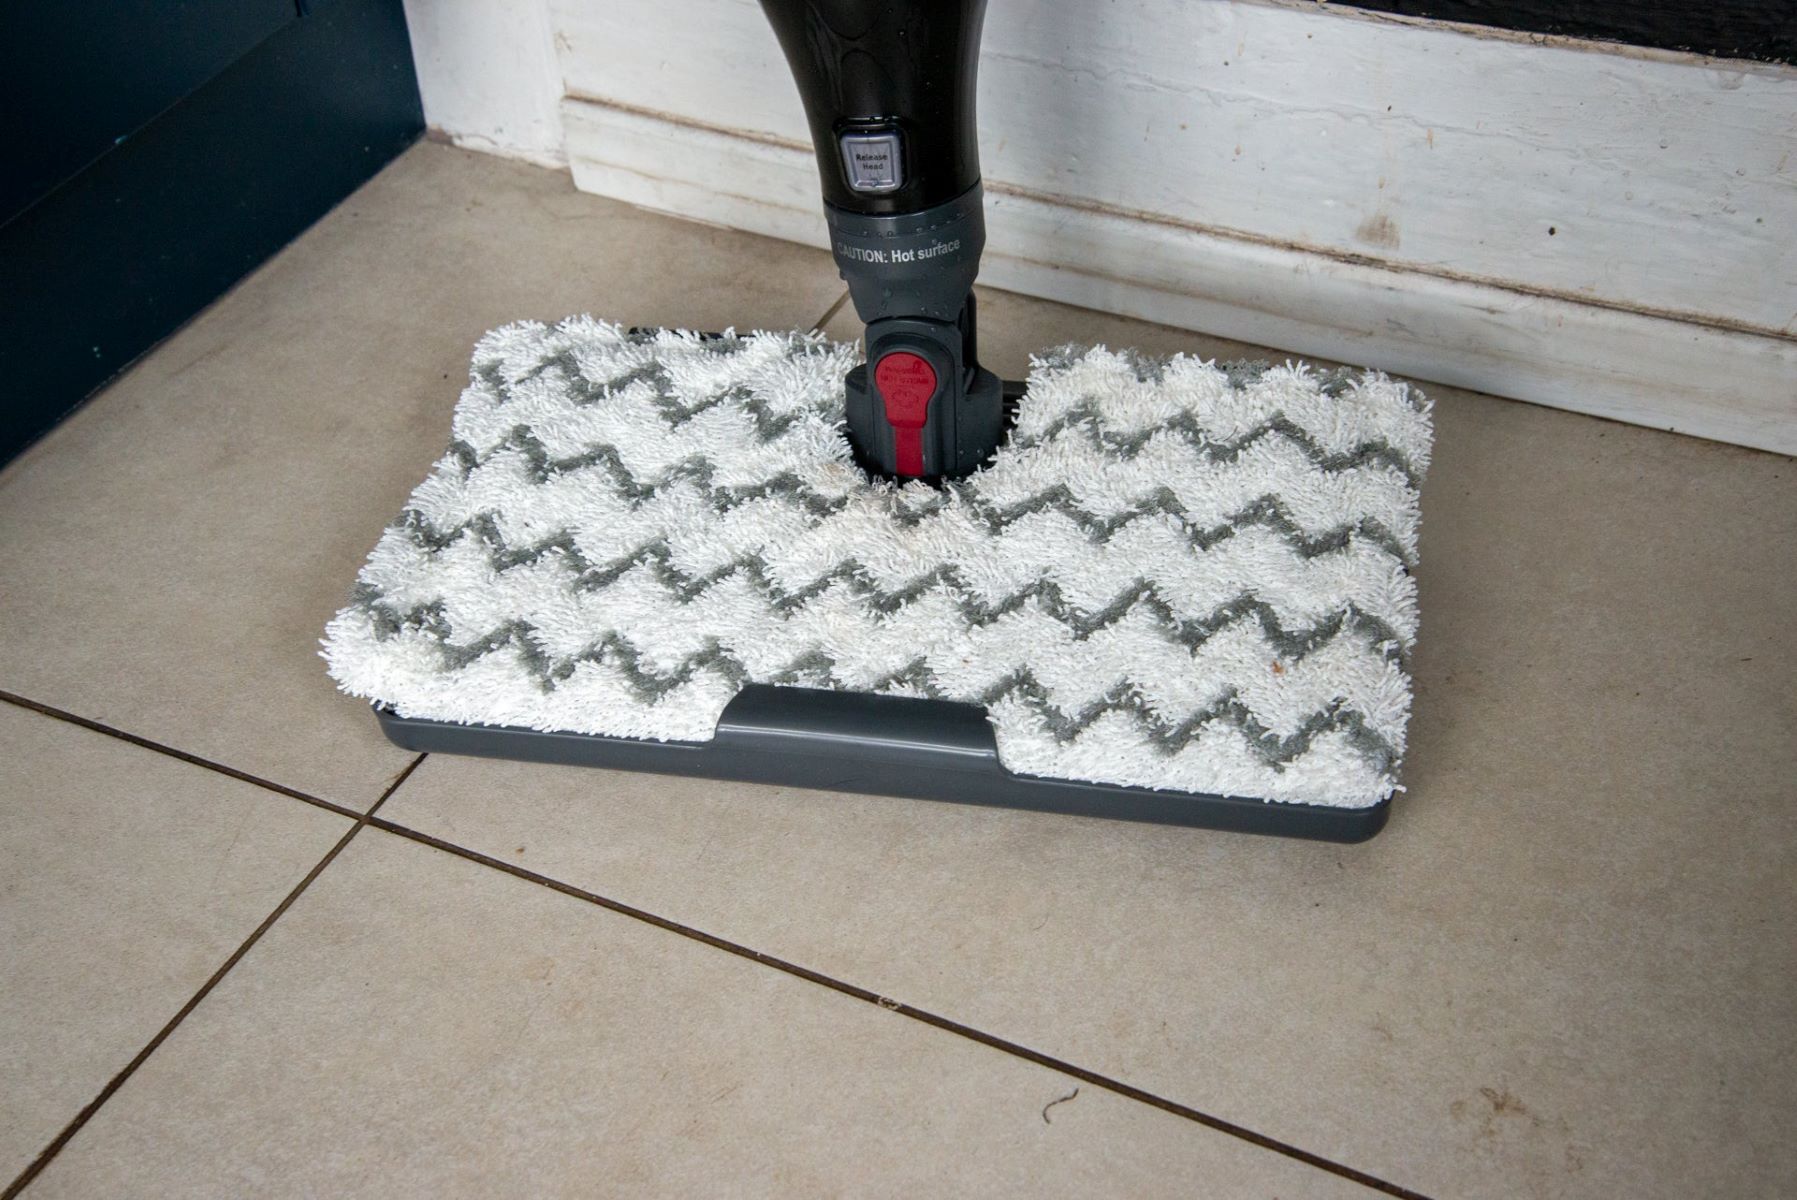
Step 2: Clean the steam mop pads
Read more: How To Clean Shark Steam Mop With Vinegar
Step 2: Clean the steam mop pads
The steam mop pads play a crucial role in the cleaning process, and it is essential to keep them in optimal condition to ensure efficient and effective cleaning. Over time, these pads can accumulate dirt, grime, and residue from various surfaces, potentially hindering the steam mop’s performance. Here’s how to clean the steam mop pads:
- Remove the pads: If your steam mop has removable pads, carefully detach them from the mop. This step allows for a more thorough cleaning of the pads and ensures that no area is overlooked.
- Machine wash or hand wash: Check the manufacturer’s instructions to determine if the pads are machine washable. If so, place them in the washing machine and use a gentle detergent. Alternatively, hand wash the pads using a mild detergent and warm water. Thoroughly rinse the pads to remove any soap residue.
- Air dry the pads: After washing, allow the pads to air dry completely before reattaching them to the steam mop. This helps prevent the growth of mold or mildew and ensures that the pads are ready for future use.
- Inspect for damage: While cleaning the pads, inspect them for any signs of damage or wear. If the pads are worn out or torn, consider replacing them to maintain the steam mop’s effectiveness.
By incorporating these steps into your cleaning routine, you can ensure that the steam mop pads remain clean and functional, ready to tackle various cleaning tasks with ease. Regular maintenance of the pads contributes to the overall performance and longevity of your steam mop, allowing you to enjoy consistently impressive cleaning results.
Step 3: Descale the steam mop
Step 3: Descale the steam mop
Over time, mineral deposits from hard water can accumulate in the internal components of a steam mop, potentially affecting its performance. Descaling the steam mop is a critical maintenance task that helps remove these mineral deposits and ensures that the appliance continues to function optimally. Here’s how to descale the steam mop:
- Prepare the descaling solution: Check the manufacturer’s instructions to determine the recommended descaling solution for your steam mop. Typically, a mixture of water and white vinegar can serve as an effective descaling solution. Prepare the solution in a ratio specified by the manufacturer.
- Fill the water tank: Pour the descaling solution into the water tank of the steam mop, ensuring that it reaches the appropriate level as recommended in the instructions. This allows the solution to flow through the internal components and address any mineral buildup.
- Let the solution sit: Allow the descaling solution to sit in the steam mop for the recommended duration, typically around 30 minutes to an hour. This gives the solution sufficient time to break down and dissolve the mineral deposits within the appliance.
- Run the steam mop: After the solution has had time to work its magic, turn on the steam mop and run it as you normally would, allowing the descaling solution to pass through the appliance and flush out any loosened mineral deposits.
- Rinse the water tank: Once the descaling process is complete, empty the water tank and rinse it thoroughly to remove any remaining descaling solution. This helps prevent the lingering scent of vinegar and ensures that the water tank is clean and ready for future use.
By incorporating regular descaling into your steam mop maintenance routine, you can prevent mineral buildup and maintain the appliance’s performance over time. This simple yet essential step contributes to the longevity and effectiveness of your steam mop, ensuring that it continues to deliver exceptional cleaning results.
Step 4: Clean the water tank
Read more: How To Steam Mop Carpet
Step 4: Clean the water tank
The water tank of a steam mop is a vital component that requires regular cleaning to ensure optimal performance and hygiene. Over time, mineral deposits, residue, and bacteria can accumulate in the water tank, potentially affecting the quality of the steam and the overall cleanliness of the appliance. Here’s how to clean the water tank of a steam mop:
- Empty the water tank: Before cleaning the water tank, ensure that it is empty. This prevents any residual water from interfering with the cleaning process and allows for a more thorough maintenance routine.
- Prepare a cleaning solution: Create a cleaning solution using warm water and a mild detergent. This gentle yet effective solution helps break down any residue and bacteria present in the water tank.
- Scrub the tank: Use a soft-bristled brush or cloth to scrub the interior of the water tank with the cleaning solution. Pay close attention to any areas with visible buildup or discoloration, ensuring that the entire tank is thoroughly cleaned.
- Rinse the tank: After scrubbing, rinse the water tank with clean water to remove any traces of the cleaning solution. Thorough rinsing is essential to prevent the lingering scent or taste of detergent in the water tank.
- Allow the tank to dry: Once cleaned and rinsed, allow the water tank to air dry completely before reassembling the steam mop. This helps prevent the growth of mold or mildew and ensures that the tank is ready for future use.
By incorporating regular cleaning of the water tank into your maintenance routine, you can ensure that the steam produced by the mop is clean and free from contaminants. This contributes to the overall hygiene and effectiveness of the appliance, allowing you to maintain a pristine and healthy living environment.
Step 5: Wipe down the exterior
Step 5: Wipe down the exterior
While focusing on the internal components of the steam mop is crucial for its performance, it is equally important to pay attention to the exterior. Regularly wiping down the exterior of the steam mop helps maintain its appearance, cleanliness, and overall functionality. Here’s how to effectively clean the exterior of a steam mop:
- Unplug the steam mop: Before cleaning the exterior, ensure that the steam mop is unplugged from the power source to prevent any potential accidents during the cleaning process.
- Use a damp cloth: Dampen a soft cloth with water and a mild detergent or a gentle all-purpose cleaner. Avoid using abrasive cleaners or harsh chemicals that may damage the surface of the steam mop.
- Wipe the exterior: Gently wipe down the exterior surfaces of the steam mop, paying attention to any areas with visible dirt, fingerprints, or residue. Take care to clean around control buttons, handles, and other intricate areas of the appliance.
- Dry the exterior: After wiping down the exterior, use a clean, dry cloth to remove any excess moisture and ensure that the surface is completely dry. This helps prevent water spots and maintains the appearance of the steam mop.
- Inspect for damage: While cleaning the exterior, inspect the steam mop for any signs of damage, wear, or loose components. Addressing any issues promptly can prevent further damage and ensure the continued functionality of the appliance.
By incorporating regular exterior cleaning into your steam mop maintenance routine, you can preserve the appearance and functionality of the appliance. A clean and well-maintained exterior not only enhances the overall aesthetics of the steam mop but also contributes to a positive and enjoyable cleaning experience.
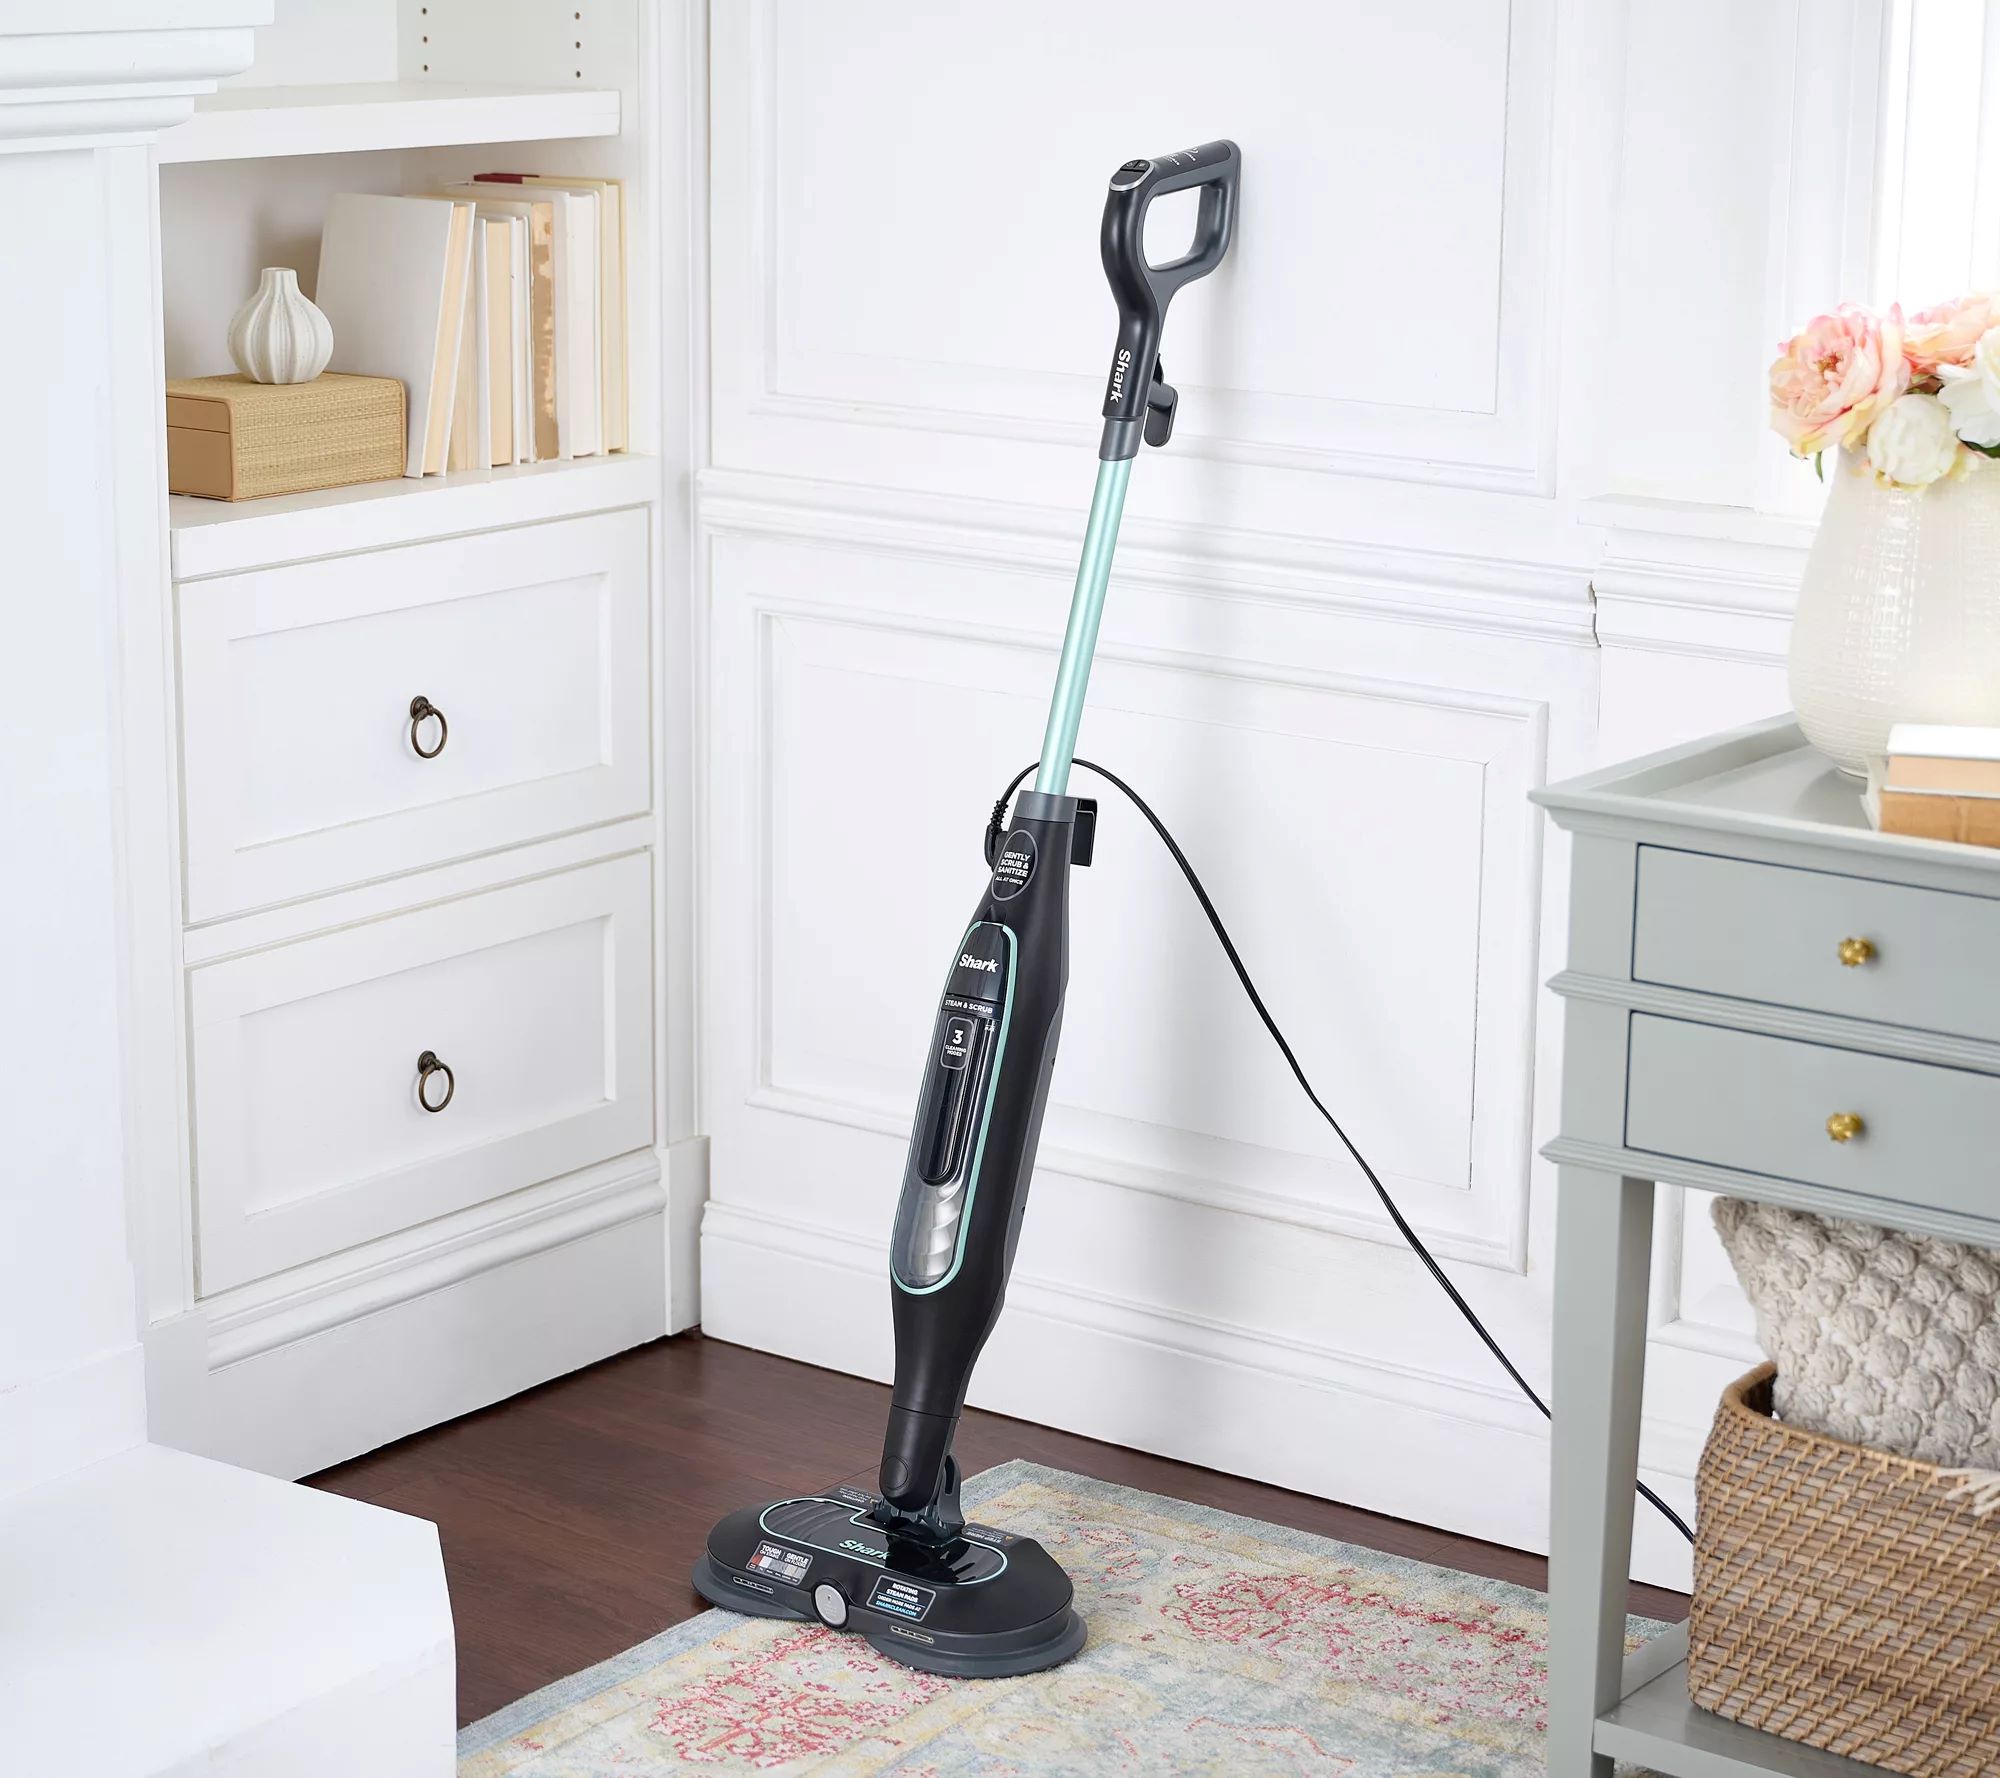
Step 6: Store the steam mop properly
Read more: How To Use A Steam Mop
Step 6: Store the steam mop properly
Proper storage of a steam mop is essential for maintaining its condition and prolonging its lifespan. By storing the appliance correctly, you can prevent damage, ensure cleanliness, and facilitate easy access for future use. Here’s how to store a steam mop properly:
- Allow the mop to cool: If the steam mop has been in use, ensure that it has cooled down before initiating the storage process. This prevents any potential burns and allows for safe handling of the appliance.
- Empty the water tank: Before storing the steam mop, ensure that the water tank is empty. This prevents the growth of mold or mildew and ensures that the tank is clean and ready for future use.
- Clean the exterior: Take this opportunity to wipe down the exterior of the steam mop using a damp cloth and a mild detergent. This helps maintain the appearance of the appliance and prevents the accumulation of dirt or residue during storage.
- Store in a dry area: Choose a dry and well-ventilated area for storing the steam mop. Avoid areas prone to excessive moisture or temperature fluctuations, as these conditions can potentially damage the appliance.
- Store in an upright position: Whenever possible, store the steam mop in an upright position to prevent any potential leaks or damage to the mop pads. Many steam mops come with a built-in storage hook or stand for this purpose.
- Secure the power cord: If the steam mop has a power cord, ensure that it is neatly wrapped and secured to prevent any tangles or damage. This contributes to a tidy storage arrangement and prevents potential hazards.
- Follow manufacturer’s instructions: Refer to the manufacturer’s guidelines for specific storage recommendations tailored to your steam mop model. Adhering to these instructions can help maintain the appliance’s condition and performance.
By following these storage practices, you can ensure that your steam mop remains in top condition and is ready for use whenever cleaning tasks arise. Proper storage not only preserves the functionality and appearance of the appliance but also contributes to a seamless and efficient cleaning experience.
Conclusion
Conclusion
Maintaining a clean and efficient steam mop is essential for ensuring that your home remains pristine and inviting. By following the comprehensive steps outlined in this guide, you can effectively clean and maintain your steam mop, prolonging its lifespan and optimizing its performance. From preparing the steam mop for cleaning to descaling, tidying up the water tank, wiping down the exterior, and storing the appliance properly, each step contributes to the overall maintenance and functionality of the steam mop.
Regular cleaning and maintenance not only preserve the appearance and hygiene of the steam mop but also ensure that it continues to deliver exceptional cleaning results. By incorporating these maintenance practices into your cleaning routine, you can enjoy the benefits of a reliable and efficient cleaning companion that effortlessly tackles dirt, grime, and stains on various surfaces throughout your home.
Remember, a well-maintained steam mop not only contributes to a clean living environment but also minimizes the need for harsh chemicals, offering a more eco-friendly approach to cleaning. With proper care and maintenance, your steam mop can continue to be a valuable asset in your household, providing a convenient and effective solution for maintaining a sparkling clean home.
By embracing the insights and techniques shared in this guide, you can embark on a journey to preserve and optimize the performance of your steam mop, ensuring that it remains a dependable ally in your quest for a spotless and inviting living space.
Frequently Asked Questions about How To Clean A Steam Mop
Was this page helpful?
At Storables.com, we guarantee accurate and reliable information. Our content, validated by Expert Board Contributors, is crafted following stringent Editorial Policies. We're committed to providing you with well-researched, expert-backed insights for all your informational needs.

0 thoughts on “How To Clean A Steam Mop”