Home>Home Appliances>Cleaning Appliances>How To Disassemble A Shark Steam Mop
Cleaning Appliances
How To Disassemble A Shark Steam Mop
Modified: May 6, 2024
Learn how to disassemble a Shark steam mop for easy cleaning and maintenance. Follow our step-by-step guide for hassle-free maintenance of your cleaning appliances.
(Many of the links in this article redirect to a specific reviewed product. Your purchase of these products through affiliate links helps to generate commission for Storables.com, at no extra cost. Learn more)
Introduction
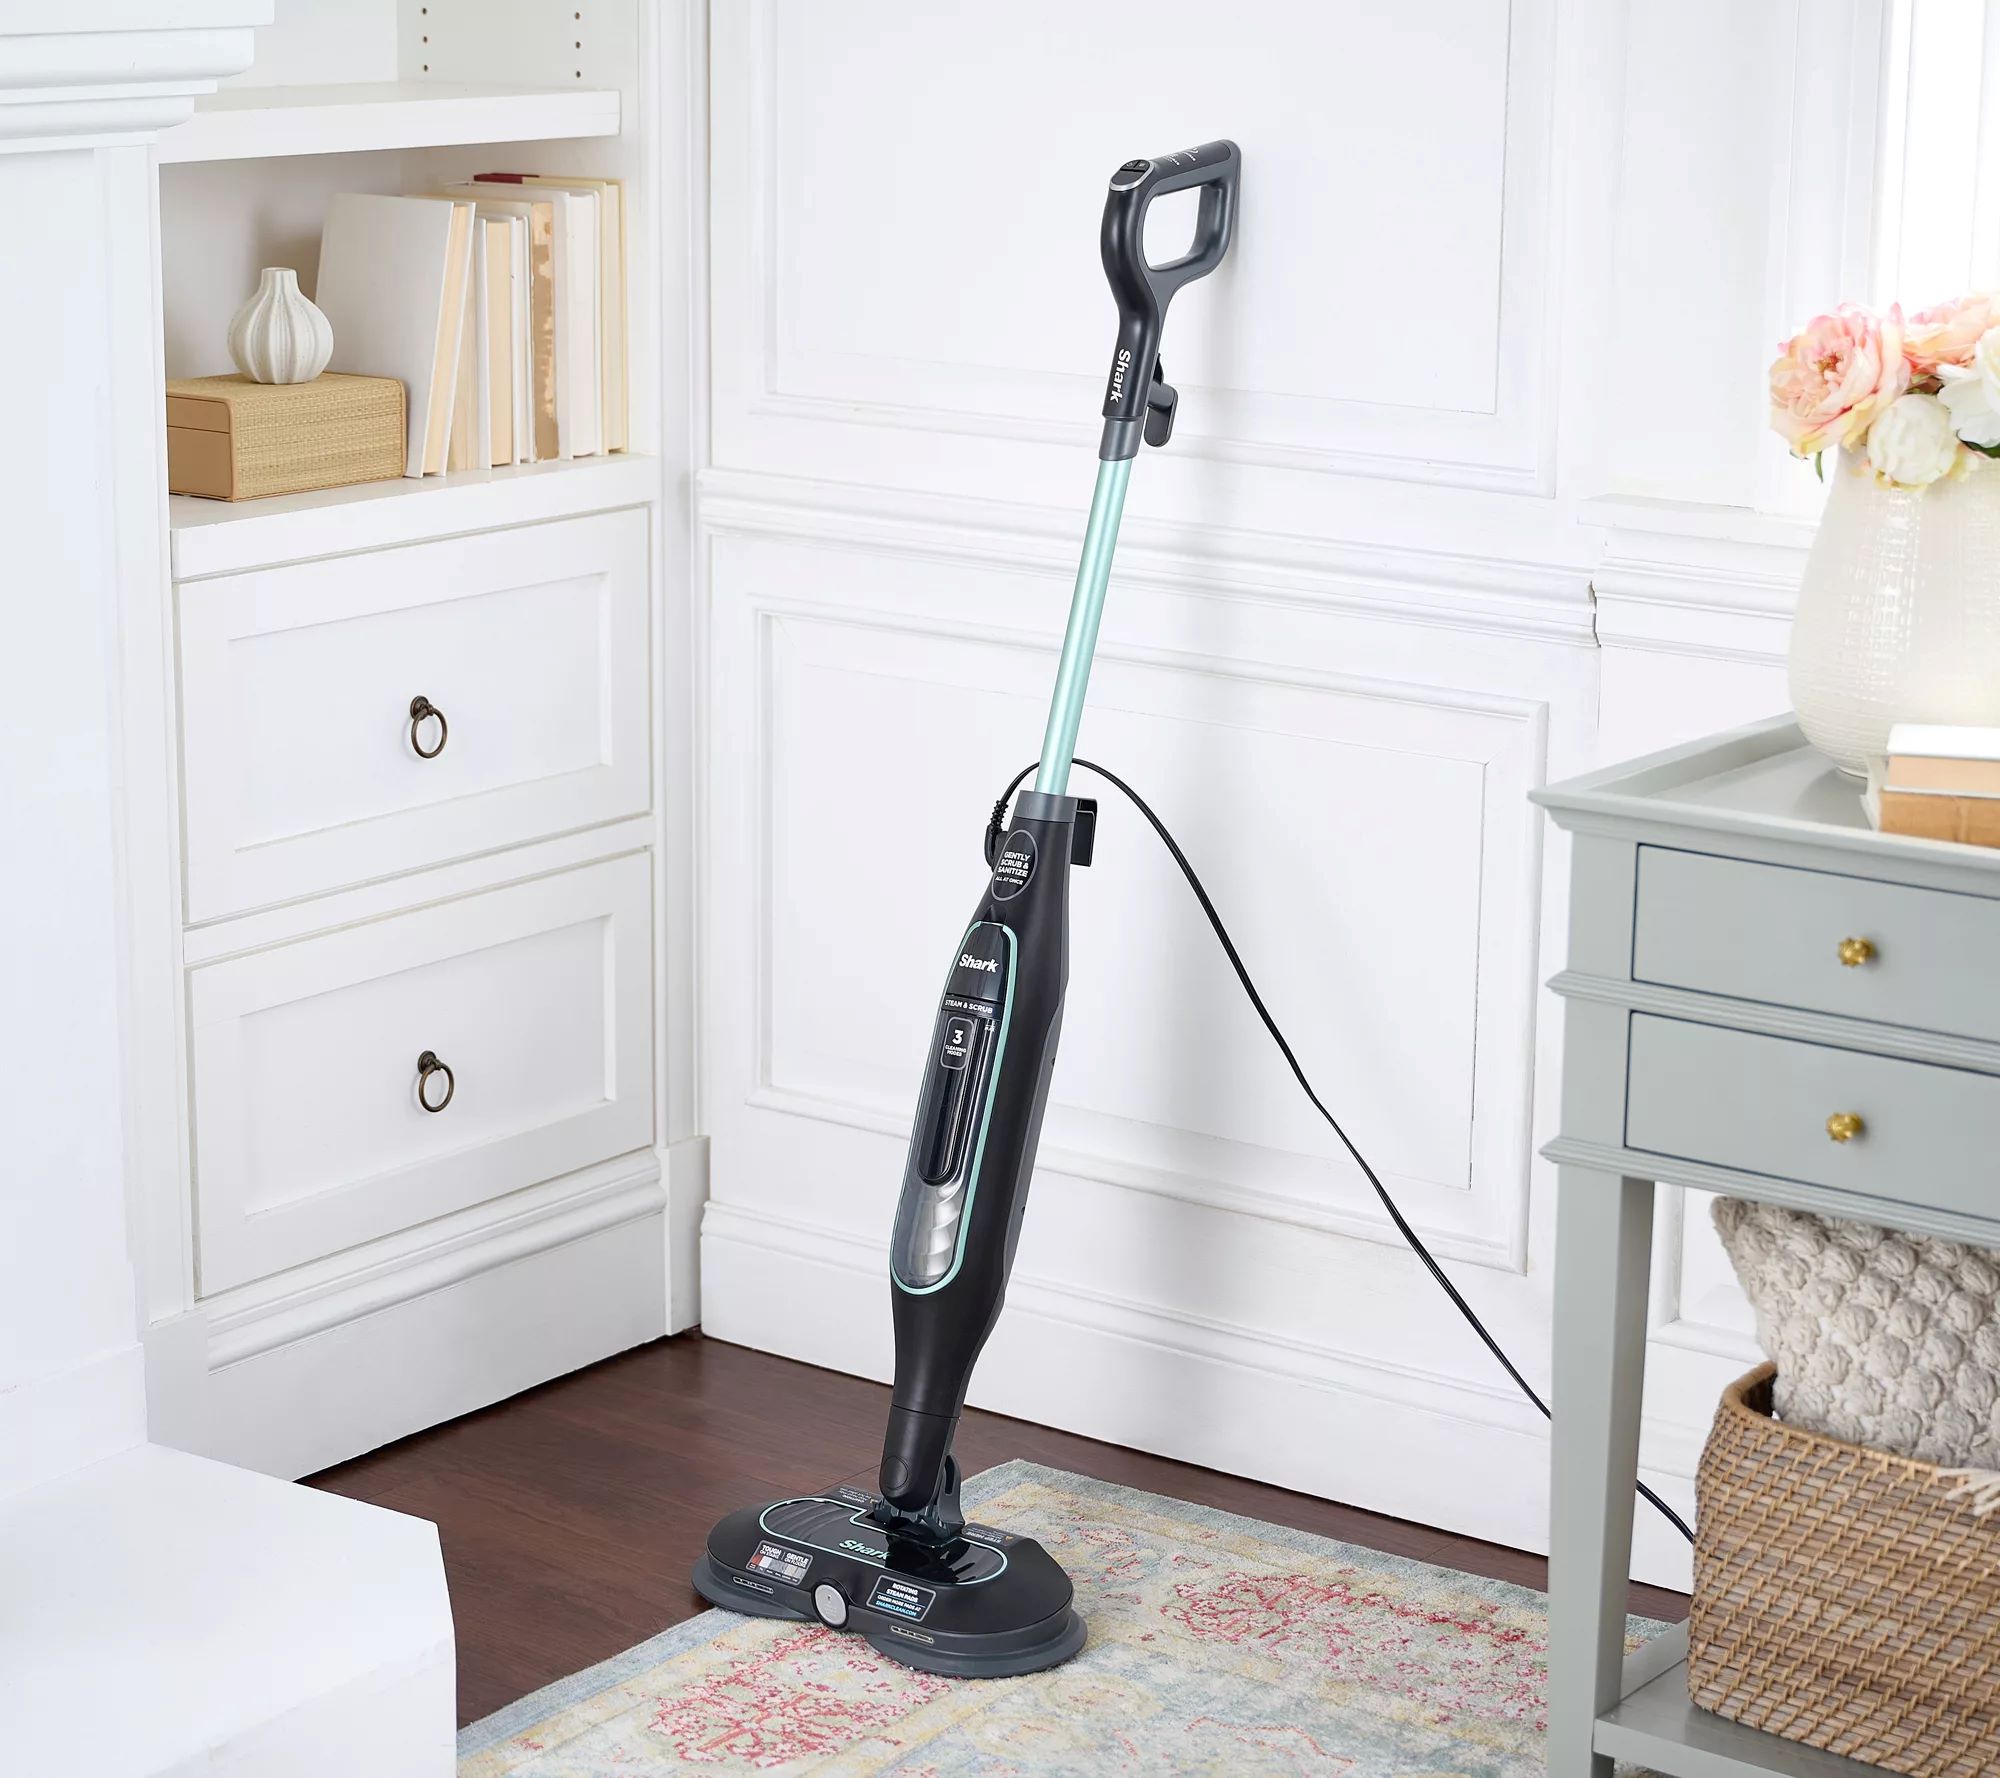
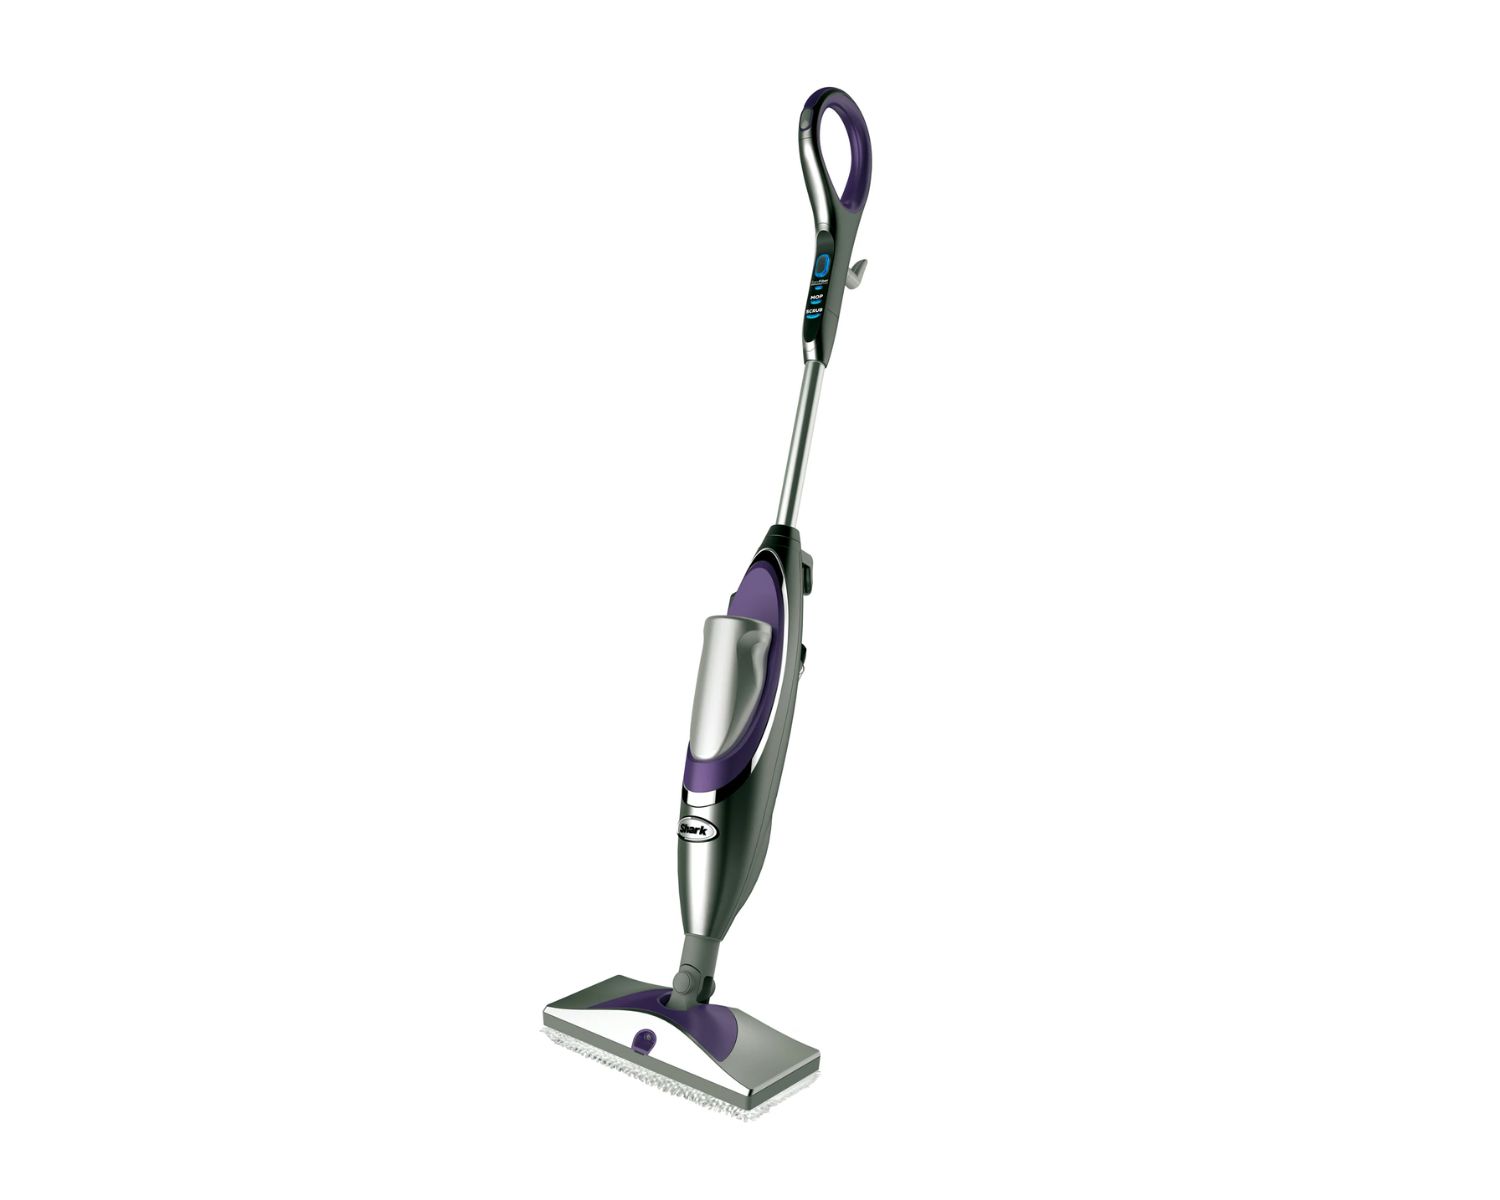
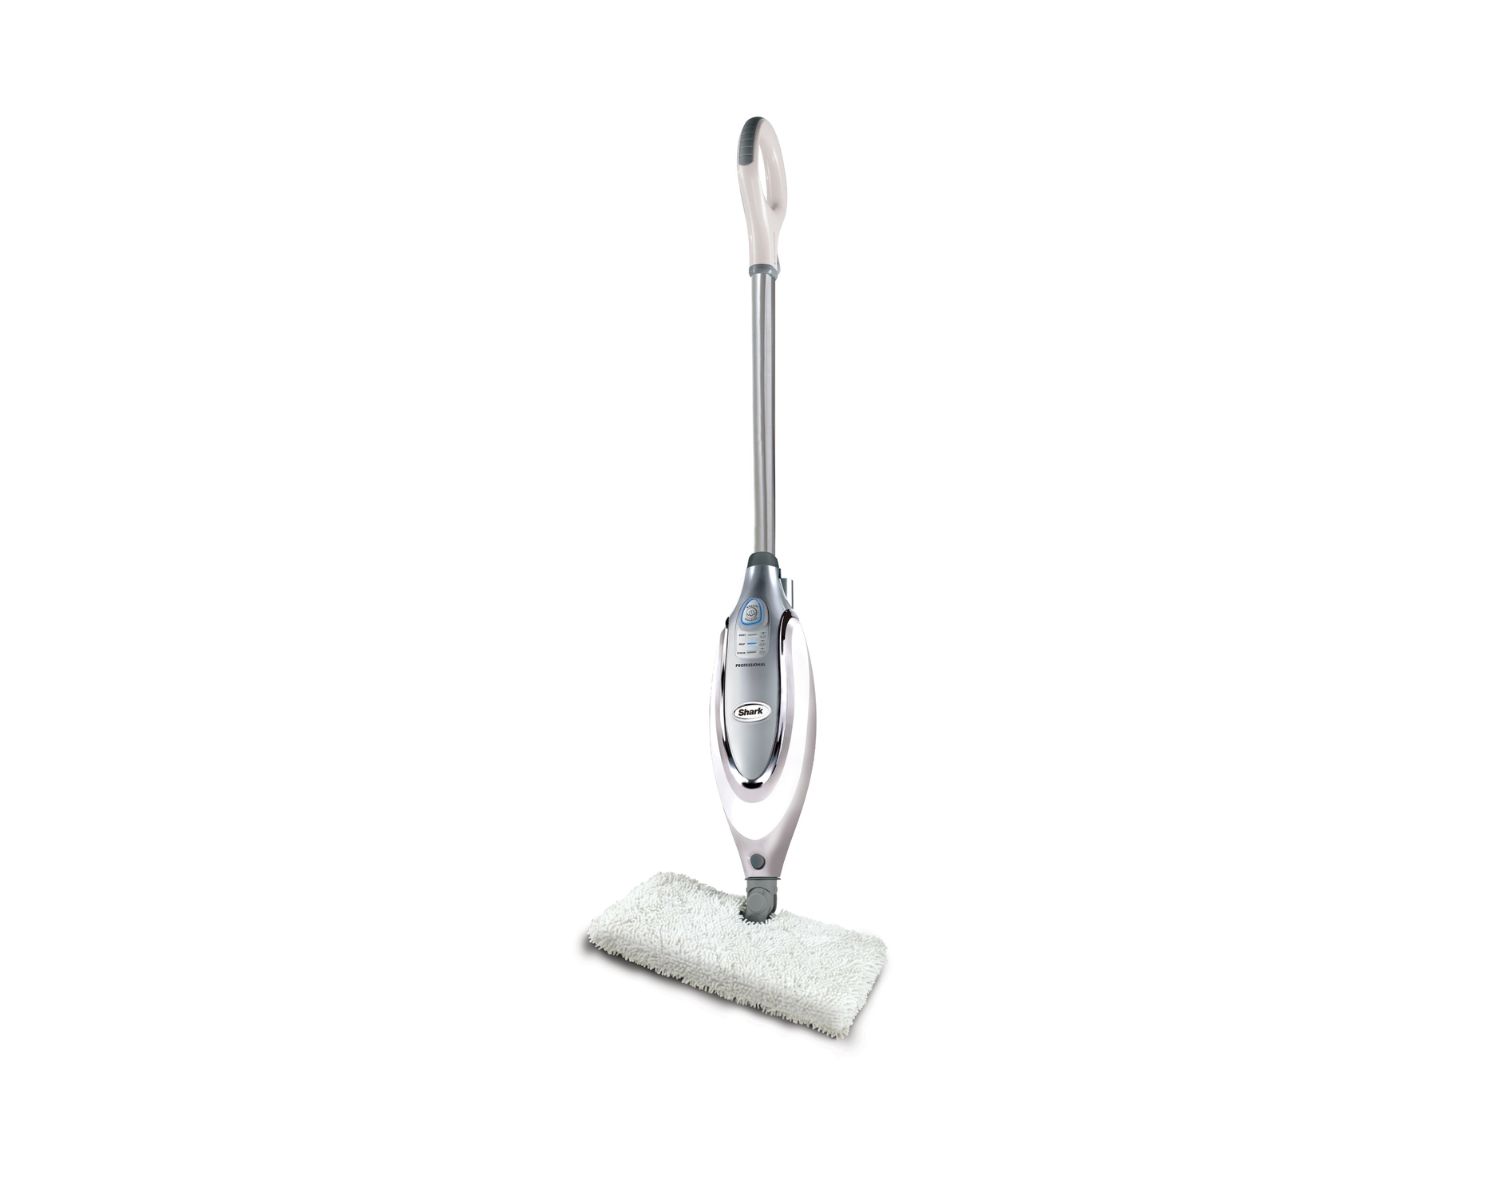
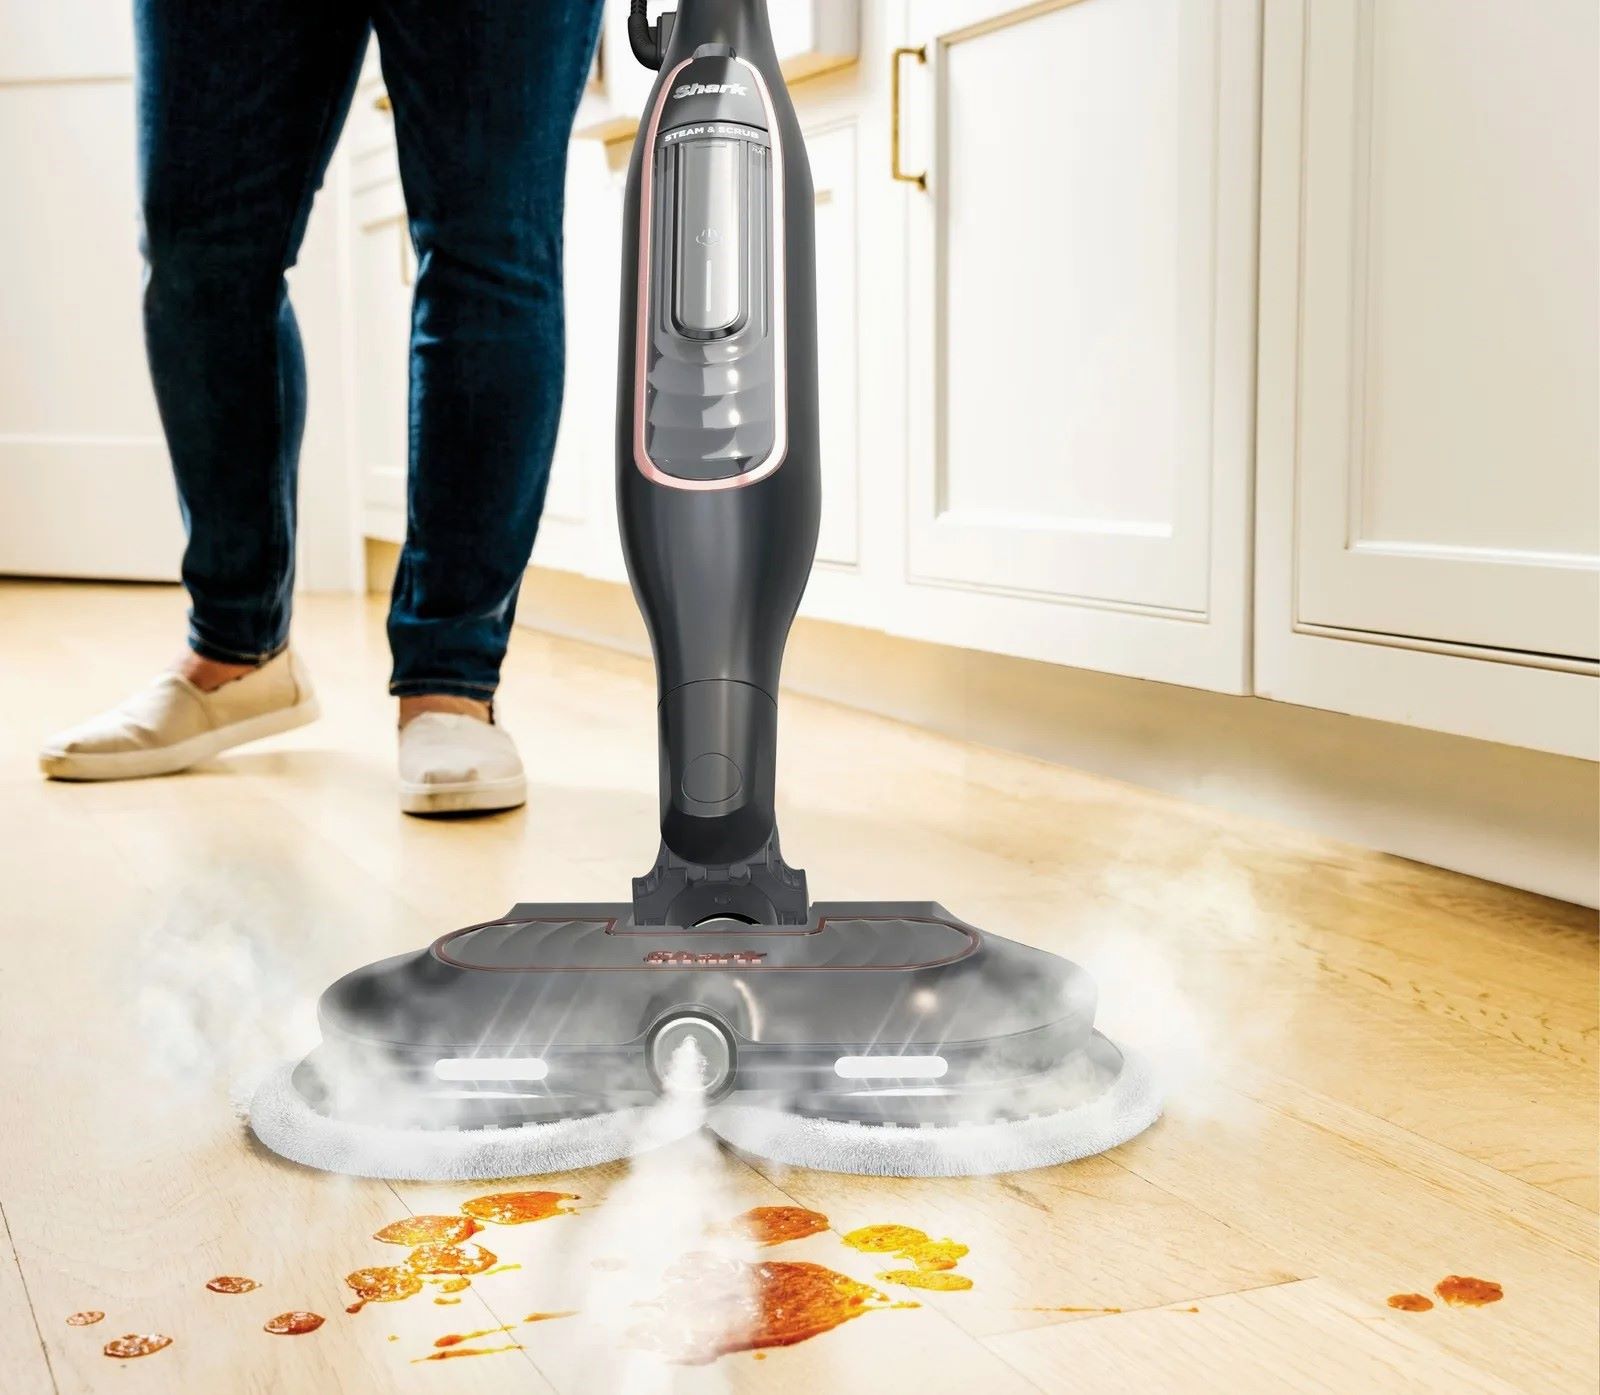
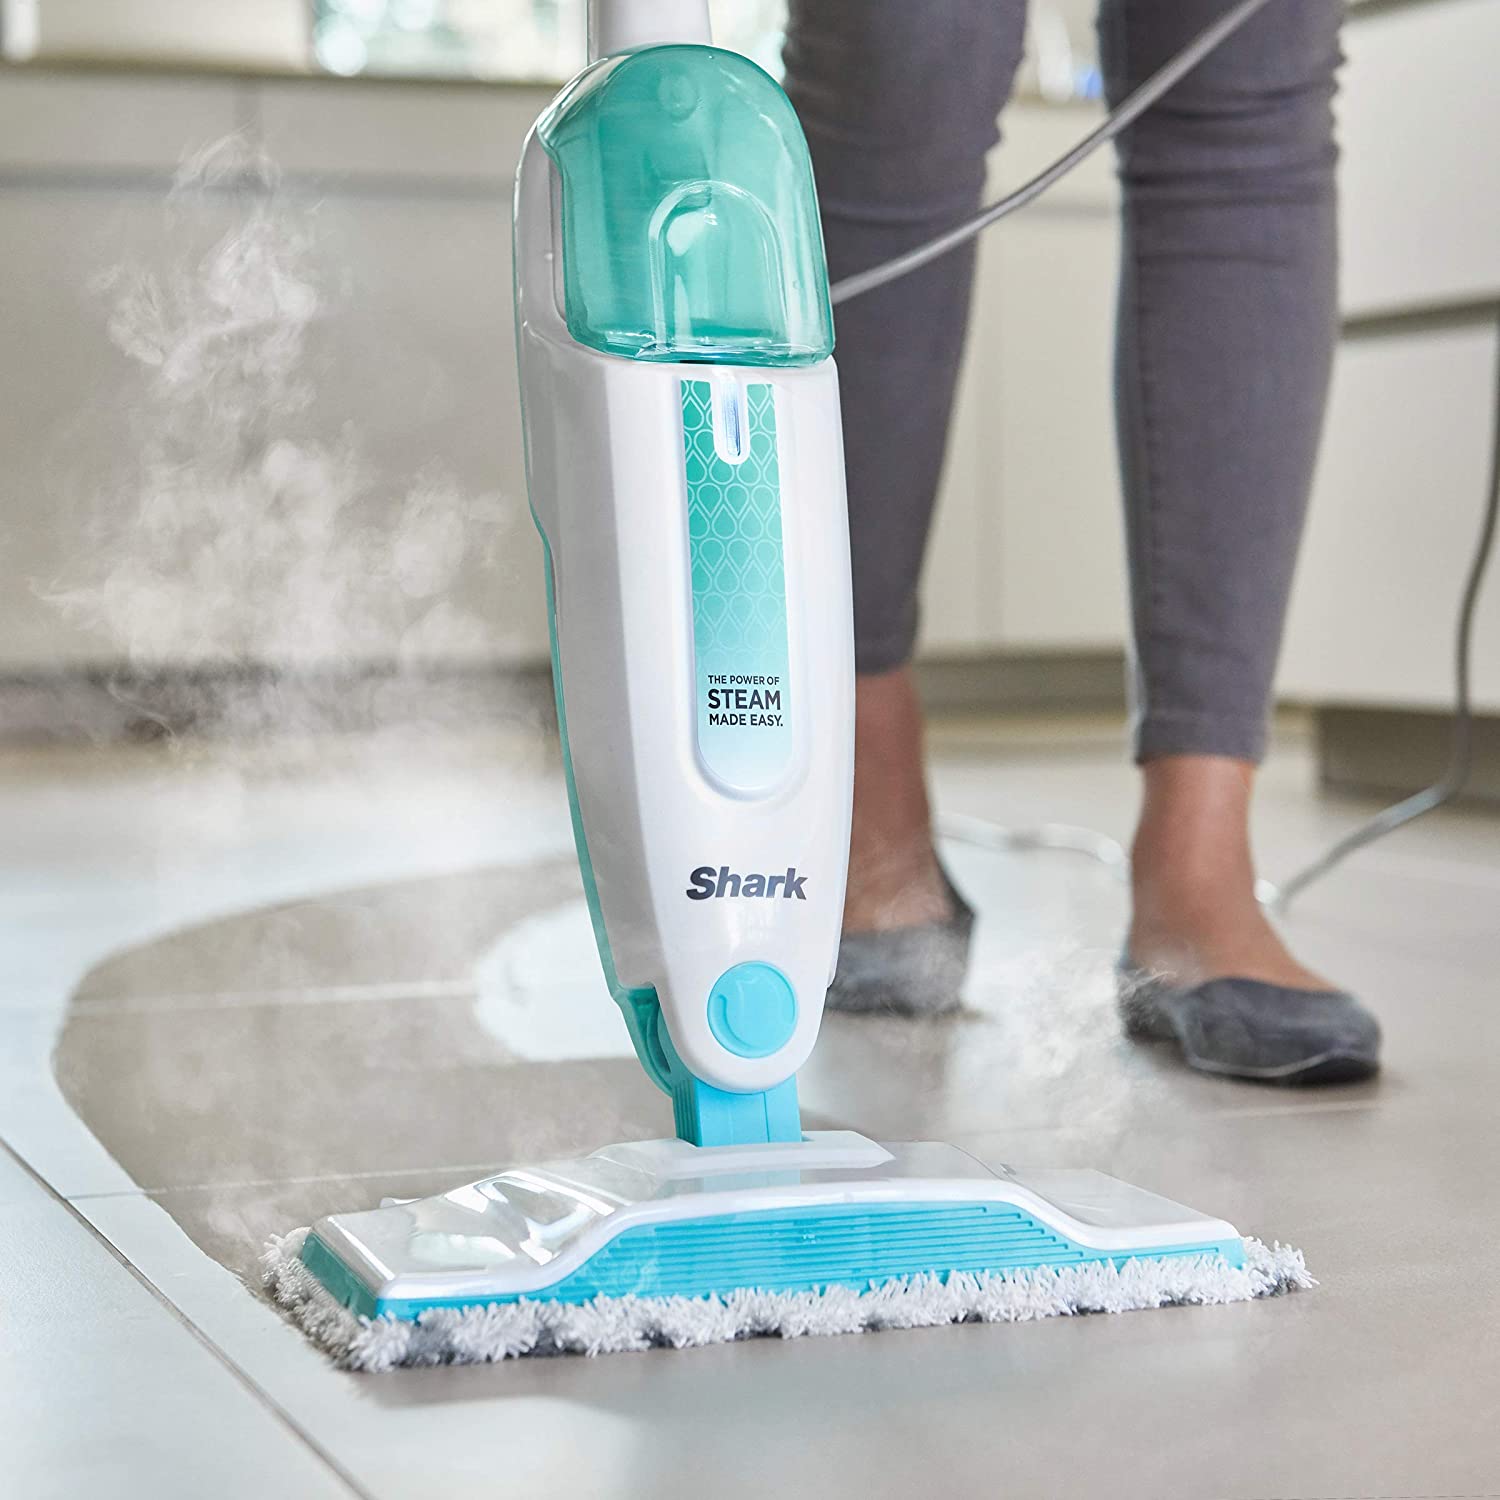
Welcome to the comprehensive guide on disassembling a Shark steam mop! Shark steam mops are fantastic cleaning appliances that harness the power of steam to sanitize and freshen up your floors. However, over time, it's natural for these hardworking devices to require a thorough cleaning or maintenance. Disassembling your Shark steam mop allows you to access its various components for cleaning, unclogging, or troubleshooting.
In this guide, we'll walk you through the step-by-step process of disassembling a Shark steam mop, ensuring that you can do so safely and effectively. Additionally, we'll cover the essential safety precautions, tools, and materials needed for the disassembly process. By following this guide, you'll gain a deeper understanding of your Shark steam mop and be better equipped to keep it in top working condition.
So, let's dive in and learn how to disassemble a Shark steam mop safely and efficiently!
Key Takeaways:
- Keep your Shark steam mop in top condition by safely disassembling it for thorough cleaning and maintenance. Prioritize safety, gather necessary tools, and follow step-by-step instructions for optimal results.
- Regular disassembly and cleaning of your Shark steam mop’s components ensure its longevity and continued effectiveness. Take proactive steps to maintain its performance and keep your floors sparkling clean.
Read more: Shark’s Steam Mop Is On Sale On Amazon
Safety Precautions
Before embarking on the disassembly process, it's crucial to prioritize safety. Here are some essential safety precautions to keep in mind:
- Unplug the Steam Mop: Always start by unplugging the steam mop from the power source to prevent any electrical mishaps during the disassembly.
- Allow Cooling Time: If the steam mop has been in use, allow it to cool down before starting the disassembly process to avoid burns or injuries from hot surfaces.
- Work in a Well-Ventilated Area: Steam mops use water, so it’s important to disassemble them in a well-ventilated area to prevent inhaling steam or moisture.
- Protective Gear: Consider wearing gloves to protect your hands from any sharp edges or residual cleaning solutions that may be present in the mop.
- Follow Manufacturer’s Guidelines: Refer to the user manual for specific safety instructions provided by the manufacturer for your particular Shark steam mop model.
By adhering to these safety precautions, you can ensure a safe and smooth disassembly process, prioritizing your well-being and the proper handling of the appliance.
Tools and Materials Needed
Before beginning the disassembly process, it’s essential to gather the necessary tools and materials to ensure a seamless experience. Here’s a list of items you’ll need:
- Screwdriver: Depending on your Shark steam mop model, you may require a Phillips or flat-head screwdriver to remove screws securing various components.
- Clean Cloth: Have a clean, lint-free cloth on hand to wipe down the disassembled parts and remove any dirt or residue.
- Vinegar or Descaling Solution: If you’re planning to clean the internal components, having vinegar or a descaling solution can be beneficial for removing mineral deposits or buildup.
- Water: You may need water for rinsing certain parts, such as the water tank or mop head.
- Mild Soap: A mild dish soap can be useful for cleaning certain components, ensuring they are free from grime or cleaning solutions.
- Gloves (Optional): Consider wearing gloves to protect your hands, especially if you’ll be handling cleaning solutions or encountering stubborn dirt or grime.
By having these tools and materials readily available, you’ll be well-prepared to disassemble your Shark steam mop and carry out any necessary cleaning or maintenance tasks effectively.
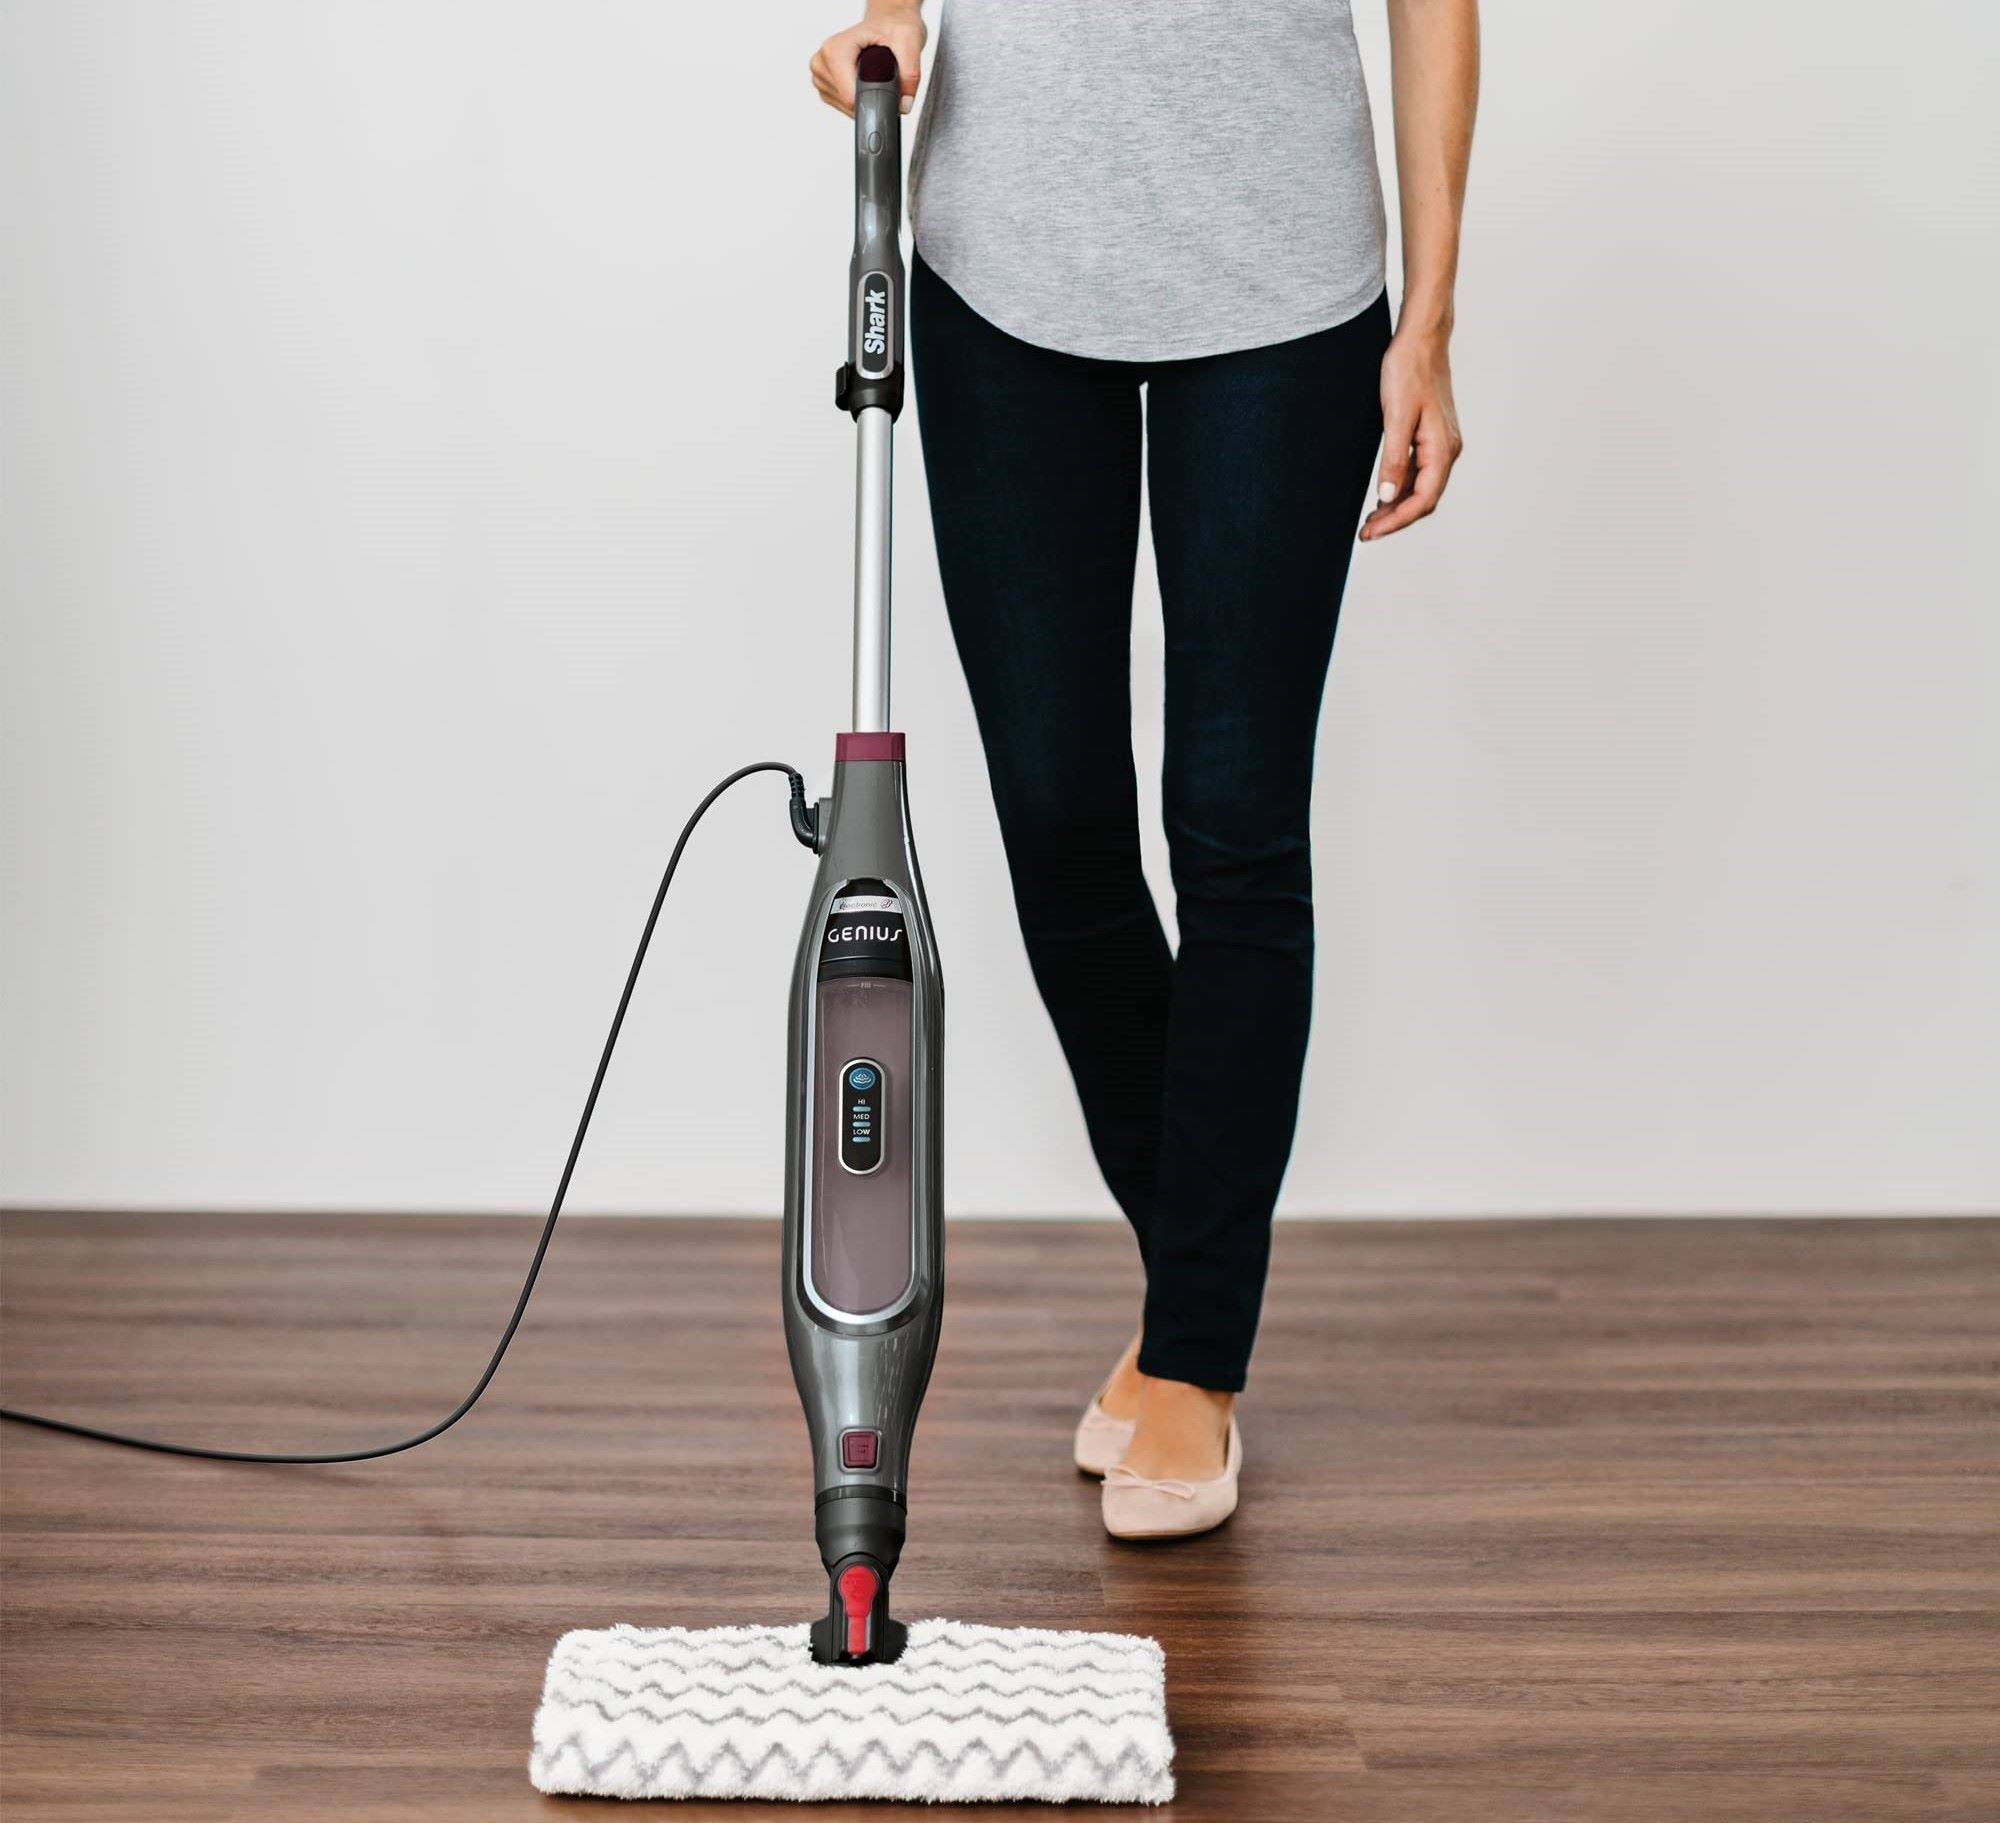
Step 1: Unplug the Steam Mop
The first and most crucial step in disassembling your Shark steam mop is to ensure that it is completely disconnected from the power source. Follow these steps to safely unplug the steam mop:
- Power Off: If the steam mop is currently in use, switch it off using the power button or the designated on/off switch.
- Unplug the Power Cord: Locate the power cord connected to the steam mop and unplug it from the electrical outlet. Ensure that the cord is fully removed from the socket to prevent any accidental activation of the appliance during disassembly.
- Allow Cooling Time: If the steam mop has been in use, it’s advisable to allow it to cool down for a few minutes before proceeding with the disassembly. This helps prevent accidental burns from hot surfaces.
By unplugging the steam mop and allowing it to cool down, you’re prioritizing safety and minimizing the risk of electrical hazards or injuries during the disassembly process. Once the steam mop is safely disconnected from the power source, you can proceed to the next steps with peace of mind.
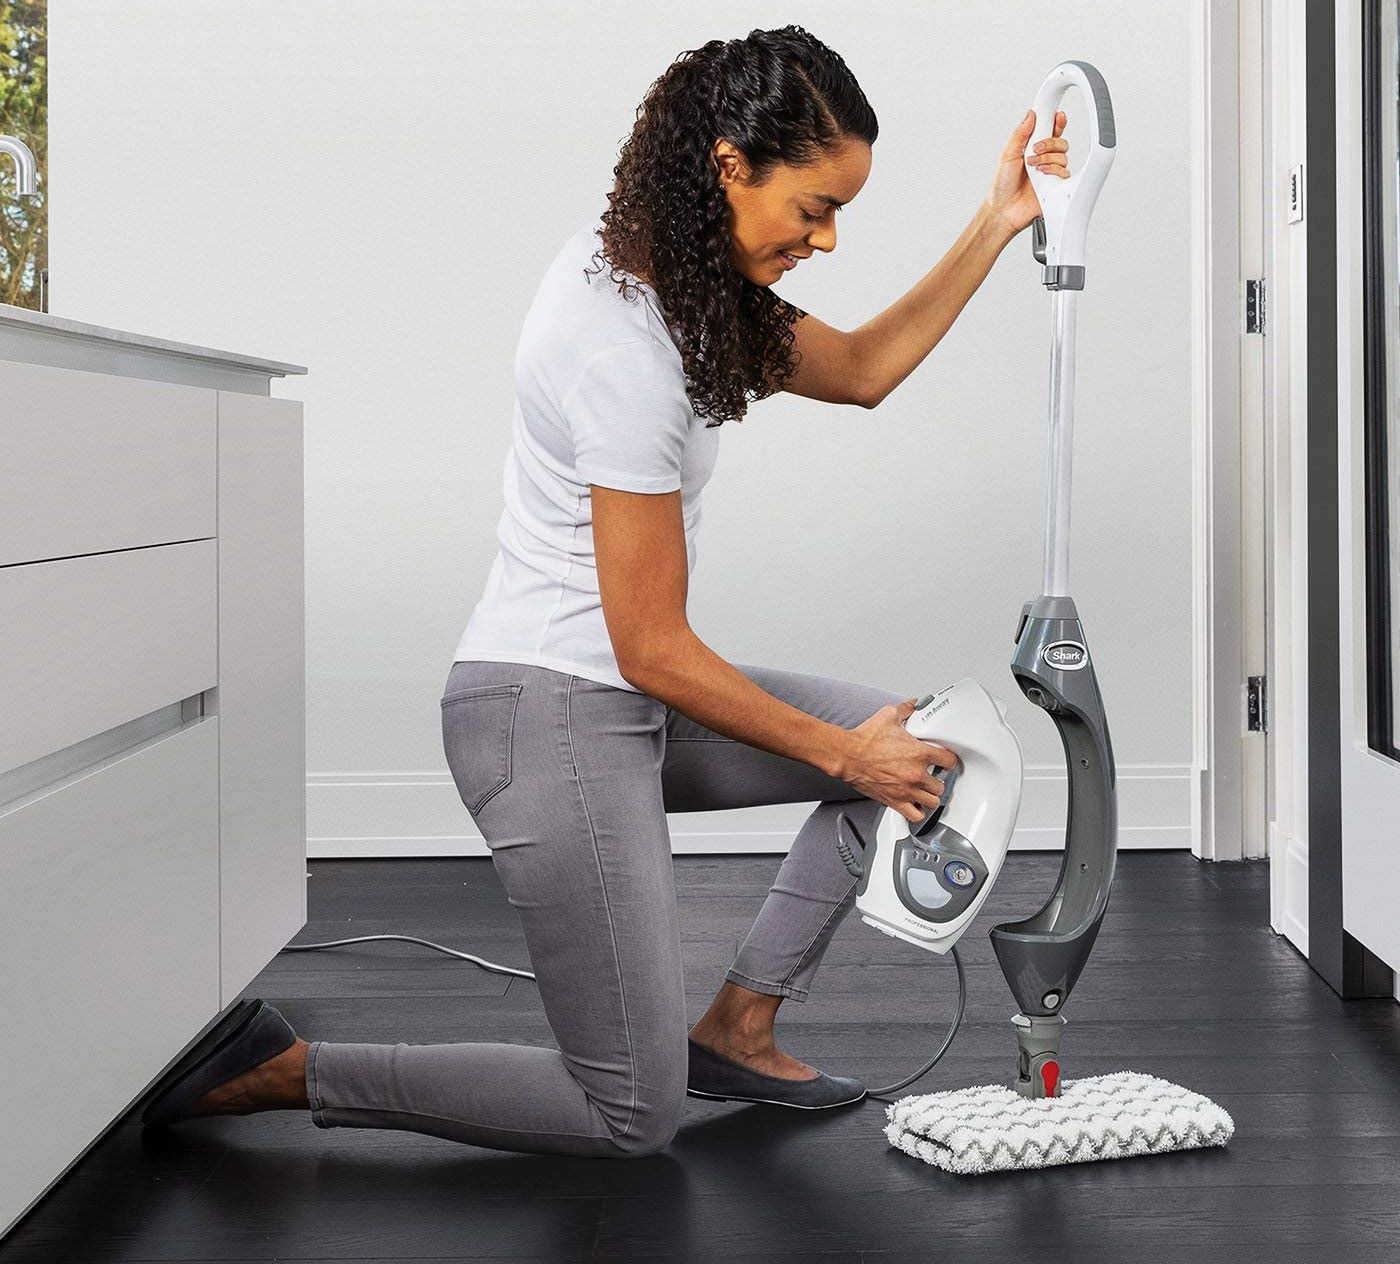
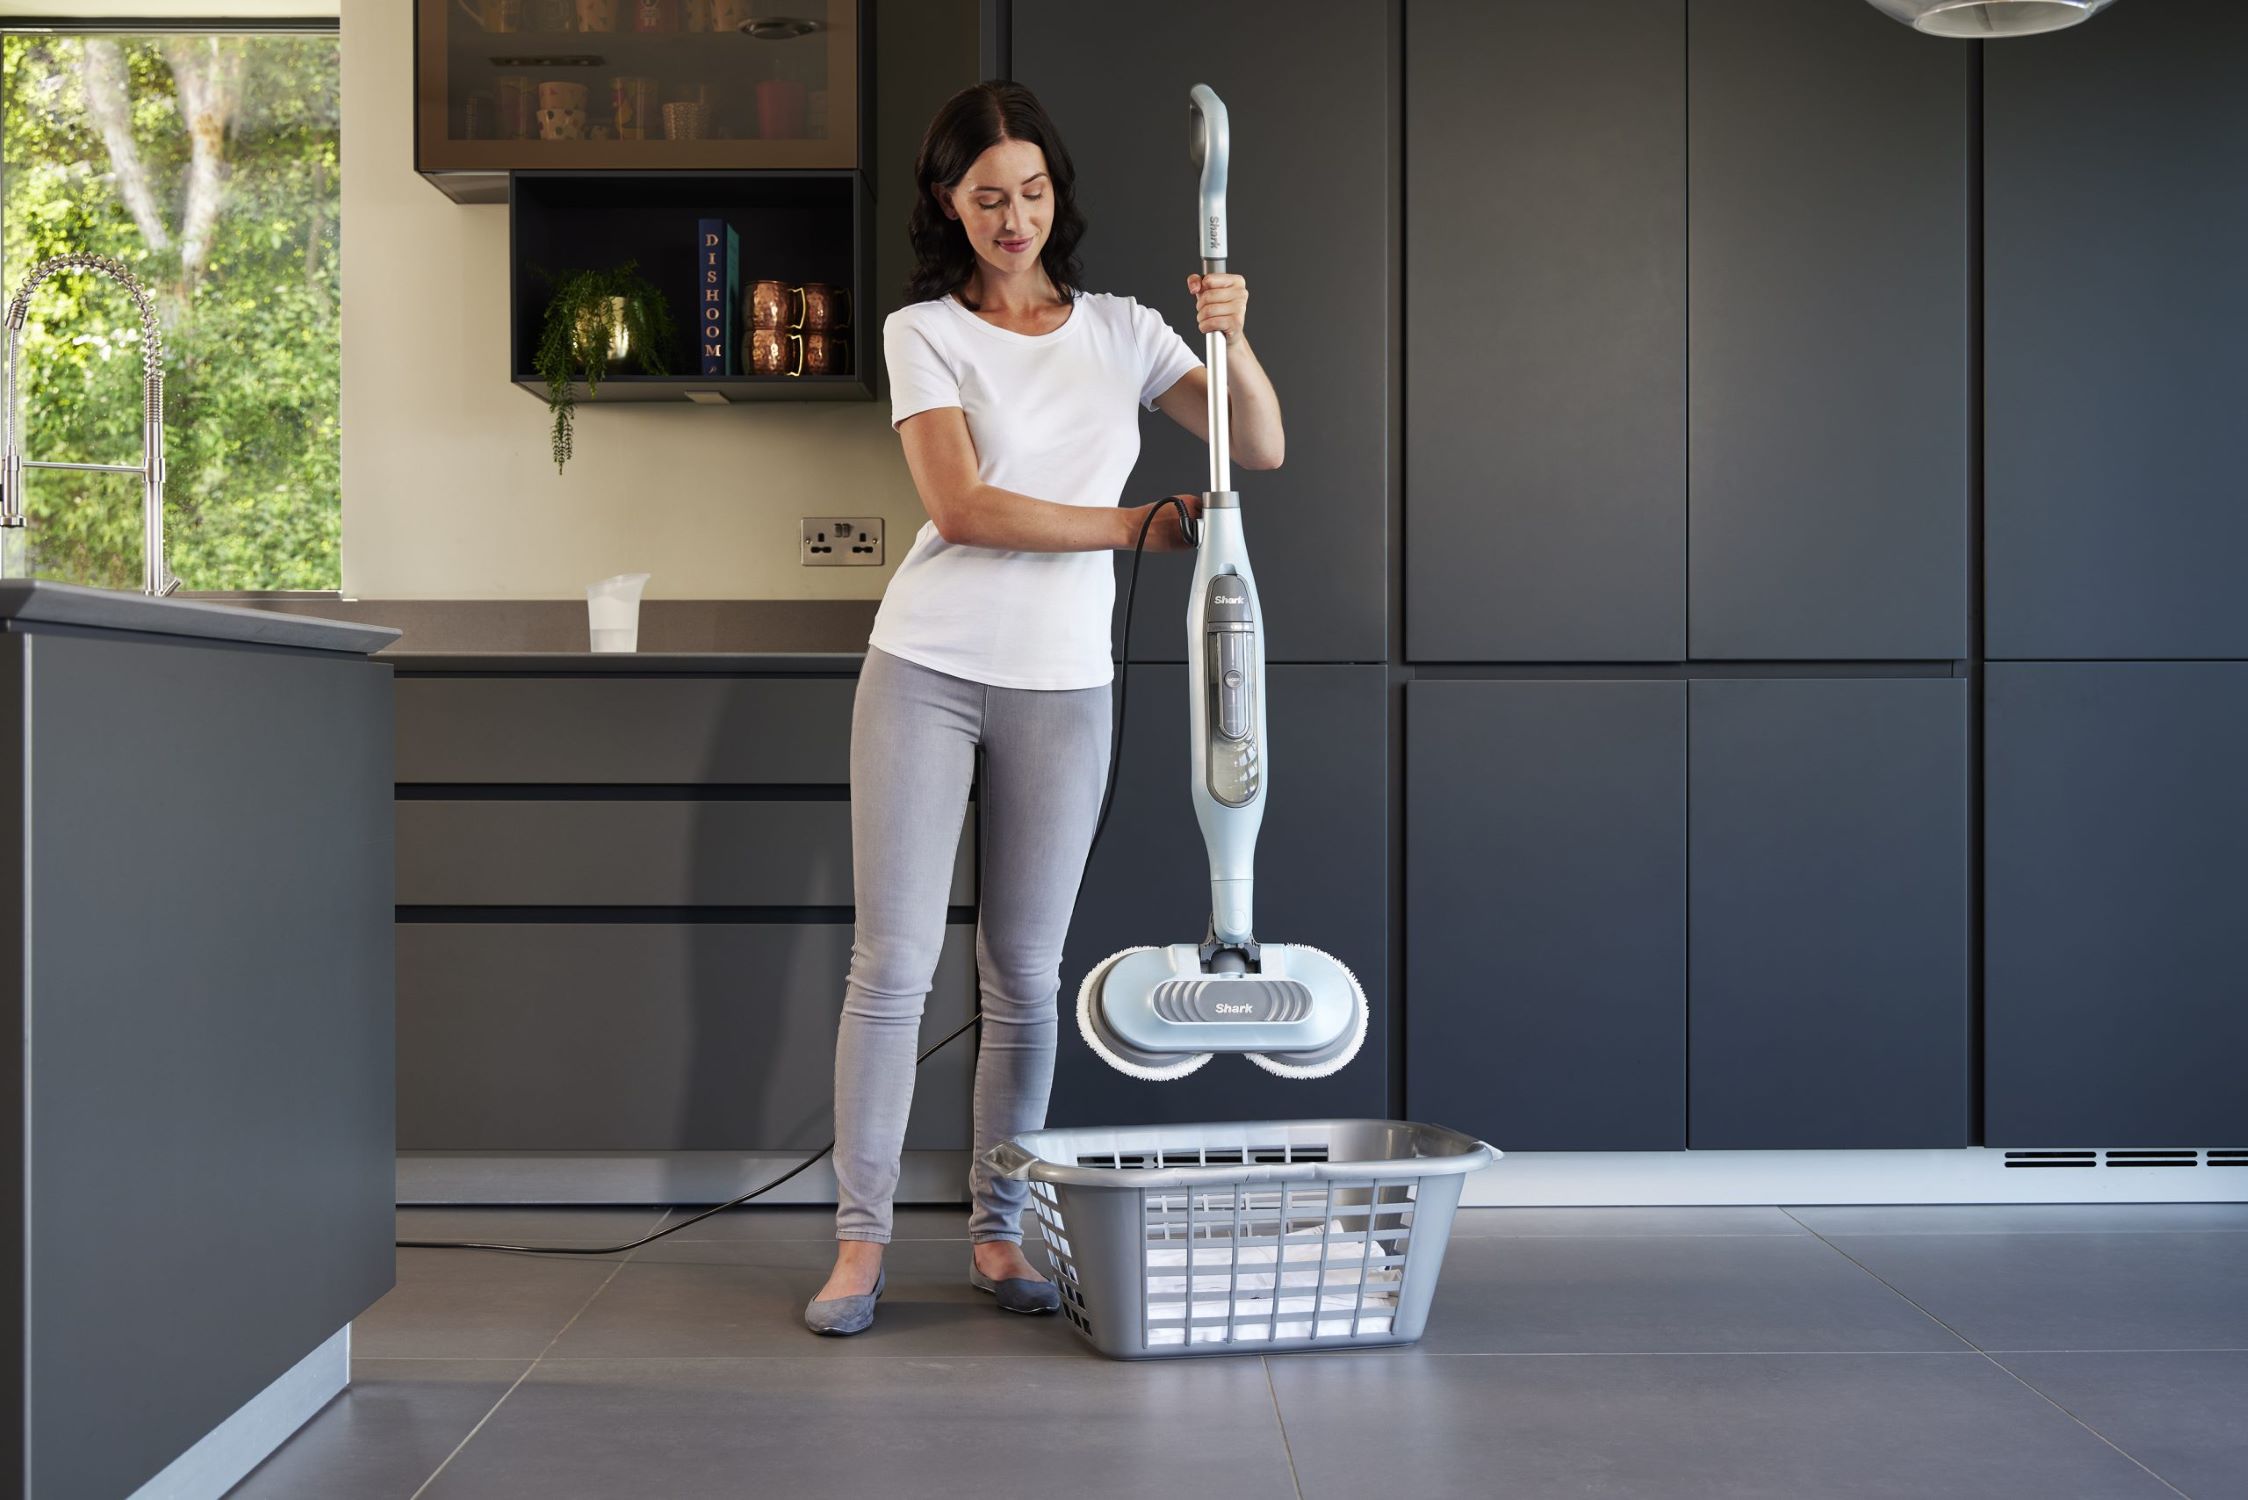
Step 2: Remove the Water Tank
Once the steam mop is unplugged and safely disconnected from the power source, you can proceed to remove the water tank. The water tank is a crucial component of the steam mop, and removing it allows for thorough cleaning and maintenance. Follow these steps to remove the water tank:
- Locate the Water Tank: Identify the location of the water tank on your Shark steam mop. It is typically located near the handle or the back of the mop, depending on the model.
- Empty the Tank: If the water tank contains any water or cleaning solution, empty it into a sink or drain. Ensure that the tank is completely emptied before proceeding.
- Release Latches or Buttons: Depending on the design of your steam mop, there may be latches, buttons, or locking mechanisms holding the water tank in place. Release these to allow for the removal of the tank.
- Gently Remove the Tank: Carefully lift the water tank away from the steam mop, ensuring that you do not force it or cause any damage to the surrounding components.
Once the water tank is removed, you can inspect it for any residue, mineral deposits, or buildup. Cleaning the water tank thoroughly can help maintain the performance of your steam mop and prevent potential clogs or issues related to water flow.
By removing the water tank, you’re taking a proactive step in maintaining your Shark steam mop and ensuring that it continues to deliver optimal cleaning results.
Before disassembling your Shark Steam Mop, make sure to unplug it and let it cool down completely to avoid any burns or electrical shock.
Read more: How To Fix Shark Steam Mop
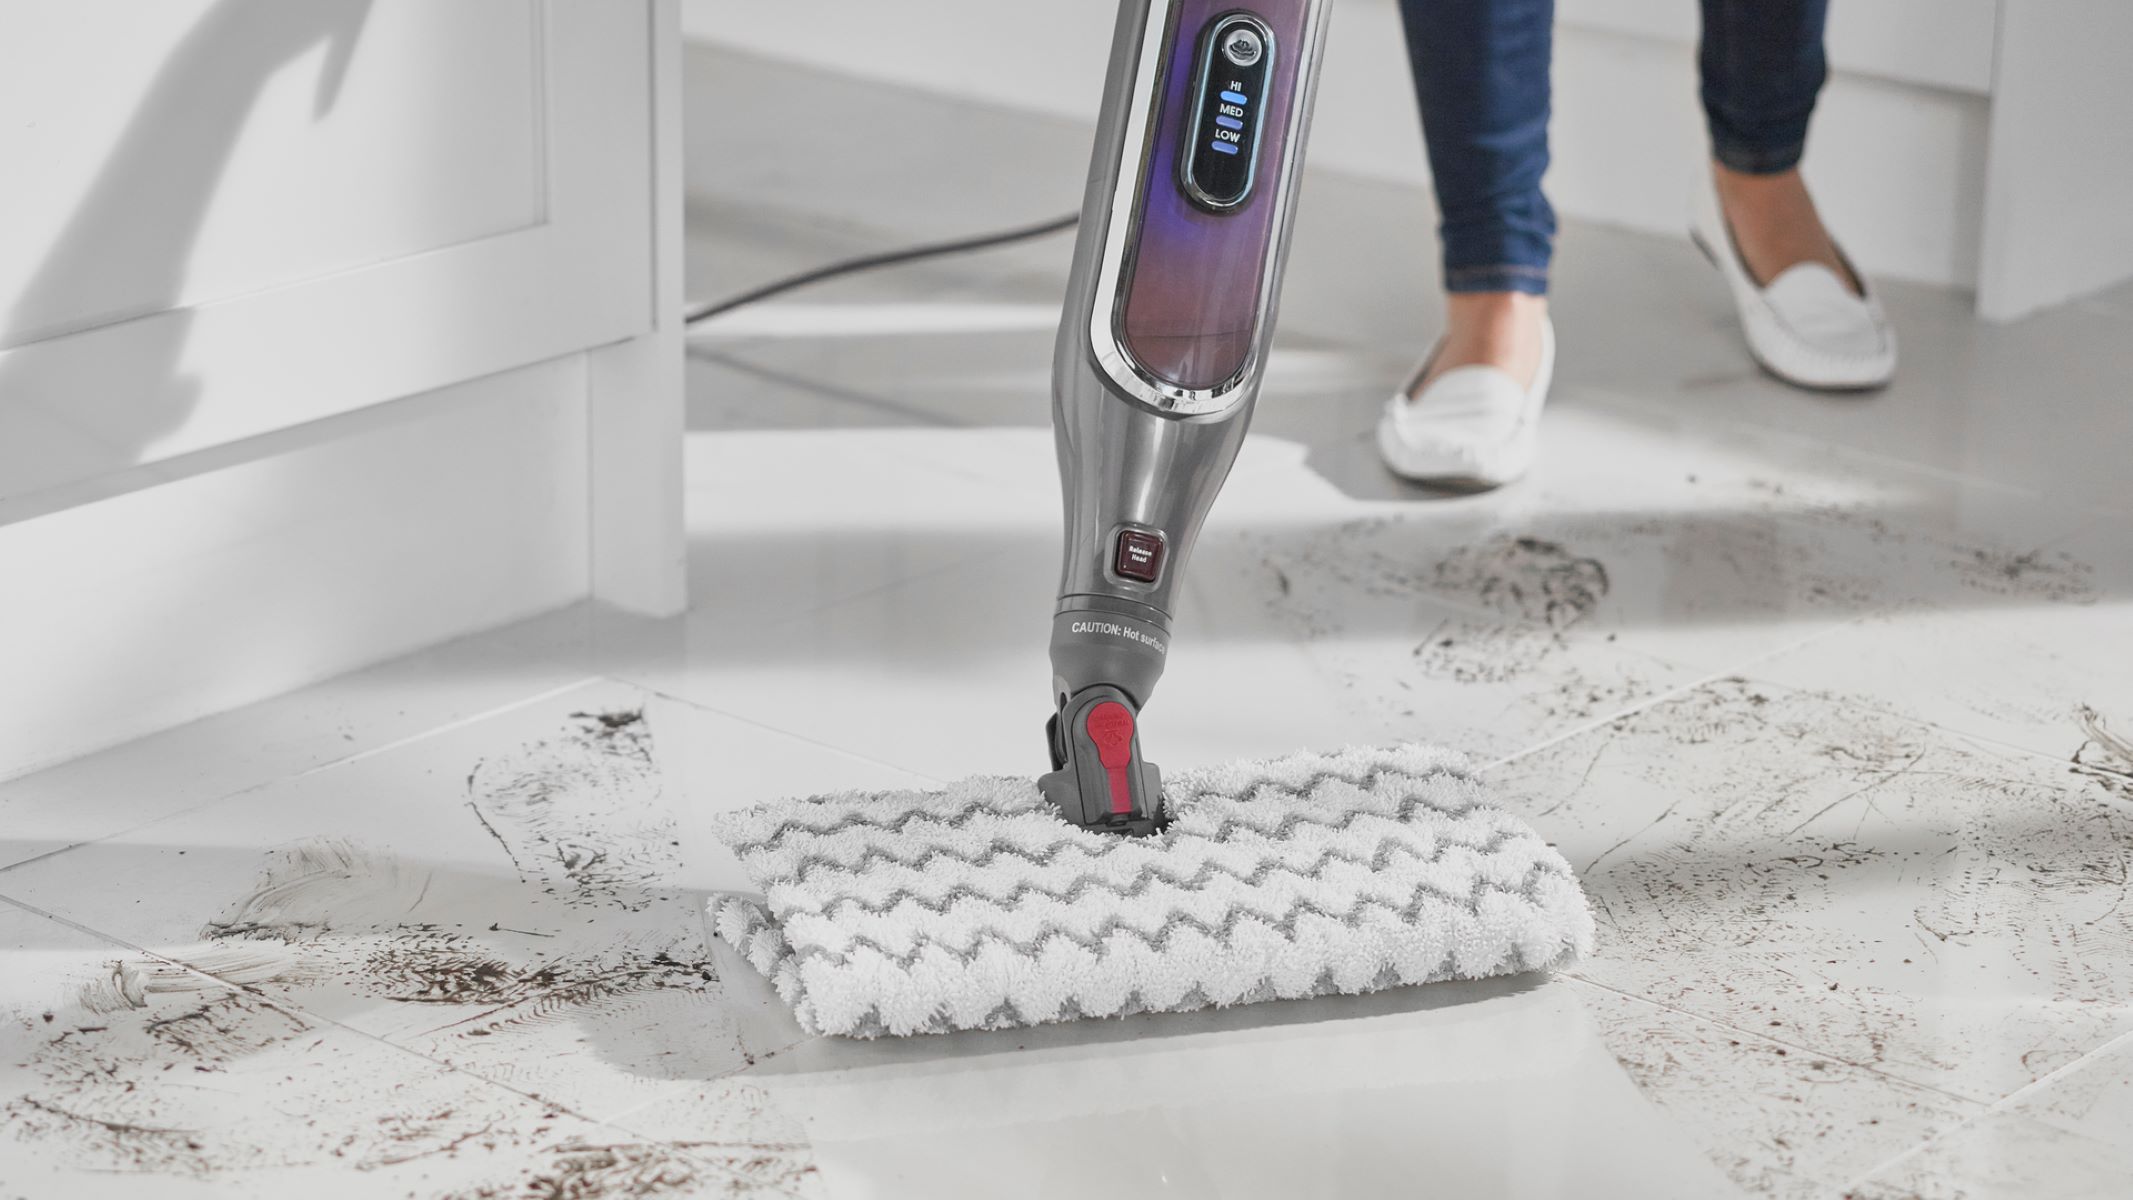
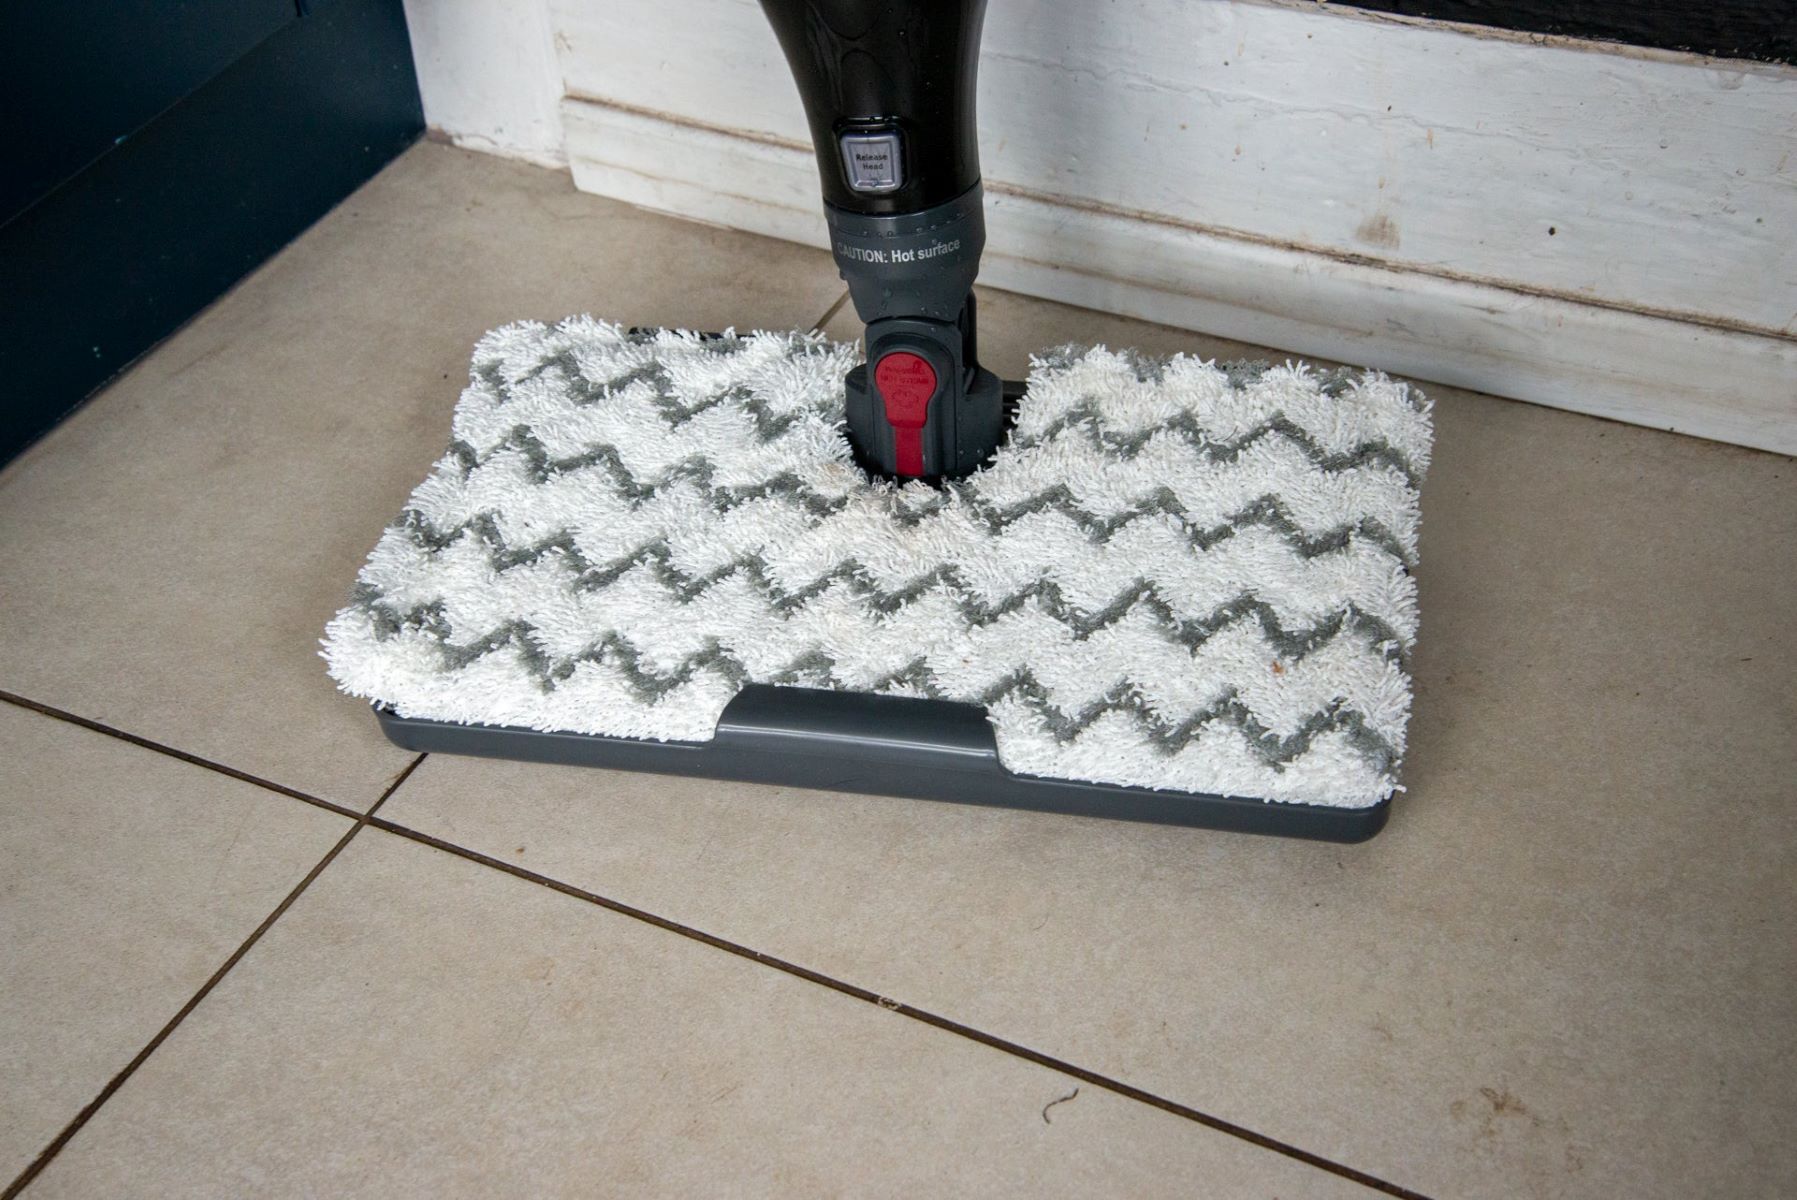
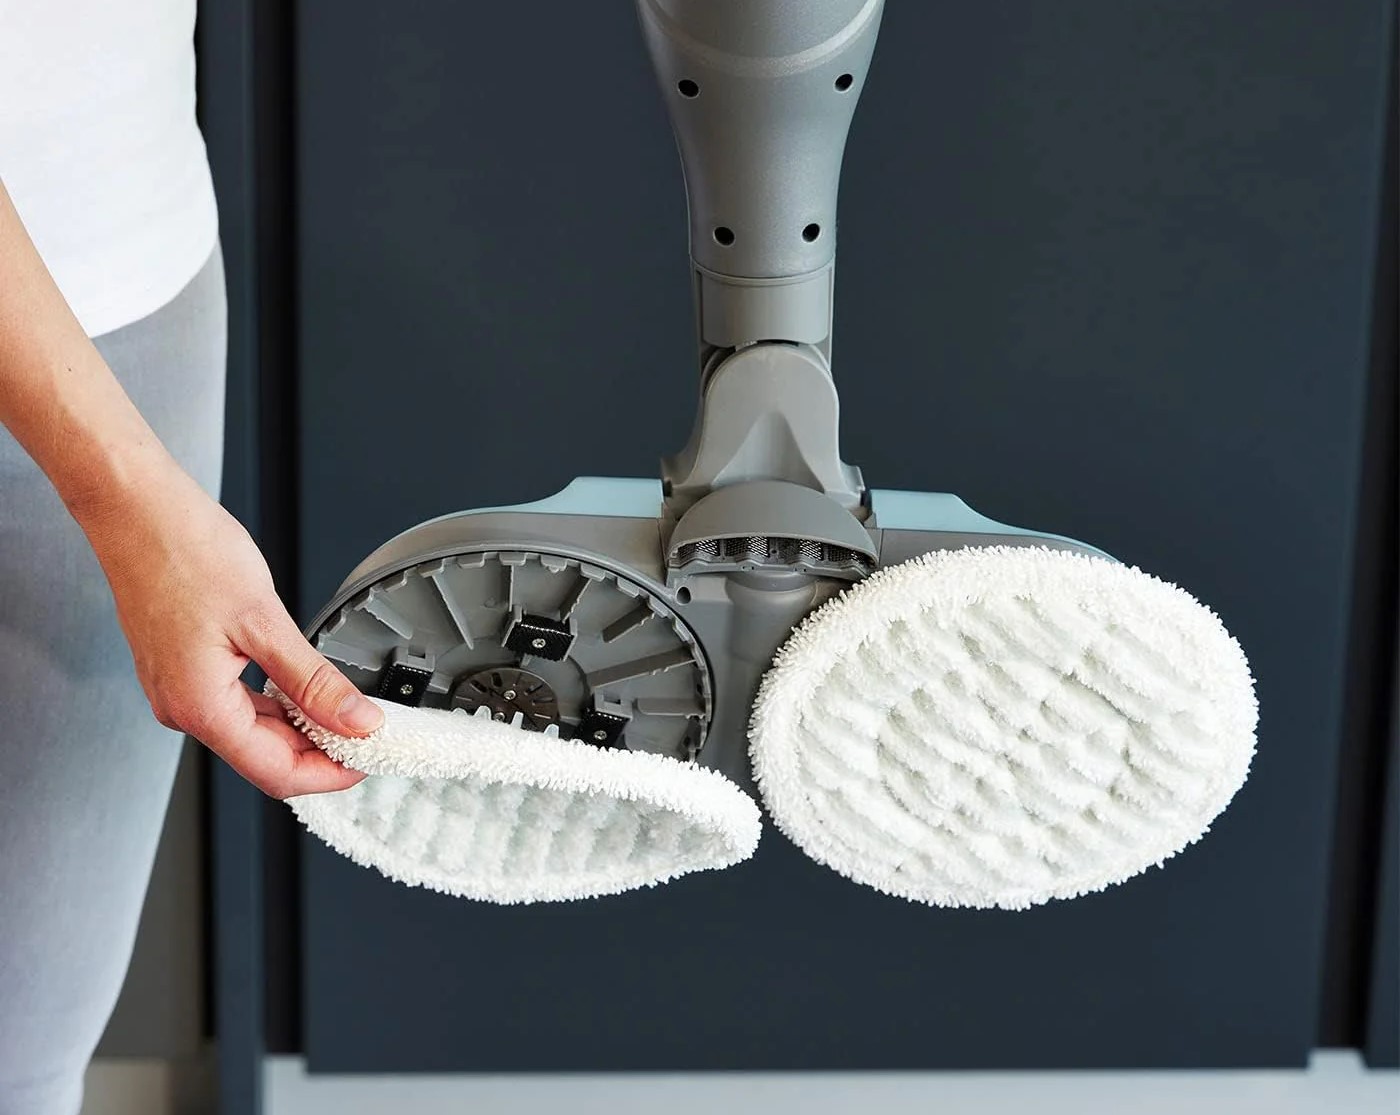
Step 3: Detach the Mop Head
Detaching the mop head is the next essential step in disassembling your Shark steam mop. The mop head is responsible for coming into direct contact with the surfaces being cleaned, and removing it allows for thorough cleaning and maintenance. Follow these steps to detach the mop head:
- Position the Steam Mop: Place the steam mop on a stable surface, ensuring that it is secure and won’t tip over during the process of detaching the mop head.
- Release Mechanism: Depending on your Shark steam mop model, there may be a release button, lever, or locking mechanism that holds the mop head in place. Locate and activate this release mechanism to initiate the detachment process.
- Remove the Mop Head: Once the release mechanism is activated, carefully lift the mop head away from the main body of the steam mop. Take care not to apply excessive force, and ensure a smooth and controlled removal.
With the mop head detached, you can inspect it for any debris, hair, or residue that may have accumulated during use. Additionally, check the attachment area on the steam mop for any dirt or buildup that may affect the secure reattachment of the mop head.
Detaching the mop head allows you to clean it thoroughly and address any issues that may impact its performance. This step contributes to the overall maintenance and longevity of your Shark steam mop.
Step 4: Disassemble the Handle
Disassembling the handle of your Shark steam mop is a crucial step that allows for comprehensive cleaning and maintenance. The handle houses essential components and controls, and disassembling it provides access to areas that may require attention. Follow these steps to disassemble the handle:
- Identify Screws or Latches: Examine the handle to identify any screws, latches, or fastening mechanisms that hold it together. These may be located near the base of the handle or underneath any covers or panels.
- Use the Appropriate Tool: Depending on the fastening method, use the appropriate screwdriver or tool to remove any screws or release latches that secure the handle components.
- Separate the Handle Sections: Once the fasteners are removed, carefully separate the sections of the handle, taking note of the arrangement of internal components and any wiring or connections.
As you disassemble the handle, take the opportunity to inspect the internal components for any signs of wear, dirt, or damage. Additionally, check the wiring and connections for any issues that may affect the functionality of the steam mop.
Disassembling the handle enables you to address any maintenance requirements, clean internal components, and ensure that the handle functions optimally when reassembled. This step contributes to the overall care and upkeep of your Shark steam mop.
Step 5: Clean and Maintain the Parts
Once you have disassembled the key components of your Shark steam mop, it’s essential to focus on cleaning and maintaining each part effectively. This step ensures that the individual elements are thoroughly cleaned and inspected, contributing to the overall performance and longevity of your steam mop. Follow these guidelines for cleaning and maintaining the disassembled parts:
- Water Tank: Clean the water tank using a mild soap solution and water to remove any residue or buildup. Consider using a small brush to access tight spots and ensure thorough cleaning. Rinse the tank thoroughly and allow it to dry completely before reassembly.
- Mop Head: Inspect the mop head for any debris, hair, or trapped dirt. If the mop head is machine washable, follow the manufacturer’s instructions for washing and drying. For non-machine washable mop heads, use a damp cloth and mild detergent to clean the surface thoroughly.
- Handle and Internal Components: Wipe down the handle and internal components with a clean, damp cloth to remove any dust, dirt, or residue. Inspect the internal wiring and connections, ensuring that they are secure and free from damage or wear.
- Exterior Surfaces: Take the opportunity to wipe down the exterior surfaces of the steam mop with a gentle cleaning solution. This helps maintain the overall appearance and hygiene of the appliance.
As you clean and maintain each part, pay attention to any specific maintenance requirements outlined in the user manual for your Shark steam mop model. Additionally, allow the cleaned components to dry completely before reassembling the steam mop.
By thoroughly cleaning and maintaining the disassembled parts, you’re ensuring that your Shark steam mop remains in top condition, ready to deliver outstanding cleaning results when reassembled and put back into service.
Conclusion
Congratulations on successfully completing the disassembly and maintenance of your Shark steam mop! By following the step-by-step process outlined in this guide, you’ve gained valuable insights into the inner workings of your cleaning appliance and taken proactive steps to ensure its continued performance and longevity.
Remember, regular maintenance and cleaning of your Shark steam mop are essential for preserving its efficiency and effectiveness. By disassembling the steam mop and addressing the individual components, you’ve contributed to its overall care and upkeep.
As you reassemble the cleaned and maintained parts, take the time to ensure that each component is securely and correctly put back together. Once reassembled, your Shark steam mop will be ready to tackle cleaning tasks with renewed vigor and effectiveness.
It’s advisable to refer to the user manual for your specific Shark steam mop model for any model-specific reassembly instructions or additional maintenance tips. Following the manufacturer’s guidelines will further support the optimal functioning of your steam mop.
By mastering the disassembly and maintenance process, you’ve empowered yourself to keep your Shark steam mop in prime condition, ensuring that it continues to be a reliable and efficient cleaning companion for your home.
Thank you for taking the time to prioritize the care and maintenance of your Shark steam mop. Here’s to sparkling clean floors and the satisfaction of a well-maintained cleaning appliance!
Now that you've mastered disassembling your Shark steam mop, why not dive deeper into keeping all your appliances in tip-top shape? Our detailed guide on effective cleaning strategies for various home appliances offers practical steps to ensure they run smoothly and efficiently. Don't miss out on these essential tips that can prolong the life and performance of your favorite household helpers.
Frequently Asked Questions about How To Disassemble A Shark Steam Mop
Was this page helpful?
At Storables.com, we guarantee accurate and reliable information. Our content, validated by Expert Board Contributors, is crafted following stringent Editorial Policies. We're committed to providing you with well-researched, expert-backed insights for all your informational needs.

0 thoughts on “How To Disassemble A Shark Steam Mop”