Home>Home Appliances>Cleaning Appliances>How To Remove Shark Steam Mop Handle
Cleaning Appliances
How To Remove Shark Steam Mop Handle
Modified: May 6, 2024
Learn how to efficiently remove the handle of your Shark steam mop for cleaning and maintenance. Keep your cleaning appliances in top condition with our step-by-step guide.
(Many of the links in this article redirect to a specific reviewed product. Your purchase of these products through affiliate links helps to generate commission for Storables.com, at no extra cost. Learn more)
Introduction
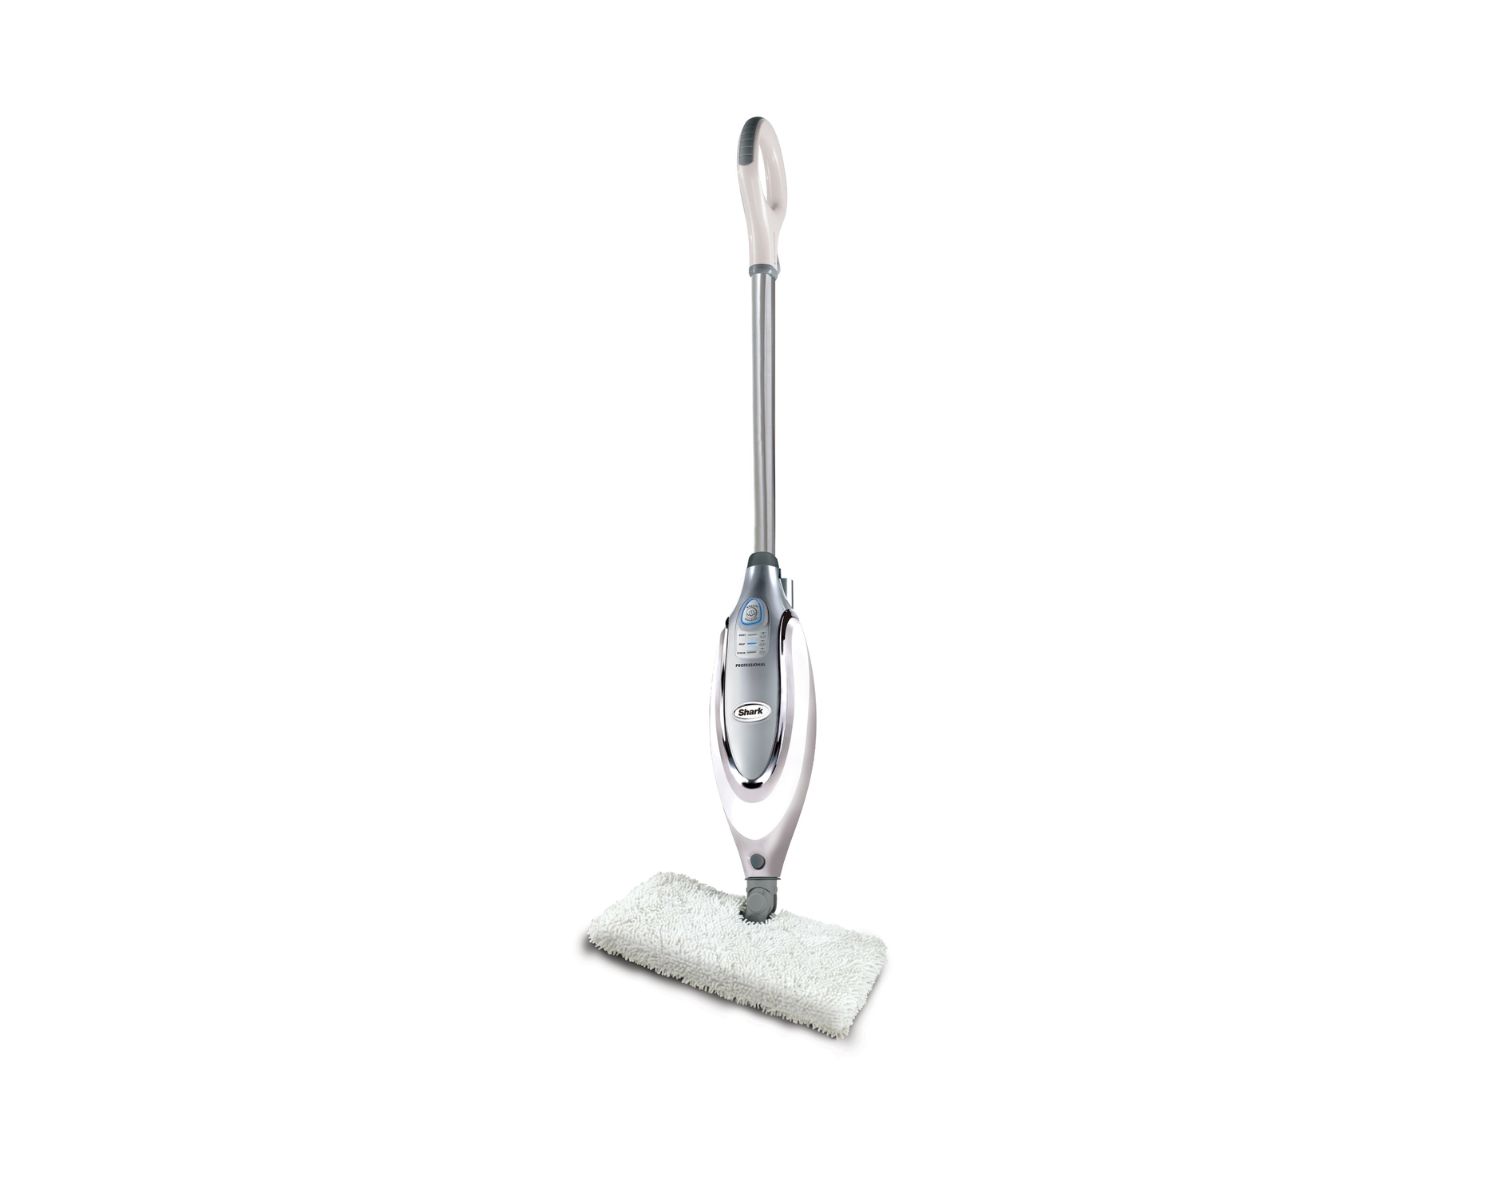
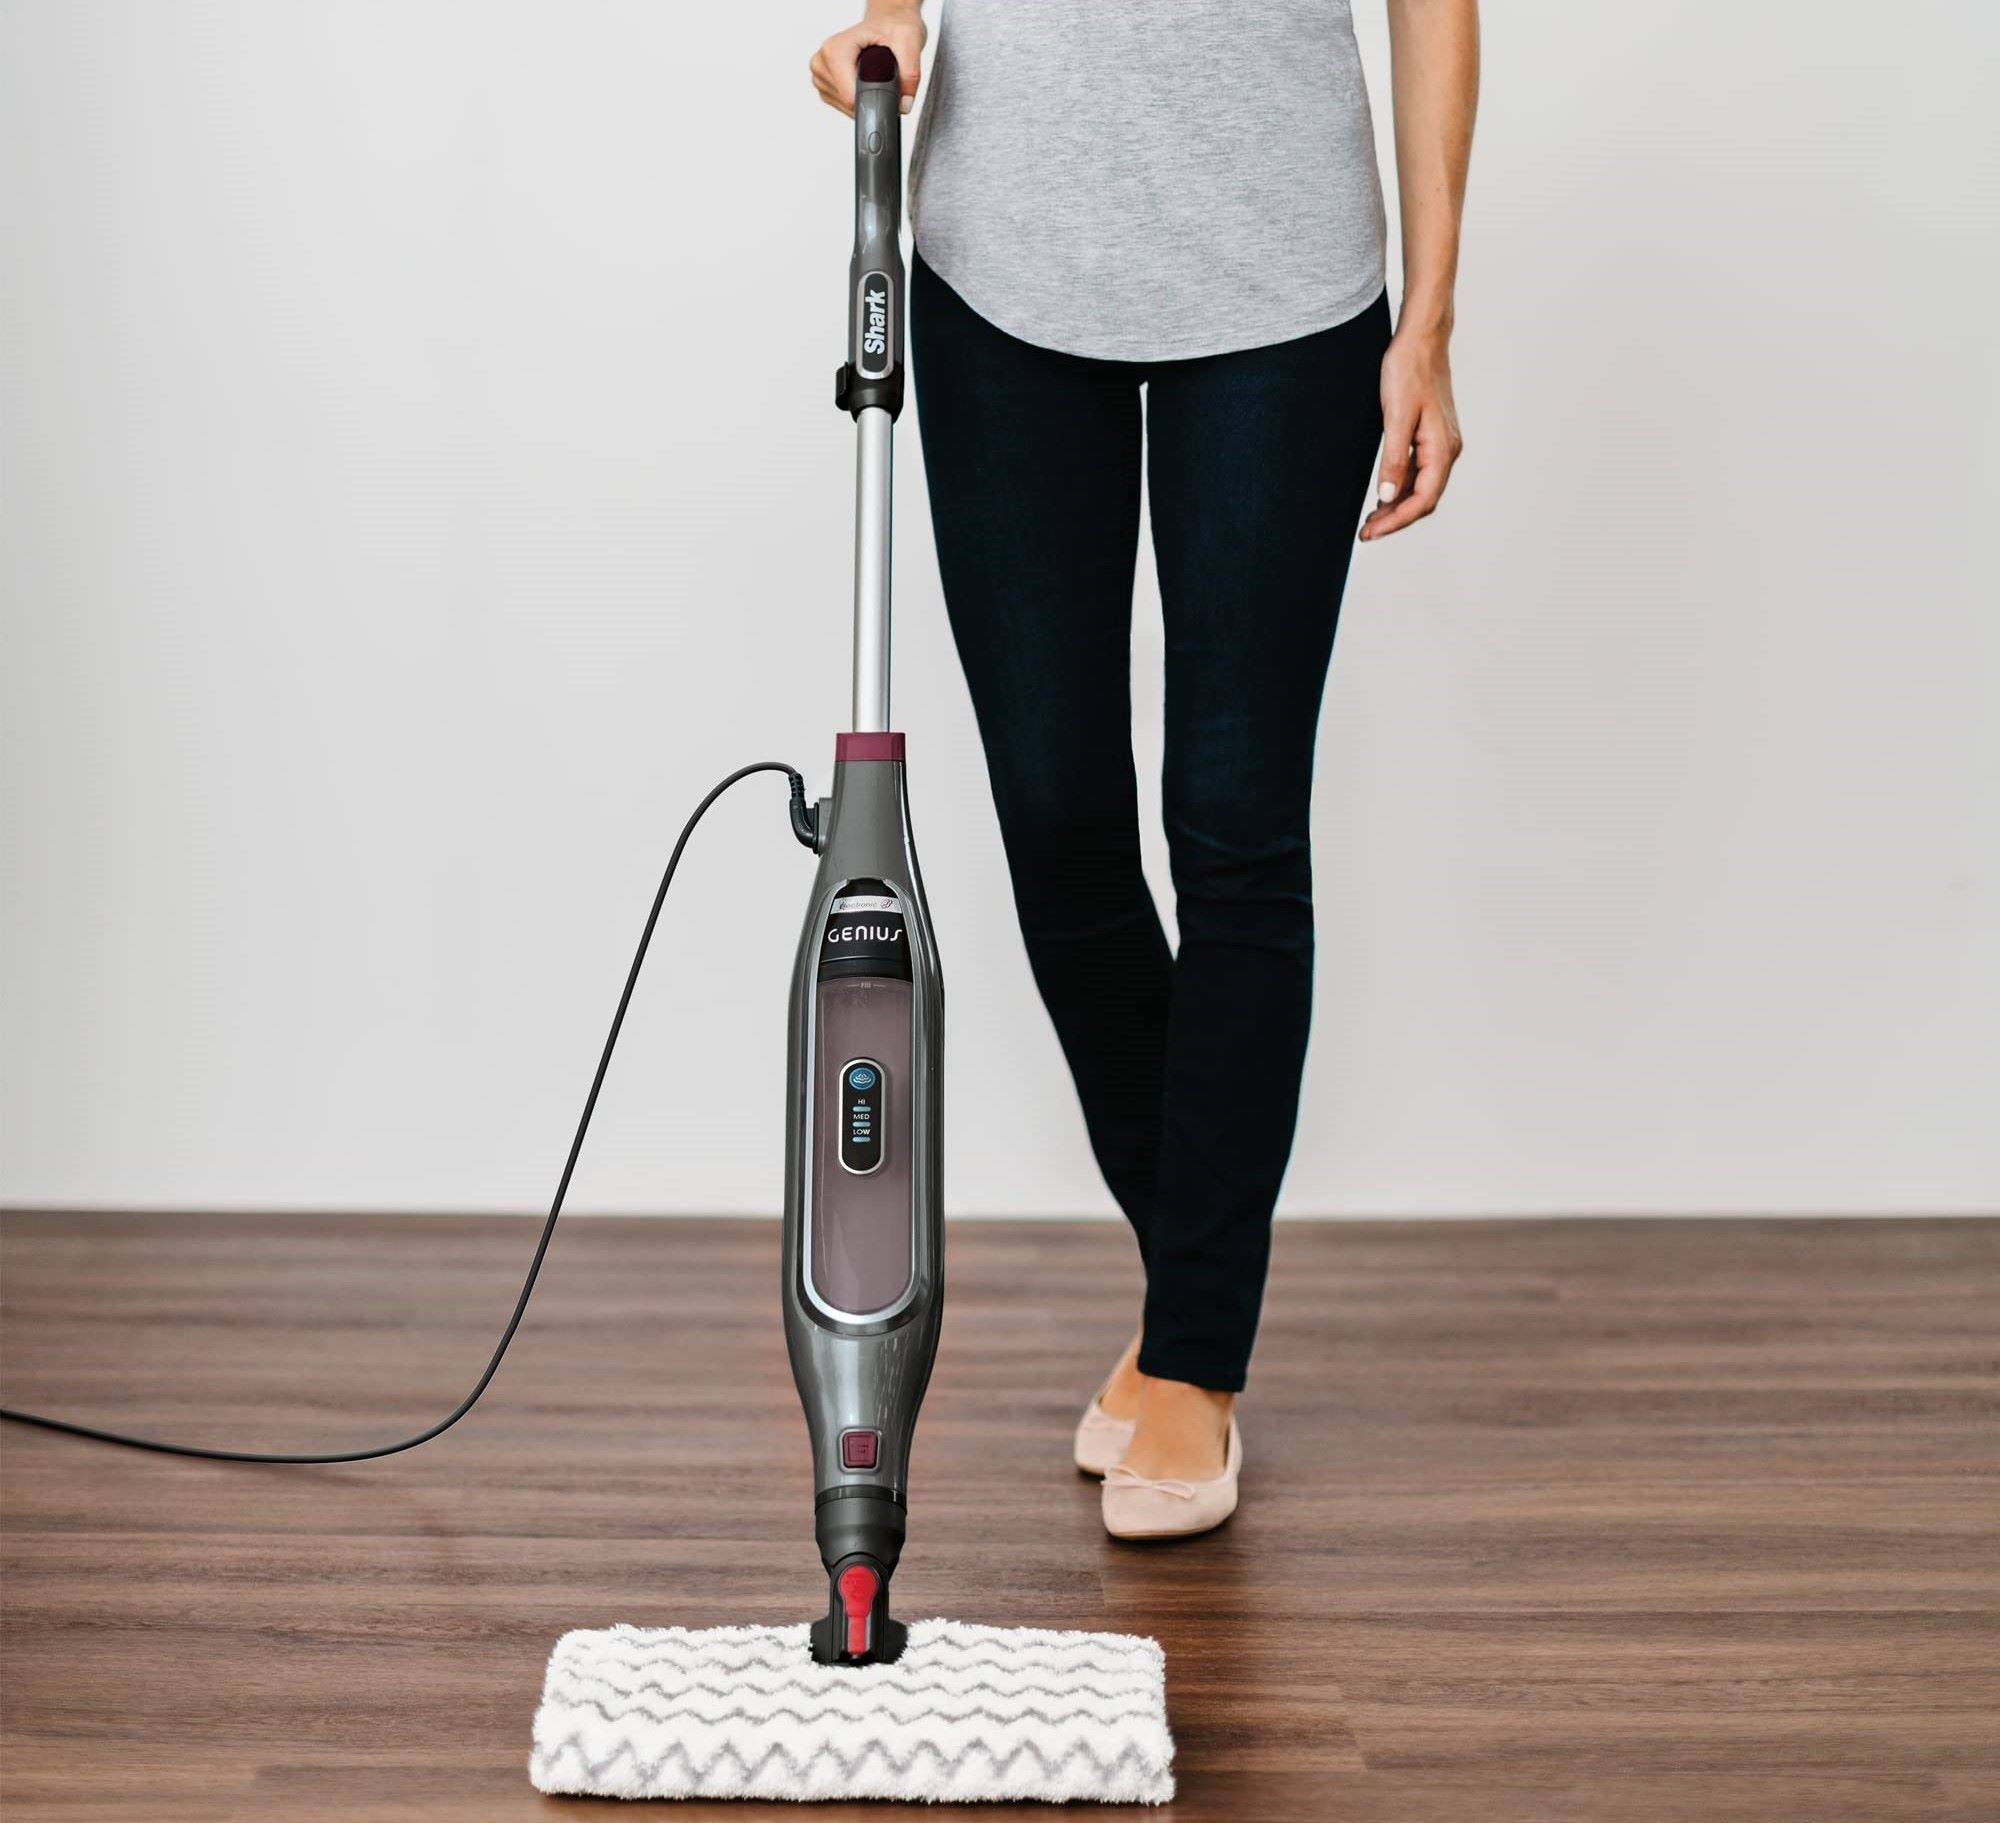
Welcome to our comprehensive guide on how to remove the handle of a Shark steam mop. Shark steam mops are renowned for their efficiency in cleaning and sanitizing hard floors using the power of steam. However, there may come a time when you need to remove the handle for maintenance or replacement purposes. Whether you're troubleshooting an issue or simply need to disassemble the mop for cleaning, knowing how to remove the handle is essential.
In this step-by-step guide, we will walk you through the process of safely and effectively removing the handle from your Shark steam mop. By following these instructions, you can ensure that the task is completed smoothly and without causing any damage to the mop or its components. So, gather your tools and let's get started on this maintenance journey to keep your Shark steam mop in top working condition.
Key Takeaways:
- Removing the handle of your Shark steam mop is easy with the right tools and steps. Safely detach the handle to address maintenance needs and keep your mop in top working condition.
- After maintenance or replacement, reattaching the handle securely ensures optimal performance. Regular inspection and cleaning of the handle and connections help maintain your Shark steam mop’s efficiency.
Read more: Shark’s Steam Mop Is On Sale On Amazon
Step 1: Gather Necessary Tools
Before you begin the process of removing the handle from your Shark steam mop, it’s essential to gather the necessary tools to ensure a smooth and hassle-free experience. Here’s what you’ll need:
- Flathead Screwdriver: This tool will be used to release any latches or clips securing the handle in place.
- Clean Cloth: Having a clean cloth on hand will allow you to wipe down any surfaces that may have accumulated dirt or grime.
- Work Area: Ensure you have a clear and spacious work area to comfortably maneuver the steam mop during the handle removal process.
By having these tools readily available, you can streamline the handle removal process and address any maintenance needs effectively. With these items in hand, you’re ready to proceed to the next step of removing the handle from your Shark steam mop.
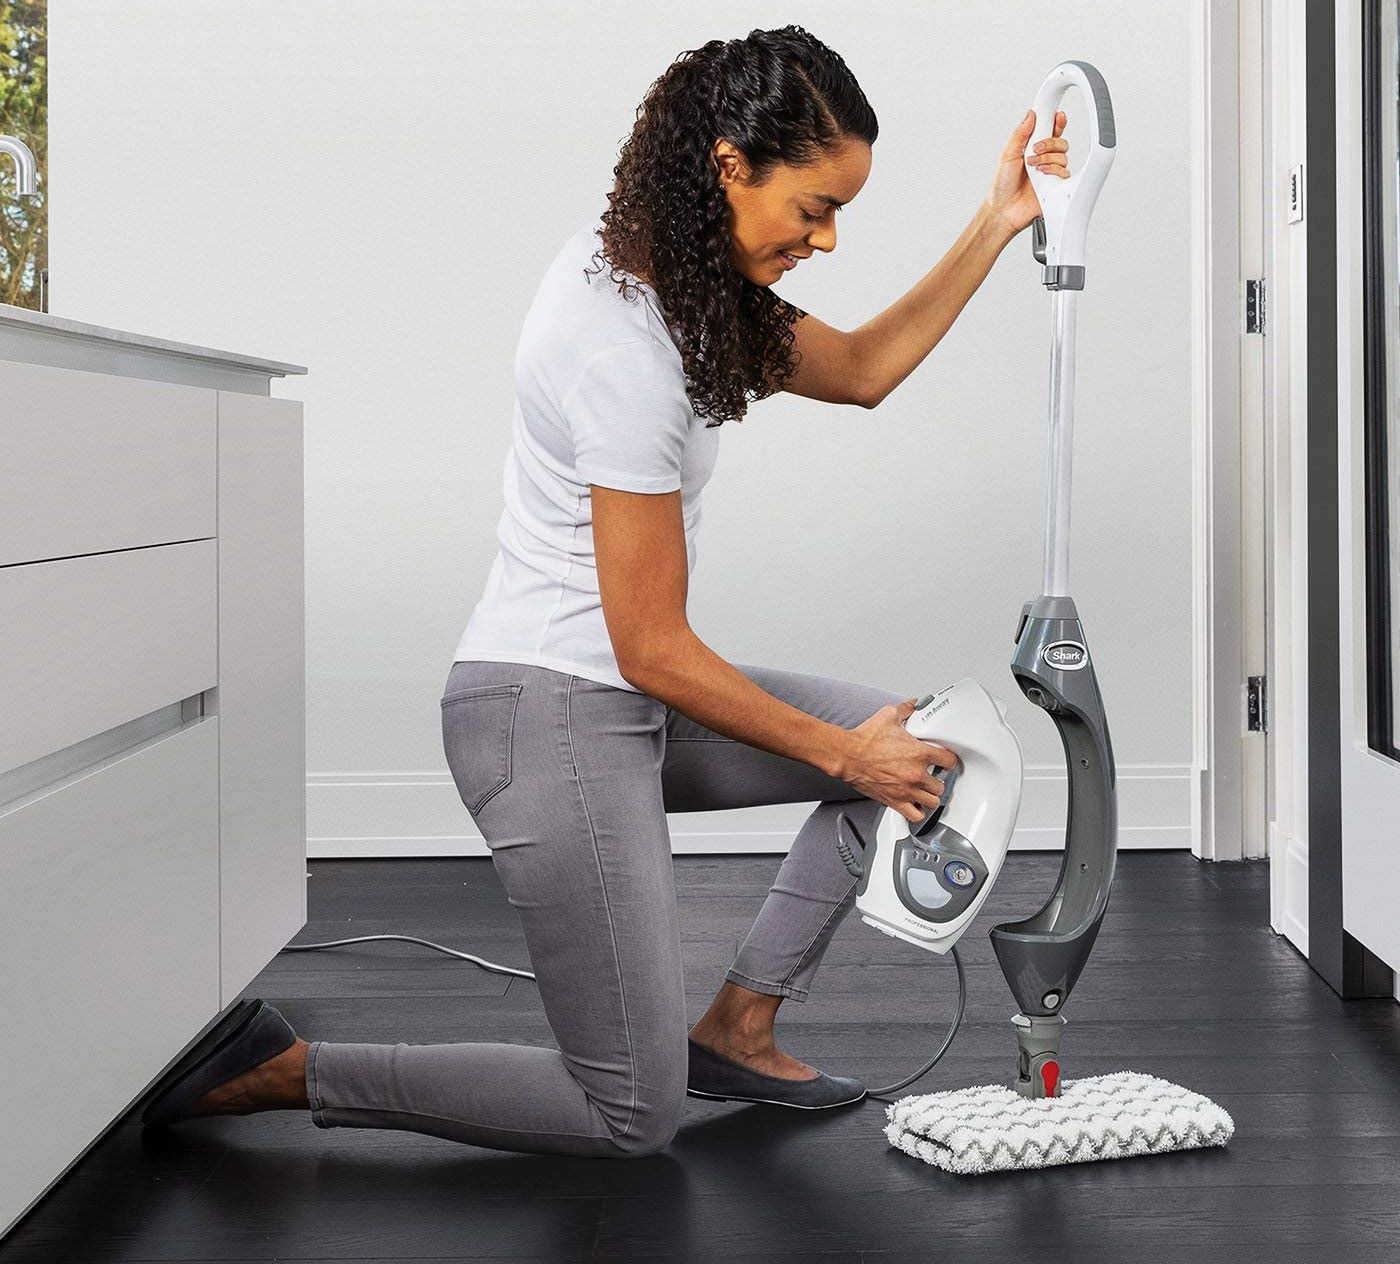
Step 2: Remove the Water Tank
Before you can access the handle of your Shark steam mop, it’s crucial to remove the water tank to create space and facilitate the handle removal process. Follow these steps to safely remove the water tank:
- Power Off the Steam Mop: Ensure that the steam mop is unplugged and turned off to prevent any accidental activation during the process.
- Allow the Mop to Cool: If the steam mop was recently in use, allow it to cool down to a safe temperature before proceeding.
- Remove the Water Tank: Depending on the model of your Shark steam mop, the water tank may have a release button or latch. Press the designated button or release the latch to detach the water tank from the mop.
- Empty the Water Tank: If there is water in the tank, empty it into a sink or drain before continuing with the handle removal process.
- Set the Water Tank Aside: Once the water tank is removed and emptied, place it in a safe location away from your work area to prevent any accidental spills or damage.
By carefully following these steps, you can safely remove the water tank from your Shark steam mop, creating the necessary space to proceed with detaching the handle in the next step.
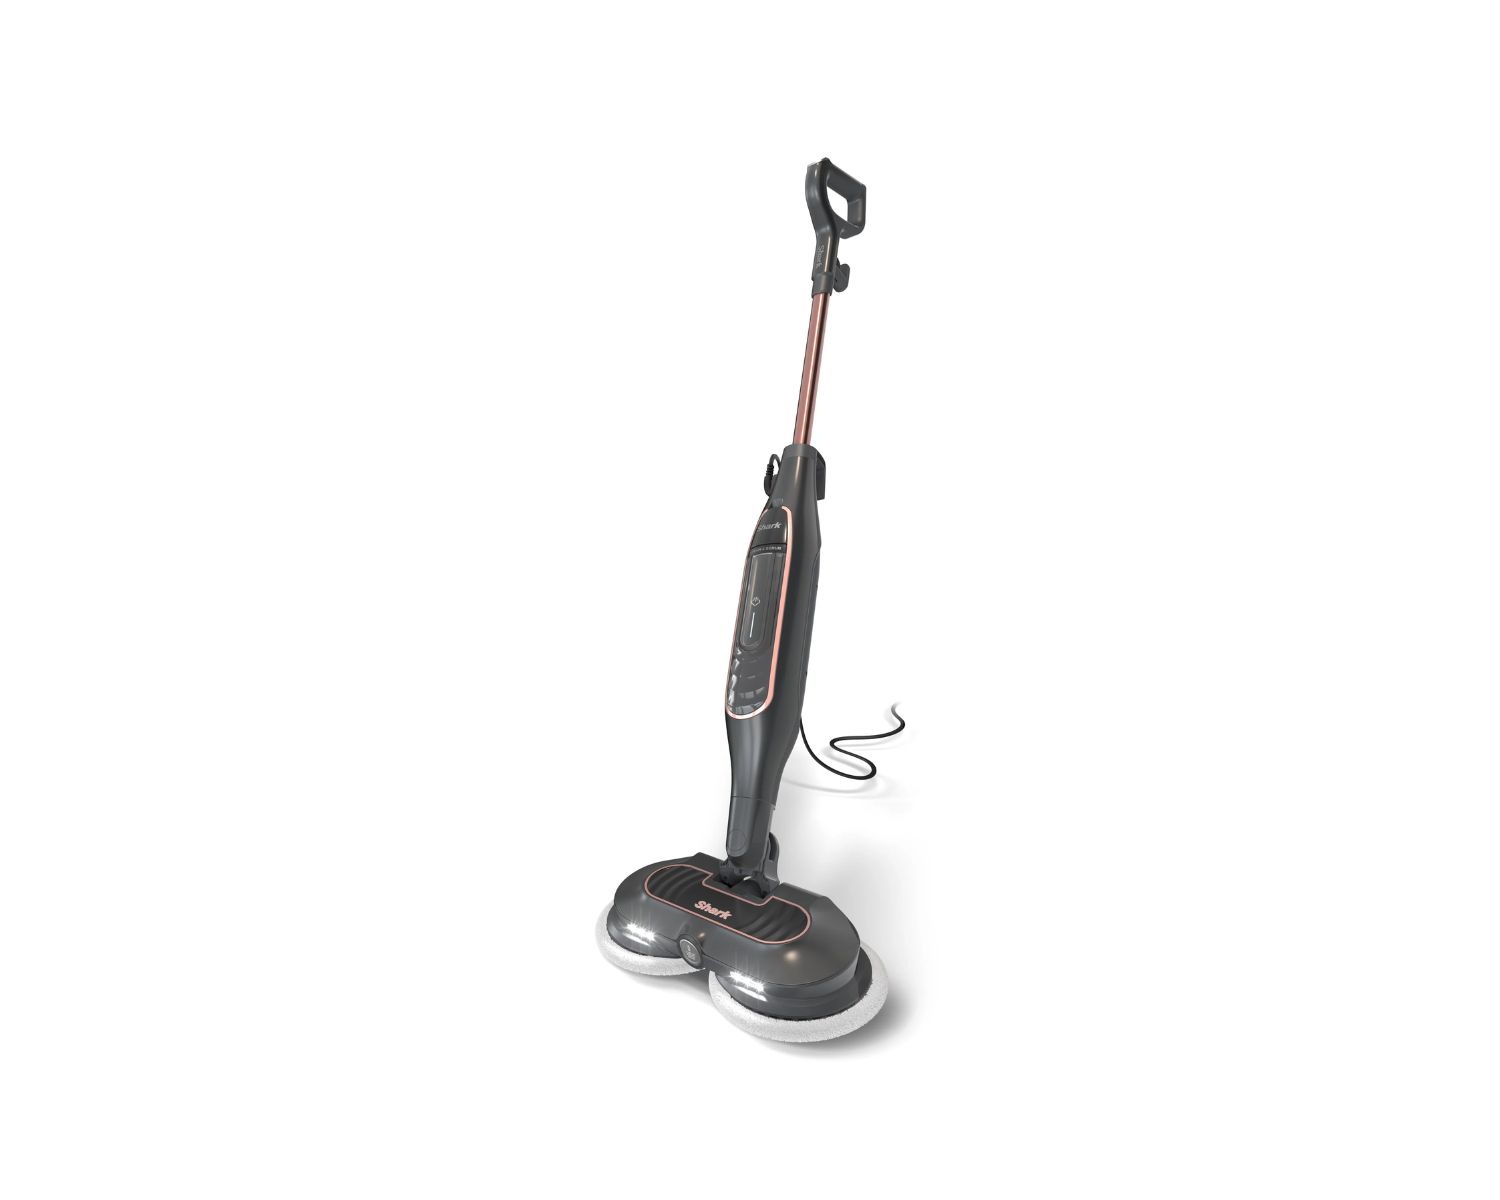
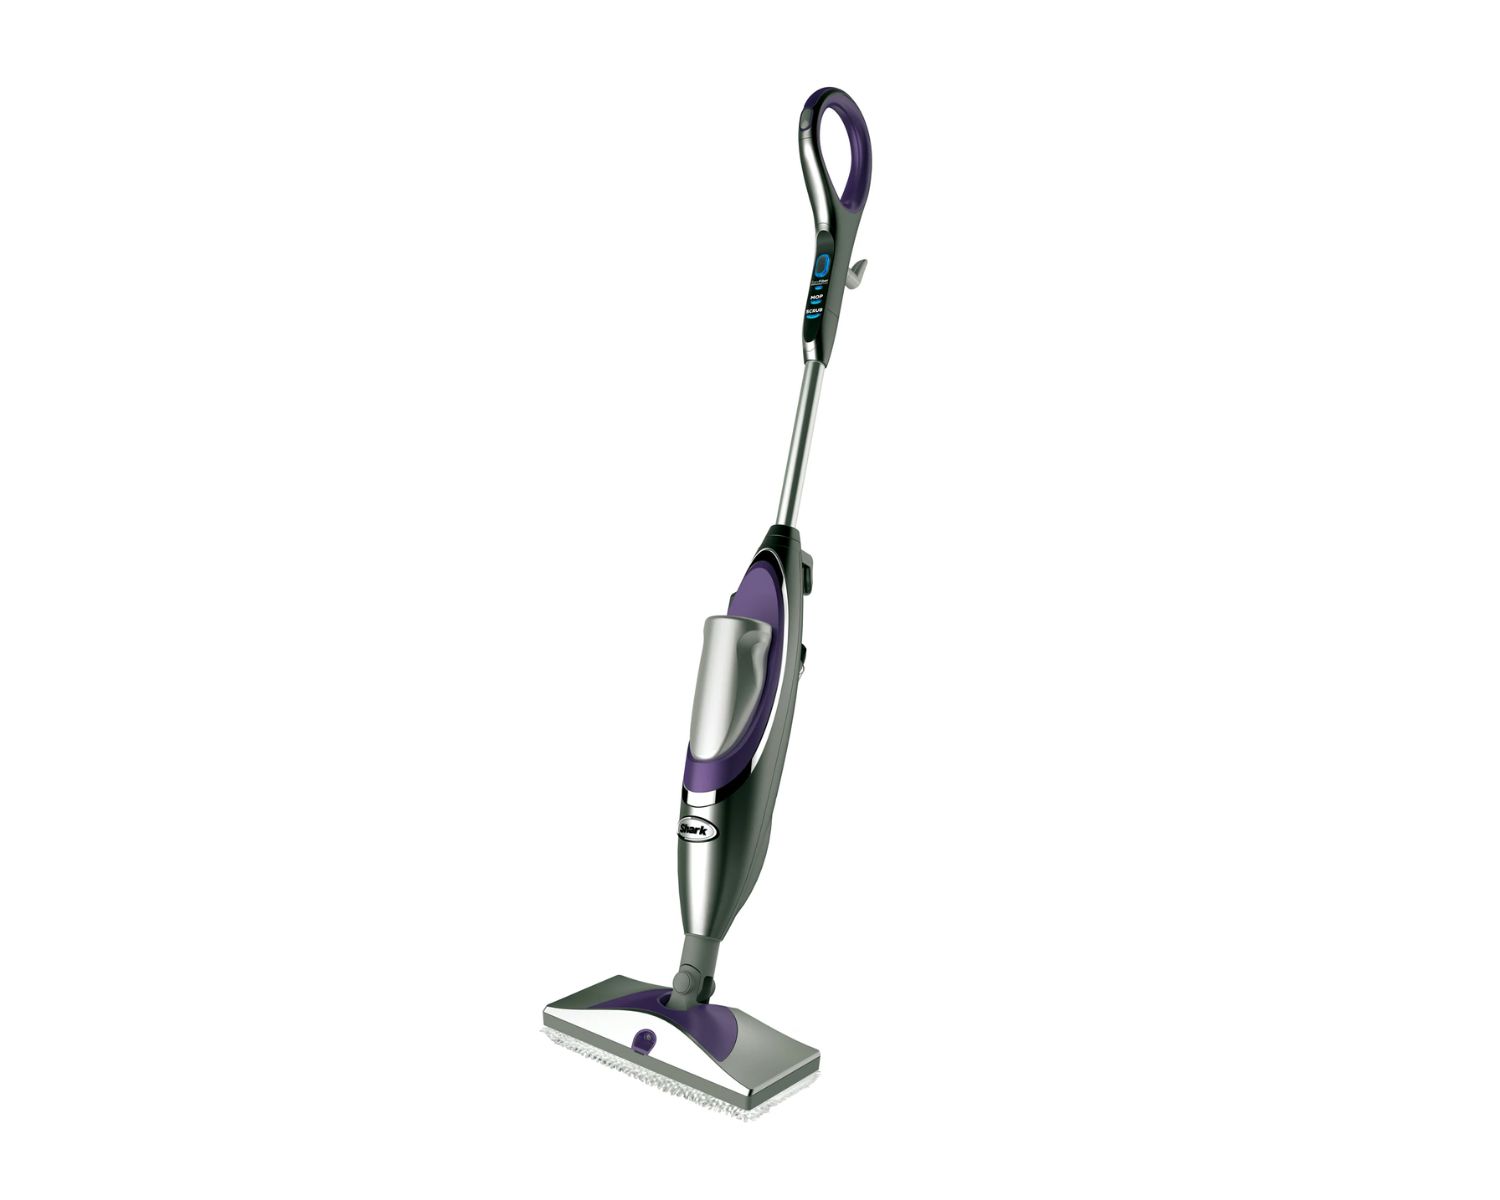
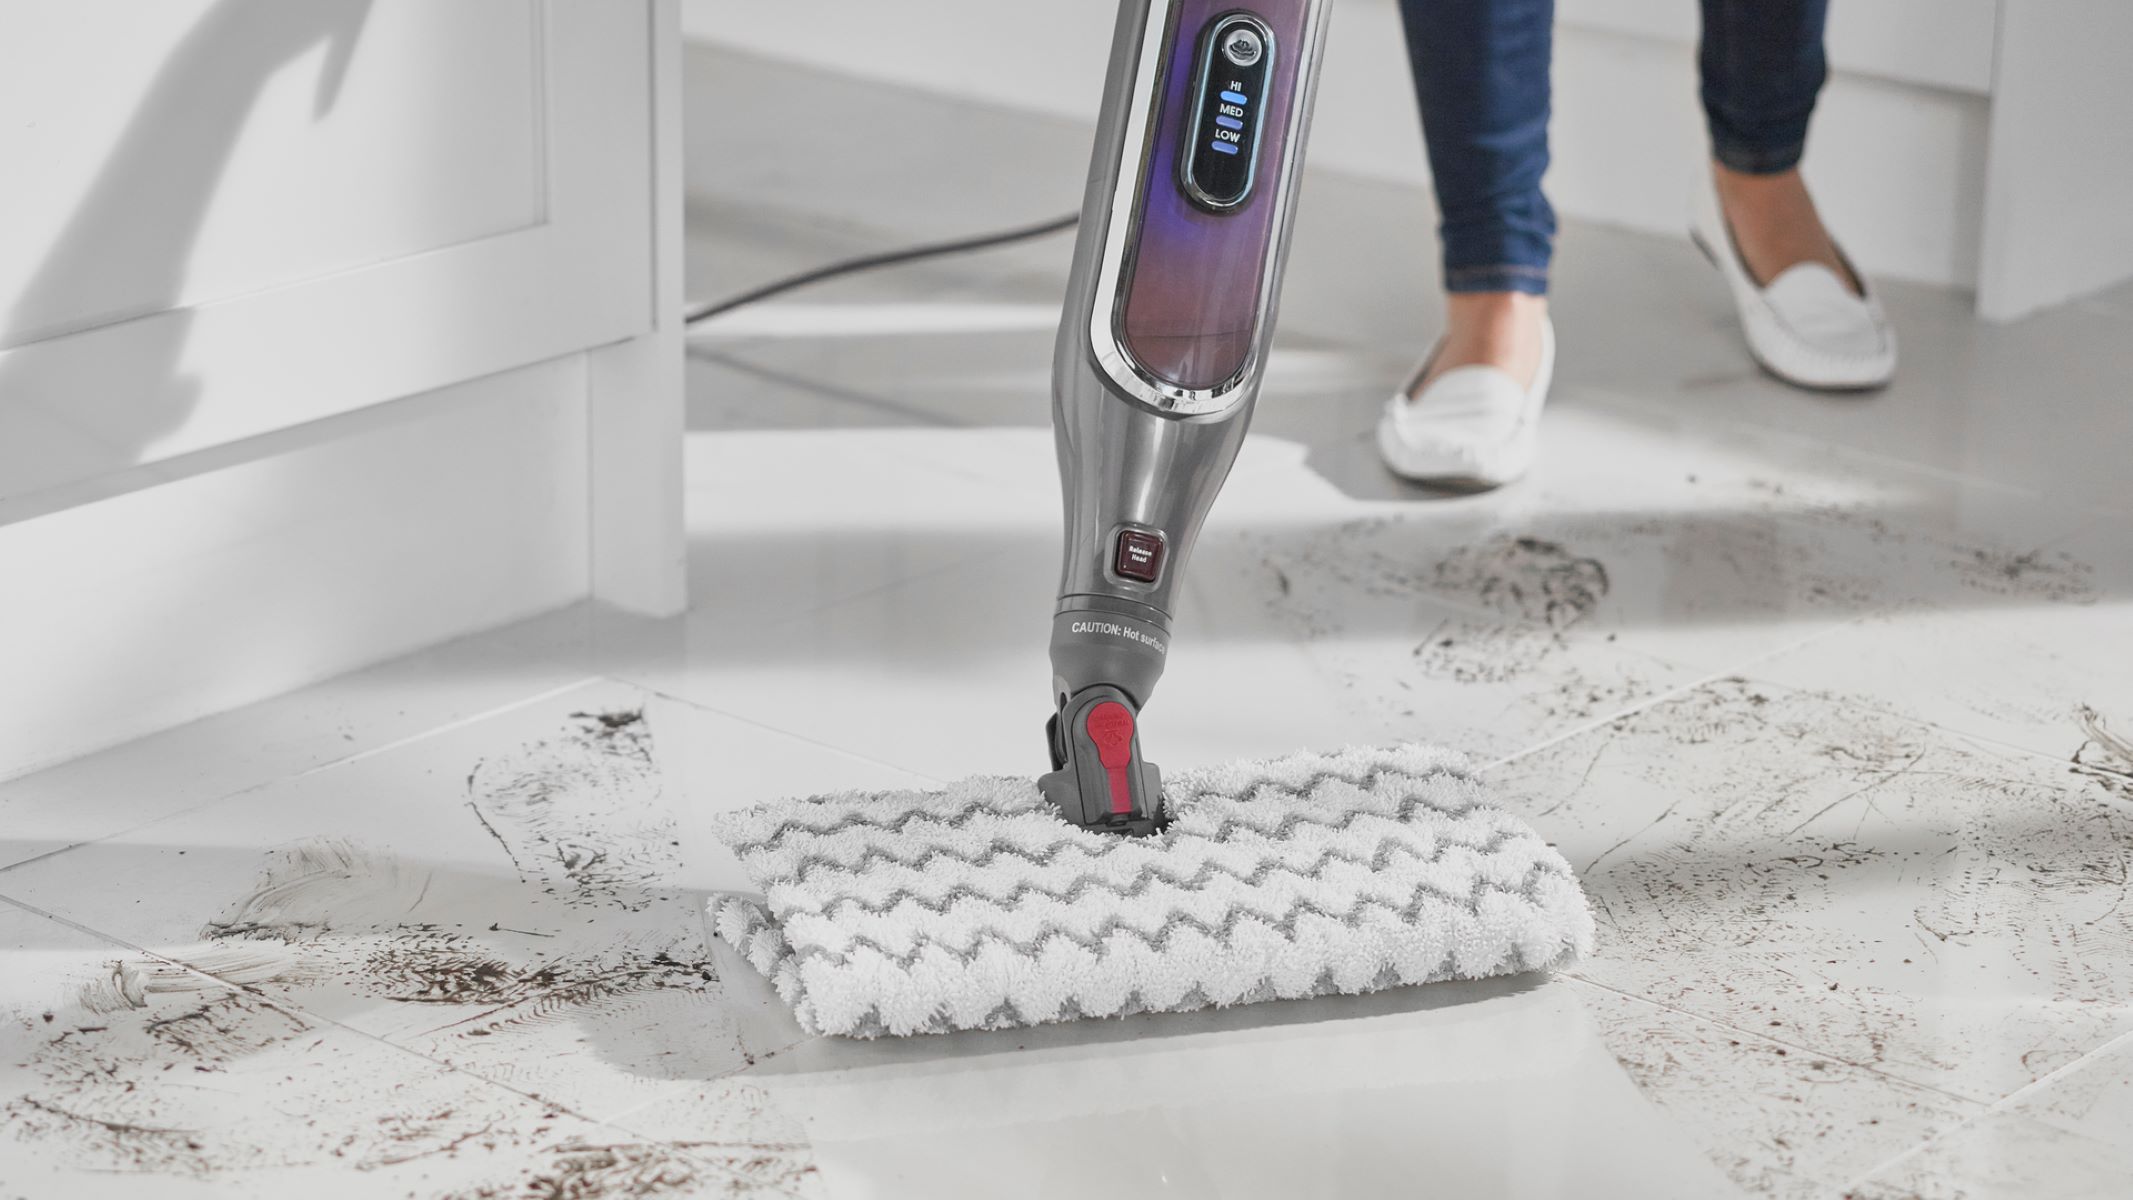
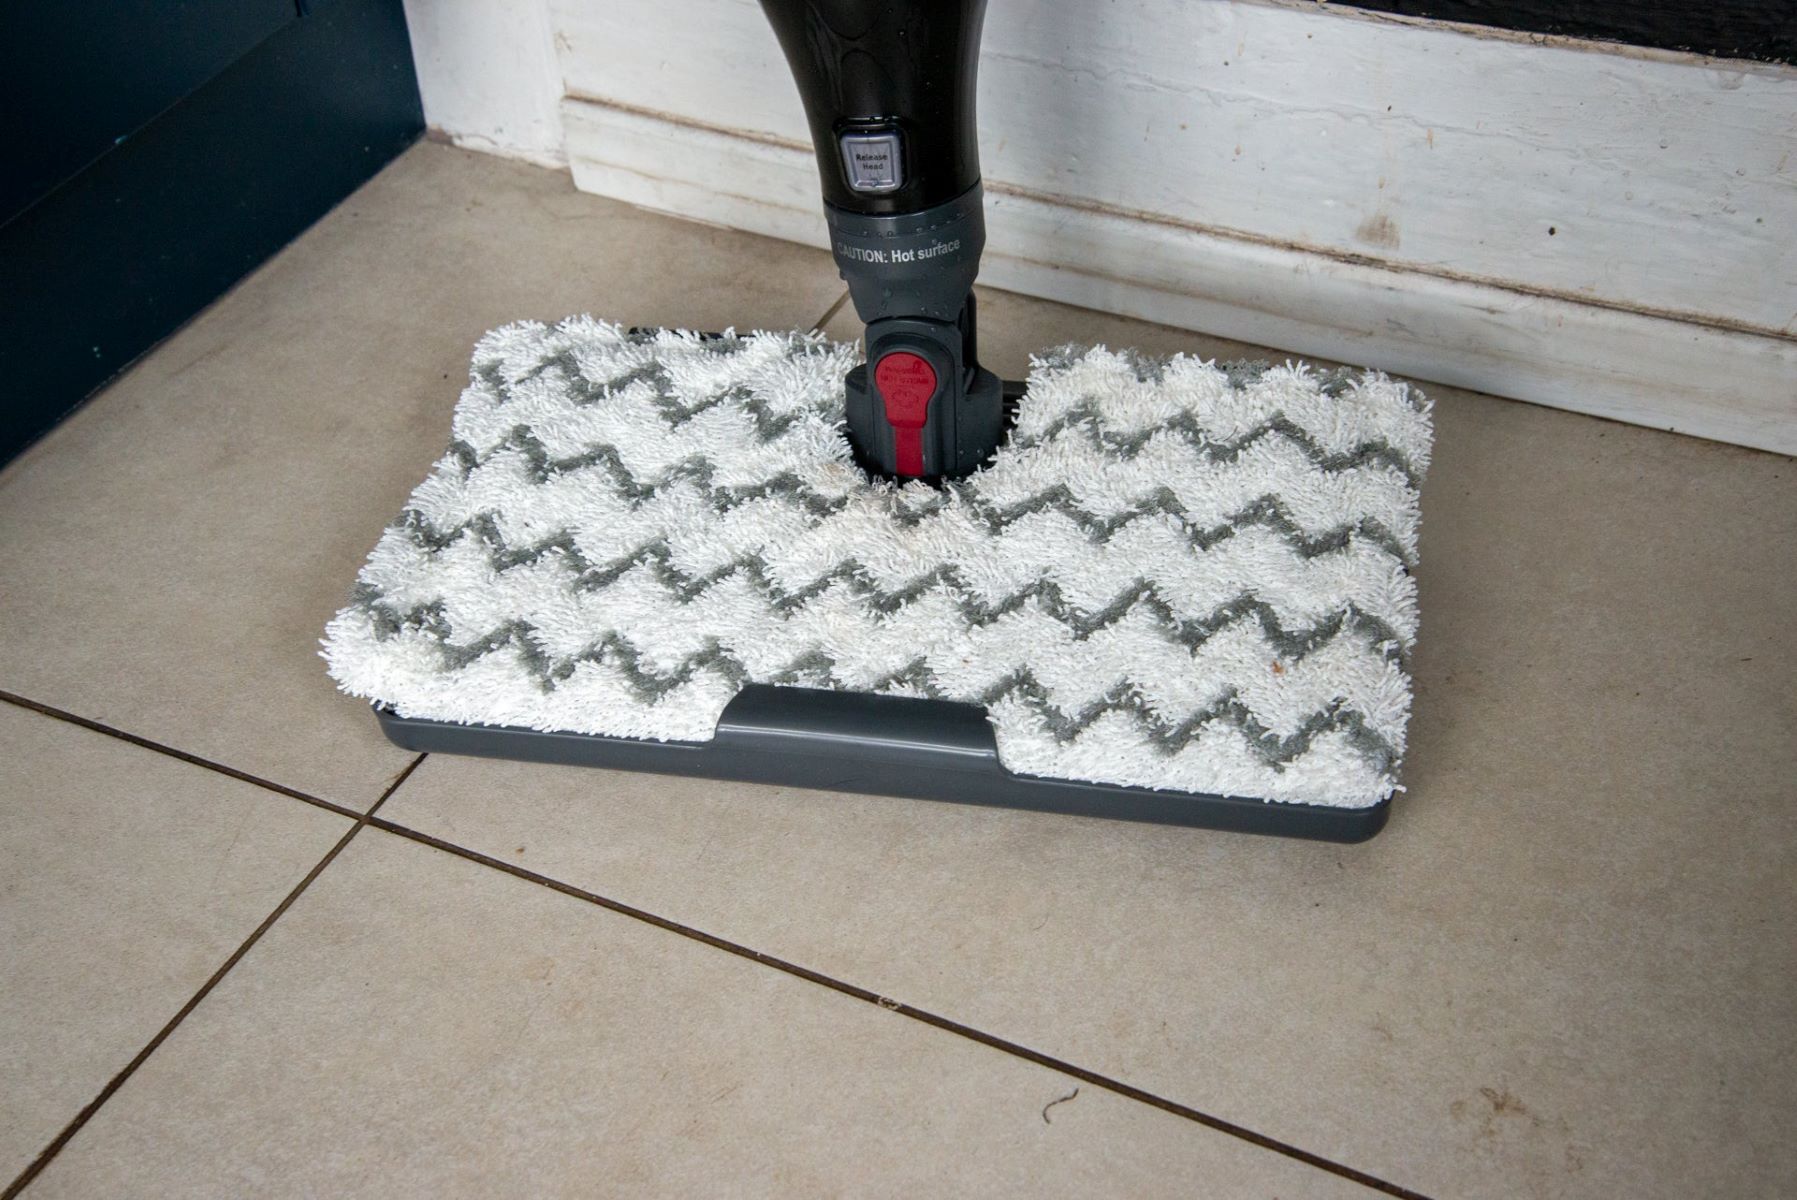
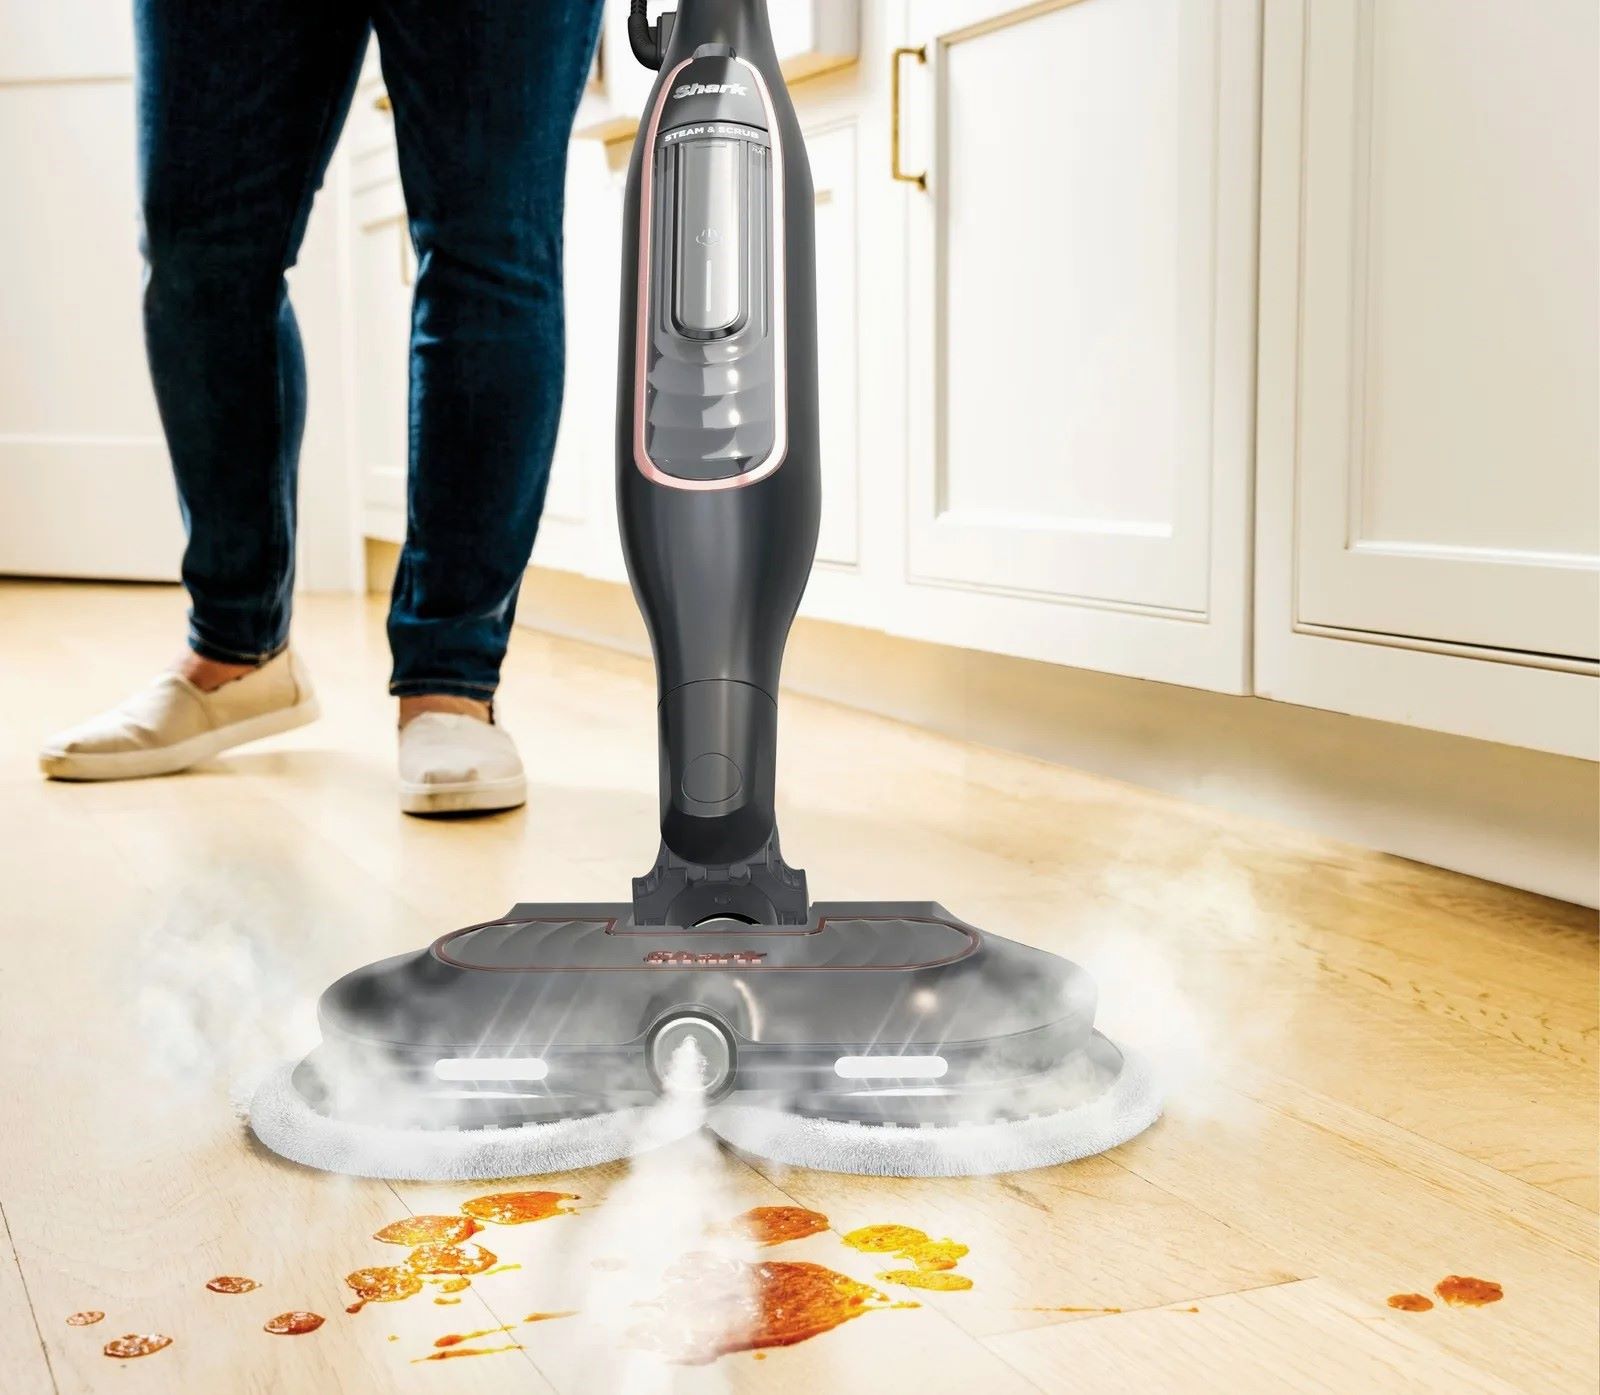
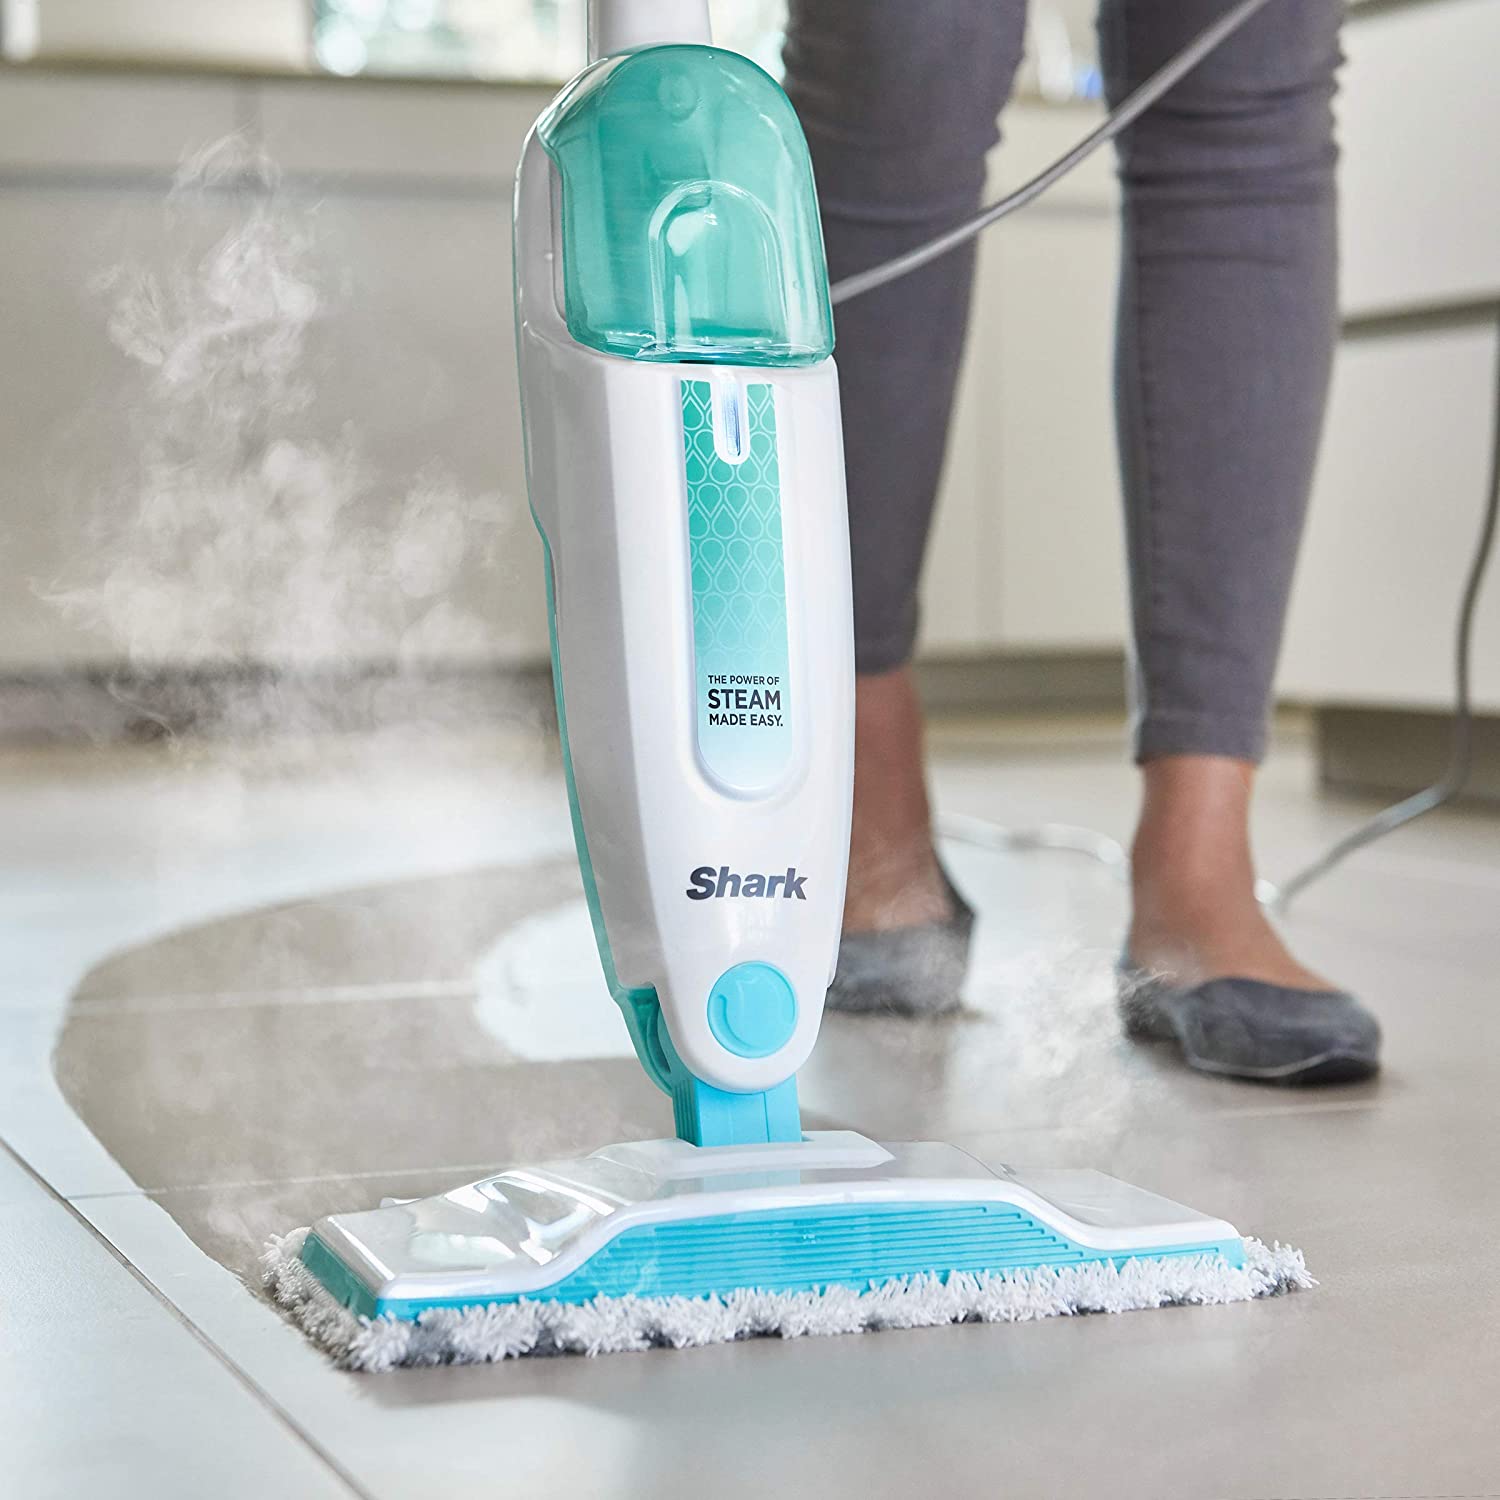
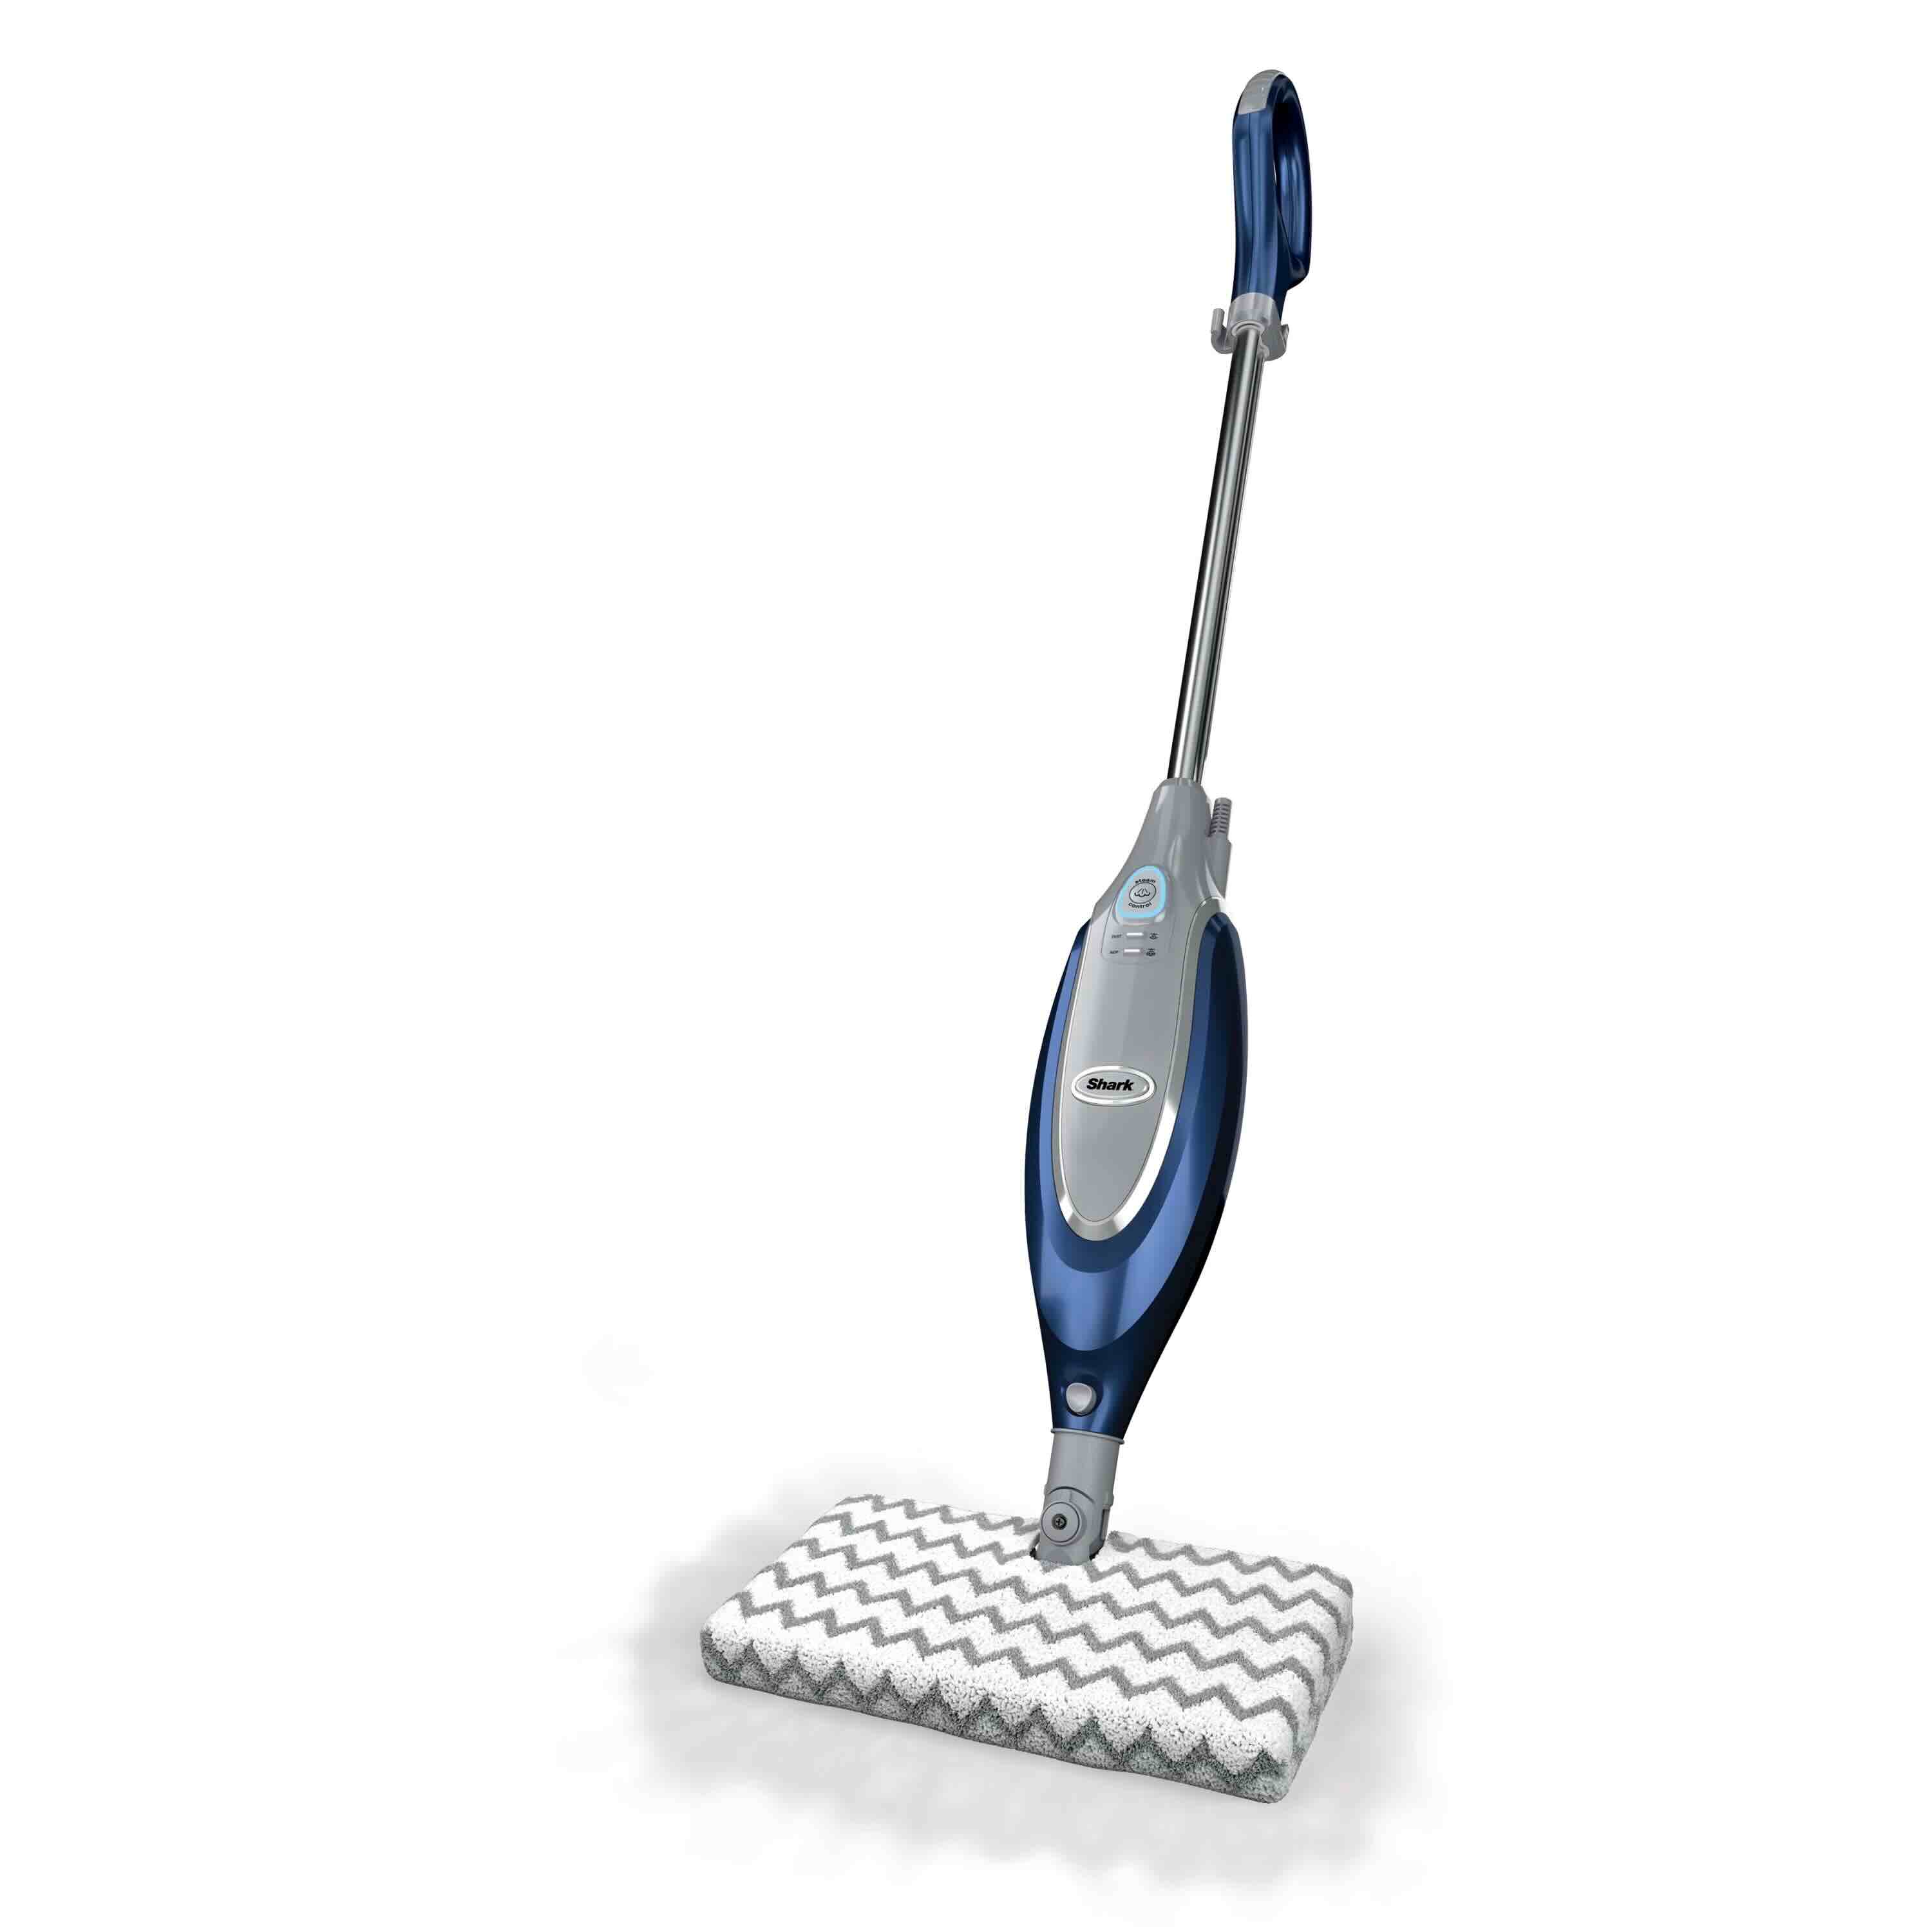
To remove the Shark Steam Mop handle, first unplug the mop. Then, press the release button on the handle and pull it out from the body of the mop.
Step 3: Detach the Handle
With the water tank removed, you can now focus on detaching the handle from your Shark steam mop. Follow these steps to safely and effectively remove the handle:
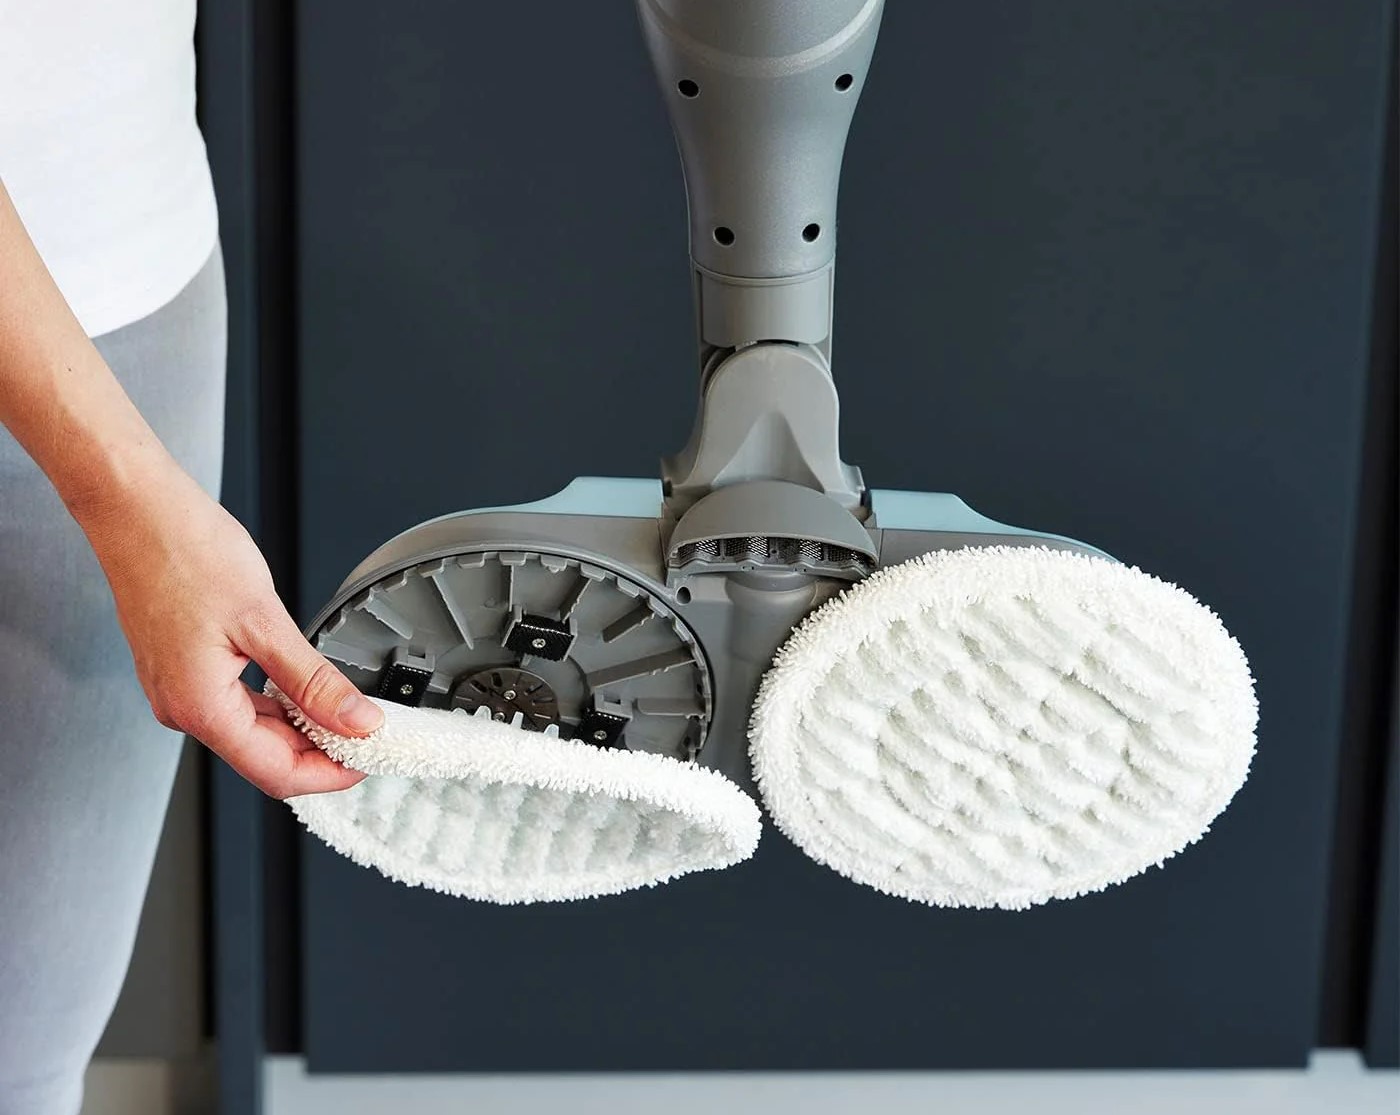
- Inspect the Handle Attachment: Take a moment to inspect the area where the handle connects to the steam mop. Look for any latches, buttons, or locking mechanisms that may be securing the handle in place.
- Use the Flathead Screwdriver: If there are latches or clips holding the handle in place, carefully use the flathead screwdriver to release them. Be gentle to avoid damaging the components.
- Apply Even Pressure: Once any securing mechanisms are released, apply even pressure to the handle as you gently lift it away from the steam mop. Be mindful of any wires or connections that may be attached to the handle.
- Disconnect Any Wires (if applicable): If your Shark steam mop model has electrical components within the handle, carefully disconnect any wires or connectors before fully removing the handle.
- Set the Handle Aside: Once detached, set the handle in a safe location to prevent any accidental damage. This will also provide you with the necessary access to address any maintenance or replacement needs.
By following these steps, you can safely detach the handle from your Shark steam mop, allowing you to address any maintenance or repair tasks with ease.
Step 4: Reattach the Handle
After completing any necessary maintenance or replacement tasks, it’s time to reattach the handle to your Shark steam mop. Follow these steps to ensure a secure and proper reattachment:
- Inspect the Handle and Connections: Before reattaching the handle, inspect the handle and the connection points on the steam mop to ensure there is no damage or debris that could impede the reattachment process.
- Reconnect Any Wires (if applicable): If the handle has electrical components, carefully reconnect any wires or connectors to their respective ports on the steam mop.
- Align the Handle: Position the handle in alignment with the connection point on the steam mop, ensuring that any latches or locking mechanisms are properly aligned for secure attachment.
- Apply Even Pressure: Once aligned, apply even pressure to the handle as you gently push it into place on the steam mop. You may hear a click or feel a secure connection once properly attached.
- Test the Attachment: After reattaching the handle, give it a gentle tug to ensure it is securely in place. Any movement or looseness may indicate that it needs to be repositioned and reattached.
By carefully following these steps, you can confidently reattach the handle to your Shark steam mop, ensuring that it is securely in place and ready for use.
Read more: How To Fix Shark Steam Mop
Conclusion
Congratulations! You have successfully learned how to remove and reattach the handle of your Shark steam mop. By following the steps outlined in this guide, you can confidently address maintenance, cleaning, or replacement needs without any hassle. Remember, proper maintenance of your steam mop, including handle removal when necessary, is essential to ensure its longevity and optimal performance.
Regularly inspecting and cleaning the handle and its connection points can help prevent any issues and maintain the efficiency of your Shark steam mop. Additionally, being familiar with the process of handle removal and reattachment empowers you to address any unexpected issues that may arise during the lifespan of your steam mop.
With the knowledge and skills acquired from this guide, you can keep your Shark steam mop in top working condition, ready to tackle the cleaning and sanitizing needs of your hard floors. We hope this guide has been informative and helpful, allowing you to maintain and care for your Shark steam mop with confidence and ease.
Thank you for joining us on this maintenance journey, and we wish you many successful cleaning sessions with your Shark steam mop!
Now that you’ve mastered removing your Shark steam mop handle, why stop there? Keep all your appliances sparkling with our guide on the best methods to cleaning appliances, step by step. This comprehensive tutorial provides actionable tips for maintaining everything from your blender to your washing machine in pristine condition. Don't let dirt and grime build up when you can have all your gadgets looking brand new with a little know-how from our experts.
Frequently Asked Questions about How To Remove Shark Steam Mop Handle
Was this page helpful?
At Storables.com, we guarantee accurate and reliable information. Our content, validated by Expert Board Contributors, is crafted following stringent Editorial Policies. We're committed to providing you with well-researched, expert-backed insights for all your informational needs.

0 thoughts on “How To Remove Shark Steam Mop Handle”