Home>Home Appliances>Cleaning Appliances>How To Turn On Shark Steam Mop
Cleaning Appliances
How To Turn On Shark Steam Mop
Modified: October 19, 2024
Learn how to efficiently turn on your Shark steam mop for effective cleaning. Discover expert tips for using cleaning appliances at their best. Unlock the power of steam cleaning!
(Many of the links in this article redirect to a specific reviewed product. Your purchase of these products through affiliate links helps to generate commission for Storables.com, at no extra cost. Learn more)
Introduction
Welcome to the world of efficient and eco-friendly cleaning with your new Shark steam mop! Whether you're a seasoned steam mop aficionado or a first-time user, this powerful cleaning tool is designed to make your cleaning routine easier and more effective.
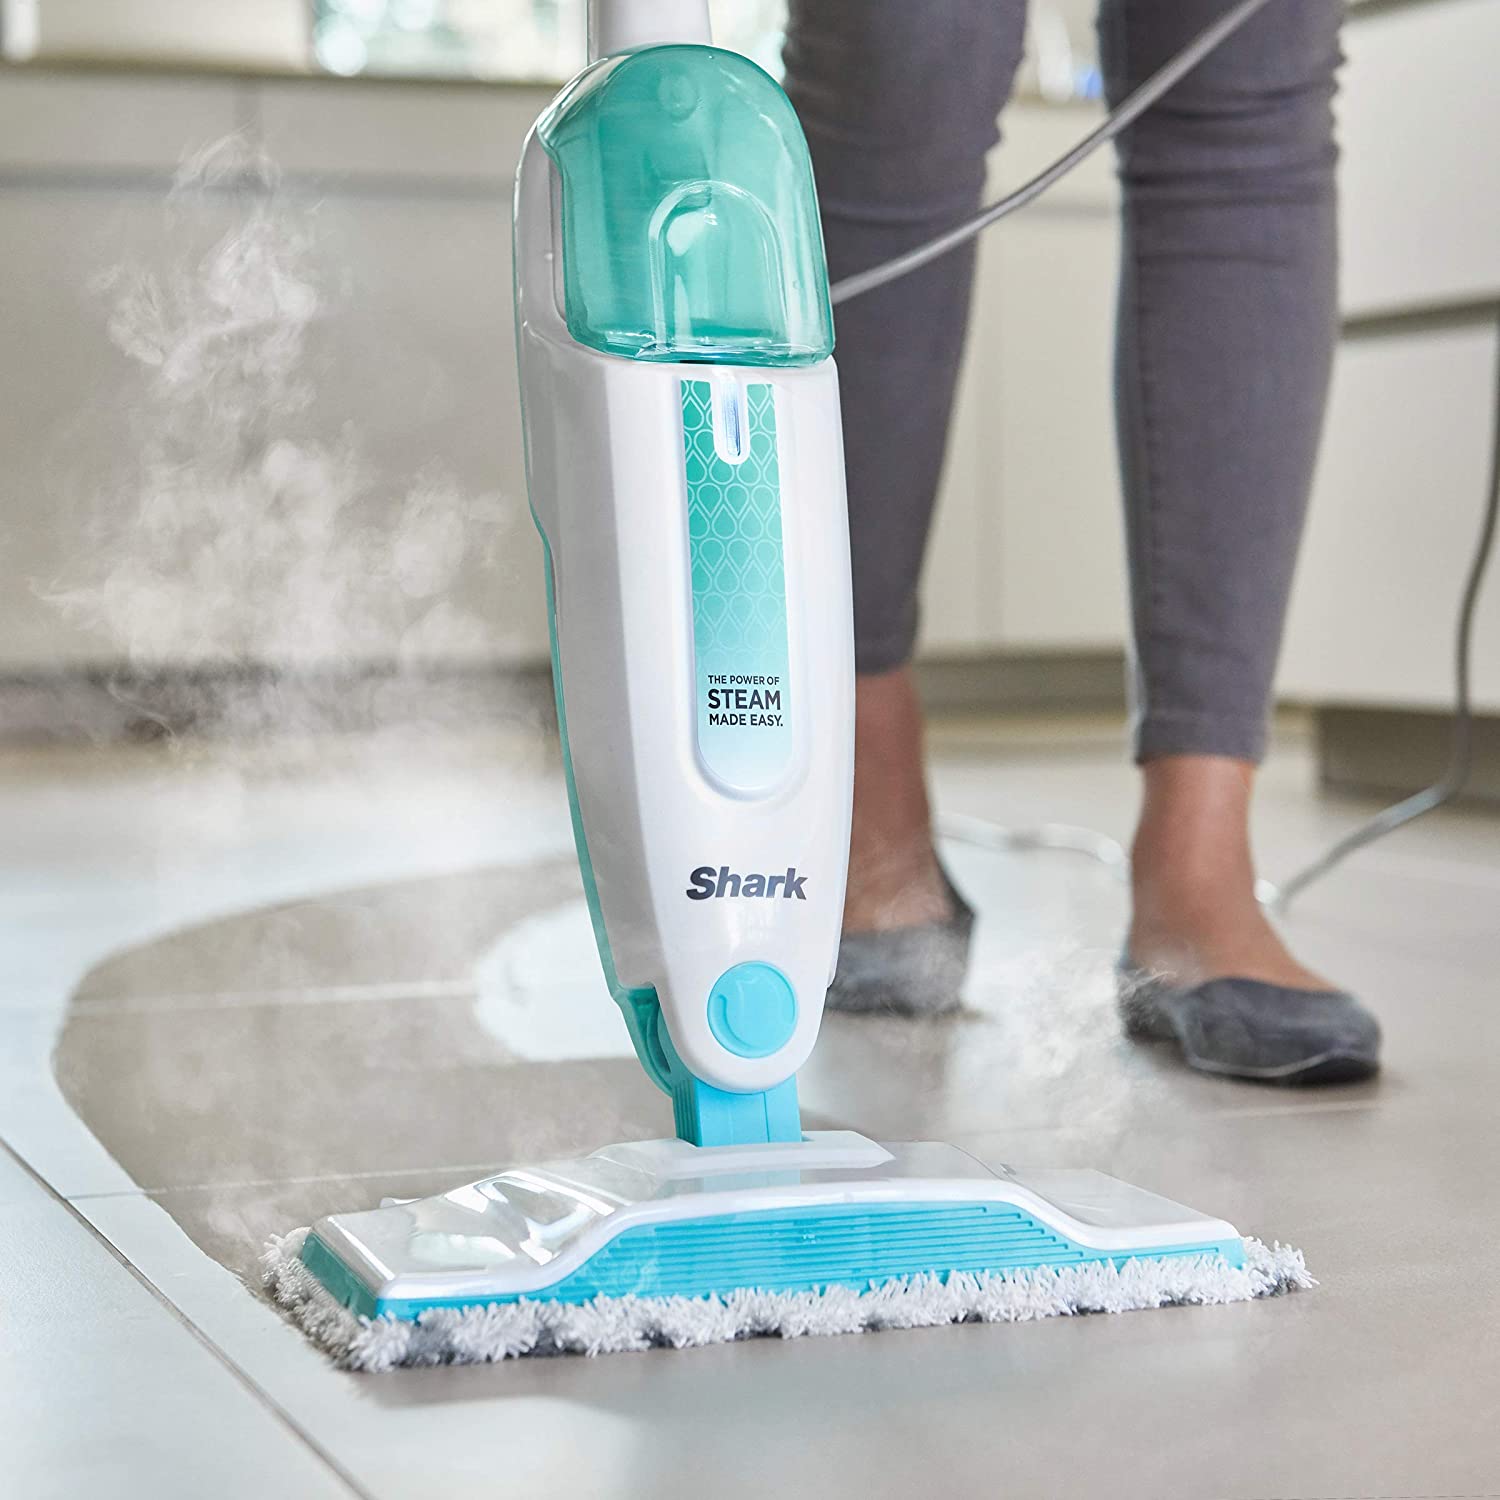
The Shark steam mop harnesses the natural cleaning power of steam to sanitize and deodorize various surfaces in your home, without the need for harsh chemicals. From hardwood floors to tile and grout, the Shark steam mop is versatile and easy to use.
In this comprehensive guide, we'll walk you through the essential steps to turn on your Shark steam mop and get it ready for use. We'll cover everything from unboxing and assembling the mop to selecting the right steam setting for different surfaces. Additionally, we'll provide maintenance and cleaning tips to ensure that your Shark steam mop remains in top working condition for years to come.
By the end of this guide, you'll feel confident and empowered to wield your Shark steam mop to tackle dirt, grime, and bacteria in your living space. So, let's dive in and explore the world of steam cleaning with your Shark steam mop!
Key Takeaways:
- Embrace the power of steam with your Shark steam mop for effortless, eco-friendly cleaning. From unboxing to maintenance, unleash the natural cleaning prowess of steam for sparkling, germ-free surfaces.
- Master the art of using your Shark steam mop to achieve spotless, sanitized surfaces. Select the right steam setting and follow maintenance tips for a reliable and efficient cleaning ally.
Read more: Shark’s Steam Mop Is On Sale On Amazon
Unboxing and Assembling Your Shark Steam Mop
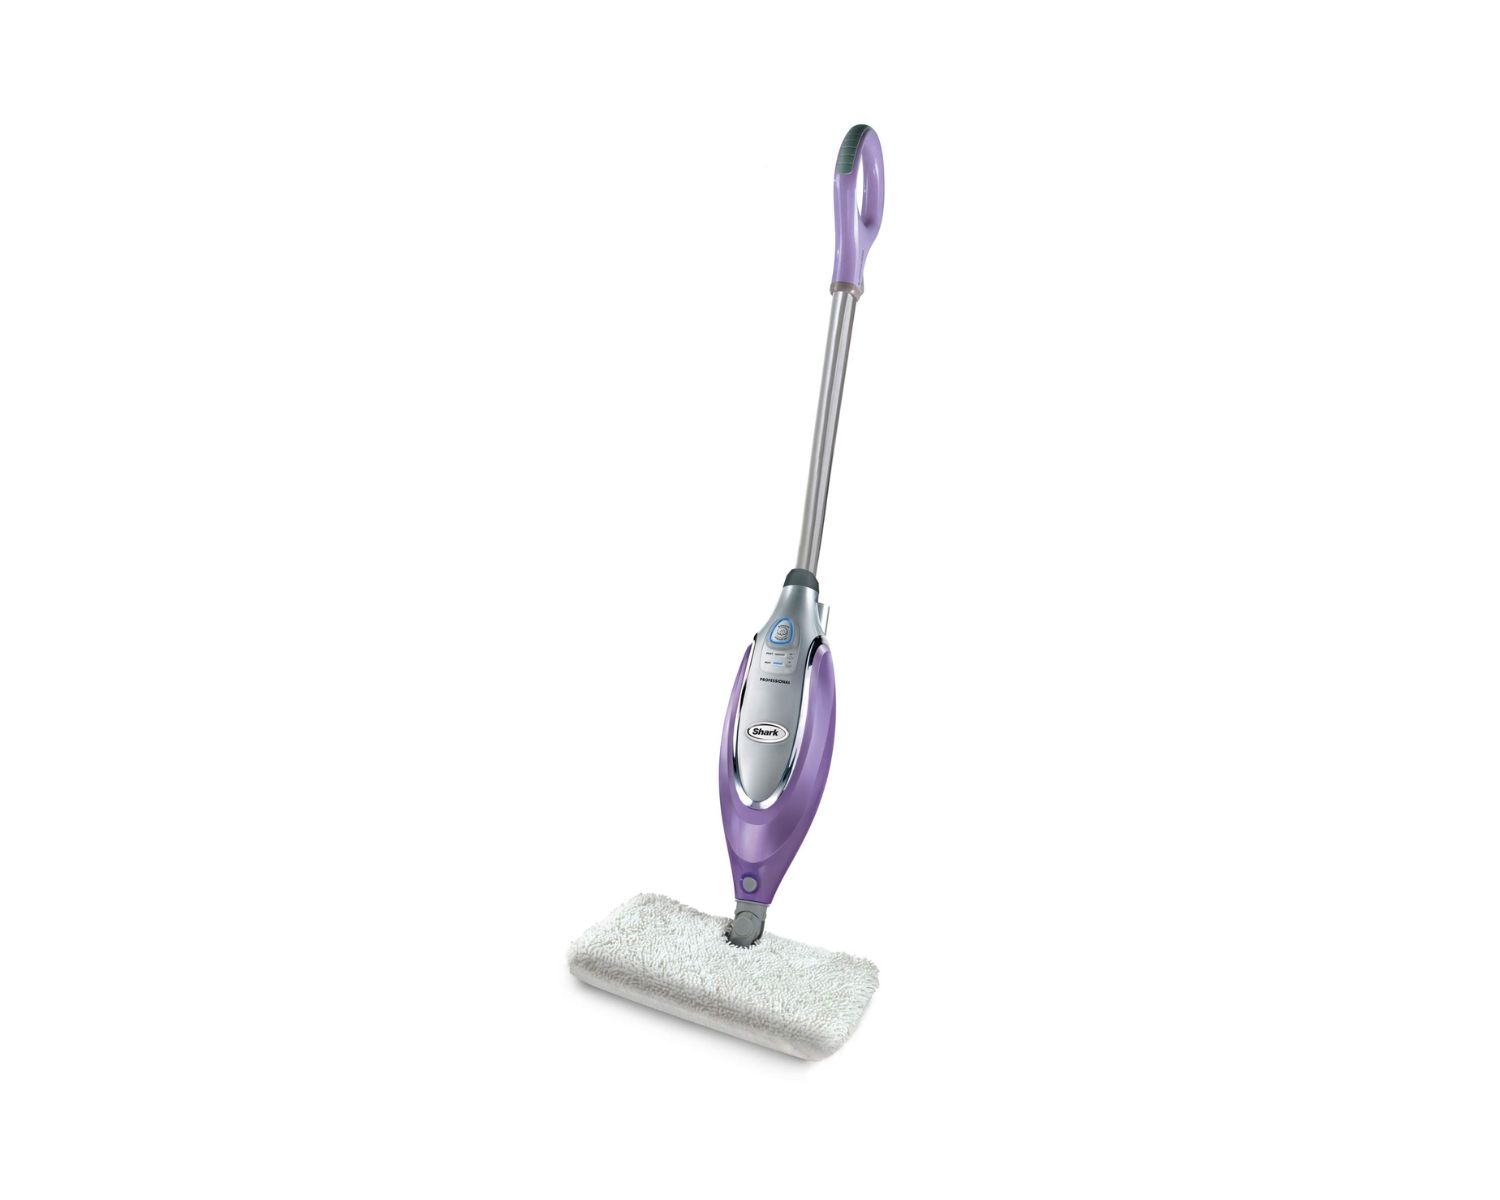
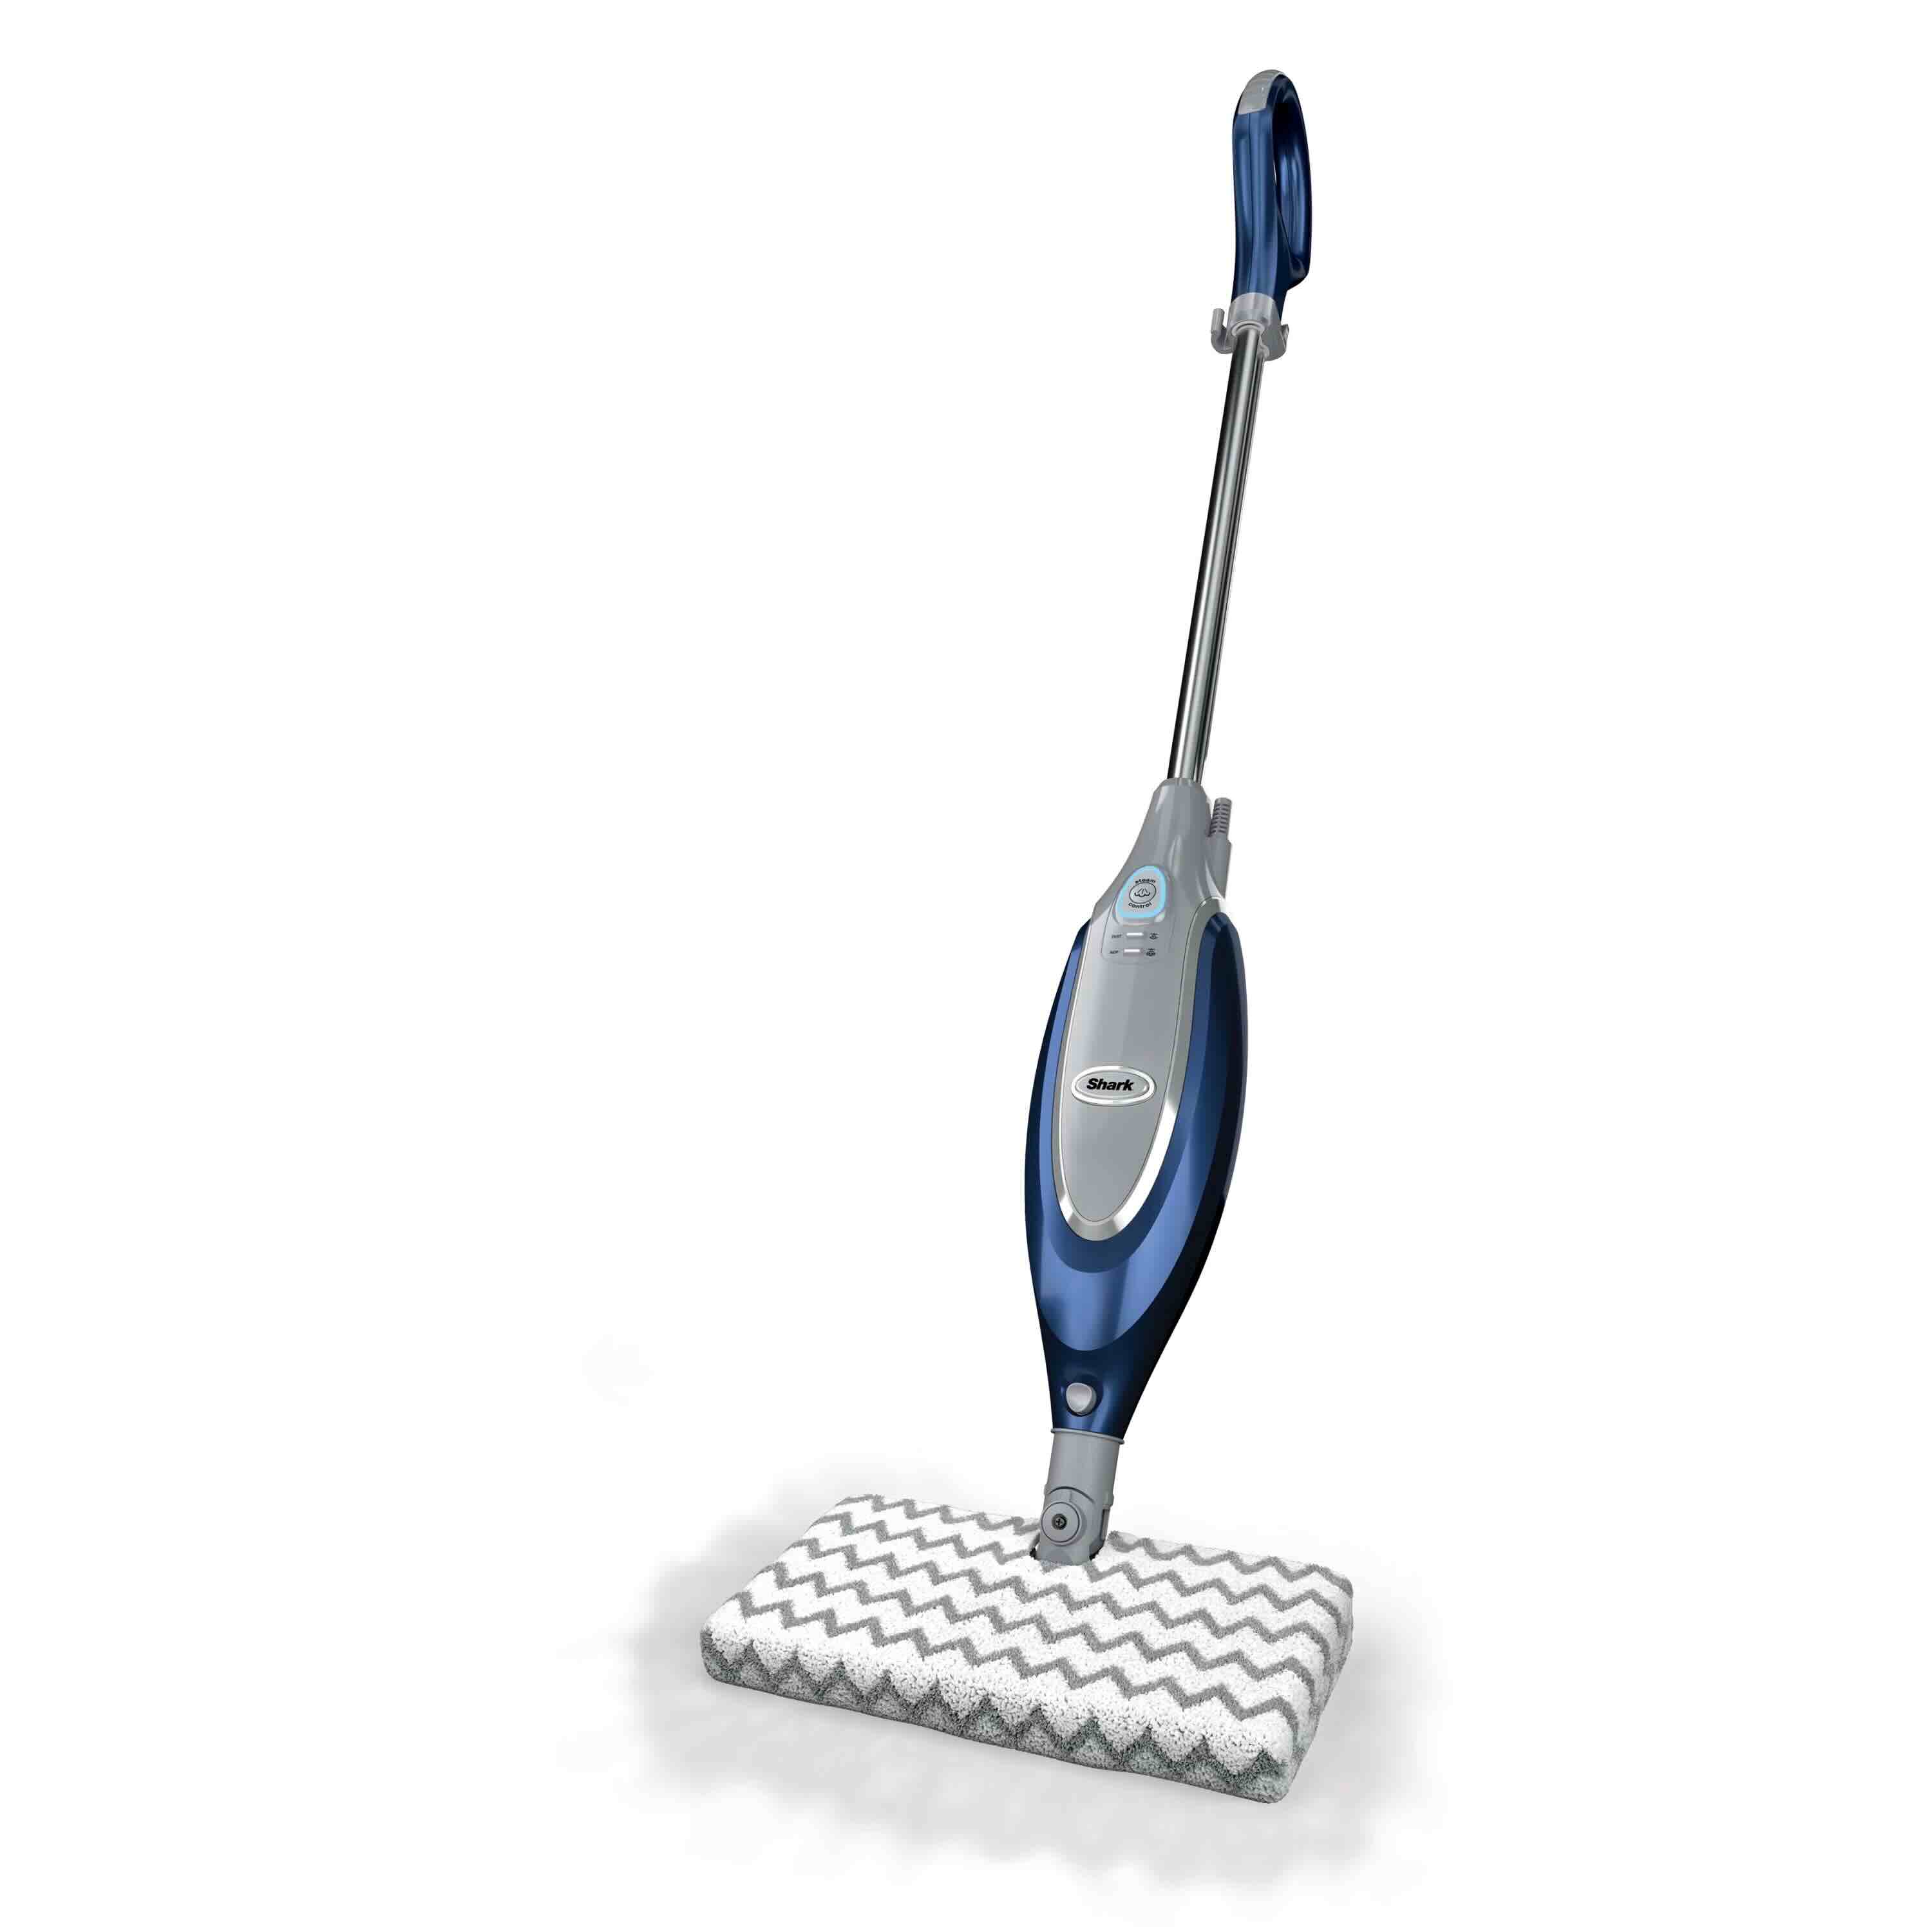
Unboxing your new Shark steam mop is an exciting first step toward achieving sparkling, sanitized floors. As you open the packaging, you'll find the main body of the steam mop, a handle, a water tank, a cleaning pad, and any additional attachments or accessories included with your specific model.
Begin by assembling the steam mop according to the instructions provided in the user manual. Typically, this involves attaching the handle to the main body of the mop and securing it in place. Ensure that all components are firmly connected to guarantee safe and effective operation.
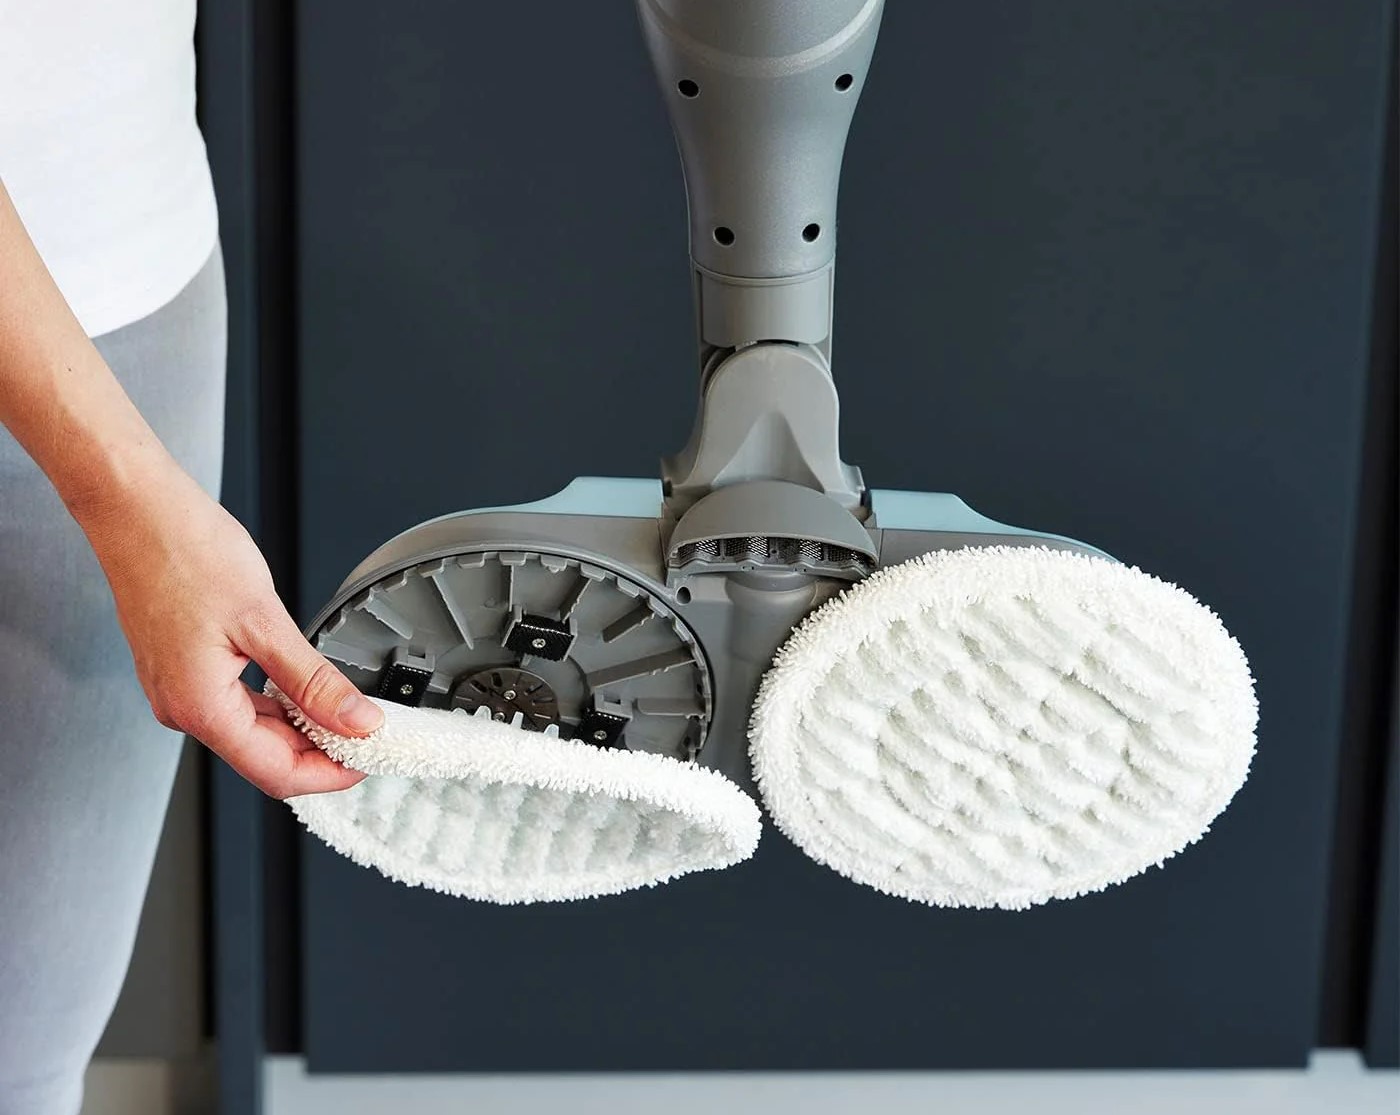
Once assembled, you'll need to attach the cleaning pad to the base of the mop. Depending on your model, the cleaning pad may affix securely with Velcro or a similar fastening mechanism. The cleaning pad plays a crucial role in trapping dirt and absorbing moisture during the cleaning process, so it's essential to ensure it is correctly installed.
After the cleaning pad is in place, you can proceed to fill the water tank, which is typically located at the base of the steam mop. The water tank is the heart of the steam mop, supplying the steam needed to sanitize and clean your floors effectively. Ensure that the tank is securely attached and that the cap is tightened to prevent any leaks during use.
As you unbox and assemble your Shark steam mop, take the time to familiarize yourself with the various features and attachments that come with it. Some models may include specialized attachments for targeting tough stains, refreshing carpets, or reaching tight spaces. Understanding the capabilities of your steam mop and its accessories will enable you to make the most of its cleaning prowess.
By carefully unboxing and assembling your Shark steam mop, you're setting the stage for hassle-free cleaning and maintenance. With the initial setup complete, you're now ready to move on to the next steps in preparing your steam mop for use.
Filling the Water Tank
Before you can harness the sanitizing power of steam to clean and refresh your floors, you'll need to ensure that the water tank of your Shark steam mop is properly filled. The water tank serves as the reservoir for the water that will be heated to produce the steam used during cleaning.
To fill the water tank, start by removing it from the steam mop, following the instructions provided in the user manual. Once the tank is detached, locate the fill port, which is typically positioned at the top of the tank for convenient access. Using a clean, dry measuring cup or the included filling flask, carefully pour water into the tank, taking care not to overfill it.
It's essential to use clean, distilled water to fill the tank, as tap water may contain minerals and impurities that could affect the performance and longevity of your steam mop. Additionally, using distilled water helps prevent mineral buildup inside the steam mop, ensuring consistent steam production and optimal cleaning results.
After filling the tank with water, securely reattach it to the steam mop, making sure that it is firmly in place and that the cap is tightened to prevent any leaks. Depending on the model of your Shark steam mop, you may need to wait a few moments for the water to reach the optimal temperature for steam production.
Before proceeding to use the steam mop, it's important to verify that the water tank is securely attached and that there are no visible leaks. Ensuring that the water tank is properly filled and ready for use sets the stage for effective and efficient cleaning with your Shark steam mop.
With the water tank filled and securely in place, you're now one step closer to experiencing the convenience and power of steam cleaning in your home. The next step is to plug in and turn on your Shark steam mop, initiating the process of transforming water into powerful, sanitizing steam.
Plugging In and Turning On the Shark Steam Mop
With the water tank filled and securely attached, it's time to bring your Shark steam mop to life by plugging it in and turning it on. Before proceeding, ensure that the power cord is unwound and free from any tangles or obstructions, allowing you to move around freely as you clean.
Locate a nearby electrical outlet and firmly insert the plug from the power cord. Ensure that the outlet is in good working condition and that it provides a stable power supply to the steam mop. Once the plug is inserted, you're ready to power up your steam mop and initiate the steam generation process.
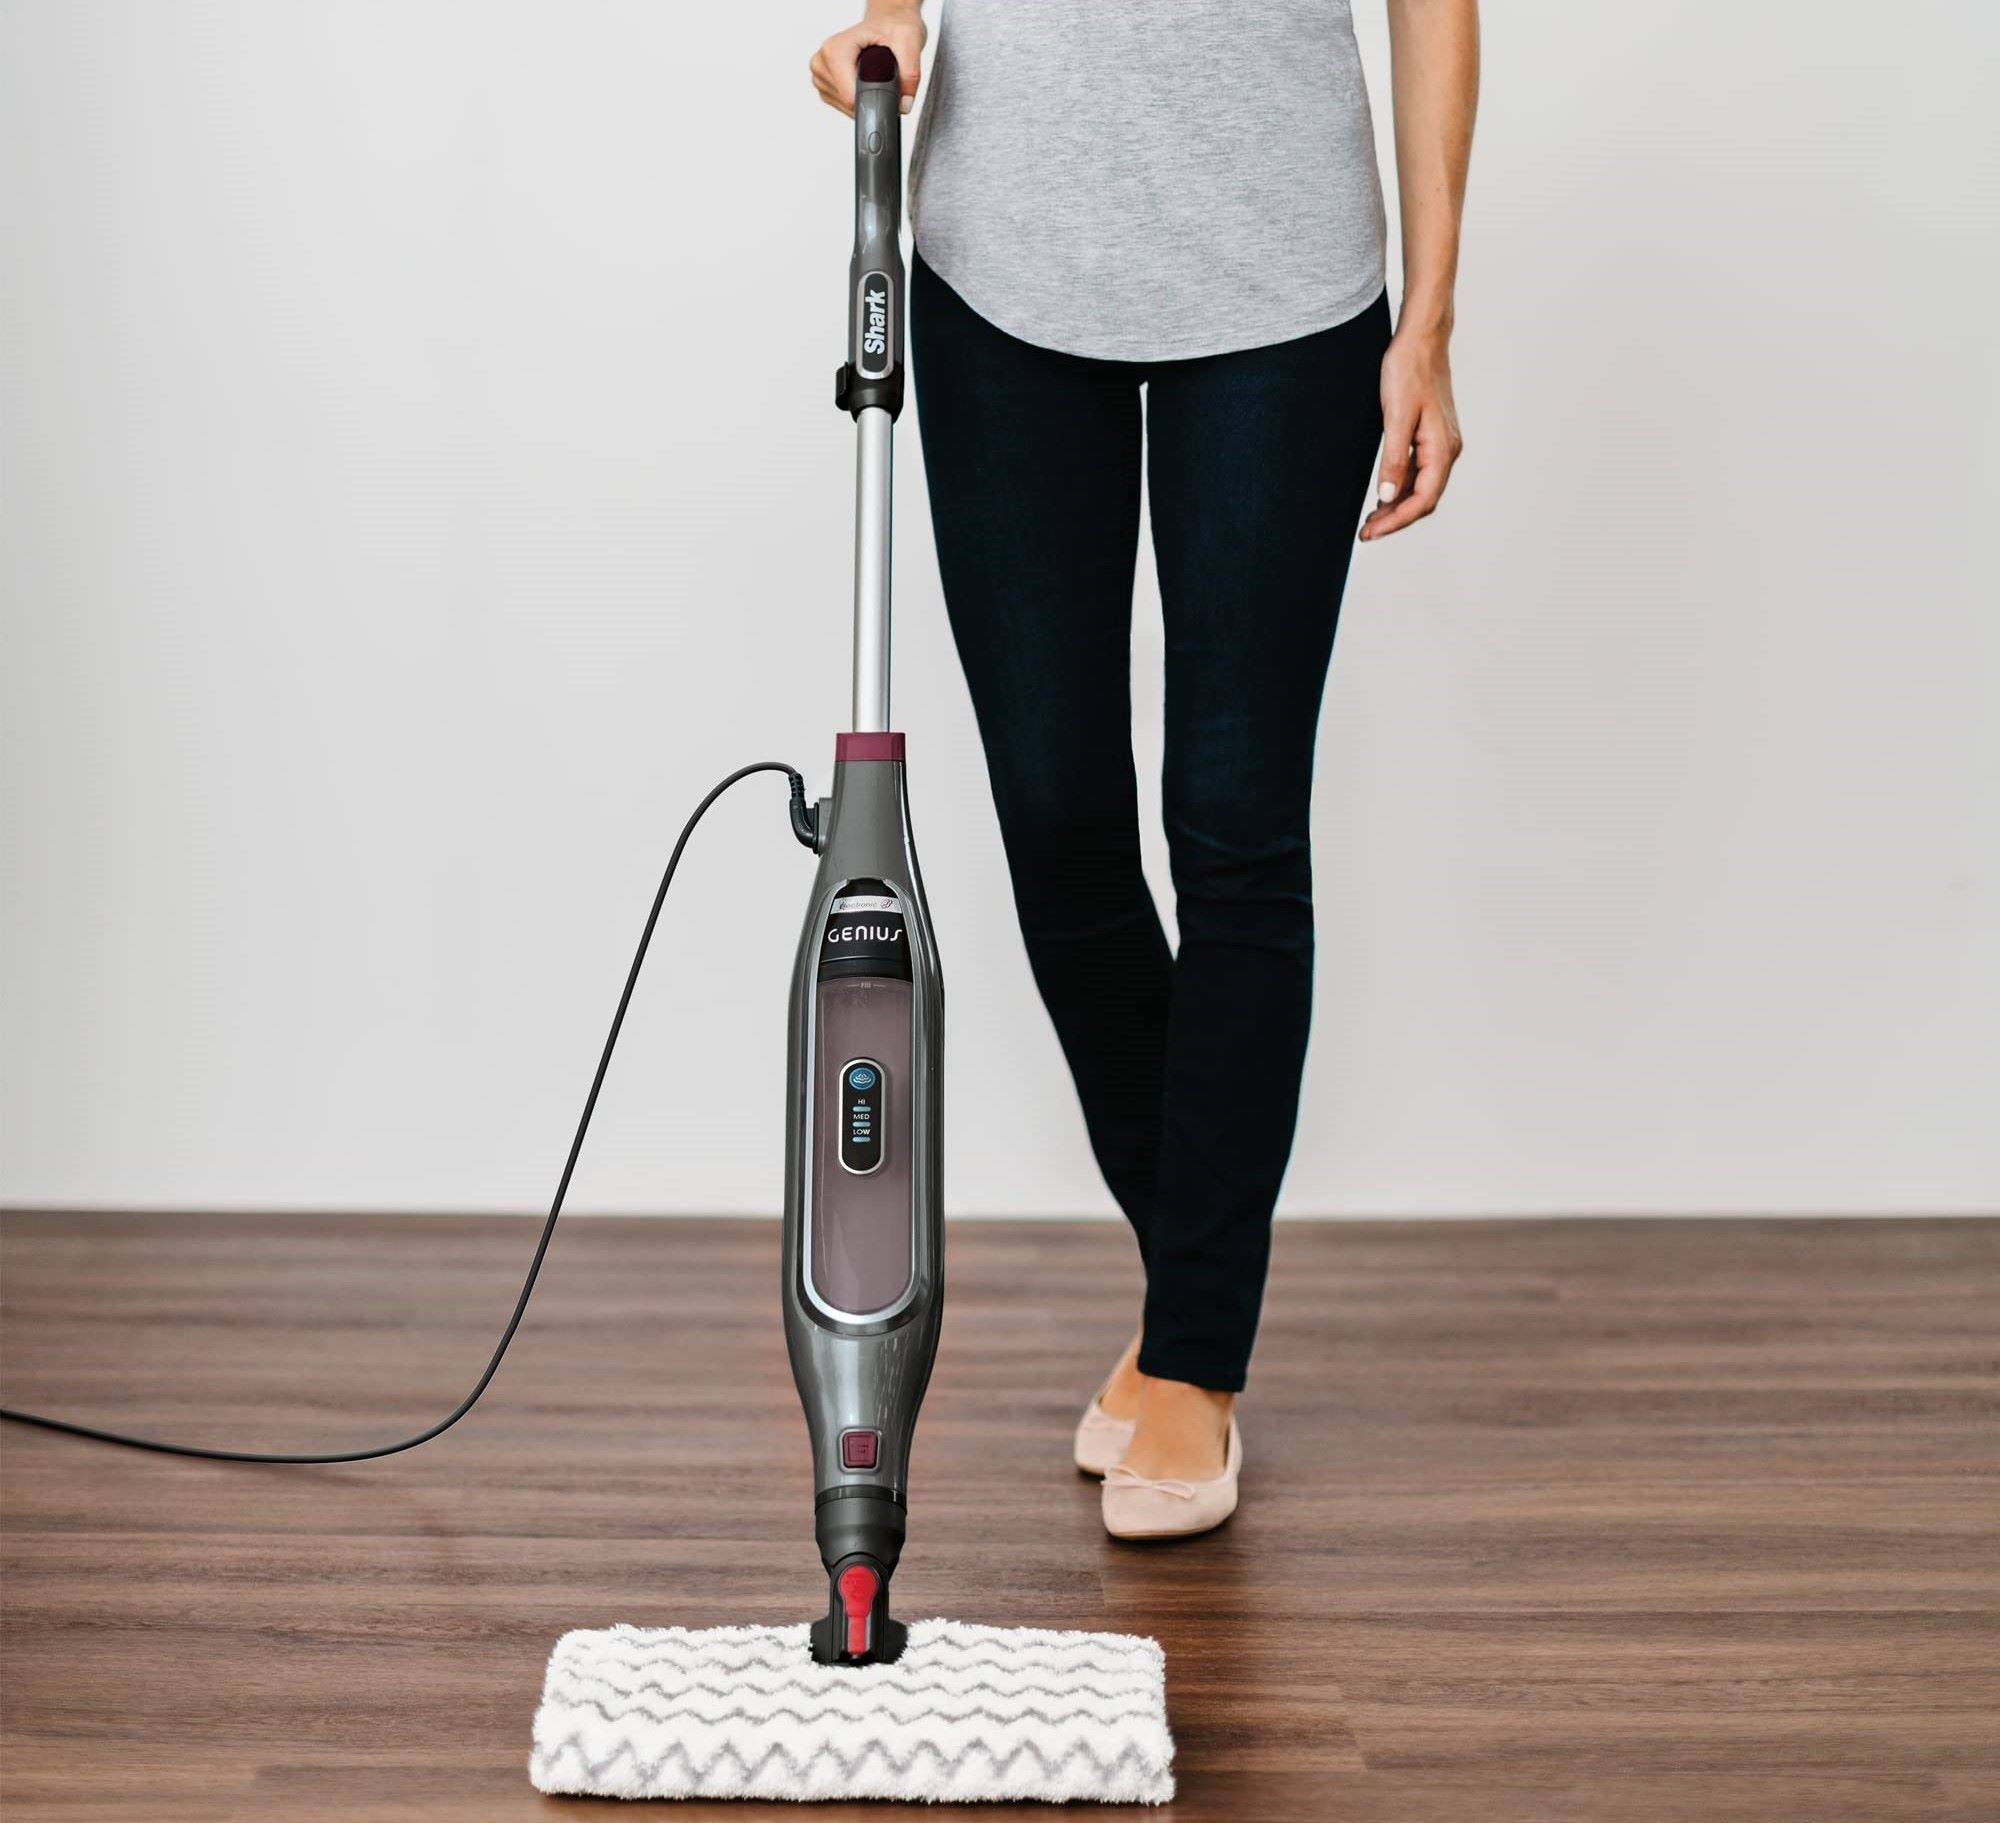
Depending on the model of your Shark steam mop, you may find a power button or switch located on the handle or the main body of the mop. Press or toggle the power control to turn on the steam mop, initiating the heating process that will transform the water in the tank into powerful, sanitizing steam.
As the steam mop begins to power up, you may notice indicator lights or display panels illuminating to indicate that the unit is operational. Take a moment to familiarize yourself with the controls and indicators on your specific model, as they may provide valuable information about the steam production status and any additional features or settings available to you.
Once the steam mop is powered on, allow it a few moments to reach the optimal temperature for steam production. During this time, you can prepare the cleaning area by removing any obstacles and ensuring that the surface to be cleaned is clear of debris and loose particles.
With your Shark steam mop powered on and ready to go, you're now poised to experience the transformative cleaning power of steam. The next step is to select the appropriate steam setting for the specific surfaces you'll be cleaning, ensuring optimal cleaning results without causing any damage.
By plugging in and turning on your Shark steam mop, you're taking a significant step toward achieving sparkling, sanitized floors with minimal effort. The natural cleaning power of steam is now at your fingertips, ready to tackle dirt, grime, and bacteria in your living space.
Selecting the Right Steam Setting
One of the key advantages of the Shark steam mop is its versatility when it comes to cleaning different surfaces. To ensure optimal cleaning results and to prevent any potential damage, it's essential to select the right steam setting based on the specific surface you'll be cleaning.
Most Shark steam mops offer multiple steam settings, allowing you to adjust the intensity of the steam output to suit different flooring materials and levels of dirt and grime. Common steam settings may include options for low, medium, and high steam output, providing flexibility for various cleaning tasks.
When cleaning sealed hardwood floors, laminate, or other delicate surfaces, it's advisable to start with a lower steam setting to prevent excessive moisture exposure. This gentle approach helps protect the integrity of the flooring while effectively sanitizing and refreshing the surface.
For tile, stone, and other durable surfaces, you may opt for a medium to high steam setting to tackle stubborn dirt and grime effectively. The higher steam output can penetrate and loosen tough stains, making them easier to remove without the need for harsh chemicals or excessive scrubbing.
Before applying steam to any surface, it's a good practice to perform a spot test in an inconspicuous area to ensure that the selected steam setting is appropriate and does not cause any adverse effects. This simple precaution can help you avoid potential damage and ensure that the steam mop delivers the desired cleaning results.
As you select the right steam setting for each cleaning task, pay attention to any specific recommendations provided in the user manual or by the flooring manufacturer. Following these guidelines can help you achieve optimal cleaning outcomes while maintaining the pristine condition of your floors.
By choosing the appropriate steam setting for each surface, you're harnessing the full potential of your Shark steam mop to achieve thorough and effective cleaning results. With the steam setting dialed in, you're now ready to put your steam mop to work on a variety of surfaces throughout your home.
Read more: How To Fix Shark Steam Mop
Using the Shark Steam Mop on Different Surfaces
The versatility of the Shark steam mop allows you to effectively clean and sanitize a wide range of surfaces in your home, from hard floors to carpets and beyond. By understanding the best practices for using your steam mop on different surfaces, you can achieve exceptional cleaning results while safeguarding the integrity of each material.
Hardwood Floors and Laminate
When using your Shark steam mop on sealed hardwood floors or laminate, it’s essential to exercise caution to prevent excessive moisture exposure. Begin by selecting a low steam setting to minimize the amount of moisture applied to the surface. Move the steam mop in smooth, overlapping passes, allowing the gentle steam to sanitize and refresh the flooring without causing damage.
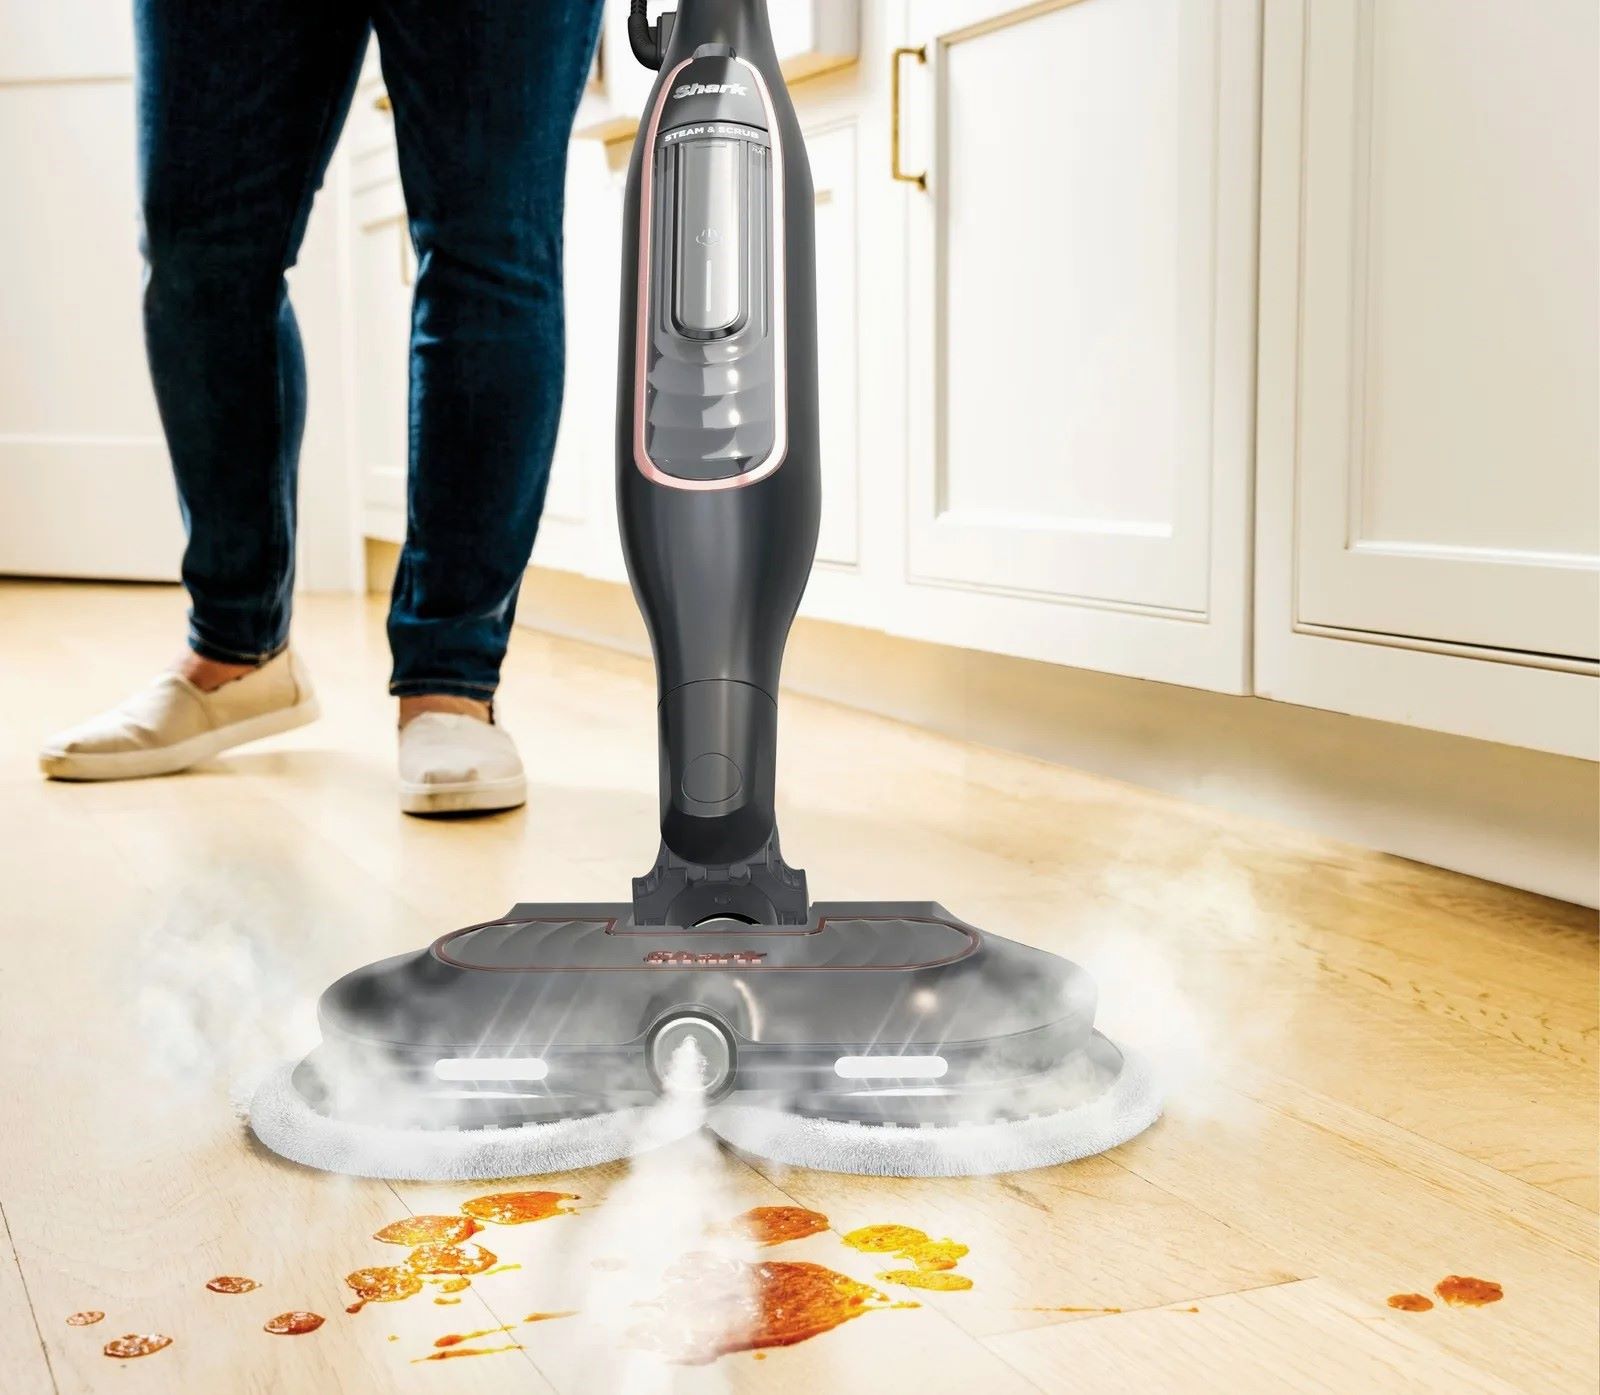
Tile and Grout
To tackle tile and grout effectively, opt for a medium to high steam setting on your Shark steam mop. The penetrating power of steam helps loosen dirt and grime from the grout lines and tile surfaces, making it easier to remove stubborn stains. Use the steam mop in a controlled manner, focusing on small sections at a time for thorough cleaning results.
Carpet Refreshing
Some models of Shark steam mops are equipped with attachments specifically designed for refreshing carpets. When using the steam mop on carpets, follow the manufacturer’s guidelines for the appropriate steam setting and attachment. The steam can help revitalize and deodorize carpets, providing a convenient and chemical-free way to maintain a clean living environment.
Read more: How To Disassemble A Shark Steam Mop
Vinyl and Linoleum
For vinyl and linoleum flooring, the Shark steam mop offers an efficient way to sanitize and remove dirt and stains. Select a steam setting suitable for these resilient surfaces and move the mop methodically across the floor to ensure even coverage. The steam will help lift and loosen grime, leaving your vinyl and linoleum floors refreshed and clean.
Cautionary Note
While the Shark steam mop is a versatile cleaning tool, it’s important to exercise caution when using it on certain surfaces. Avoid using the steam mop on unsealed hardwood, unglazed tile, or delicate surfaces that may be sensitive to moisture. Additionally, always refer to the manufacturer’s recommendations and any warranty guidelines to ensure that your cleaning methods align with the prescribed care for each surface.
By understanding how to use your Shark steam mop on different surfaces, you can maintain a clean and hygienic home environment while preserving the beauty and integrity of your floors. With the right approach, your steam mop becomes an invaluable ally in your quest for spotless, sanitized surfaces throughout your living space.
Maintenance and Cleaning Tips
Proper maintenance and care are essential to keep your Shark steam mop performing at its best and to prolong its lifespan. By following these maintenance and cleaning tips, you can ensure that your steam mop remains a reliable and effective tool for tackling dirt and grime in your home.
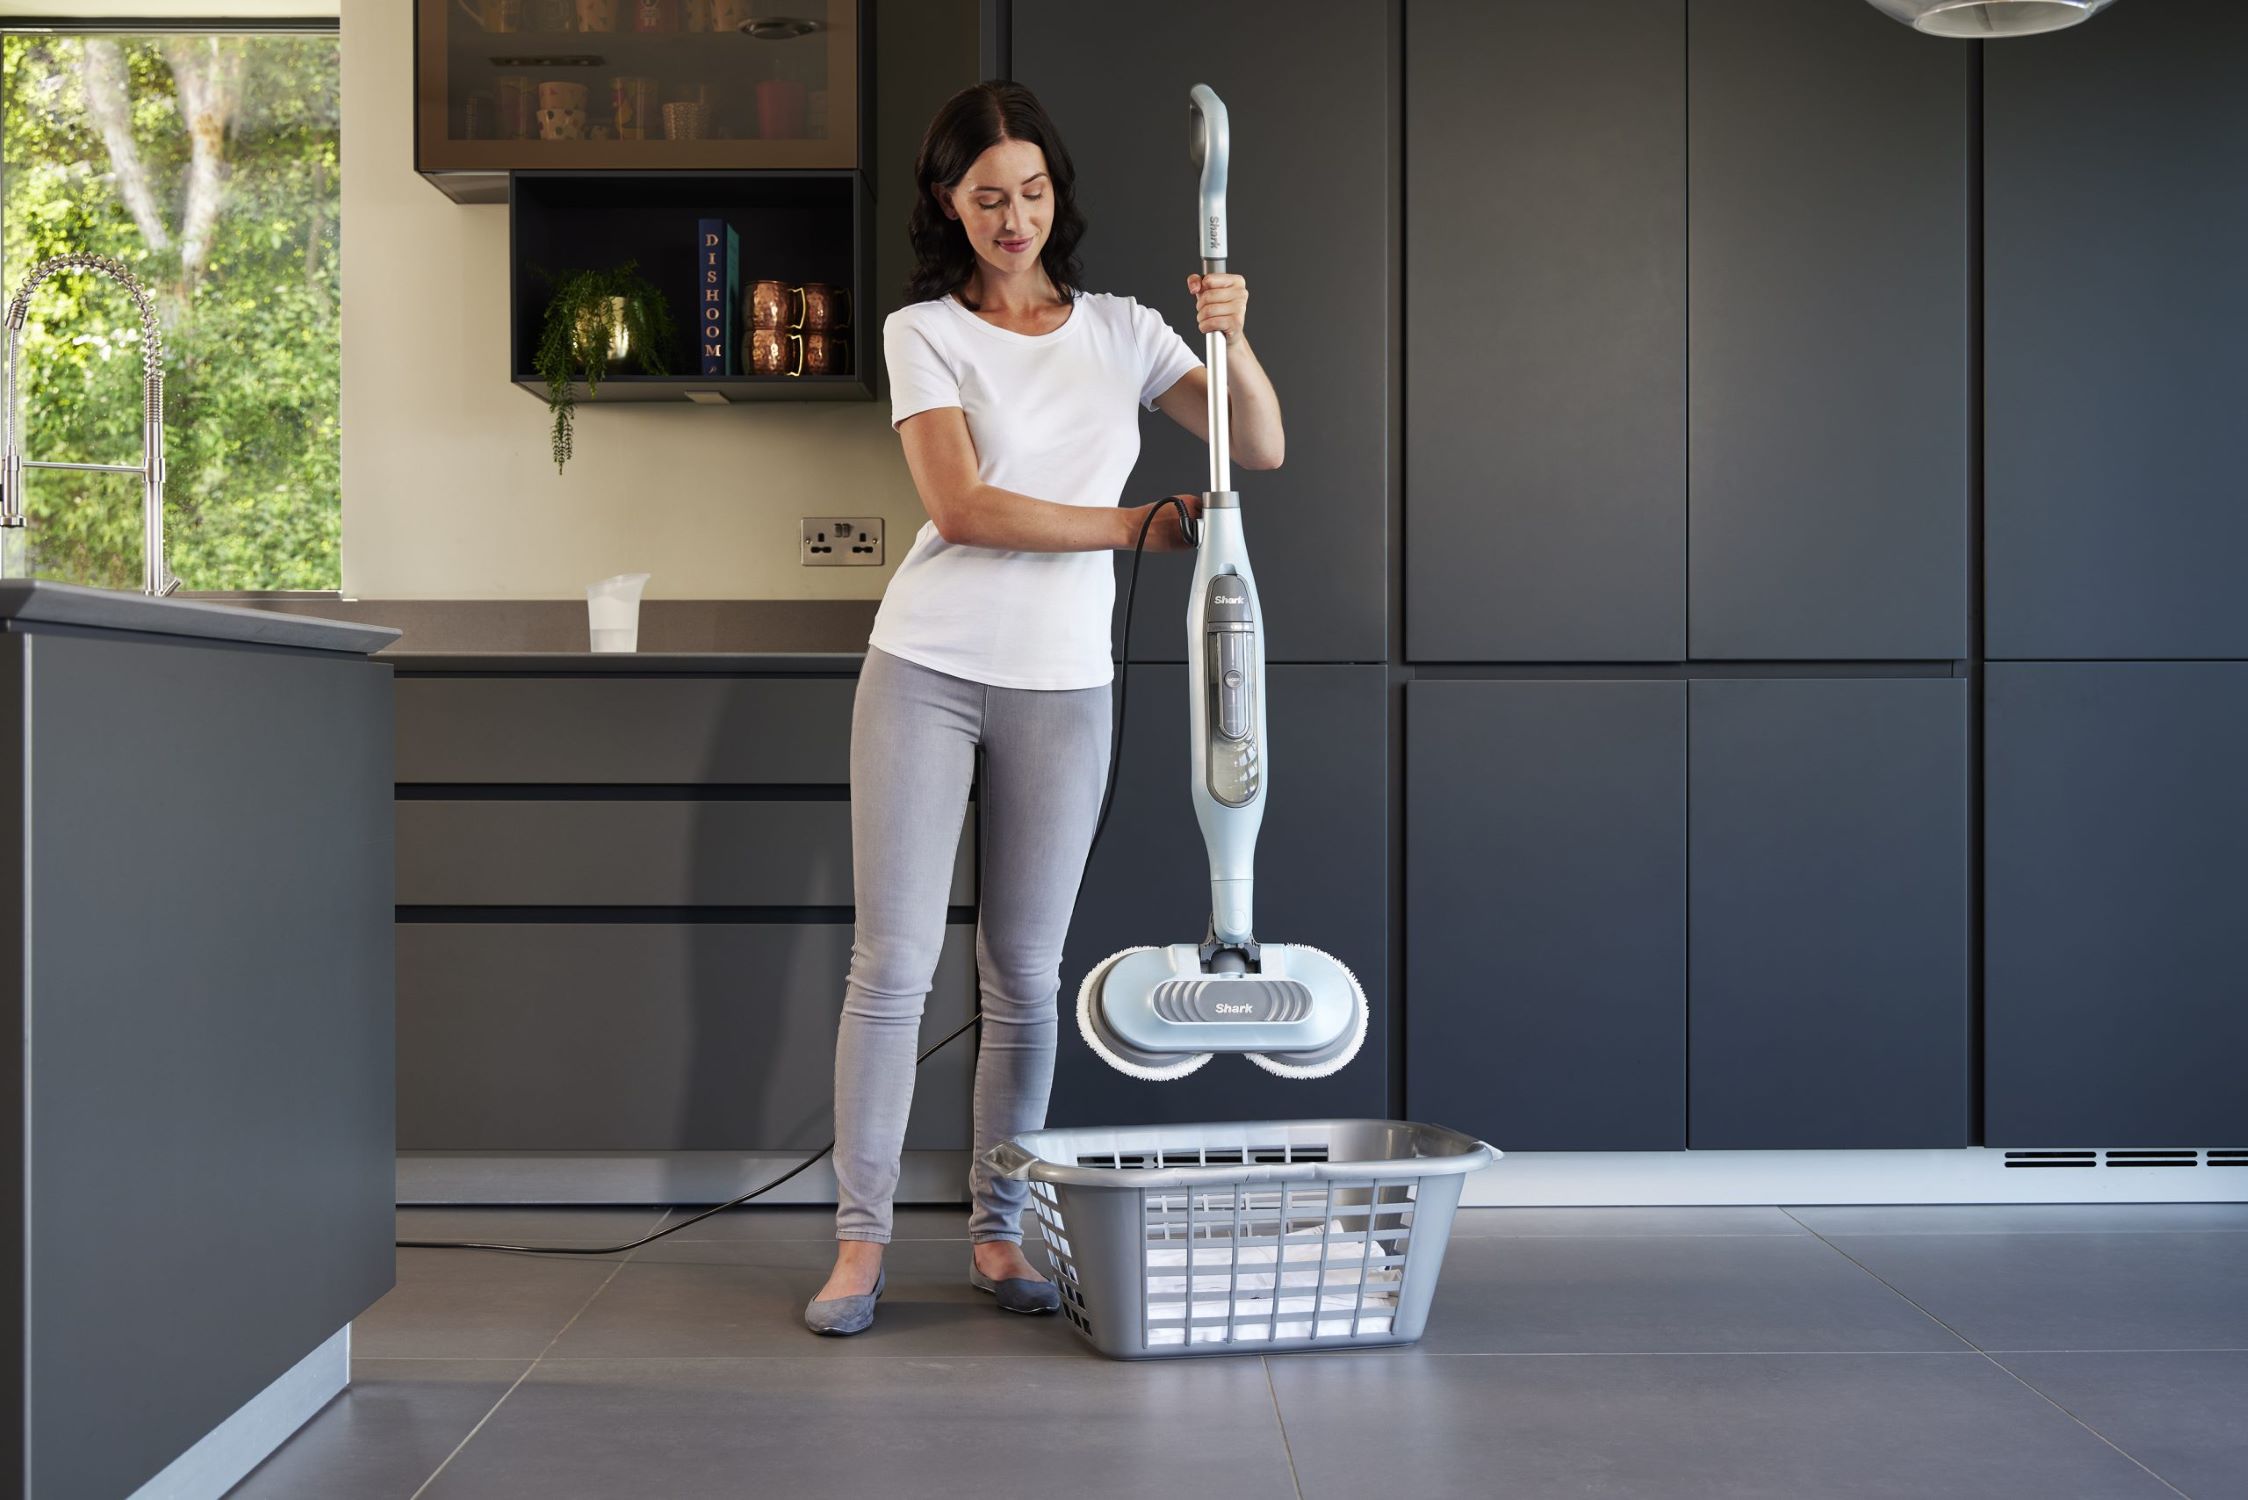
Regular Cleaning of the Mop Pads
After each use, remove the cleaning pad from your Shark steam mop and clean it according to the manufacturer’s instructions. Many cleaning pads are machine washable, allowing for easy maintenance. Regularly cleaning the pads helps prevent the buildup of dirt and residue, ensuring that they remain effective at trapping grime during cleaning sessions.
Read more: Which Shark Steam Mop Is Best
Descale the Water Tank
Over time, mineral deposits from the water used in the steam mop can accumulate inside the water tank and affect its performance. Periodically descale the water tank using a vinegar solution or a proprietary descaling product recommended by the manufacturer. This process helps remove mineral buildup and ensures consistent steam production.
Storage and Drying
After use, allow the steam mop to cool down completely before storing it. Ensure that the cleaning pads are removed and washed, if necessary, before storing them. Store the steam mop in a dry, well-ventilated area to prevent the growth of mold or mildew. Proper drying and storage help maintain the hygiene and longevity of the steam mop.
Inspect and Maintain Attachments
If your Shark steam mop comes with specialized attachments, such as scrubbing brushes or carpet gliders, inspect them regularly for signs of wear or damage. Clean the attachments as needed and replace them if they show significant wear or no longer function as intended. Properly maintained attachments contribute to the overall effectiveness of the steam mop.
Check and Replace Filters
Some models of Shark steam mops feature filters to capture debris and prevent it from entering the steam generation system. Check the condition of the filters periodically and replace them according to the manufacturer’s recommendations. Clean filters ensure that the steam mop operates efficiently and maintains optimal steam quality.
Read more: How Does Shark Steam Mop Work
Follow Manufacturer’s Guidelines
Always refer to the user manual and any maintenance guidelines provided by the manufacturer. Adhering to the recommended maintenance practices and care instructions helps preserve the warranty coverage and ensures that your steam mop continues to deliver exceptional cleaning performance.
By incorporating these maintenance and cleaning tips into your routine, you can maximize the effectiveness and longevity of your Shark steam mop. With proper care, your steam mop remains a valuable asset in maintaining a clean, sanitized, and inviting living environment for you and your family.
Conclusion
Congratulations on mastering the art of using your Shark steam mop to achieve spotless, sanitized surfaces throughout your home! By following the steps outlined in this guide, you’ve gained the knowledge and confidence to unleash the cleaning power of steam in a safe, effective, and eco-friendly manner.
From the moment you unboxed and assembled your Shark steam mop to the careful selection of the right steam setting for different surfaces, you’ve embarked on a journey toward a cleaner, healthier living space. The versatility of your steam mop allows you to effortlessly refresh hardwood floors, tackle stubborn grime on tile and grout, and even revitalize carpets with ease.
As you continue to use and maintain your Shark steam mop, remember the importance of regular cleaning and upkeep. By caring for your steam mop and its accessories, you ensure that it remains a reliable and efficient tool for years to come. Following the manufacturer’s guidelines for maintenance and care helps preserve the integrity of your steam mop and safeguards its performance.
With each use of your Shark steam mop, you’re not only achieving sparkling, germ-free surfaces but also contributing to a healthier indoor environment for your family. The natural cleaning power of steam allows you to forgo harsh chemicals, providing peace of mind and a sustainable approach to maintaining a clean home.
By incorporating the maintenance and cleaning tips provided in this guide into your routine, you’re investing in the longevity and effectiveness of your Shark steam mop. Proper care and attention ensure that your steam mop remains a steadfast ally in your quest for a pristine living space.
As you revel in the convenience and effectiveness of your Shark steam mop, share your newfound knowledge with friends and family. Empower others to embrace the benefits of steam cleaning and inspire them to achieve immaculate, sanitized surfaces in their own homes.
Armed with your newfound expertise, you’re poised to make the most of your Shark steam mop, transforming cleaning sessions into effortless and rewarding experiences. With the power of steam at your command, maintaining a clean, inviting home environment becomes a simple and satisfying endeavor.
Here’s to the joy of effortless, eco-friendly cleaning with your Shark steam mop, and to the radiant, sanitized surfaces that await in your home!
Frequently Asked Questions about How To Turn On Shark Steam Mop
Was this page helpful?
At Storables.com, we guarantee accurate and reliable information. Our content, validated by Expert Board Contributors, is crafted following stringent Editorial Policies. We're committed to providing you with well-researched, expert-backed insights for all your informational needs.

0 thoughts on “How To Turn On Shark Steam Mop”