Home>Home Appliances>Cleaning Appliances>How To Use A Dry Mop
Cleaning Appliances
How To Use A Dry Mop
Modified: March 24, 2024
Learn how to effectively use a dry mop for cleaning appliances and maintaining a spotless home. Discover the best techniques and tips for using a dry mop. Expert advice for a cleaner, healthier living space.
(Many of the links in this article redirect to a specific reviewed product. Your purchase of these products through affiliate links helps to generate commission for Storables.com, at no extra cost. Learn more)
Introduction
Welcome to the world of hassle-free cleaning with dry mops! Whether you're a cleaning enthusiast or someone who simply wants to maintain a sparkling clean home, a dry mop is an essential tool in your cleaning arsenal. This versatile cleaning implement is designed to efficiently remove dust, dirt, and debris from various surfaces, making it a must-have for any household or commercial space.
In this comprehensive guide, we will explore the ins and outs of using a dry mop effectively. From choosing the right type of dry mop to mastering the art of using it on different surfaces, you'll discover practical tips and techniques to streamline your cleaning routine. Additionally, we'll delve into the maintenance aspect, ensuring that your dry mop remains in top-notch condition for years to come.
So, whether you're a seasoned cleaning professional or a novice looking to elevate your cleaning game, this guide is tailored to equip you with the knowledge and skills needed to make the most of your dry mop. Let's embark on this cleaning adventure and unlock the full potential of this remarkable cleaning tool!
Key Takeaways:
- Choose the right dry mop for your surface: Consider factors like surface compatibility, handle length, mop head design, cleaning pads, and additional features to ensure optimal cleaning performance without causing damage.
- Prepare the surface and use the dry mop effectively: Clear the area, dust and sweep, address spills and stains, check for loose debris, and ensure ventilation. Use smooth, overlapping strokes, navigate around furniture, target problem areas, reach tight spaces, and inspect the mop head regularly for a spotless, dust-free surface.
Read more: How To Dry A Mop
Choosing the Right Dry Mop
When it comes to selecting the perfect dry mop for your cleaning needs, it’s essential to consider various factors to ensure optimal performance and efficiency. With a wide array of options available on the market, choosing the right dry mop can seem daunting, but fret not – we’re here to simplify the selection process for you.
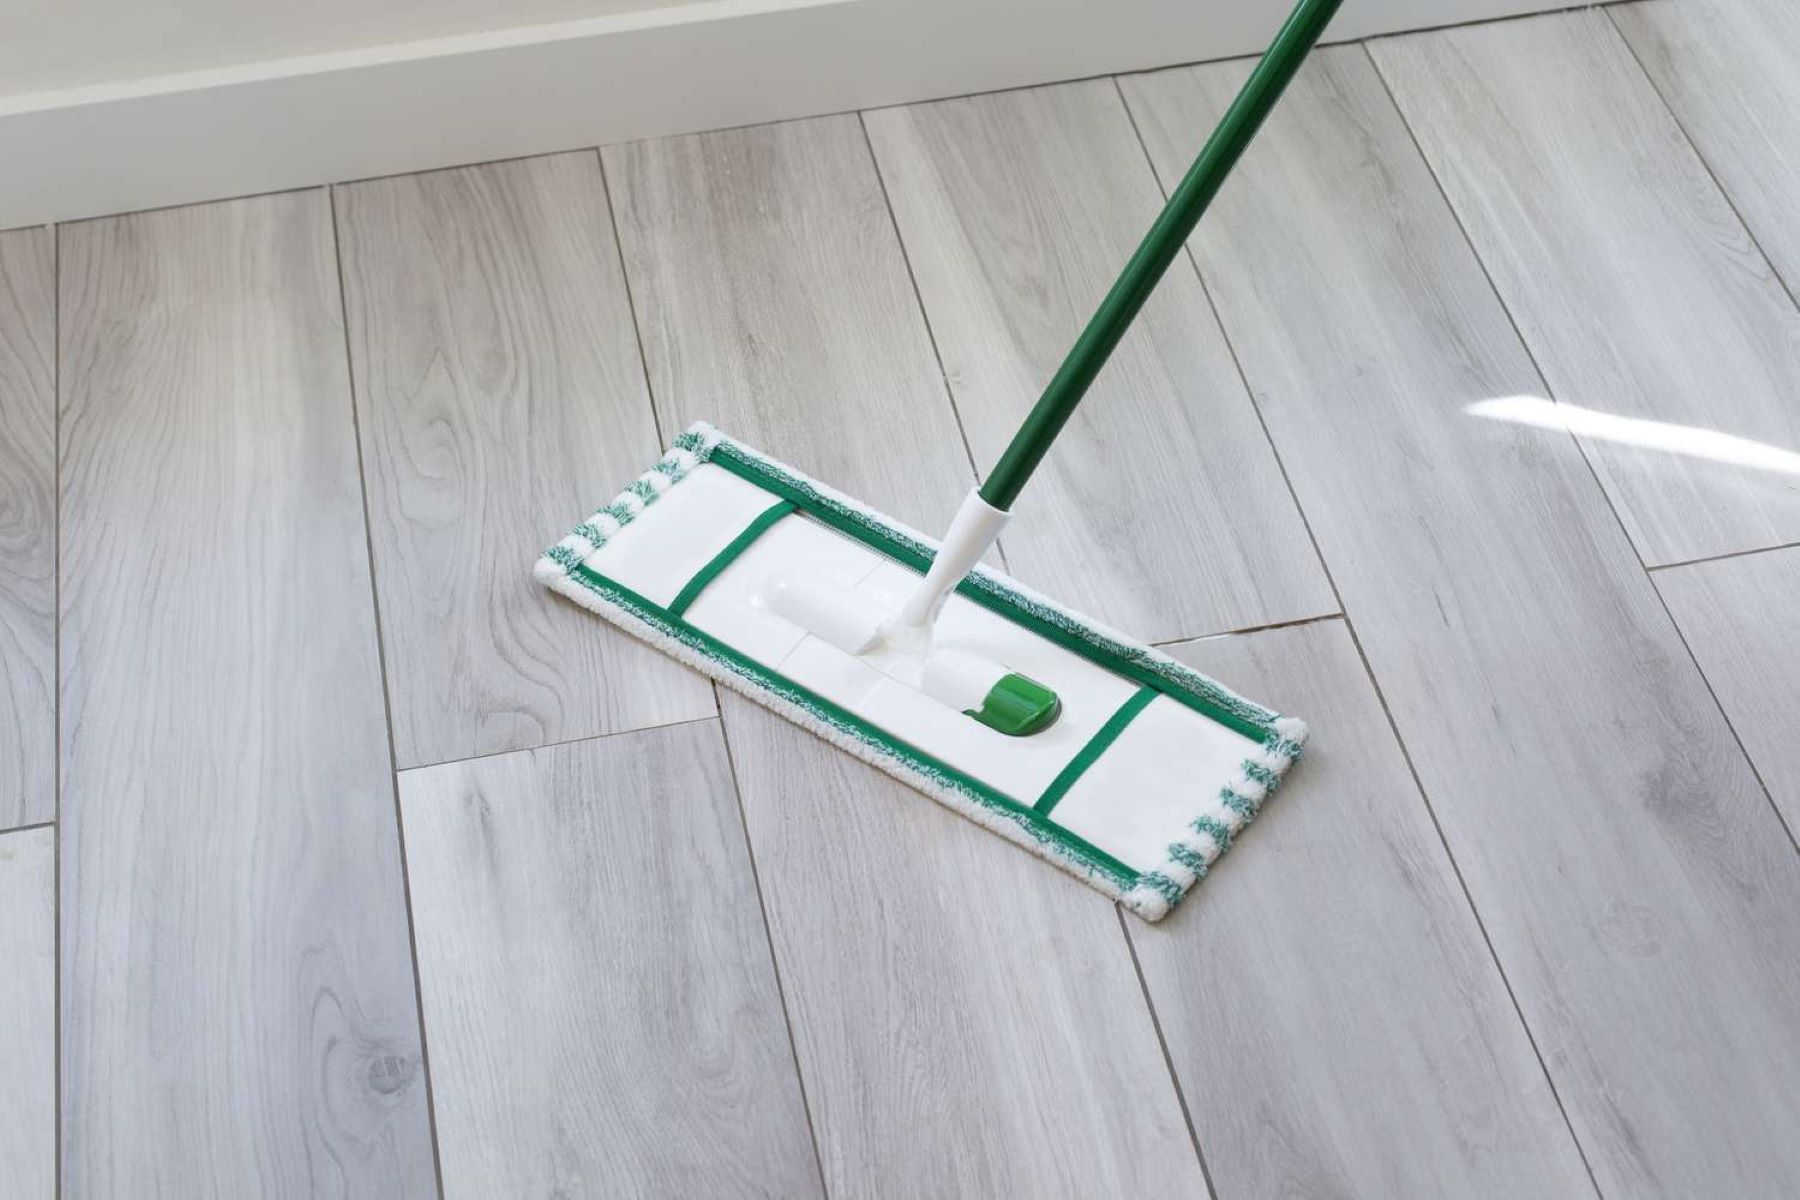
1. Surface Compatibility: Different surfaces require different types of dry mops. For hardwood floors, microfiber mops are highly effective at trapping dust and debris without causing scratches. Meanwhile, for tiled or laminate floors, a dry mop with gentle, non-abrasive pads is ideal for achieving a streak-free clean.
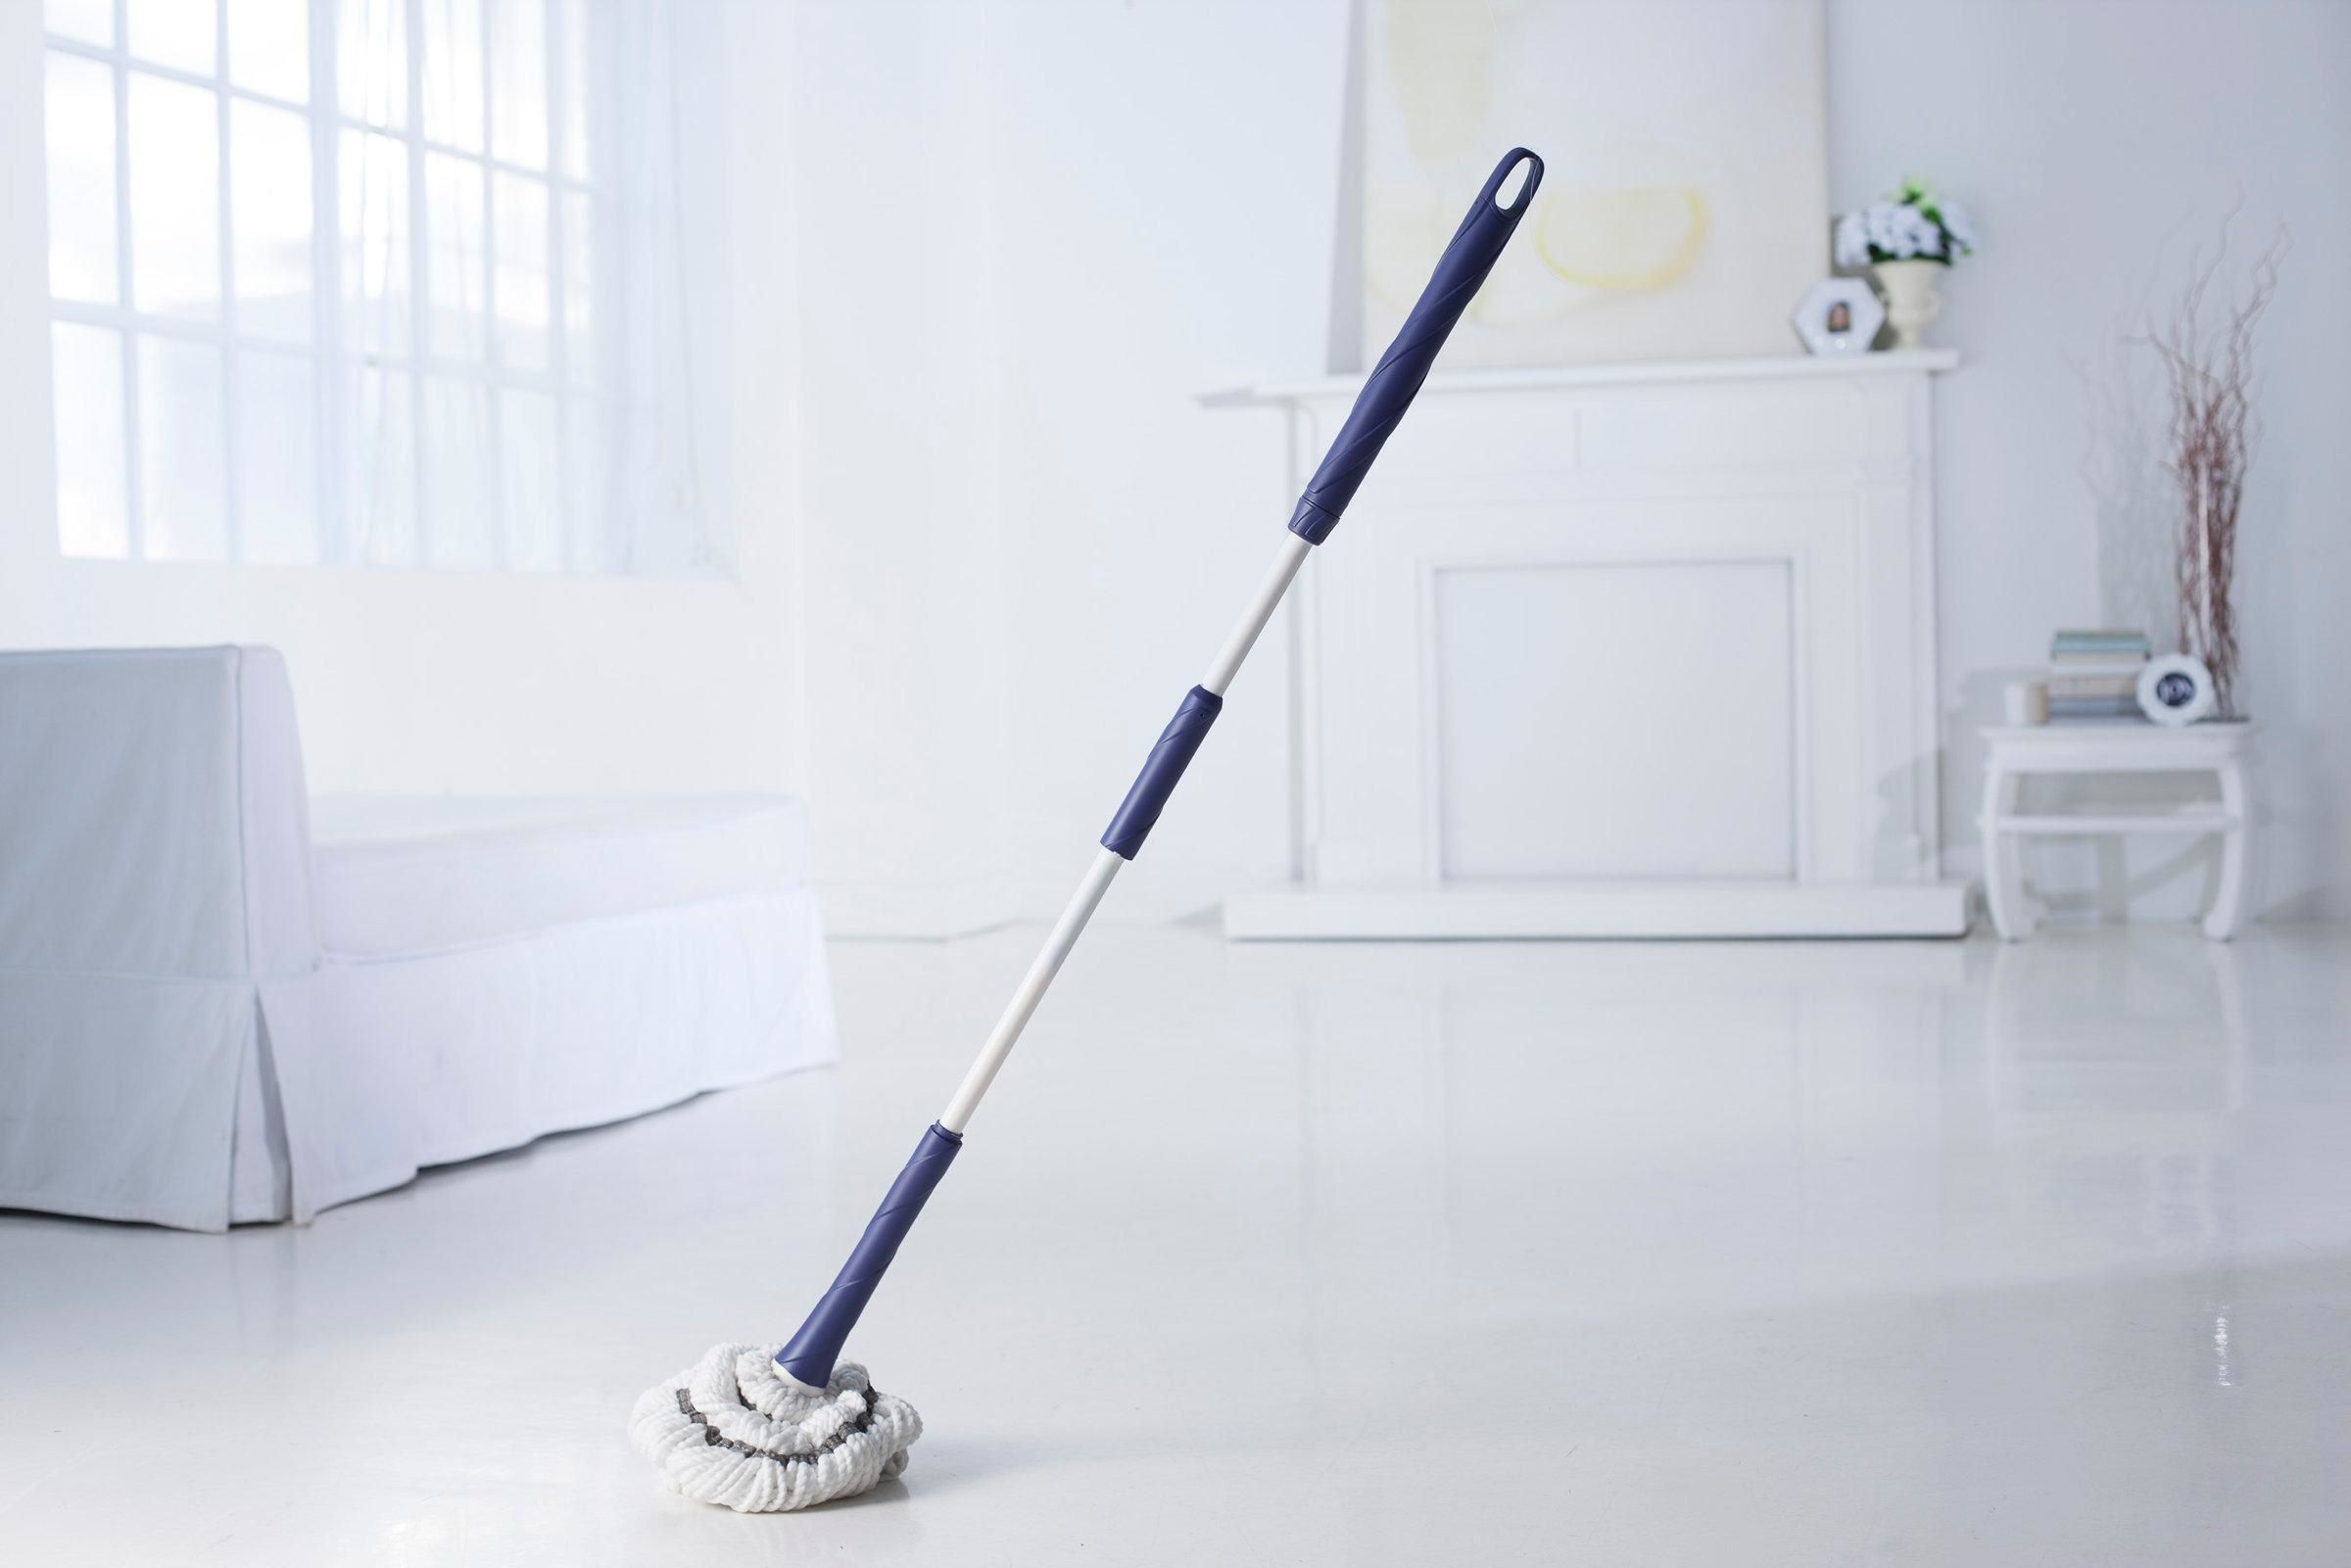
2. Handle Length and Material: The handle of the dry mop plays a crucial role in ensuring comfortable usage. Opt for a mop with an adjustable handle to accommodate various user heights. Additionally, consider the material of the handle – lightweight, durable materials such as aluminum or stainless steel offer both sturdiness and ease of maneuverability.
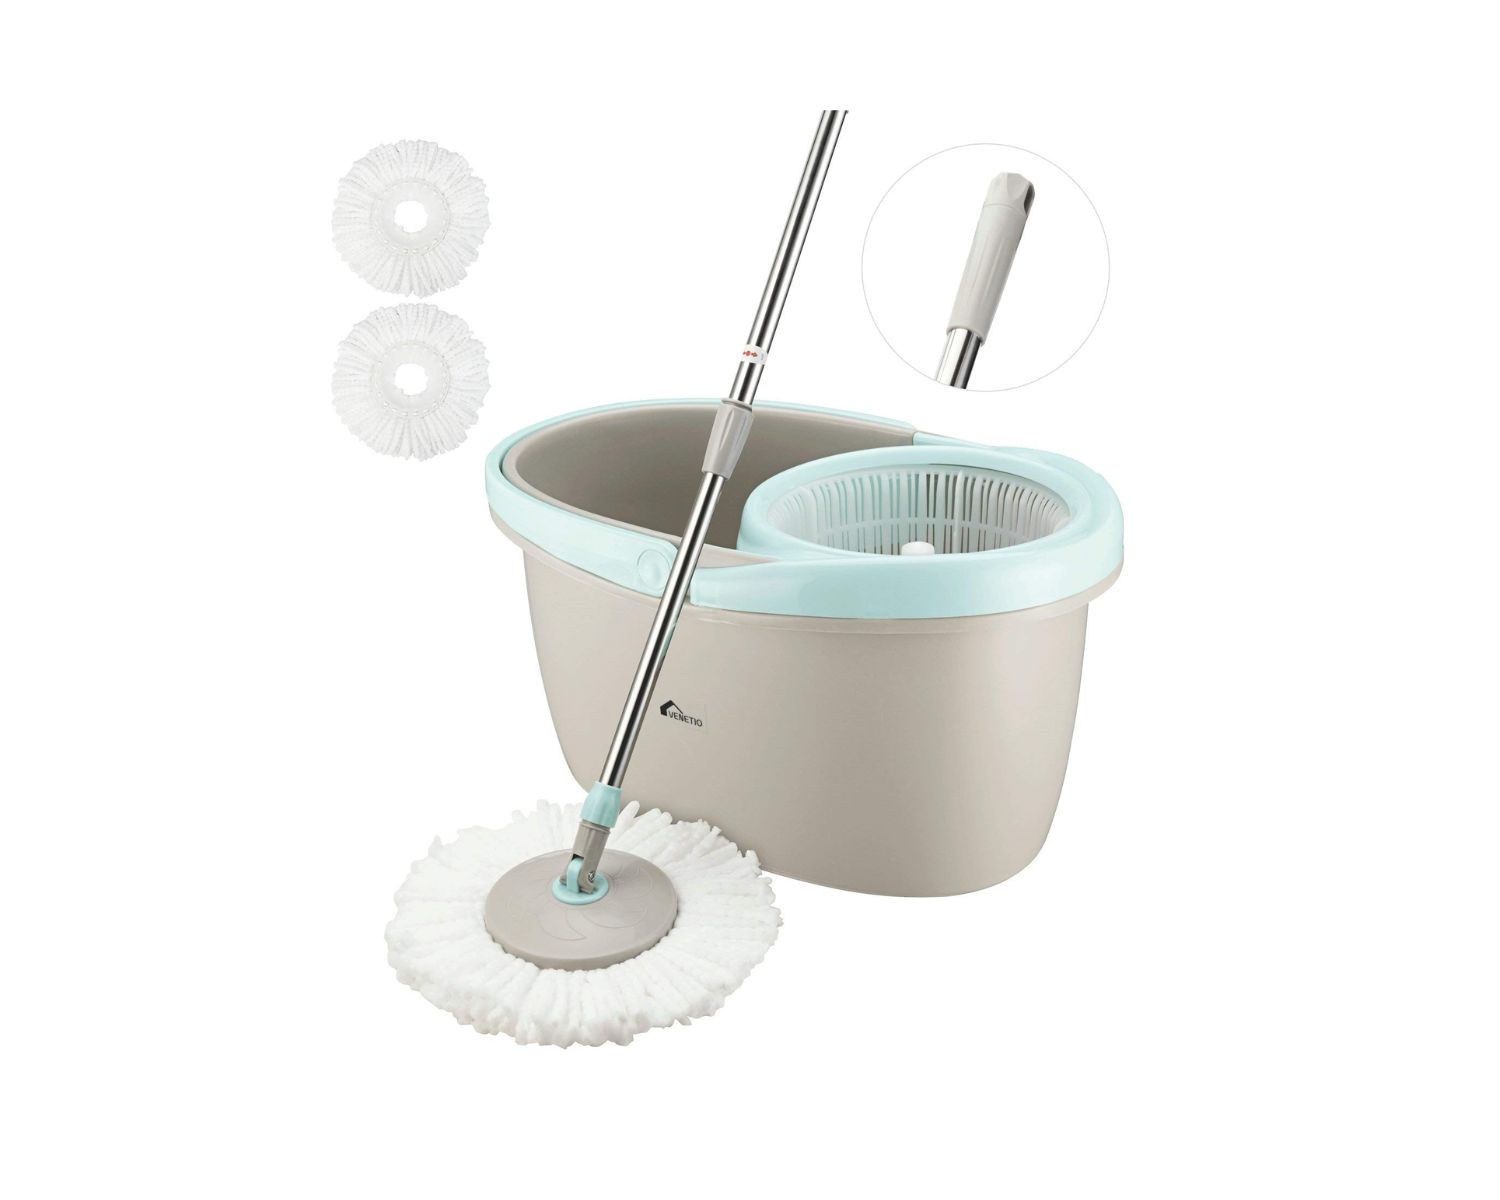
3. Mop Head Design: The design of the mop head significantly impacts its cleaning efficiency. Look for a mop head that is versatile and maneuverable, allowing you to reach tight spaces and corners with ease. Swivel-head designs are particularly advantageous for navigating around furniture and obstacles.
4. Cleaning Pads: The quality of the cleaning pads is paramount to the mop’s performance. Opt for microfiber pads, as they effectively capture and retain dust and dirt particles, ensuring a thorough clean with minimal effort. Additionally, some mops feature reusable and machine-washable pads, offering a cost-effective and eco-friendly cleaning solution.
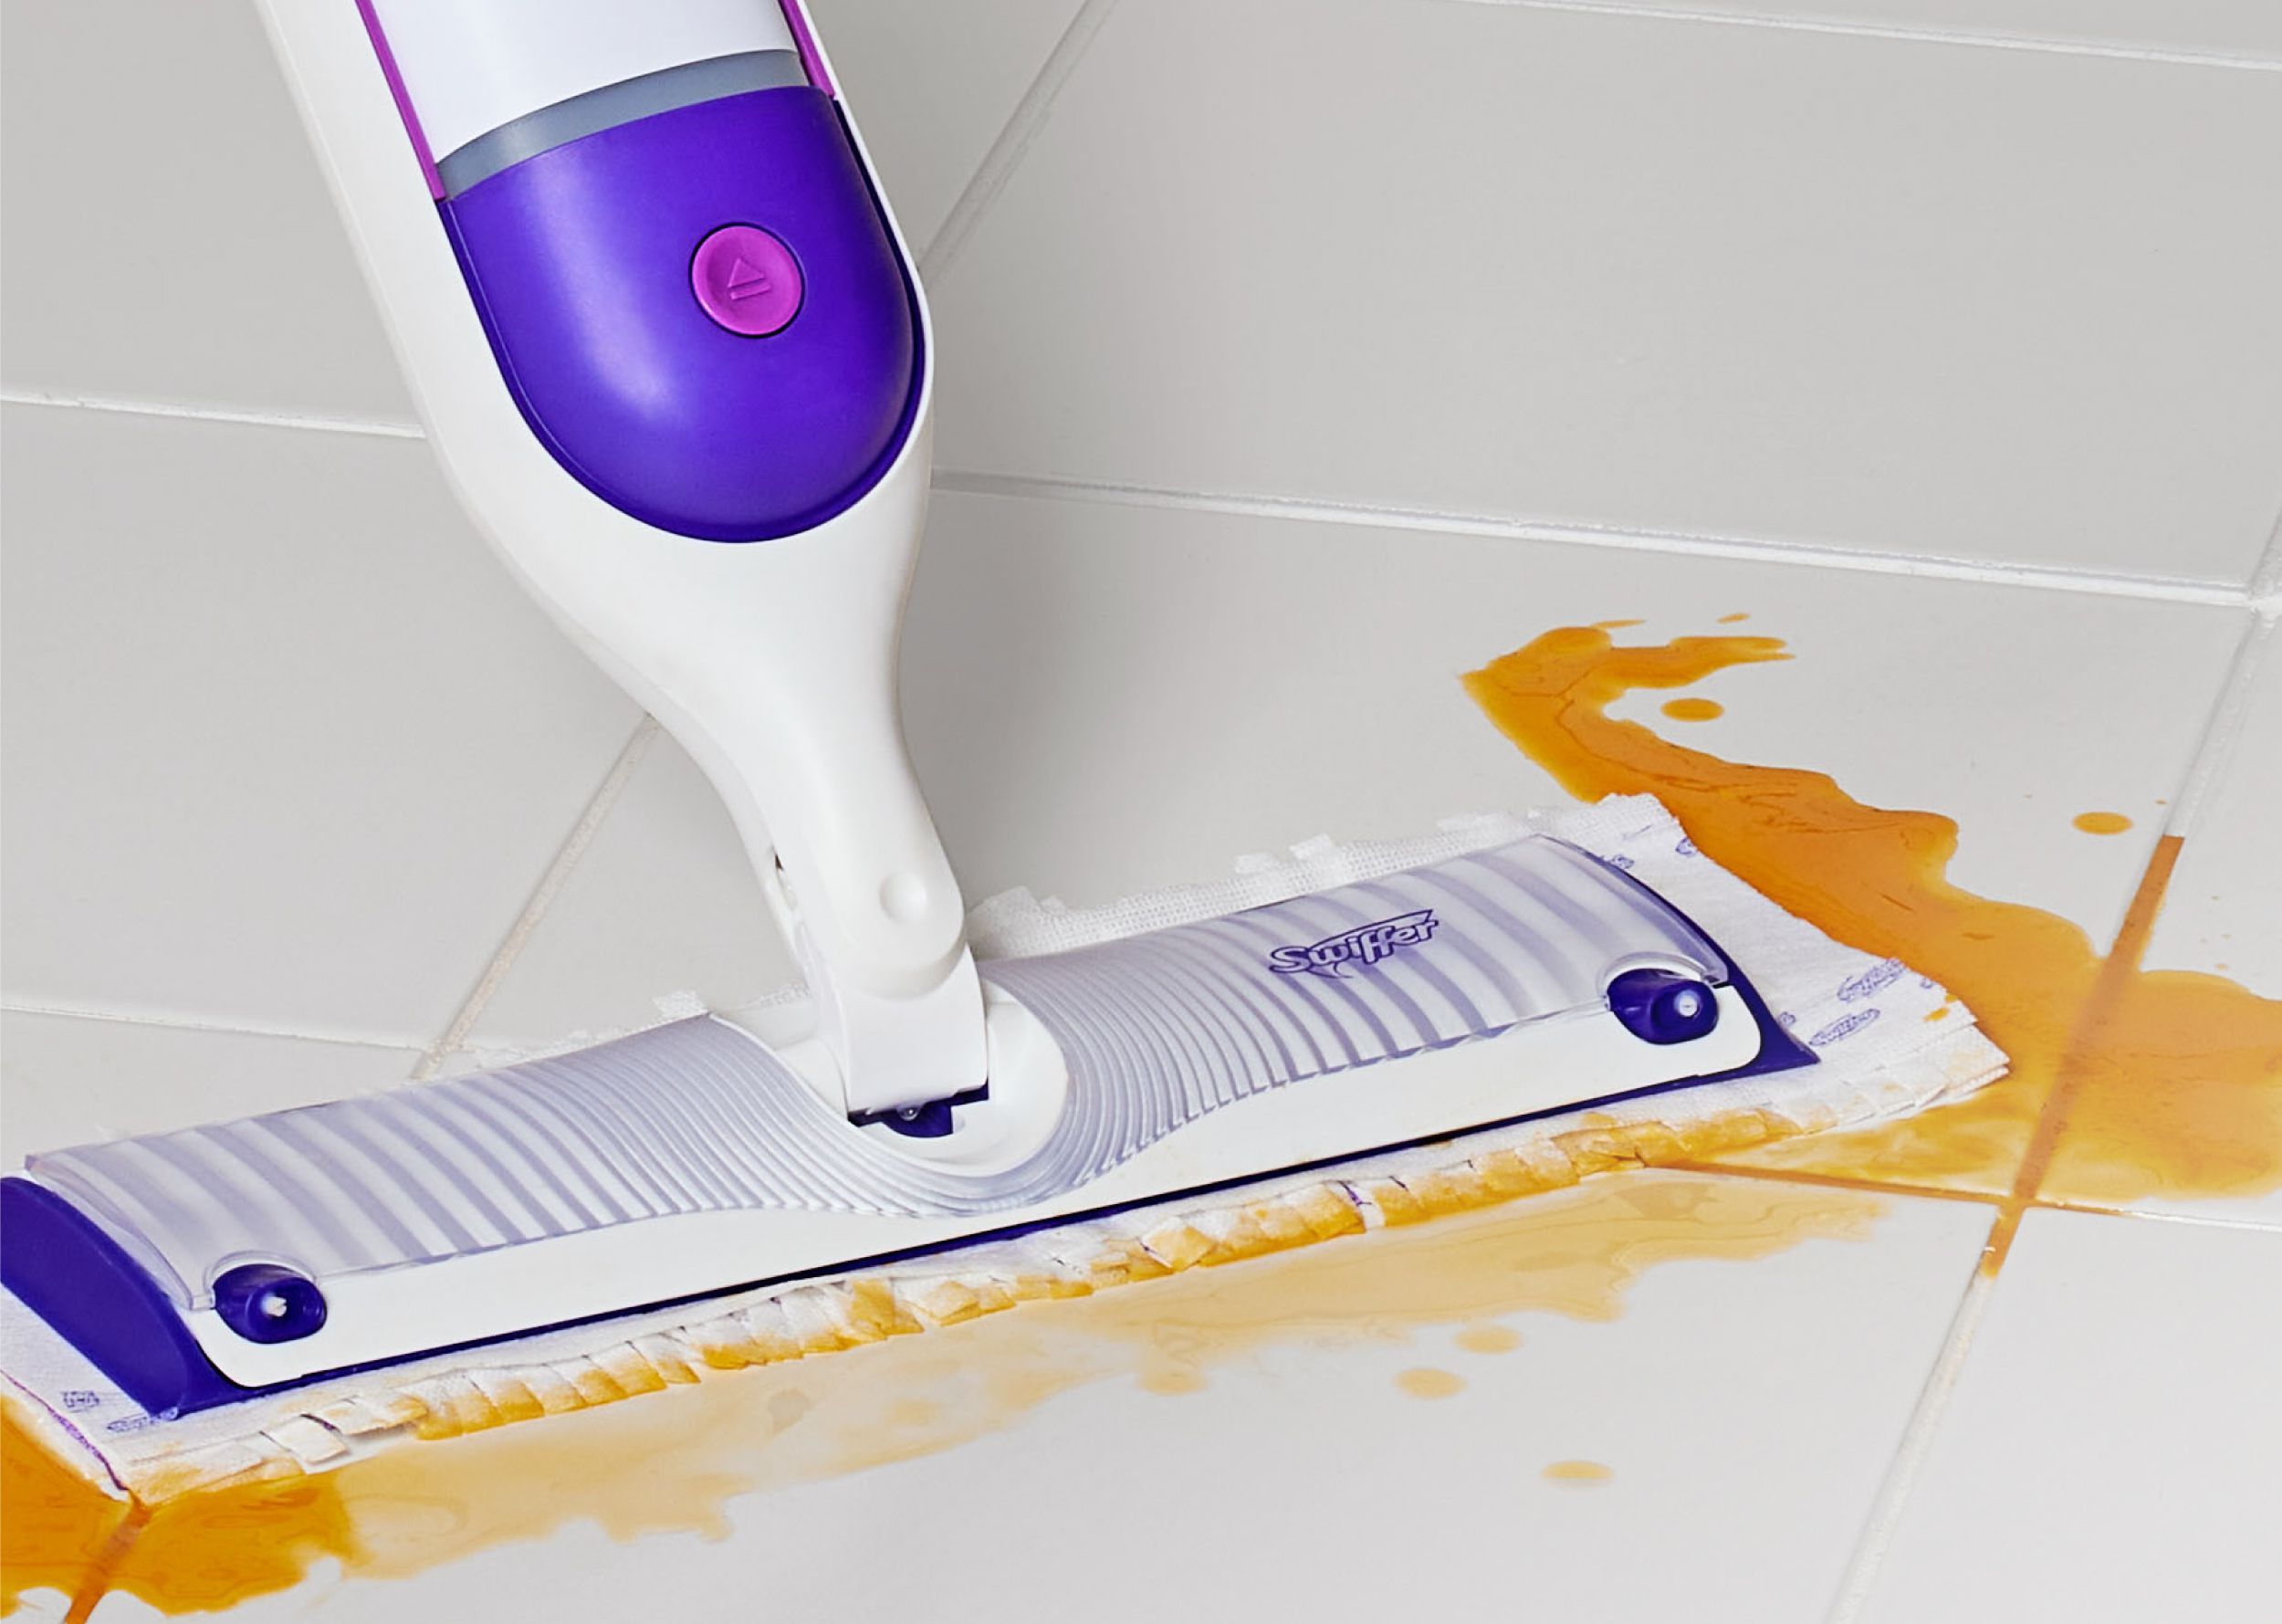
5. Additional Features: Consider additional features that align with your cleaning preferences, such as built-in sprayers for adding cleaning solutions, integrated dusting brushes, or dual-sided mop heads for enhanced versatility.
By carefully considering these factors, you can confidently select a dry mop that caters to your specific cleaning requirements, ensuring a seamless and effective cleaning experience. With the right dry mop in hand, you’re one step closer to achieving spotless, gleaming floors with minimal effort.
Preparing the Surface
Before diving into the cleaning process with your chosen dry mop, it’s crucial to prepare the surface to optimize the cleaning results. Proper surface preparation sets the stage for a thorough and efficient cleaning session, allowing the dry mop to perform at its best. Whether you’re tackling hardwood floors, laminate surfaces, or tile flooring, the following preparatory steps will ensure that your cleaning efforts yield impeccable results.
1. Clearing the Area: Begin by removing any obstacles, such as furniture, rugs, or small objects, from the area to be cleaned. Clearing the space not only allows for unobstructed movement but also prevents the dry mop from snagging on objects during the cleaning process.
2. Dusting and Sweeping: For surfaces with visible debris or dust accumulation, perform a preliminary dusting or sweeping using a soft-bristled broom or a dust mop. This initial step helps remove larger particles and prevents the dry mop from spreading debris around during the cleaning process.
3. Addressing Spills and Stains: Prior to dry mopping, address any spills or stains on the surface using appropriate cleaning solutions or spot treatments. For sticky residues or stubborn stains, consider using a targeted cleaning method to ensure that the surface is prepped for optimal dry mop performance.
4. Checking for Loose Debris: Inspect the surface for any loose debris, such as gravel or small particles, that could potentially scratch or damage the flooring during the mopping process. Removing these debris ensures a smooth and safe cleaning experience.
5. Ventilation and Air Circulation: If using cleaning solutions in conjunction with the dry mop, ensure that the area is well-ventilated to expedite the drying process and prevent moisture buildup. Adequate ventilation also contributes to a fresher and more pleasant cleaning environment.
By adhering to these preparatory steps, you’ll create an optimal cleaning environment for your dry mop, allowing it to work its magic effectively and efficiently. With the surface primed and ready, you’re all set to embark on a seamless and rewarding cleaning experience, achieving immaculate results with every swipe of the dry mop.
When using a dry mop, start from the farthest corner of the room and work your way towards the exit to avoid stepping on the clean floor. This will ensure that you don’t have to go back and re-mop any areas.
Using the Dry Mop
Now that the surface is prepped and ready for cleaning, it’s time to wield your dry mop and unleash its dust-busting prowess. Mastering the art of using a dry mop involves employing the right techniques and maneuvers to achieve a pristine, debris-free surface. Whether you’re tackling hardwood floors, laminate, tile, or any other smooth surface, the following steps will guide you through the process of using a dry mop effectively.
1. Proper Grip and Posture: Ensure a comfortable and secure grip on the mop handle, maintaining an upright posture to minimize strain on your back and arms. A relaxed stance allows for better control and maneuverability during the cleaning process.
2. Smooth, Overlapping Strokes: Begin by making smooth, overlapping strokes with the dry mop, working in a systematic pattern to cover the entire surface. Whether you opt for a side-to-side motion or a figure-eight pattern, the key is to maintain consistent and overlapping strokes for comprehensive coverage.
3. Navigating Around Furniture: When cleaning around furniture or obstacles, utilize the swivel-head feature of the dry mop to maneuver around legs and corners with ease. This ensures that no area is left untouched, delivering a thorough clean throughout the space.
4. Targeting Problem Areas: Pay special attention to high-traffic areas or spots prone to dust accumulation, such as entryways and under furniture. Concentrate on these areas, employing additional passes with the dry mop to capture any lingering dust and debris effectively.
5. Reaching Tight Spaces: For narrow or hard-to-reach spaces, such as between furniture legs or along baseboards, utilize the slim profile of the dry mop to access these areas. Flexibility and precision are key in ensuring that every nook and cranny receives the attention it deserves.
6. Regular Inspection: Periodically inspect the mop head for accumulated dust and debris, shaking it out or using a brush attachment to remove any particles. This ensures that the mop maintains its cleaning efficacy throughout the process.
By following these steps and techniques, you’ll harness the full potential of your dry mop, achieving a spotless and dust-free surface with minimal effort. With each swipe of the mop, you’ll witness the transformative power of this cleaning tool, leaving your floors gleaming and immaculate.
Maintaining Your Dry Mop
Proper maintenance is essential to ensure that your dry mop remains in peak condition, ready to tackle cleaning tasks with efficiency and effectiveness. By implementing a regular maintenance routine, you can prolong the lifespan of your dry mop and uphold its performance for the long haul. Here are key maintenance practices to keep your dry mop in top-notch shape:
1. Cleaning the Mop Head: After each use, take the time to clean the mop head thoroughly. Depending on the type of mop, this may involve shaking off debris, using a brush attachment to remove trapped particles, or machine-washing the mop head according to the manufacturer’s instructions. Clean mop heads ensure optimal dust and dirt capture during subsequent uses.
2. Inspecting and Replacing Pads: If your dry mop features replaceable pads, regularly inspect them for signs of wear and tear. Worn-out or damaged pads should be promptly replaced to maintain the mop’s cleaning efficiency. Additionally, having spare pads on hand ensures uninterrupted cleaning sessions.
3. Handle and Attachment Care: Periodically check the handle and attachments for any signs of damage or looseness. Tighten any screws or fastenings as needed to ensure stability during use. For adjustable handles, lubricate the adjustment mechanism to maintain smooth operation.
4. Storage and Drying: Properly store the dry mop in a well-ventilated area after use, allowing the mop head to air dry completely to prevent mildew or odors. Avoid storing the mop in damp or confined spaces, as this can compromise its cleanliness and longevity.
5. Regular Inspections: Conduct routine inspections of the entire mop, checking for any signs of wear, damage, or degradation. Address any issues promptly to prevent further deterioration and maintain the overall functionality of the dry mop.
6. Periodic Deep Cleaning: Depending on usage frequency and the nature of cleaning tasks, consider giving the entire mop a deep clean at regular intervals. This may involve disassembling the mop for thorough cleaning, lubricating moving parts, and ensuring that all components are in optimal condition.
By integrating these maintenance practices into your cleaning routine, you’ll not only preserve the performance and longevity of your dry mop but also ensure that it remains a reliable and effective tool for maintaining pristine, debris-free surfaces. With proper care and attention, your dry mop will continue to be a stalwart companion in your cleaning endeavors, delivering exceptional results with every swipe.
Read also: 10 Amazing Dry Mop For 2024
Conclusion
Congratulations on embarking on a journey to master the art of using a dry mop! Armed with the knowledge and techniques outlined in this guide, you’re well-equipped to elevate your cleaning routine and achieve immaculate, dust-free surfaces with ease. By carefully selecting the right dry mop, preparing the surface, and employing effective cleaning methods, you’ll streamline your cleaning process and enjoy the transformative results that a dry mop can deliver.
Remember, the key to unlocking the full potential of a dry mop lies in the meticulous selection of the right mop for your specific needs. Whether it’s hardwood floors, laminate surfaces, or tiles, there’s a dry mop tailored to cater to each surface, ensuring optimal cleaning performance without causing damage.
As you venture into the realm of using a dry mop, embrace the art of seamless, overlapping strokes and strategic maneuvering around furniture and tight spaces. With each pass of the mop, you’ll witness the remarkable ability of this cleaning tool to capture and retain dust and debris, leaving your surfaces gleaming and refreshed.
Furthermore, don’t underestimate the significance of maintaining your dry mop. By implementing a regular maintenance routine, you’ll safeguard the longevity and effectiveness of your mop, ensuring that it remains a steadfast ally in your cleaning endeavors for years to come.
With the insights and tips provided in this guide, you’re poised to revolutionize your cleaning routine, achieving pristine and dust-free surfaces effortlessly. Embrace the convenience and efficiency of using a dry mop, and revel in the satisfaction of maintaining a sparkling clean environment with minimal effort.
So go ahead, let your dry mop become your trusted companion in the quest for spotless surfaces, and relish the convenience and efficacy it brings to your cleaning endeavors. Here’s to a cleaner, more enjoyable living space – courtesy of your newfound expertise in using a dry mop!
Frequently Asked Questions about How To Use A Dry Mop
Was this page helpful?
At Storables.com, we guarantee accurate and reliable information. Our content, validated by Expert Board Contributors, is crafted following stringent Editorial Policies. We're committed to providing you with well-researched, expert-backed insights for all your informational needs.


0 thoughts on “How To Use A Dry Mop”