Home>Home Appliances>Cleaning Appliances>How To Use A Mop And Bucket
Cleaning Appliances
How To Use A Mop And Bucket
Modified: August 17, 2024
Learn the best techniques for using a mop and bucket to efficiently clean your floors. Discover the top tips for maintaining your cleaning appliances. Ideal for anyone looking to streamline their cleaning routine.
(Many of the links in this article redirect to a specific reviewed product. Your purchase of these products through affiliate links helps to generate commission for Storables.com, at no extra cost. Learn more)
Introduction
Welcome to the ultimate guide on how to use a mop and bucket for efficient and effective cleaning! Whether you’re a cleaning novice or a seasoned pro, mastering the art of mopping can make a world of difference in maintaining a spotless and hygienic living or working space. Mops and buckets are timeless, reliable tools that have been used for generations to tackle dirt, spills, and grime.
In this comprehensive guide, we’ll delve into the nitty-gritty details of choosing the right mop and bucket, preparing the perfect cleaning solution, and executing flawless mopping techniques. Additionally, we’ll explore the essential steps for cleaning and maintaining your equipment to ensure its longevity and optimal performance.
So, grab your mop and bucket, and let’s embark on a journey to transform your cleaning routine from mundane to magnificent!
Key Takeaways:
- Master the art of mopping by choosing the right mop and bucket, preparing the perfect cleaning solution, and using efficient techniques for spotless floors.
- Keep your mop and bucket in top condition by rinsing, sanitizing, and inspecting for damage regularly to ensure effective and hygienic cleaning.
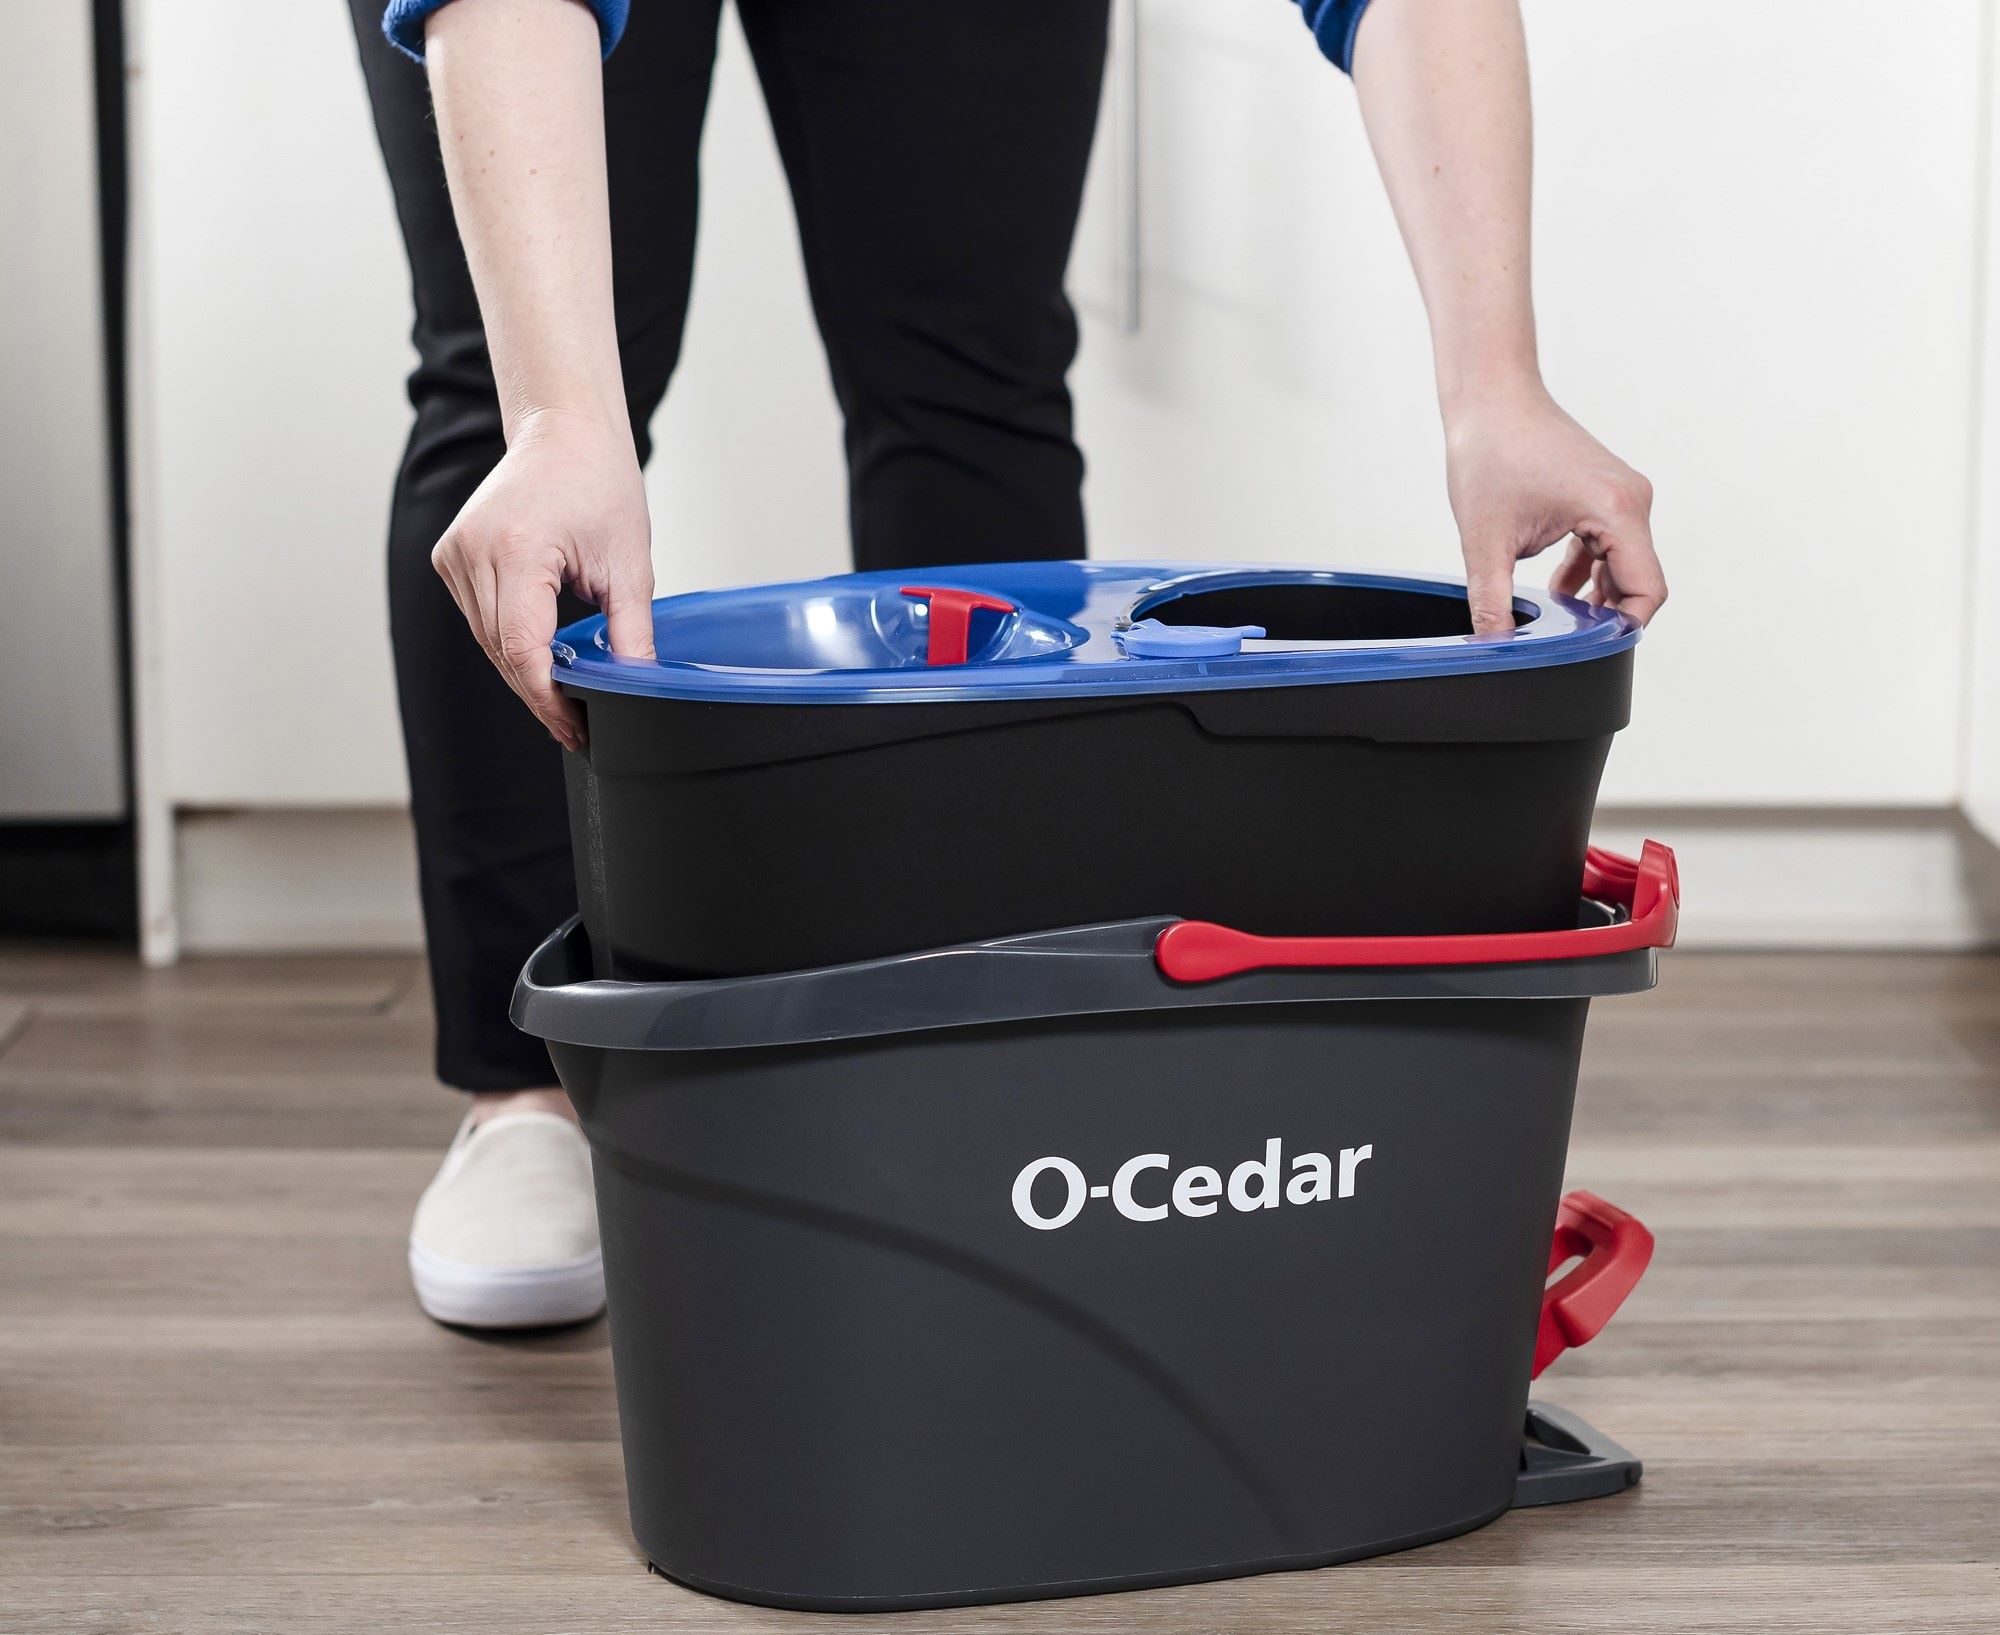
Read more: How To Use The O-Cedar Mop Bucket
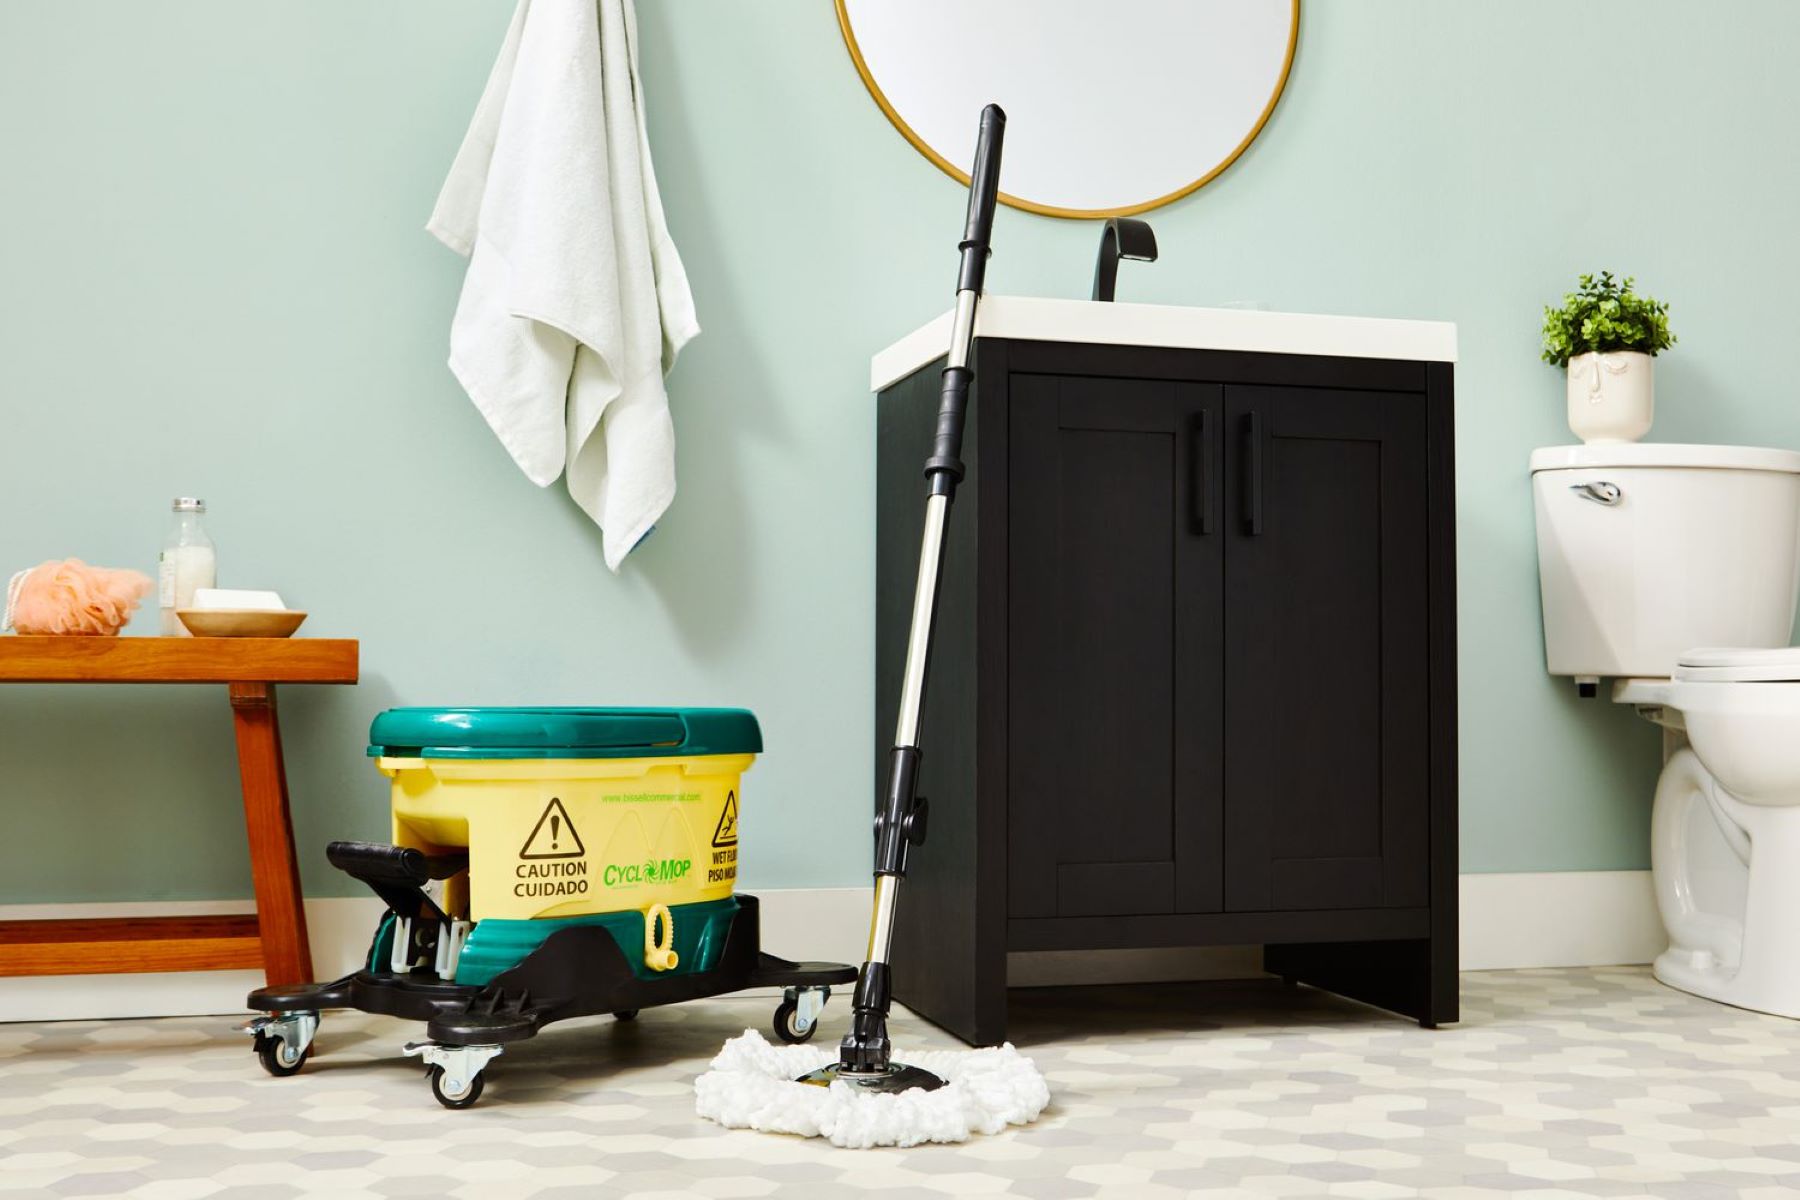
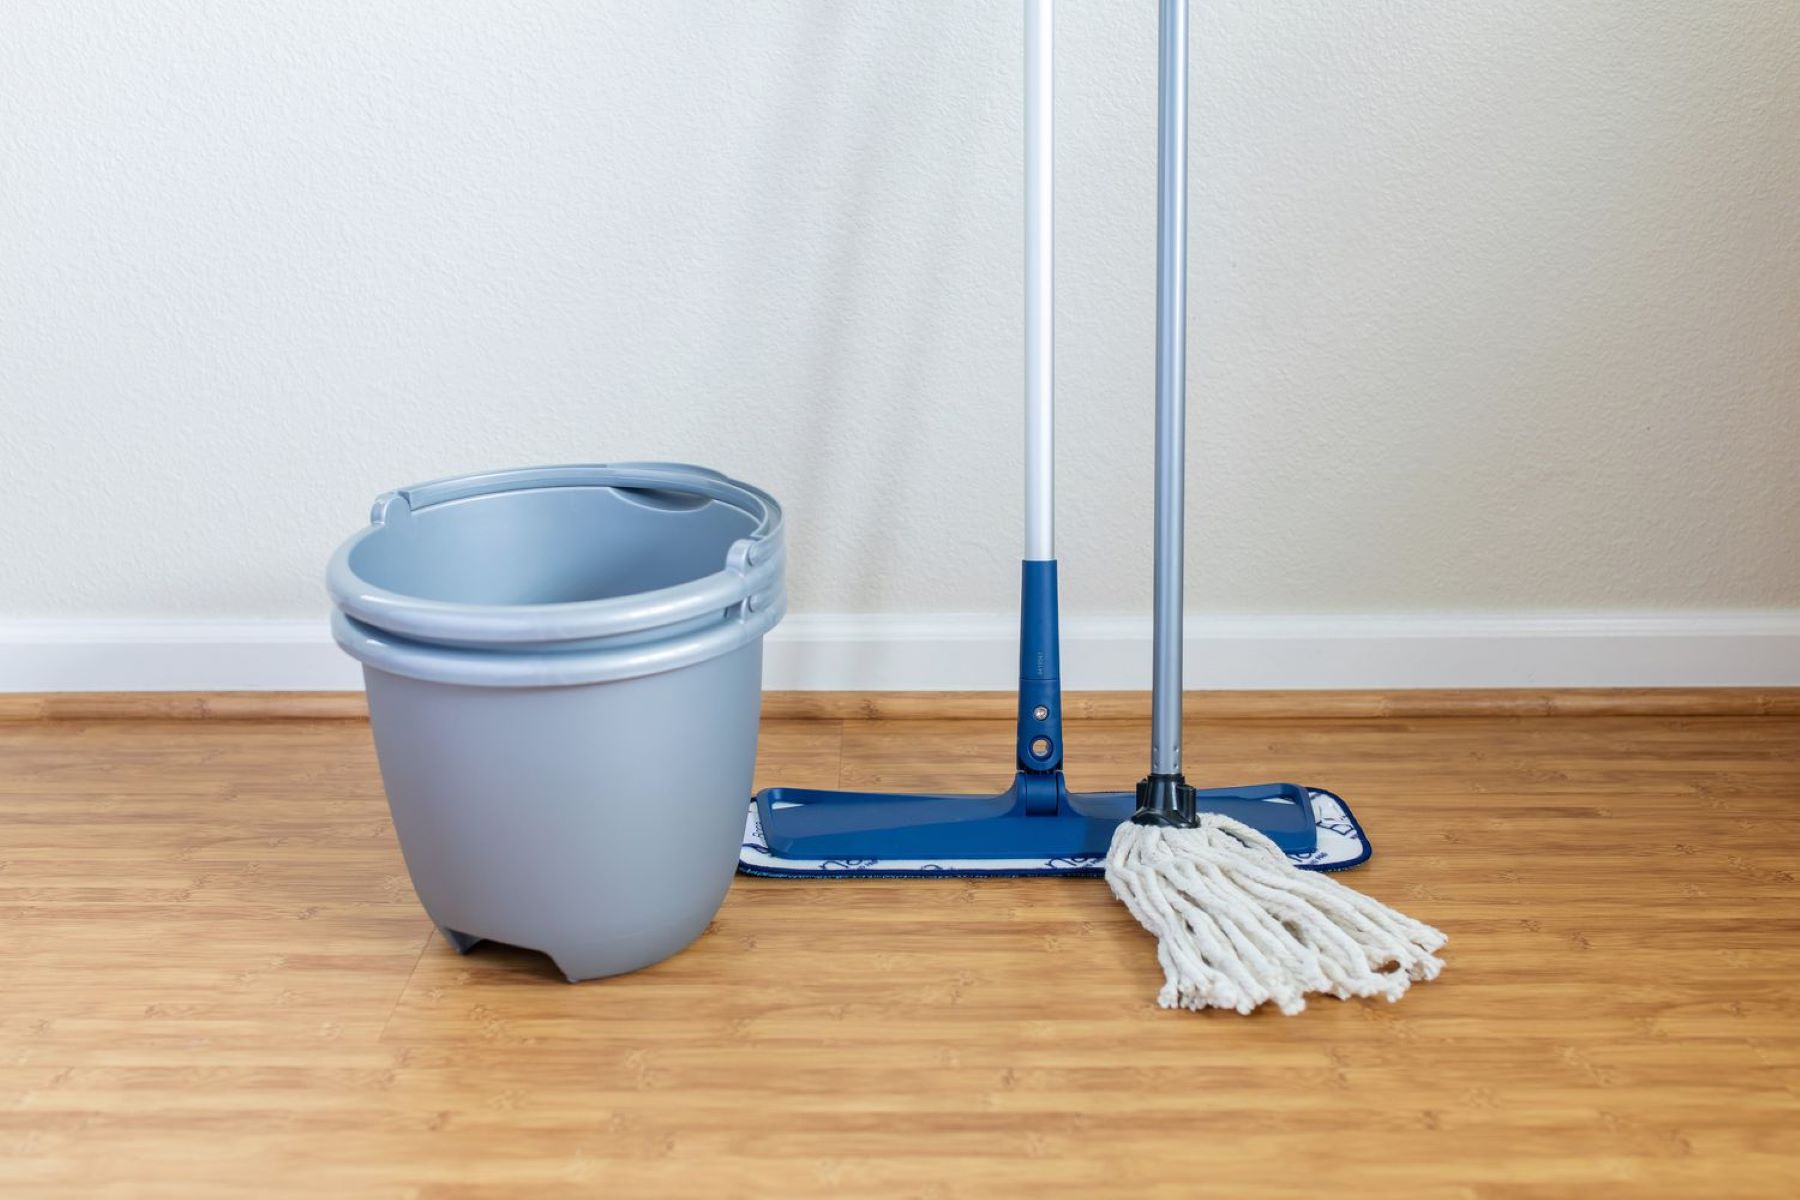
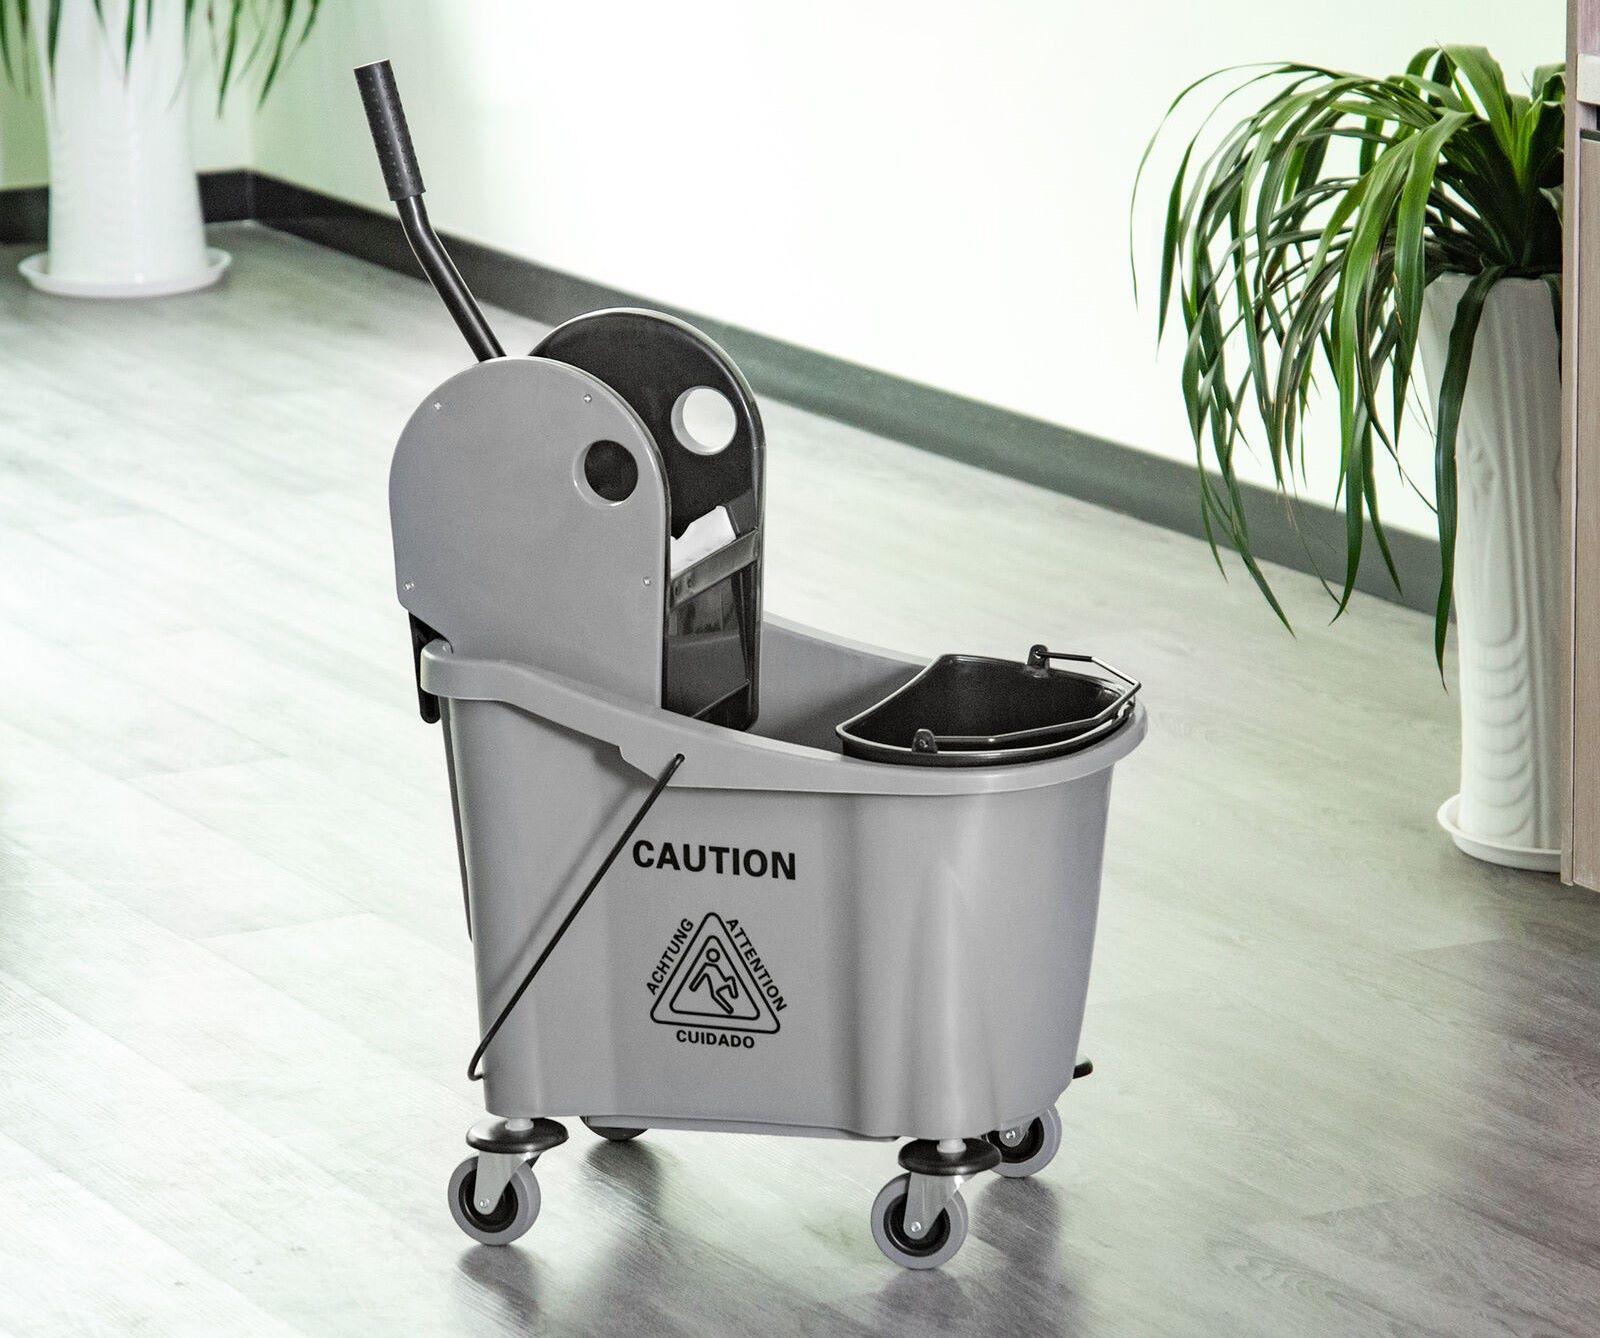
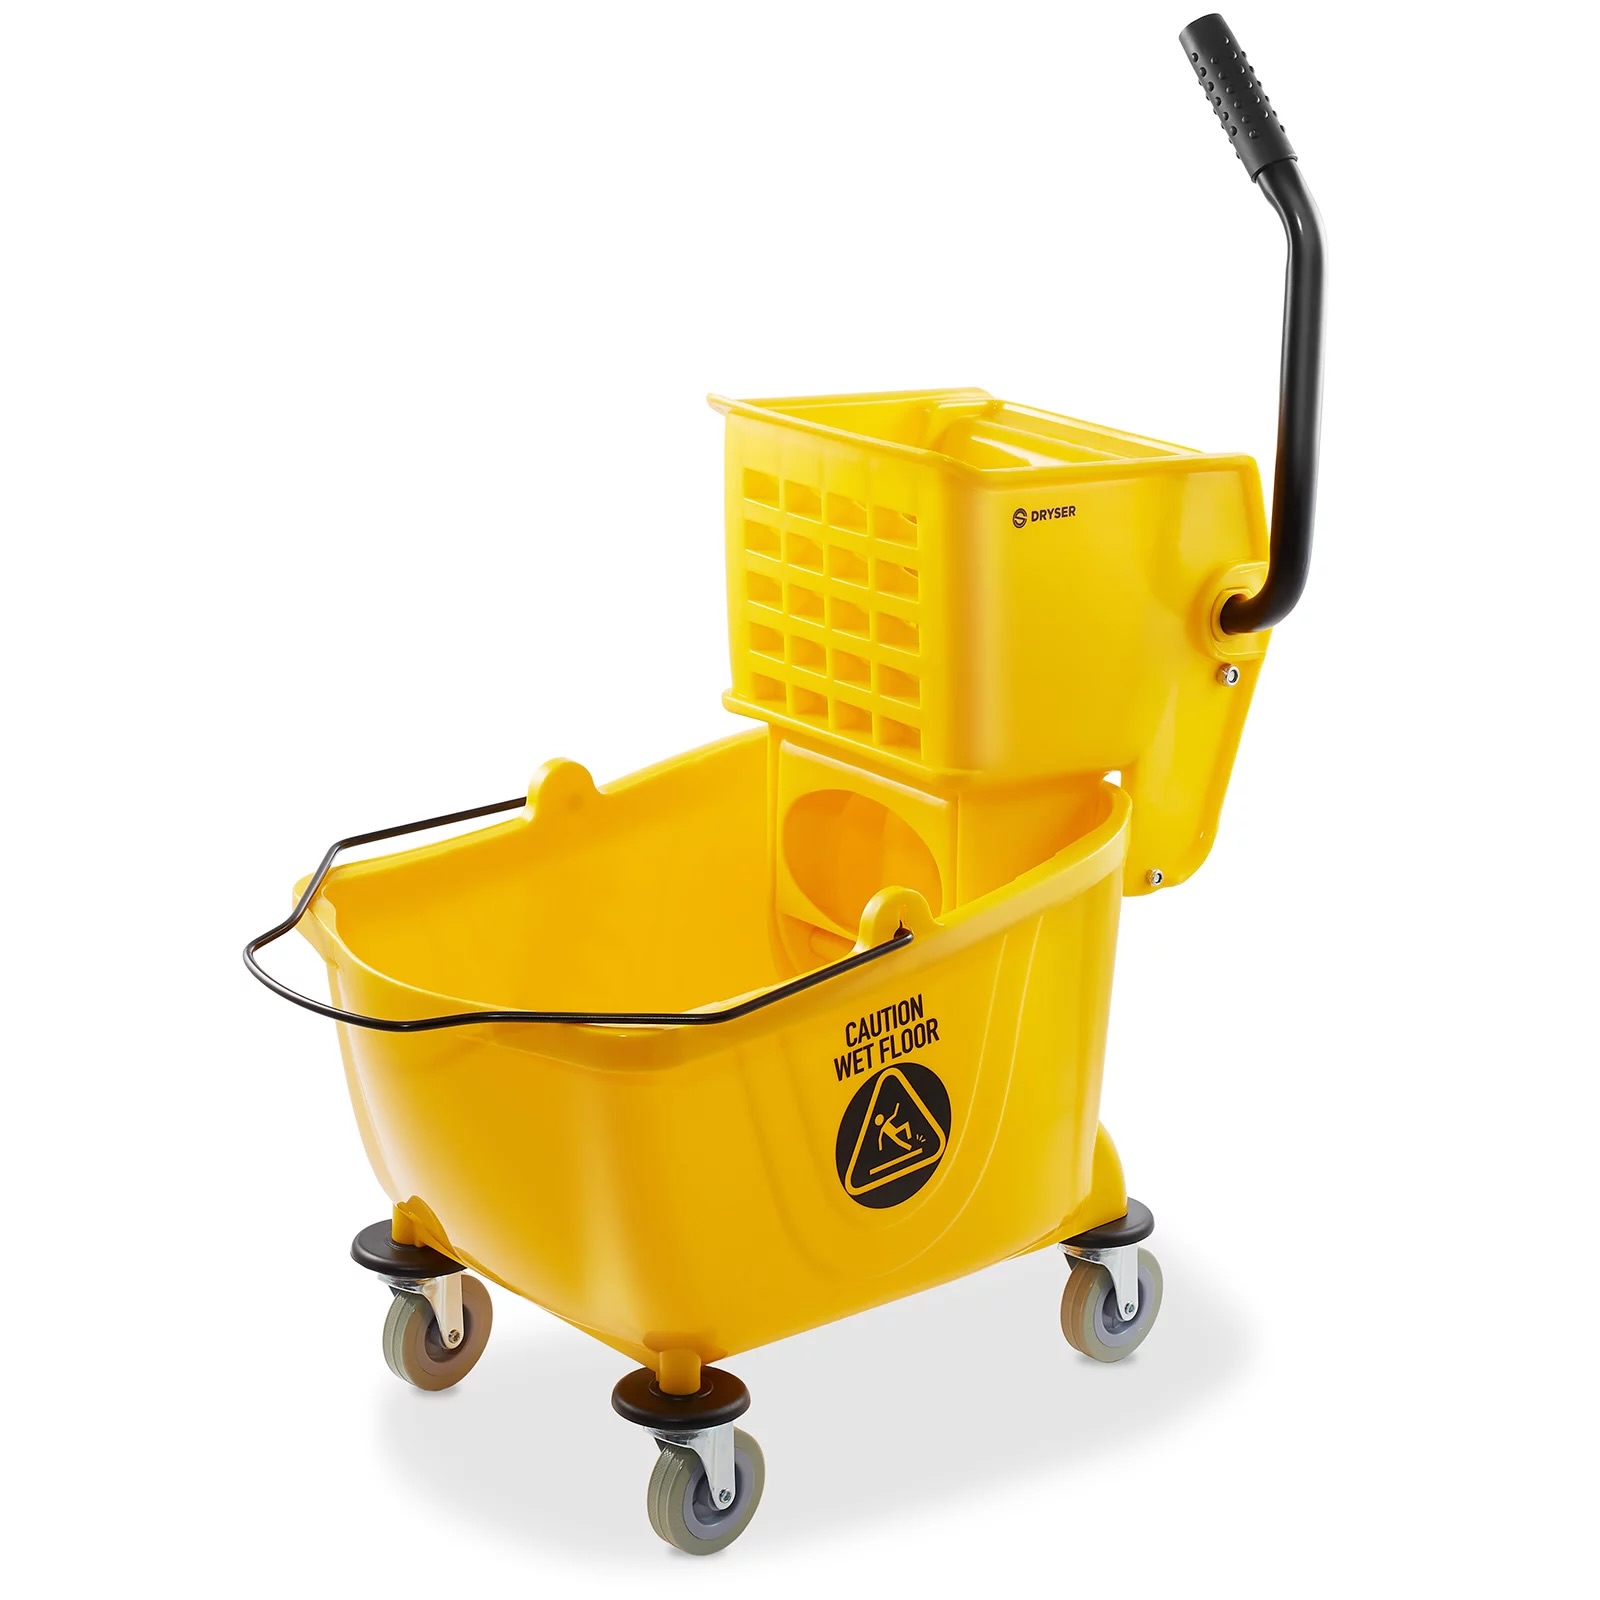
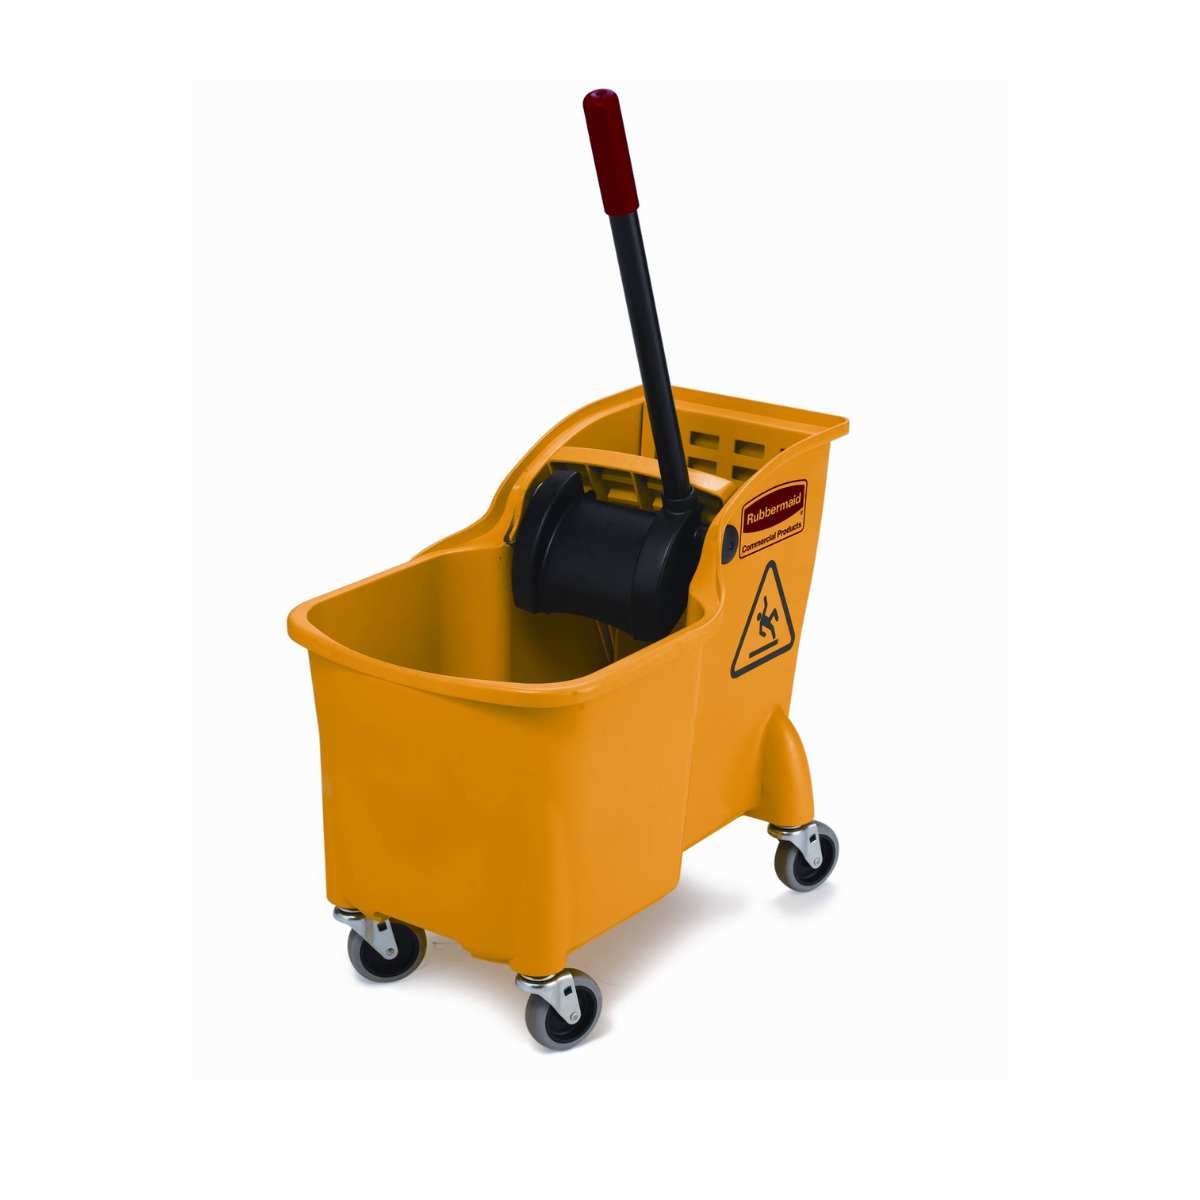
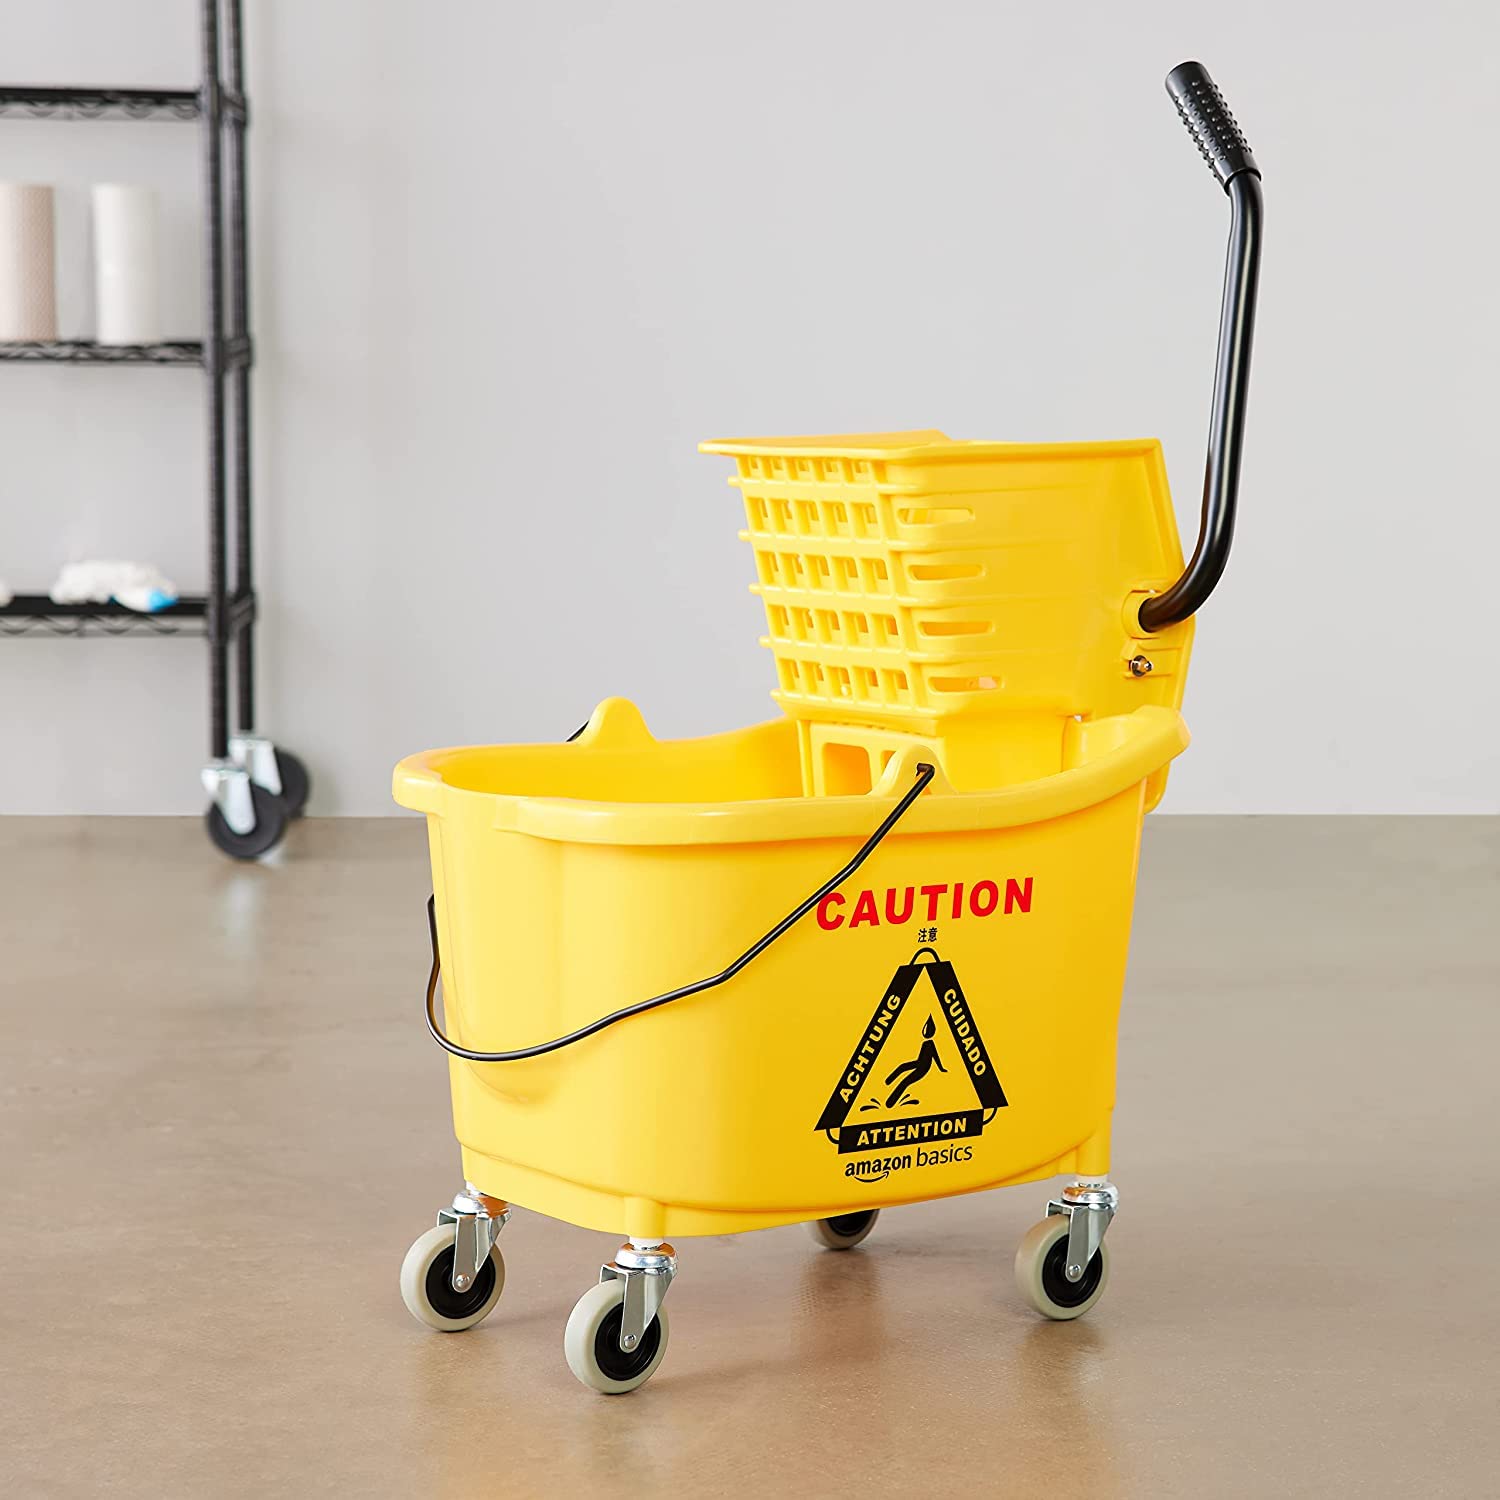
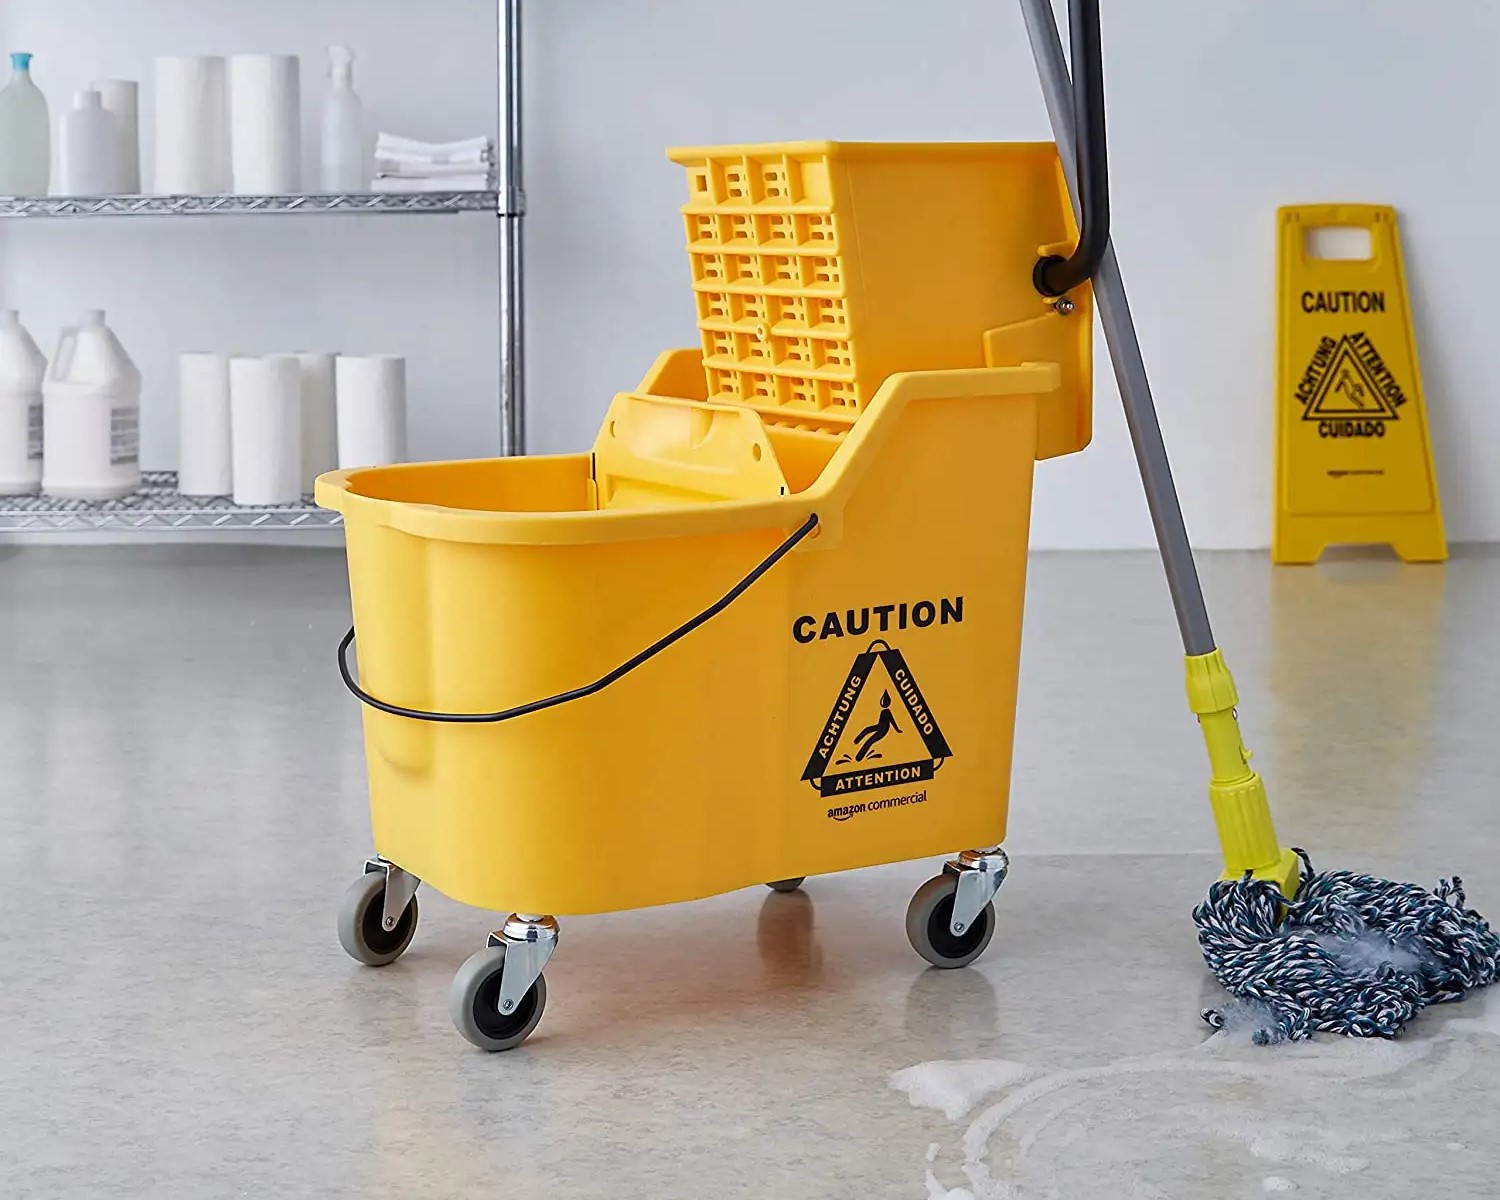
Choosing the Right Mop and Bucket
When it comes to selecting the perfect mop and bucket for your cleaning needs, it’s essential to consider various factors to ensure maximum efficiency and convenience. With a wide array of options available in the market, finding the ideal combination can significantly impact the outcome of your cleaning efforts.
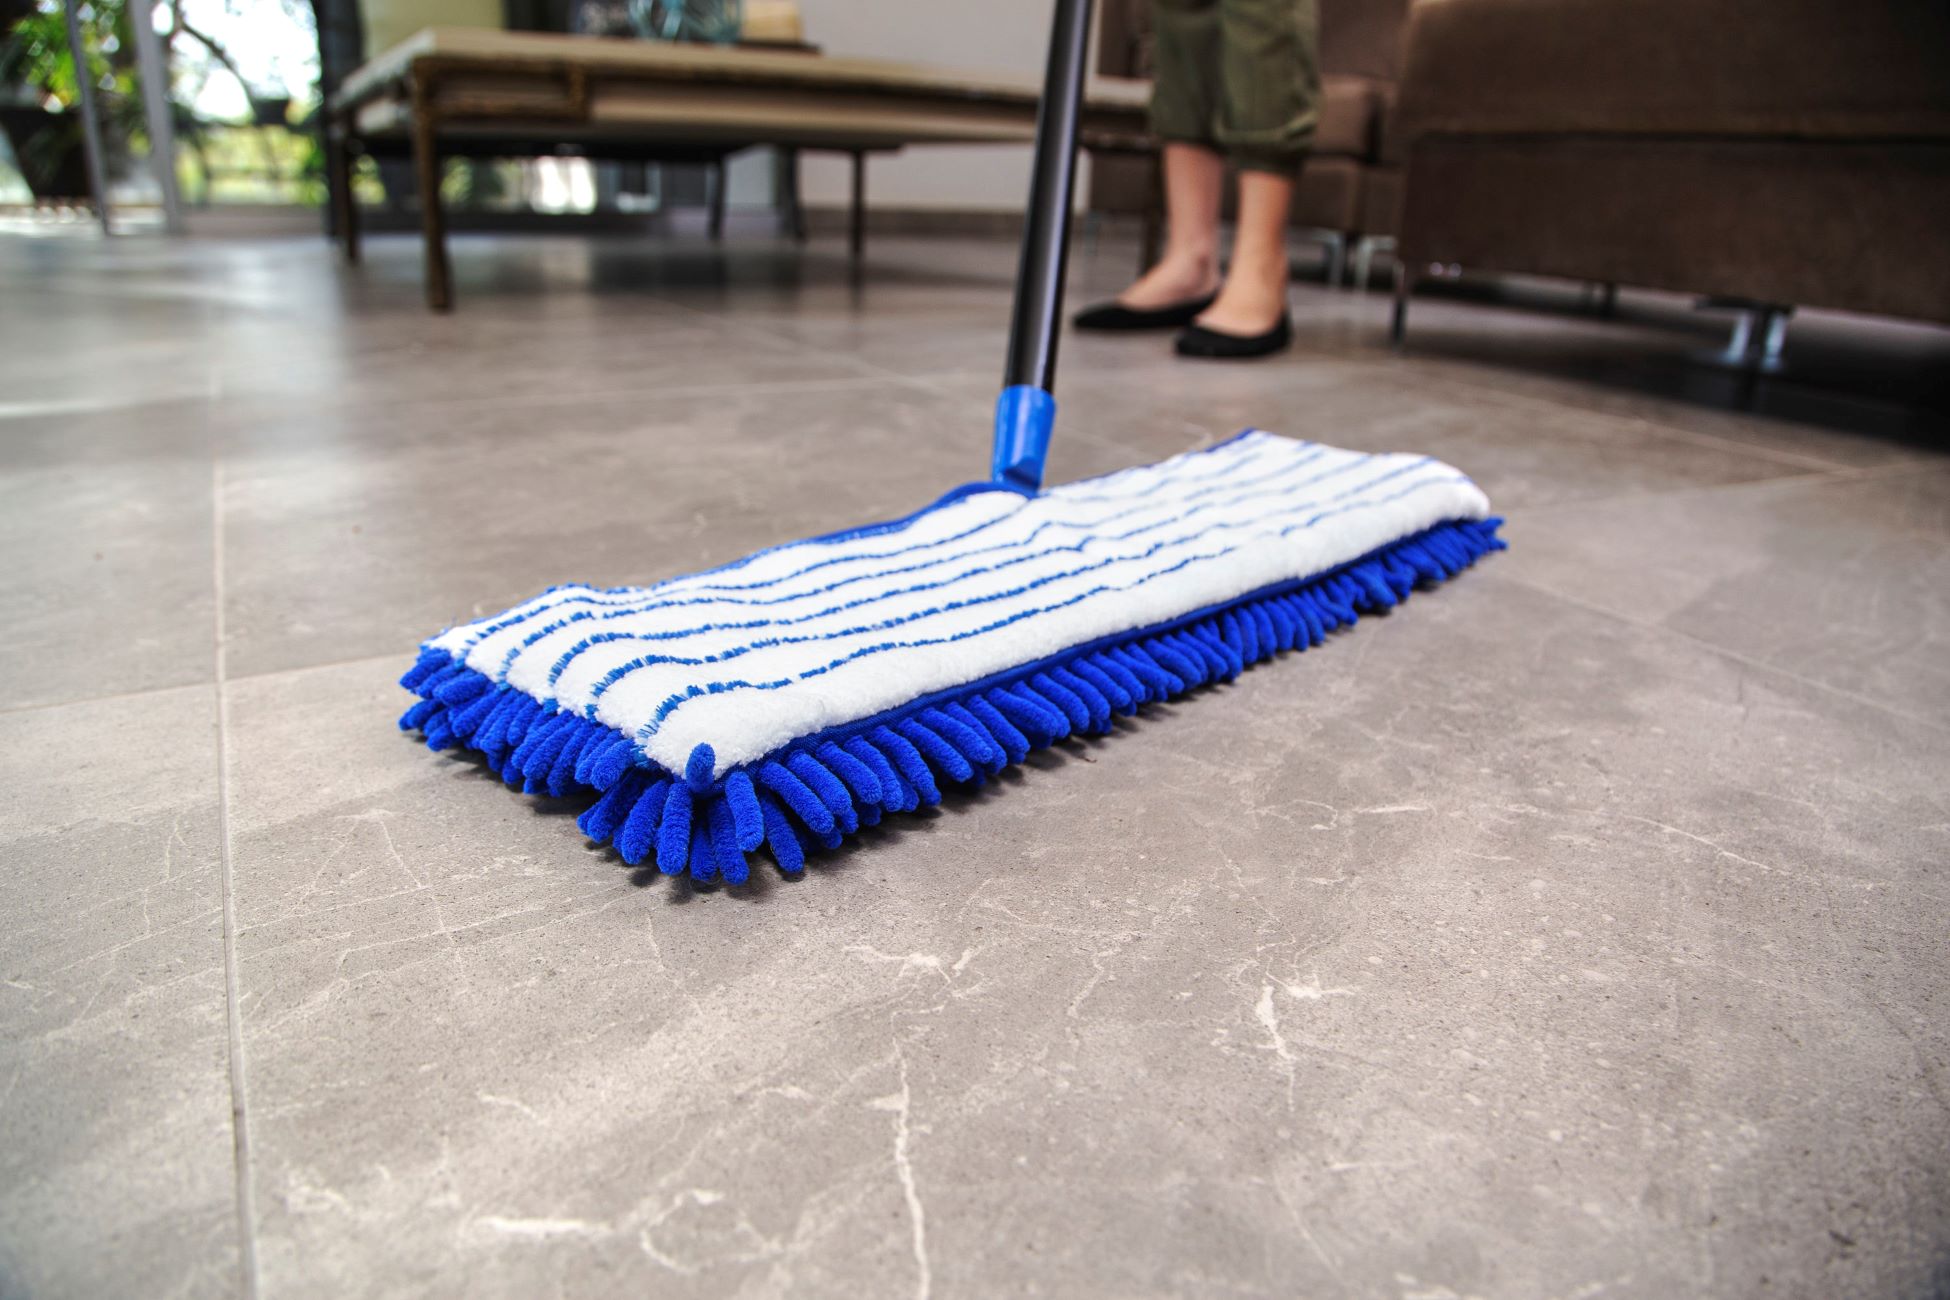
- Mop Types: There are several mop types to choose from, including traditional string mops, sponge mops, flat mops, and microfiber mops. Each type offers unique advantages, such as superior absorbency, maneuverability, or compatibility with different floor surfaces. Assess your specific cleaning requirements to determine the most suitable mop type for your needs.
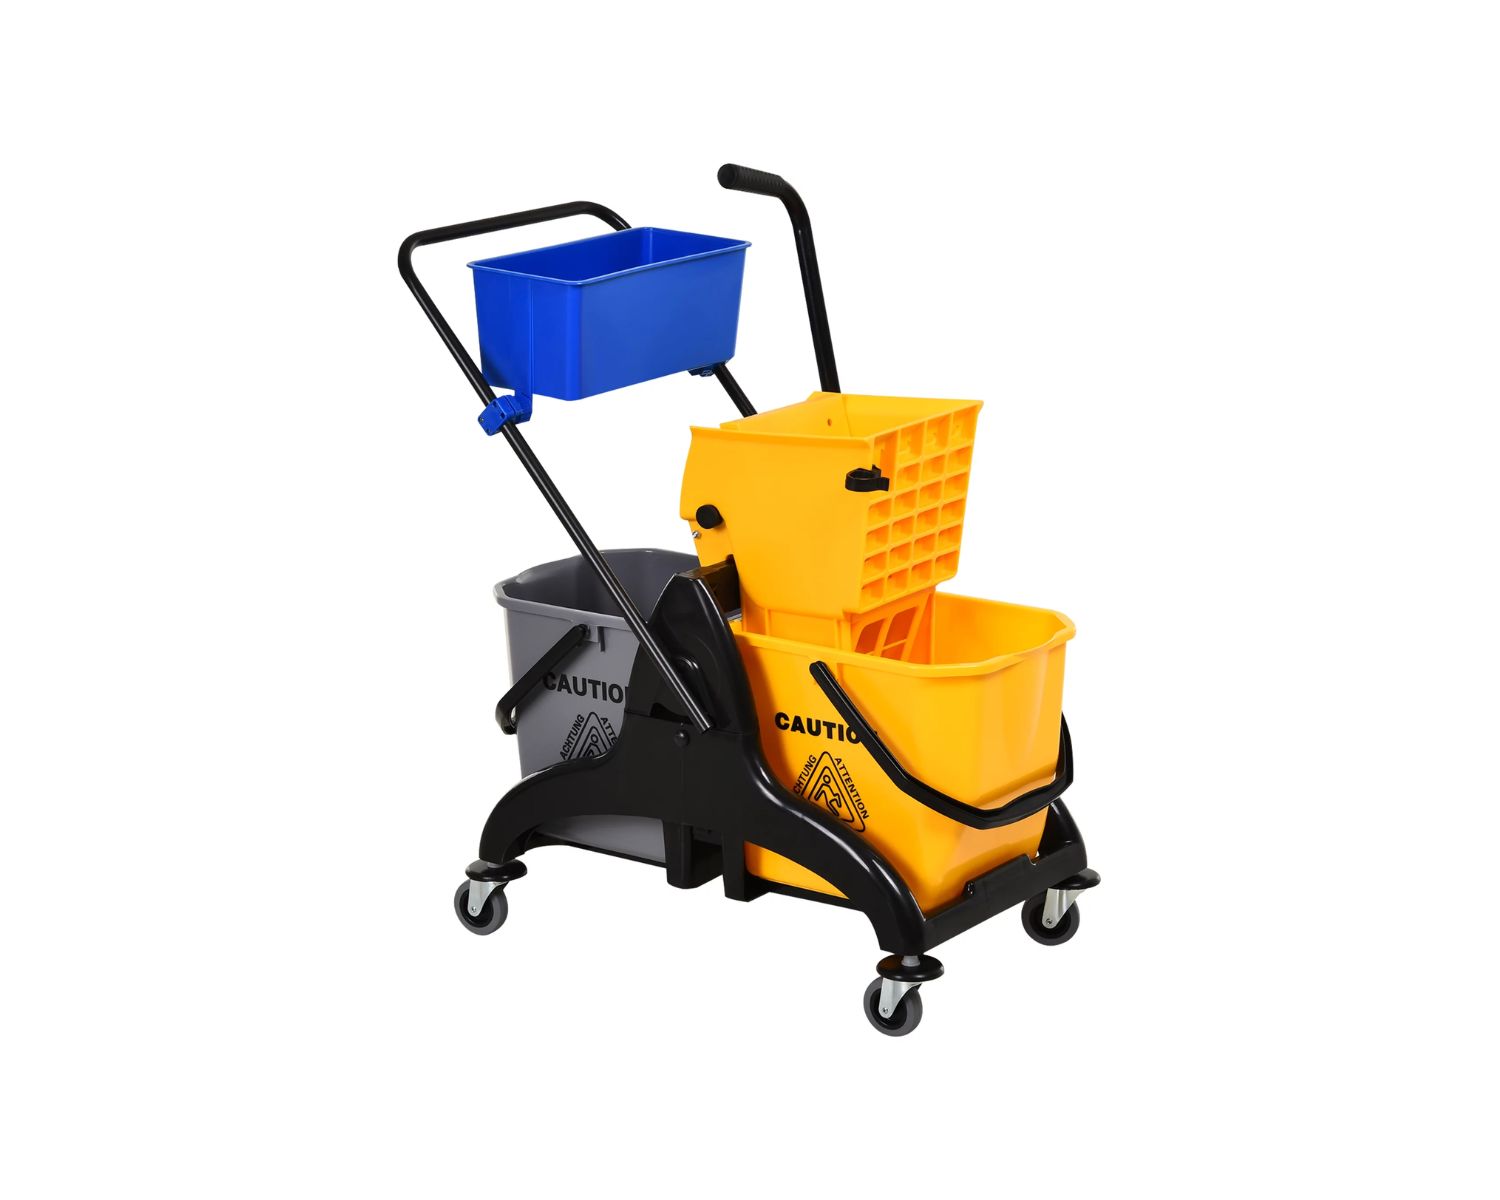
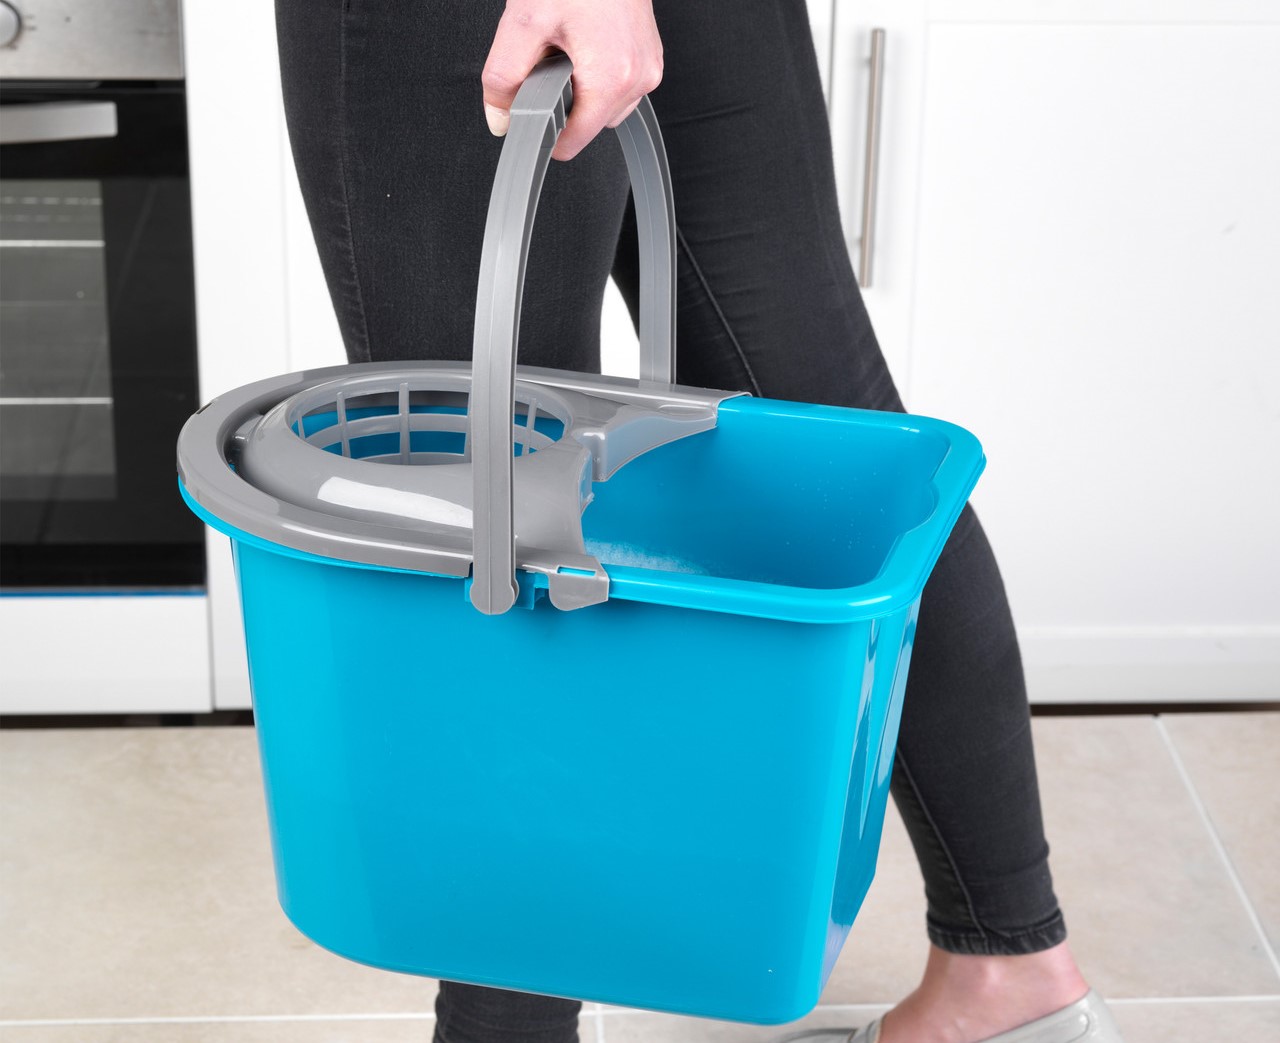
- Bucket Capacity: Opt for a bucket that accommodates an adequate amount of cleaning solution while leaving ample space for the mop to be submerged and wrung out effectively. A larger capacity can reduce the frequency of refilling and emptying the bucket, streamlining the cleaning process.
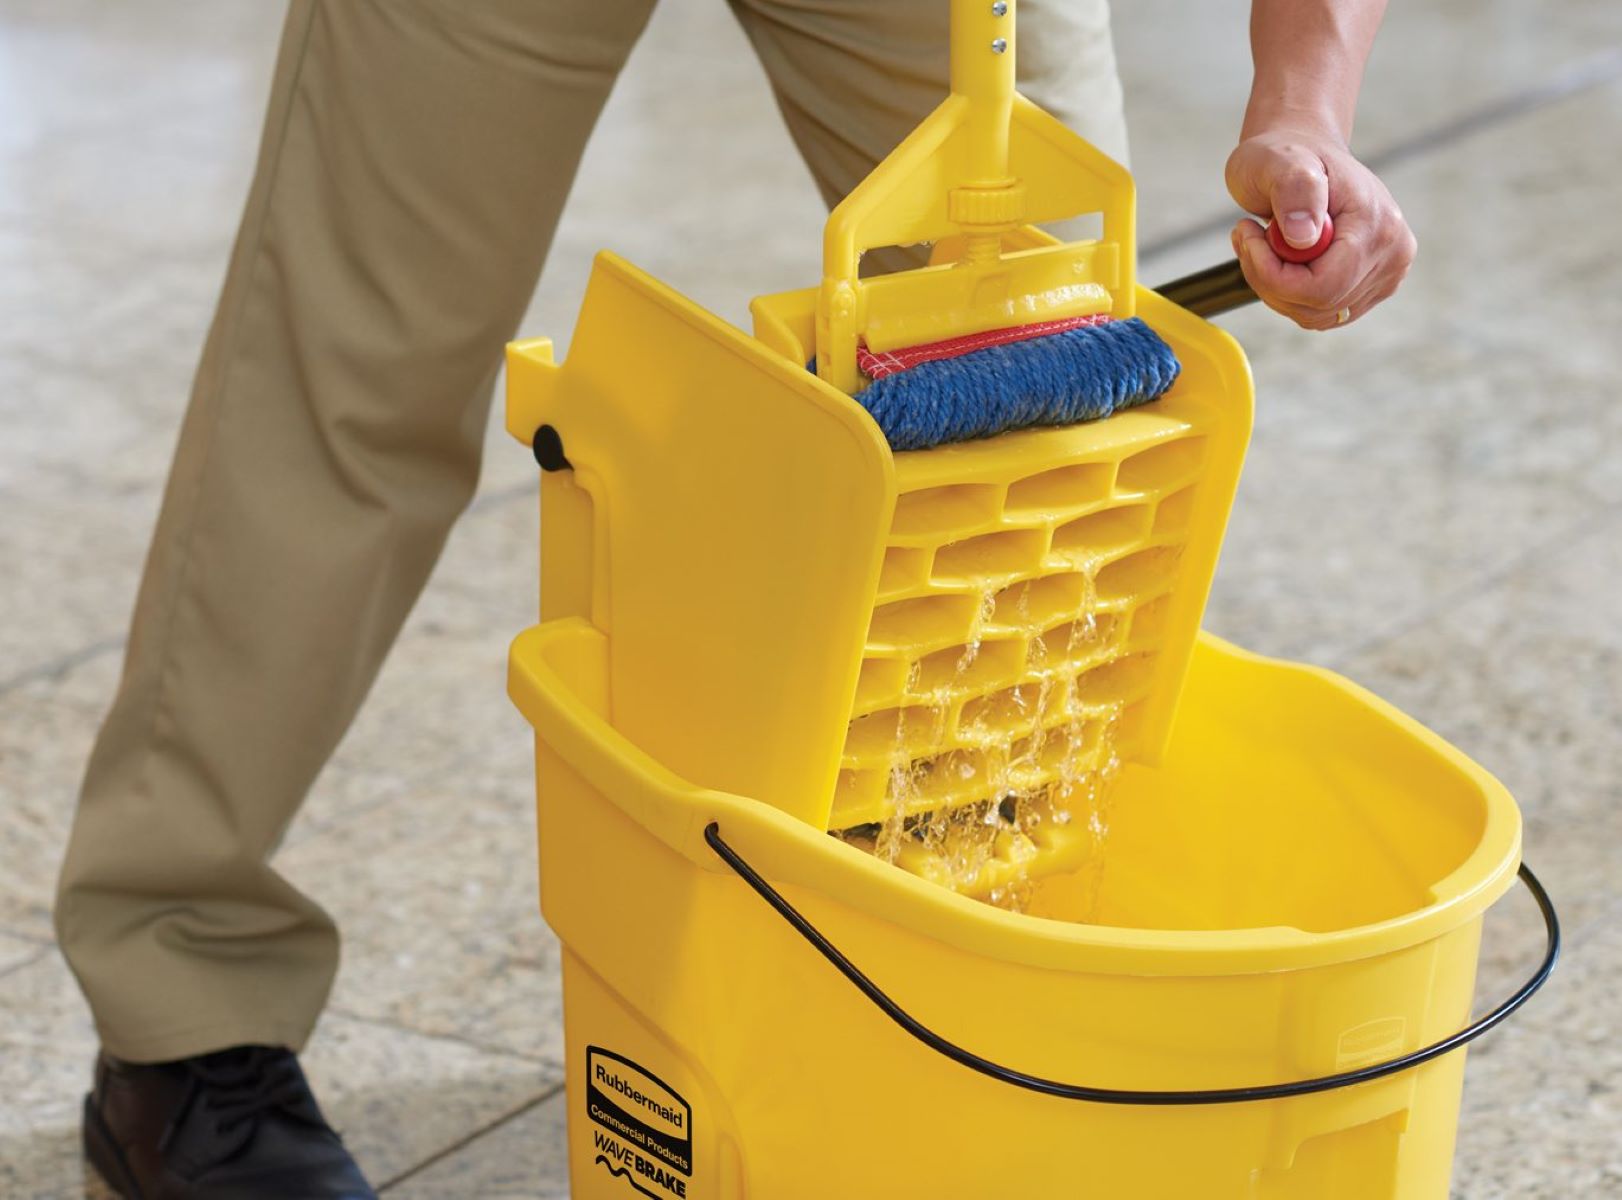
- Wringing Mechanism: Consider the wringing mechanism of the mop and bucket system. Some mops feature hands-free wringing, while others require manual wringing. Choose a wringing method that aligns with your preferences and physical capabilities to ensure a comfortable and efficient cleaning experience.
- Handle Length and Material: Evaluate the handle length and material of the mop to ensure ergonomic handling and durability. Adjustable or telescopic handles can cater to varying user heights, while sturdy materials like stainless steel or aluminum offer longevity and stability during use.
- Bucket Design: Look for buckets with convenient features such as spouts for easy pouring, measurement markings for accurate dilution of cleaning solutions, and durable casters for effortless mobility, especially when cleaning larger areas.
By carefully considering these aspects, you can make an informed decision when choosing the right mop and bucket, setting the stage for seamless and effective cleaning sessions.
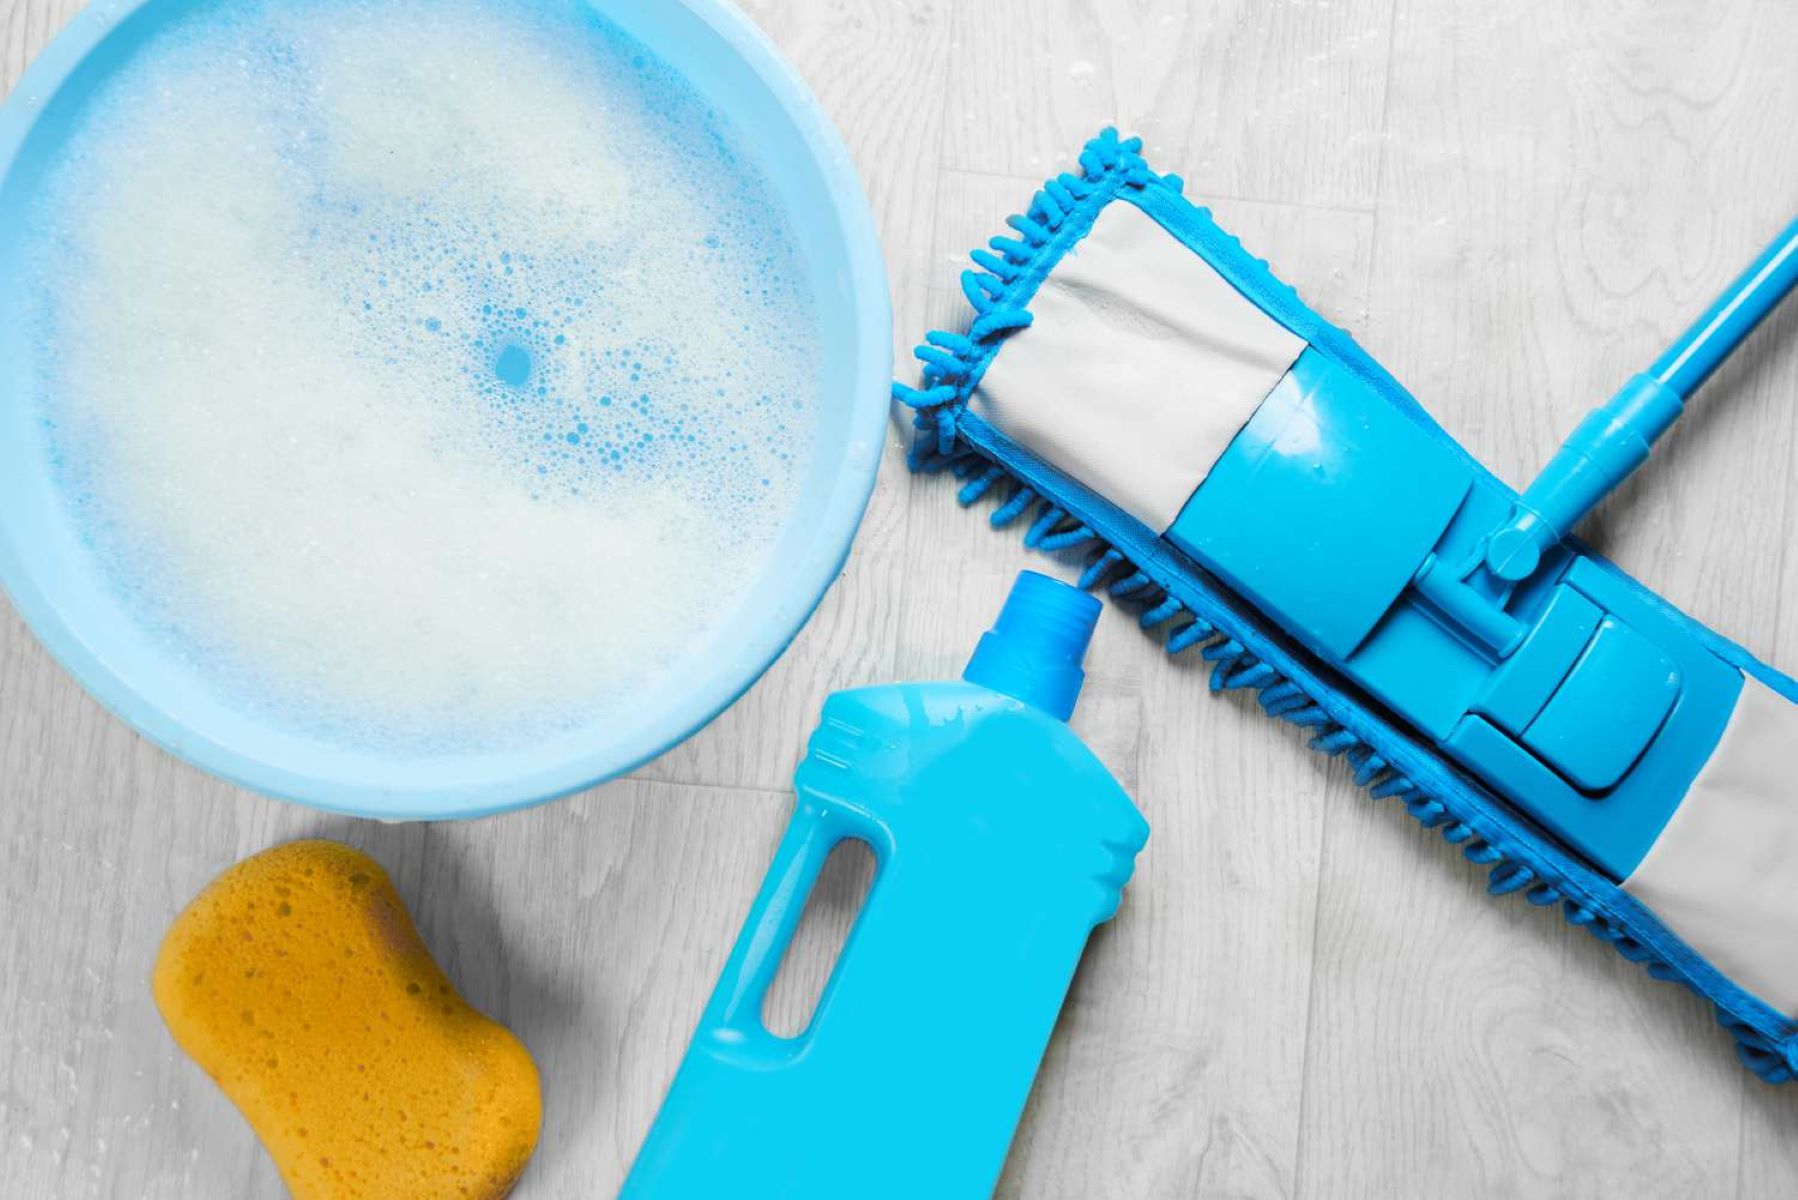
Preparing the Cleaning Solution
Before diving into the mopping process, it’s crucial to prepare a suitable cleaning solution that will effectively lift dirt and grime while leaving your floors sparkling clean. The type of flooring and the level of soil or stains will dictate the appropriate cleaning solution to use with your mop and bucket. Here’s a step-by-step guide to preparing the ideal cleaning solution for your mopping endeavors:
- Assess the Flooring: Determine the material and condition of the flooring to identify the most compatible cleaning agents. For hardwood, laminate, or tile floors, consider using a pH-neutral cleaner to prevent damage or residue buildup. For heavily soiled areas, a stronger, specialized cleaner may be necessary.
- Dilution Ratio: Refer to the manufacturer’s instructions or recommended dilution ratios for the cleaning solution. It’s essential to achieve the right balance to ensure effective cleaning without leaving behind streaks or residue.
- Use of Eco-Friendly Options: If you prefer environmentally friendly cleaning solutions, consider using homemade concoctions such as a mixture of water, vinegar, and a few drops of essential oil for a refreshing scent. This approach not only promotes sustainability but also minimizes exposure to harsh chemicals.
- Preparation Process: In your chosen bucket, carefully mix the cleaning solution according to the specified dilution ratio. Use a measuring cup or follow the provided guidelines to achieve the desired concentration, ensuring that the solution is thoroughly blended before use.
- Test in a Small Area: Prior to widespread application, perform a patch test in an inconspicuous area to verify the compatibility of the cleaning solution with the flooring. This precaution can prevent potential damage and allow for adjustments if necessary.
By following these steps, you can prepare a cleaning solution that is tailored to your specific flooring and cleaning requirements, paving the way for a successful mopping session that yields pristine results.
When using a mop and bucket, start by filling the bucket with water and adding a small amount of floor cleaner. Dip the mop into the water, wring it out, and then mop the floor in a back-and-forth motion, working your way from one end of the room to the other. Make sure to rinse and wring out the mop regularly to avoid spreading dirt around.
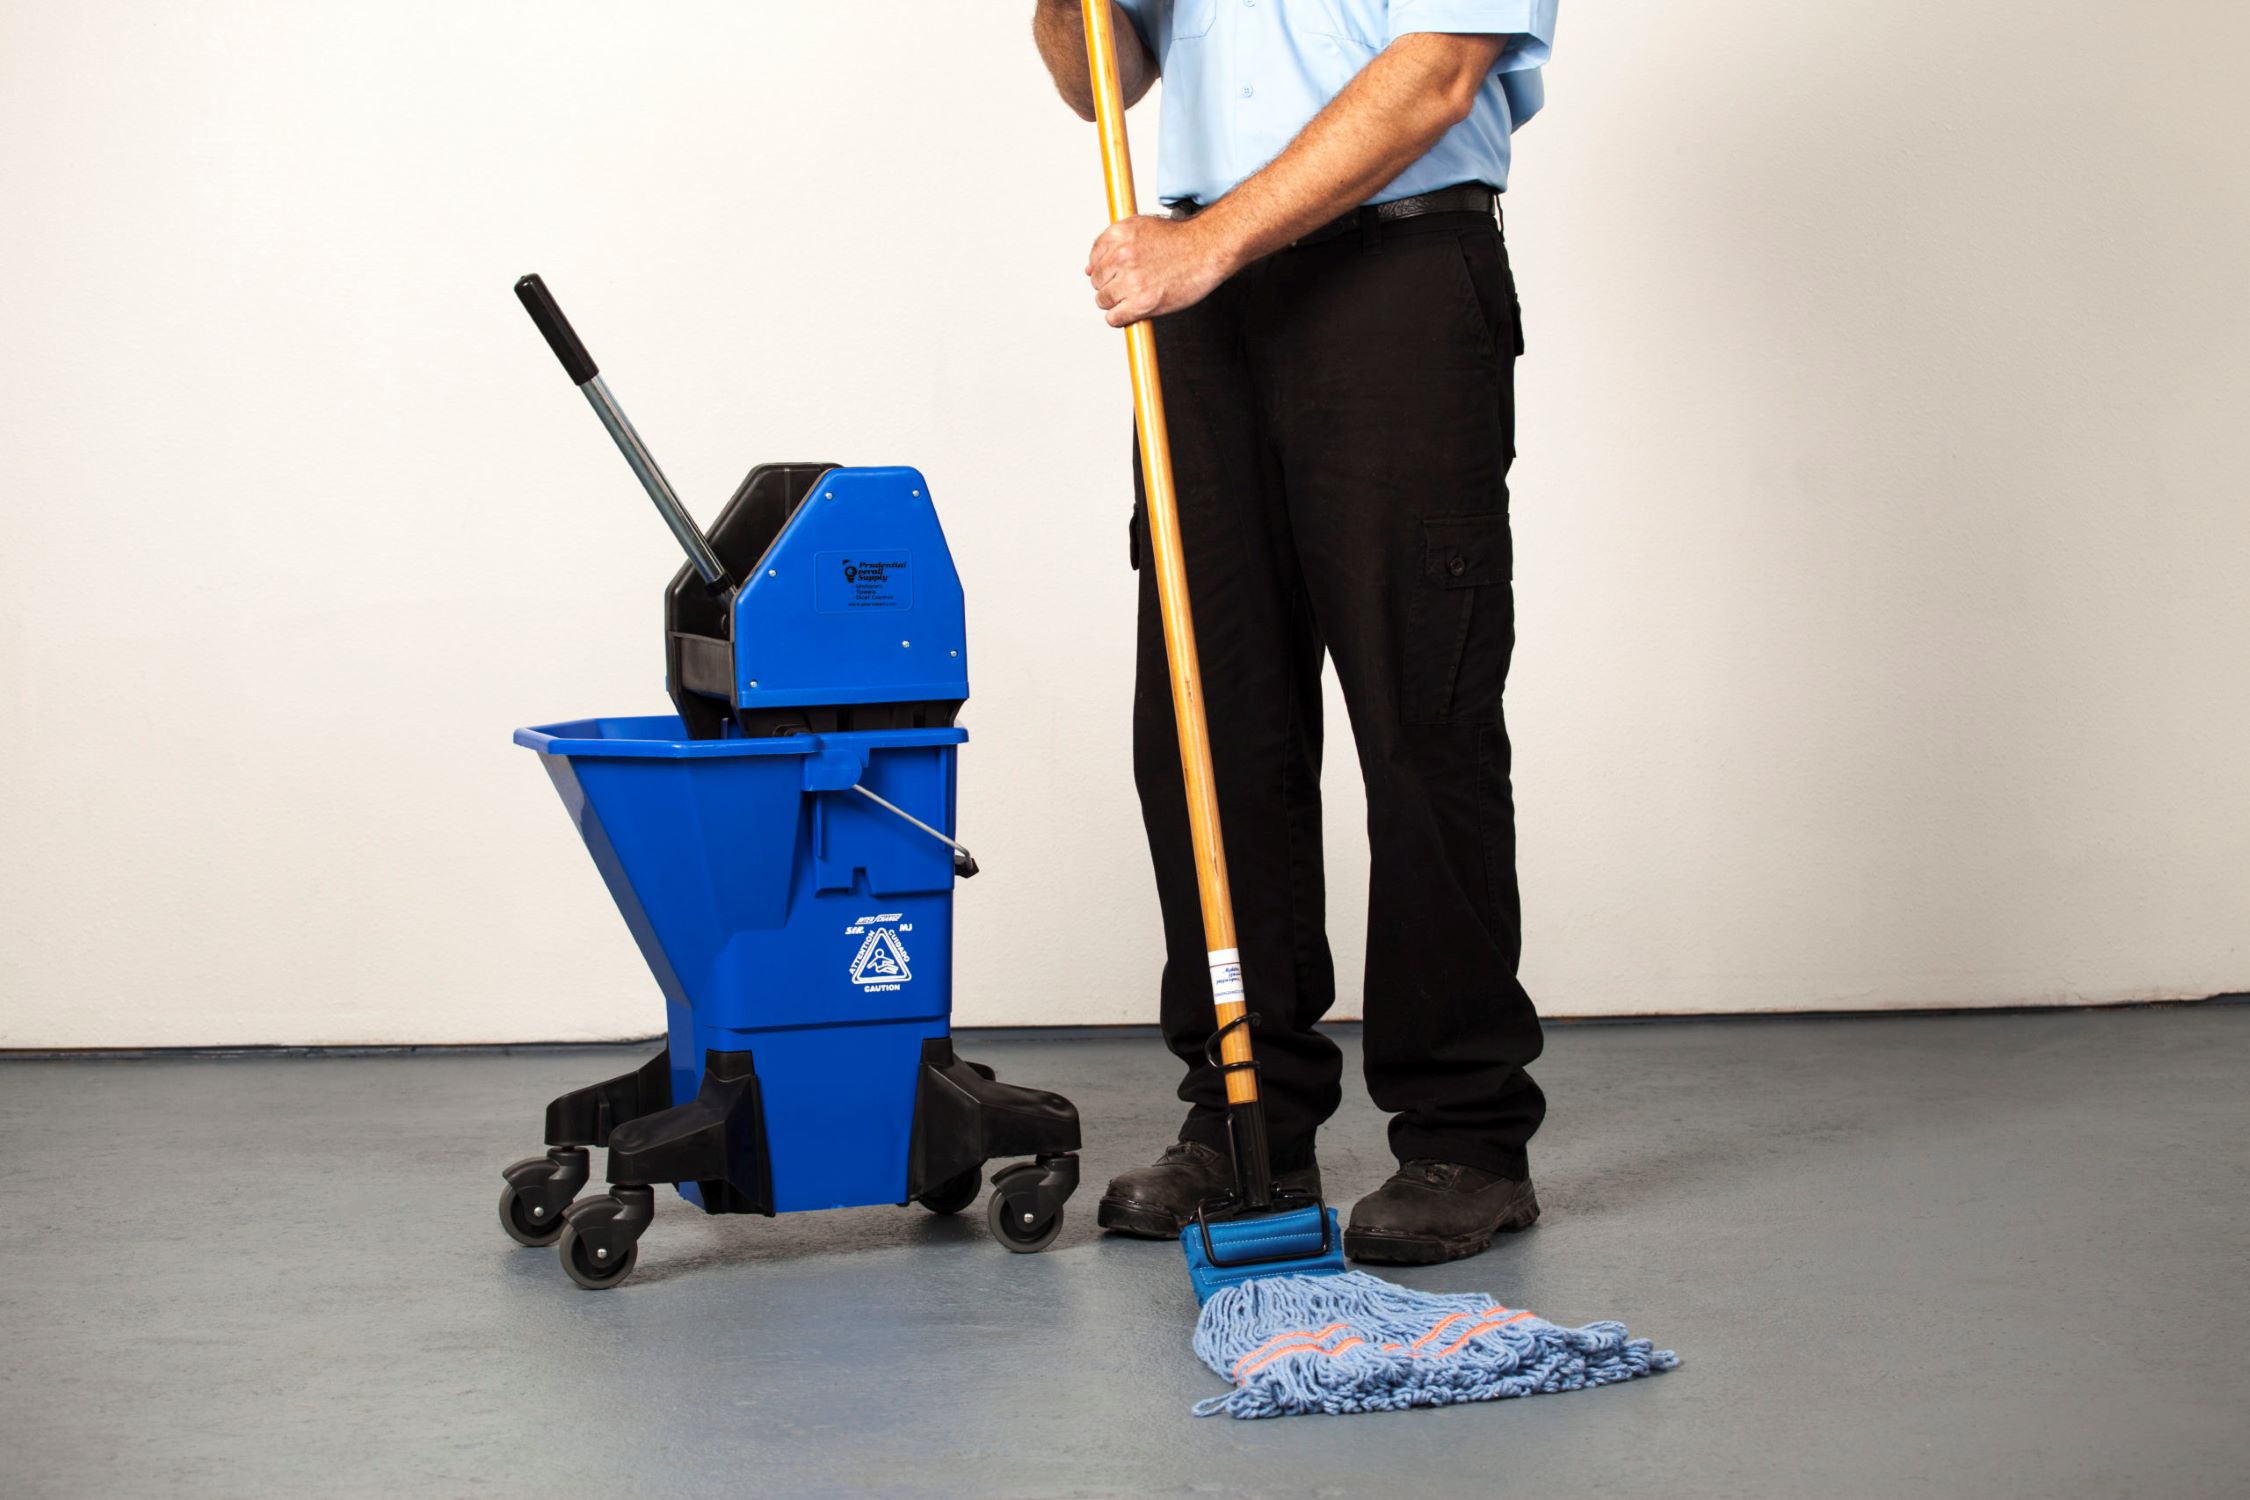
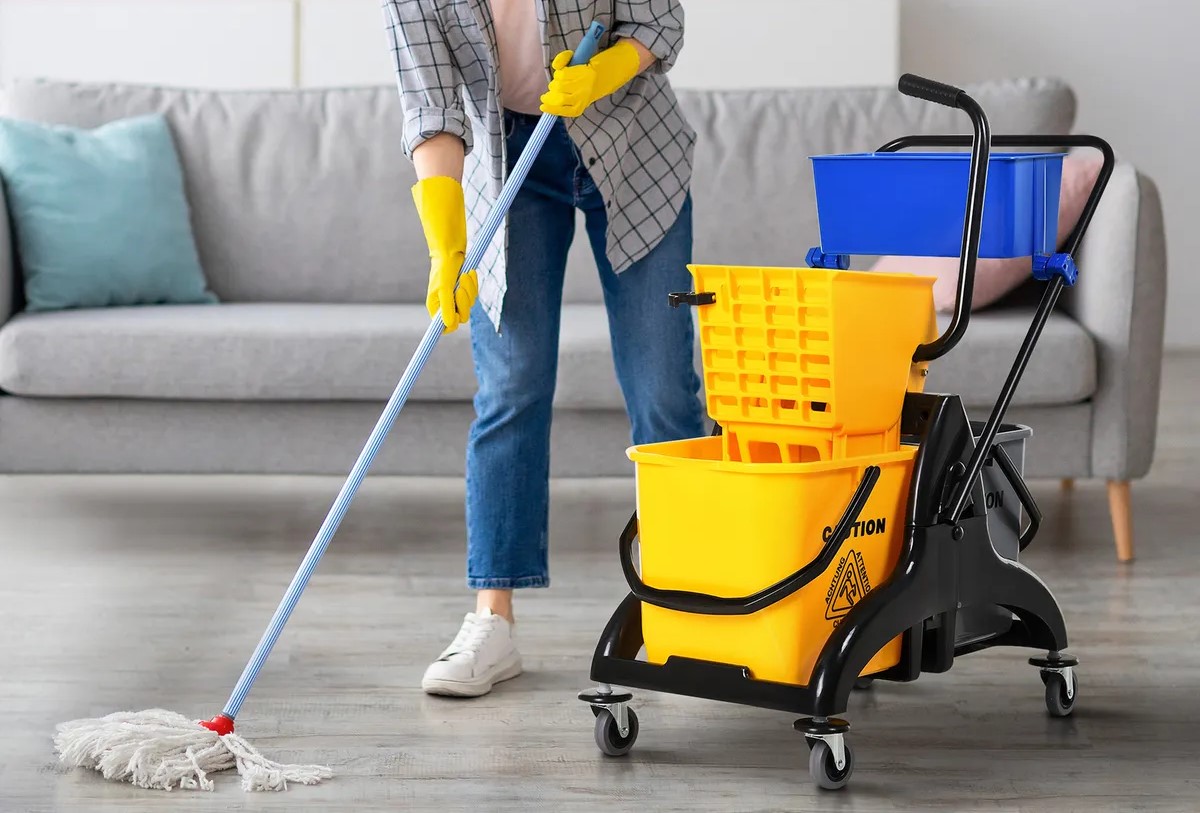
Using the Mop and Bucket
Now that you’ve selected the appropriate mop and bucket and prepared the ideal cleaning solution, it’s time to put them to use and elevate your cleaning routine to new heights. Mastering the art of using a mop and bucket involves adopting efficient techniques and incorporating best practices to achieve optimal cleanliness. Here’s a comprehensive guide to using the mop and bucket effectively:
- Submerging the Mop: Immerse the mop head into the cleaning solution in the bucket, allowing it to absorb an ample amount of the liquid while ensuring it’s not oversaturated.
- Wringing Out Excess Liquid: Depending on the mop type and wringing mechanism, efficiently remove excess liquid from the mop to prevent over-wetting the floors, which can lead to streaking and prolonged drying times.
- Starting Point: Begin mopping from the farthest corner of the room, working your way toward the entrance to avoid stepping on the freshly cleaned areas. This approach ensures thorough coverage without re-mopping previously cleaned sections.
- Back-and-Forth Strokes: Employ smooth and overlapping back-and-forth strokes, following the natural grain of the flooring, to effectively dislodge dirt and grime. Maintain a steady pace to cover the entire surface methodically.
- Addressing Stubborn Stains: For stubborn stains or heavily soiled areas, apply slightly more pressure and focus on targeted spot cleaning to achieve a thorough clean. Avoid abrasive scrubbing that may damage the flooring.
- Regular Rinse and Refresh: Periodically return to the bucket to refresh the cleaning solution and rinse the mop, ensuring that you’re not spreading dirt and contaminants across the floor as you continue mopping.
- Avoid Over-Wetting: Exercise caution to prevent over-wetting the floors, especially for hardwood or laminate surfaces, as excessive moisture can lead to warping or damage.
By implementing these techniques, you can harness the full potential of your mop and bucket, achieving impeccably clean floors with efficiency and precision. With consistent practice, you’ll become adept at seamlessly integrating these steps into your cleaning routine, transforming mundane chores into a gratifying experience.
Cleaning and Maintaining the Equipment
Proper maintenance of your mop and bucket is essential to prolong their lifespan and ensure consistent cleaning performance. Neglecting maintenance can lead to diminished effectiveness and potential hygiene concerns. By incorporating regular cleaning and maintenance practices, you can optimize the functionality and durability of your cleaning equipment. Here’s a comprehensive approach to cleaning and maintaining your mop and bucket:
- Rinsing and Drying: After each use, thoroughly rinse the mop head and bucket with clean water to remove residual cleaning solution and dirt. Allow the components to air dry in a well-ventilated area to prevent mildew and odors from developing.
- Sanitization: Periodically sanitize the mop head and bucket to eliminate bacteria and odors. This can be achieved by soaking the mop head in a solution of water and disinfectant, while the bucket can be sanitized with a mild bleach solution, followed by thorough rinsing and drying.
- Inspecting for Damage: Routinely inspect the mop head, handle, and bucket for any signs of wear, damage, or deterioration. Replace worn-out mop heads or damaged components to maintain optimal cleaning performance and prevent potential contamination.
- Storage Considerations: Store the mop and bucket in a designated area away from direct sunlight and moisture. Proper storage prevents the growth of mold and mildew, preserving the integrity of the equipment between uses.
- Handle Maintenance: If your mop features an adjustable or telescopic handle, periodically check and tighten the locking mechanism to ensure stability and prevent accidental collapsing during use.
- Deep Cleaning: For heavily soiled mop heads, consider a deep cleaning approach such as machine washing or soaking in a solution of detergent and water. Follow the manufacturer’s recommendations for cleaning to avoid damaging the mop head fibers.
By diligently adhering to these maintenance practices, you can uphold the cleanliness and functionality of your mop and bucket, fostering a hygienic and efficient cleaning experience with each use. Consistent maintenance not only preserves the equipment but also contributes to a healthier and more pleasant cleaning environment.
Read more: How To Mop With Two Buckets
Conclusion
Congratulations on mastering the art of using a mop and bucket to achieve pristine and inviting living or working spaces! By delving into the intricacies of selecting the right cleaning tools, preparing the perfect cleaning solution, and executing effective mopping techniques, you’ve elevated your cleaning prowess to new heights. The comprehensive guide has equipped you with the knowledge and skills to transform mundane cleaning tasks into gratifying and rewarding endeavors.
Remember, the key to successful mopping lies in the thoughtful selection of the mop and bucket, the meticulous preparation of the cleaning solution, and the seamless execution of proven mopping techniques. By adhering to best practices and incorporating regular maintenance routines, you can ensure the longevity and optimal performance of your cleaning equipment, paving the way for consistent cleanliness and hygiene.
As you continue to apply these newfound insights to your cleaning routine, you’ll witness the transformative power of a well-executed mopping session, leaving your floors spotless and your surroundings refreshed. Embrace the art of mopping as a fulfilling and essential part of maintaining a clean and inviting environment, and relish the satisfaction of a job well done with each stroke of the mop.
With your newfound expertise, you’re well-equipped to tackle any cleaning challenge with confidence and finesse, making the most of your trusty mop and bucket to uphold the highest standards of cleanliness. Embrace the art of mopping, and let your floors shine with brilliance!
Frequently Asked Questions about How To Use A Mop And Bucket
Was this page helpful?
At Storables.com, we guarantee accurate and reliable information. Our content, validated by Expert Board Contributors, is crafted following stringent Editorial Policies. We're committed to providing you with well-researched, expert-backed insights for all your informational needs.
0 thoughts on “How To Use A Mop And Bucket”