Home>Home Appliances>Cleaning Appliances>How To Dry A Mop
Cleaning Appliances
How To Dry A Mop
Modified: October 20, 2024
Learn the best techniques for drying a mop effectively to keep your cleaning appliances in top condition. Discover easy tips and tricks for maintaining your mop.
(Many of the links in this article redirect to a specific reviewed product. Your purchase of these products through affiliate links helps to generate commission for Storables.com, at no extra cost. Learn more)
Introduction
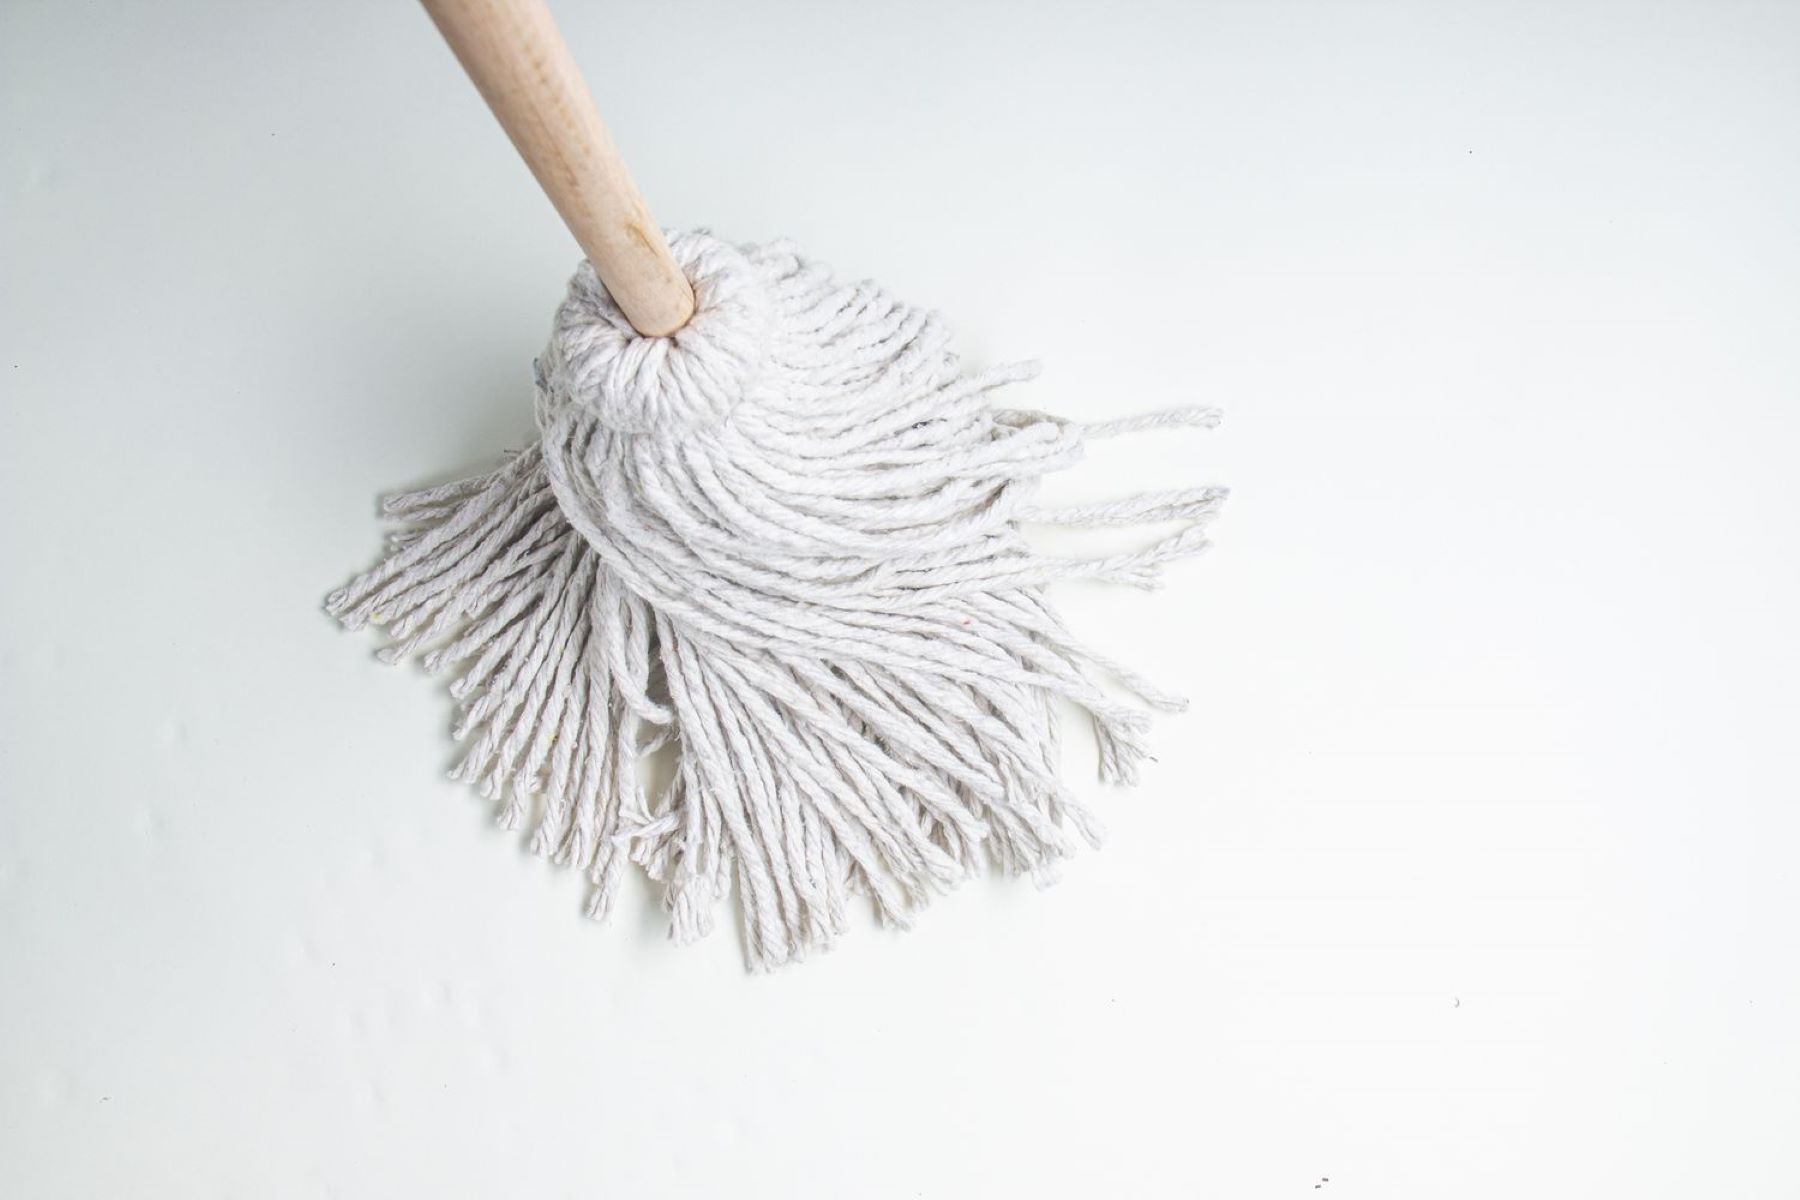
Drying a mop might seem like a straightforward task, but doing it the right way can extend the life of your mop and ensure optimal cleaning performance. Whether you've just finished mopping your floors or you want to store your mop after use, proper drying is essential to prevent mold, mildew, and unpleasant odors from developing. In this comprehensive guide, we'll explore the best methods for drying your mop effectively, ensuring that it stays clean and ready for the next use. From removing excess water to utilizing fans and dryers, we'll cover all the essential steps to help you keep your mop in top condition. So, let's dive into the details and learn how to dry a mop the right way!
Key Takeaways:
- Keep your mop clean and fresh by removing excess water and air drying it in a well-ventilated area. Proper storage is key to preventing mold and bacteria growth, ensuring your mop is ready for use.
- For a quick dry, use a fan or dryer on low heat, but always check the manufacturer’s instructions first. Store your mop in a well-ventilated area with the head elevated to maintain its cleanliness and functionality.
Read also: 8 Best Swiffer Dry Mop For 2025
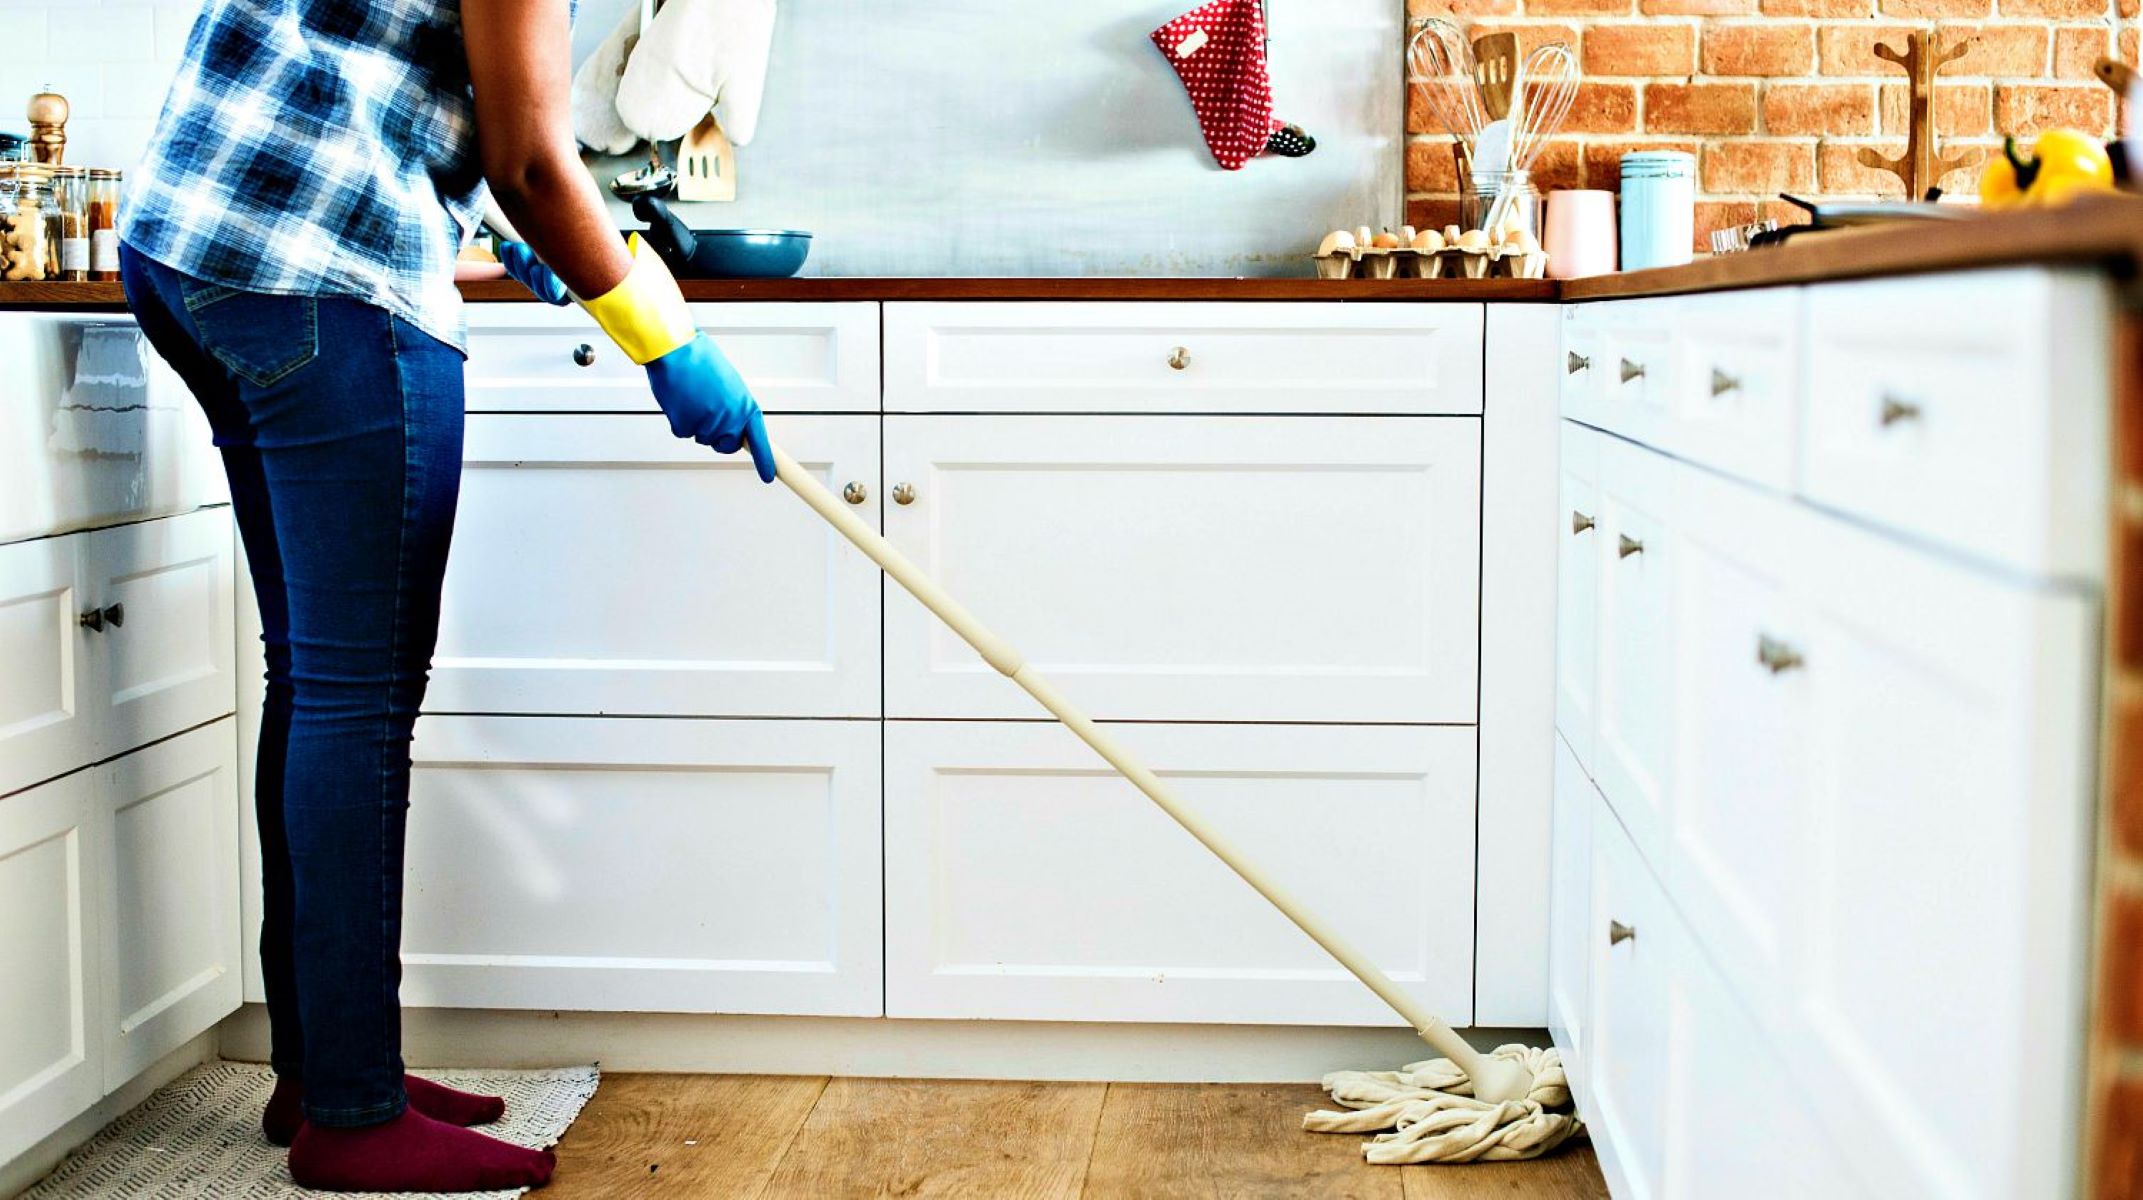
Step 1: Remove Excess Water
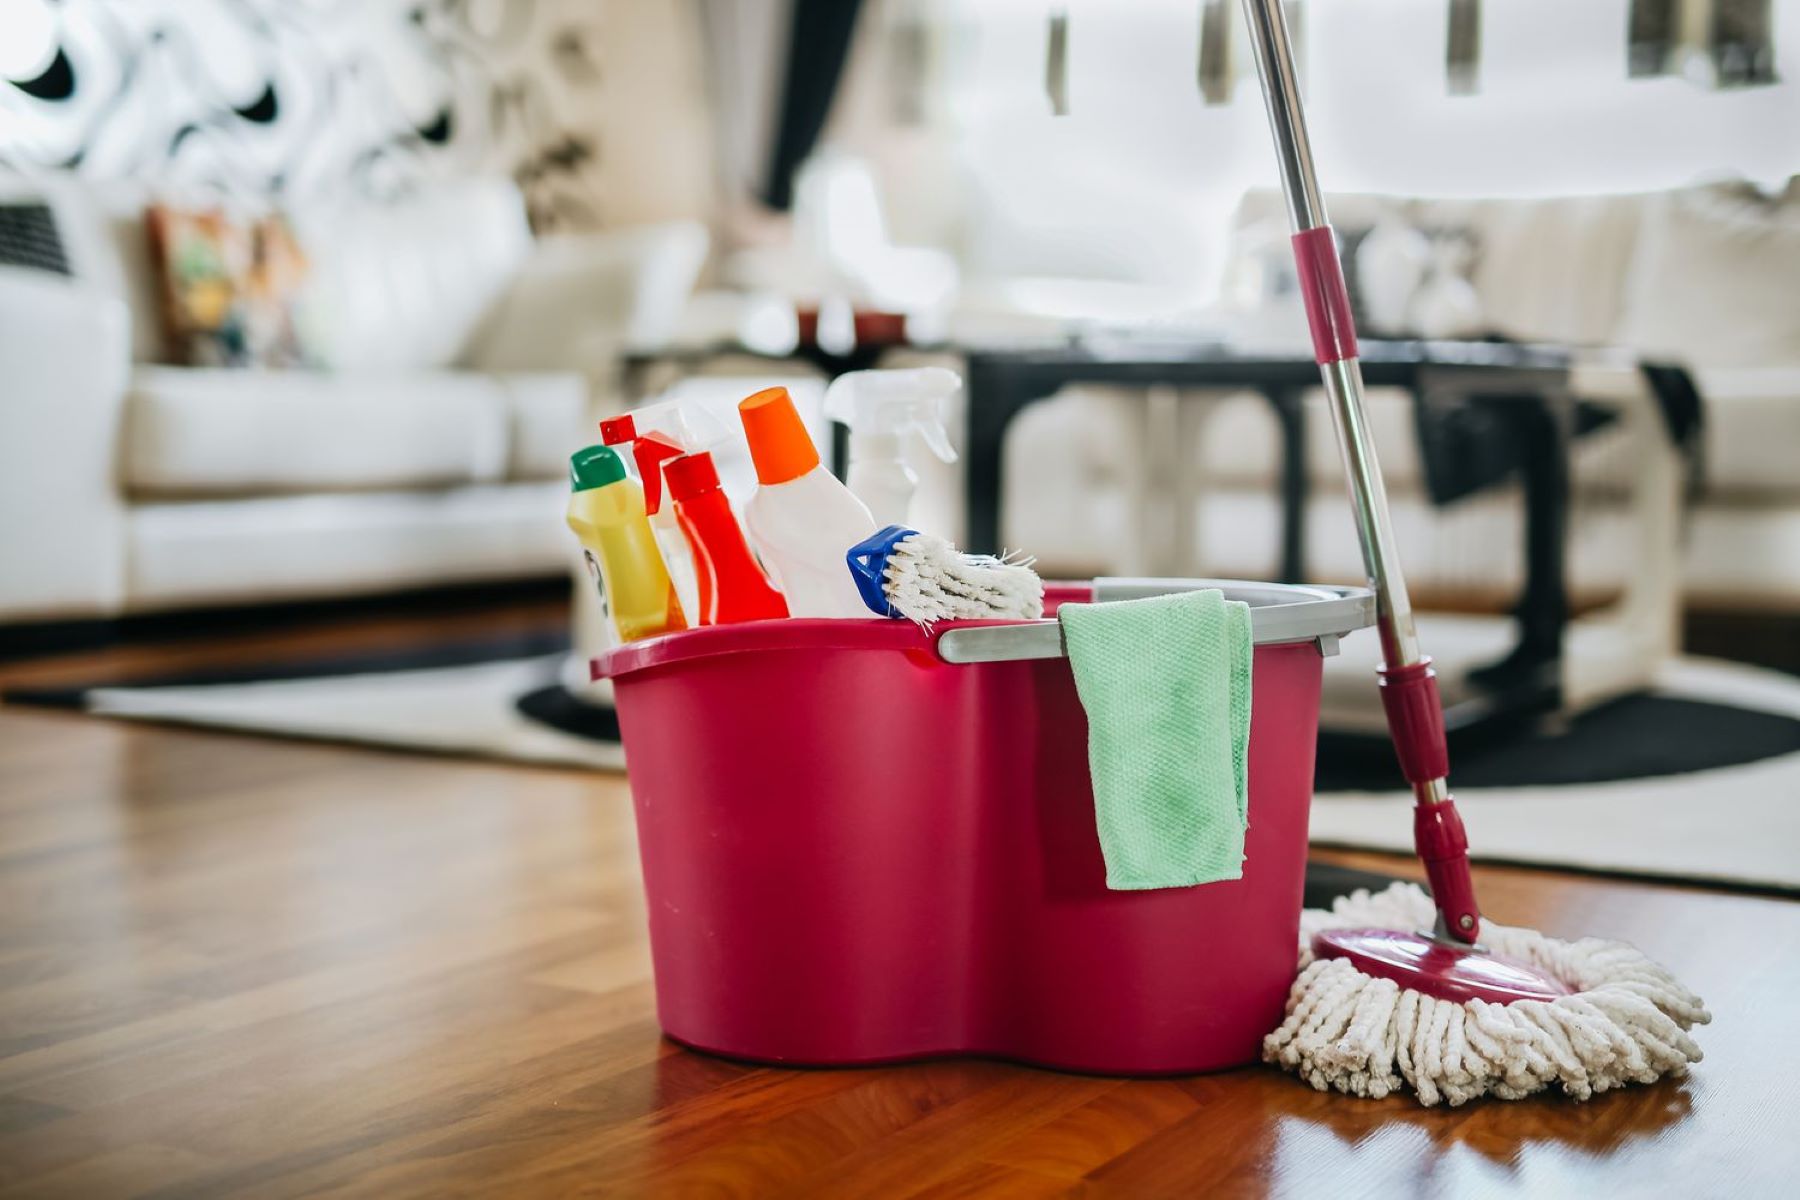
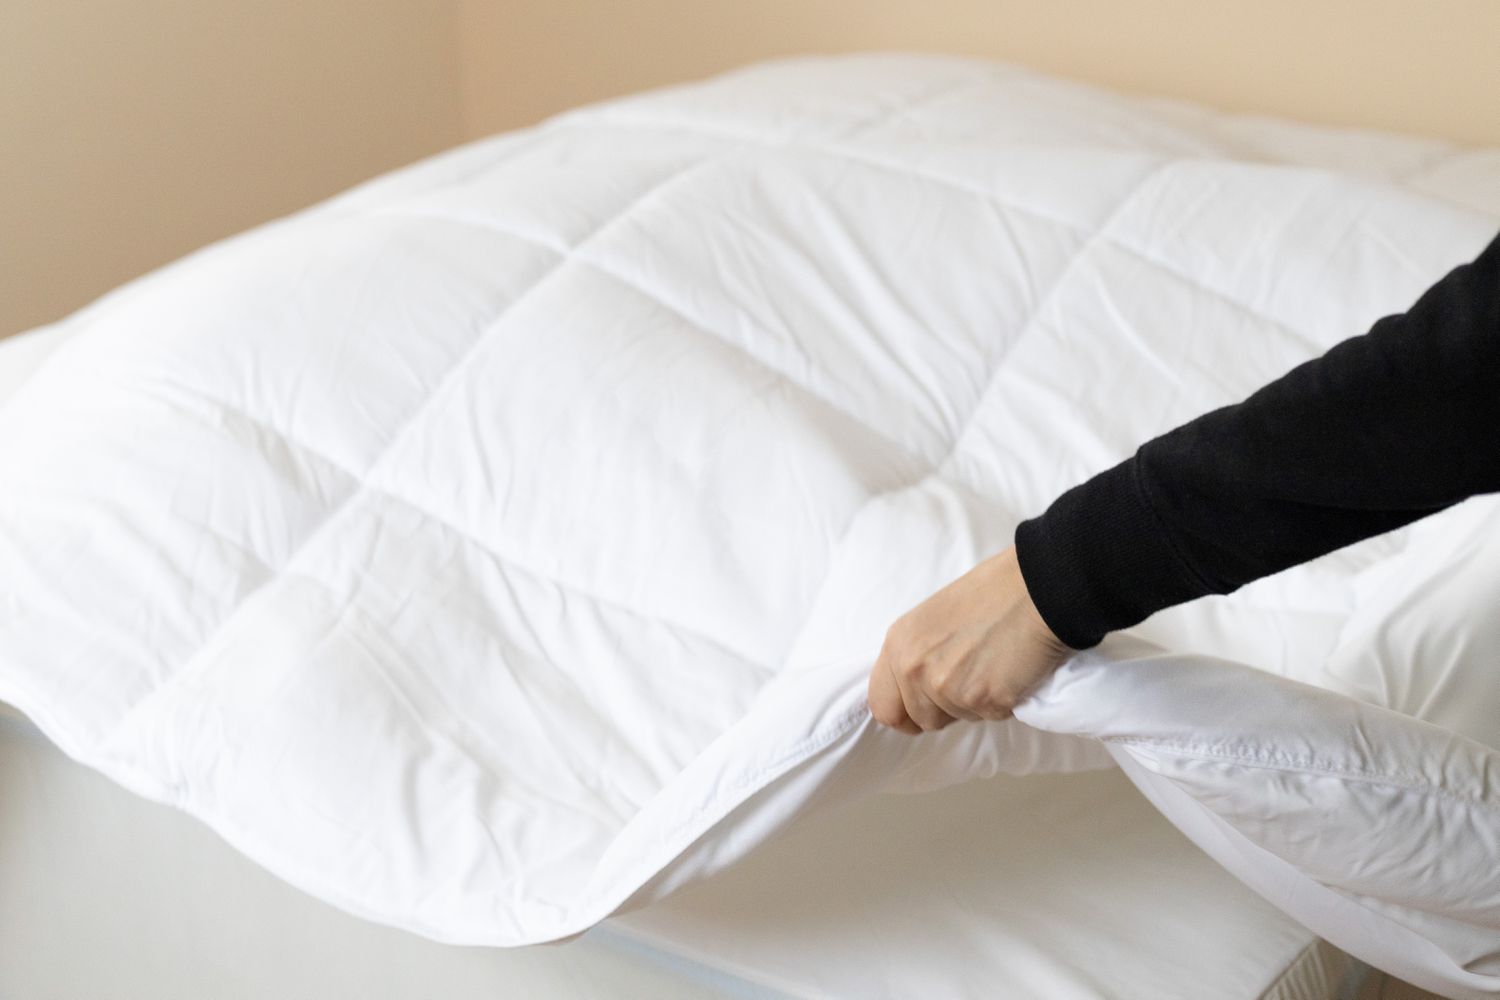
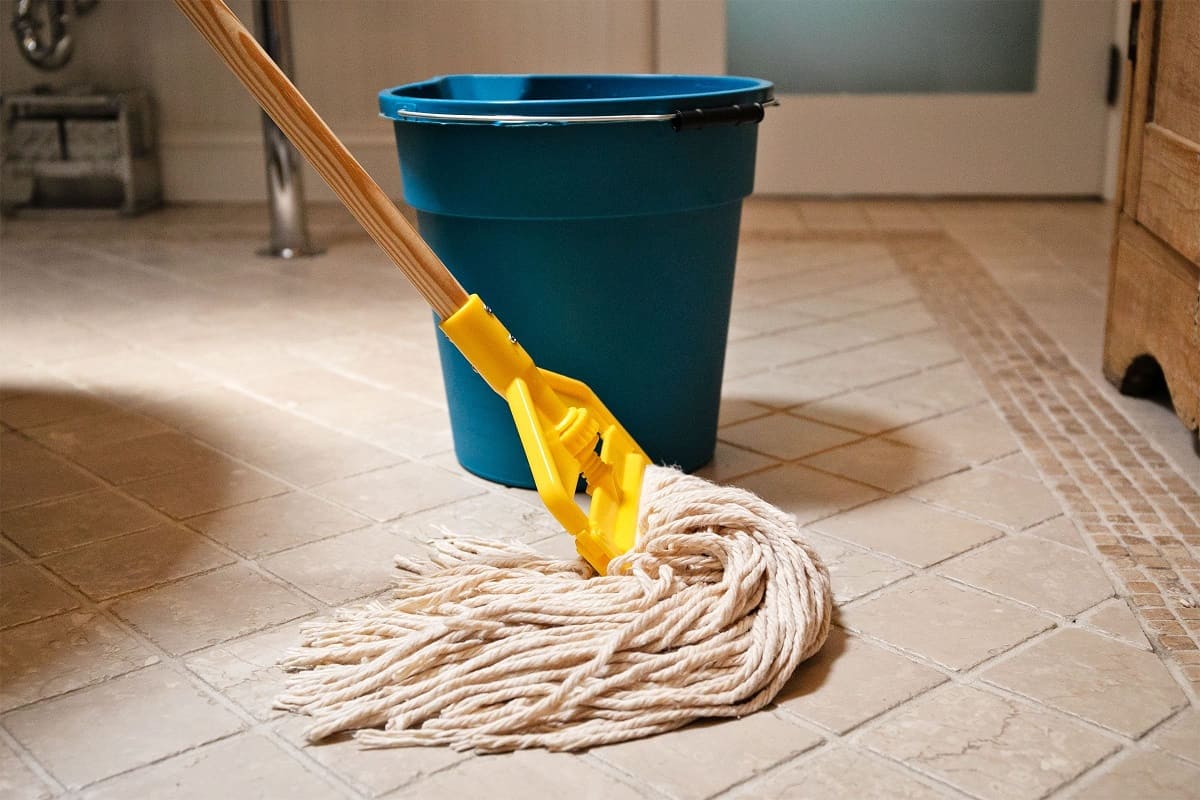
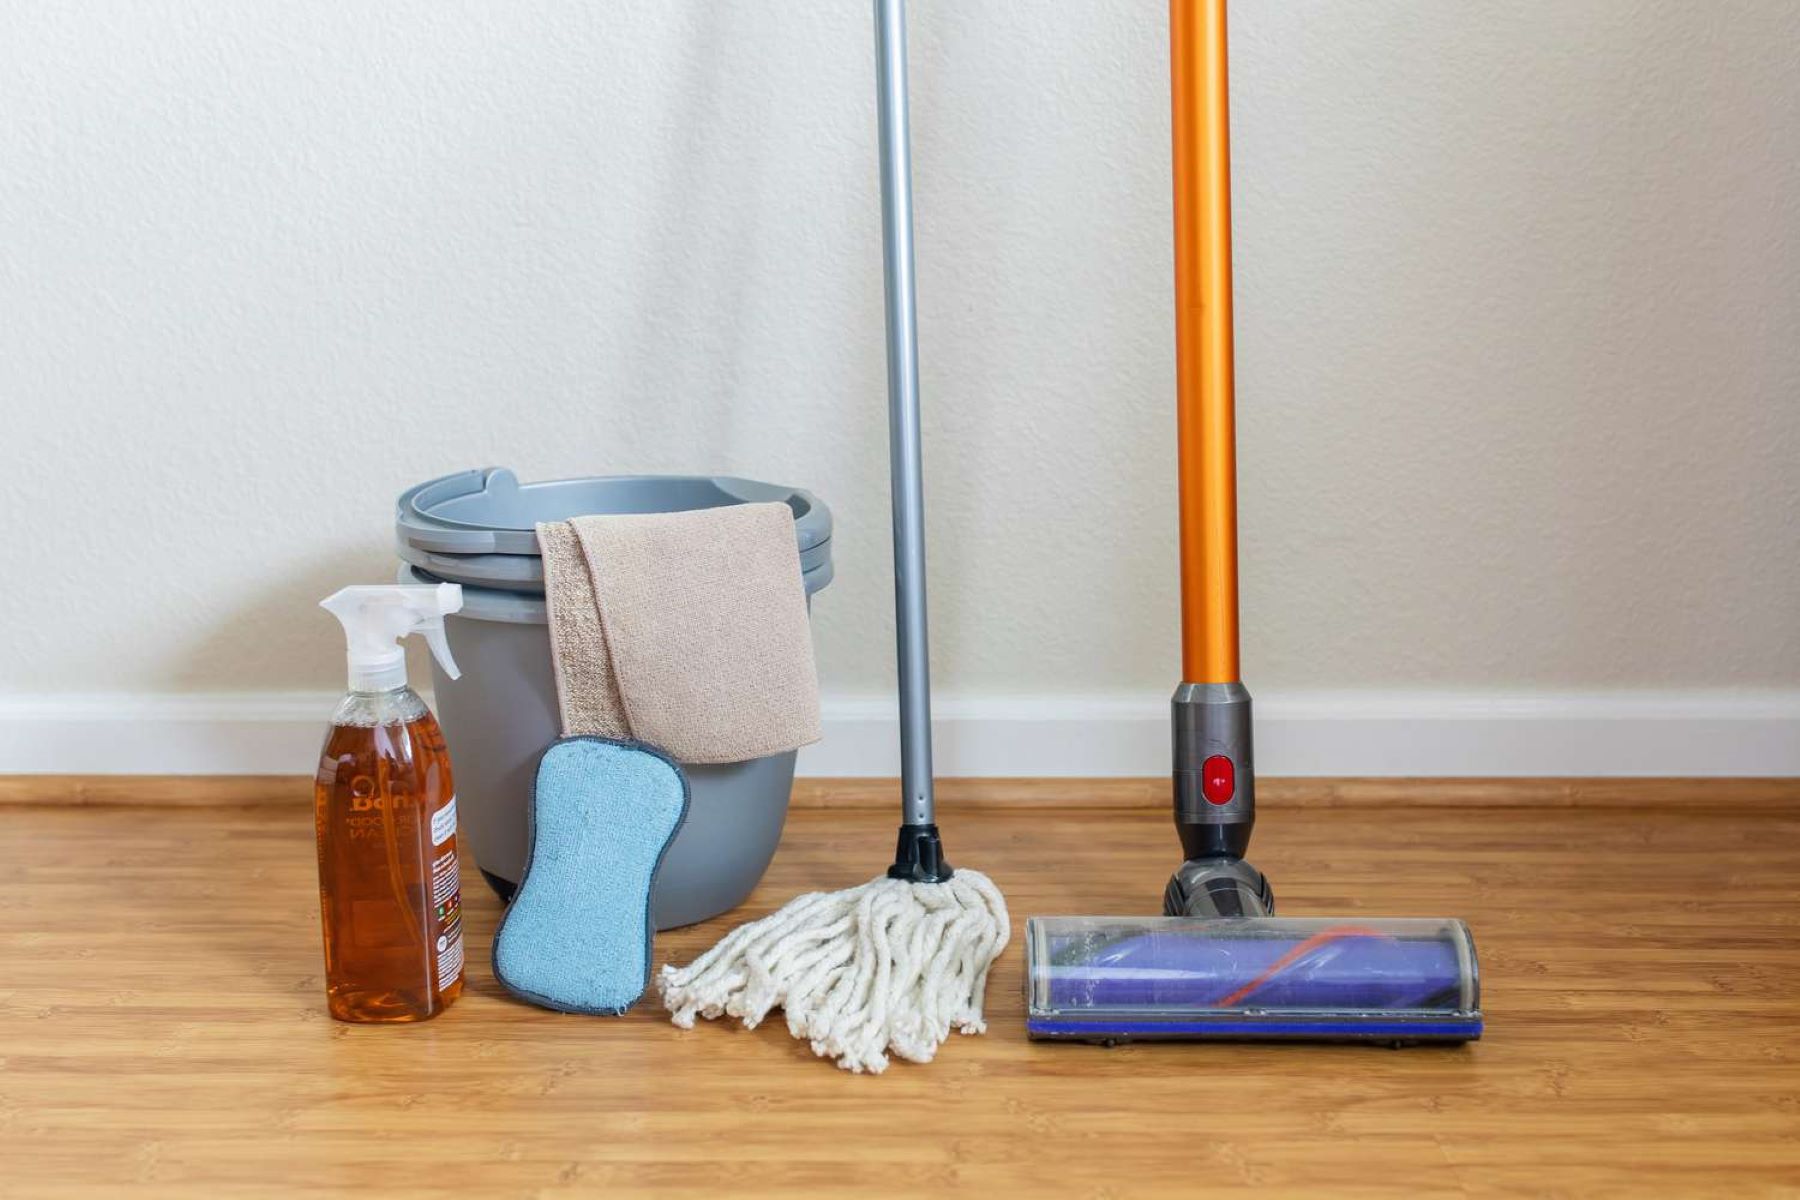
Before you begin the drying process, it’s crucial to remove as much excess water from the mop as possible. Start by placing the mop head in a clean, empty sink or a large bucket. Press down firmly on the mop with your hands to squeeze out the water. You can also use a mop wringer if your mop is equipped with one. This step is essential for expelling the majority of the moisture, making the subsequent drying methods more effective.
Once you’ve pressed out as much water as possible, consider using a clean towel to pat the mop head and absorb any remaining moisture. Gently press the towel onto the mop, repeating the process with a dry section of the towel until minimal moisture is transferred. Remember, the goal is to reduce the mop’s dampness to expedite the drying process and prevent the growth of mold and bacteria.
If your mop is machine washable, you can also run it through a spin cycle in the washing machine to extract excess water. However, be sure to check the manufacturer’s instructions and the mop’s label to ensure it’s safe for machine washing. Once you’ve removed the excess water, you’re ready to proceed to the next step in the drying process.
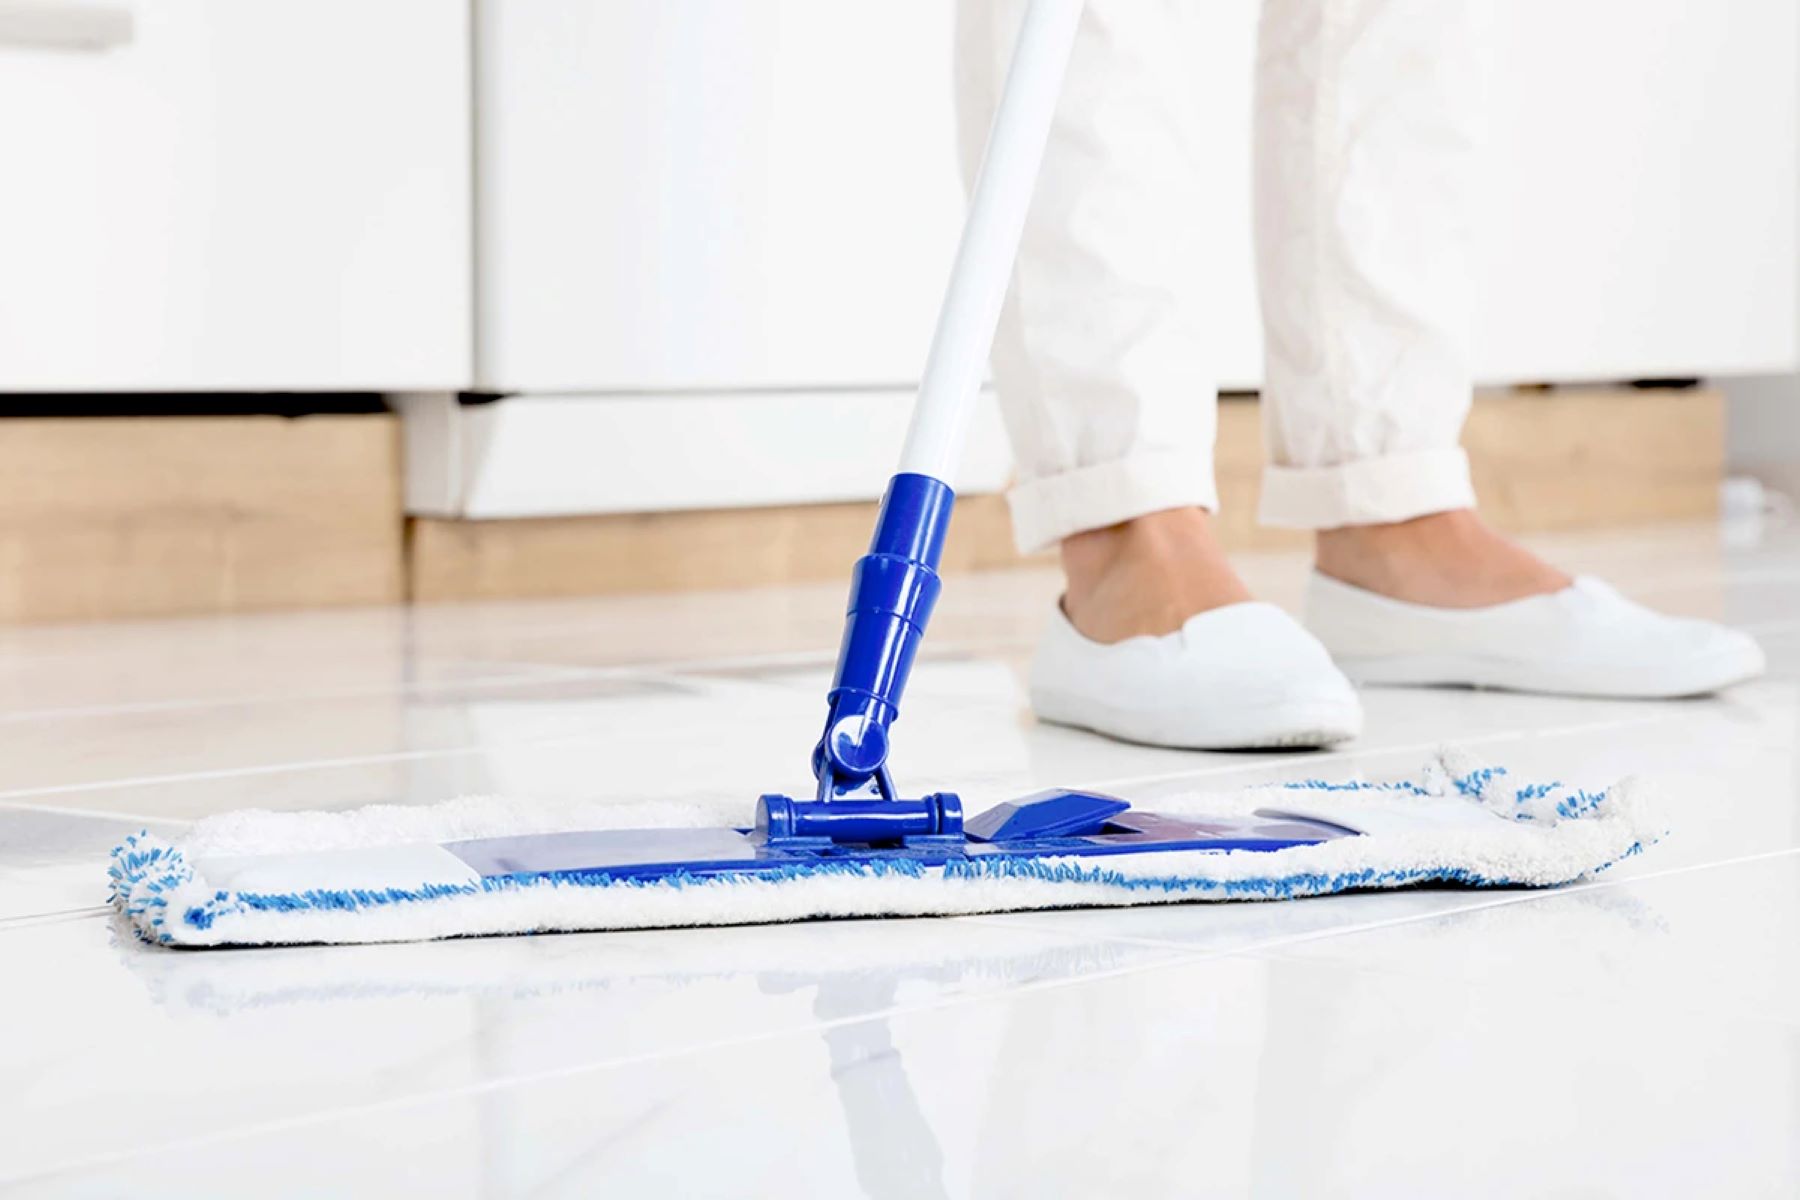
Step 2: Hang the Mop
After removing the excess water, the next step in drying your mop is to hang it properly. Hanging the mop allows for adequate air circulation around the mop head, facilitating the evaporation of residual moisture. Look for a well-ventilated area where you can hang the mop without obstructing airflow. Here’s how to hang your mop effectively:
- Choose a Suitable Location: Select a location that allows the mop to hang freely without touching the floor or any other surfaces. Ideally, opt for a spot with good air circulation to expedite the drying process.
- Utilize a Mop Holder or Hook: If available, use a mop holder or hook designed for this purpose. These tools are designed to securely hold the mop in place while allowing air to reach all parts of the mop head.
- Avoid Enclosed or Damp Areas: Ensure that the chosen location is not in an enclosed or damp space, as this can hinder the drying process and create an environment conducive to mold and mildew growth.
By hanging the mop properly, you enable efficient airflow around the entire mop head, promoting thorough drying and preventing the accumulation of moisture in one area. This simple yet crucial step sets the stage for effective drying and helps maintain the cleanliness and integrity of your mop.
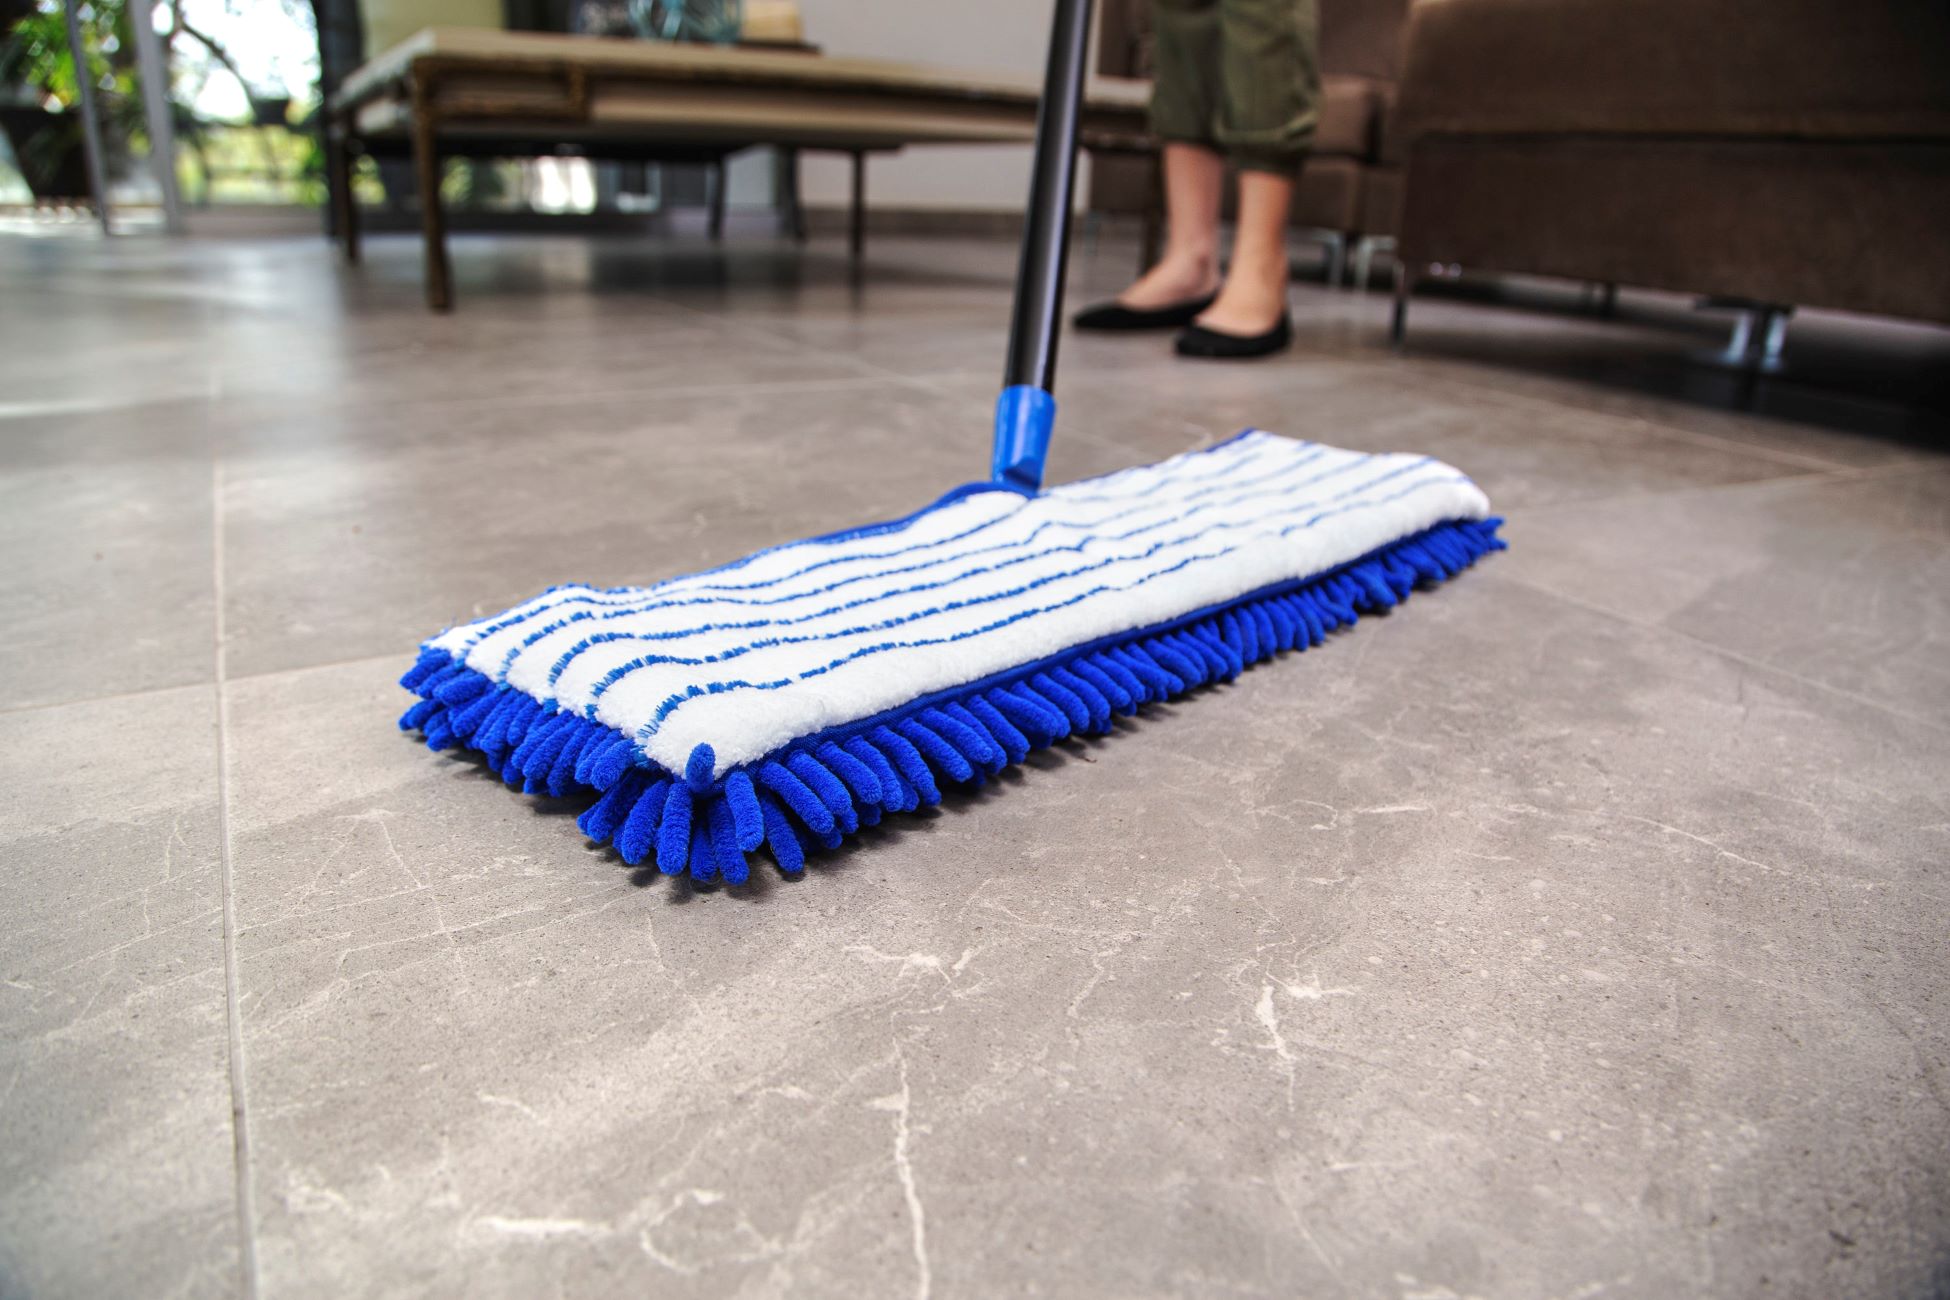
Step 3: Air Dry
Once the mop is hung in a well-ventilated area, allowing it to air dry is an effective method to complete the drying process. Air drying harnesses the natural flow of air to evaporate any remaining moisture, leaving the mop fresh and ready for future use. Here are some tips for air drying your mop effectively:
- Choose a Breezy Location: Opt for a location with good air circulation, such as near an open window or in a room with a ceiling fan. The movement of air will aid in the evaporation of moisture from the mop.
- Rotate the Mop: If possible, periodically rotate the mop while it’s drying to ensure that all sides receive adequate airflow. This helps prevent any lingering dampness and promotes uniform drying.
- Allow Sufficient Time: Depending on the mop’s material and the humidity level in the environment, air drying may take several hours. Be patient and allow the mop to dry thoroughly before its next use or storage.
By harnessing the power of natural airflow, air drying is a simple yet efficient method for ensuring that your mop is completely dry and free from excess moisture. This approach is eco-friendly and requires minimal effort, making it an excellent choice for maintaining the cleanliness and longevity of your mop.
After using a mop, hang it up to air dry completely. This will prevent mold and mildew from forming and keep your mop in good condition for longer.
Step 4: Use a Fan
For a quicker and more thorough drying process, utilizing a fan can significantly expedite the evaporation of moisture from the mop. A fan helps circulate air around the mop, accelerating the drying time and reducing the risk of mold or mildew development. Here’s how to effectively use a fan to dry your mop:
- Position the Fan: Place a portable fan in close proximity to the hanging mop, ensuring that it directs airflow towards the mop head. This maximizes the exposure of the mop to circulating air, expediting the drying process.
- Adjust the Fan Speed: If your fan has adjustable speed settings, opt for a moderate setting to avoid overly forceful airflow, which could potentially damage delicate mop materials. A gentle breeze is sufficient to facilitate drying.
- Leave the Fan Running: Allow the fan to operate for several hours, periodically checking the mop’s dryness. Depending on the mop’s material and the environmental conditions, the drying time may vary.
By harnessing the power of a fan, you can effectively reduce the drying time of your mop while ensuring thorough moisture evaporation. This method is particularly useful when you need to reuse the mop promptly or when dealing with high humidity levels that may impede natural air drying. With the assistance of a fan, your mop will be ready for action in no time.
Read also: 11 Amazing Swifter Dry Mop Refills For 2025
Step 5: Use a Dryer
When time is of the essence or when dealing with particularly absorbent mop materials, using a dryer can provide a swift and effective drying solution. While not all mop types are suitable for machine drying, those that are can benefit from this method, especially in humid or overcast weather conditions. Here’s how to use a dryer to expedite the drying process for your mop:
- Check the Label: Before proceeding, review the manufacturer’s instructions and the mop’s label to ensure that it is safe for machine drying. Some mop materials may be sensitive to high heat and could be damaged in a dryer.
- Use a Low Heat Setting: If the mop is dryer-safe, select a low or delicate heat setting to prevent excessive heat exposure. High temperatures can compromise the integrity of certain mop materials, so gentle heat is preferable.
- Monitor the Drying Process: Place the mop in the dryer and periodically check its dryness to prevent over-drying. Depending on the mop’s material and the dryer’s efficiency, the drying time may vary.
By utilizing a dryer, you can efficiently remove residual moisture from the mop, ensuring that it is thoroughly dried and ready for future use. This method is particularly beneficial for quickly restoring the mop to a pristine condition, especially when time is limited or when natural air drying is impractical.
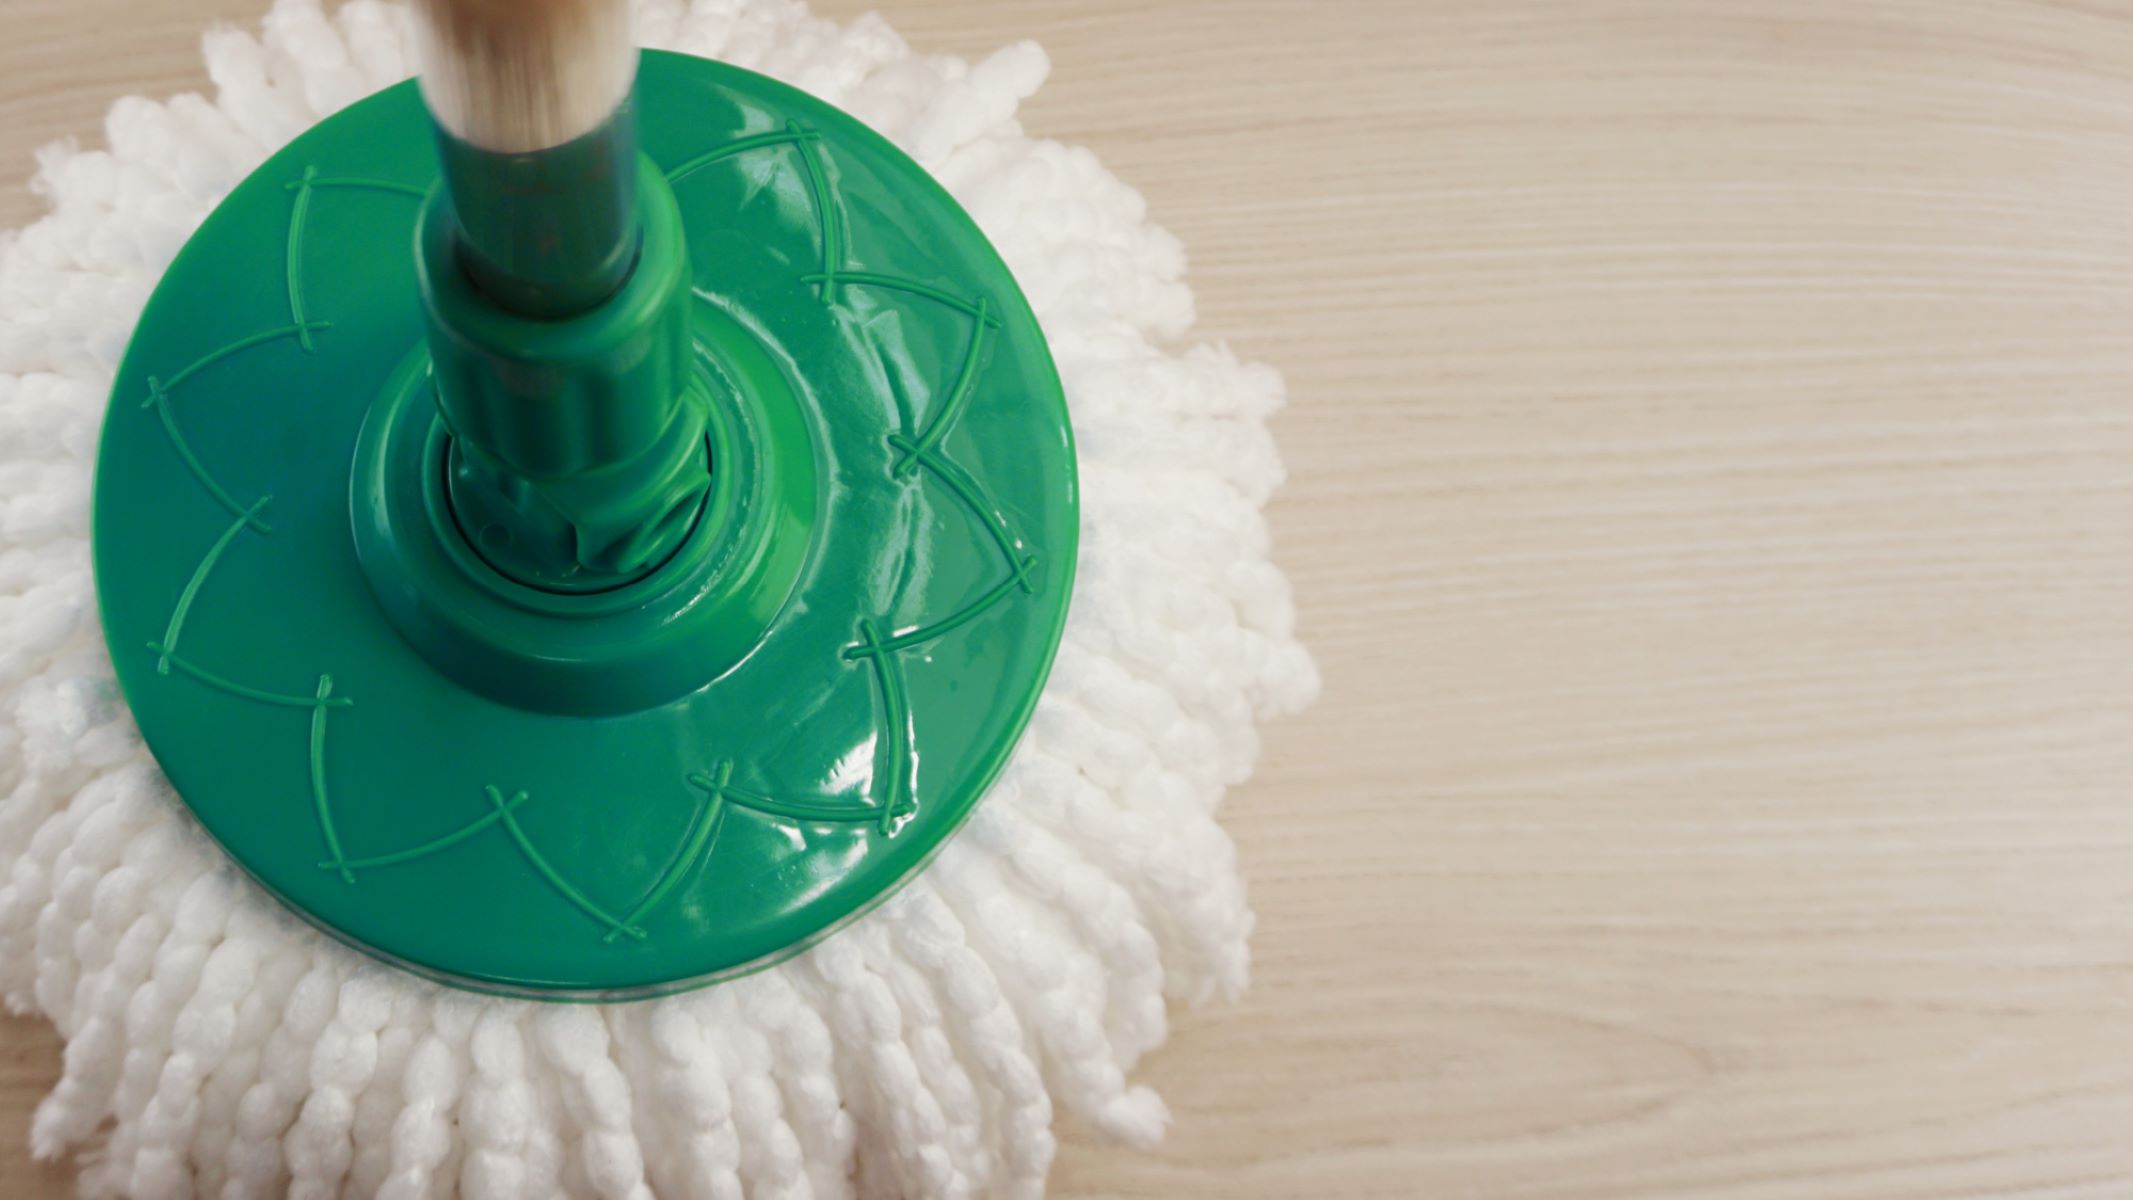
Step 6: Store Properly
After ensuring that your mop is completely dry, proper storage is essential to maintain its cleanliness and prolong its lifespan. Storing a mop correctly prevents the growth of mold, mildew, and unpleasant odors, ensuring that it remains in optimal condition for future use. Here are some key tips for storing your mop properly:
- Choose a Well-Ventilated Area: Select a storage location with good air circulation to prevent moisture buildup. Avoid enclosed spaces, such as closets or cabinets, unless they are well-ventilated.
- Keep the Mop Head Elevated: Store the mop with the head elevated off the floor to facilitate air circulation and prevent the accumulation of dust and debris. Mop holders or hooks can be useful for this purpose.
- Ensure Complete Dryness: Before storing the mop, confirm that it is thoroughly dry to prevent the development of mold and bacteria. Even a small amount of residual moisture can lead to unpleasant odors and microbial growth.
- Regularly Inspect and Clean: Periodically inspect the mop for any signs of wear, damage, or lingering odors. If necessary, clean the mop according to the manufacturer’s recommendations before storing it.
By following these storage guidelines, you can maintain the cleanliness and functionality of your mop, ensuring that it is ready for effective cleaning whenever needed. Proper storage not only preserves the quality of the mop but also contributes to a hygienic cleaning routine in your home or workspace.
Frequently Asked Questions about How To Dry A Mop
Was this page helpful?
At Storables.com, we guarantee accurate and reliable information. Our content, validated by Expert Board Contributors, is crafted following stringent Editorial Policies. We're committed to providing you with well-researched, expert-backed insights for all your informational needs.
0 thoughts on “How To Dry A Mop”