Home>Home Appliances>Cleaning Appliances>How To Clean A Sponge Mop

Cleaning Appliances
How To Clean A Sponge Mop
Modified: February 29, 2024
Learn how to effectively clean a sponge mop and keep your cleaning appliances in top condition with our simple and practical tips. Keep your floors sparkling clean!
(Many of the links in this article redirect to a specific reviewed product. Your purchase of these products through affiliate links helps to generate commission for Storables.com, at no extra cost. Learn more)
Introduction
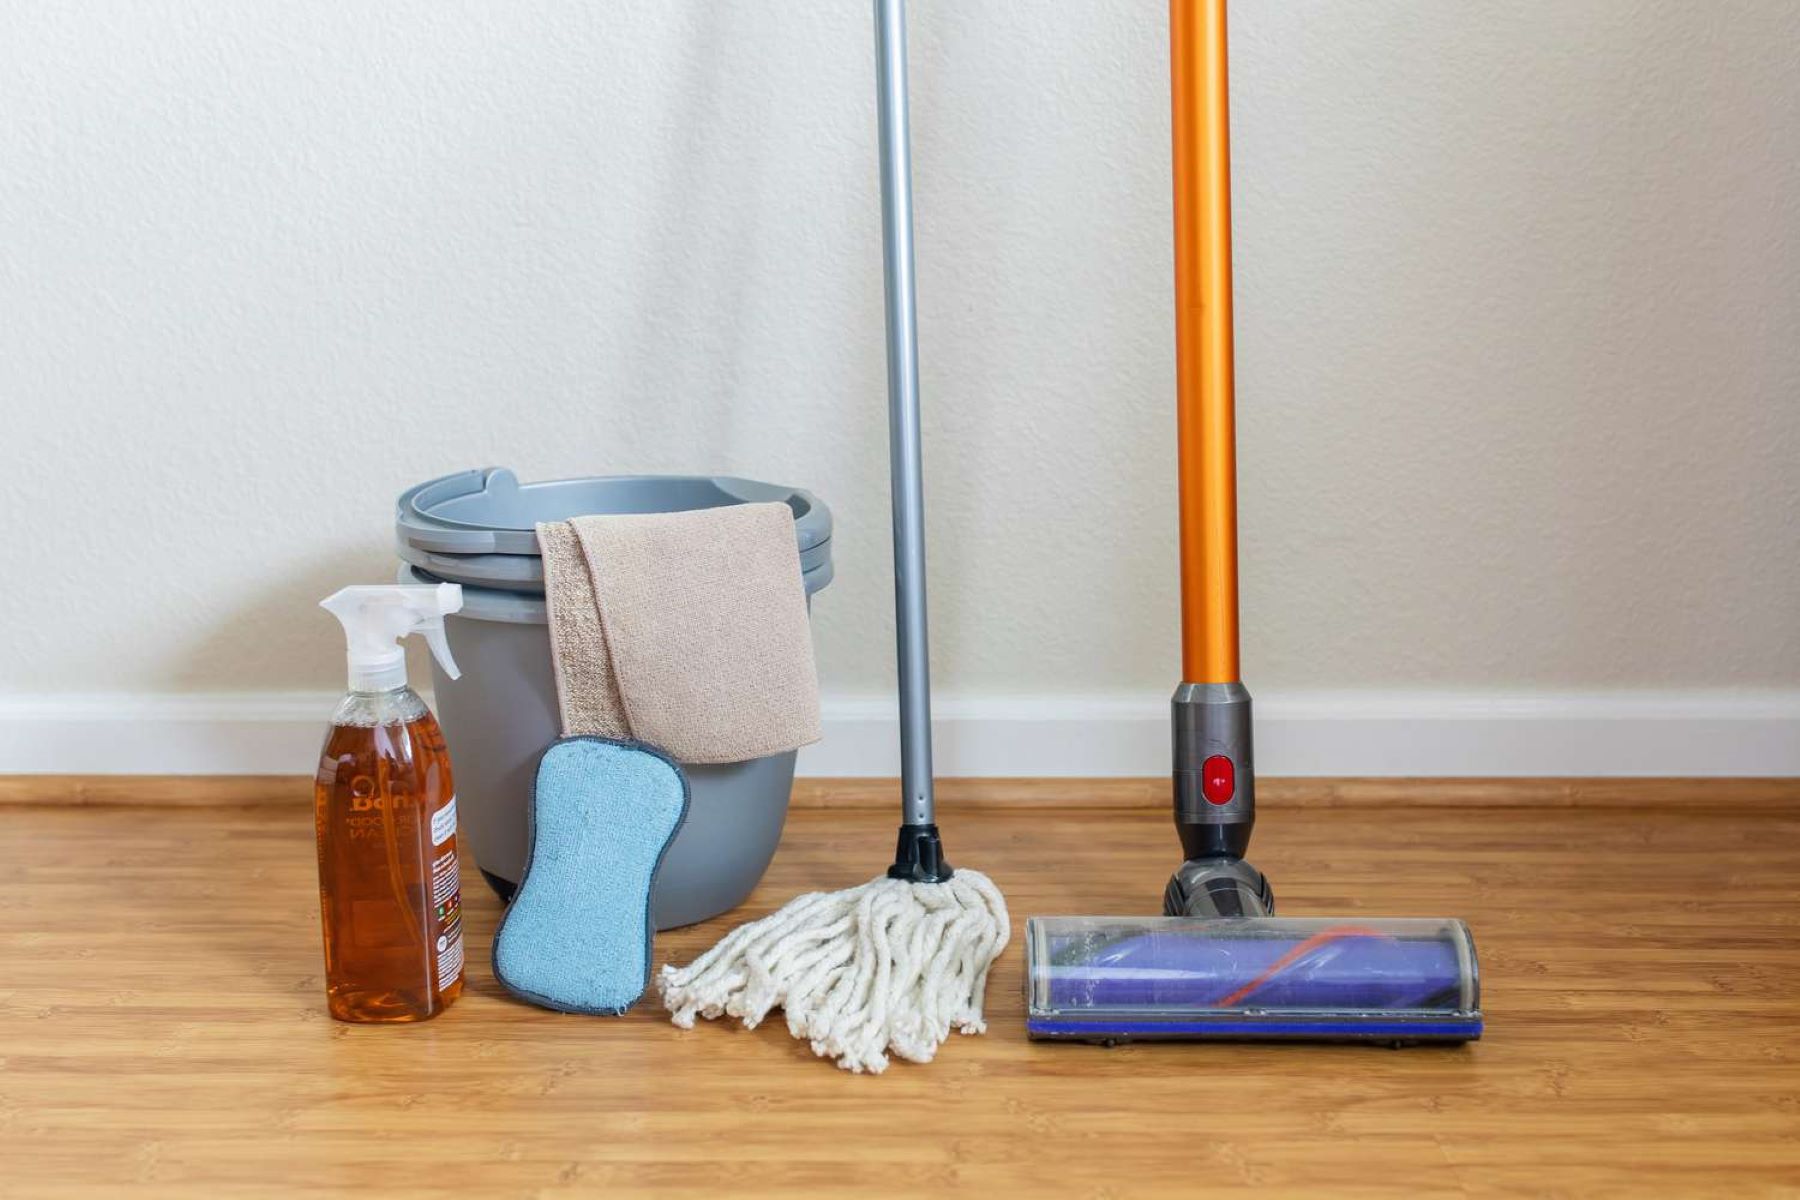
Cleaning is an essential part of maintaining a healthy and hygienic living environment. When it comes to keeping your floors spotless, a sponge mop can be a valuable tool. However, to ensure its effectiveness and longevity, it's crucial to clean the sponge mop regularly. By doing so, you can prevent the spread of germs and bacteria, maintain the mop's absorbency, and extend its lifespan.
In this comprehensive guide, we will walk you through the step-by-step process of cleaning a sponge mop. Whether you're dealing with a routine cleaning task or addressing a particularly stubborn mess, these techniques will help you restore your sponge mop to its optimal condition. With a few simple steps and minimal supplies, you can revitalize your sponge mop and keep your floors looking pristine. Let's dive in and discover how to effectively clean a sponge mop to ensure a sparkling clean home.
Key Takeaways:
- Regularly cleaning your sponge mop prevents the spread of germs and bacteria, maintains its effectiveness, and extends its lifespan, ensuring a sparkling clean home.
- Thoroughly drying the sponge mop after cleaning prevents mold and mildew growth, maintains its absorbency, and prolongs its lifespan, keeping your floors spotless and inviting.
Read more: How To Use A Sponge Mop
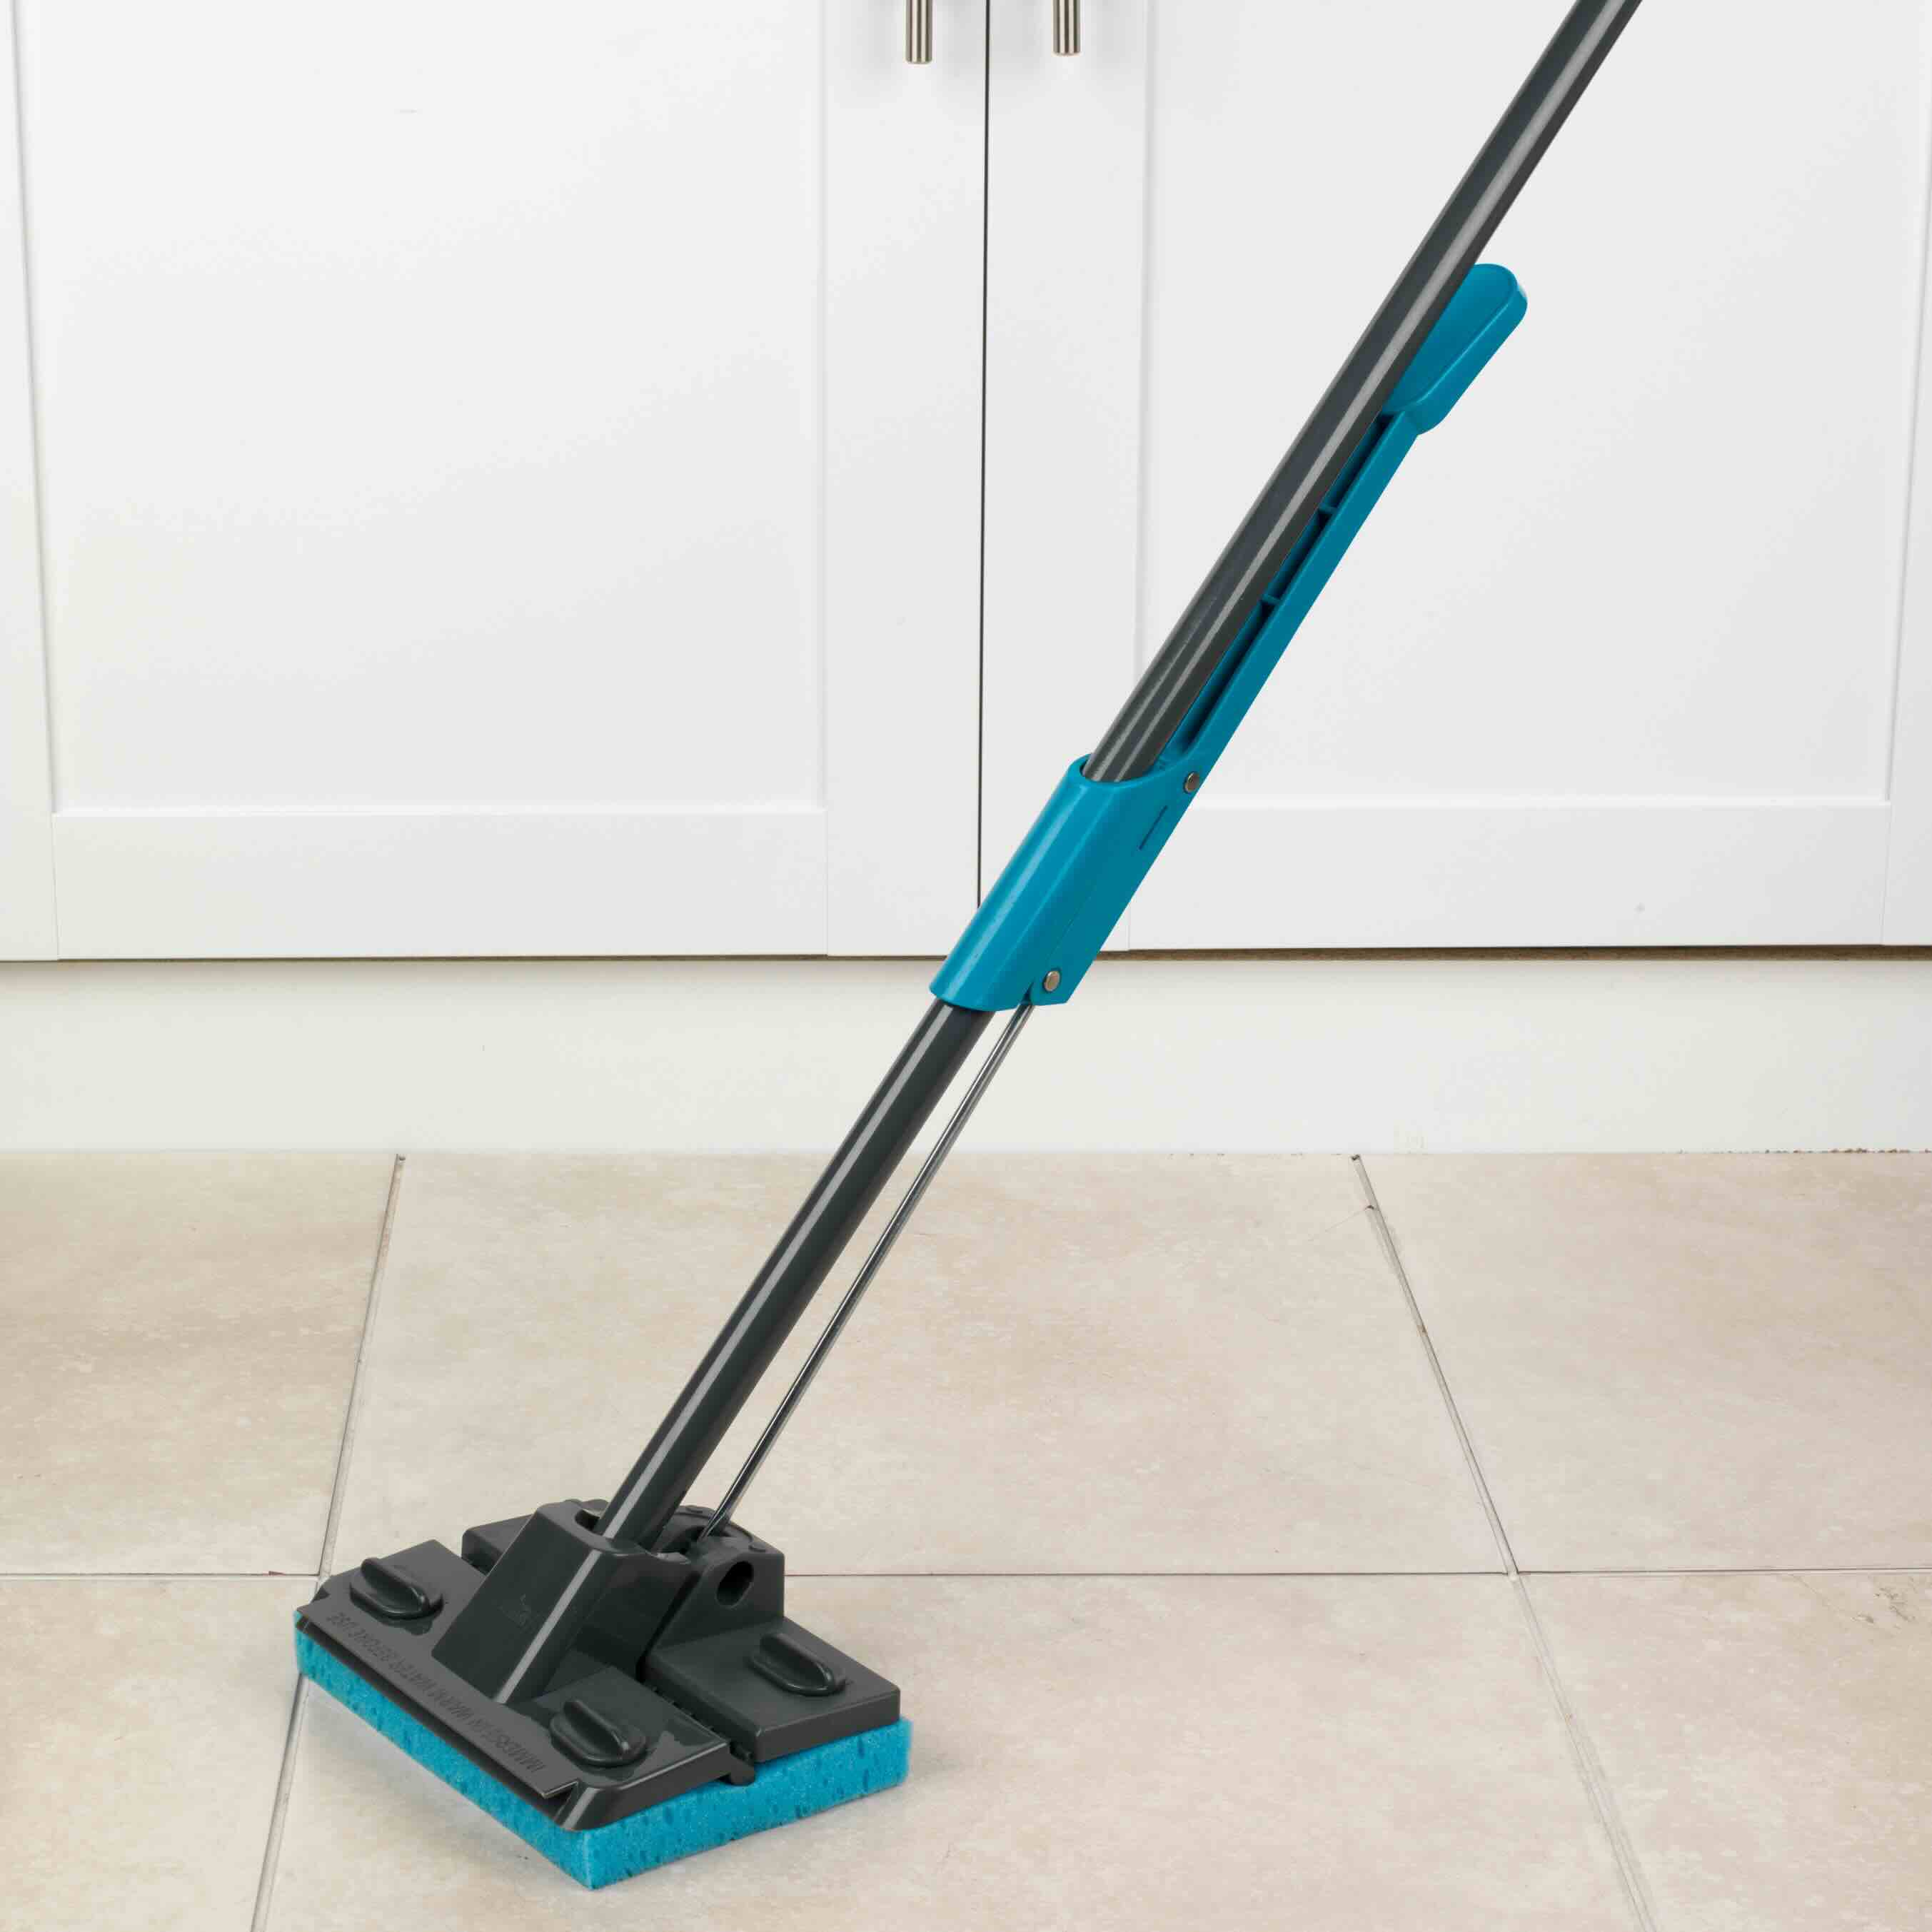
Step 1: Remove Excess Dirt and Debris
Before delving into the cleaning process, it’s important to remove any excess dirt and debris from the sponge mop. Start by taking the mop outside or to a well-ventilated area to prevent dust and dirt from scattering indoors. Gently shake the mop to dislodge loose particles and debris. Alternatively, you can use a handheld vacuum with a brush attachment to effectively remove accumulated dirt from the mop head.
Next, inspect the sponge for any stubborn debris or hair that may be tangled within the fibers. Use a pair of scissors or a utility knife to carefully cut away any trapped debris, taking care not to damage the sponge. By thoroughly removing excess dirt and debris, you’ll ensure that the cleaning process is more effective and prevent the spread of contaminants during the next steps.
Remember to check the mop head’s edges and corners, as these areas are prone to trapping dirt and grime. A quick once-over with a damp cloth can help remove any remaining particles, leaving the mop head primed for the next stage of the cleaning process.
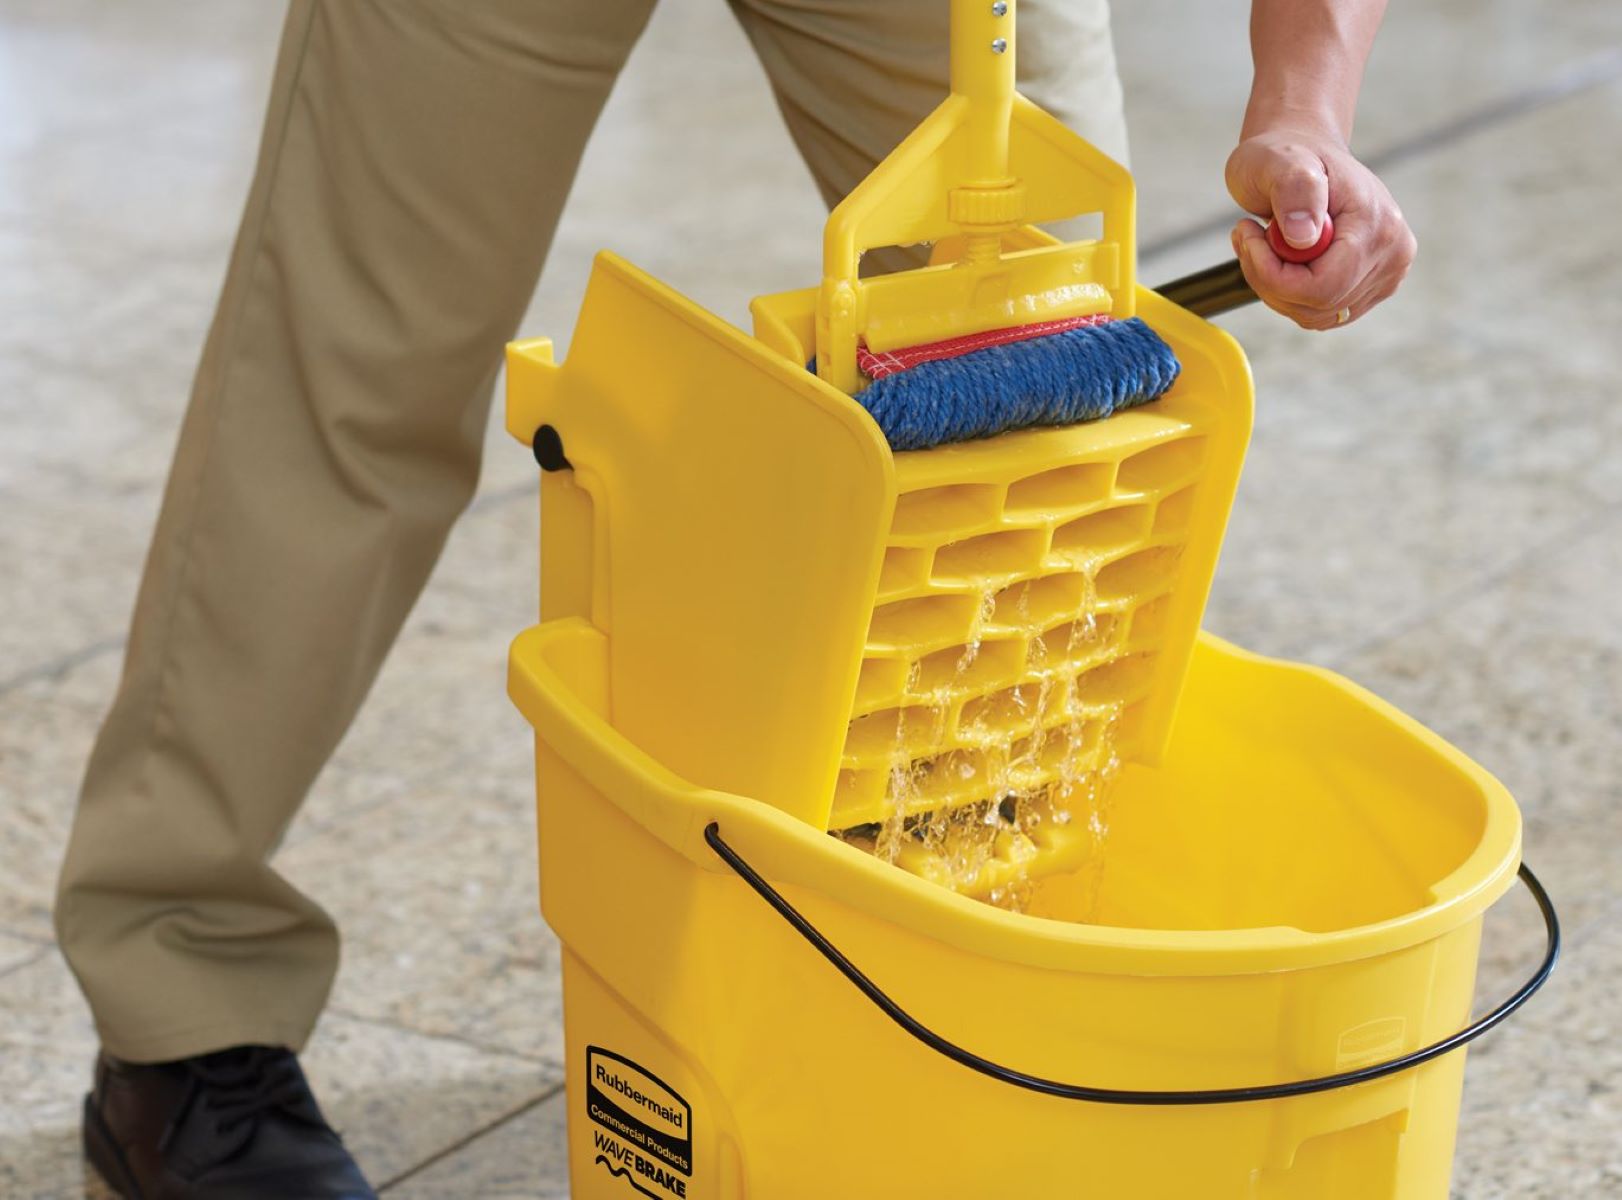
Step 2: Rinse the Mop Head
Once you’ve removed excess dirt and debris from the sponge mop, it’s time to give the mop head a thorough rinse. Fill a sink or bucket with warm water, adding a small amount of mild detergent or liquid soap. Submerge the mop head in the soapy water, allowing it to soak for a few minutes. Swirl the mop head gently to ensure that the soapy water penetrates the sponge and helps to loosen any trapped dirt or grime.
After soaking, lift the mop head out of the soapy water and rinse it under a steady stream of clean, cold water. Continue rinsing until the water runs clear, indicating that the soap and dirt have been effectively removed from the sponge. Squeeze the mop head gently to expel excess water, but avoid wringing it out excessively, as this can damage the sponge’s fibers and reduce its effectiveness.
Inspect the mop head during the rinsing process, paying close attention to any remaining stains or discoloration. For stubborn stains, you can apply a small amount of white vinegar directly to the affected areas and gently massage it into the sponge. The acidic properties of the vinegar can help break down tough stains and eliminate lingering odors, leaving the mop head fresh and clean.
Once the mop head is thoroughly rinsed and any stubborn stains have been treated, it’s time to move on to the next step in the cleaning process to ensure that your sponge mop is revitalized and ready for use.
After each use, rinse the sponge mop thoroughly with hot water to remove any dirt and debris. Then, hang it to air dry to prevent mold and mildew growth.
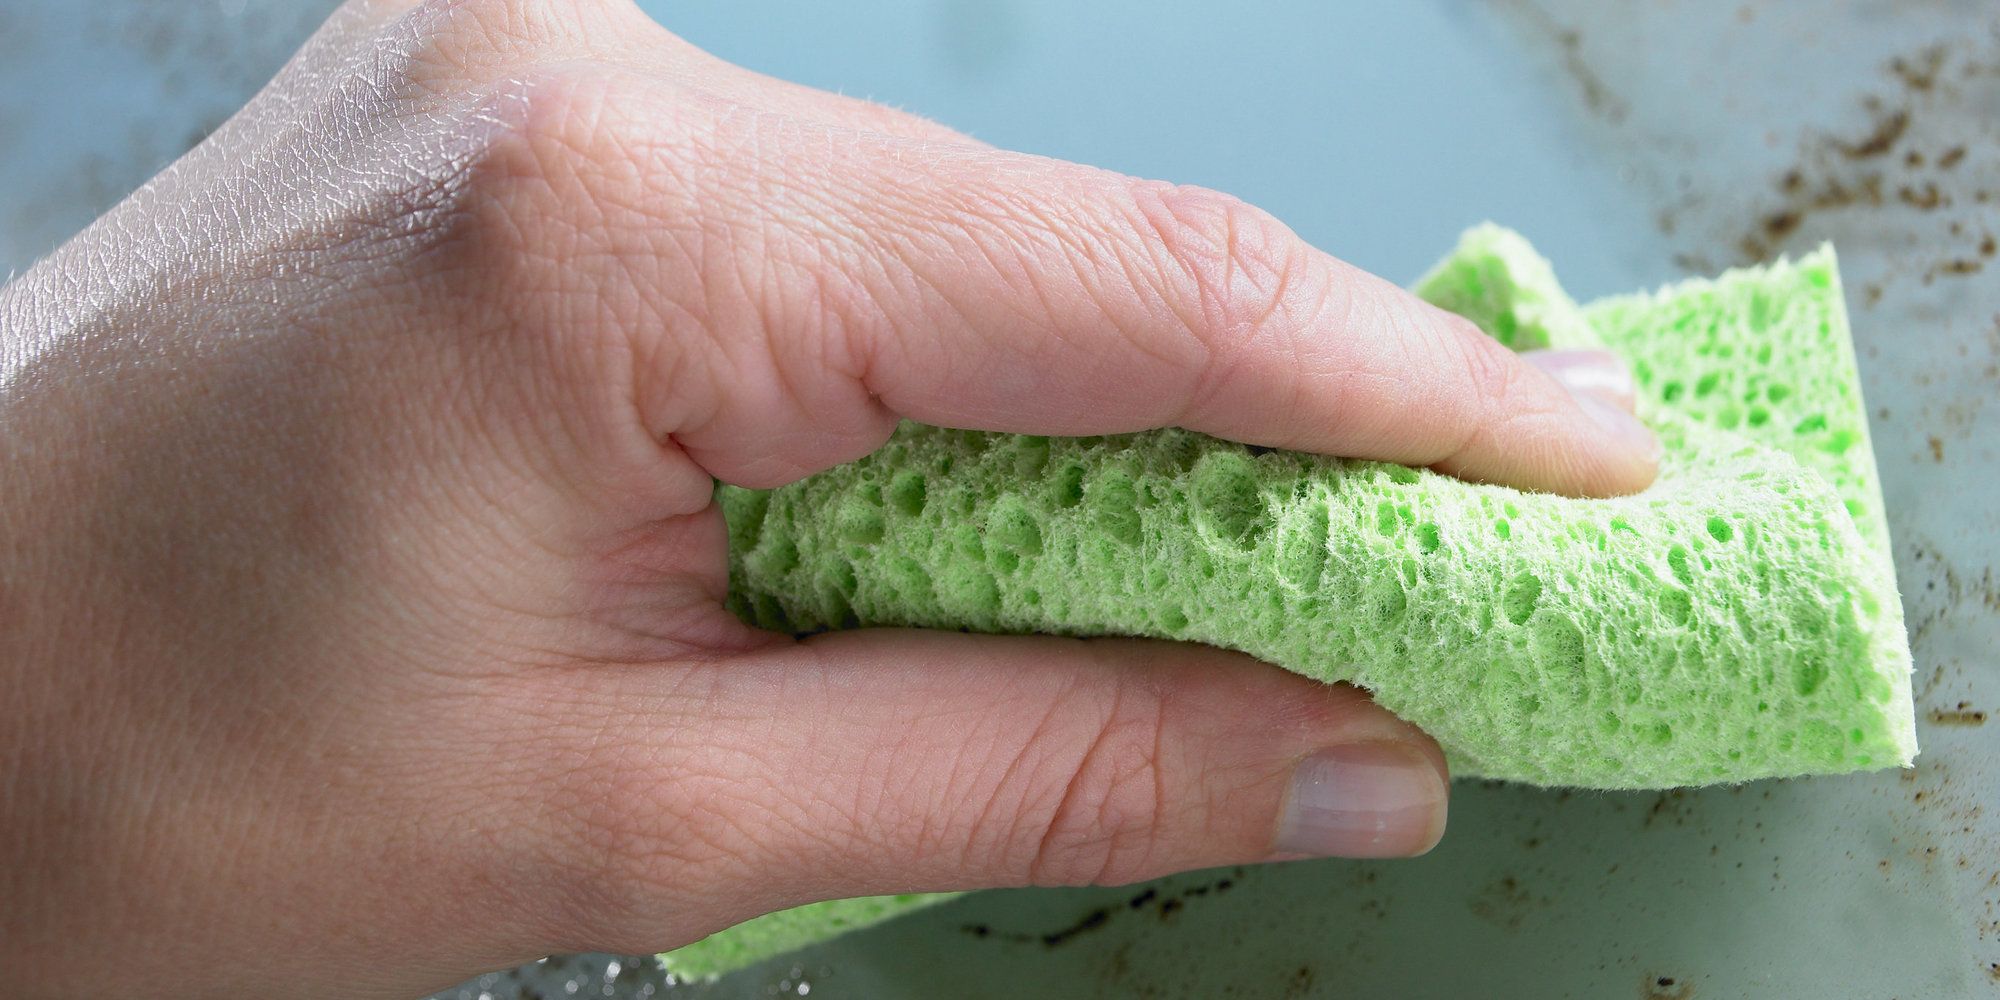
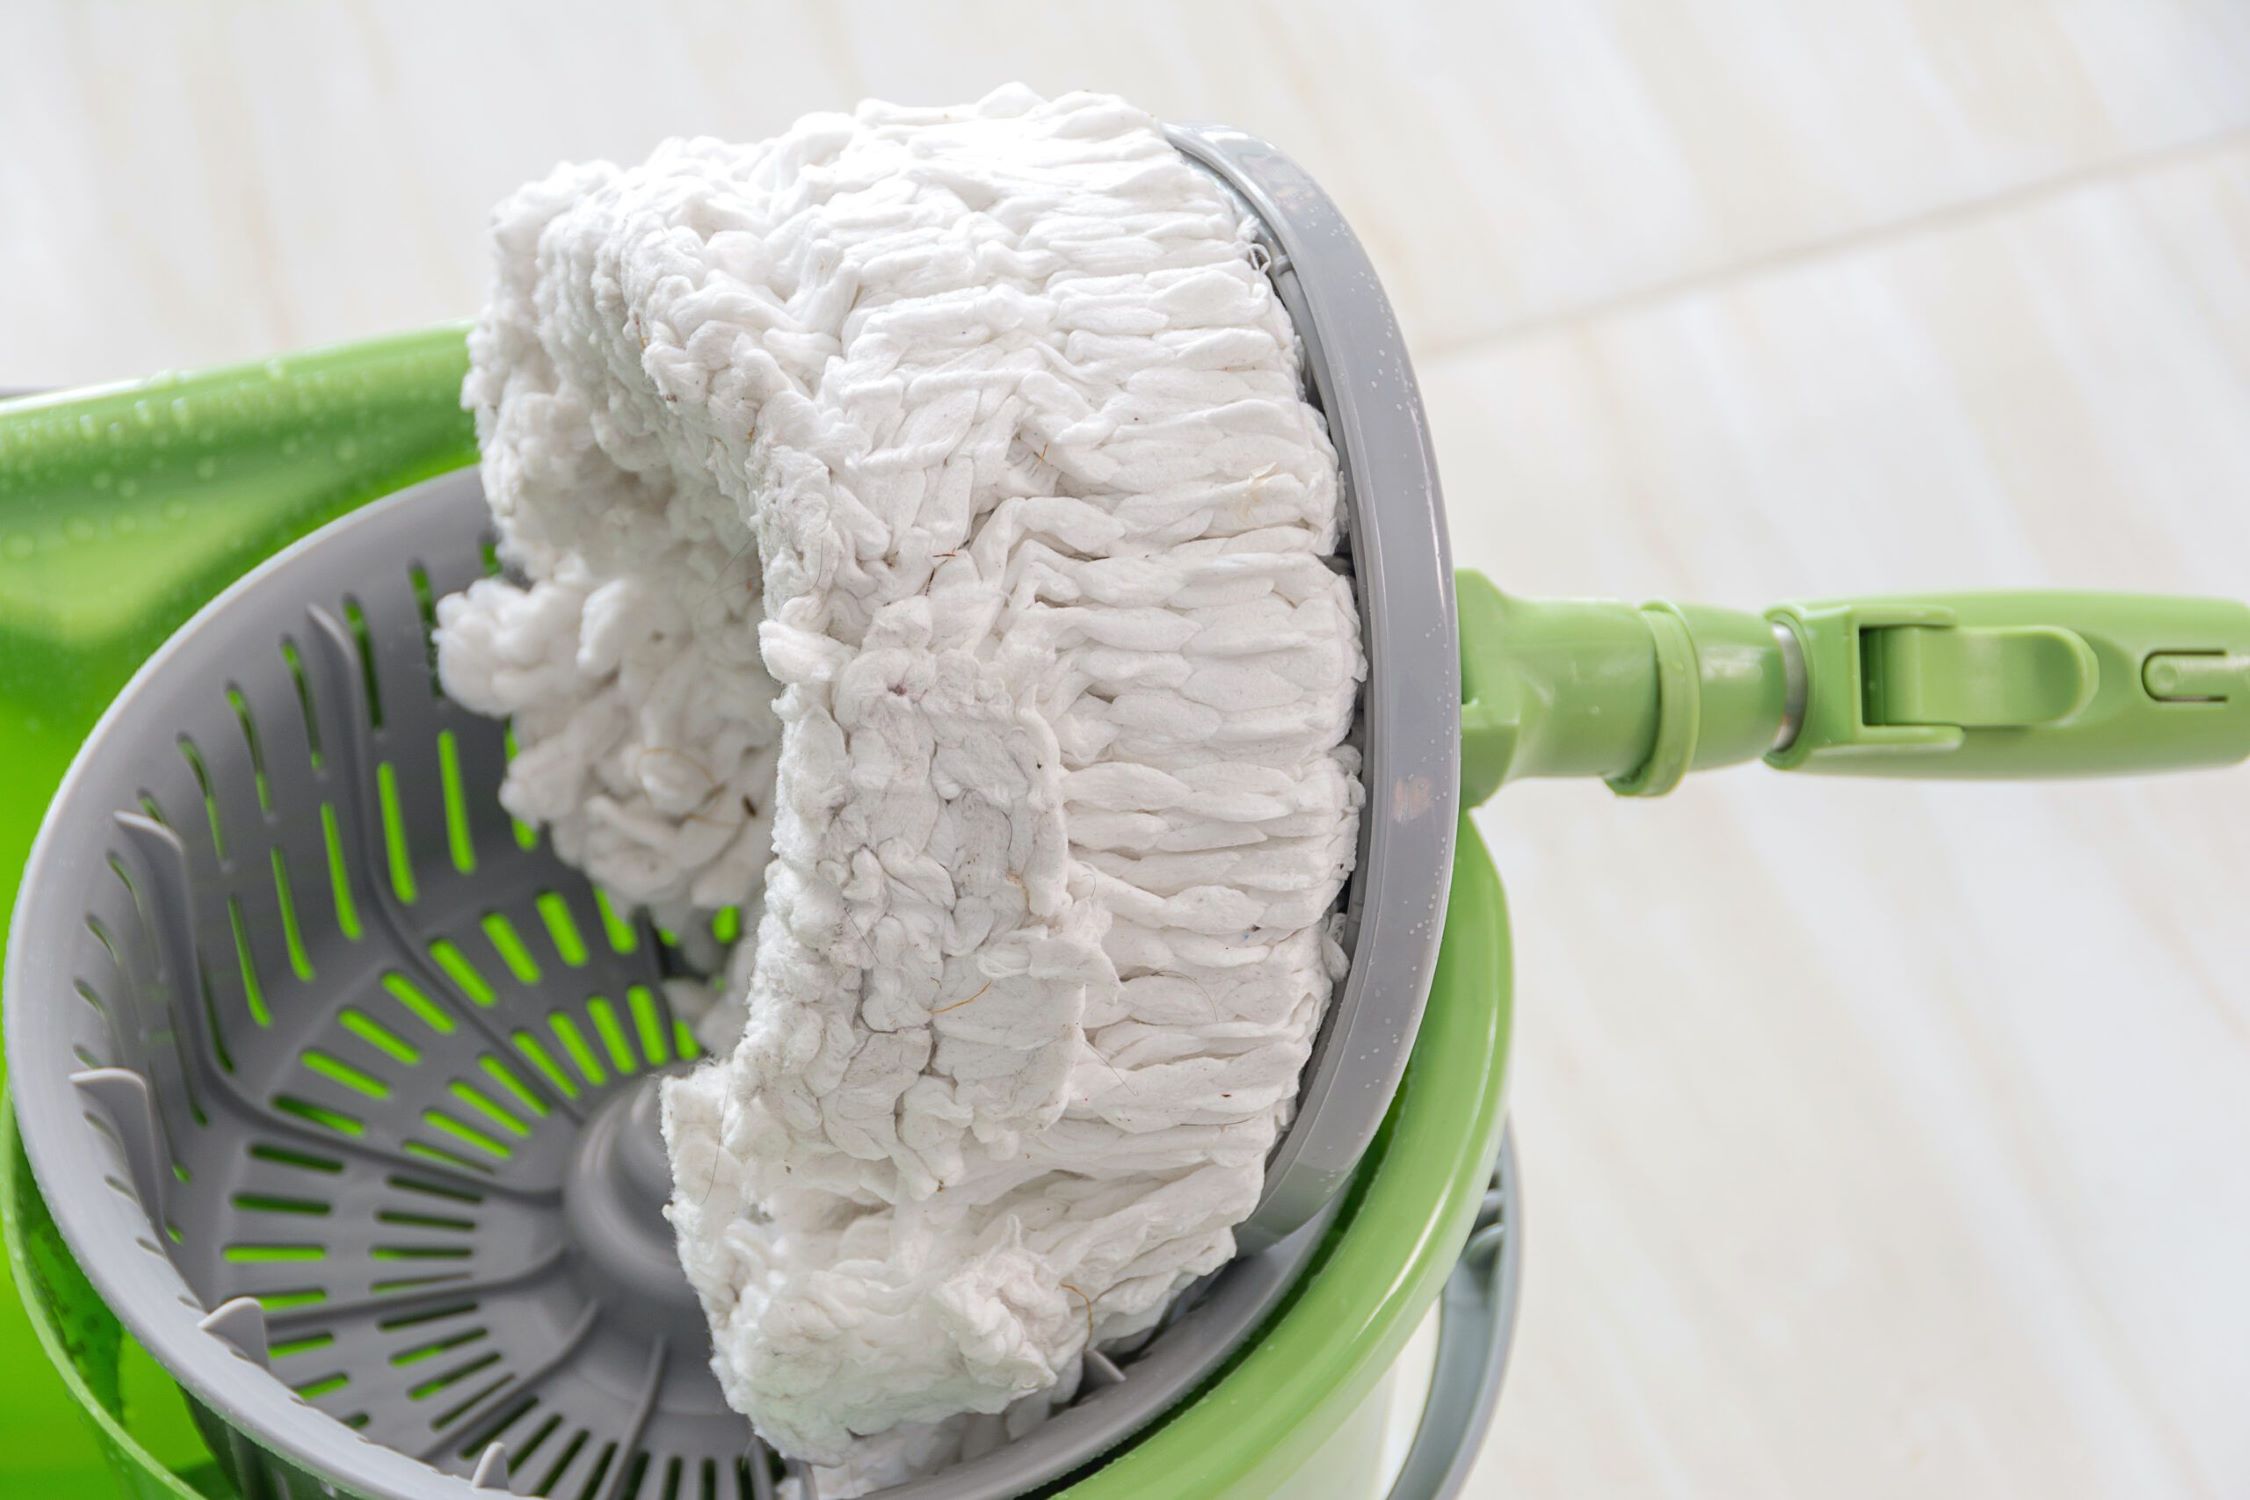
Step 3: Clean the Sponge
After rinsing the mop head, it’s important to focus on cleaning the sponge itself to ensure optimal performance and hygiene. To effectively clean the sponge, you’ll need to prepare a simple yet powerful cleaning solution. In a clean bucket or sink, mix warm water with a small amount of gentle liquid detergent or dish soap. The mild detergent will help break down any residual dirt and grime, restoring the sponge to its pristine condition.
Submerge the sponge in the soapy water, allowing it to soak for several minutes to loosen any remaining debris and disinfect the fibers. Gently agitate the sponge to ensure that the soapy water reaches all areas of the sponge, including the corners and edges. This thorough cleaning process will help eliminate bacteria and odors, leaving the sponge fresh and ready for future cleaning tasks.
After soaking, remove the sponge from the soapy water and rinse it under a stream of clean, cold water. Squeeze the sponge gently to expel excess water and assess its cleanliness. If any stubborn stains or lingering odors persist, you can apply a small amount of baking soda directly to the affected areas and gently massage it into the sponge. The natural abrasive properties of baking soda can help lift stains and neutralize odors, leaving the sponge refreshed and revitalized.
Once the sponge is clean and free of any residual detergent or cleaning agents, it’s essential to allow it to dry thoroughly before reassembling the mop. Place the sponge in a well-ventilated area and allow it to air dry completely. Avoid exposing the sponge to direct sunlight or heat sources, as excessive heat can damage the sponge’s fibers and reduce its lifespan.
By following these simple yet effective steps, you can ensure that the sponge mop is thoroughly cleaned and maintained, ready to tackle future cleaning tasks with ease and efficiency.
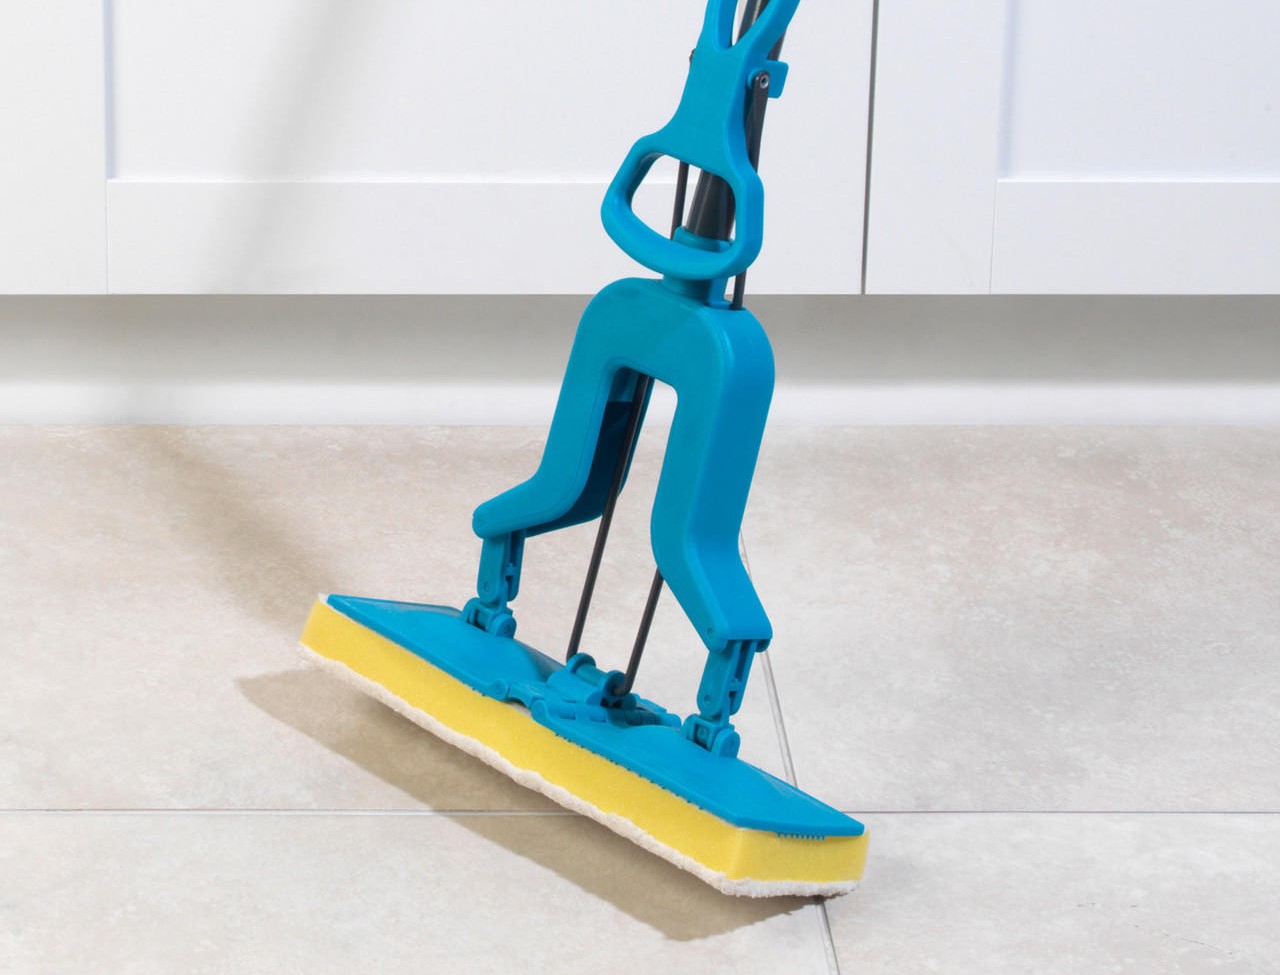
Step 4: Dry the Mop Head
After cleaning and rinsing the sponge mop, it’s crucial to ensure that the mop head is thoroughly dried to prevent the growth of mold, mildew, and unpleasant odors. Proper drying also helps maintain the sponge’s absorbency and prolong the mop’s lifespan. To facilitate the drying process, start by gently squeezing the mop head to remove excess water. Avoid wringing the sponge vigorously, as this can damage the fibers and affect its performance.
Next, you can utilize a clean, dry towel to blot the mop head, further extracting moisture and accelerating the drying process. Press the towel against the sponge firmly but gently, absorbing as much water as possible. If the mop head is particularly wet, you may need to repeat this blotting process with a fresh towel to ensure thorough drying.
Once excess moisture has been removed, it’s time to allow the mop head to air dry completely. Choose a well-ventilated area with good air circulation to place the sponge mop. You can also prop the mop head against a wall or hang it from a hook to ensure proper airflow around the sponge. Avoid storing the mop in a confined or damp space, as this can impede the drying process and create an environment conducive to mold and mildew growth.
Depending on the climate and humidity levels, the drying process may take several hours. It’s important to exercise patience and allow the sponge mop to dry thoroughly before using it again. To expedite drying, you can position a fan near the mop or open windows to promote air circulation. Once the mop head is completely dry to the touch, it’s ready to be reassembled and stored for future use.
By ensuring that the sponge mop head is thoroughly dried after cleaning, you can maintain its effectiveness, prevent unpleasant odors, and prolong its lifespan, ensuring that it remains a reliable cleaning tool for your household.
Read more: How To Remove Sponge Mop Head
Conclusion
Cleaning a sponge mop is a simple yet essential task that can significantly impact the cleanliness and hygiene of your living space. By following the step-by-step process outlined in this guide, you can ensure that your sponge mop remains a reliable and effective cleaning tool, ready to tackle spills, stains, and everyday messes with ease.
Regularly removing excess dirt and debris from the mop head sets the stage for a thorough cleaning process, preventing the spread of contaminants and ensuring optimal performance. Rinsing the mop head and cleaning the sponge with a gentle detergent or soap helps eliminate bacteria and odors, restoring the sponge to its pristine condition. By allowing the mop head to dry thoroughly, you can prevent the growth of mold and mildew, maintaining the sponge’s absorbency and extending the mop’s lifespan.
Remember, a clean sponge mop not only contributes to a sparkling clean home but also promotes a healthier living environment by minimizing the presence of germs and bacteria. By incorporating these simple cleaning techniques into your regular maintenance routine, you can ensure that your sponge mop remains a valuable asset in keeping your floors spotless and inviting.
With a little care and attention, your sponge mop can continue to serve as a reliable cleaning companion, effortlessly maintaining the cleanliness and freshness of your floors for years to come.
So, go ahead and give your sponge mop the attention it deserves, and enjoy the satisfaction of a thoroughly clean and revitalized cleaning tool ready to take on any mess that comes its way.
Frequently Asked Questions about How To Clean A Sponge Mop
Was this page helpful?
At Storables.com, we guarantee accurate and reliable information. Our content, validated by Expert Board Contributors, is crafted following stringent Editorial Policies. We're committed to providing you with well-researched, expert-backed insights for all your informational needs.


0 thoughts on “How To Clean A Sponge Mop”