Home>Home Maintenance>11 Amazing Twist Mop For 2025
Home Maintenance
11 Amazing Twist Mop For 2025
Modified: June 10, 2025
Discover the top 11 twist mops that will revolutionize your cleaning routine in 2025. Say goodbye to traditional mops and experience the amazing benefits of a twist mop today!
(Many of the links in this article redirect to a specific reviewed product. Your purchase of these products through affiliate links helps to generate commission for Storables.com, at no extra cost. Learn more)
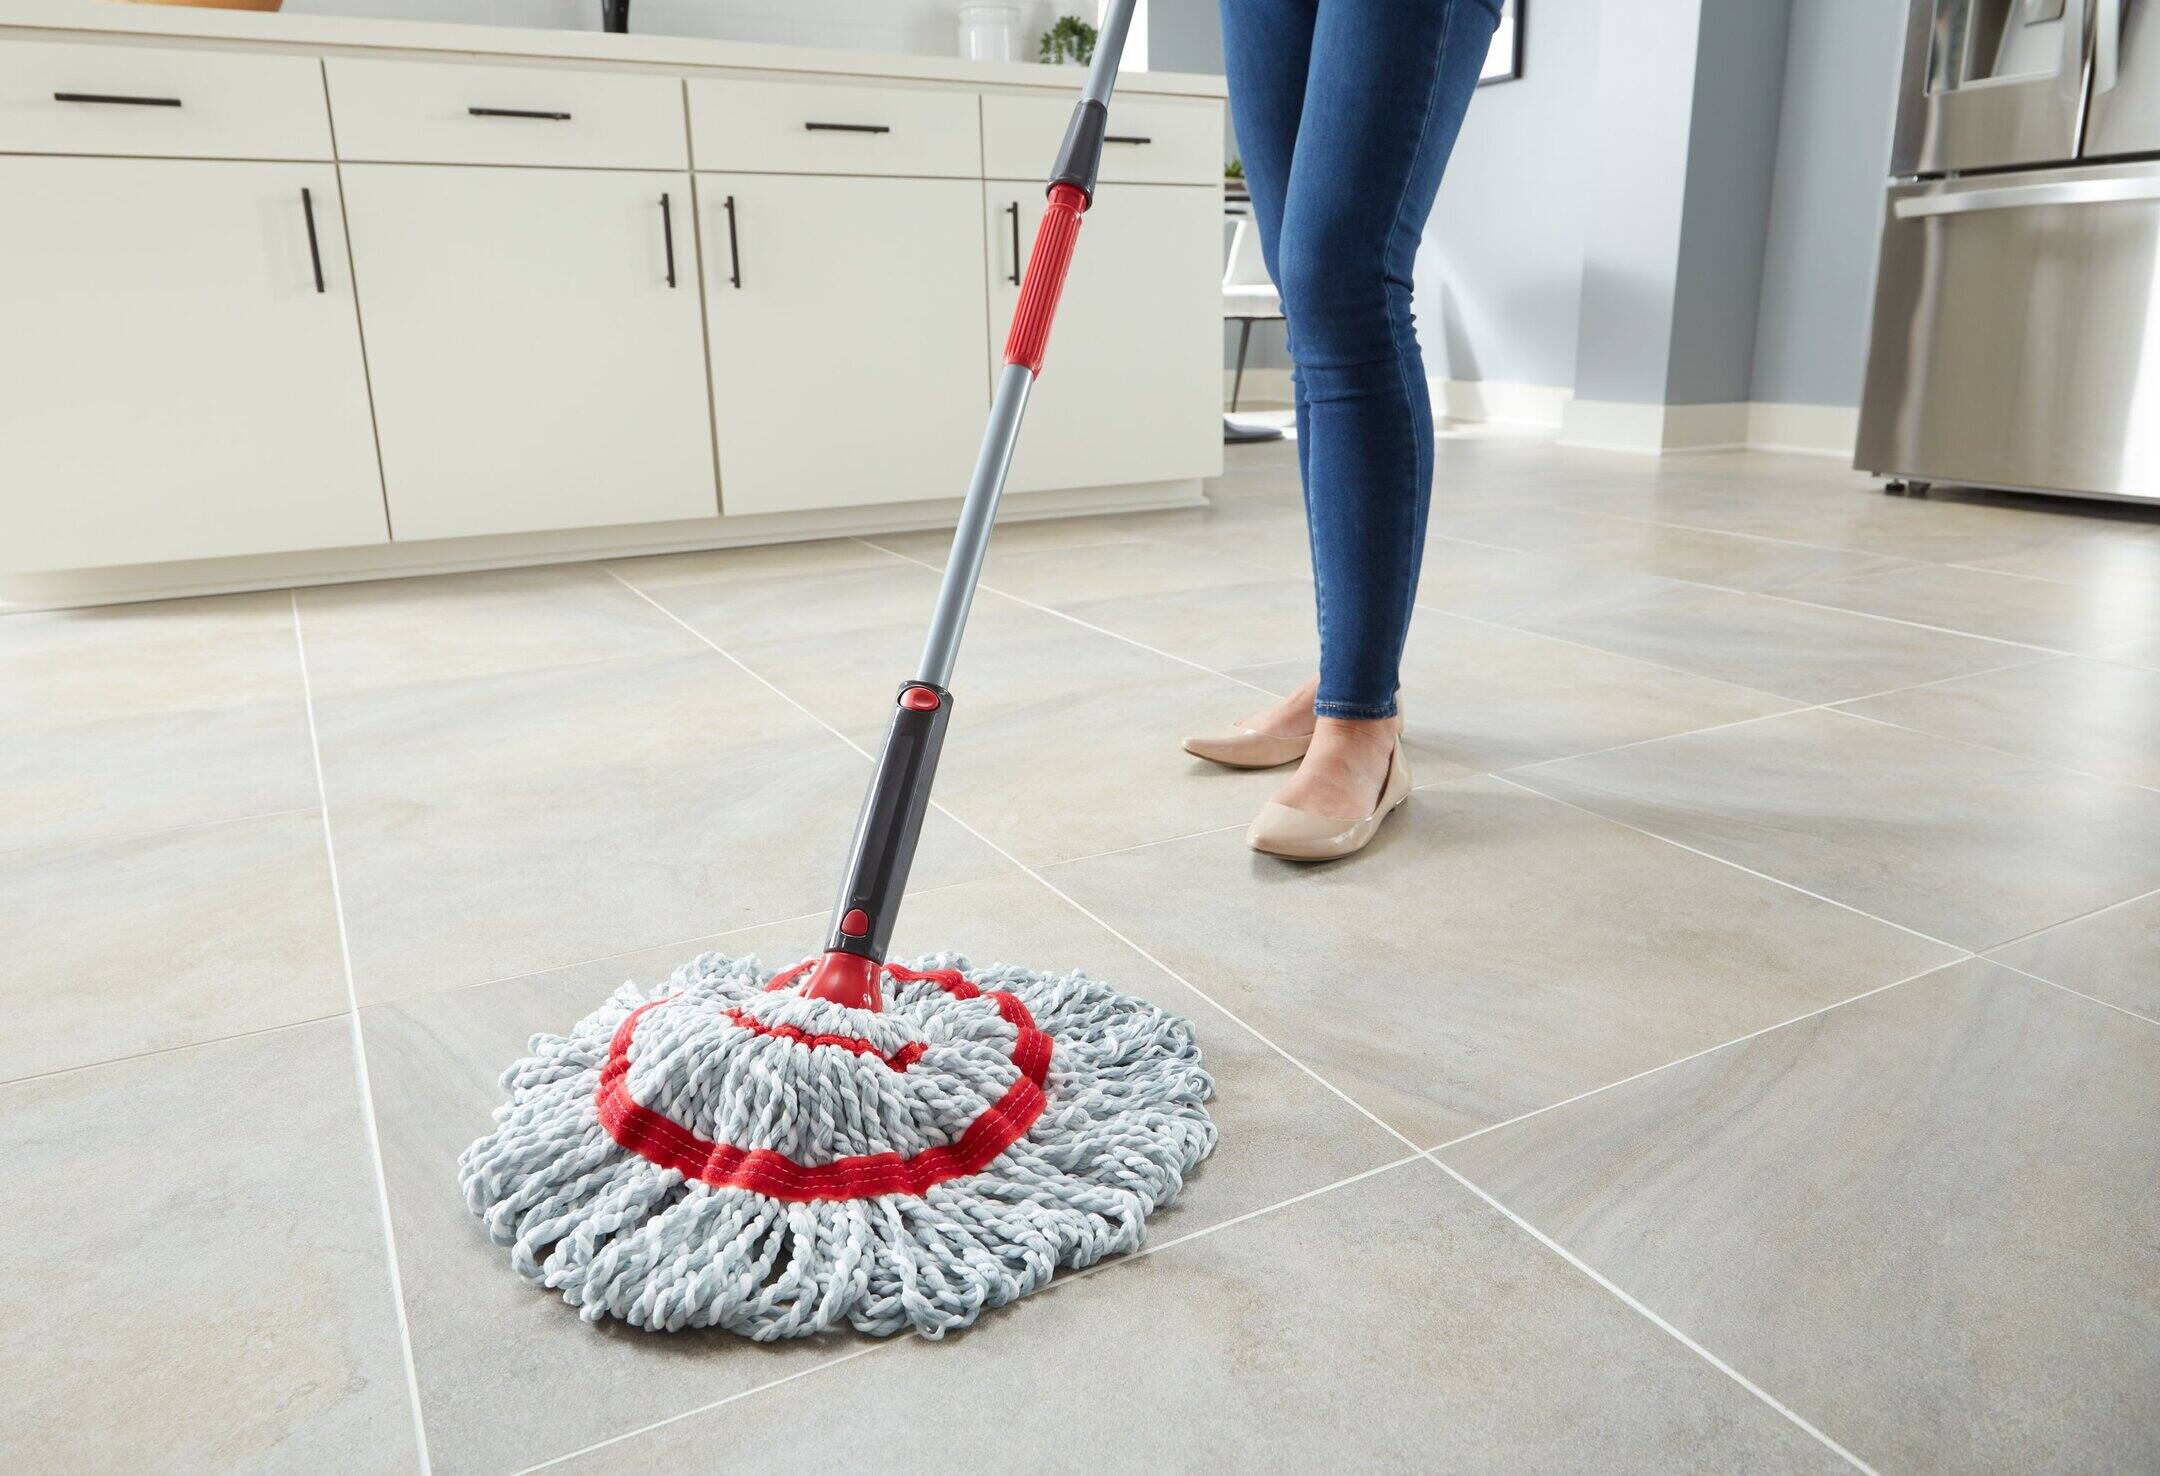
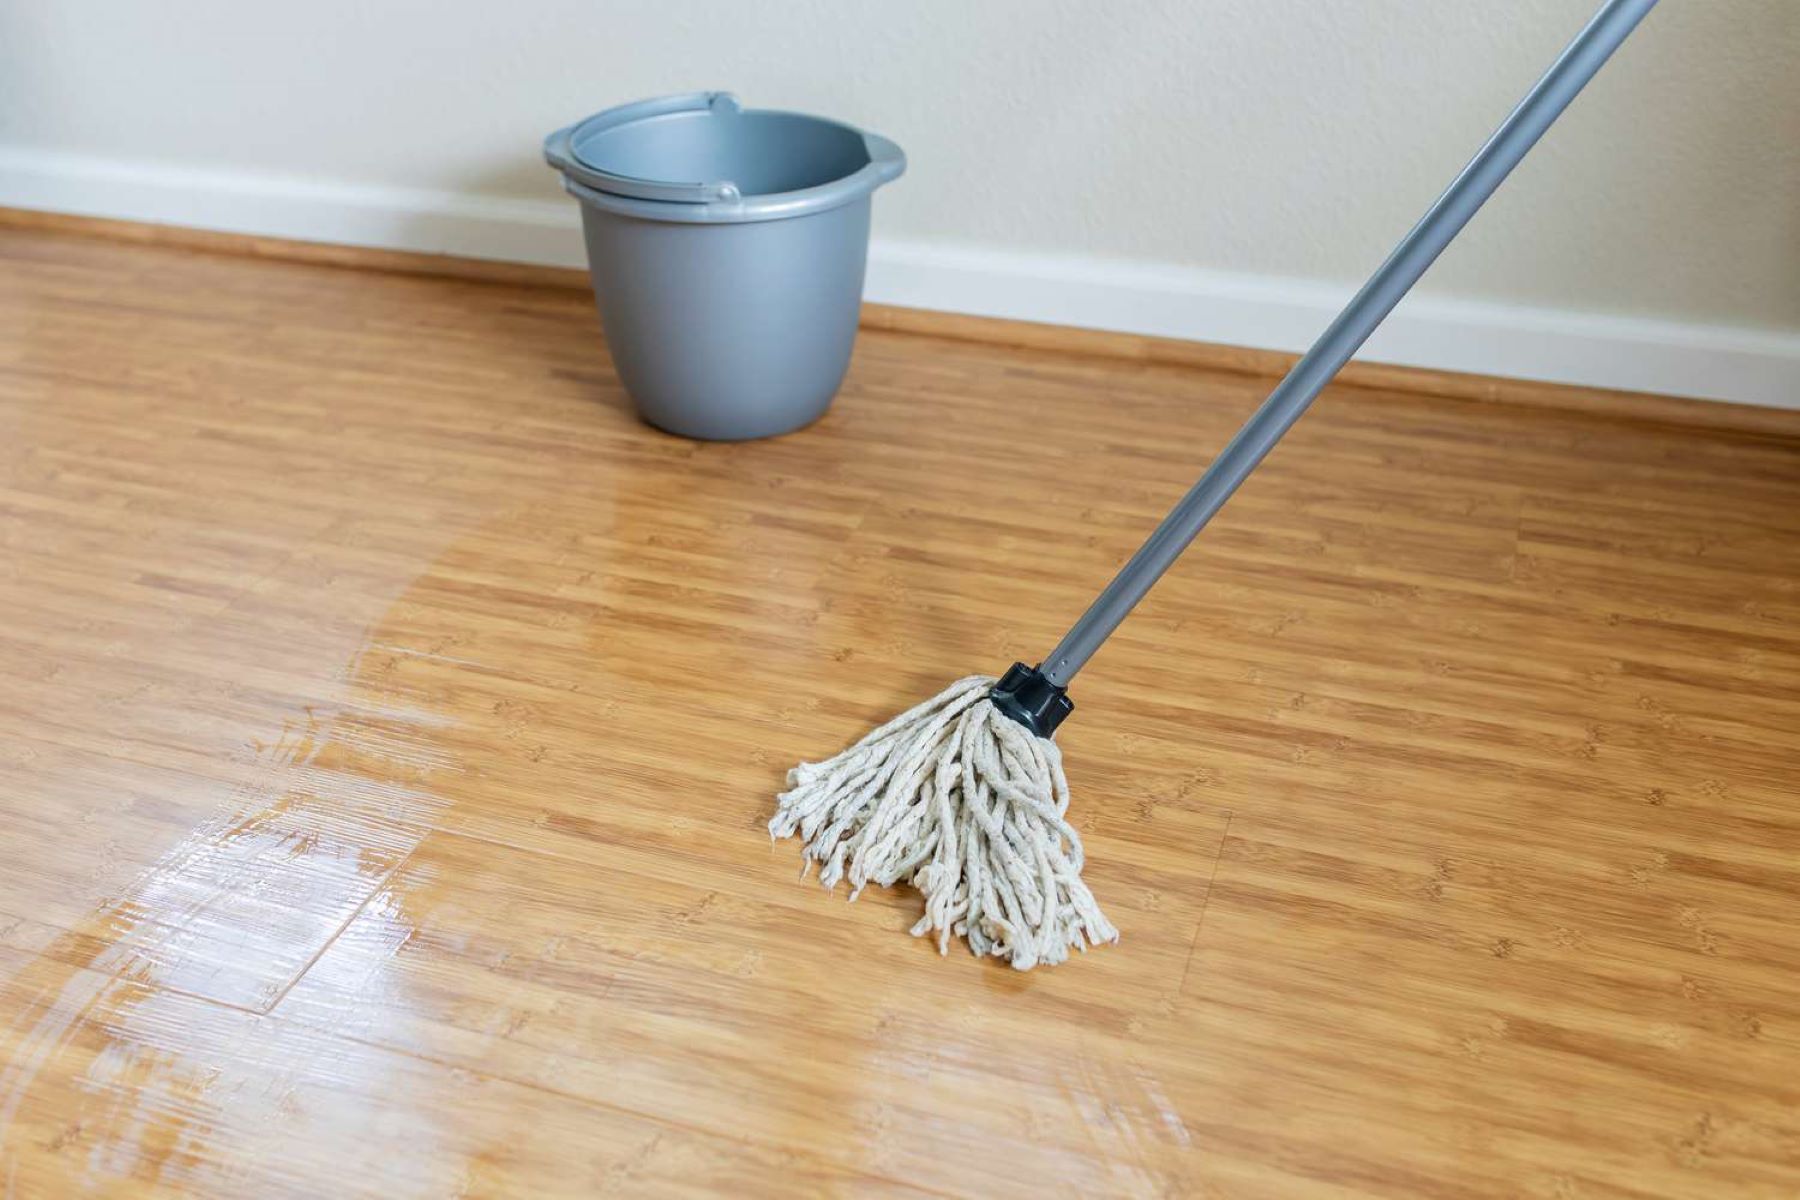
Are you tired of traditional mops and looking for a more efficient and convenient cleaning solution? Look no further than the 11 Amazing Twist Mops for 2025. These revolutionary cleaning tools are designed to make your cleaning tasks a breeze with their innovative twist mechanism. With their high-quality materials and advanced technology, these twist mops offer superior absorbency and durability. Say goodbye to messy floors and hello to sparkling clean surfaces with the 11 Amazing Twist Mops for 2025.

Overall Score: 8.5/10
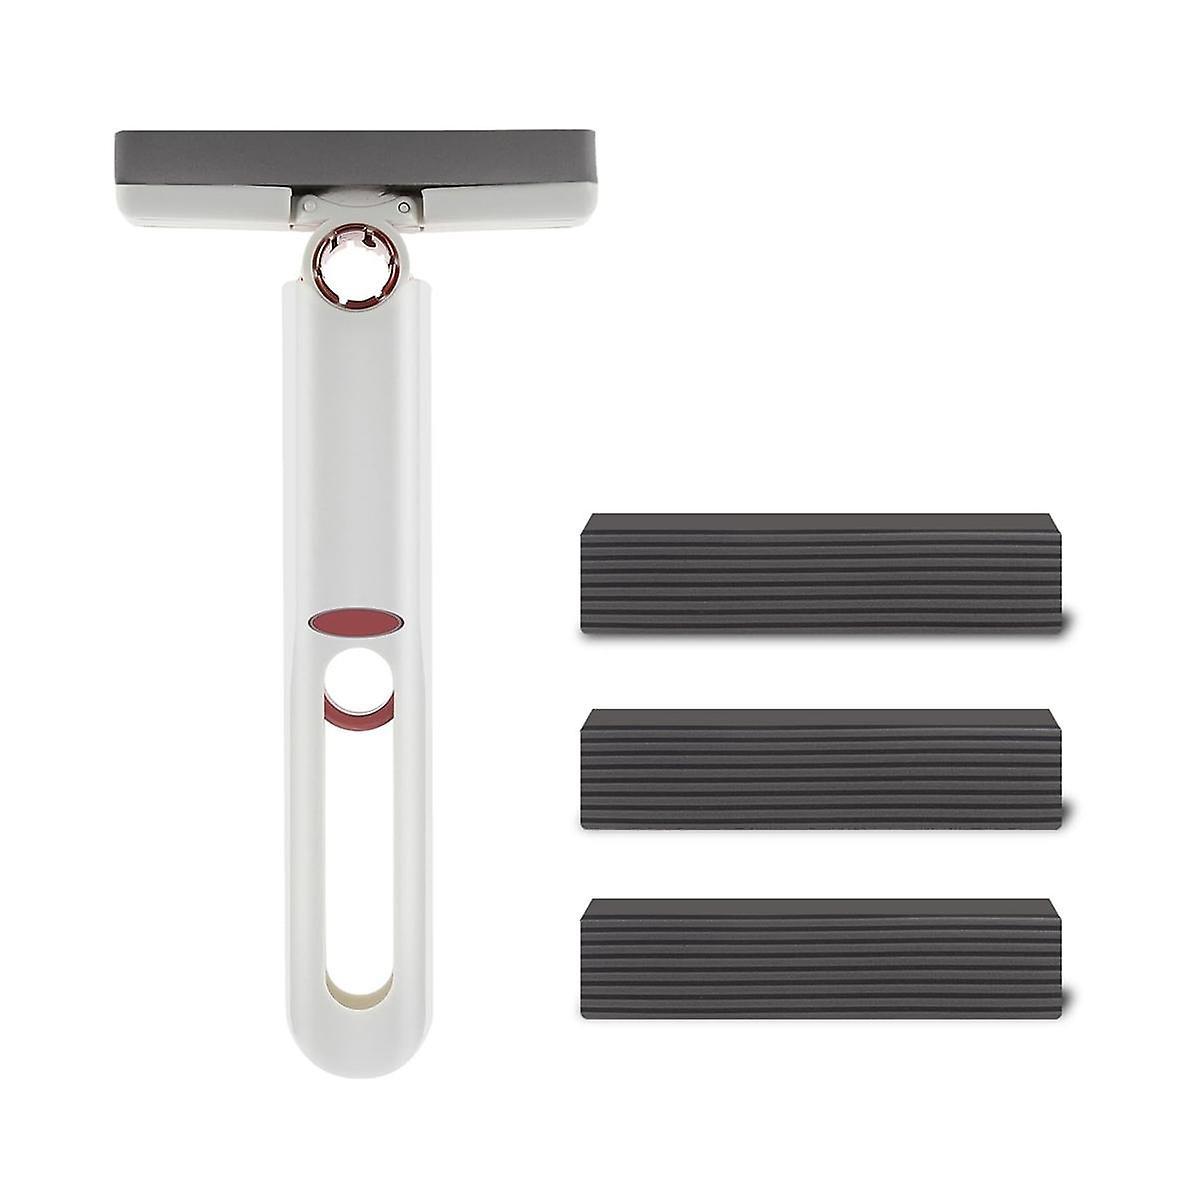
The O-Cedar MicroTwist Microfiber Twist Mop is a deep-cleaning solution for all your at-home needs. With just water, it effectively removes dirt, grime, and over 99% of bacteria. The mop heads are washable and reusable, saving you time and money. It can be used on all hard surfaces, including hardwood floors, tile, linoleum, and more. The easy twist removal makes replacing the mop head simple, and the double tail bands prevent tangling. The mop handle also includes a loop for easy storage. Although it may be smaller than a full-size mop, it is extremely absorbent and the twist feature squeezes out water very well. Overall, it is a reliable and efficient mop that provides a hassle-free cleaning experience.
Key Features
- Removes over 99% Of bacteria w/ Just water
- Clean without harsh chemicals
- Washable & Reusable refills
- All hard surfaces
- Easy to remove mop head
- No more tangles
Specifications
- Color: Blue/Red
- Dimension: 55.00Lx8.25Wx4.25H
- Size: 1
Pros
- Removes over 99% of bacteria with just water
- Washable and reusable mop heads
- Can be used on all hard surfaces
- Easy twist removal for mop head replacement
- Absorbent and efficient twist feature
Cons
- Mop may be smaller than full-size mop
- Requires some strength for maximum tightness
The O-Cedar MicroTwist Microfiber Twist Mop is a highly recommended cleaning tool for all your hard surfaces. With its ability to remove over 99% of bacteria using just water, it offers a safe and effective cleaning solution. The washable and reusable mop heads save both time and money, while the easy twist removal makes maintenance a breeze. The double tail bands prevent tangling, ensuring smooth and efficient coverage. Although the mop may be smaller than a full-size mop, its absorbency and twist feature make up for it. Overall, this mop provides a hassle-free cleaning experience and is a great addition to any cleaning routine.

Overall Score: 8.5/10
The Libman Tornado Mop is a self-wringing mop that offers an efficient and quick clean on various surfaces including hardwood, vinyl, laminate, ceramic, marble, and more. Its heavy-duty mop head is highly absorbent and provides 50% more floor coverage compared to similar mops. The innovative self-wringing system, called Grip N' Click, allows you to avoid touching a wet mop head. The cotton mop heads are washable either by hand or machine, and the kit includes 1 mop with an attached head and 3 replacement heads. With its durability and convenience, this mop is a favorite among many users.
Key Features
- Multi-surface use
- Absorbent mop head with 50% more floor coverage
- Innovative self-wringing system
- Washable cotton mop heads
- Includes 1 mop and 3 replacement heads
Specifications
- Color: Green White
- Dimension: 56.25Lx6.50Wx4.50H
Pros
- Efficient and quick cleaning
- Durable and long-lasting
- Easy to use self-wringing system
- Washable mop heads
- Includes multiple replacement heads
Cons
- Not suitable for unfinished, oiled, or waxed surfaces
- Pole may deteriorate quickly
The Libman Tornado Mop is a reliable and convenient cleaning tool for various floor surfaces. Its absorbent mop head, along with the innovative self-wringing system, makes for efficient and quick cleaning. The washable cotton mop heads and the inclusion of multiple replacements ensure long-lasting use. However, it is important to note that this mop is not recommended for use on unfinished, oiled, or waxed surfaces. Additionally, some users have experienced issues with the durability of the pole. Overall, the Libman Tornado Mop offers great value for its price and is a popular choice among users who appreciate its effectiveness and convenience.

Overall Score: 7.8/10
The KeFanta Microfiber Twist Mop Refill is a heavy-duty mop head refill that delivers excellent cleaning performance. Made with ultra-soft and ultra-absorbent microfiber, it effectively captures dirt and grime while ensuring a streak-free finish. The double tail bands prevent tangling, providing hassle-free cleaning. With easy installation, it can be used with the KeFanta twist mop (ASIN B09QFPFCZC) for optimal results. Measuring 23.62"x5.51", it offers a generous size for efficient mopping. Customers rave about its cleaning power, ease of use, and lightweight design. However, some users have reported a flaw in the assembly of the mop. Overall, the KeFanta Microfiber Twist Mop Refill is a reliable choice for those seeking a durable and effective mop head replacement.
Key Features
- Ultra-soft, ultra-absorbent microfiber mop
- Double tail bands prevent tangling
- Easy installation
- Use with Ke Fanta twist mop ASIN B09QFPFCZC
- Measures 23.62"x5.51"
Specifications
- Size: Twist Mop Refill
Pros
- Cleans awesomely!
- Easy to use!!
- Great mop!
Cons
- It has a flaw of parts!
The KeFanta Microfiber Twist Mop Refill is a highly recommended choice for anyone in need of a sturdy and efficient mop head refill. With its ultra-soft and absorbent microfiber material, it delivers exceptional cleaning results. The double tail bands prevent tangling, ensuring a hassle-free experience. The easy installation makes it convenient to use with the KeFanta twist mop. Although there have been reports of a flaw in the assembly of the mop, the majority of users have praised its cleaning performance and lightweight design. If you’re looking for a reliable replacement for your mop head, the KeFanta Microfiber Twist Mop Refill is worth considering.

Overall Score: 8.3/10
The Eyliden Mop with 2 Reusable Heads is a versatile and efficient tool for all your floor cleaning needs. This self-wringing twist mop features a ratchet handle that easily twists and wrings water out of the mop head, eliminating the need to touch dirty water. With its super-strong adsorptive force, the microfiber mop head catches dust, hair, and dirt, making floor cleaning a breeze. The mop is designed for both wet and dry use, making it suitable for various applications, from household cleaning to commercial and industrial use. Its long handle eliminates the need to bend down when cleaning, ensuring a comfortable cleaning experience. Plus, the mop is easy to install, store, and comes with an extra mop head, saving you money in the long run. Clean your floors with ease using the Eyliden Mop with 2 Reusable Heads!
Key Features
- Self-squeeze twist mop with wringer
- Microfiber mop head with strong adsorptive force
- Suitable for wet and dry use
- Long 57.5-inch handle for easy cleaning
- Great for cleaning various types of floors
Specifications
- Color: Silver
- Dimension: 12.50Lx12.50Wx57.35H
- Size: 57.5 Inch (Pack of 1)
Pros
- Hands-free wringing system
- Excellent water absorption
- Versatile for different floor types
- Easy to install and store
- Comes with an extra mop head
Cons
- Plastic piece may break under heavy use
- Difficult to ring out for some users
- Limited availability of additional mop heads
The Eyliden Mop with 2 Reusable Heads is a highly effective and convenient tool for all your floor cleaning needs. The self-squeeze twist mop eliminates the need to touch dirty water, while the microfiber mop head efficiently catches dust and dirt. It is versatile enough to be used on various floor types and is suitable for both wet and dry cleaning. The long handle ensures comfortable cleaning without the need to bend down. While the plastic piece may not be the most durable under heavy use, the mop overall offers excellent performance. It is easy to install, store, and comes with an extra mop head, providing great value for the price. Keep your floors spotless with the Eyliden Mop with 2 Reusable Heads!

Overall Score: 8.5/10
Introducing the Self-Wringing Twist Mop for effortless floor cleaning. This long-handled microfiber mop is designed to make your cleaning routine a breeze. With its easy wring feature, you can keep your hands dry and clean while mopping. The microfiber twist mop has excellent water absorption, preventing excess dripping and efficiently capturing dust, hair, and dirt. It also comes with a top scouring pad to help remove stubborn stains on floors. The 57-inch long handle eliminates the need to bend over, while the comfortable foam handle ensures a comfortable grip. Suitable for all types of floors, including wood, laminate, tile, and marble, this versatile mop is perfect for both commercial and household use. Minimize tangling with the double tail bands and looped ends of the mop head. Upgrade your cleaning routine with this self-wringing mop!
Key Features
- Easy to wring mop
- Microfiber & Scrub pad
- Long handle twist mop
- Minimize tangling
- Multi occasion use self-wringing mop
Specifications
- Color: Yellow
- Size: Yellow Twist Mop
Pros
- Keeps hands dry and clean
- Excellent water absorption
- Removes stubborn stains
- Long handle for easy use
- Versatile for all floor types
Cons
- Handle may become flimsy
- Mop head doesn't provide a deep scrub
- Long handle might be too long for some
- Possible sewing defect
- Plastic knob in pole may come apart
The Self-Wringing Twist Mop is a game-changer in the world of floor cleaning. With its easy wring function, microfiber technology, and long handle, this mop offers convenience and efficiency. Its versatility makes it suitable for various floor types, while the scrub pad helps tackle stubborn stains. However, there are some drawbacks to consider, such as the potential flimsiness of the handle and the mop head’s limited scrubbing ability. Despite these minor flaws, the overall performance and user-friendly design make this mop a worthwhile investment for a cleaner and more convenient cleaning experience.

Overall Score: 8.2/10
The Rubbermaid Commercial Products Self-Wringing Ratchet Twist Mop with Blended Yarn Head is a convenient and durable mop suitable for commercial and industrial applications. The mop features a self-wringing mechanism that uses a ratchet in the handle to twist and wring water out of the mop head, making it easy to control the amount of water on the mop. The mop head has double tail bands and looped ends to minimize tangling, ensuring an efficient cleaning experience. With a 54-inch long handle, this mop allows for comfortable and extended reach. The mop comes in a stylish blue color and has a dimension of 3.50Lx3.50Wx55.00H. Overall, it is a reliable and efficient choice for all your mopping needs.
Key Features
- Self-wringing twist mop with ratchet mechanism
- Double tail bands and looped ends to minimize tangling
- Suitable for commercial and industrial applications
- 54-inch long handle for extended reach
Specifications
- Color: Blue
- Dimension: 3.50Lx3.50Wx55.00H
- Size: Mop
Pros
- Easy to rinse and clean
- Absorbent and thick mop head
- Sturdy and durable
- Convenient self-wringing mechanism
Cons
- Awkward to use for left-handed individuals
- Bulky and not suitable for small spaces
- Price may be higher compared to similar mops
The Rubbermaid Commercial Products Self-Wringing Ratchet Twist Mop is a reliable and convenient choice for commercial and industrial cleaning. Its self-wringing mechanism and durable design make it easy to control the amount of water and ensure efficient cleaning. The mop’s absorbent and thick head allows for effective cleaning in one pass. However, left-handed users may find it awkward to use, and it may not be suitable for small spaces due to its size. The price may also be a consideration for some, as it is slightly higher compared to similar mops. Overall, if you require a durable and efficient mop for larger cleaning areas, the Rubbermaid Self-Wringing Ratchet Twist Mop is worth considering.

Overall Score: 7.2/10
The Pine-Sol Microfiber Self Wringing mop is a convenient and effective tool for deep cleaning your hard floors. With a gentle microfiber mop head, it is perfect for laminate, tile, and linoleum surfaces. The loop end mop minimizes tangling, providing better floor cleaning coverage. The self wringing design keeps your hands dry, allowing you to easily squeeze out excess water without touching filthy mop water. The highly absorbent microfiber string mop effectively collects and removes dust, hair, and debris from your floors. The adjustable telescoping mop handle extends up to 50 inches for those hard-to-reach areas and retracts to 31.75 inches for compact storage. The metal handle is made of heavy-duty stainless steel with a soft grip pad for comfortable use. With its quick and easy cleaning capabilities, this Pine-Sol mop is a household essential.
Key Features
- Gentle microfiber mop head for laminate, tile, and linoleum
- Easy squeeze self wringing method keeps hands dry
- Highly absorbent microfiber string mop for efficient wet mopping
- Adjustable telescoping handle for hard-to-reach areas
- Simple to use, clean, and store with a hanging hole
Specifications
- Color: Green
- Dimension: 50.00Lx4.00Wx3.00H
- Size: Extendable
Pros
- Effective in cleaning hard floors
- Keeps hands dry while wringing
- Highly absorbent and collects dust and debris well
- Adjustable handle for convenience
- Easy to use, clean, and store
Cons
- Some users find it difficult to wring
- Mop head hits the floor making it difficult to use
- Replacement heads may be hard to find
Overall, the Pine-Sol Microfiber Self Wringing mop is a convenient and effective tool for deep cleaning your hard floors. Its gentle microfiber mop head and self wringing feature make it perfect for laminate, tile, and linoleum surfaces. The highly absorbent microfiber string mop effectively collects dust, hair, and debris, while the adjustable telescoping handle provides convenience for reaching difficult areas. Although some users find it difficult to wring and the mop head may hit the floor, these minor drawbacks are outweighed by the mop’s overall performance. However, potential buyers should be aware that finding replacement heads for this mop may be a challenge.

Overall Score: 7.5/10
The BOOMJOY Self Wringing Twist Mop is a versatile and efficient cleaning tool that is compatible with microfiber spin mop. It comes with 3 mop replacement heads, making it an excellent option for cleaning various surfaces like wood floors, hardwood, vinyl, tile, marble, and laminate. The self-wringing design allows you to easily twist and wring water out of the mop head, keeping your hands dry and clean. With strong water absorption, it quickly removes stubborn stains without scratching the floor. The mop is easy to install and store, with a long handle and a threaded swivel link, allowing you to hang it on the wall without taking up much space. It is suitable for both commercial and household use.
Key Features
- Interchangeable Mop Heads
- Self-Wringing Design
- Strong Water Absorption
- Wide Range of Use
- Easy to Install and Store
Specifications
- Color: Grey&white
- Size: 16.77 x 6.3 x 6.14
Pros
- Interchangeable mop heads for added versatility
- Self-wringing design keeps hands dry and clean
- Strong water absorption for effective cleaning
- Suitable for all types of floors
- Easy to install and store
Cons
- Flimsy handle
- Mop head stays wet for too long
The BOOMJOY Self Wringing Twist Mop is a functional and versatile cleaning tool that offers convenience and efficiency. It comes with interchangeable mop heads, a self-wringing design, and strong water absorption capabilities. While the handle may be a bit flimsy, the overall performance of the mop is commendable. It is suitable for various floor types and can be easily installed and stored. However, some users have mentioned that the mop head takes a while to dry. With its affordable price and excellent cleaning capabilities, this mop is a great addition to any household or commercial cleaning routine.

Overall Score: 8.5/10
The JEHONN Wet Mop is a high-quality self-wringing mop designed to make your floor cleaning tasks easier and more efficient. With its twist handle mechanism, you can easily wring out the mop head without getting your hands dirty. The mop features 2 microfiber twist heads that are highly absorbent and can effectively catch dust, hair, and dirt. It also has a soft scrubbing pad that can remove stubborn stains without scratching the floor. The mop comes with a long 57.5-inch handle, making it suitable for various types of floors. JEHONN is a trusted brand in cleaning products, and they offer satisfactory service with a prompt full refund guarantee.
Key Features
- Keep your Hands Dry and Clean
- 2 Microfiber Twist Mop Head
- Protective Soft Scrubbing Pad
- Wide Application
- Satisfactory Service
Specifications
- Color: Red
Pros
- Easy to use and wring out
- Highly absorbent microfiber heads
- Soft scrubbing pad for stubborn stains
- Long handle for convenience
- Trusted brand with quality guarantee
Cons
- Vague assembly instructions
- Pole slips when using the wringer
- Mop head could be thicker
The JEHONN Wet Mop is a reliable and convenient cleaning tool for various types of floors. It effectively keeps your hands dry while providing excellent cleaning power with its absorbent microfiber heads and soft scrubbing pad. The long handle adds convenience and the brand’s satisfactory service guarantee provides peace of mind. The only downside is the vague assembly instructions and a few minor gripes with the pole and mop head thickness. Overall, this mop is a great value for the price and is sure to make your floor cleaning chores much easier.

Overall Score: 7.5/10
The Self Wringing Twist Mop is a versatile and efficient tool for all your floor cleaning needs. With its easy-to-use wringer, this mop allows you to remove water from the mop head while keeping your hands dry. The microfiber and scrub pad ensure excellent water absorption and catch dust, hair, and dirt tightly. The long handle of 57" eliminates the need for bending over and offers a comfortable grip. The mop is suitable for all types of floors and can be used in various settings, including commercial, household, office, and industrial. It comes in a sleek gray color with a yellow twist mop head. Assembly is easy, but some users found the instructions lacking. Overall, this mop provides a superior clean with minimal effort.
Key Features
- Easy to wring mop with dry and wet capabilities
- Microfiber and scrub pad for superior cleaning
- Long handle for comfortable use and easy storage
- Minimizes tangling with double tail bands and looped ends
- Suitable for all types of floors and settings
Specifications
- Color: Gray and Yellow
- Size: Gray Twist Mop
Pros
- Easy to wring out and control water use
- Excellent water absorption and tight dirt-catching
- Comfortable handle and easy to hang
- Minimizes tangling for efficient cleaning
- Versatile and suitable for various floor types and settings
Cons
- Poor assembly instructions
- Mop head assembly can be confusing
- No instructions on wringing out the mop
- Handle connection could be improved
The Self Wringing Twist Mop offers convenience and efficiency in floor cleaning. With its easy wringing mechanism, excellent water absorption, and comfortable long handle, this mop makes cleaning a breeze. It is suitable for use on various floor types and in different settings, making it a versatile tool. However, the lack of detailed assembly instructions and the handle’s connection system could be improved. Overall, this mop provides a superior clean and is a reliable choice for your cleaning needs.

Overall Score: 8/10
The DALIPER Self Wringing Twist Mop is a conveniently designed mop that makes floor cleaning a breeze. With its upgraded 57.5-inch long handle, it is suitable for people of all heights and reduces the need for bending over. The ratchet design in the handle allows for easy twisting and wringing of water from the mop head, without dirtying your hands. The mop comes with two washable microfiber mop heads, which are highly absorbent and effective for cleaning dust and dirt. It also features a non-scratch scouring pad for removing stubborn stains. This versatile mop is suitable for various types of floors and can be easily hung on a wall for space-saving storage.
Key Features
- Upgraded 57.5’’ Long handle
- Labor-Saving self squeeze mop
- Washable micro kitchen mop
- Soft scouring pad
- Widely-Use mop
Specifications
- Color: Avocado Green
- Dimension: 16.53Lx5.59Wx4.05H
- Size: Twist Mop
Pros
- Long handle suitable for all heights
- Easy self-wringing design
- Washable microfiber mop heads
- Non-scratch scouring pad
- Versatile for different floor types
Cons
- Mop head could have a better weave
- Mop head may not cover a large area
The DALIPER Self Wringing Twist Mop is a practical choice for anyone looking for a convenient and effective mop. With its long handle, easy self-wringing feature, and washable microfiber mop heads, it simplifies the process of floor cleaning. Although the mop head could have a better weave and may not cover a large area, it is still a great option for basic mopping needs. It is especially useful for daily and light-duty cleaning tasks. Overall, this mop offers great value for its price and is a reliable tool for keeping your floors clean and tidy.
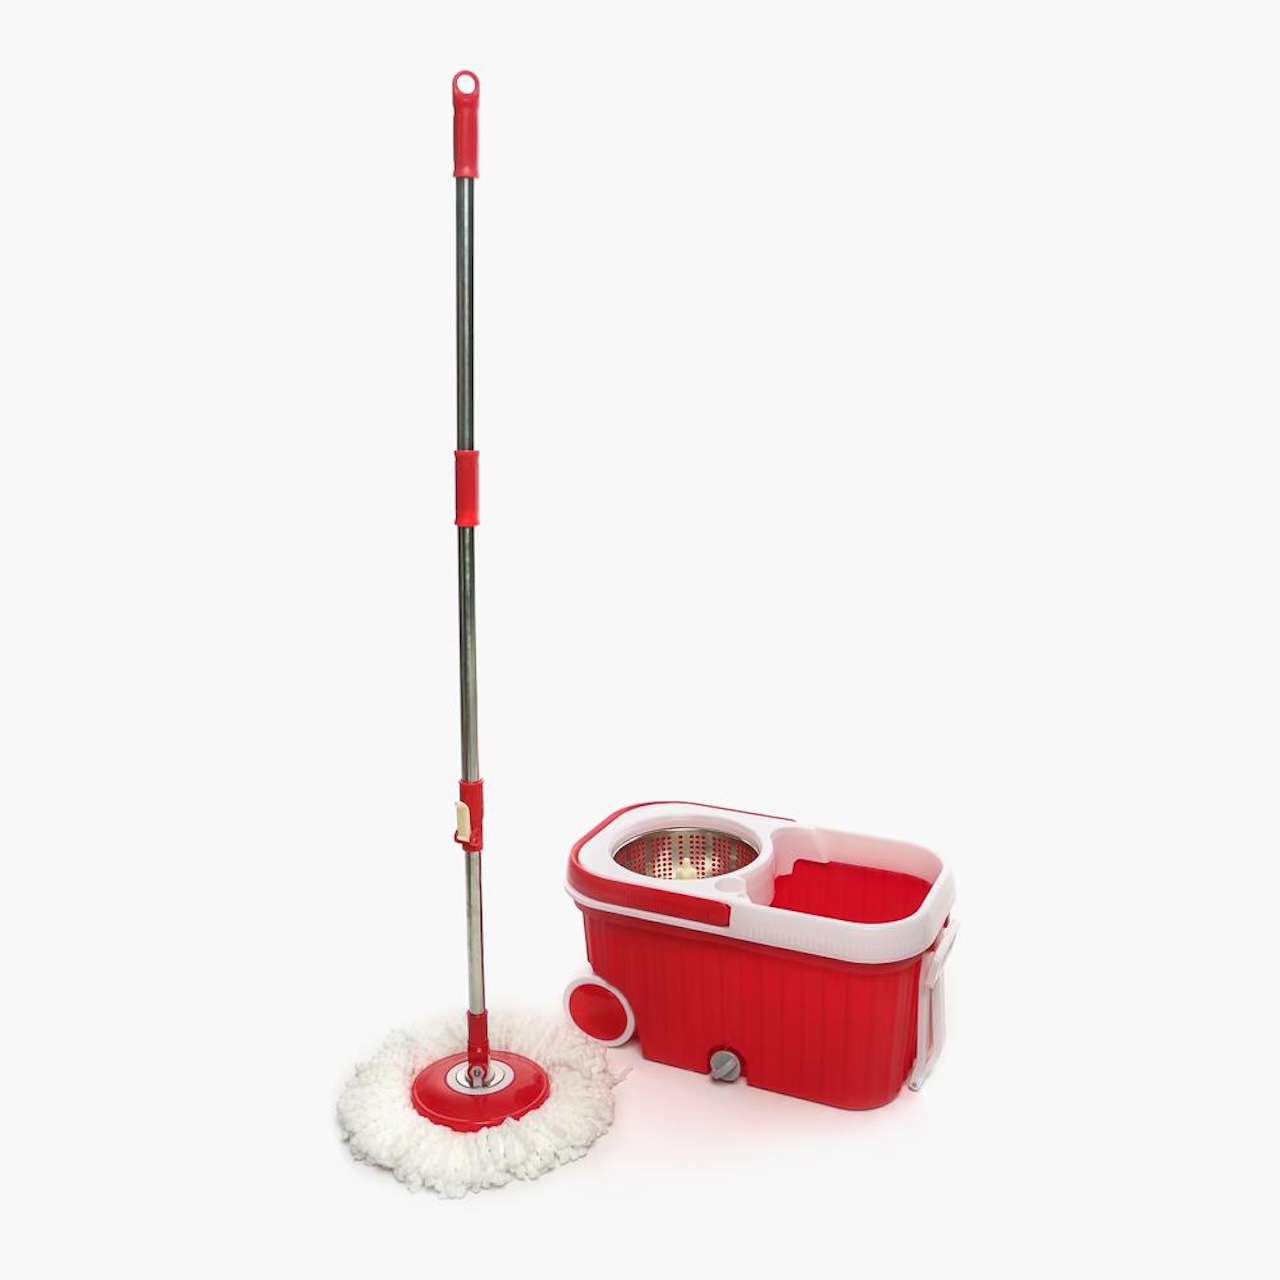
Buyer's Guide: Twist Mops*Say goodbye to messy floors and hello to sparkling clean surfaces with the magic of twist mops! These handy cleaning tools are designed to make your life easier, leaving your floors spotless and shiny with minimal effort. But with so many options available, how do you choose the perfect twist mop for your needs? Fret not, for we're here to guide you through this mop-tastic journey. Get ready to twist and shout as we delve into the world of twist mops!*
What is a twist mop?
- A twist mop is a cleaning tool consisting of a mop head with twisted strands or loops, attached to a handle.
- The twisted strands are usually made of highly absorbent materials like cotton or microfiber.
- Unlike traditional mops, twist mops feature a mechanism in the handle that allows you to wring out excess water or cleaning solution with a simple twist.
- The twisting action squeezes the mop head, preventing excessive wetness and making it ideal for various surfaces.
Read also: 11 Amazing Twist Doorbell for 2025
Factors to consider before purchasing a twist mop
- Mop Head Material
- Consider the material of the mop head, as it affects its absorbency and durability.
- Cotton mop heads are highly absorbent and suitable for general cleaning.
- Microfiber mop heads not only absorb more water but also trap and hold dirt and dust effectively.
- Synthetic materials are often durable and resistant to mold and mildew, making them ideal for outdoor use.
- The length of the handle should be comfortable for your height, allowing you to clean without straining your back.
- Look for handles with ergonomic designs and cushioned grips for added comfort during prolonged cleaning sessions.
- Adjustable handles offer versatility and enable multiple users to adjust the mop's length according to their preferences.
- Assess the size and shape of the mop head to ensure it suits your cleaning needs.
- Larger mop heads cover a greater surface area, saving you time and effort.
- For tight corners or narrow spaces, smaller mop heads or those with a triangular shape might be more suitable.
- The twisting mechanism is the heart of a twist mop, so test it to ensure it operates smoothly and efficiently.
- Look for a durable mechanism that withstands frequent use without losing functionality.
- Some models offer hands-free wringing, allowing you to avoid manual contact with dirty water.
- Check the construction and materials used to ensure the mop is built to last.
- Stainless steel or sturdy plastic components are desirable for long-lasting durability.
- Avoid flimsy mops that may break or lose effectiveness after just a few uses.
- While twist mops are usually effective with just water, consider if you require compatibility with specific cleaning solutions.
- Some mop heads are designed to work best with certain cleaning agents, making them more effective for tough stains or specialized cleaning tasks.
- Cleaning your mop after use is essential for its longevity and effectiveness.
- Look for mop heads that are machine washable or easy to rinse and dry to avoid buildup of dirt, bacteria, and unpleasant odors.
- Consider the availability and cost of replacement mop heads, as they may need to be replaced periodically.
Frequently Asked Questions about 11 Amazing Twist Mop For 2025
The frequency of mop head replacement depends on usage, but it’s generally recommended to replace them every three to six months for optimal cleaning performance.
Twist mops are suitable for a wide range of flooring, including hardwood, laminate, tile, and vinyl. However, always check the manufacturer’s recommendations for specific flooring types to ensure compatibility.
While twist mops are effective for everyday cleaning, they may not handle heavy-duty tasks or large spills as efficiently as specialized cleaning tools. For such situations, consider using a wet/dry vacuum or a mop specifically designed for heavy-duty cleaning.
Twist mops are primarily designed for floor cleaning and may not provide optimal results on walls or ceilings. For these surfaces, consider using a sponge mop, extendable duster, or other appropriate cleaning tools.
After use, rinse the mop head thoroughly and let it air dry to prevent mold and mildew growth. Store the mop in an upright position, allowing the mop head to hang freely to maintain its shape and prevent flattening.
Was this page helpful?
Trust Storables.com for unbiased and honest product reviews. Our reviews are rigorously assessed by our Expert Board Contributors and adhere to strict Editorial Standards. We ensure that each review is transparent and trustworthy, helping you make informed purchasing decisions.
0 thoughts on “11 Amazing Twist Mop For 2025”