Home>Home Appliances>Cleaning Appliances>How To Remove Mop Head From Libman Spin Mop

Cleaning Appliances
How To Remove Mop Head From Libman Spin Mop
Modified: August 16, 2024
Learn how to easily remove the mop head from your Libman Spin Mop for cleaning appliances. Follow our step-by-step guide for hassle-free maintenance.
(Many of the links in this article redirect to a specific reviewed product. Your purchase of these products through affiliate links helps to generate commission for Storables.com, at no extra cost. Learn more)
Introduction
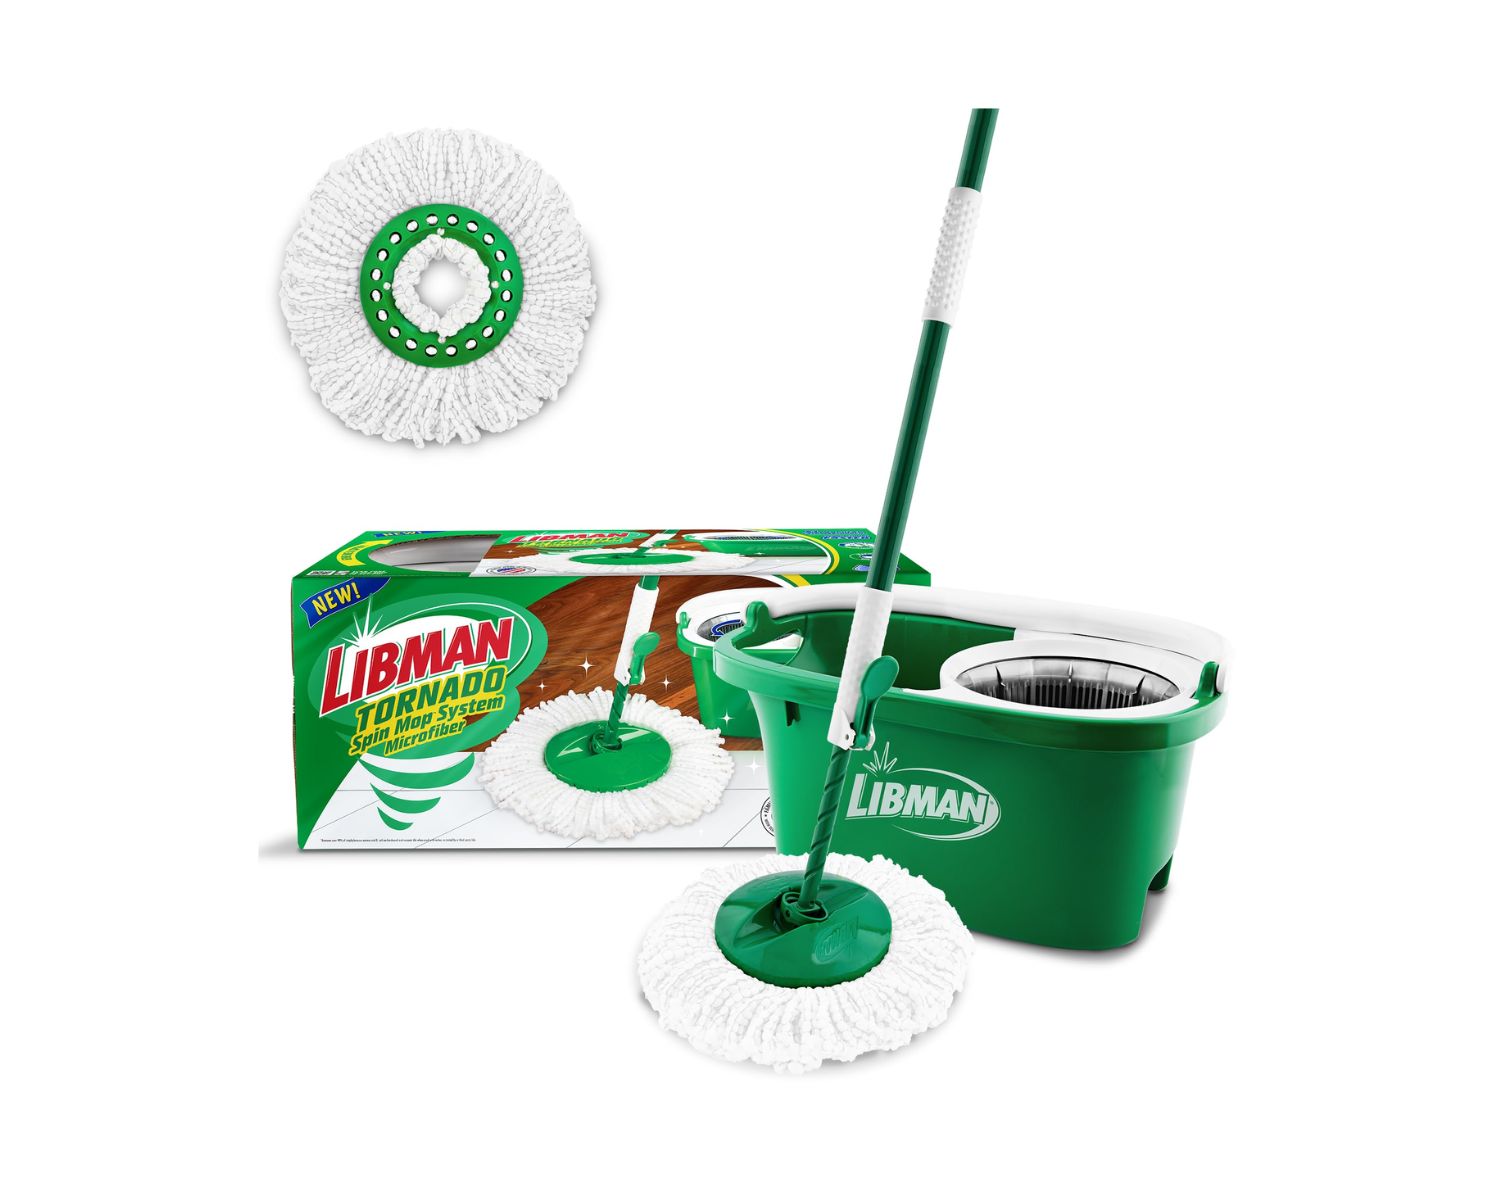
Welcome to the world of hassle-free cleaning with the Libman Spin Mop! This innovative cleaning tool is designed to make mopping a breeze, allowing you to achieve sparkling clean floors with minimal effort. One of the key features of the Libman Spin Mop is its detachable mop head, which makes cleaning and maintenance a simple task. In this comprehensive guide, we will walk you through the step-by-step process of removing the mop head from your Libman Spin Mop, ensuring that you can keep your cleaning companion in top-notch condition.
Whether you’re preparing to replace the mop head, clean it thoroughly, or simply want to understand the inner workings of your trusty cleaning ally, this guide has got you covered. By following the instructions outlined here, you’ll be equipped with the knowledge and confidence to effortlessly remove and reassemble the mop head, allowing you to maintain the efficiency and effectiveness of your Libman Spin Mop. Let’s dive in and discover the simple yet essential steps to master the art of removing the mop head from your Libman Spin Mop!
Key Takeaways:
- Master the art of removing and reassembling the mop head from your Libman Spin Mop with ease. Keep your cleaning companion in top-notch condition and tackle future cleaning tasks with confidence and expertise.
- By following simple steps, you can effortlessly maintain the efficiency and functionality of your Libman Spin Mop. Embrace the convenience and revel in the satisfaction of achieving sparkling clean floors in your home.
Read more: How To Clean A Libman Mop Head
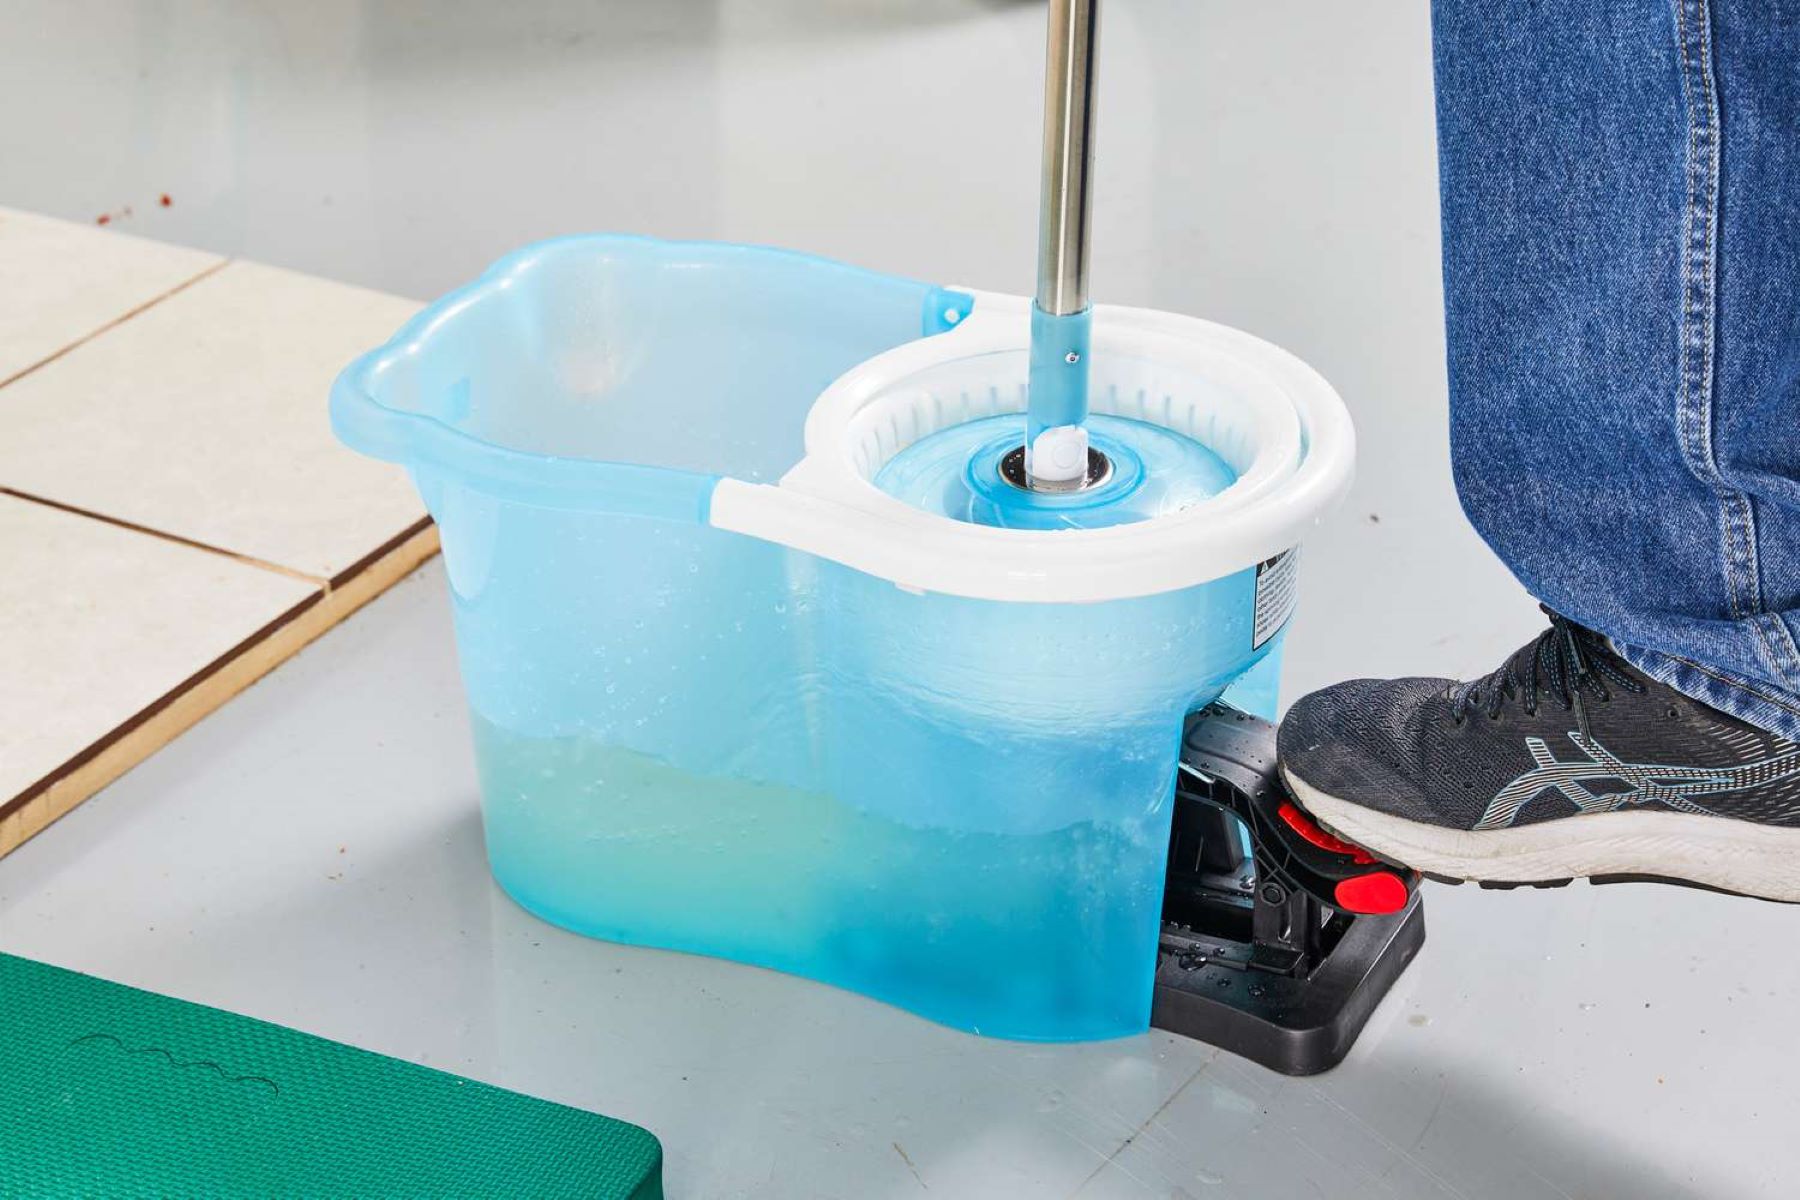
Step 1: Prepare the Spin Mop
Before delving into the process of removing the mop head from your Libman Spin Mop, it’s crucial to ensure that the mop is in a suitable state for disassembly. Here are the essential preparatory steps to take:
- Clear the Cleaning Area: Begin by clearing the area where you plan to work with the Spin Mop. Removing any obstacles or potential hazards from the vicinity will provide you with a safe and spacious environment to carry out the task.
- Secure a Stable Surface: Place the Spin Mop on a stable and level surface. This will prevent any unwanted wobbling or instability during the disassembly process, ensuring a smooth and controlled experience.
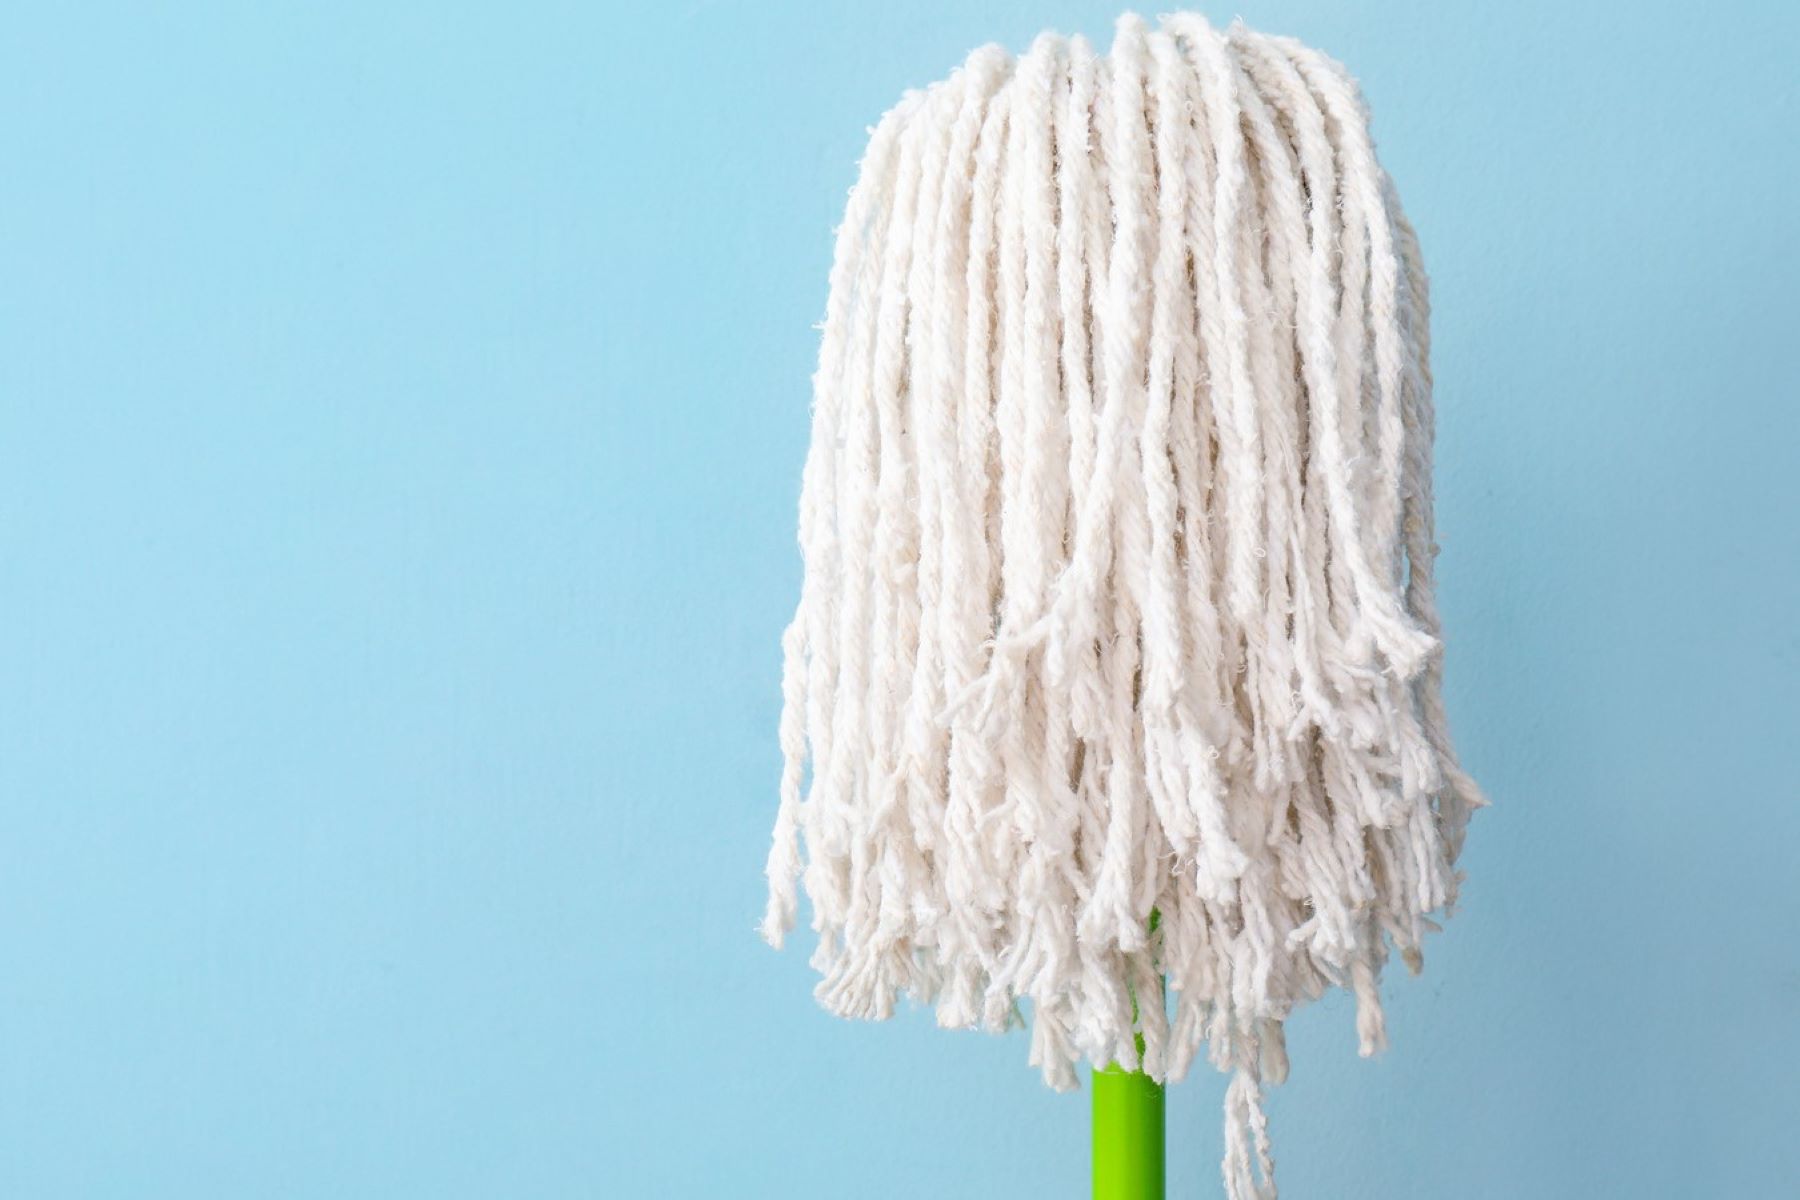
- Inspect the Mop Head: Take a moment to inspect the mop head for any visible dirt, debris, or excessive moisture. If the mop head is soiled, consider giving it a quick rinse and allowing it to dry before proceeding with the removal process.
- Ensure Proper Ventilation: If the mop head requires cleaning or replacement, it’s beneficial to carry out the task in a well-ventilated area. Adequate ventilation will aid in the drying process and contribute to a comfortable working environment.
By adhering to these preparatory measures, you’ll set the stage for a seamless and efficient experience when removing the mop head from your Libman Spin Mop. With the cleaning area cleared, the Spin Mop secured, and the mop head inspected, you’re ready to proceed to the next step with confidence and clarity.
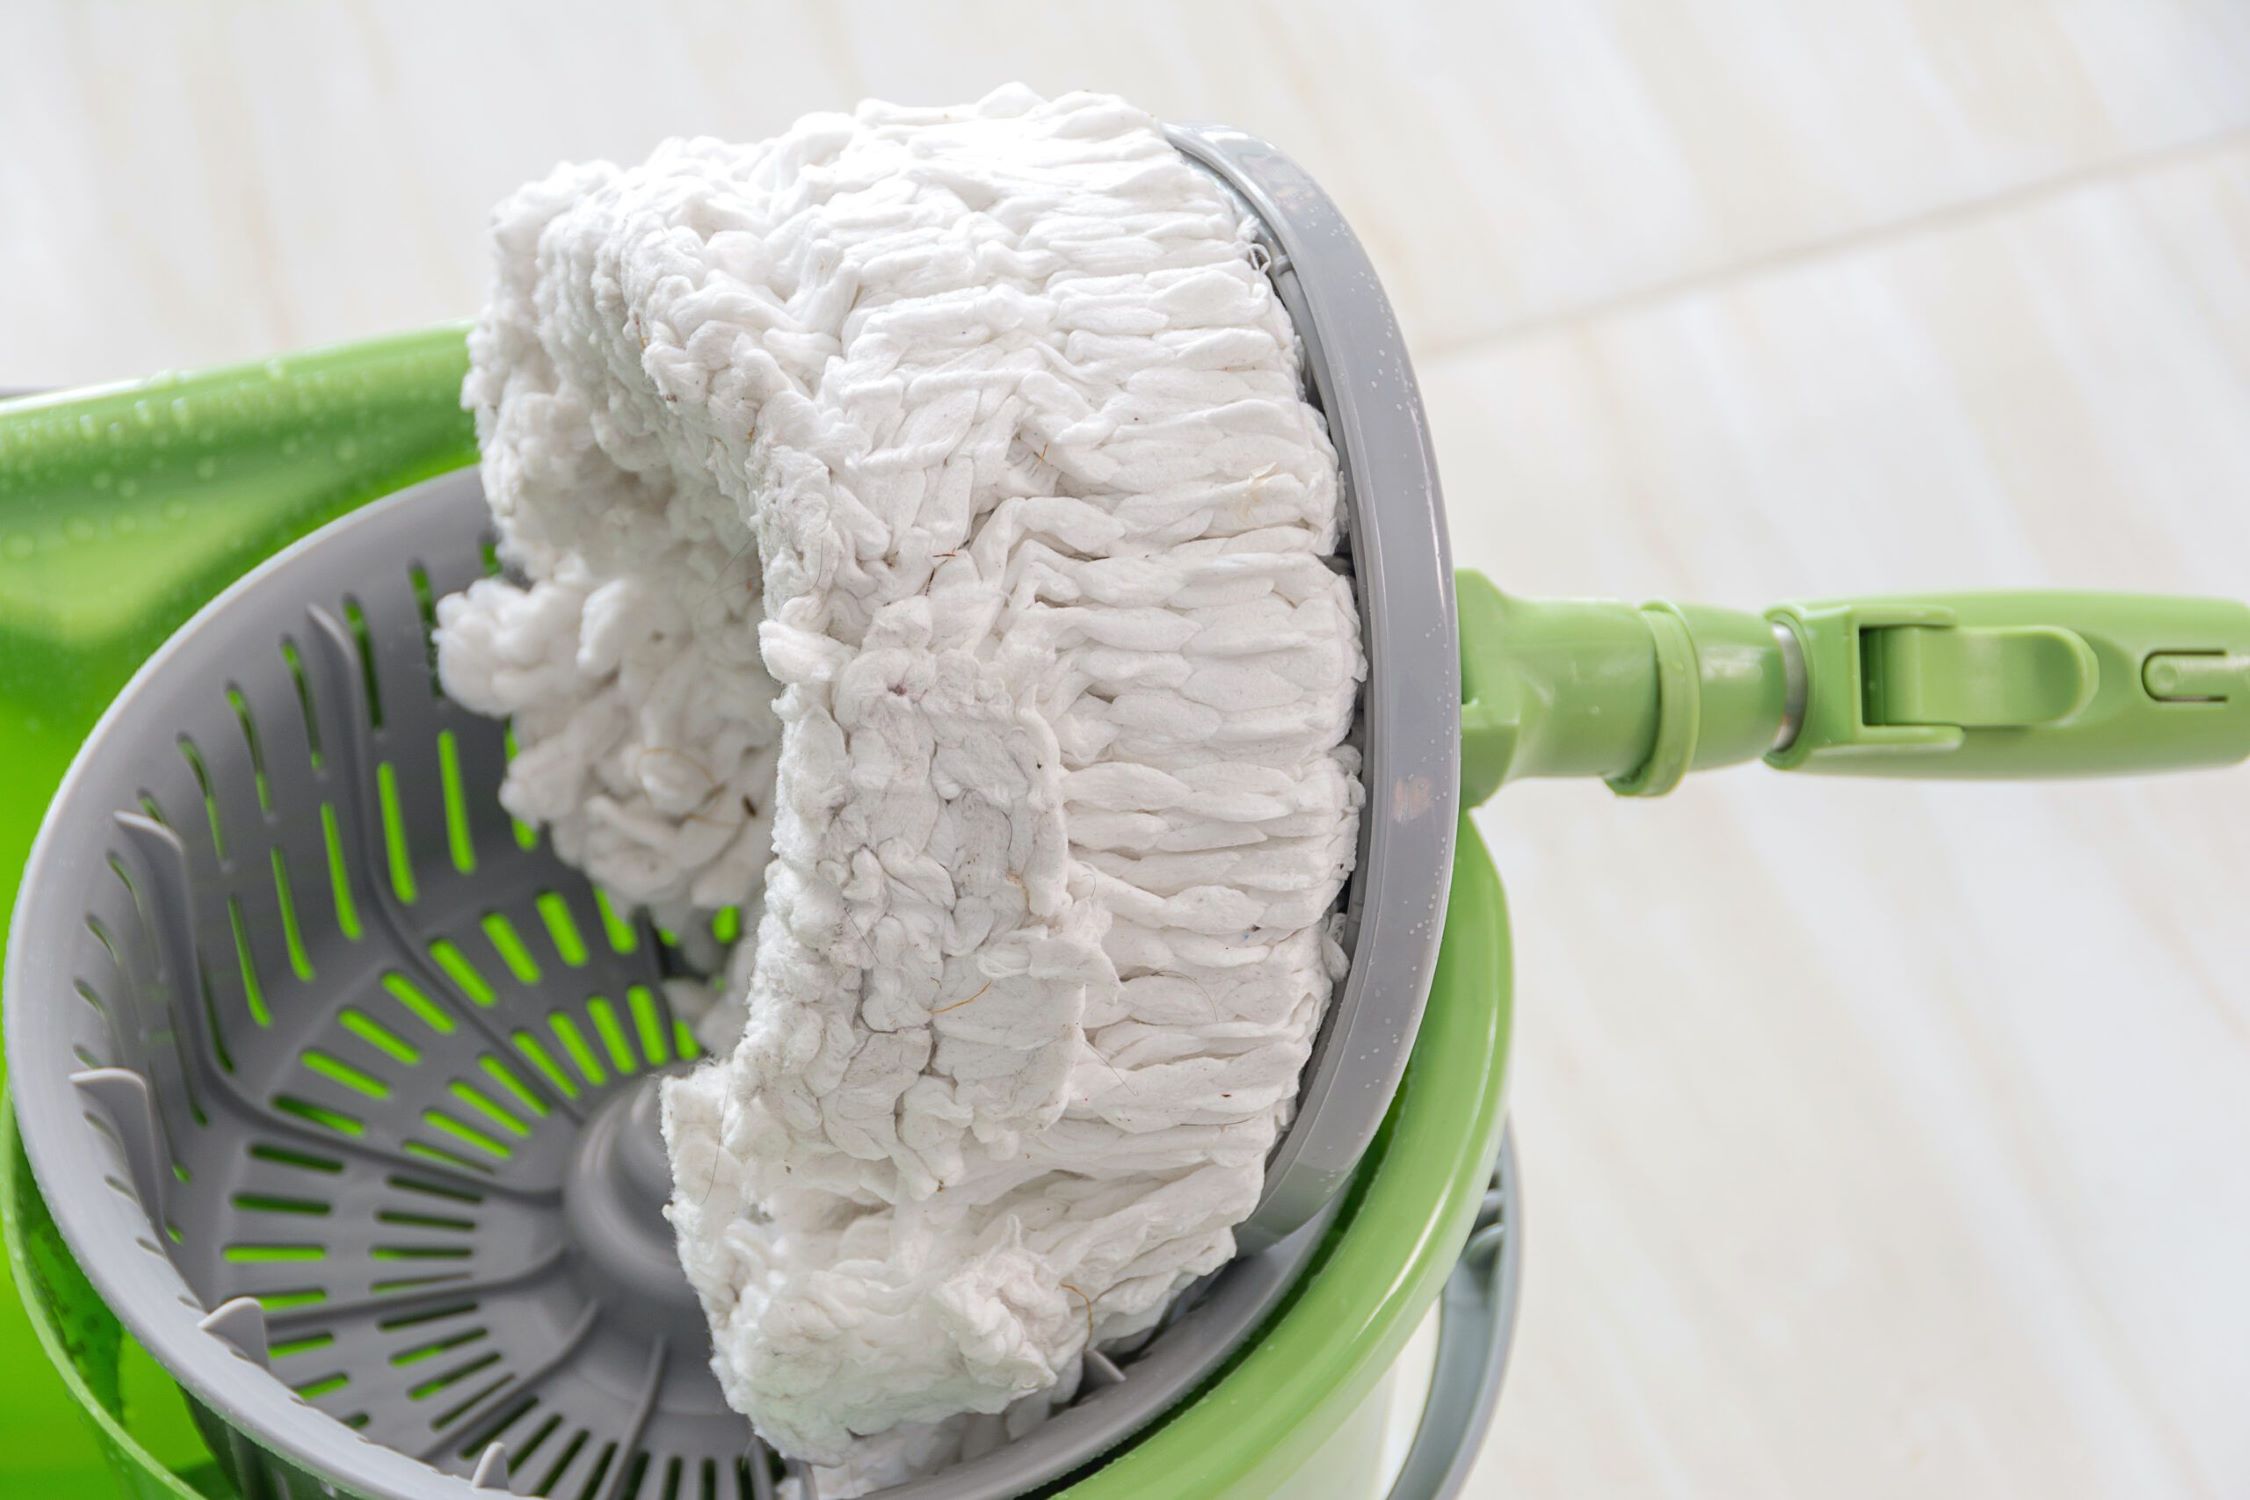
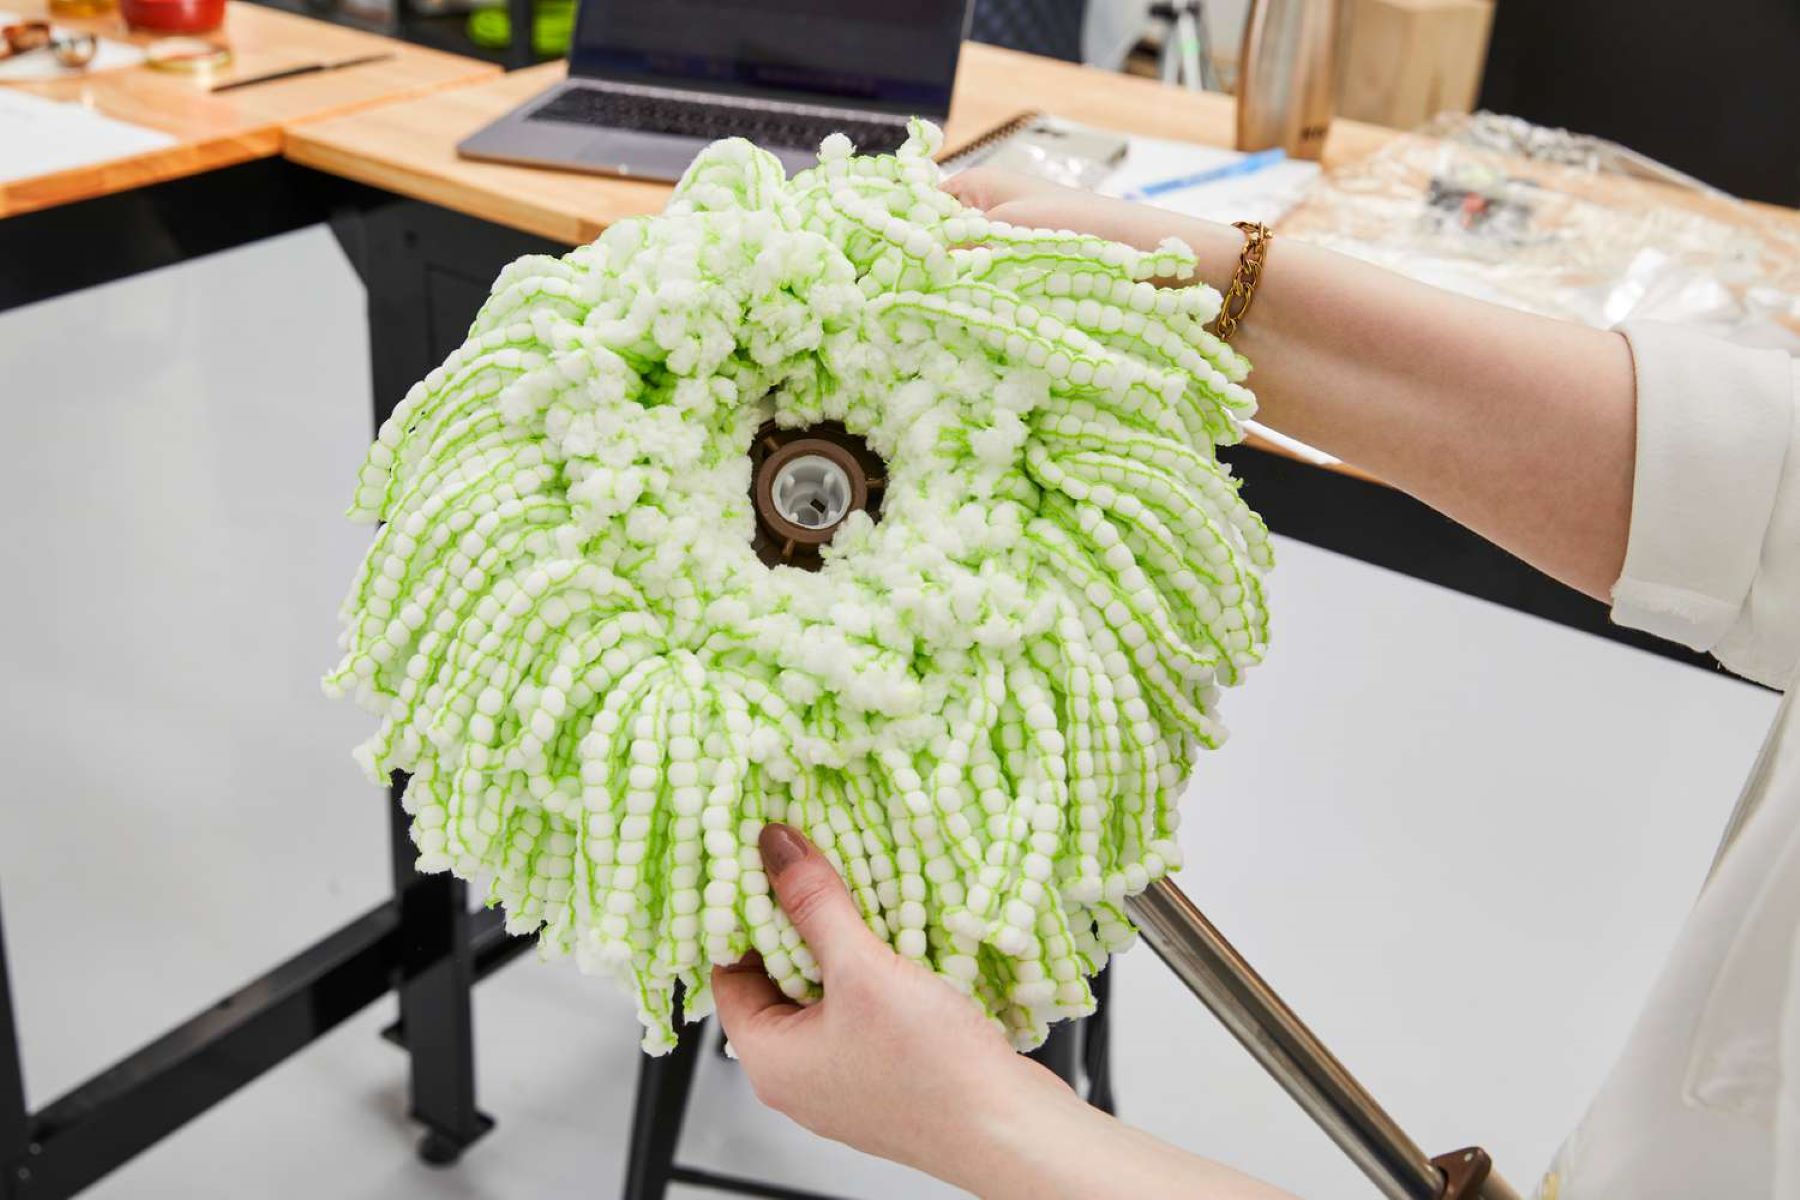
Step 2: Remove the Mop Head
Now that the Spin Mop is prepped and ready, it’s time to delve into the process of removing the mop head. Follow these step-by-step instructions to accomplish this task with ease:
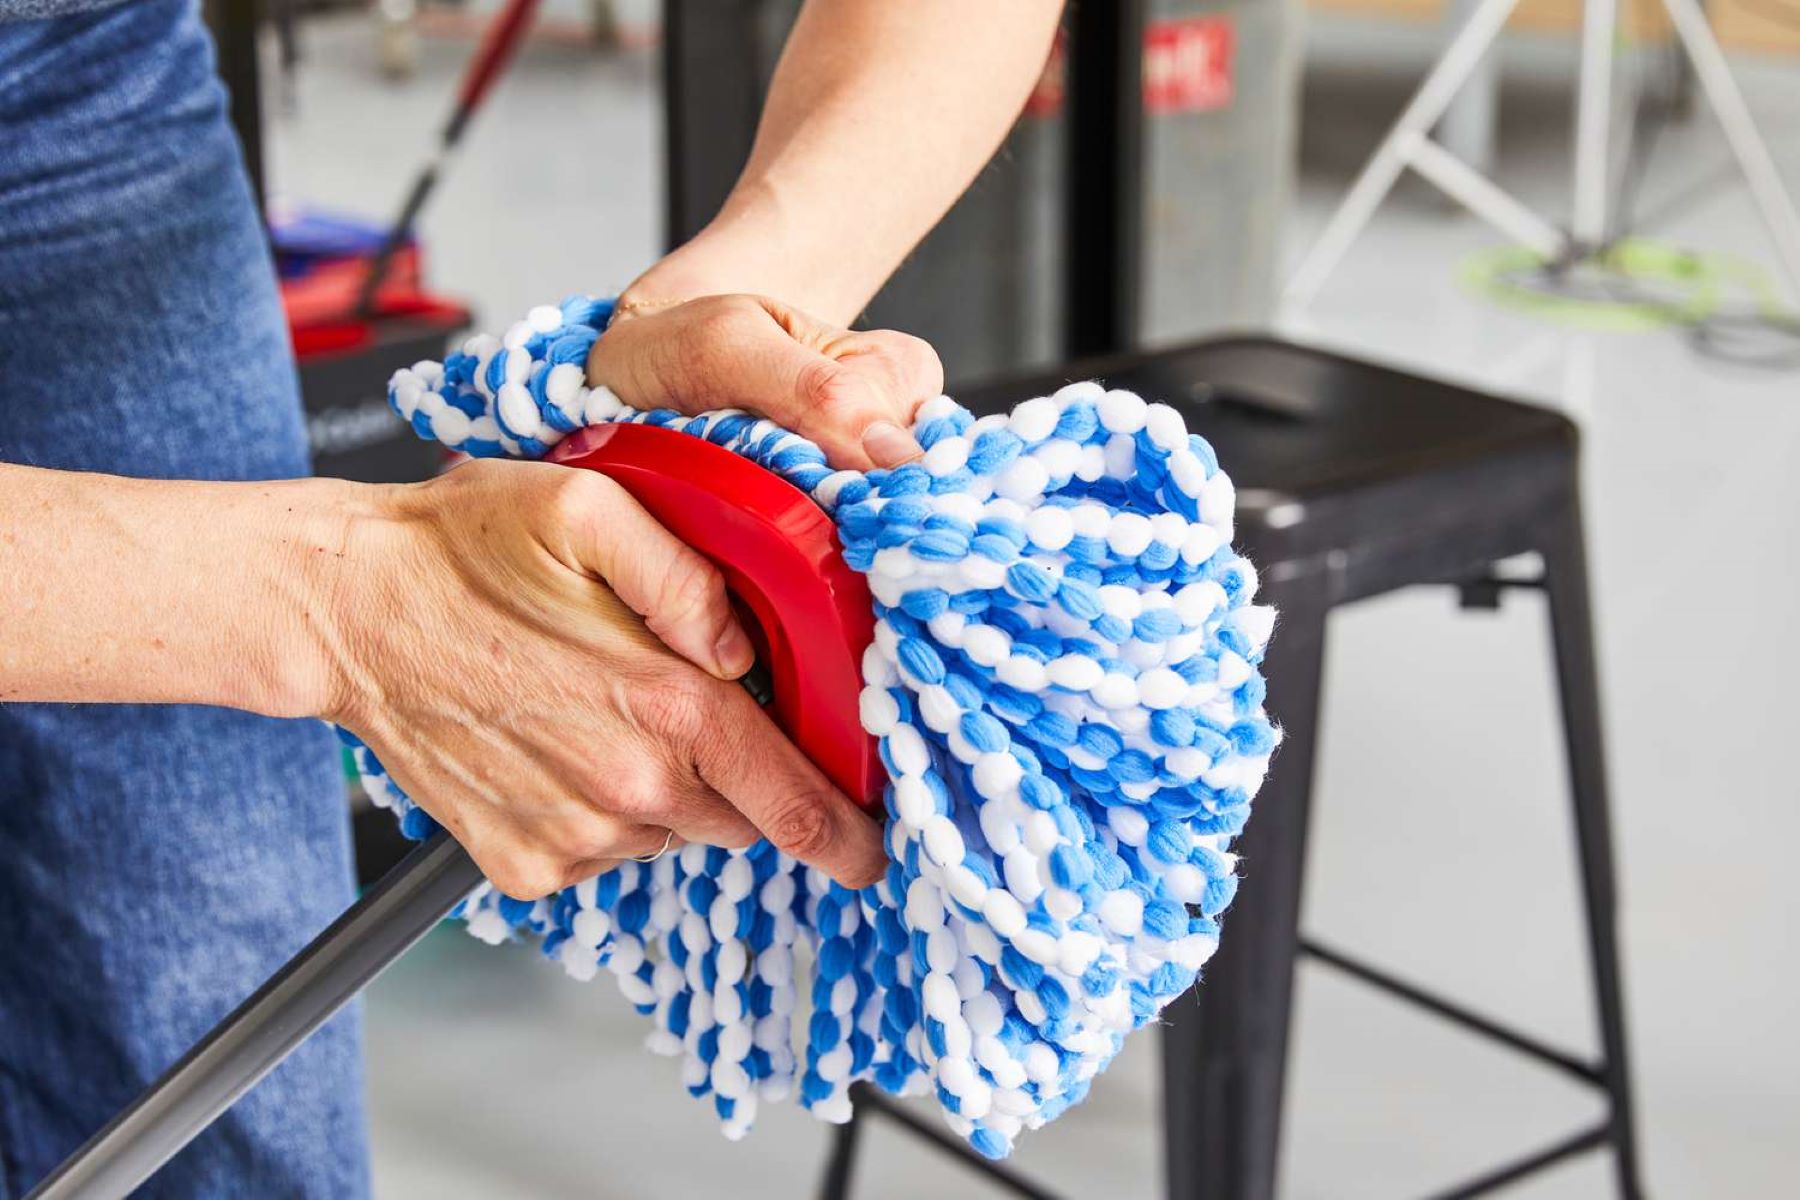
- Unscrew the Handle: Begin by unscrewing the handle of the Spin Mop from the main body. This can typically be achieved by twisting the handle in a counterclockwise direction, allowing it to detach from the mop head assembly.
- Locate the Release Mechanism: Once the handle is removed, locate the release mechanism on the mop head assembly. This mechanism is designed to secure the mop head in place during use and must be disengaged to facilitate the removal of the mop head.
- Activate the Release Mechanism: Depending on the specific model of the Libman Spin Mop, the release mechanism may vary. Commonly, it involves pressing a button or lever to disengage the locking mechanism, allowing the mop head to be separated from the main body of the Spin Mop.
- Detach the Mop Head: With the release mechanism activated, gently detach the mop head from the main body of the Spin Mop. Take care to handle the mop head with care, ensuring that it is removed smoothly and without any undue force.
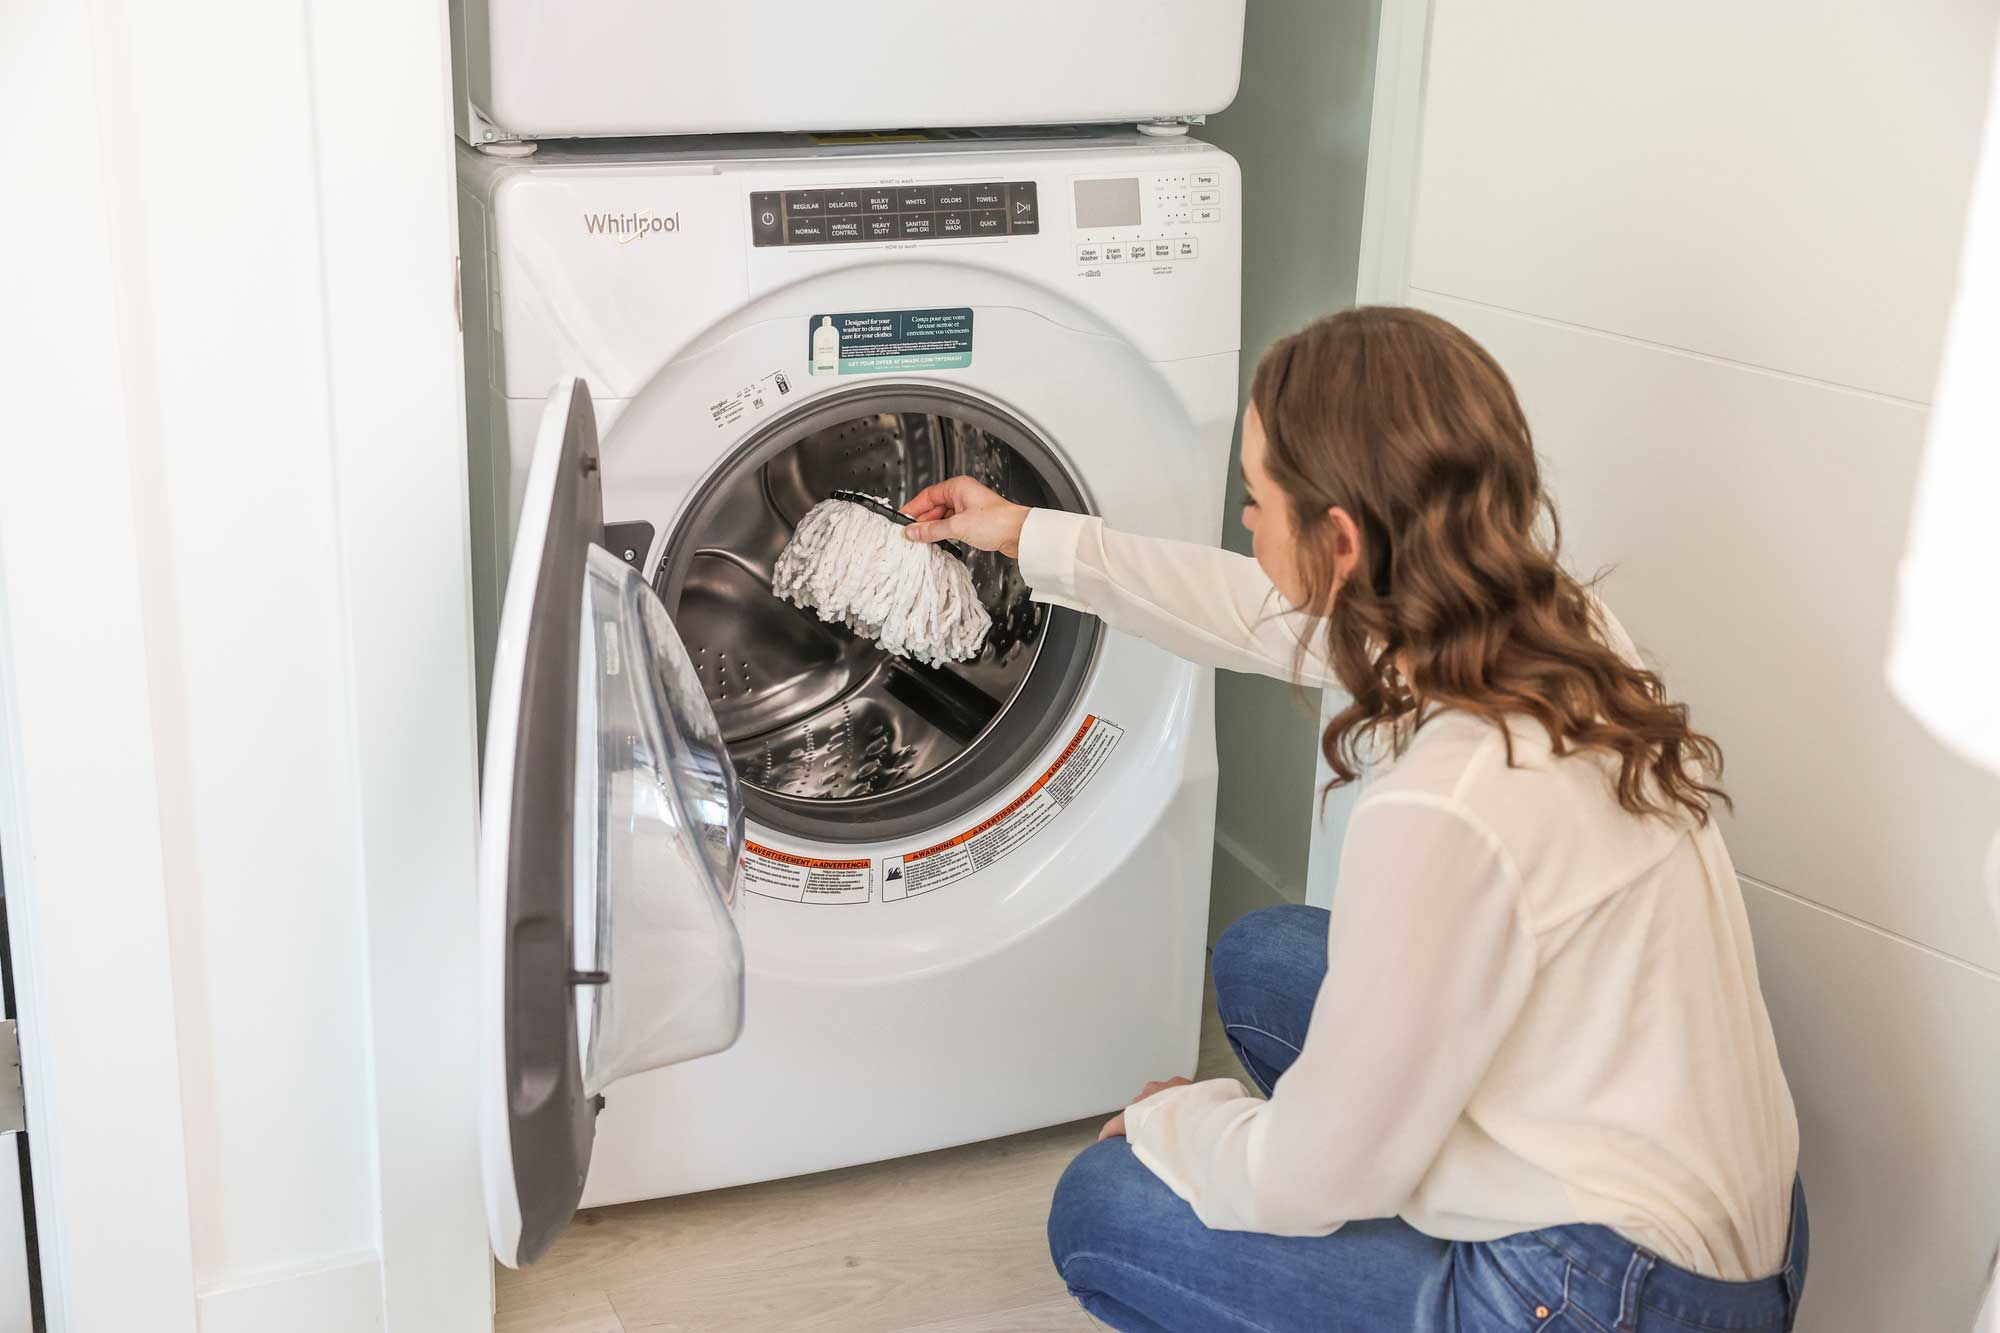
- Inspect and Clean: Once the mop head is removed, take a moment to inspect it for any accumulated dirt, grime, or wear. If necessary, proceed to clean the mop head thoroughly, addressing any areas that require attention to maintain optimal cleaning performance.
By following these steps, you’ll successfully remove the mop head from your Libman Spin Mop, paving the way for maintenance, replacement, or cleaning as needed. With the mop head detached and ready for further attention, you’re one step closer to ensuring the longevity and functionality of your trusty cleaning companion.
To remove the mop head from a Libman Spin Mop, simply push the handle down and twist the mop head counterclockwise to release it from the handle. Then, pull the mop head off the handle.
Step 3: Reassemble the Spin Mop
After successfully removing the mop head from your Libman Spin Mop, it’s time to reassemble the components to restore the mop to its fully operational state. Follow these straightforward steps to complete the reassembly process:
- Clean and Prepare the Mop Head: If you’ve taken the opportunity to clean the mop head, ensure that it is thoroughly dry and free from any residual moisture before proceeding with reassembly. This will prevent any potential issues related to dampness and help maintain the cleanliness of the Spin Mop.
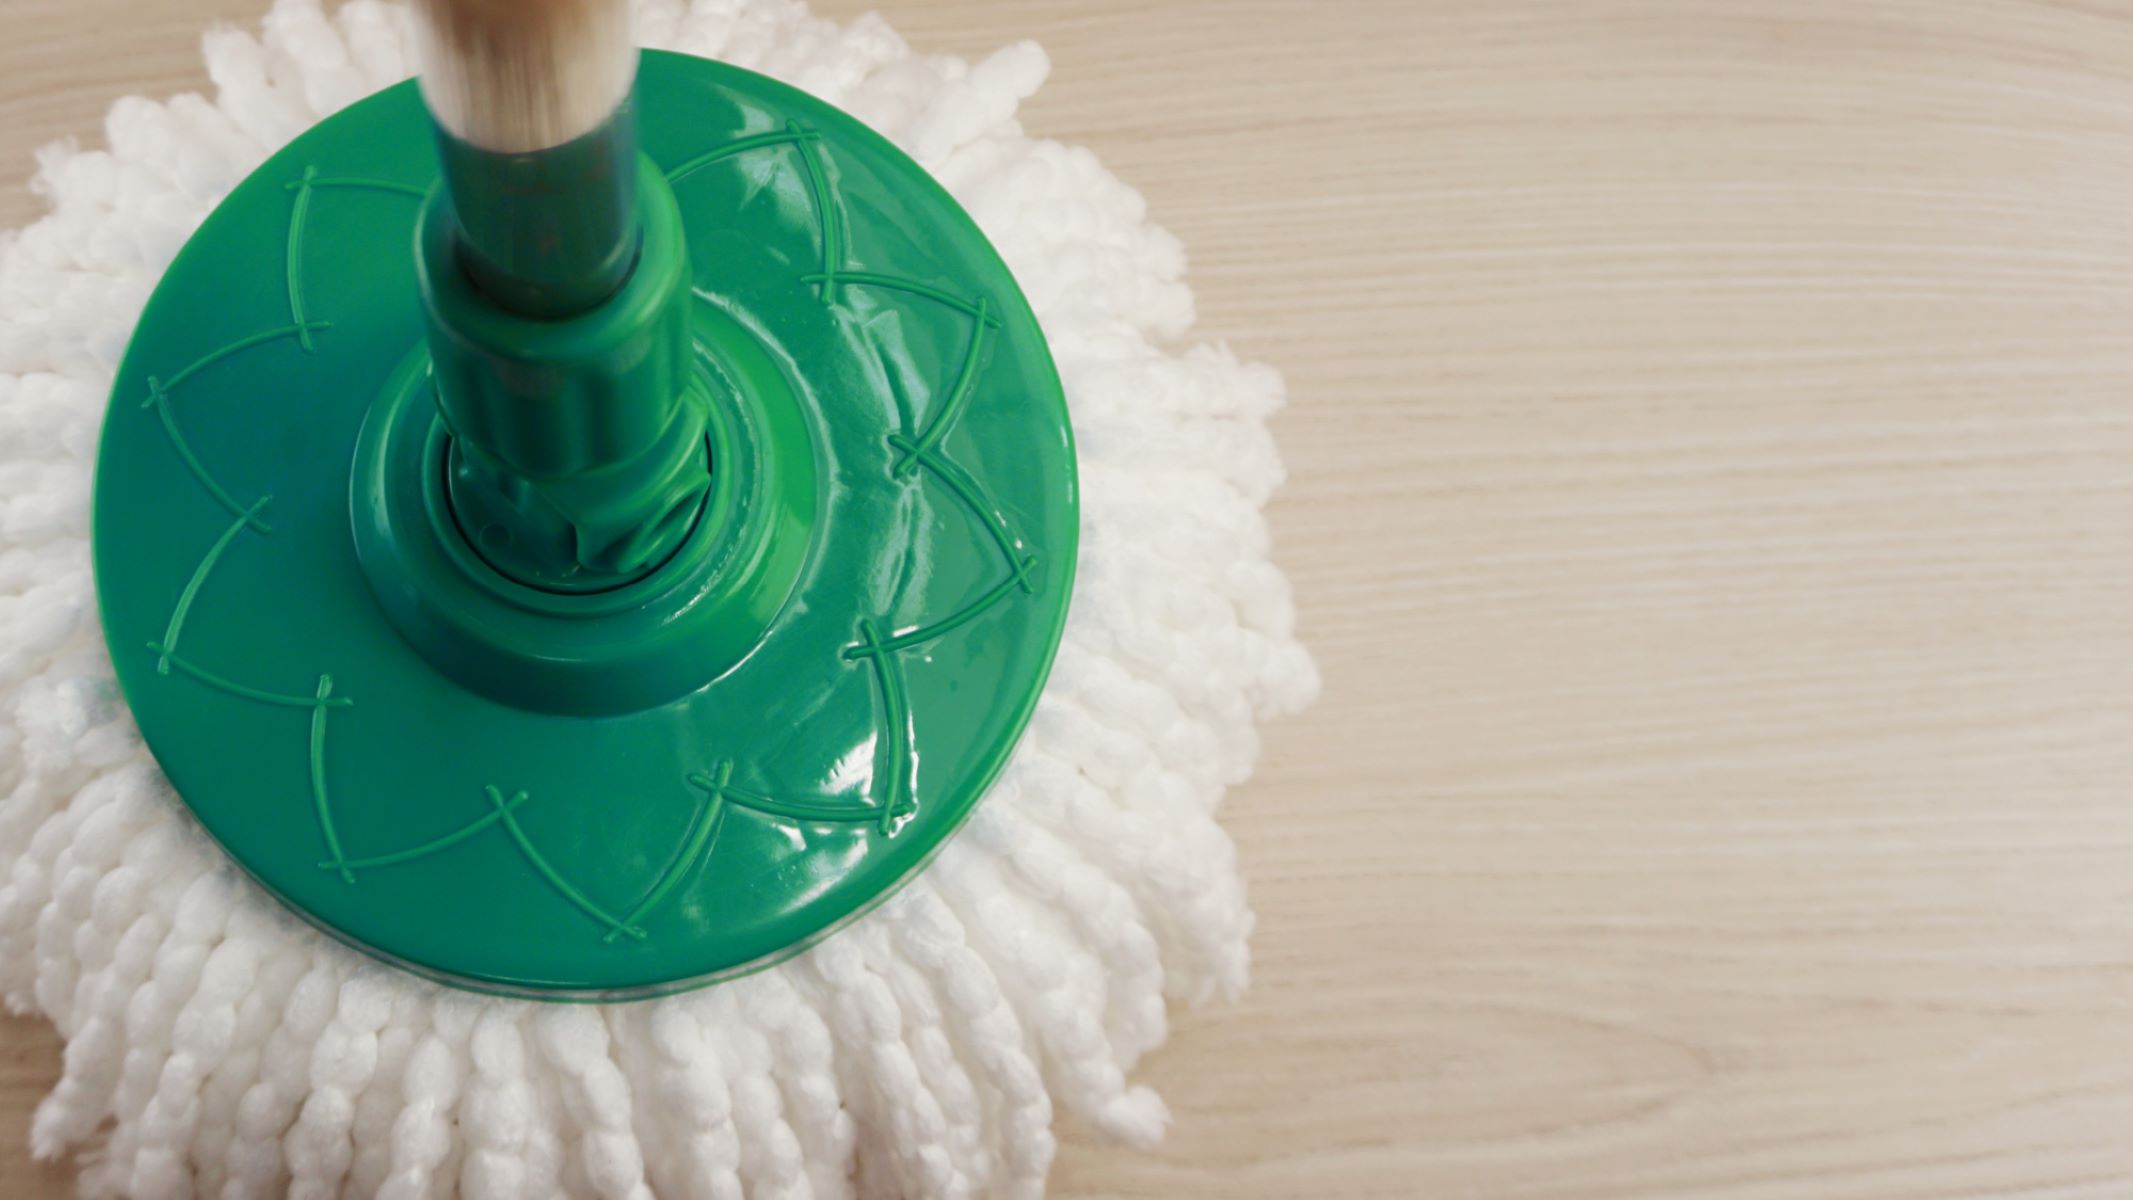
- Align the Mop Head: Position the mop head in alignment with the main body of the Spin Mop, ensuring that any connection points or grooves are appropriately matched for a secure fit. Taking care during this step will contribute to a smooth reassembly process.
- Engage the Mop Head: Once the mop head is aligned with the main body, engage the release mechanism to secure the mop head in place. This may involve pressing, clicking, or locking the mechanism, depending on the specific design of your Libman Spin Mop.
- Attach the Handle: With the mop head securely in place, reattach the handle to the main body of the Spin Mop. Align the handle with the designated connection point and twist it in a clockwise direction to secure it firmly in place.
- Test the Reassembled Spin Mop: Once the mop head and handle are reattached, take a moment to test the functionality of the Spin Mop. Ensure that the components are securely assembled and that the mop operates smoothly, ready to tackle your cleaning tasks with efficiency.
By completing these steps, you’ll have successfully reassembled your Libman Spin Mop, allowing you to resume your cleaning endeavors with confidence. Whether you’ve carried out maintenance, cleaning, or a simple reassembly, your Spin Mop is now primed and ready to deliver its exceptional cleaning performance once again.
Conclusion
Congratulations on mastering the art of removing the mop head from your Libman Spin Mop! By following the step-by-step instructions outlined in this guide, you’ve gained valuable insight into the inner workings of your cleaning companion, empowering you to maintain its efficiency and functionality with ease.
With the preparatory steps completed, the mop head successfully removed, and the Spin Mop reassembled, you’ve demonstrated a keen understanding of the maintenance process, ensuring that your cleaning tool remains in optimal condition for the tasks ahead.
Whether you’re preparing to replace the mop head, address accumulated dirt, or simply familiarizing yourself with the intricacies of your Libman Spin Mop, the knowledge and skills you’ve acquired will serve you well in your cleaning endeavors.
Remember, regular maintenance and care are key to prolonging the lifespan of your cleaning equipment and maximizing its performance. By incorporating these simple yet essential maintenance practices into your cleaning routine, you’ll continue to enjoy the efficiency and convenience that the Libman Spin Mop brings to your home.
Now that you’ve completed the journey of removing and reassembling the mop head from your Spin Mop, you’re well-equipped to tackle future cleaning tasks with confidence and expertise. Embrace the convenience and effectiveness of your freshly maintained Spin Mop, and revel in the satisfaction of effortlessly achieving sparkling clean floors in your home.
Thank you for joining us on this maintenance adventure, and may your cleaning endeavors be met with success and satisfaction!
Frequently Asked Questions about How To Remove Mop Head From Libman Spin Mop
Was this page helpful?
At Storables.com, we guarantee accurate and reliable information. Our content, validated by Expert Board Contributors, is crafted following stringent Editorial Policies. We're committed to providing you with well-researched, expert-backed insights for all your informational needs.

0 thoughts on “How To Remove Mop Head From Libman Spin Mop”