Home>Home Appliances>Cleaning Appliances>How To Use An O-Cedar Mop
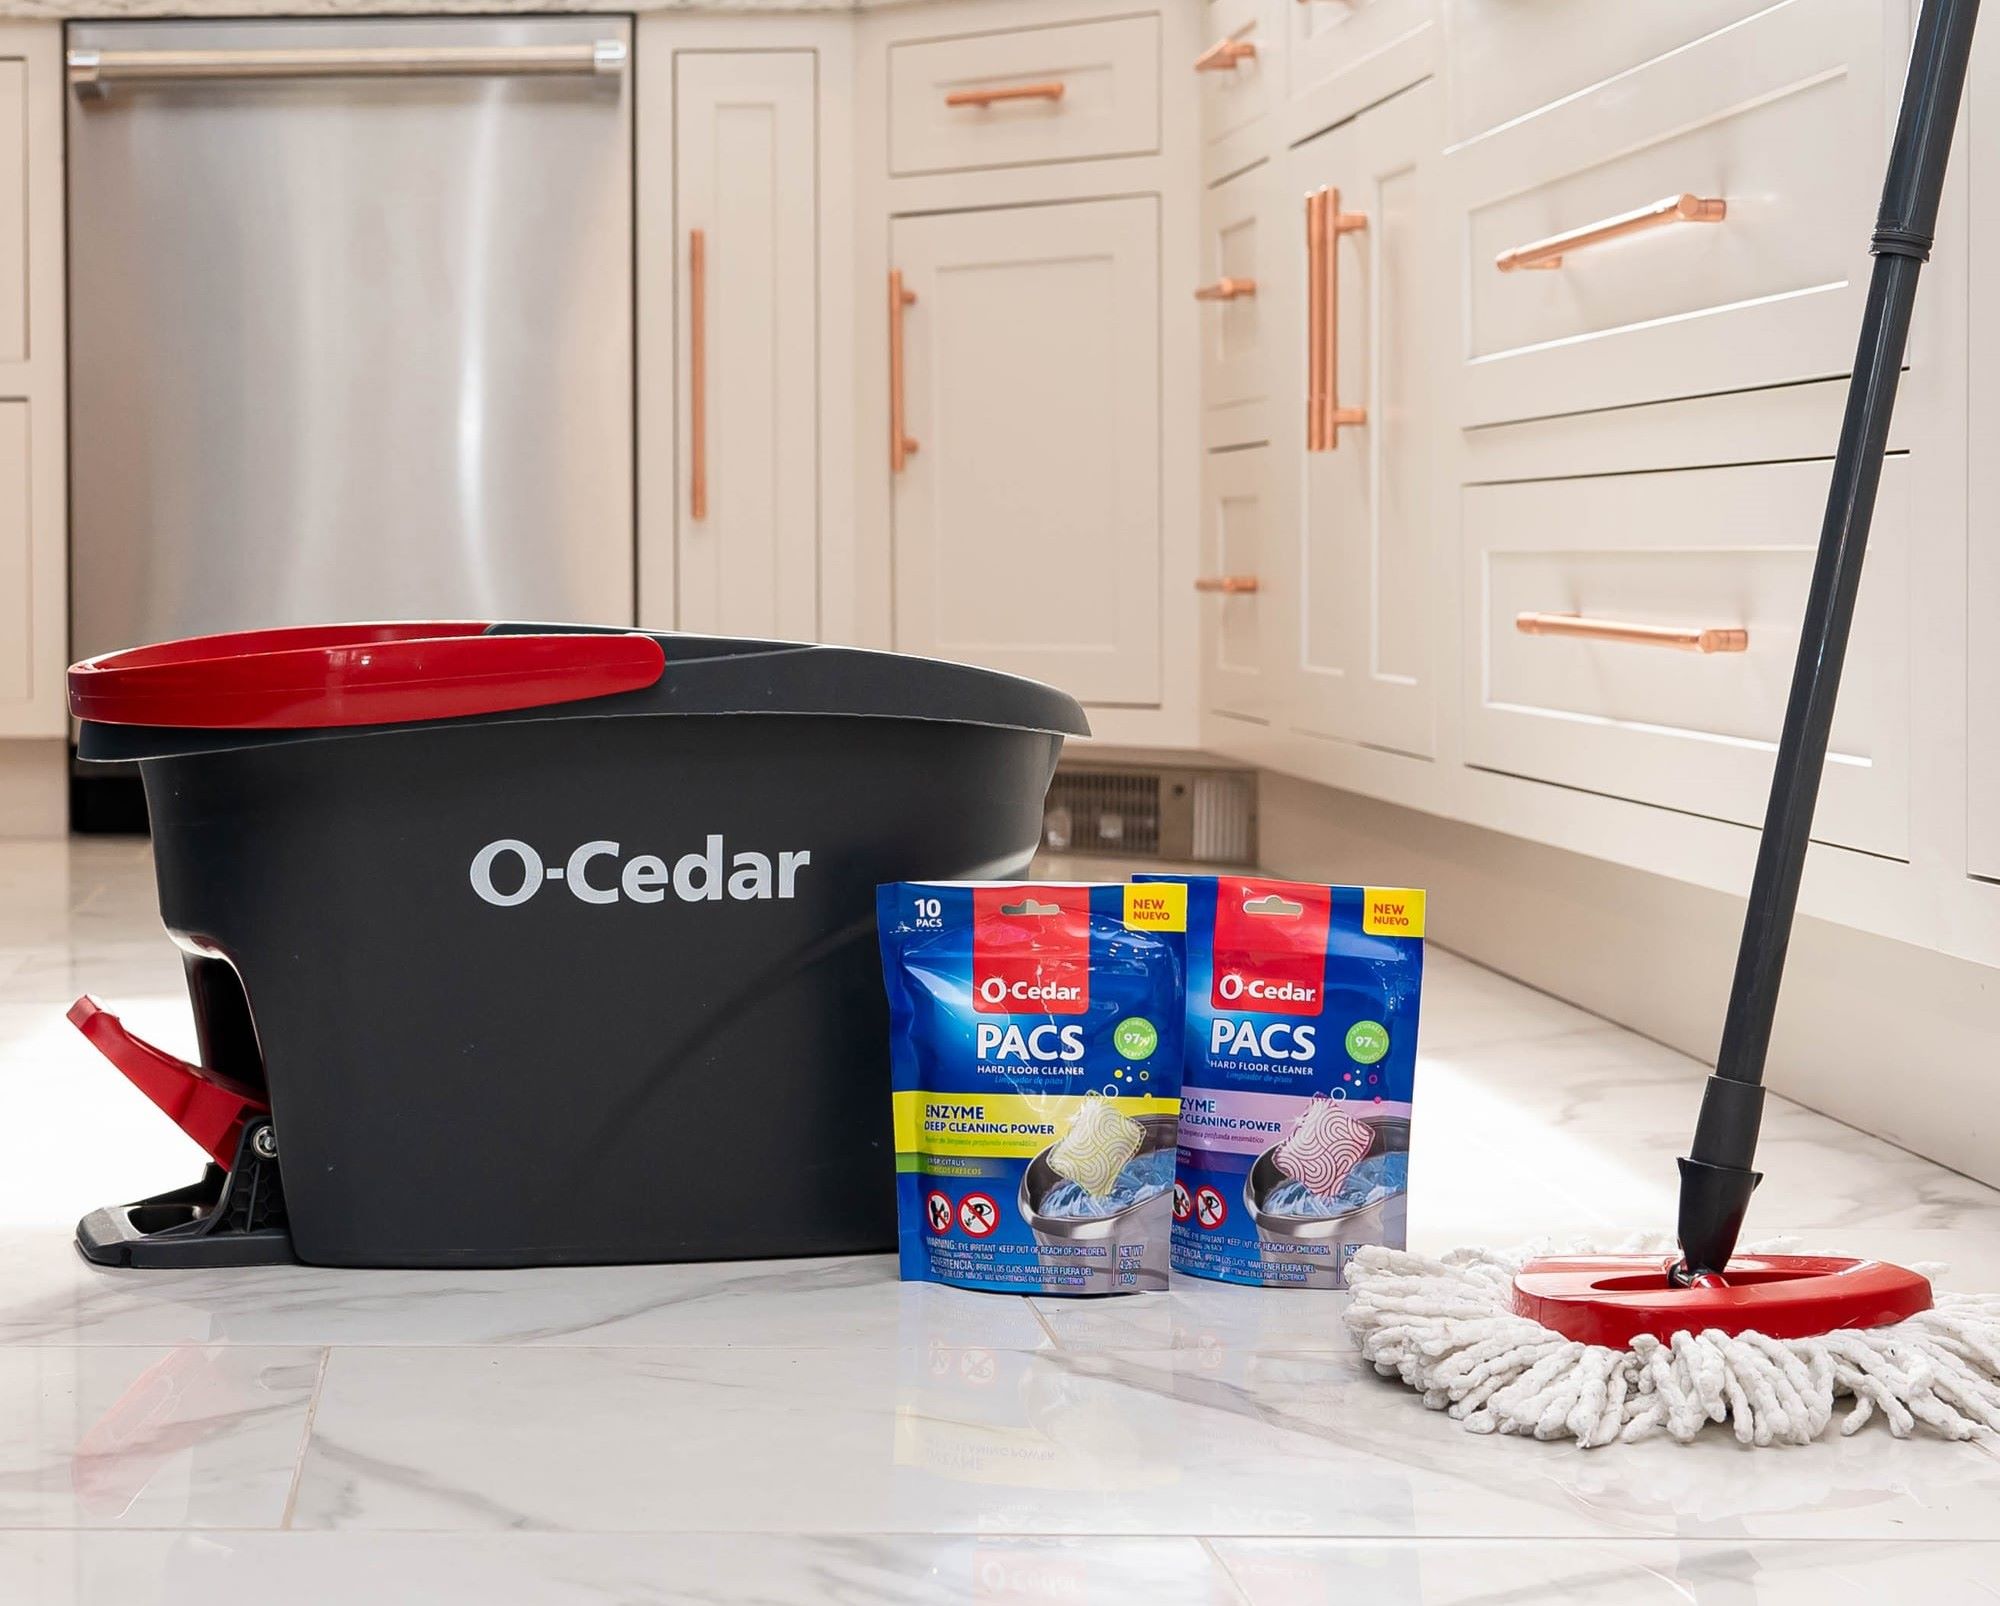

Cleaning Appliances
How To Use An O-Cedar Mop
Modified: January 19, 2024
Learn how to effectively use an O-Cedar mop for efficient cleaning. Discover tips and techniques for maintaining your cleaning appliances.
(Many of the links in this article redirect to a specific reviewed product. Your purchase of these products through affiliate links helps to generate commission for Storables.com, at no extra cost. Learn more)
Introduction
Welcome to the world of hassle-free floor cleaning with the O-Cedar mop! Whether you're a seasoned cleaning enthusiast or a novice looking to simplify your cleaning routine, the O-Cedar mop is a versatile and efficient tool that can make your cleaning tasks a breeze. In this comprehensive guide, we will walk you through the step-by-step process of using the O-Cedar mop to achieve sparkling clean floors in no time.
The O-Cedar mop is designed to streamline the mopping process, offering a convenient and effective way to maintain the cleanliness of your floors. With its innovative features and user-friendly design, this mop is suitable for various floor types, making it a valuable addition to any household cleaning arsenal.
As we delve into the intricacies of using the O-Cedar mop, you'll discover how simple it is to assemble, prepare the cleaning solution, and efficiently mop your floors. Additionally, we'll explore essential tips for cleaning and maintaining the O-Cedar mop to ensure its longevity and optimal performance.
Whether you're tackling everyday spills, deep cleaning sessions, or routine maintenance, the O-Cedar mop is poised to become your go-to cleaning companion. So, let's embark on this cleaning journey together and unlock the full potential of the O-Cedar mop for a spotless and hygienic living space.
Key Takeaways:
- Assemble the O-Cedar mop with ease by securely attaching the handle to the mop head, ensuring a stable connection for efficient cleaning. Follow manufacturer’s instructions for additional features.
- Achieve sparkling clean floors effortlessly by preparing a suitable cleaning solution, mopping methodically, and maintaining the O-Cedar mop for long-term performance. Enjoy the convenience and effectiveness of hassle-free floor cleaning.
Read more: What To Use In O-Cedar Mop
Assembling the O-Cedar Mop
Before you can dive into the cleaning process, it’s essential to properly assemble your O-Cedar mop. The assembly is straightforward and requires minimal effort, ensuring that you can swiftly transition from setup to cleaning without any unnecessary delays.
Here’s a step-by-step guide to assembling your O-Cedar mop:
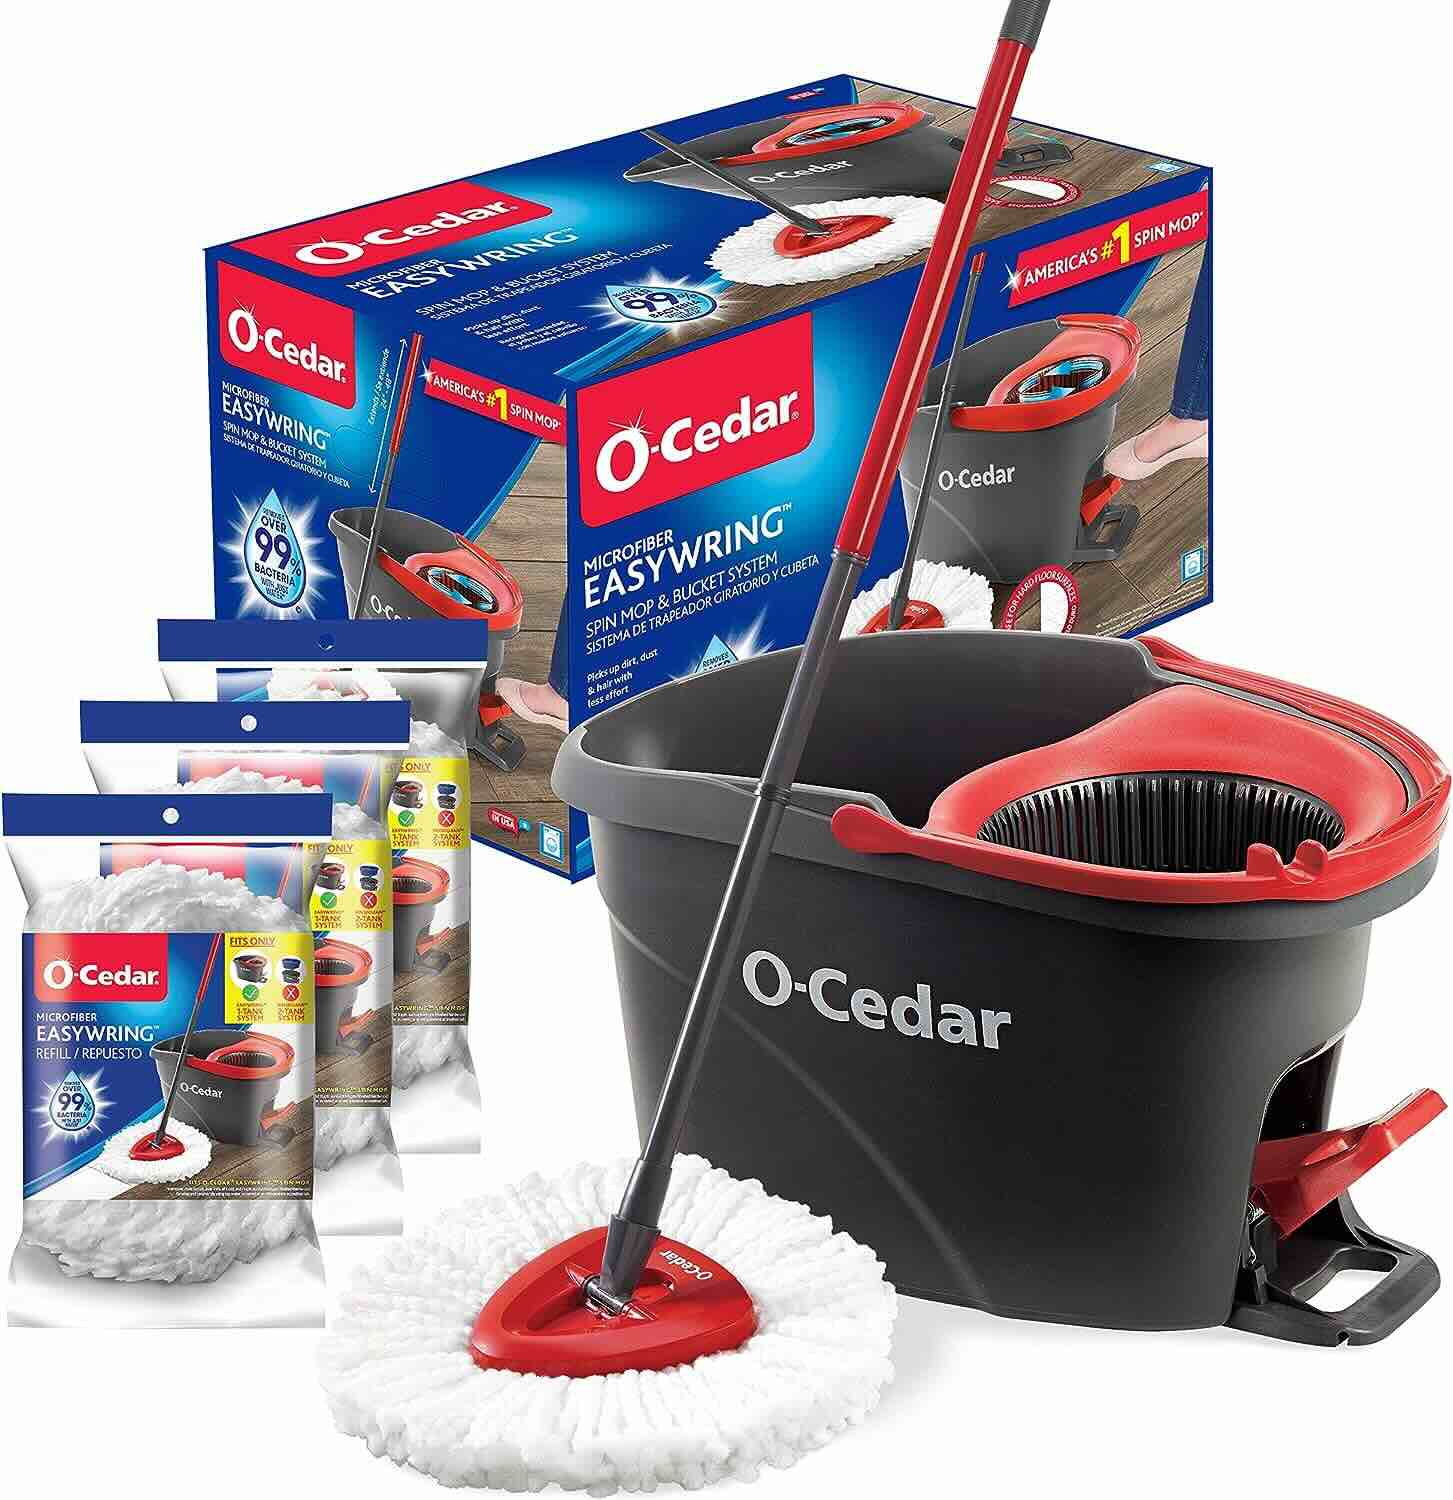
- Begin by unpacking the components of the O-Cedar mop from the packaging. You should find the mop handle, mop head, and any additional attachments or accessories included with your specific model.
- Next, insert the mop handle into the designated slot on the mop head. Ensure that the handle is securely attached to the head, providing a stable connection for efficient cleaning.
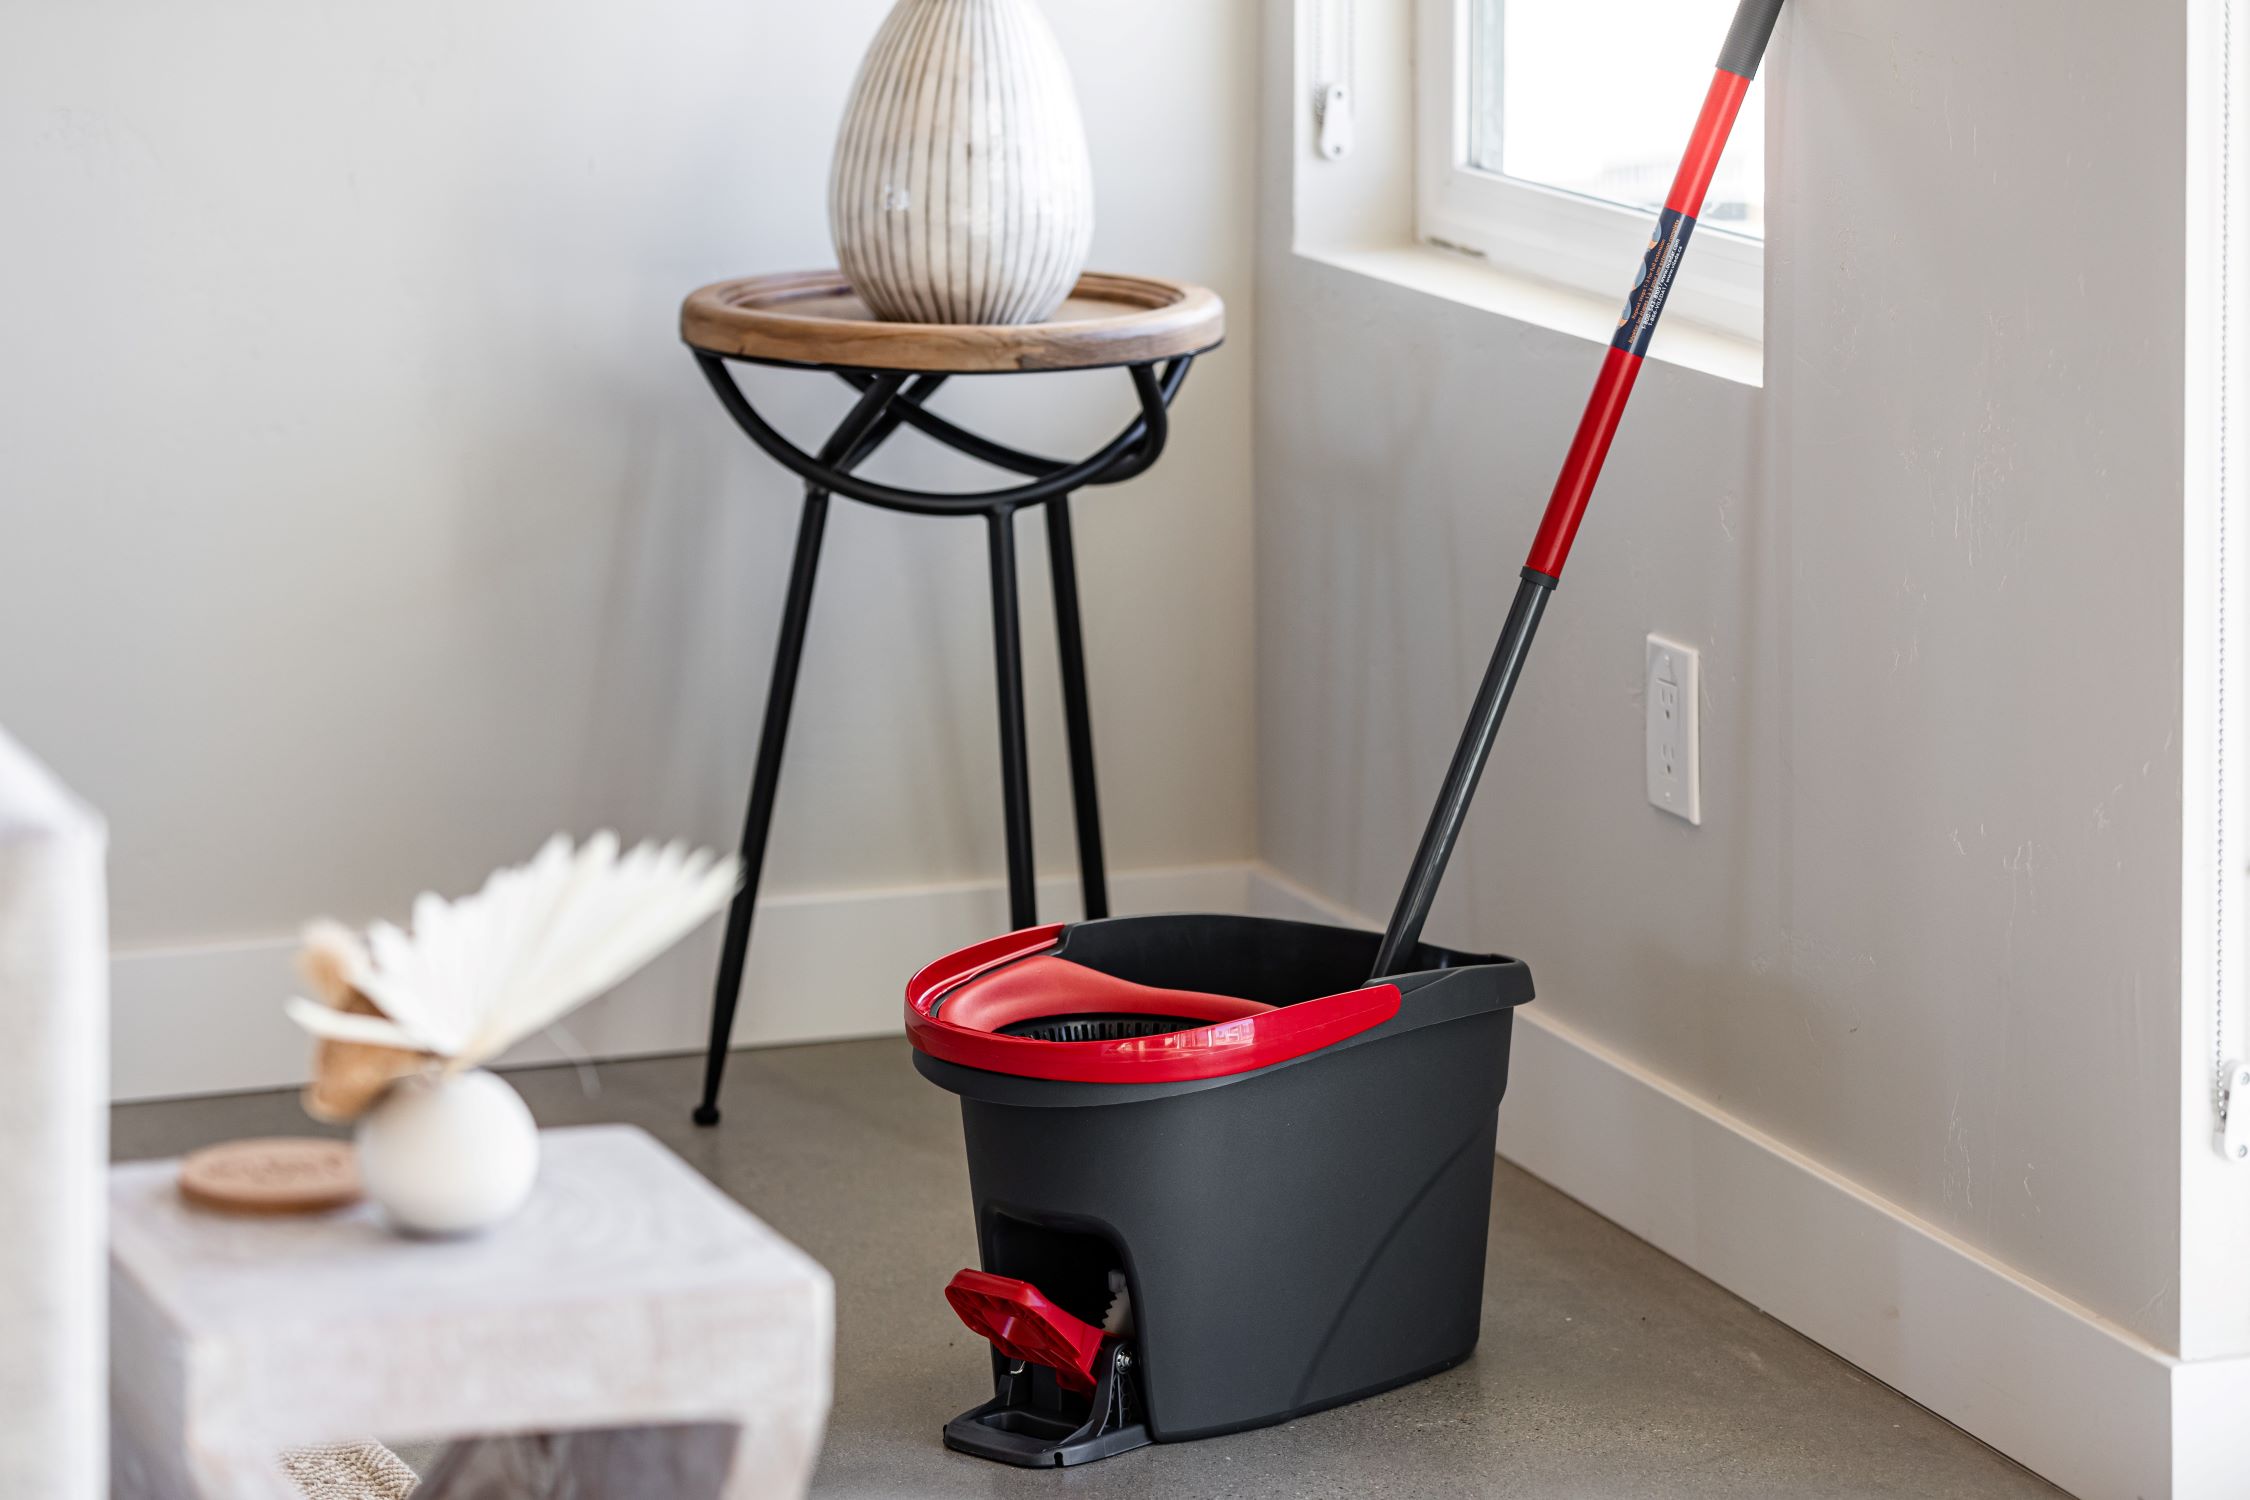
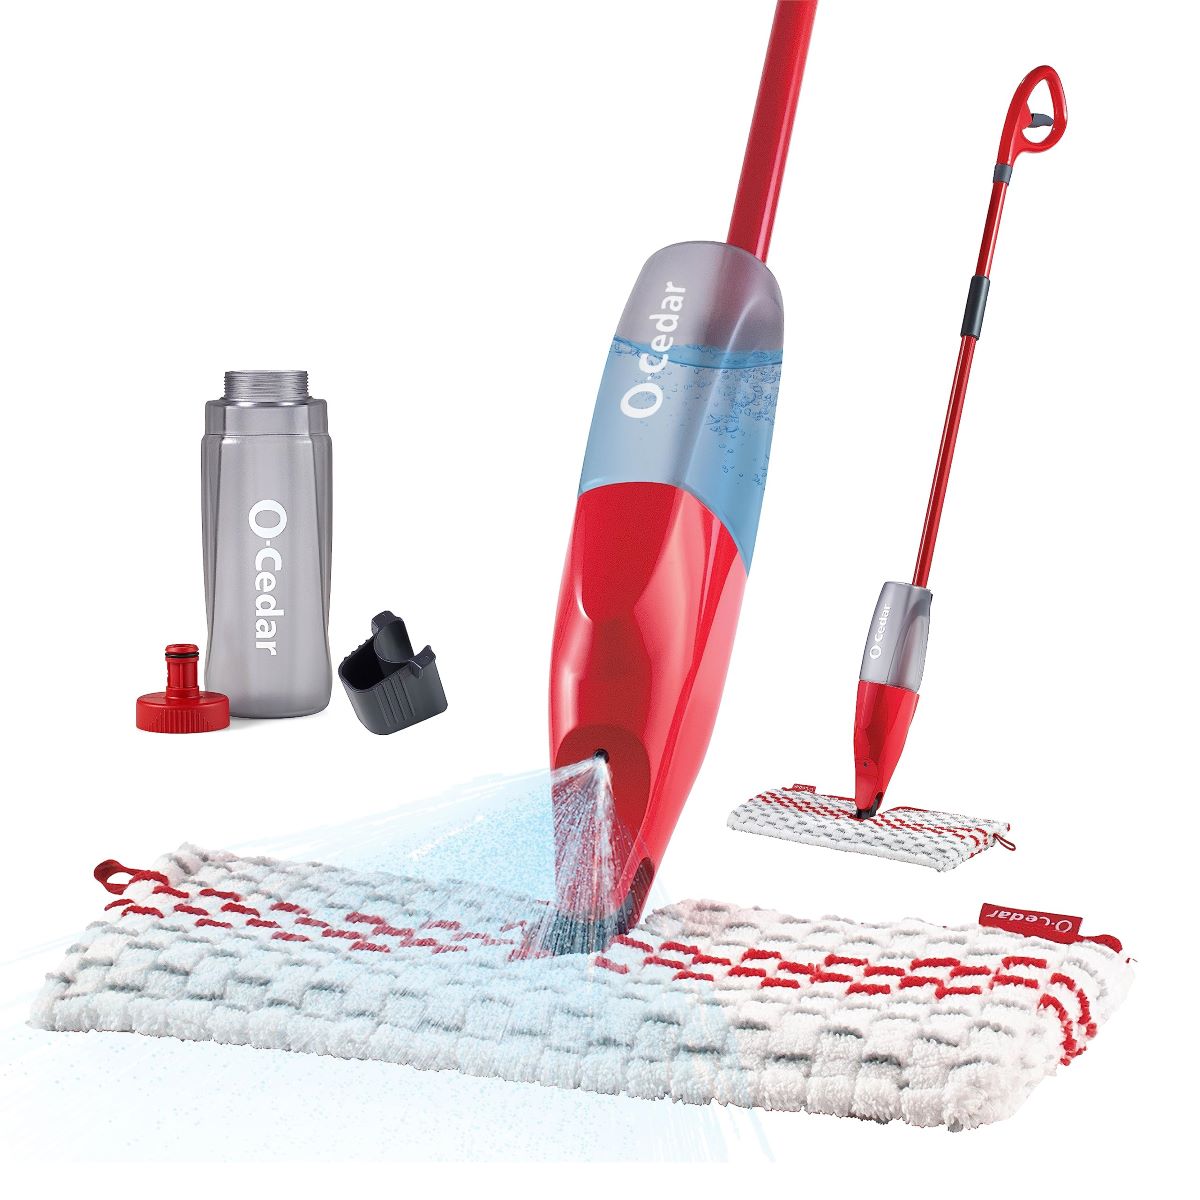
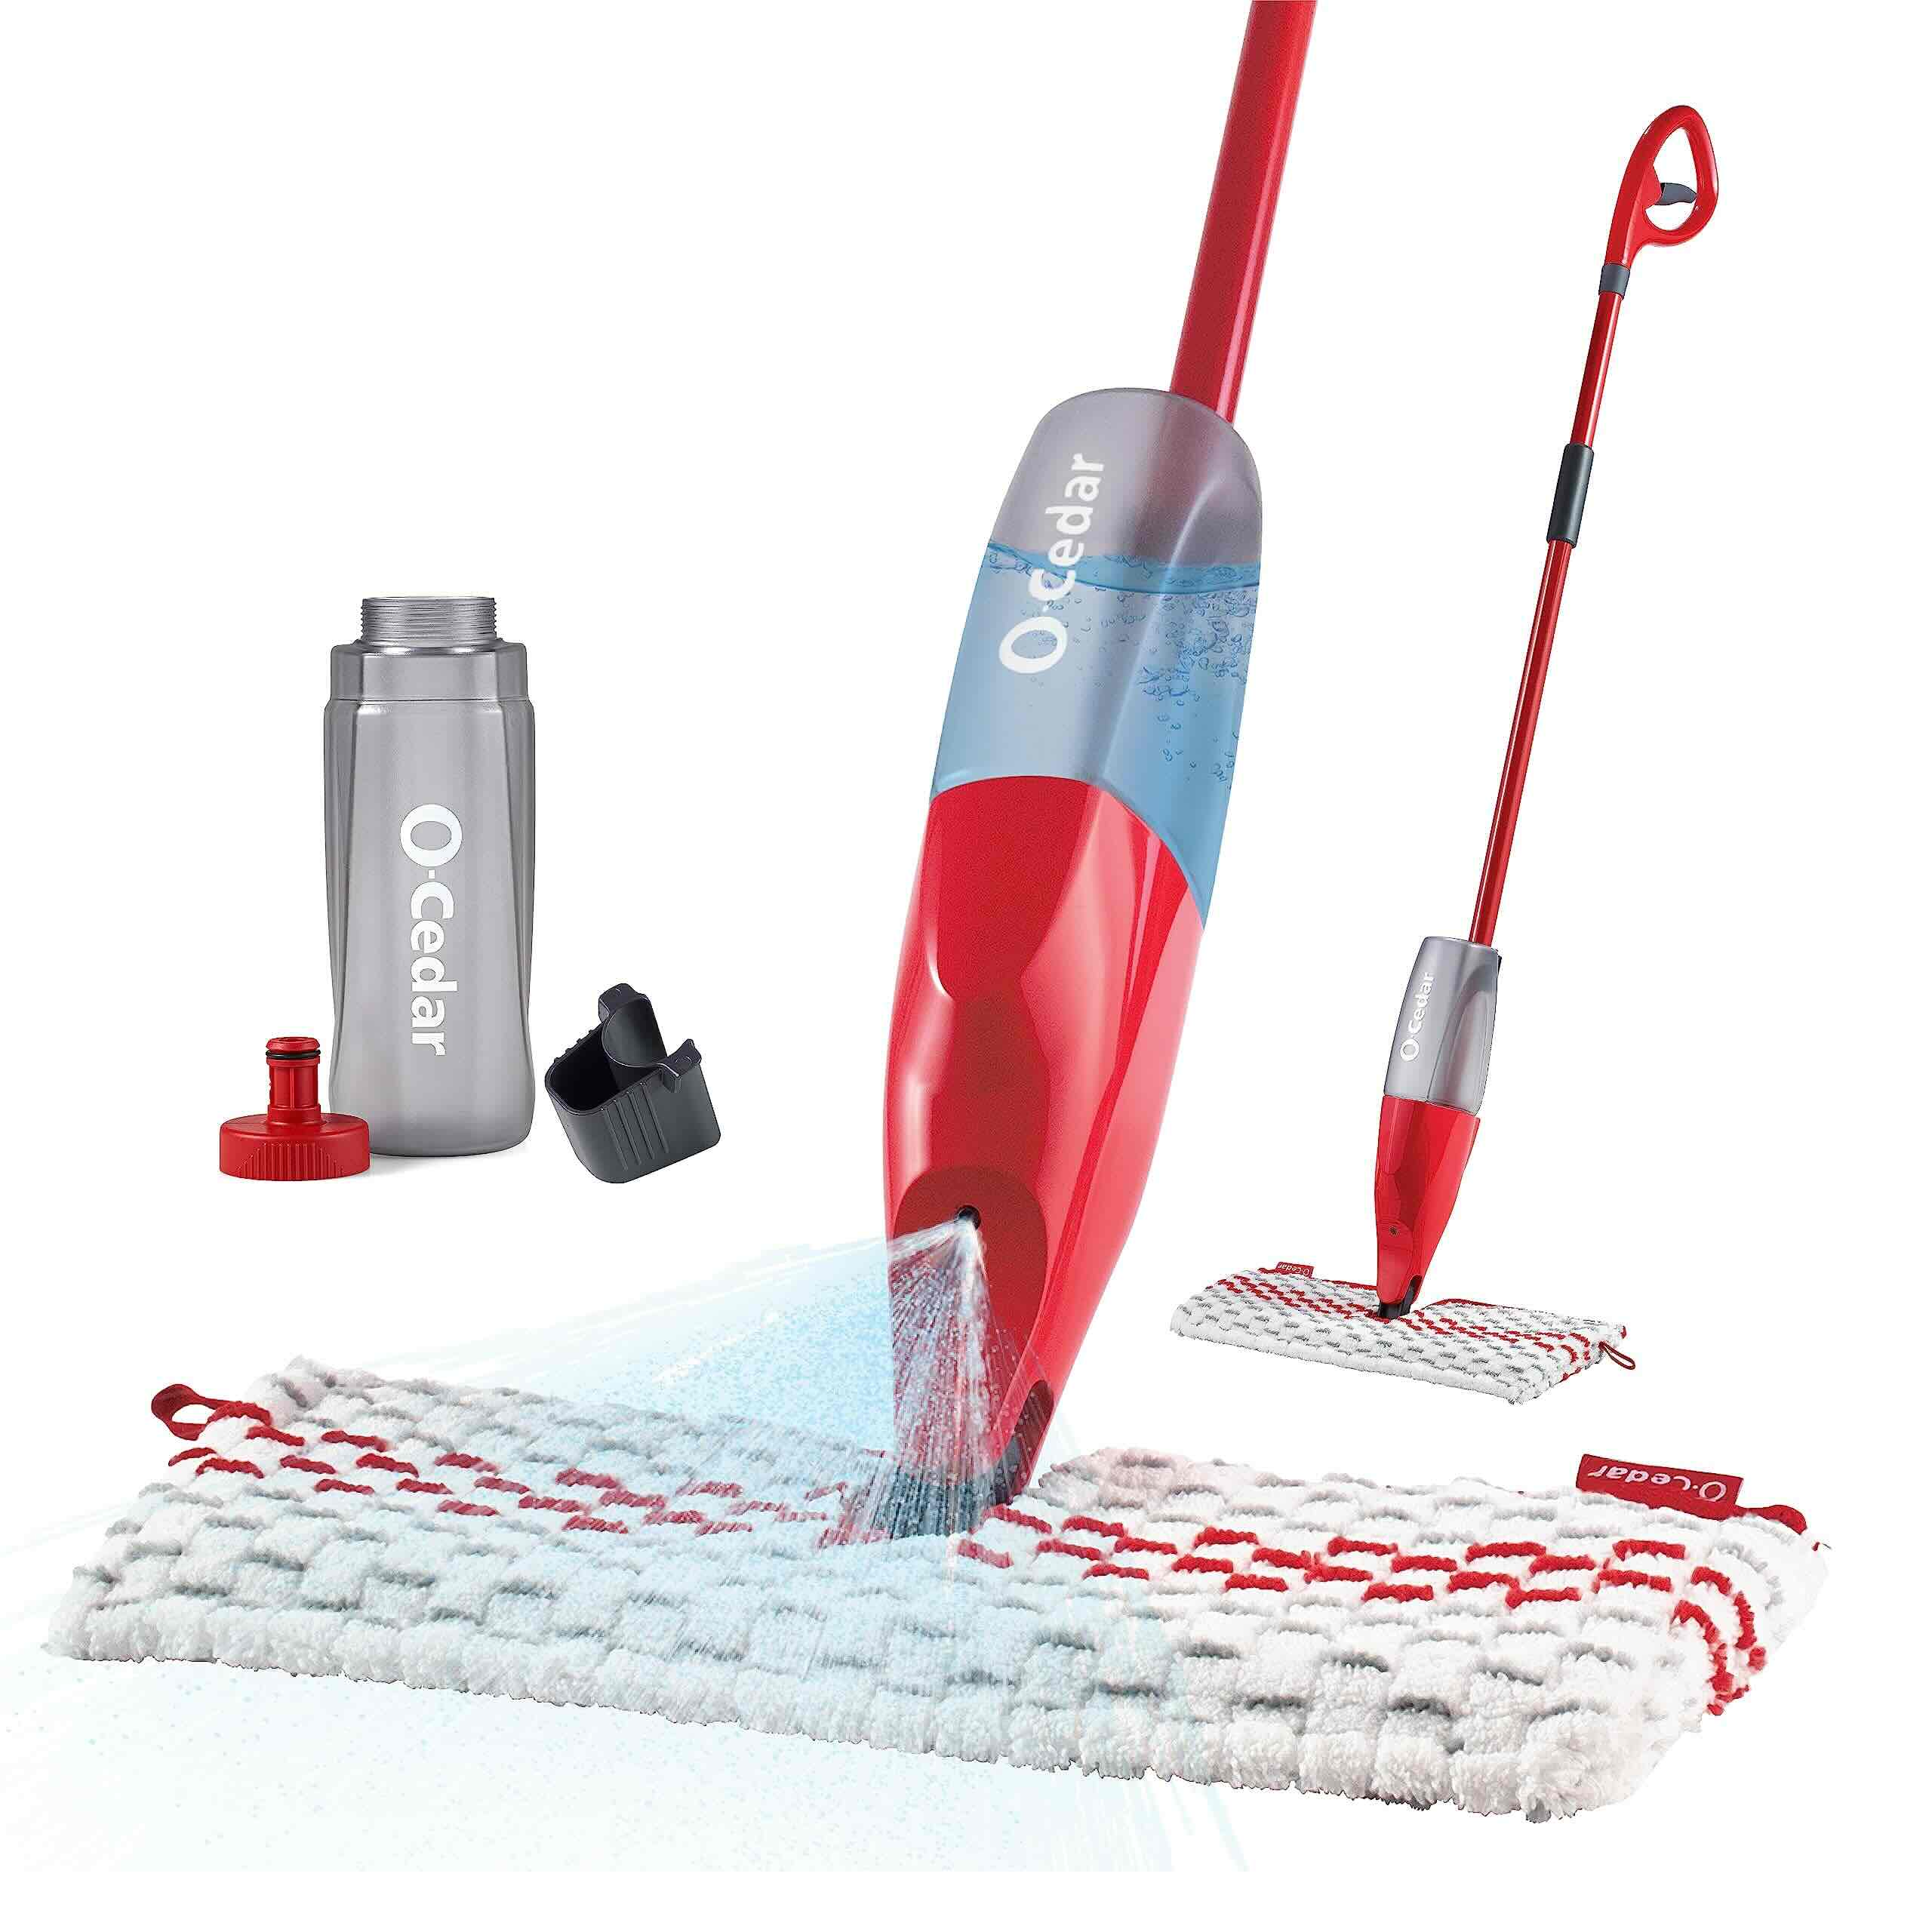
- Depending on the specific model of the O-Cedar mop you have, you may need to attach additional features, such as a wringing mechanism or a spray function. Follow the manufacturer’s instructions to seamlessly integrate these components into the mop assembly.
- Once all the components are properly connected, give the assembled mop a gentle shake to confirm that everything is securely in place. This simple step can prevent any unexpected disassembly during the cleaning process.
With the O-Cedar mop fully assembled, you’re now ready to move on to the next crucial step: preparing the cleaning solution. By ensuring that your mop is properly assembled, you set the stage for a smooth and effective mopping experience, allowing you to focus on achieving pristine floors with ease.
Preparing the Cleaning Solution
With the O-Cedar mop assembled and ready for action, the next vital step in the cleaning process is preparing the ideal cleaning solution. The right cleaning solution can enhance the effectiveness of the O-Cedar mop, ensuring that it efficiently tackles dirt, grime, and spills on your floors.
Here’s a comprehensive guide to preparing a suitable cleaning solution for use with your O-Cedar mop:
- Choose the Right Cleaning Agent: Depending on the type of flooring you have, select a cleaning agent that is compatible with the surface. For hardwood floors, consider a pH-neutral hardwood floor cleaner, while for tile or linoleum, a mild multi-surface cleaner may be suitable.
- Dilute the Cleaner: Follow the manufacturer’s instructions to dilute the cleaning agent with water in a separate bucket. Ensure that you achieve the recommended dilution ratio to maintain the cleaning solution’s effectiveness without leaving behind any residue.
- Consider Adding Fragrance (Optional): If desired, you can add a few drops of essential oils or a scented floor cleaner to the solution for a pleasant fragrance during and after mopping. This step is entirely optional and can be adjusted based on personal preference.
- Mix Thoroughly: Use a stirring implement to mix the cleaning solution thoroughly, ensuring that the cleaning agent and water are fully combined. This step guarantees a uniform solution that can deliver consistent cleaning results.
By following these steps, you can prepare a customized cleaning solution that aligns with the specific needs of your floors and enhances the O-Cedar mop’s cleaning performance. With the cleaning solution ready, you’re now equipped to move on to the exciting phase of mopping your floors to a pristine finish.
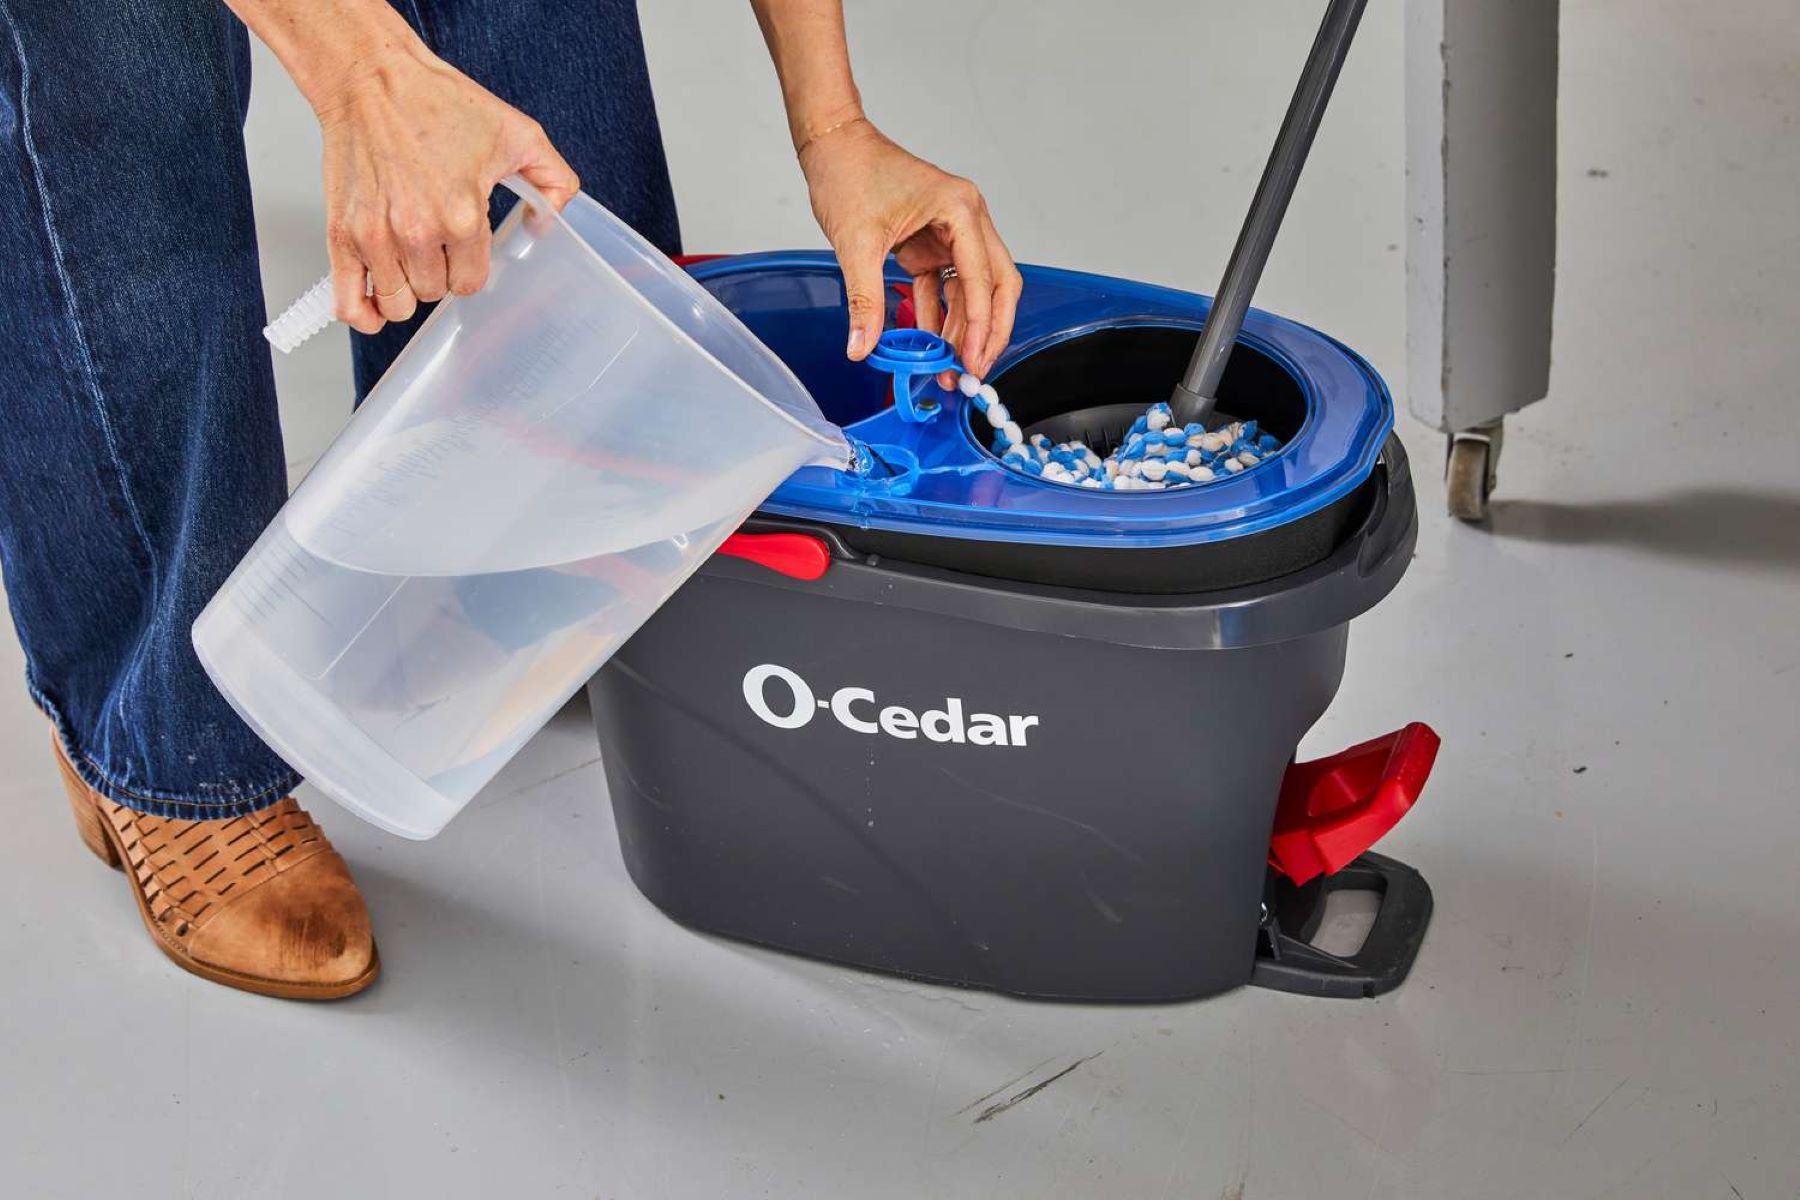
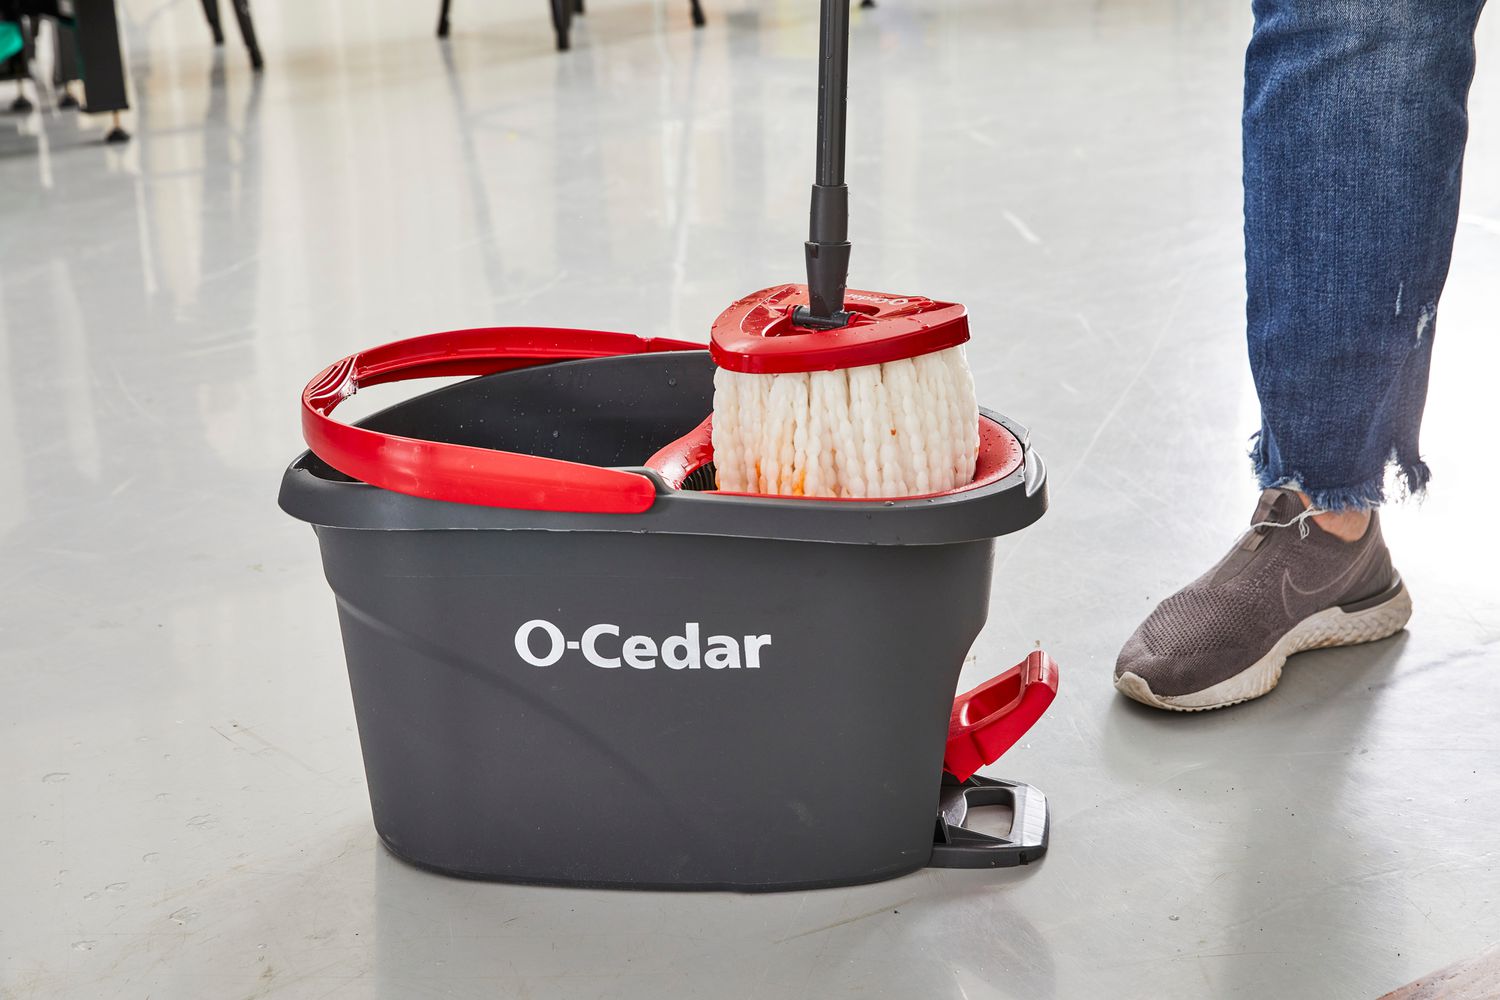
To use an O-Cedar mop, first fill a bucket with water and add your preferred cleaning solution. Then, dip the mop into the water, wring out excess liquid, and start mopping in a back-and-forth motion. Remember to rinse and wring out the mop as needed to avoid spreading dirt.
Mopping the Floor
Now that the O-Cedar mop is assembled and the cleaning solution is prepared, it’s time to embark on the transformative process of mopping your floors. This pivotal step allows you to harness the full potential of the O-Cedar mop, effectively removing dirt, stains, and spills to reveal gleaming, spotless surfaces.
Here’s a step-by-step guide to mopping your floors with the O-Cedar mop:
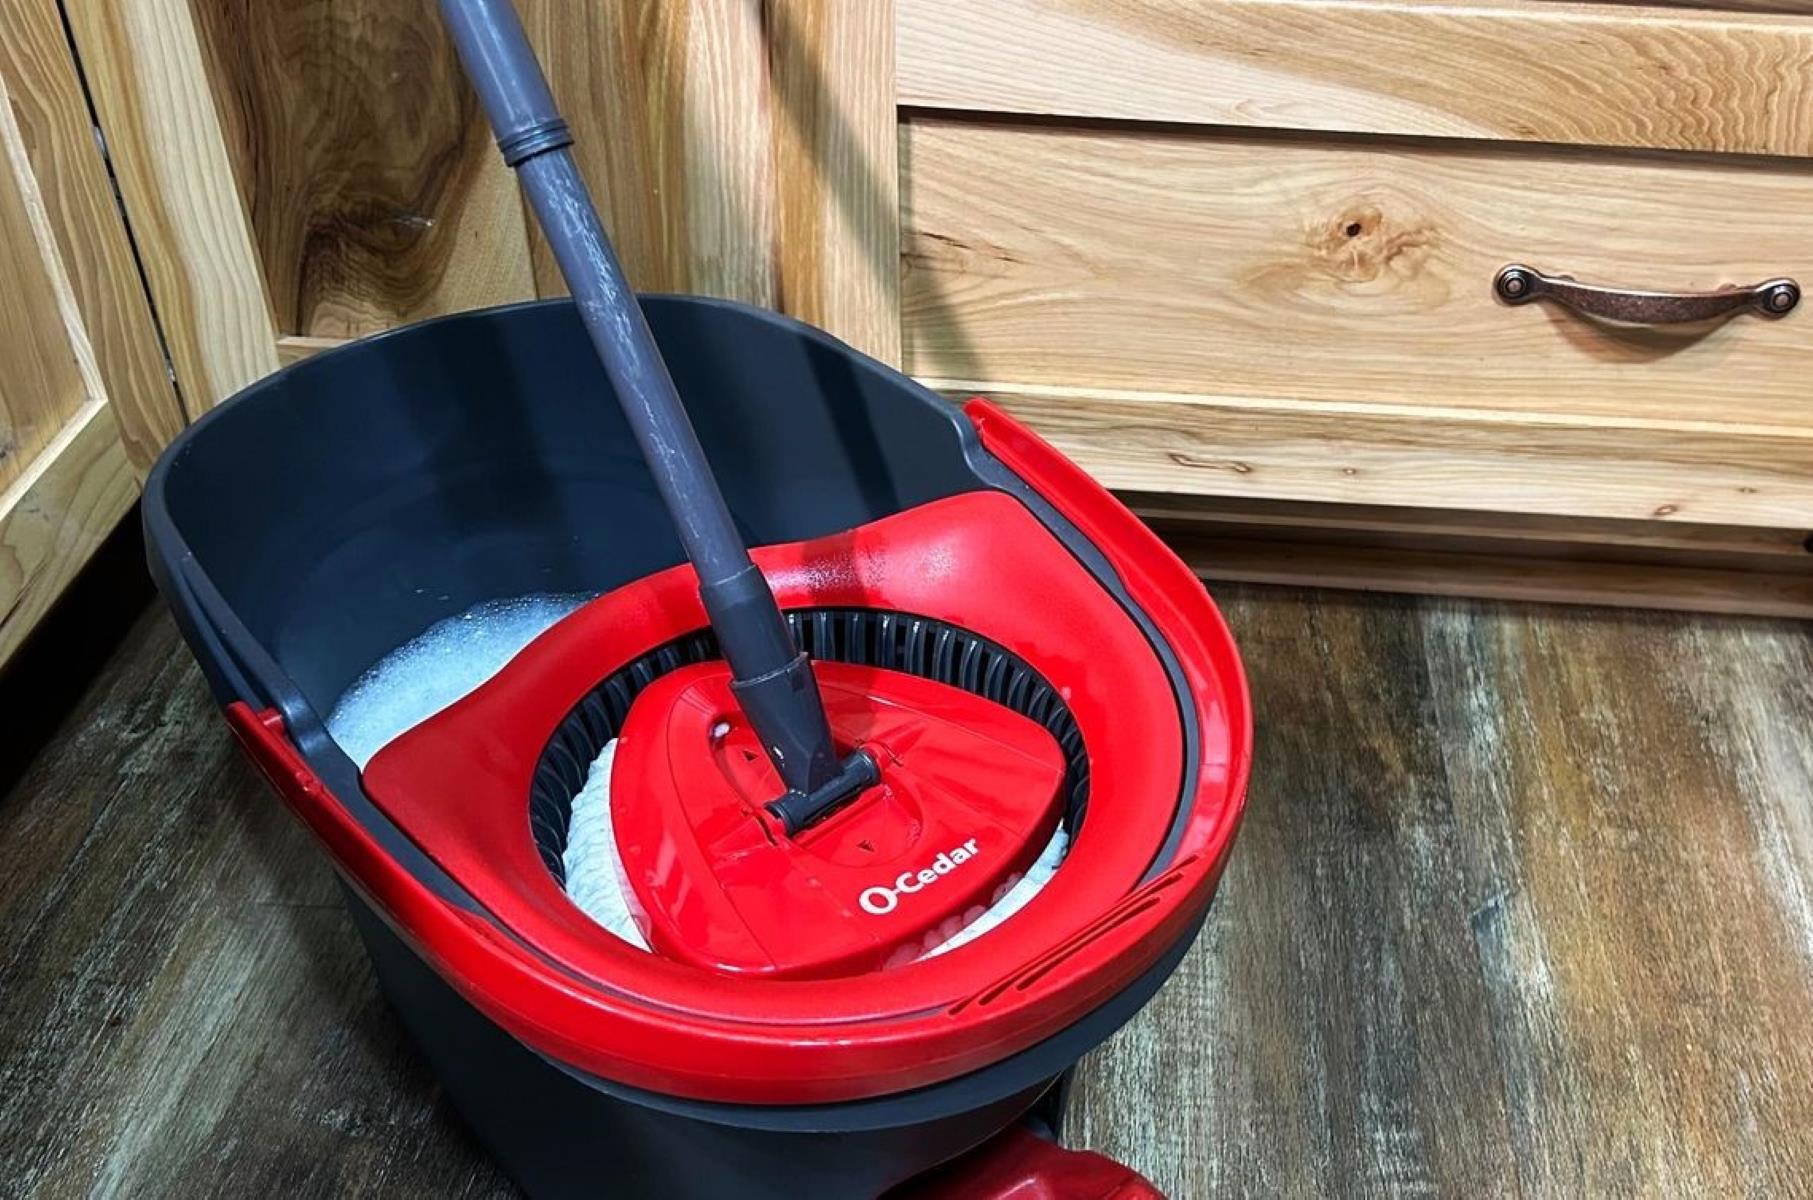
- Prepare the Mop: Immerse the mop head in the prepared cleaning solution, ensuring that it is adequately saturated without excess dripping. The mop should be damp but not overly wet to prevent leaving behind excessive moisture on the floor.
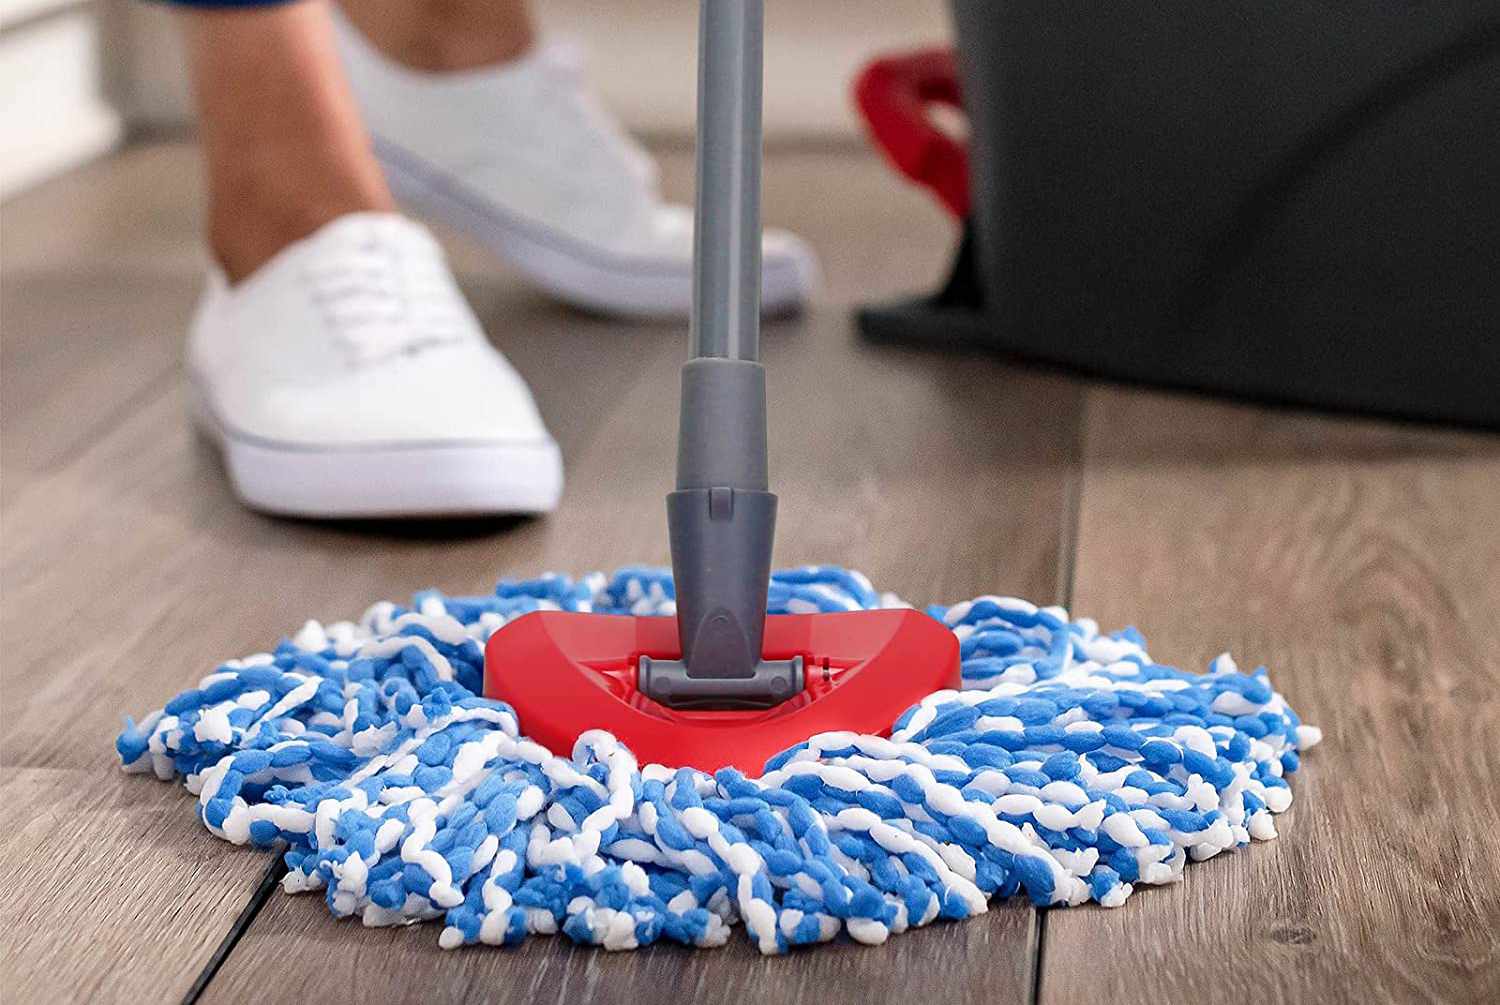
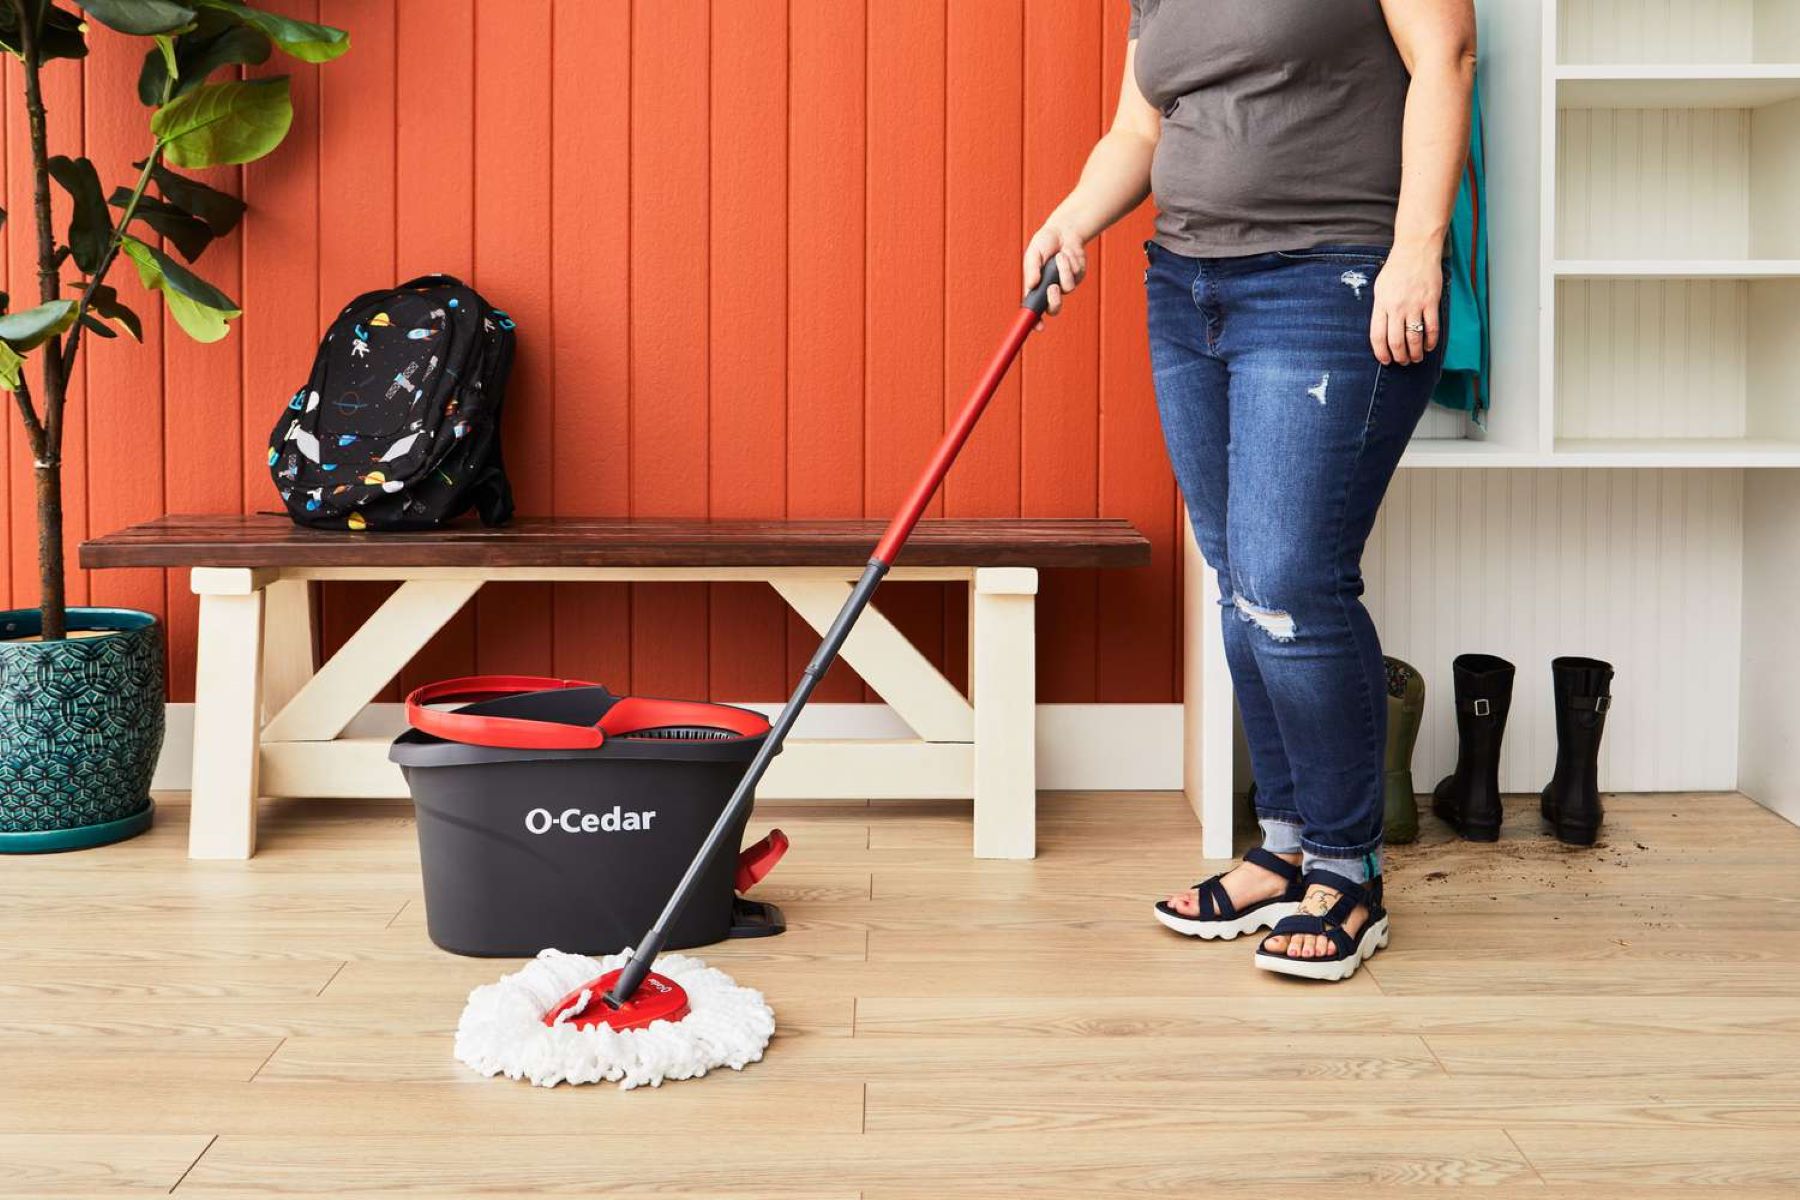
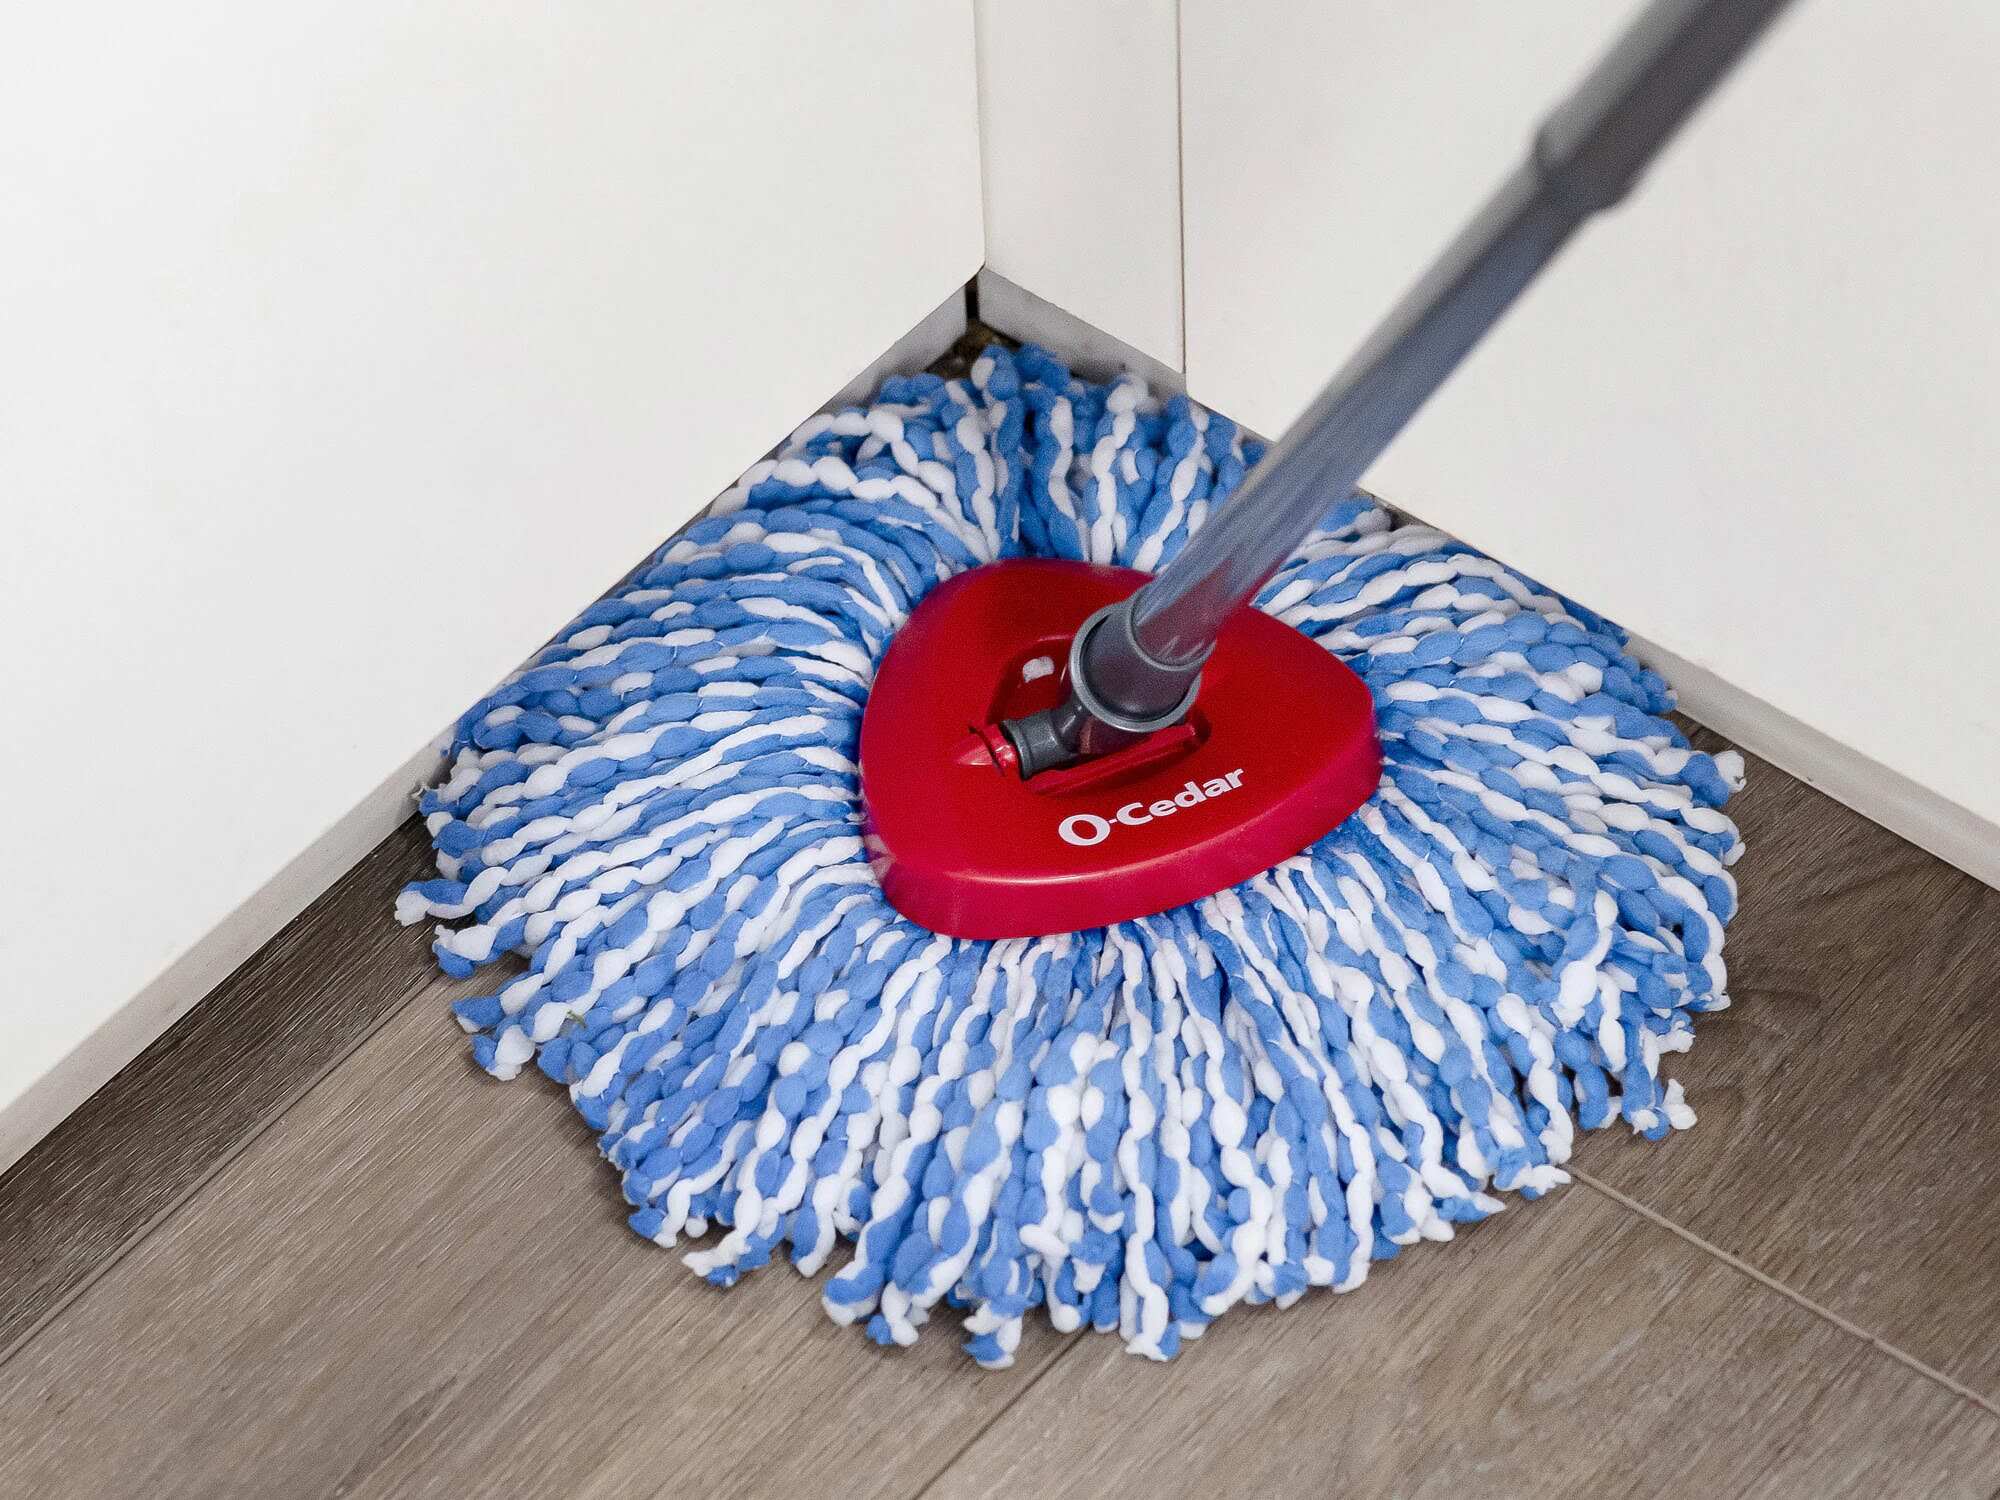
- Begin Mopping: Starting from one corner of the room, gently guide the mop across the floor in smooth, overlapping strokes. Maintain a consistent rhythm to cover the entire surface methodically, paying attention to any particularly stubborn spots or stains that may require additional attention.
- Focus on Problem Areas: For areas with noticeable grime or spills, exert slightly more pressure while mopping to effectively lift and remove the stubborn residue. The O-Cedar mop’s efficient design facilitates targeted cleaning, allowing you to address specific areas with precision.
- Regular Rinse and Refresh: Periodically return the mop to the cleaning solution, wring out any excess liquid, and continue mopping. This practice ensures that the mop remains effective throughout the cleaning process, preventing the spread of dirt and maintaining consistent cleaning performance.
- Allow the Floor to Air-Dry: Once you’ve completed mopping the entire floor, allow the freshly cleaned surface to air-dry naturally. This step enables the cleaning solution to evaporate, leaving behind a pristine, residue-free finish.
By following these steps, you can harness the O-Cedar mop’s capabilities to achieve impeccably clean floors with minimal effort. The innovative design and user-friendly operation of the O-Cedar mop make the mopping process a seamless and satisfying experience, allowing you to revel in the transformative impact of a freshly mopped floor.
Cleaning and Maintaining the O-Cedar Mop
Ensuring the cleanliness and longevity of your O-Cedar mop is essential for consistently achieving outstanding cleaning results. By implementing proper cleaning and maintenance practices, you can preserve the functionality and effectiveness of the mop, prolonging its service life and optimizing its performance.
Here’s a comprehensive guide to cleaning and maintaining your O-Cedar mop:
- Rinse the Mop Head: After each use, thoroughly rinse the mop head under running water to remove any residual cleaning solution and dirt. Gently squeeze the mop head to expel excess water and ensure thorough rinsing.
- Sanitize the Mop Head: Periodically sanitize the mop head by soaking it in a mixture of water and a mild disinfectant solution. This step helps eliminate any lingering bacteria or odors, promoting a hygienic cleaning process.
- Air-Dry the Mop: Allow the mop head to air-dry completely in a well-ventilated area to prevent the development of mold or mildew. Hanging the mop in a position that allows air circulation facilitates efficient drying.
- Clean the Mop Handle: Wipe down the mop handle with a damp cloth to remove any accumulated grime or residue. Regular cleaning of the handle maintains its appearance and ensures a comfortable grip during use.
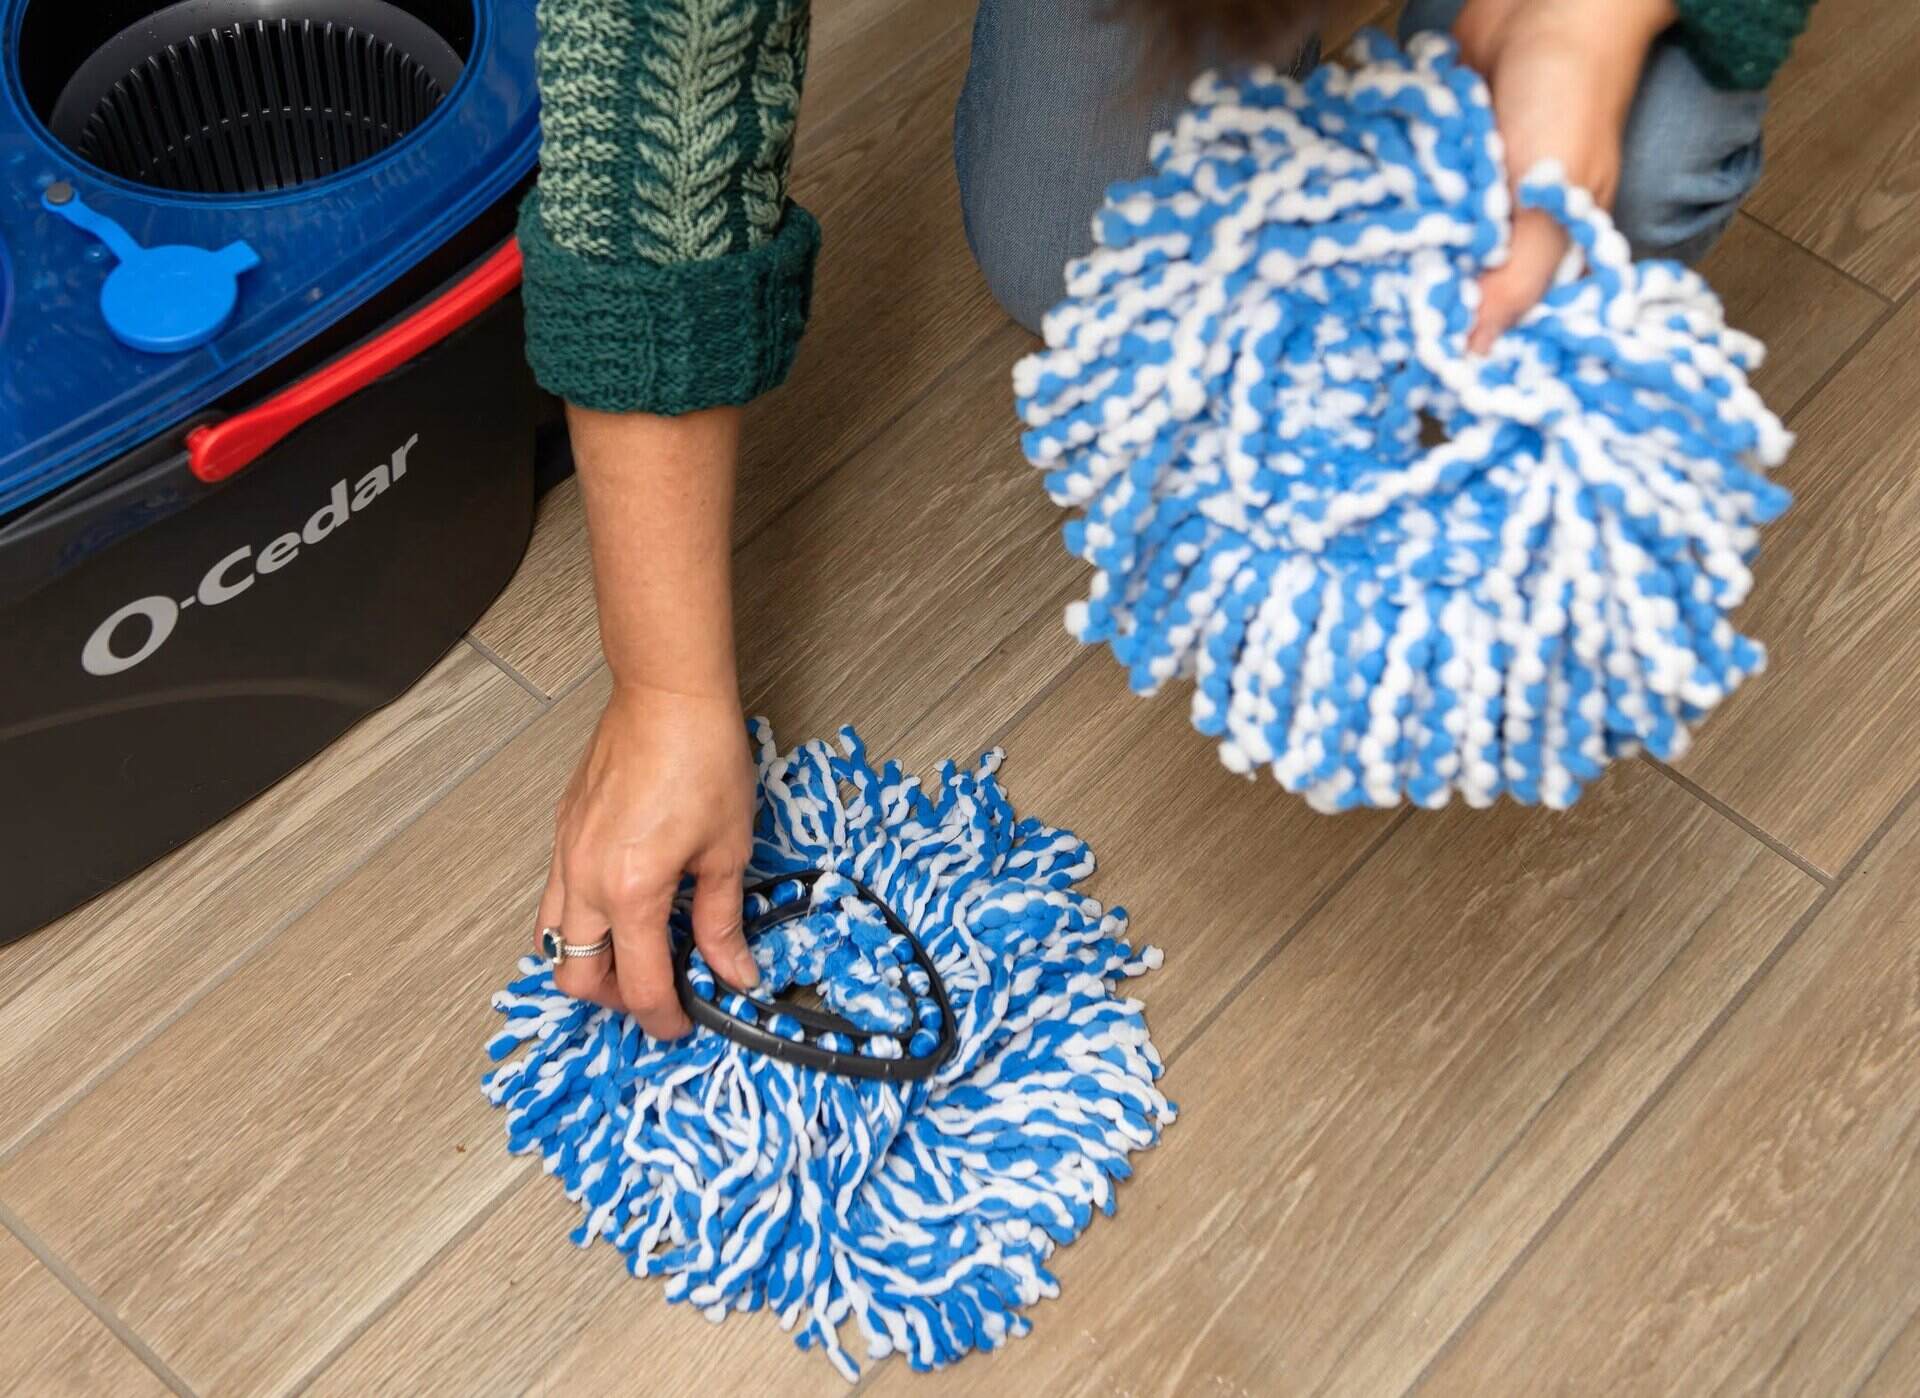
- Inspect for Wear and Tear: Periodically inspect the mop head and handle for signs of wear, such as fraying mop strands or damaged components. Replace any worn-out parts to uphold the mop’s cleaning efficiency.
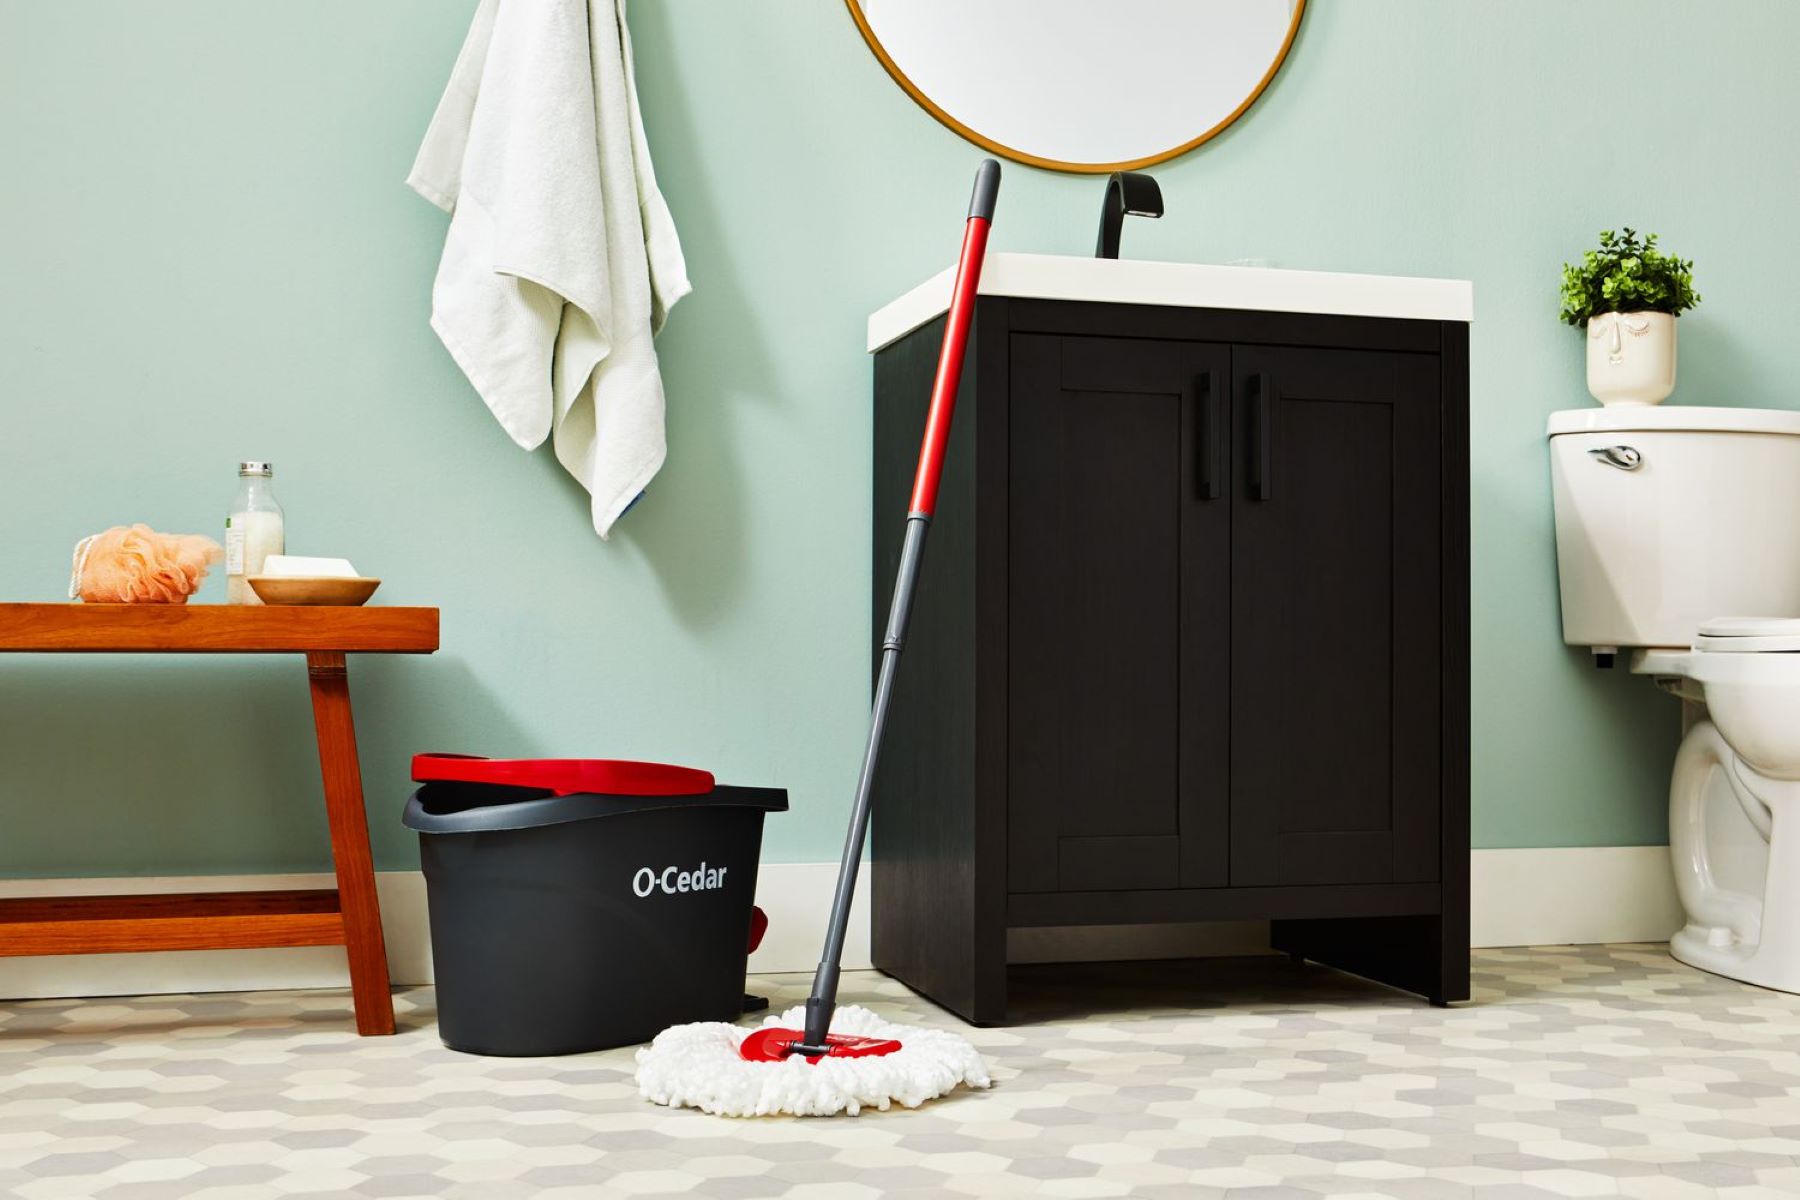
- Store the Mop Properly: When not in use, store the O-Cedar mop in a designated area away from direct sunlight and moisture. Proper storage safeguards the mop from environmental damage and preserves its condition for future use.
By incorporating these cleaning and maintenance practices into your routine, you can uphold the O-Cedar mop’s functionality and hygiene, ensuring that it remains a dependable asset for maintaining pristine floors. Regular care and attention to the mop’s condition contribute to a seamless and effective cleaning experience each time you utilize this exceptional cleaning tool.
Read more: How To Use The O-Cedar Mop Bucket
Conclusion
Congratulations! You’ve now mastered the art of using the O-Cedar mop to achieve immaculate floors with unparalleled ease and efficiency. By following the step-by-step guidelines outlined in this comprehensive guide, you’ve gained valuable insights into assembling the O-Cedar mop, preparing the optimal cleaning solution, executing effective mopping techniques, and maintaining the mop for long-term performance.
With its user-friendly design and exceptional cleaning capabilities, the O-Cedar mop has become an indispensable ally in your quest for a pristine living environment. Whether you’re tackling routine maintenance or addressing unexpected spills, the O-Cedar mop empowers you to effortlessly restore the luster of your floors, leaving them impeccably clean and inviting.
As you continue to integrate the O-Cedar mop into your cleaning routine, remember to prioritize its care and maintenance, ensuring that it remains a reliable and efficient tool for your household cleaning needs. By adhering to the recommended cleaning and maintenance practices, you can safeguard the longevity and performance of the O-Cedar mop, guaranteeing consistent cleaning excellence with every use.
Armed with the knowledge and expertise gleaned from this guide, you’re well-equipped to embark on a seamless and rewarding cleaning journey with the O-Cedar mop as your trusted companion. Embrace the convenience, effectiveness, and sheer satisfaction of effortlessly transforming your floors into pristine, welcoming spaces with the remarkable O-Cedar mop by your side.
So, go ahead and unleash the full potential of the O-Cedar mop, reveling in the joy of spotless floors and the effortless elegance it brings to your home. With the O-Cedar mop, cleaning becomes not just a chore, but a gratifying and transformative experience that elevates the ambiance of your living space.
Frequently Asked Questions about How To Use An O-Cedar Mop
Was this page helpful?
At Storables.com, we guarantee accurate and reliable information. Our content, validated by Expert Board Contributors, is crafted following stringent Editorial Policies. We're committed to providing you with well-researched, expert-backed insights for all your informational needs.


0 thoughts on “How To Use An O-Cedar Mop”