Home>Home Appliances>Cleaning Appliances>How To Use Wet Vacuum Cleaner

Cleaning Appliances
How To Use Wet Vacuum Cleaner
Modified: August 16, 2024
Learn how to effectively use a wet vacuum cleaner for cleaning appliances and surfaces. Discover tips and techniques for efficient cleaning. Ideal for home and commercial use.
(Many of the links in this article redirect to a specific reviewed product. Your purchase of these products through affiliate links helps to generate commission for Storables.com, at no extra cost. Learn more)
Introduction
Welcome to the world of wet vacuum cleaners, where cleaning up spills, messes, and liquid messes becomes a breeze. Whether you're dealing with a flooded basement, a coffee spill on the carpet, or a wet mess in the garage, a wet vacuum cleaner is a versatile and essential tool for keeping your home clean and dry.
In this comprehensive guide, we'll explore everything you need to know about using a wet vacuum cleaner effectively. From understanding the mechanics of a wet vacuum cleaner to preparing it for use, and from the step-by-step process of using it to the essential cleaning and maintenance tips, this guide will equip you with the knowledge and skills to make the most of this powerful cleaning appliance.
So, if you're ready to say goodbye to the hassle of dealing with wet messes and hello to a more efficient and effective cleaning routine, let's dive into the world of wet vacuum cleaners and discover how to use them like a pro.
Key Takeaways:
- Master the art of using a wet vacuum cleaner to effortlessly tackle liquid spills and messes, ensuring a clean and dry environment with minimal effort and maximum efficiency.
- Keep your wet vacuum cleaner in top shape by following essential cleaning and maintenance practices, safeguarding its functionality and durability for reliable long-term use.
Read more: What Is A Wet And Dry Vacuum Cleaner
Understanding the Wet Vacuum Cleaner
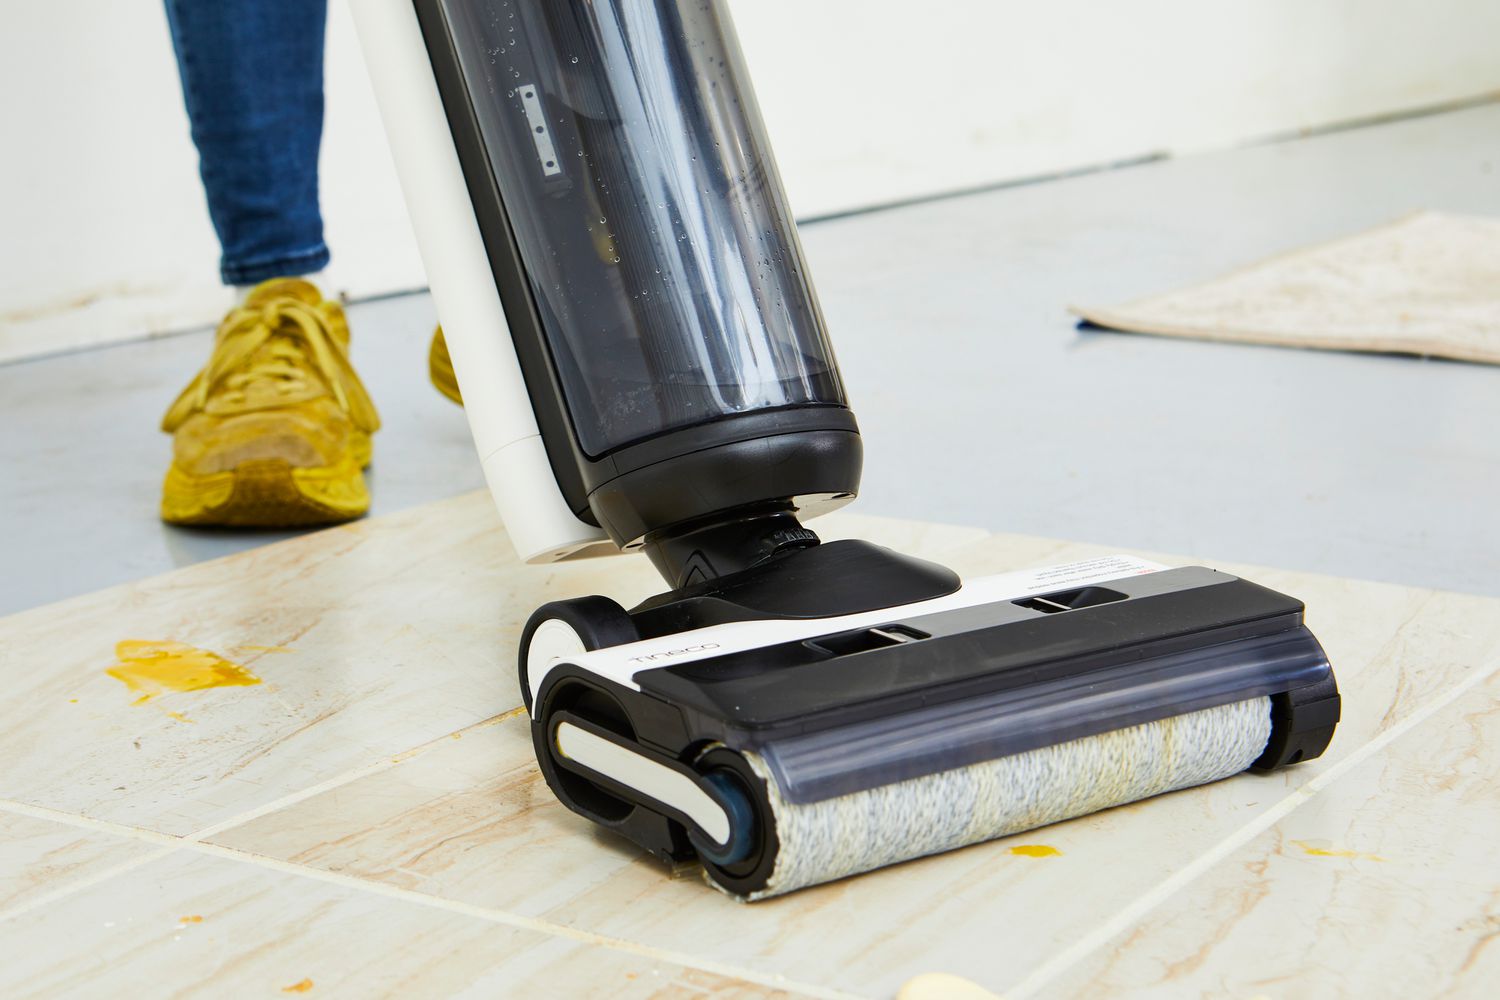
Before delving into the practical aspects of using a wet vacuum cleaner, it’s essential to understand its fundamental features and functionality. Unlike traditional dry vacuum cleaners, wet vacuums are specifically designed to handle liquid spills and wet messes. They are equipped with durable, waterproof components that allow them to suction up liquids without the risk of damage.
One of the key components of a wet vacuum cleaner is the motor, which is sealed to prevent water from entering and causing damage. Additionally, the collection tank is designed to hold liquid without leaking, and it typically features a drain plug for easy disposal of the collected liquid.
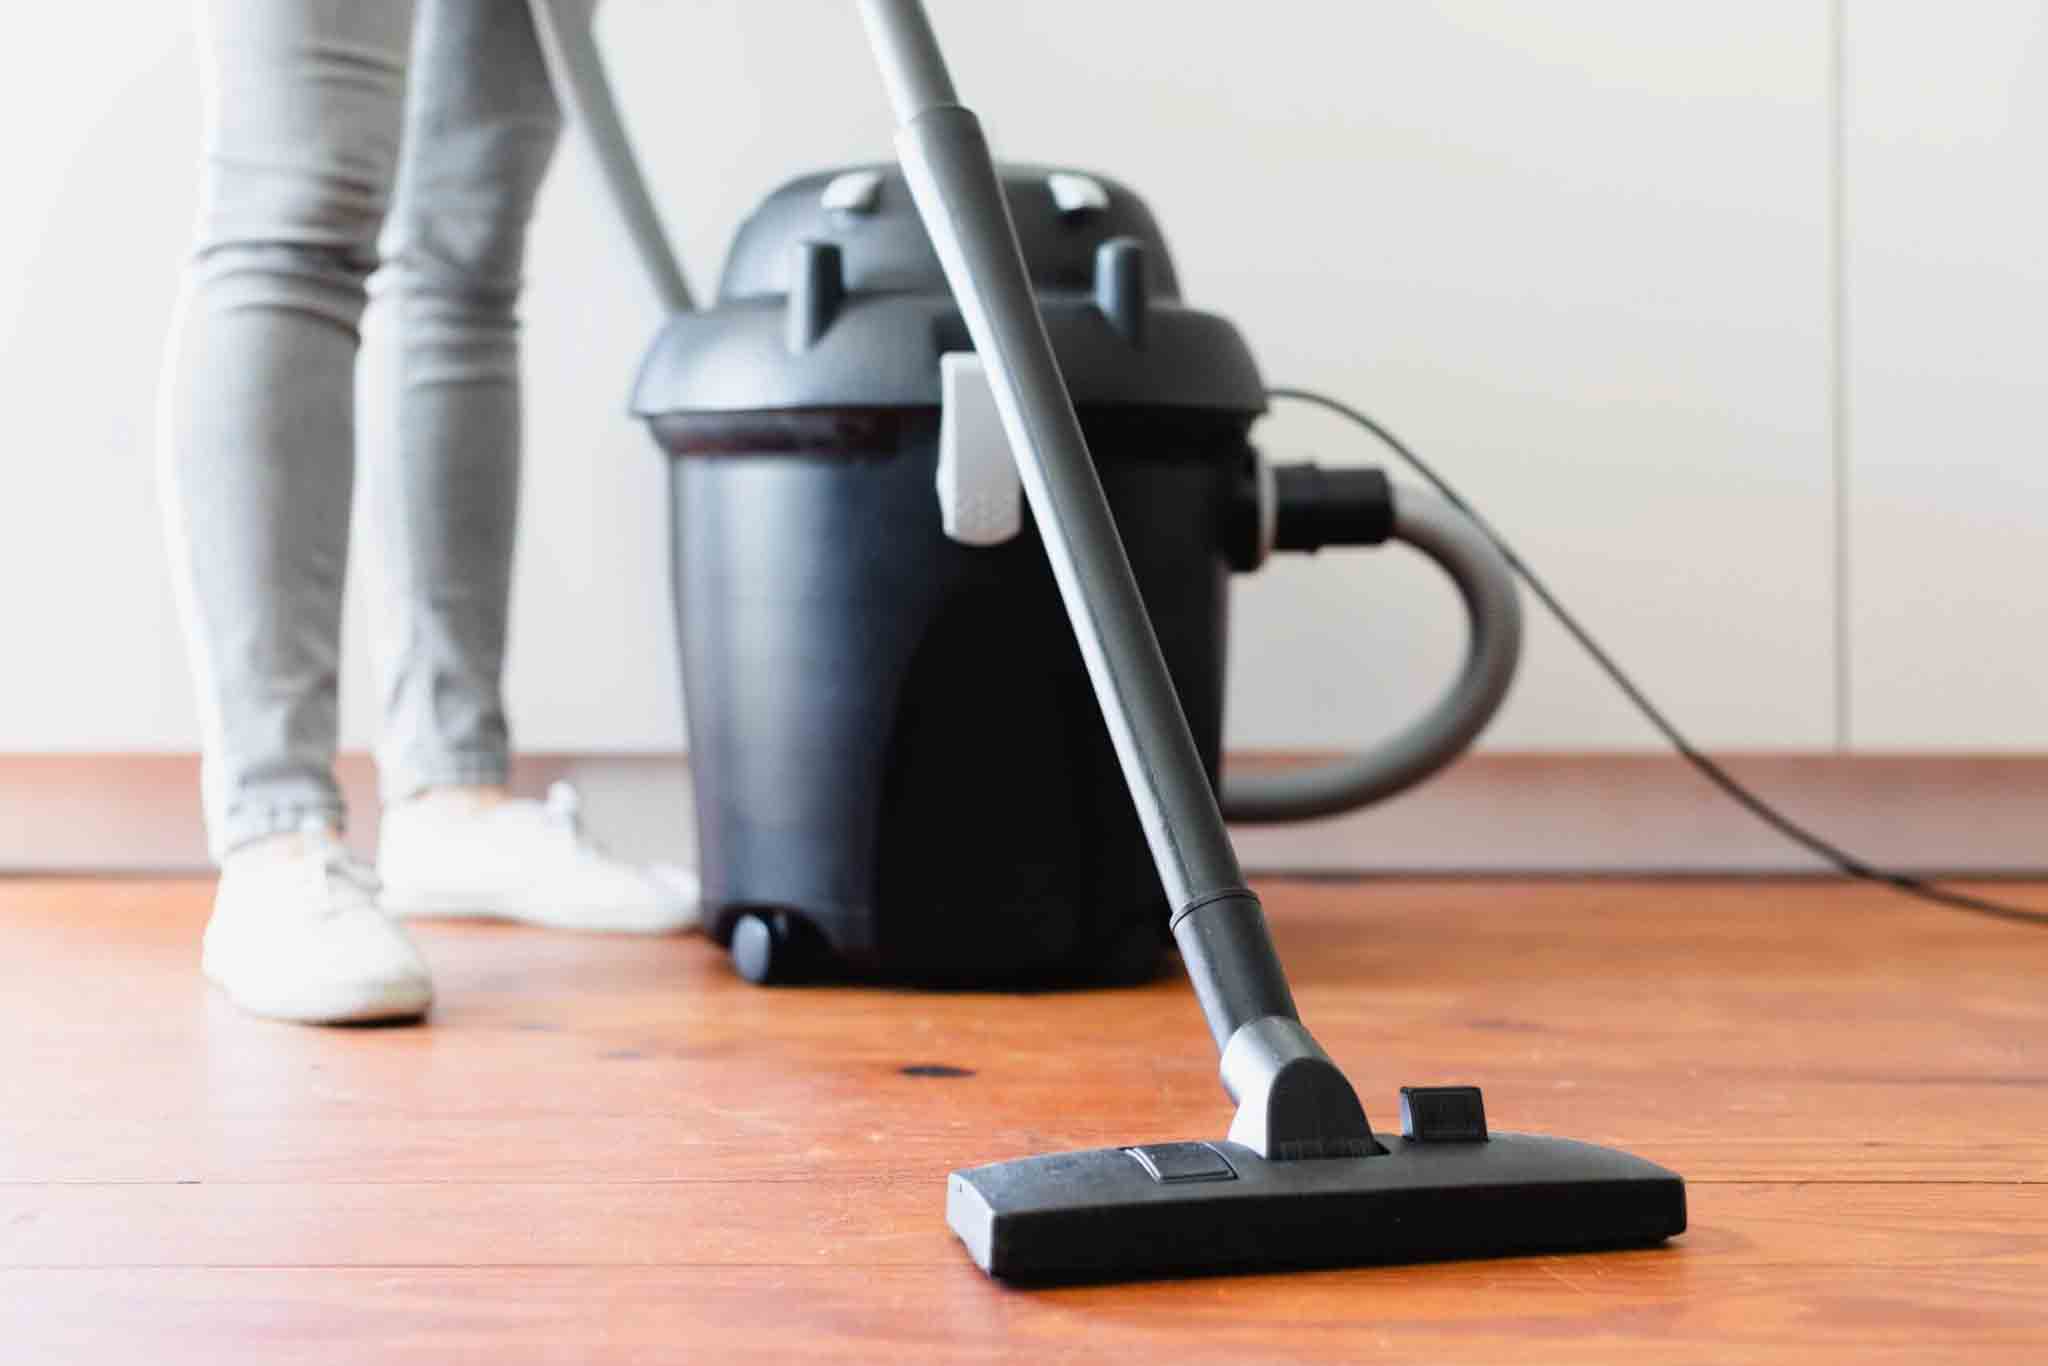
Furthermore, wet vacuum cleaners come with specialized attachments and accessories that facilitate efficient liquid suction. These may include squeegee attachments for smooth surfaces, upholstery tools for fabric, and extension wands for reaching high or confined areas.
Understanding the capabilities and limitations of a wet vacuum cleaner is crucial for maximizing its effectiveness. While these appliances excel at removing liquid spills and wet debris, they are not suitable for all types of liquids. For instance, corrosive chemicals, flammable liquids, and large volumes of water may pose risks and should be handled with caution or avoided altogether.
By familiarizing yourself with the unique features and considerations of wet vacuum cleaners, you can approach their use with confidence and ensure safe and efficient cleaning outcomes.
Preparing the Wet Vacuum Cleaner
Before embarking on any cleaning task with a wet vacuum cleaner, it’s essential to ensure that the appliance is properly prepared for use. This includes several key steps to optimize its performance and safety.
1. Selecting the Right Attachment: Depending on the nature of the wet mess, choose the appropriate attachment for the task at hand. Squeegee attachments are ideal for smooth surfaces, while upholstery tools are suitable for fabric and carpeted areas.
2. Inspecting and Cleaning Attachments: Before attaching any accessories, inspect them for any debris or blockages that could hinder suction. Clean the attachments as needed to ensure unimpeded performance.
3. Checking the Collection Tank: Verify that the collection tank is clean and free of debris from previous uses. Empty and rinse the tank if necessary, and ensure that the drain plug is securely in place to prevent leaks.
4. Verifying Filter Condition: If the wet vacuum cleaner is equipped with a filter, check its condition and cleanliness. A clean filter is essential for optimal suction and overall performance. If the filter is dirty or clogged, clean or replace it before use.
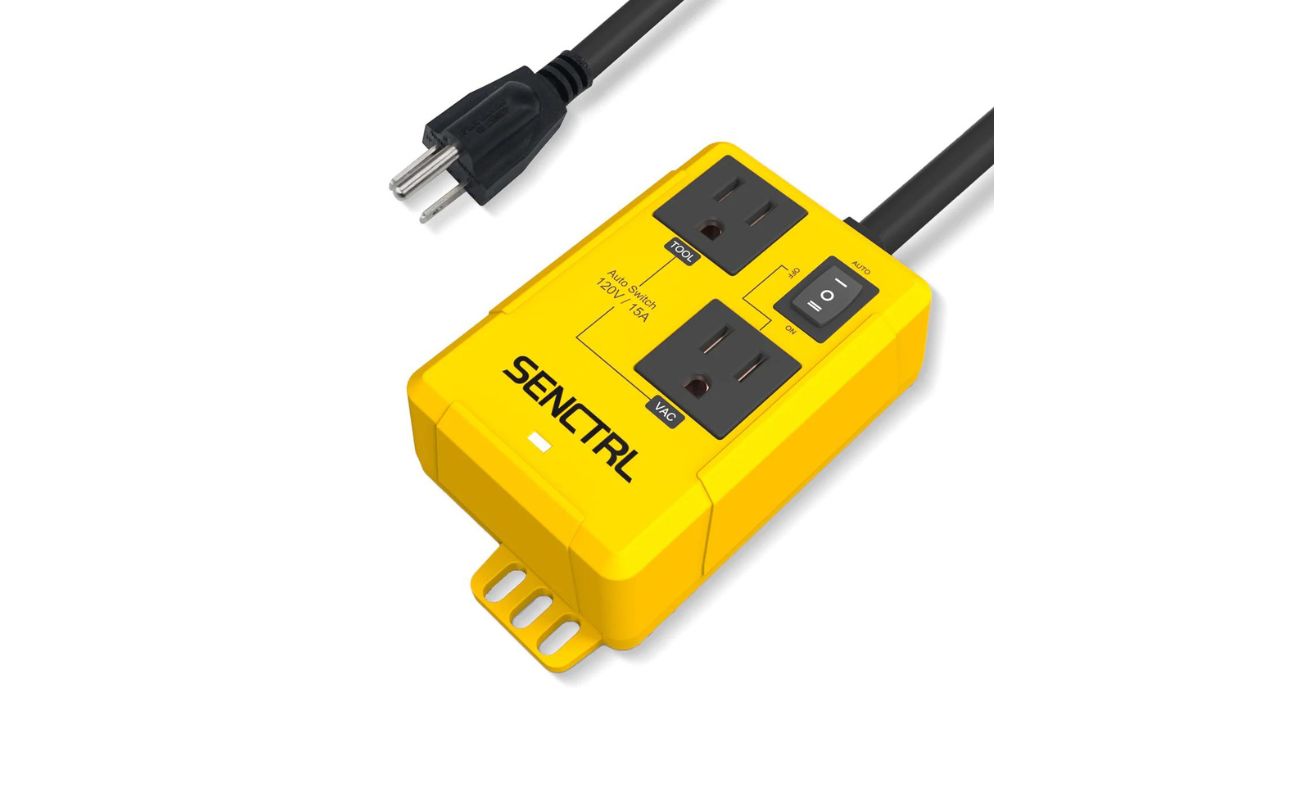
5. Securing Proper Power Source: Ensure that the wet vacuum cleaner is connected to a suitable power outlet and that the power cord is free from damage. Additionally, confirm that the power switch is in the off position before plugging in the appliance.
6. Positioning the Wet Vacuum Cleaner: Place the appliance near the area to be cleaned, taking into account the reach of the power cord and any necessary adjustments to the attachment or hose length.
By meticulously preparing the wet vacuum cleaner for the specific cleaning task, you can enhance its efficiency and prolong its lifespan. These preparatory steps contribute to a smoother and more effective cleaning process, ultimately yielding superior results.
When using a wet vacuum cleaner, make sure to empty the tank before using it for wet spills. This will prevent the dirty water from mixing with the clean water and keep the vacuum working effectively.
Using the Wet Vacuum Cleaner
Now that the wet vacuum cleaner is prepared for use, it’s time to put it to work effectively and efficiently. The following steps outline the process of using a wet vacuum cleaner to tackle liquid spills and wet messes:
1. Positioning the Appliance: Place the wet vacuum cleaner at a convenient distance from the soiled area, ensuring that the power cord and hose can reach the entire cleaning area without strain.
2. Attaching the Appropriate Accessory: Select and attach the suitable accessory for the specific cleaning task. Whether it’s a squeegee attachment for hard floors or an upholstery tool for fabric surfaces, the right accessory will optimize the cleaning process.
3. Powering On the Wet Vacuum Cleaner: Turn on the appliance using the designated power switch. Ensure that the power cord is positioned safely to prevent tripping hazards or entanglement during operation.
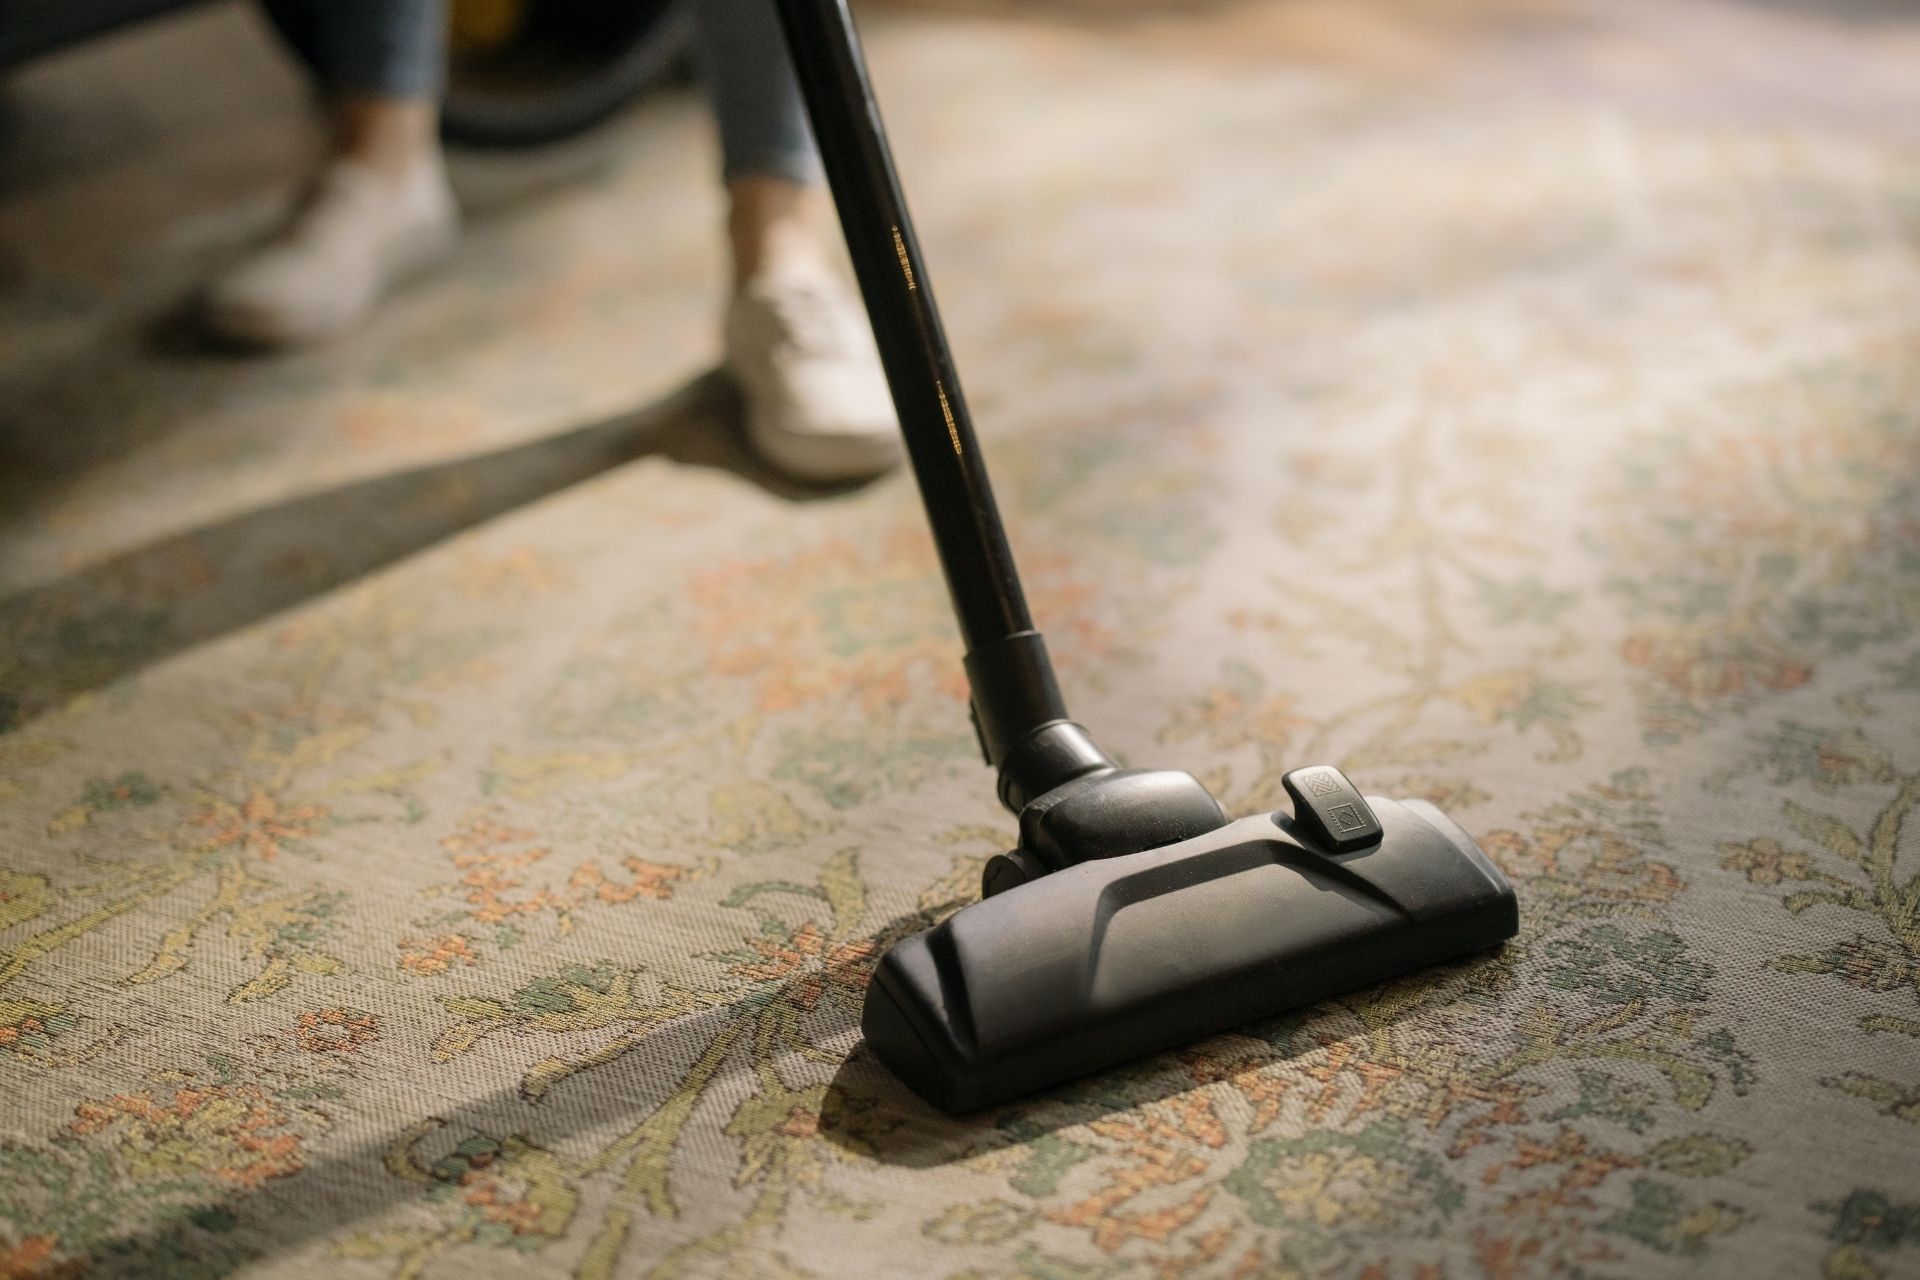
4. Suctioning the Liquid: Guide the attachment over the wet area, allowing the wet vacuum cleaner to efficiently suction up the liquid. Move the appliance in overlapping passes to ensure thorough extraction of the liquid from the surface.
5. Monitoring the Collection Tank: Keep an eye on the collection tank to gauge the amount of liquid being suctioned. Empty the tank as needed to prevent overfilling, which can compromise the appliance’s suction power and lead to spills.
6. Completing the Cleaning Process: Once the liquid is effectively removed, power off the wet vacuum cleaner and detach the accessory. Empty and rinse the collection tank, and clean the attachments before storing the appliance.
By following these steps, you can harness the full potential of a wet vacuum cleaner to swiftly and effectively address liquid spills and wet messes. This user-friendly process empowers you to maintain a clean and dry environment with minimal effort and maximum efficiency.
Cleaning and Maintenance
Proper cleaning and maintenance practices are integral to preserving the performance and longevity of a wet vacuum cleaner. By incorporating regular upkeep into your cleaning routine, you can ensure that the appliance remains in optimal condition and continues to deliver reliable results. Here are essential cleaning and maintenance guidelines to follow:
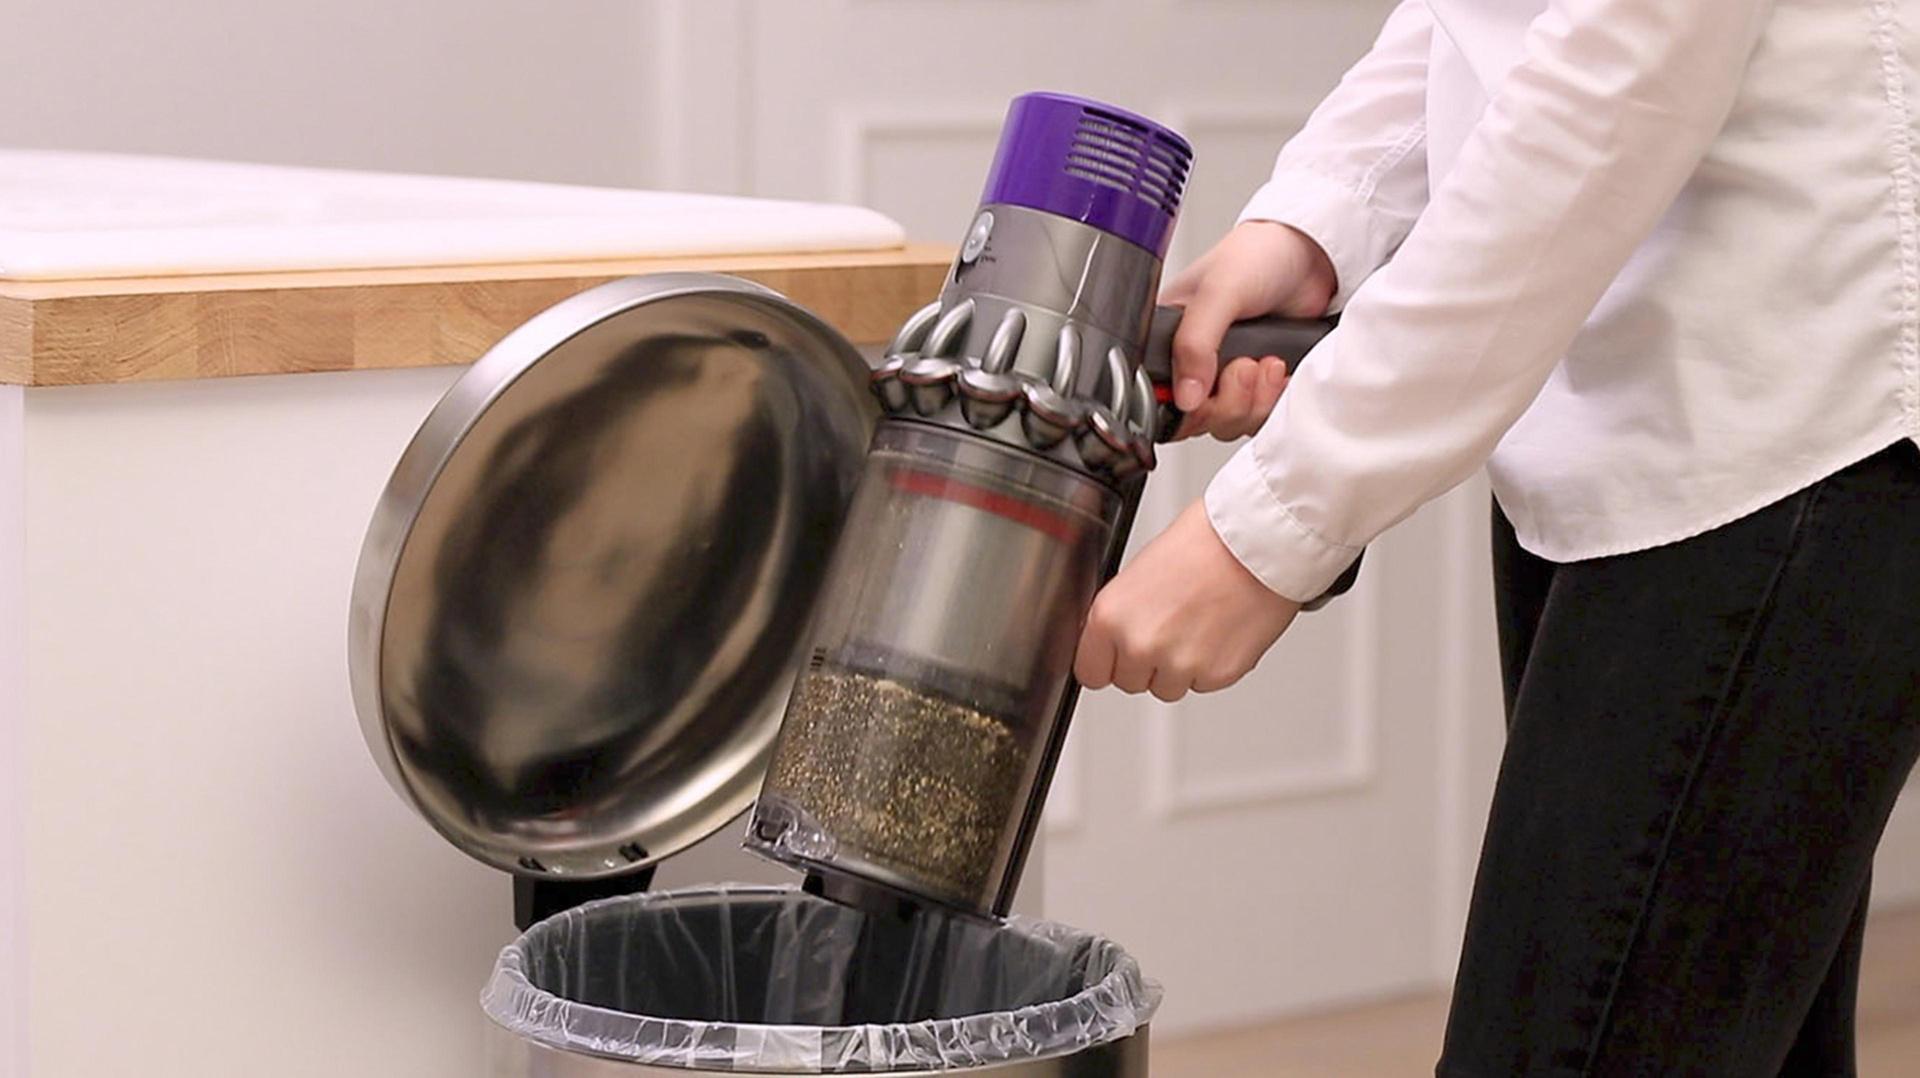
1. Emptying and Cleaning the Collection Tank: After each use, promptly empty the collection tank and rinse it thoroughly to remove any residual debris or liquid. Allow the tank to dry completely before reassembling the wet vacuum cleaner.
2. Cleaning Attachments and Accessories: Wipe down and clean all attachments and accessories to prevent the accumulation of dirt or debris. Ensure that they are completely dry before storing them to prevent mold or mildew growth.
3. Inspecting and Cleaning Filters: If the wet vacuum cleaner is equipped with a filter, regularly inspect and clean it according to the manufacturer’s instructions. A clean filter is crucial for maintaining suction power and preventing damage to the motor.
4. Checking and Maintaining Seals and Gaskets: Periodically inspect the seals and gaskets of the wet vacuum cleaner for signs of wear or damage. Replace any worn components to prevent leaks and maintain the appliance’s watertight integrity.
5. Lubricating Moving Parts: If applicable, lubricate moving parts such as wheels and hinges to ensure smooth operation and prevent premature wear and tear.
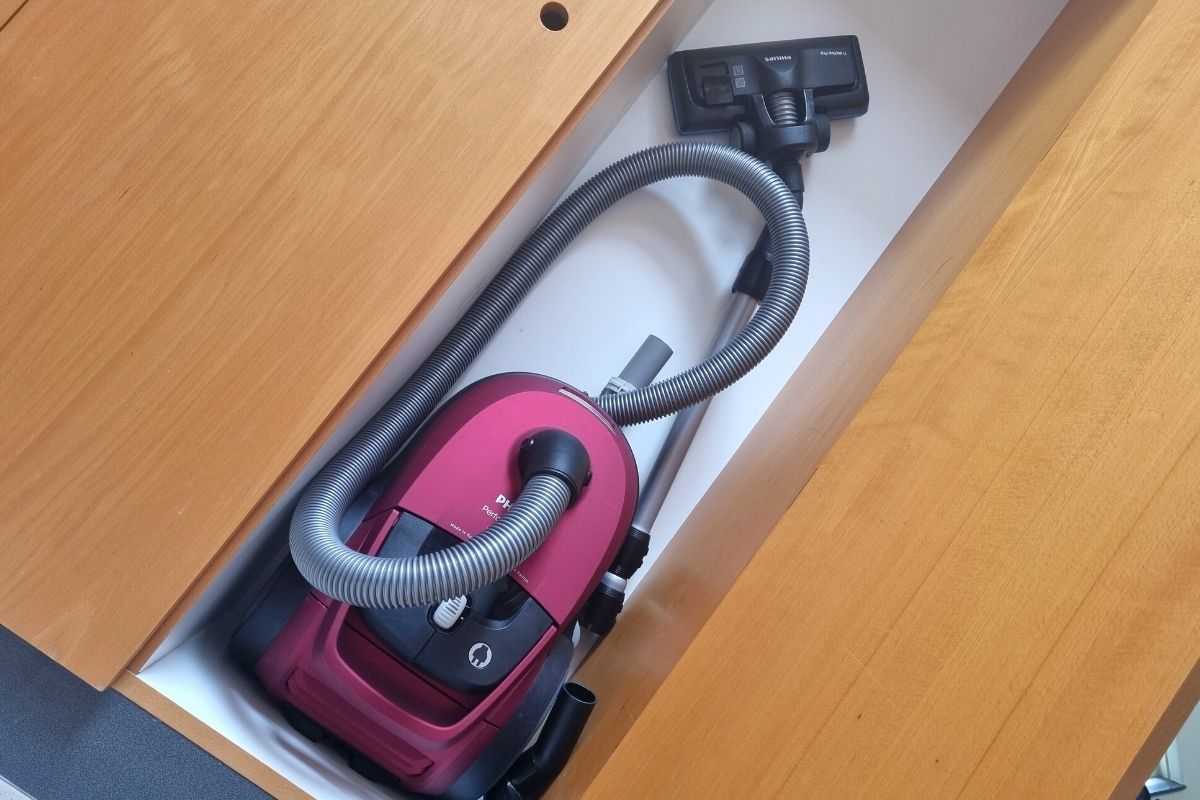
6. Storing the Wet Vacuum Cleaner: Store the appliance in a clean, dry environment away from extreme temperatures and direct sunlight. Ensure that the power cord is neatly coiled and that the attachments are organized and readily accessible for future use.
By adhering to these cleaning and maintenance practices, you can safeguard the functionality and durability of your wet vacuum cleaner. Consistent care and attention to detail will contribute to a reliable and long-lasting cleaning appliance that continues to meet your household’s cleaning needs.
Conclusion
As we conclude our exploration of using a wet vacuum cleaner, it’s evident that this versatile appliance offers a practical solution for addressing liquid spills and wet messes in various settings. By understanding its unique features, preparing it for use, and following proper cleaning and maintenance practices, you can harness the full potential of a wet vacuum cleaner to maintain a clean, dry, and welcoming environment.
With its specialized components, such as sealed motors, durable collection tanks, and purpose-built attachments, a wet vacuum cleaner empowers you to swiftly and effectively tackle liquid-related cleaning tasks. Whether it’s removing accidental spills on hard floors, extracting water from carpets, or addressing wet messes in the garage or basement, this appliance streamlines the cleaning process and minimizes the hassle associated with liquid cleanup.
By incorporating the outlined steps into your cleaning routine, you can optimize the performance and longevity of your wet vacuum cleaner, ensuring that it remains a reliable ally in maintaining a pristine living space.
So, the next time a liquid mishap occurs, you can confidently reach for your wet vacuum cleaner, knowing that you possess the knowledge and skills to utilize it effectively. Embrace the convenience and efficiency that this essential cleaning appliance offers, and let it simplify the task of addressing liquid-related cleaning challenges in your home or workspace.
With a well-maintained wet vacuum cleaner at your disposal, you can navigate spills and wet messes with ease, allowing you to focus on enjoying a clean, comfortable, and dry environment without the stress and inconvenience of liquid-related cleaning tasks.
Frequently Asked Questions about How To Use Wet Vacuum Cleaner
Was this page helpful?
At Storables.com, we guarantee accurate and reliable information. Our content, validated by Expert Board Contributors, is crafted following stringent Editorial Policies. We're committed to providing you with well-researched, expert-backed insights for all your informational needs.

0 thoughts on “How To Use Wet Vacuum Cleaner”