Home>Home Appliances>Cleaning Appliances>How To Clean The Vacuum Cleaner
Cleaning Appliances
How To Clean The Vacuum Cleaner
Modified: August 17, 2024
Learn how to effectively clean your vacuum cleaner and maintain its performance. Discover the best practices for cleaning appliances to keep them in top condition.
(Many of the links in this article redirect to a specific reviewed product. Your purchase of these products through affiliate links helps to generate commission for Storables.com, at no extra cost. Learn more)
Introduction
Welcome to the complete guide on how to clean your vacuum cleaner. While vacuum cleaners are essential for maintaining a clean and healthy home, they also require regular maintenance to ensure optimal performance. Over time, dust, dirt, and debris can accumulate within the vacuum, leading to a decline in suction power and potential issues with the machine. By following the steps outlined in this guide, you can effectively clean your vacuum cleaner, prolong its lifespan, and maintain its efficiency.
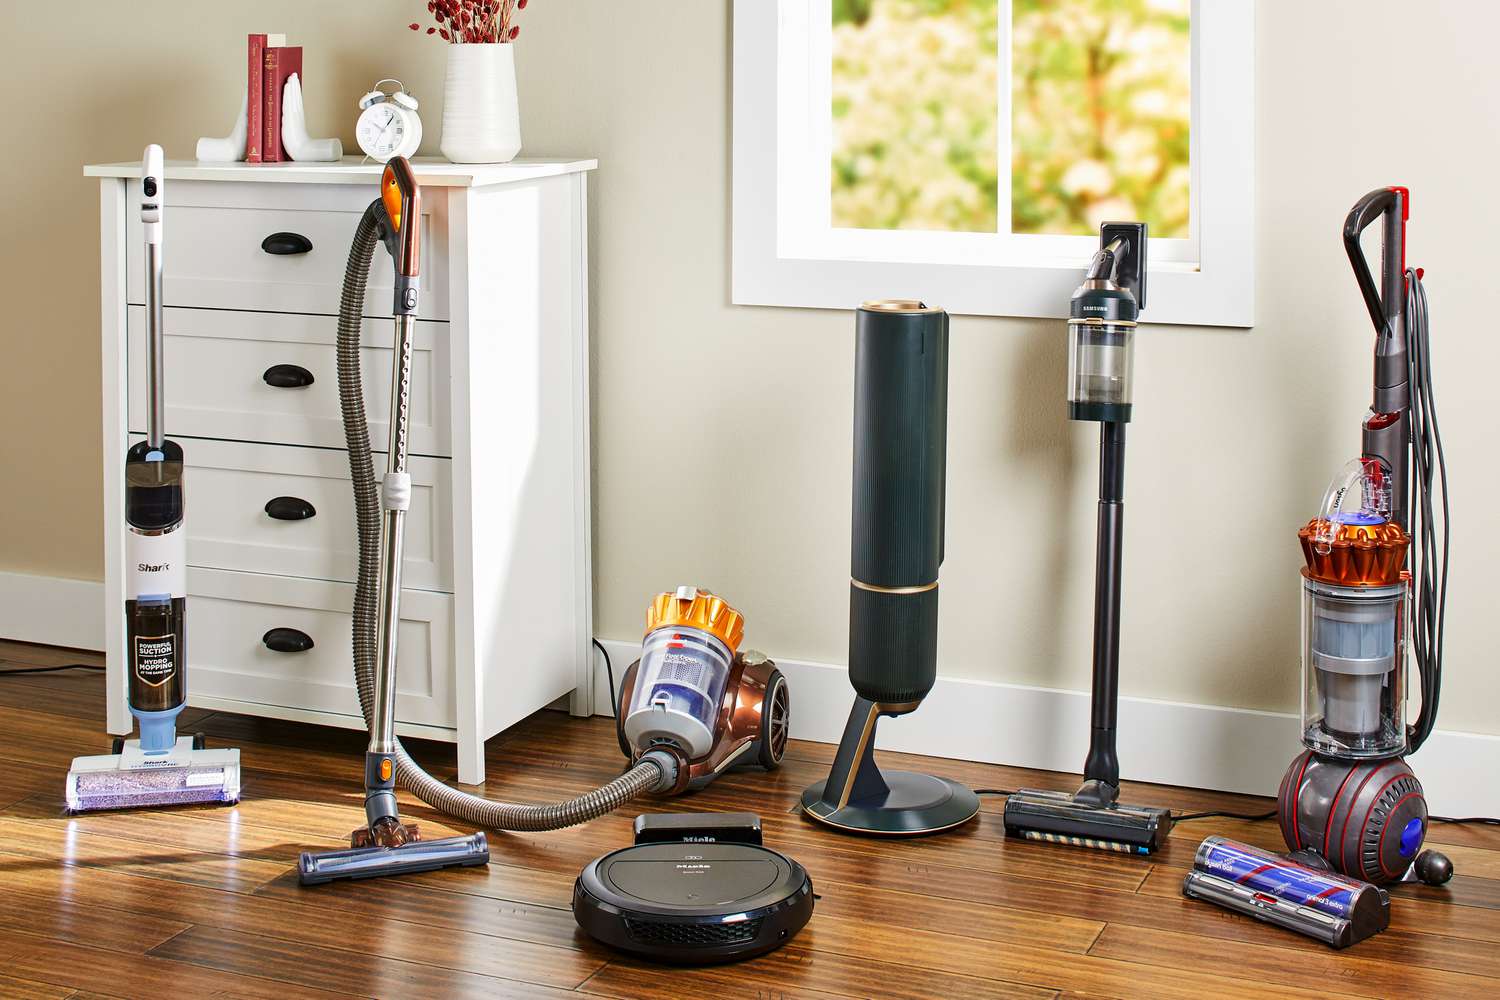
Regular maintenance not only ensures that your vacuum cleaner continues to operate effectively but also contributes to a healthier indoor environment. A clean vacuum cleaner prevents the spread of dust and allergens, making it an essential aspect of home cleaning. Whether you have a traditional upright vacuum, a canister vacuum, or a modern cordless model, the cleaning process outlined in this guide is applicable to various types of vacuum cleaners.
By dedicating some time to clean your vacuum cleaner, you can enjoy improved air quality, stronger suction, and a longer lifespan for your appliance. So, let’s dive in and discover the step-by-step process for keeping your vacuum cleaner in top condition.
Key Takeaways:
- Regularly cleaning your vacuum cleaner, including filters and brush roll, ensures optimal performance and a healthier home environment.
- Gather the right supplies and follow the step-by-step process to effectively clean and maintain your vacuum cleaner for long-lasting efficiency.
Read more: How To Clean A Vacuum Cleaner Hose
Step 1: Gather Your Supplies
Before you begin the cleaning process, it’s essential to gather the necessary supplies. Having the right tools and cleaning agents at hand will streamline the process and ensure that you can effectively tackle each aspect of cleaning your vacuum cleaner. Here’s a list of supplies you will need:
- Microfiber cloths or soft cleaning rags: These will be used to wipe down the exterior of the vacuum cleaner and remove any dust or grime that has accumulated.
- Mild detergent or cleaning solution: A gentle cleaning solution, such as a mixture of mild dish soap and water, can be used to clean the external surfaces of the vacuum cleaner.
- Vinegar: Vinegar is an excellent natural cleaner that can be used to tackle mineral deposits or stubborn stains on the vacuum cleaner’s components.
- Bristle brush or cleaning tool: A small bristle brush or specialized cleaning tool that is compatible with your vacuum cleaner model will be useful for accessing and cleaning tight spaces and crevices.
- Scissors or seam ripper: These tools will come in handy for removing hair and debris that may have become entangled in the brush roll or bristles.
- Replacement filters (if applicable): If your vacuum cleaner has disposable filters that need to be replaced, ensure that you have the appropriate replacements on hand.
- Owner’s manual: It’s always helpful to refer to the manufacturer’s instructions for specific guidance on cleaning and maintaining your particular vacuum cleaner model.
By gathering these supplies beforehand, you can approach the cleaning process with confidence, knowing that you have everything you need to effectively clean and maintain your vacuum cleaner.
Step 2: Empty the Canister or Replace the Bag
One of the first and most crucial steps in cleaning your vacuum cleaner is to address the collection container, whether it’s a dust canister or a disposable bag. This step is essential for maintaining the vacuum’s suction power and preventing the spread of dust and allergens in your home. Here’s how to tackle this task:
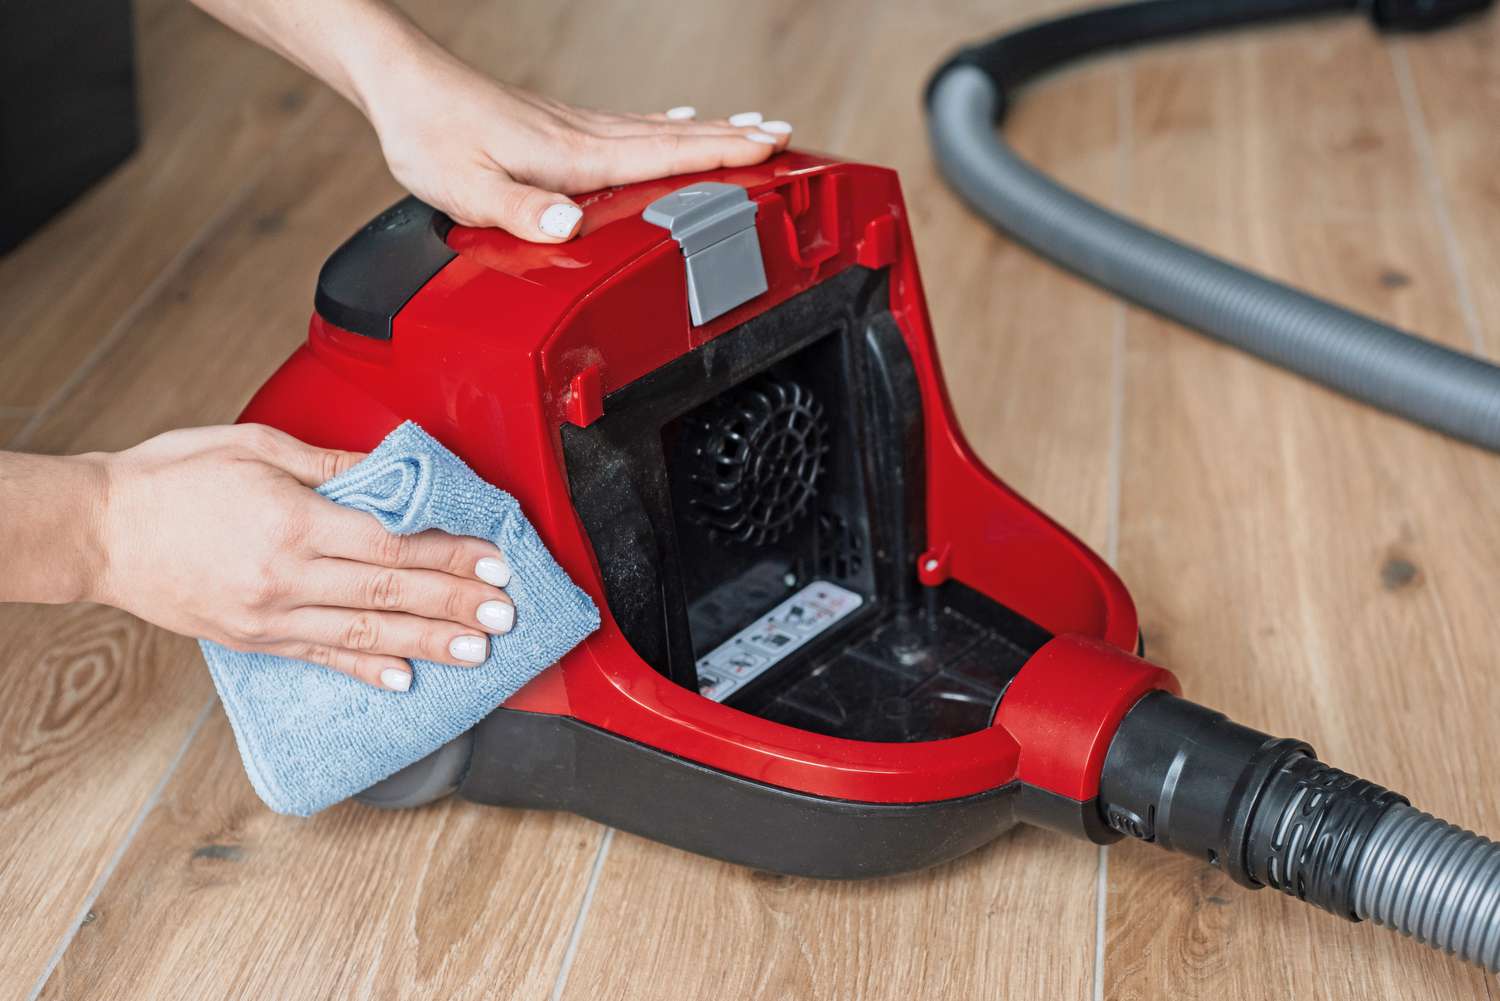
- For Bagless Vacuums: If your vacuum cleaner features a dust canister, begin by removing the canister from the main unit. Take it to a trash receptacle and empty the contents directly into the bin. Use a brush or cloth to dislodge any stubborn debris that may be stuck inside the canister. Be sure to check for any clogs or blockages that could be hindering airflow.
- For Vacuums with Disposable Bags: If your vacuum uses disposable bags, carefully remove the full bag from the vacuum cleaner, ensuring that you have a replacement bag on hand. Seal the full bag to prevent any dust from escaping and dispose of it in the trash. Take a moment to clean the area surrounding the bag compartment, removing any residual dust or debris.
Emptying the canister or replacing the bag is a fundamental aspect of vacuum cleaner maintenance. By starting with a clean collection container, you can optimize the vacuum’s performance and prevent dust and dirt from being recirculated into the air during subsequent cleaning sessions.
Step 3: Clean the Filters
Filters play a crucial role in trapping dust, dirt, and allergens as the vacuum cleaner operates. Over time, these filters can become clogged and less effective, impacting the machine’s suction power and overall performance. Cleaning the filters is an essential step in maintaining your vacuum cleaner. Here’s how to do it:
- Refer to the Owner’s Manual: Different vacuum cleaner models feature various types of filters, such as foam, pleated, or HEPA filters. Consult your vacuum’s owner’s manual to identify the location and type of filters used in your specific model, as well as the manufacturer’s recommended cleaning instructions.
- Remove the Filters: Carefully remove the filters from the vacuum cleaner according to the manufacturer’s instructions. In most cases, filters are located near the dust canister or bag and can be easily accessed for cleaning.
- Shake or Brush Off Debris: If your vacuum cleaner has washable filters, such as foam or pleated filters, take them outdoors and gently shake off excess dust and debris. Alternatively, use a soft-bristled brush to remove the buildup. Be cautious not to damage the filter during this process.
- Wash Washable Filters: For washable filters, such as foam or fabric filters, gently wash them in lukewarm water with a mild detergent. Thoroughly rinse the filters and allow them to air-dry completely before reinstalling them in the vacuum cleaner.
- Replace Disposable Filters (if applicable): If your vacuum cleaner uses disposable filters, check if they need to be replaced. Refer to the owner’s manual or the manufacturer’s recommendations for the appropriate filter replacement schedule.
Properly maintaining the filters ensures that your vacuum cleaner continues to effectively capture dust and allergens, contributing to a cleaner and healthier home environment. Regular filter cleaning also prolongs the life of the vacuum cleaner and maintains its suction power.
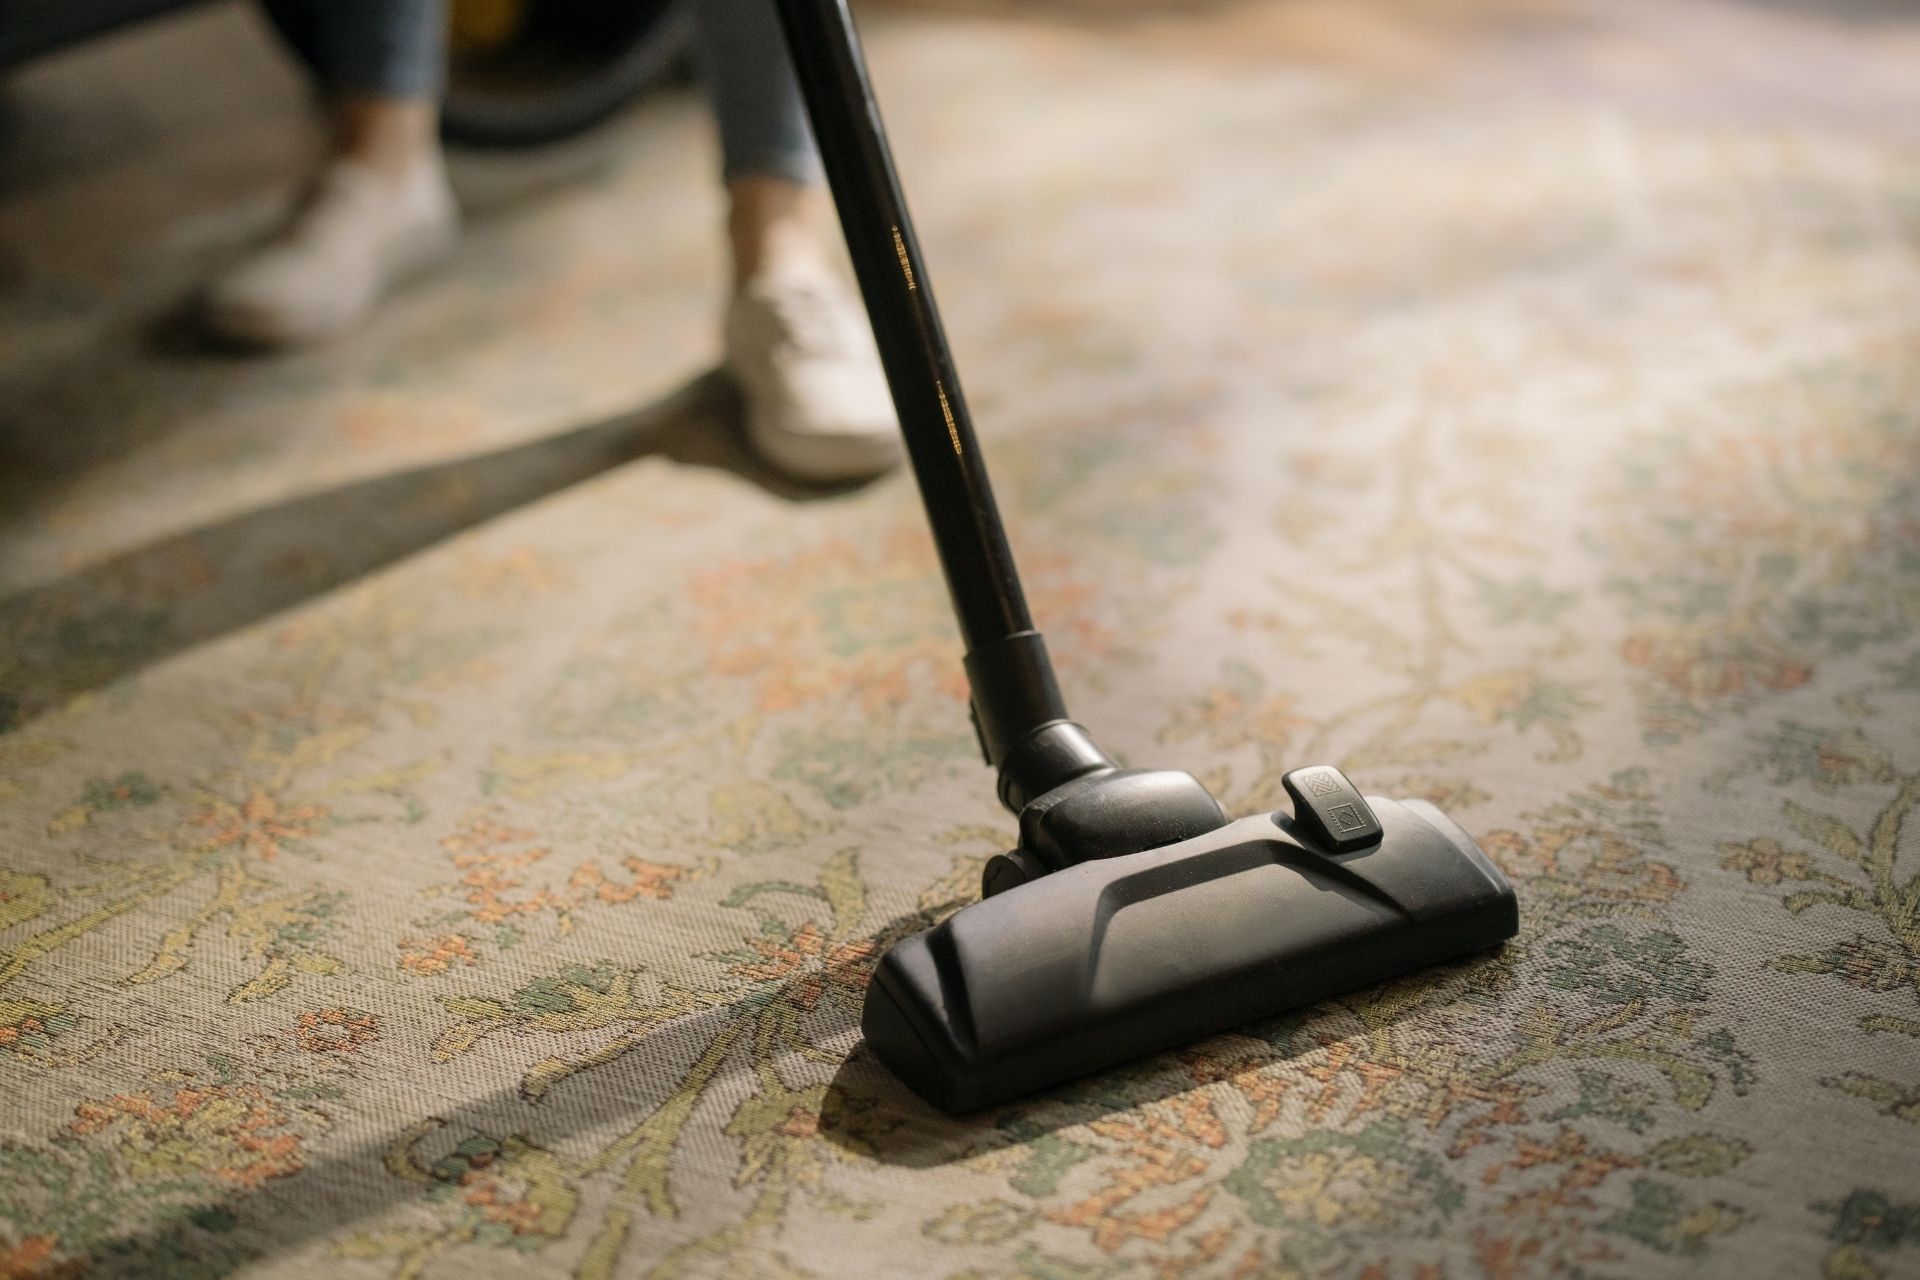
To clean your vacuum cleaner, start by emptying the dust canister or replacing the bag. Then, remove any hair or debris from the brush roll and filters. Finally, wipe down the exterior with a damp cloth.
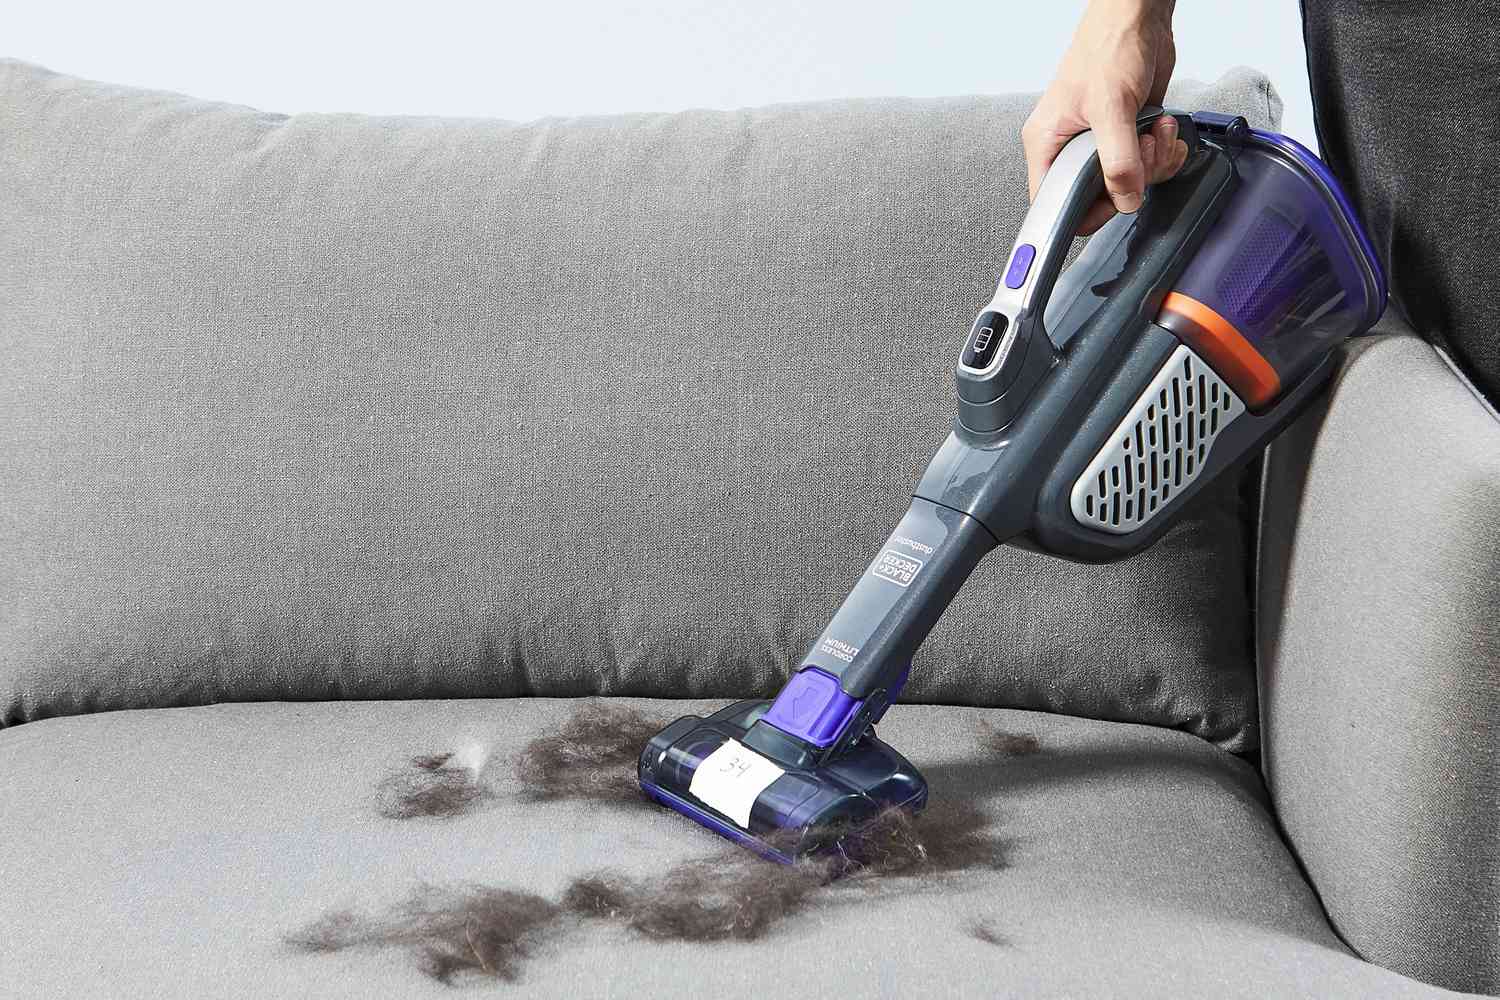
Step 4: Remove Hair and Debris from the Brush Roll
The brush roll, also known as the beater bar, is a critical component of many vacuum cleaners, particularly those designed for carpeted floors. Over time, the brush roll can become entangled with hair, thread, and other debris, impeding its effectiveness and potentially causing damage to the vacuum cleaner. Here’s how to effectively clean the brush roll:
- Access the Brush Roll: Depending on your vacuum cleaner model, you may need to remove a cover or access panel to reach the brush roll. Refer to the owner’s manual for specific instructions on accessing and removing the brush roll for cleaning.
- Remove Tangled Debris: Use a pair of scissors, a seam ripper, or any other suitable tool to carefully cut and remove any hair, thread, or debris that has become wrapped around the brush roll. Take your time to ensure that the brush roll is completely free of any entanglements.
- Clean the Brush Roll: After removing the tangled debris, use a damp cloth or a cleaning brush to wipe down the brush roll, removing any remaining dust or dirt. Ensure that the bristles are clean and free from obstructions.
- Inspect and Reinstall: Take a moment to inspect the brush roll for any signs of damage or wear. If the brush roll shows significant wear or damage, it may need to be replaced according to the manufacturer’s recommendations. Once cleaned and inspected, reinstall the brush roll according to the vacuum cleaner’s instructions.
Regularly cleaning the brush roll not only ensures optimal performance but also extends the life of the vacuum cleaner. By maintaining a clean and debris-free brush roll, you can effectively remove dirt and debris from carpets and keep your vacuum cleaner operating at its best.
Read more: How To Clean Vacuum Cleaner Bag
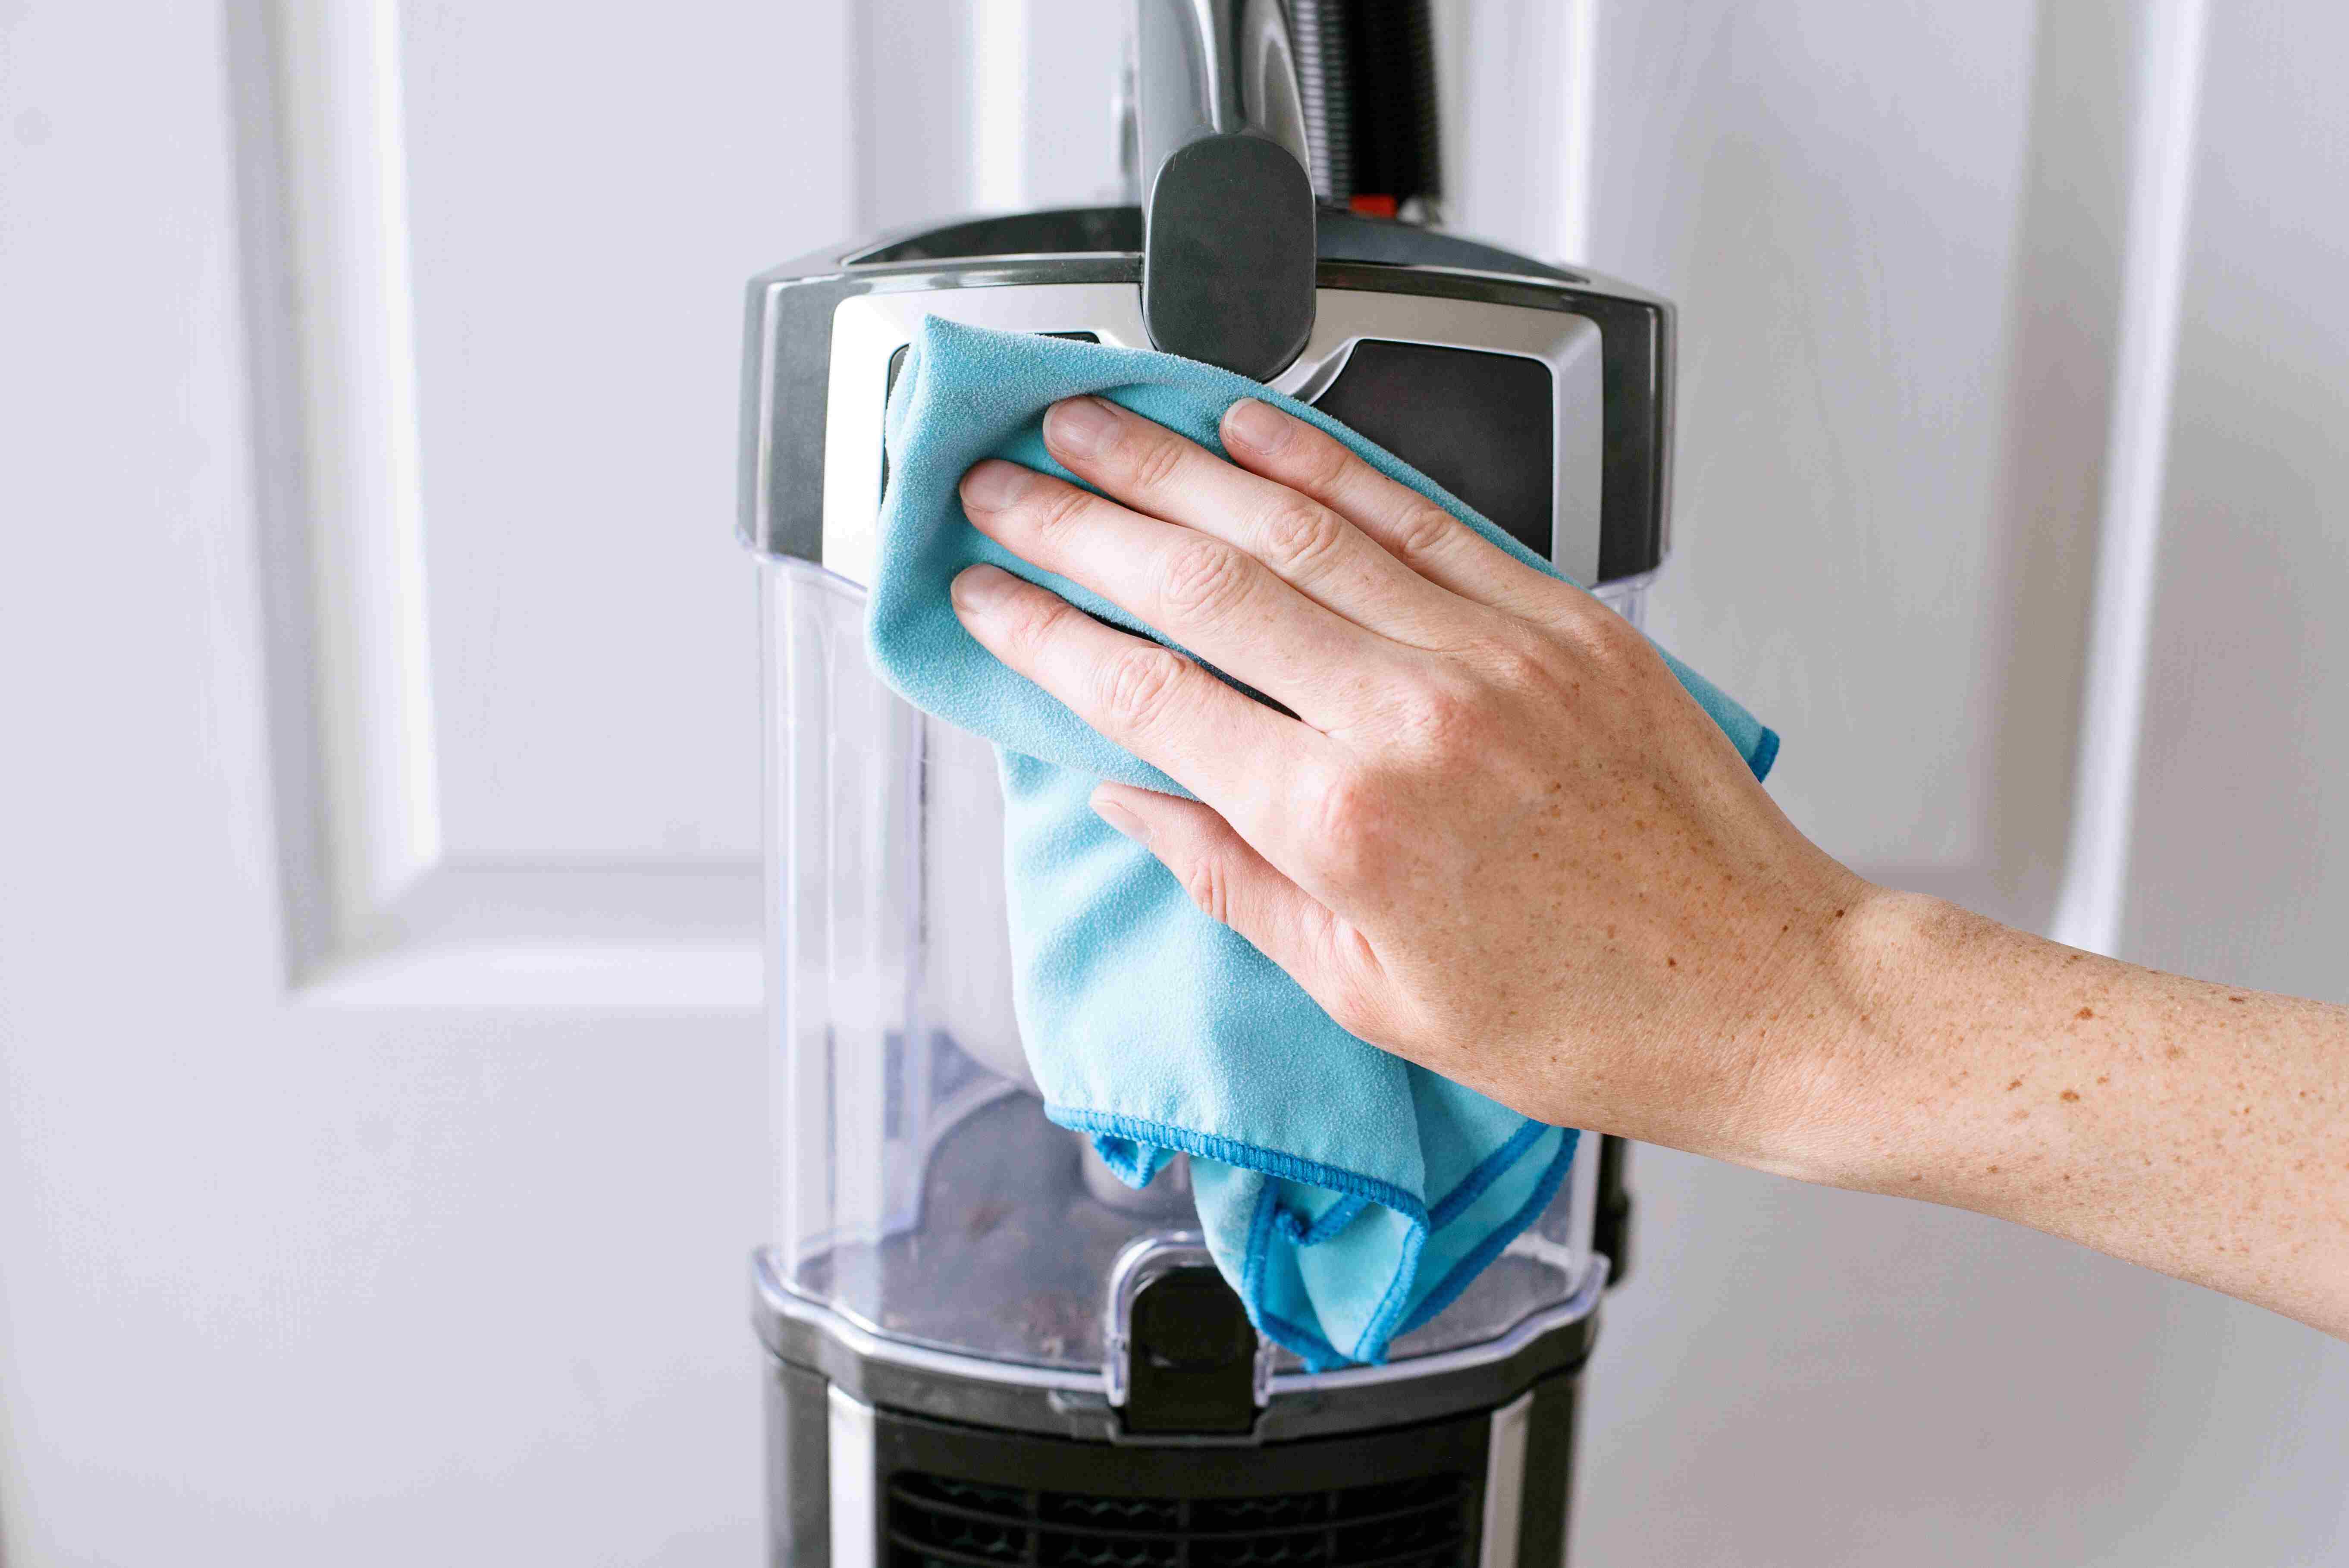
Step 5: Wipe Down the Vacuum Cleaner
While focusing on the internal components of the vacuum cleaner is crucial, it’s equally important to pay attention to the external surfaces. Wiping down the vacuum cleaner not only keeps it looking clean and well-maintained but also prevents the accumulation of dust and grime that can affect its performance. Here’s how to effectively clean the exterior of your vacuum cleaner:
- Unplug the Vacuum Cleaner: Before cleaning the exterior, ensure that the vacuum cleaner is unplugged to prevent any potential accidents or damage.
- Use a Damp Cloth: Dampen a microfiber cloth or soft cleaning rag with water and a mild detergent. Wring out any excess liquid to prevent dripping, as moisture can damage the vacuum cleaner’s electrical components.
- Wipe Down the Surfaces: Gently wipe down the exterior surfaces of the vacuum cleaner, including the handle, body, and any control buttons or switches. Pay attention to areas where dust and grime tend to accumulate, such as around the power cord storage and the base of the vacuum.
- Remove Stubborn Stains: For stubborn stains or marks, a solution of water and vinegar can be effective in breaking down mineral deposits or dirt. Apply the solution sparingly to the affected areas and gently wipe clean with a damp cloth.
- Dry Thoroughly: After wiping down the surfaces, use a dry microfiber cloth to remove any remaining moisture and ensure that the vacuum cleaner is completely dry before use.
Regularly wiping down the exterior of the vacuum cleaner not only keeps it looking clean and well-maintained but also helps to prevent the buildup of dirt and grime that can affect its performance over time. By incorporating this step into your vacuum cleaner maintenance routine, you can ensure that your appliance remains in top condition.
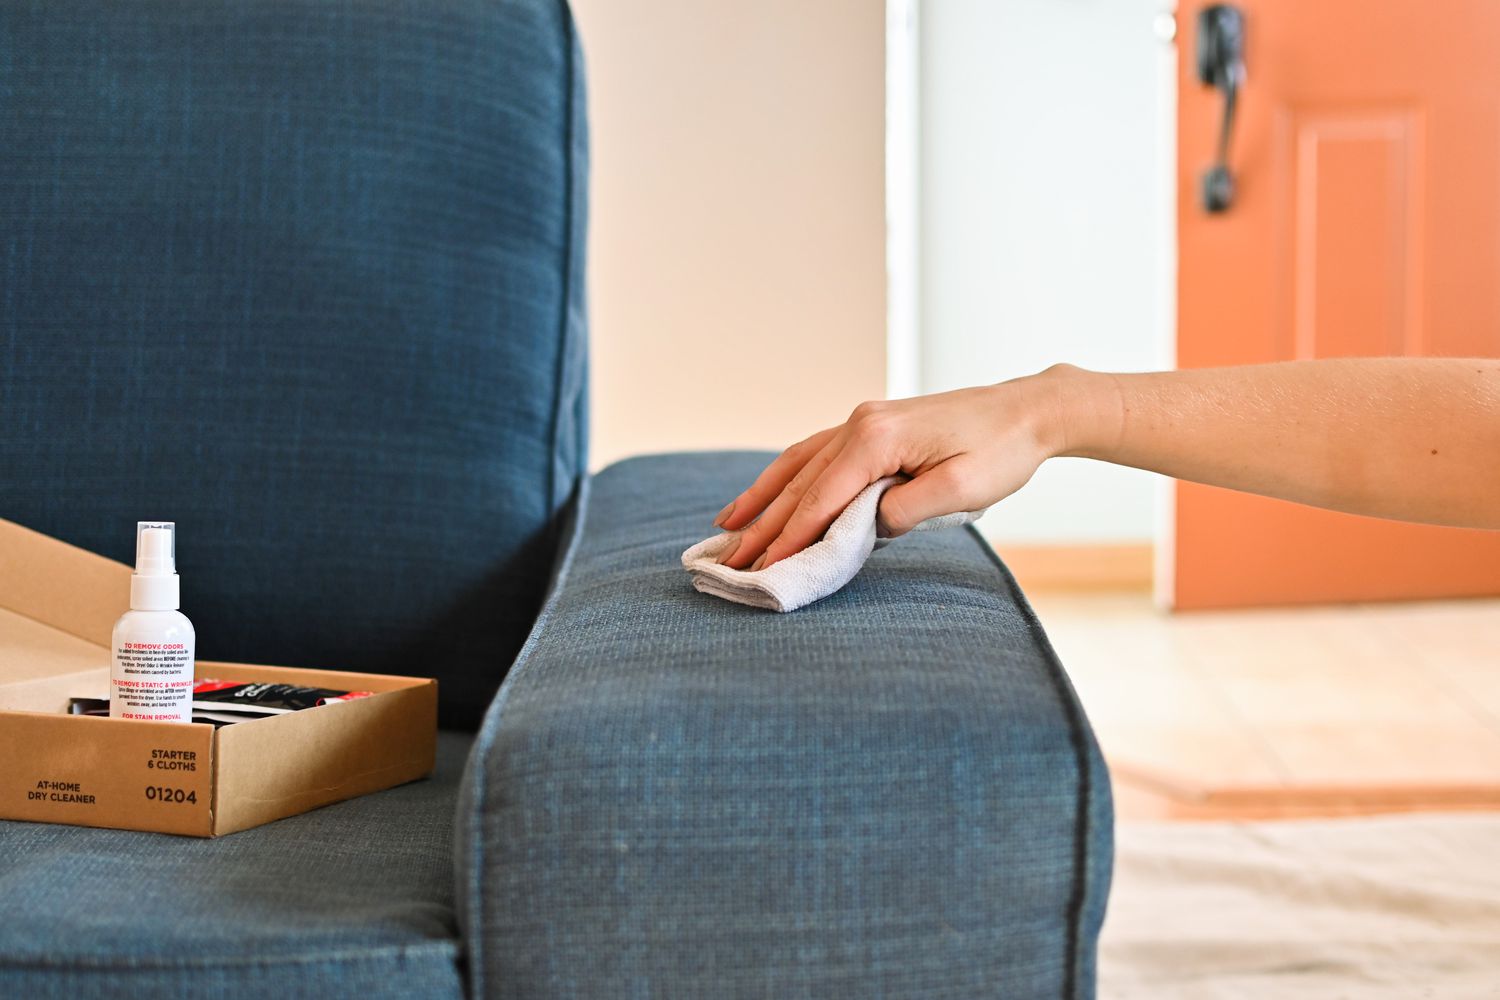
Step 6: Clean the Attachments
Many vacuum cleaners come with a variety of attachments and accessories designed to tackle different cleaning tasks, such as crevice tools, upholstery brushes, and extension wands. These attachments can accumulate dust, debris, and even pet hair over time, impacting their effectiveness and potentially transferring dirt to the surfaces you intend to clean. Here’s how to clean your vacuum cleaner attachments:
- Remove Attachments: Detach all the accessories and attachments from the vacuum cleaner. Lay them out on a clean surface for easy access during the cleaning process.
- Inspect for Debris: Check each attachment for any visible debris, such as dust, hair, or dirt. Use a small brush or cloth to remove the buildup, ensuring that the attachments are thoroughly cleaned.
- Wash Washable Attachments: If your attachments are washable, such as upholstery brushes or dusting tools, gently wash them in lukewarm water with a mild detergent. Rinse thoroughly and allow them to air-dry completely before reattaching them to the vacuum cleaner.
- Clear Clogs and Blockages: Inspect crevice tools and other narrow attachments for any clogs or blockages that may impede airflow. Use a small brush or compressed air to clear any obstructions, ensuring that the attachments are free from debris.
- Sanitize if Necessary: For attachments that come into contact with surfaces where bacteria or germs may be present, such as upholstery brushes, consider sanitizing them using a mild disinfectant or a solution of water and vinegar. Allow the attachments to dry completely before using them.
By regularly cleaning and maintaining your vacuum cleaner attachments, you can ensure that they remain effective and free from dirt and debris, contributing to thorough and efficient cleaning results.
Step 7: Reassemble and Test the Vacuum Cleaner
After completing the cleaning and maintenance tasks, it’s time to reassemble your vacuum cleaner and ensure that it operates effectively. This final step involves putting everything back together and conducting a test to verify that the appliance is functioning optimally. Here’s how to reassemble and test your vacuum cleaner:
- Reinstall Cleaned Components: Begin by reattaching all the cleaned and dried components, including the dust canister or bag, filters, brush roll, and any attachments. Follow the manufacturer’s instructions to ensure that each component is properly secured and installed.
- Check for Proper Fit: As you reassemble the vacuum cleaner, pay attention to ensure that each component fits snugly and securely. Loose or improperly installed parts can affect the vacuum’s performance and may pose a safety risk.
- Inspect the Power Cord and Plug: Take a moment to inspect the power cord for any signs of damage or wear. Verify that the plug is in good condition and securely connected to the power outlet.
- Perform a Test Run: Plug in the vacuum cleaner and turn it on to conduct a brief test run. Listen for any unusual sounds or vibrations that may indicate a problem. Ensure that the suction power is strong and consistent.
- Test the Attachments: If your vacuum cleaner features various attachments, such as a crevice tool or upholstery brush, test each attachment to verify that it functions as intended and that there are no issues with airflow or suction.
- Conduct a Trial Cleaning: To further test the vacuum cleaner’s performance, use it to clean a small area of flooring or carpet. Verify that it effectively picks up dirt and debris, and that the brush roll operates smoothly without any unusual noise or resistance.
By carefully reassembling and testing your vacuum cleaner, you can ensure that it is in optimal working condition and ready for use. Regular maintenance and cleaning will help to extend the life of your vacuum cleaner and maintain its effectiveness in keeping your home clean and fresh.
Frequently Asked Questions about How To Clean The Vacuum Cleaner
Was this page helpful?
At Storables.com, we guarantee accurate and reliable information. Our content, validated by Expert Board Contributors, is crafted following stringent Editorial Policies. We're committed to providing you with well-researched, expert-backed insights for all your informational needs.
0 thoughts on “How To Clean The Vacuum Cleaner”