Home>Home Appliances>Cleaning Appliances>How To Wash Dust Mop
Cleaning Appliances
How To Wash Dust Mop
Modified: October 21, 2024
Learn the best way to clean your dust mop and keep it free from dirt and grime. Discover effective tips for maintaining your cleaning appliances.
(Many of the links in this article redirect to a specific reviewed product. Your purchase of these products through affiliate links helps to generate commission for Storables.com, at no extra cost. Learn more)
Introduction
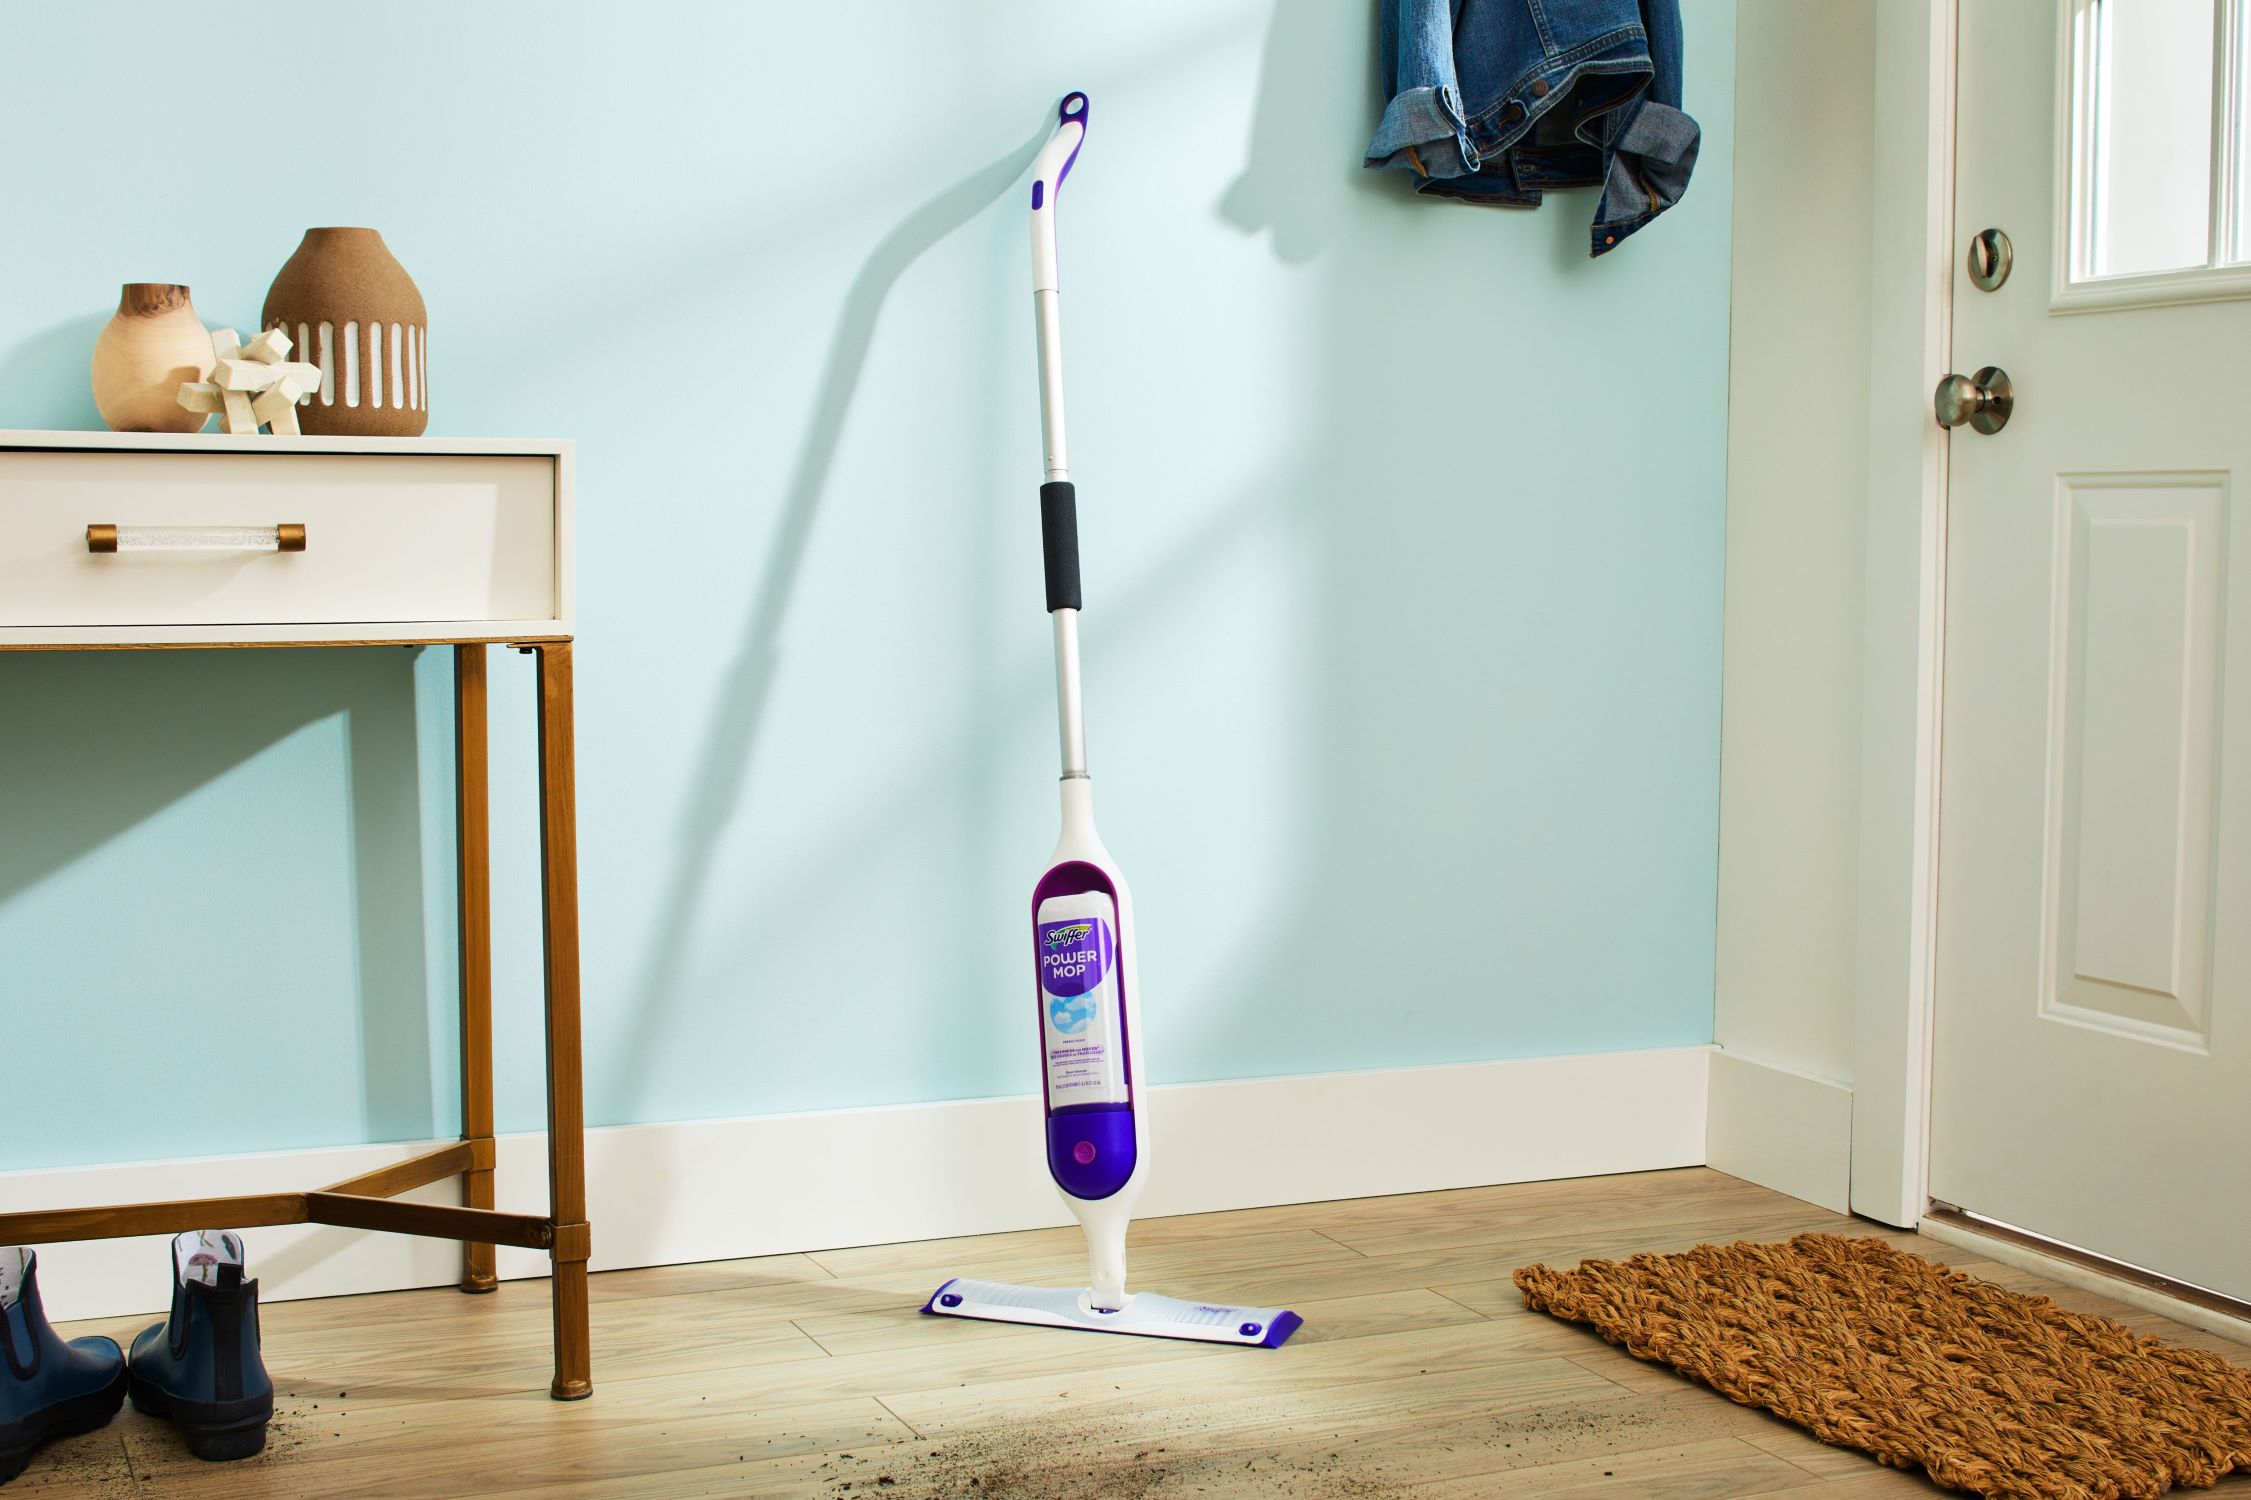
Welcome to the comprehensive guide on how to effectively clean a dust mop. Dust mops are essential tools for keeping floors clean and free of dust, dirt, and debris. Over time, these hardworking cleaning companions can accumulate a significant amount of grime, making it crucial to give them a thorough cleaning to maintain their effectiveness. By following the steps outlined in this guide, you can ensure that your dust mop remains in top condition, ready to tackle any mess that comes its way.
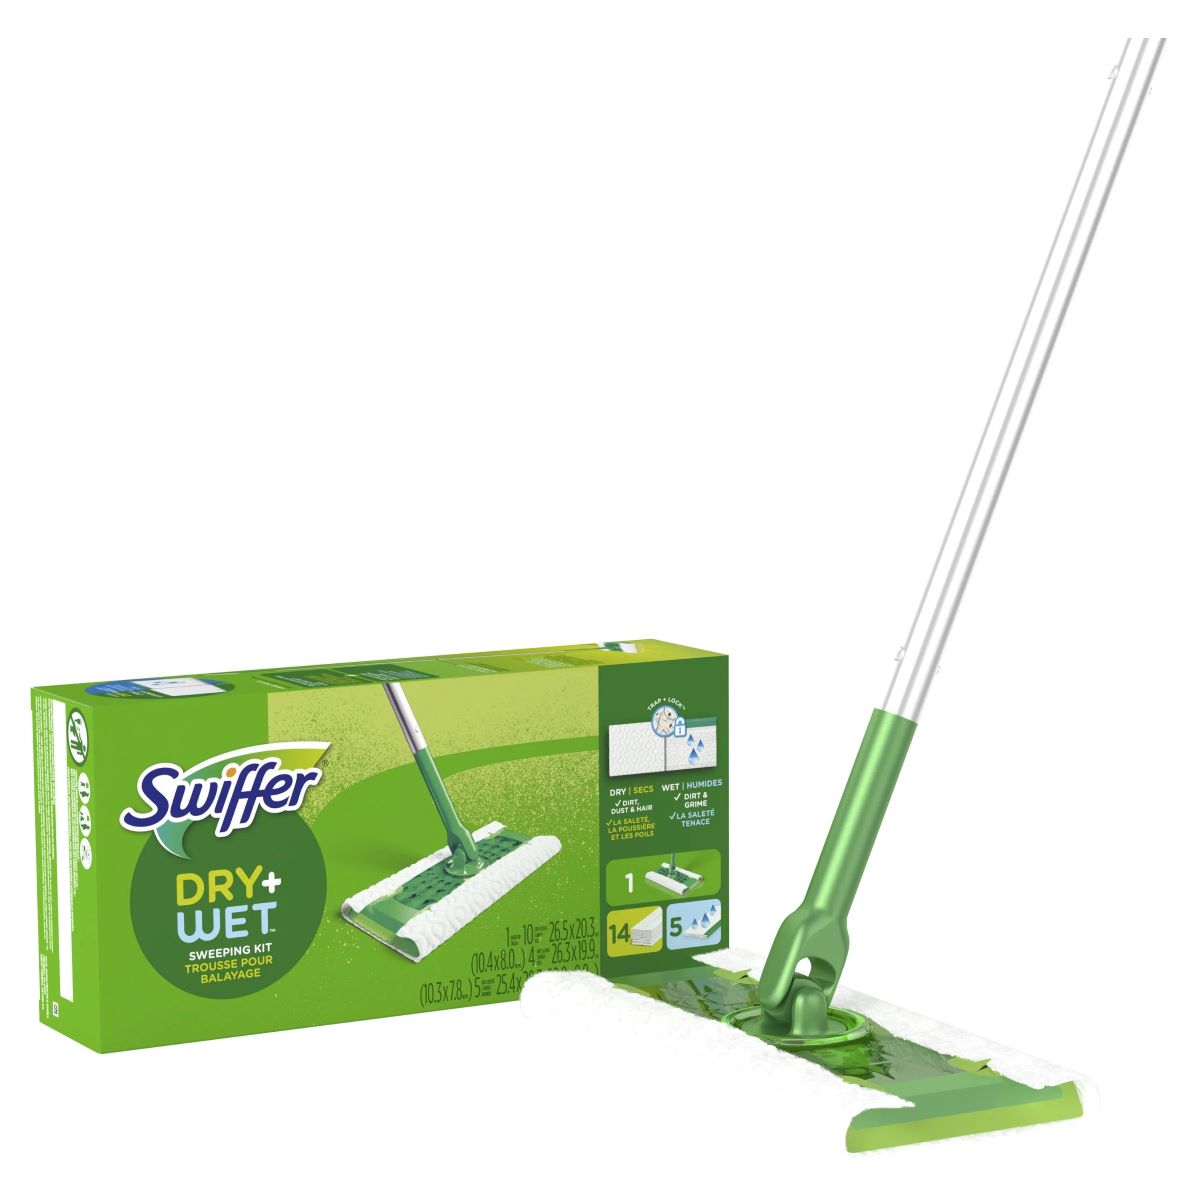
Whether you use a traditional cotton dust mop or a microfiber version, regular cleaning is key to maintaining its functionality and extending its lifespan. By incorporating the following steps into your cleaning routine, you can effectively remove the accumulated dust and grime, leaving your dust mop fresh and ready for future use.
Without further ado, let’s dive into the step-by-step process of washing a dust mop to keep it clean and in optimal working condition.
Key Takeaways:
- Keep your dust mop clean by shaking out the dust before washing to prevent clogging and ensure effective cleaning.
- Thoroughly rinse and dry the mop head after washing to maintain its cleanliness and prevent mold or mildew growth.
Read more: How To Use Dust Mop
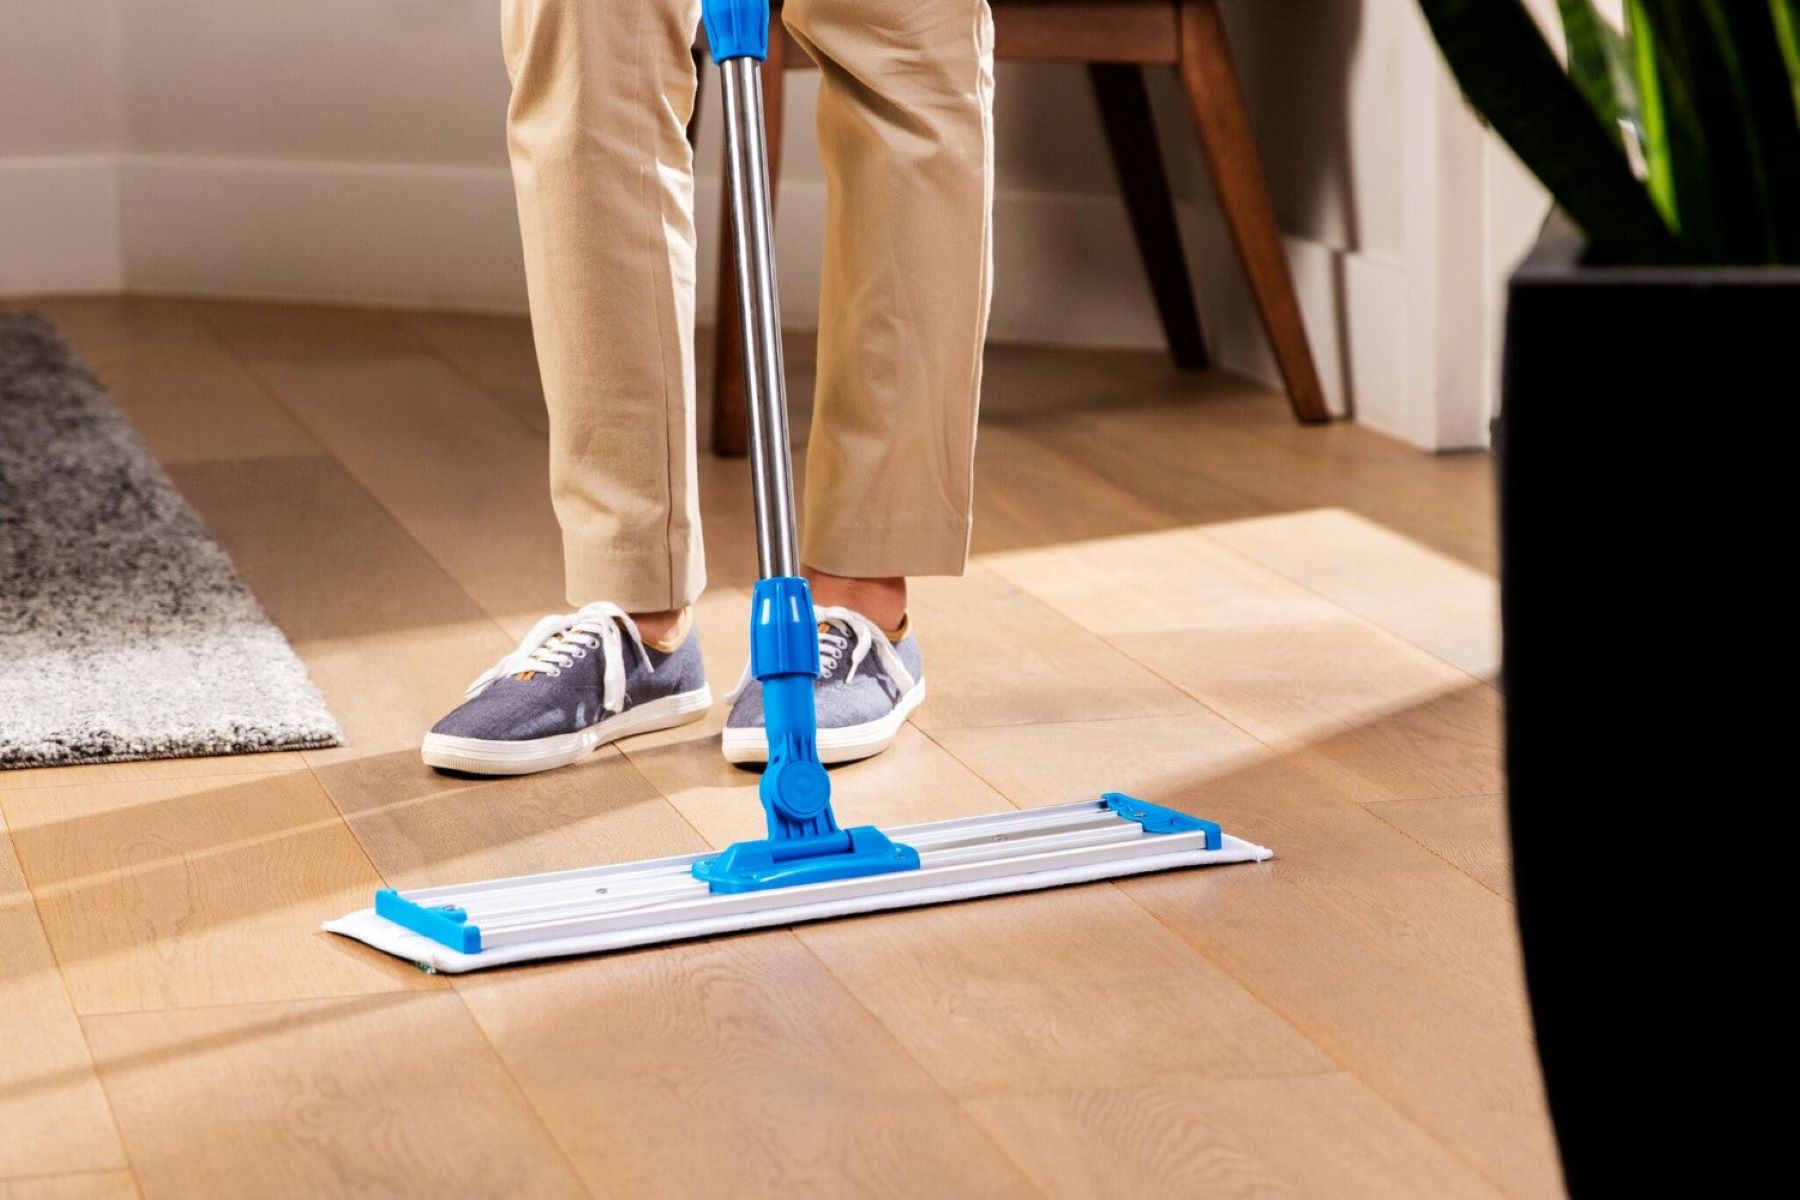
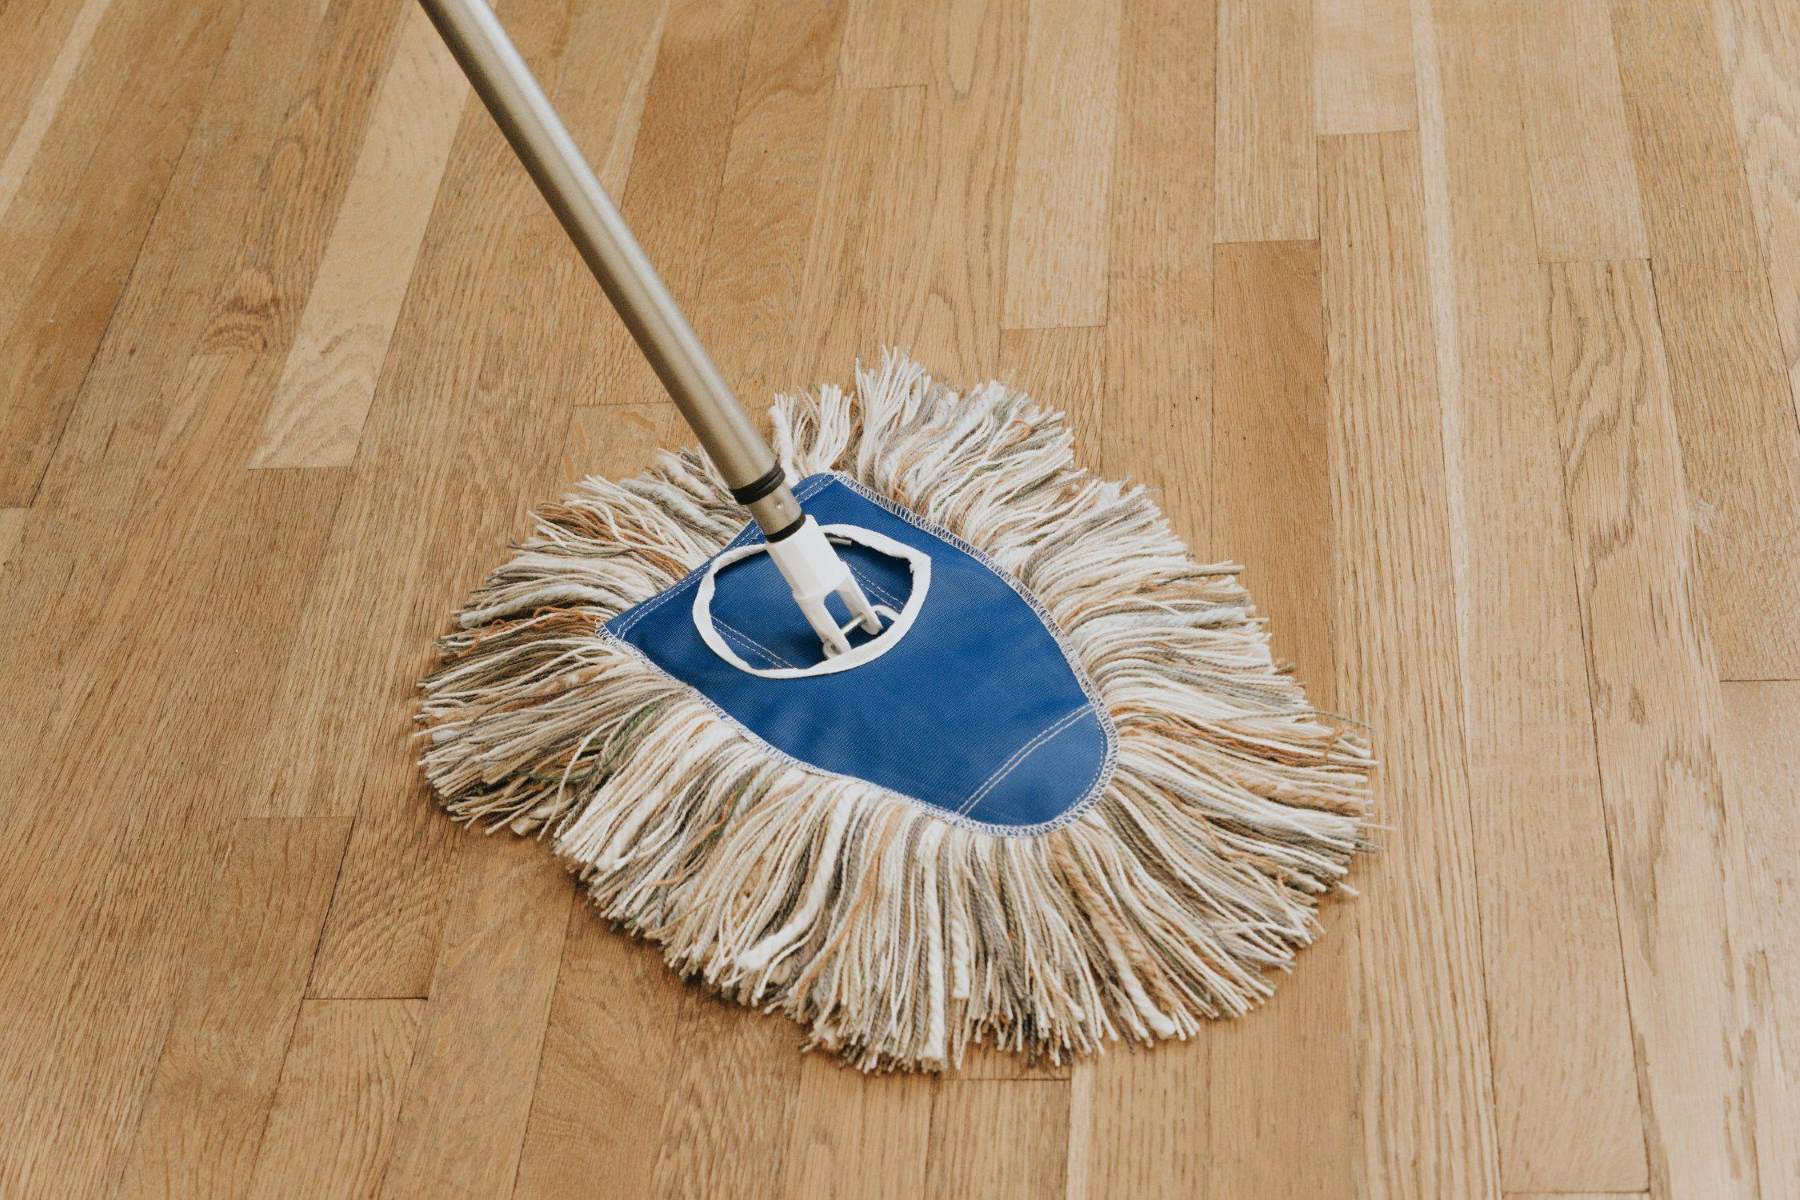
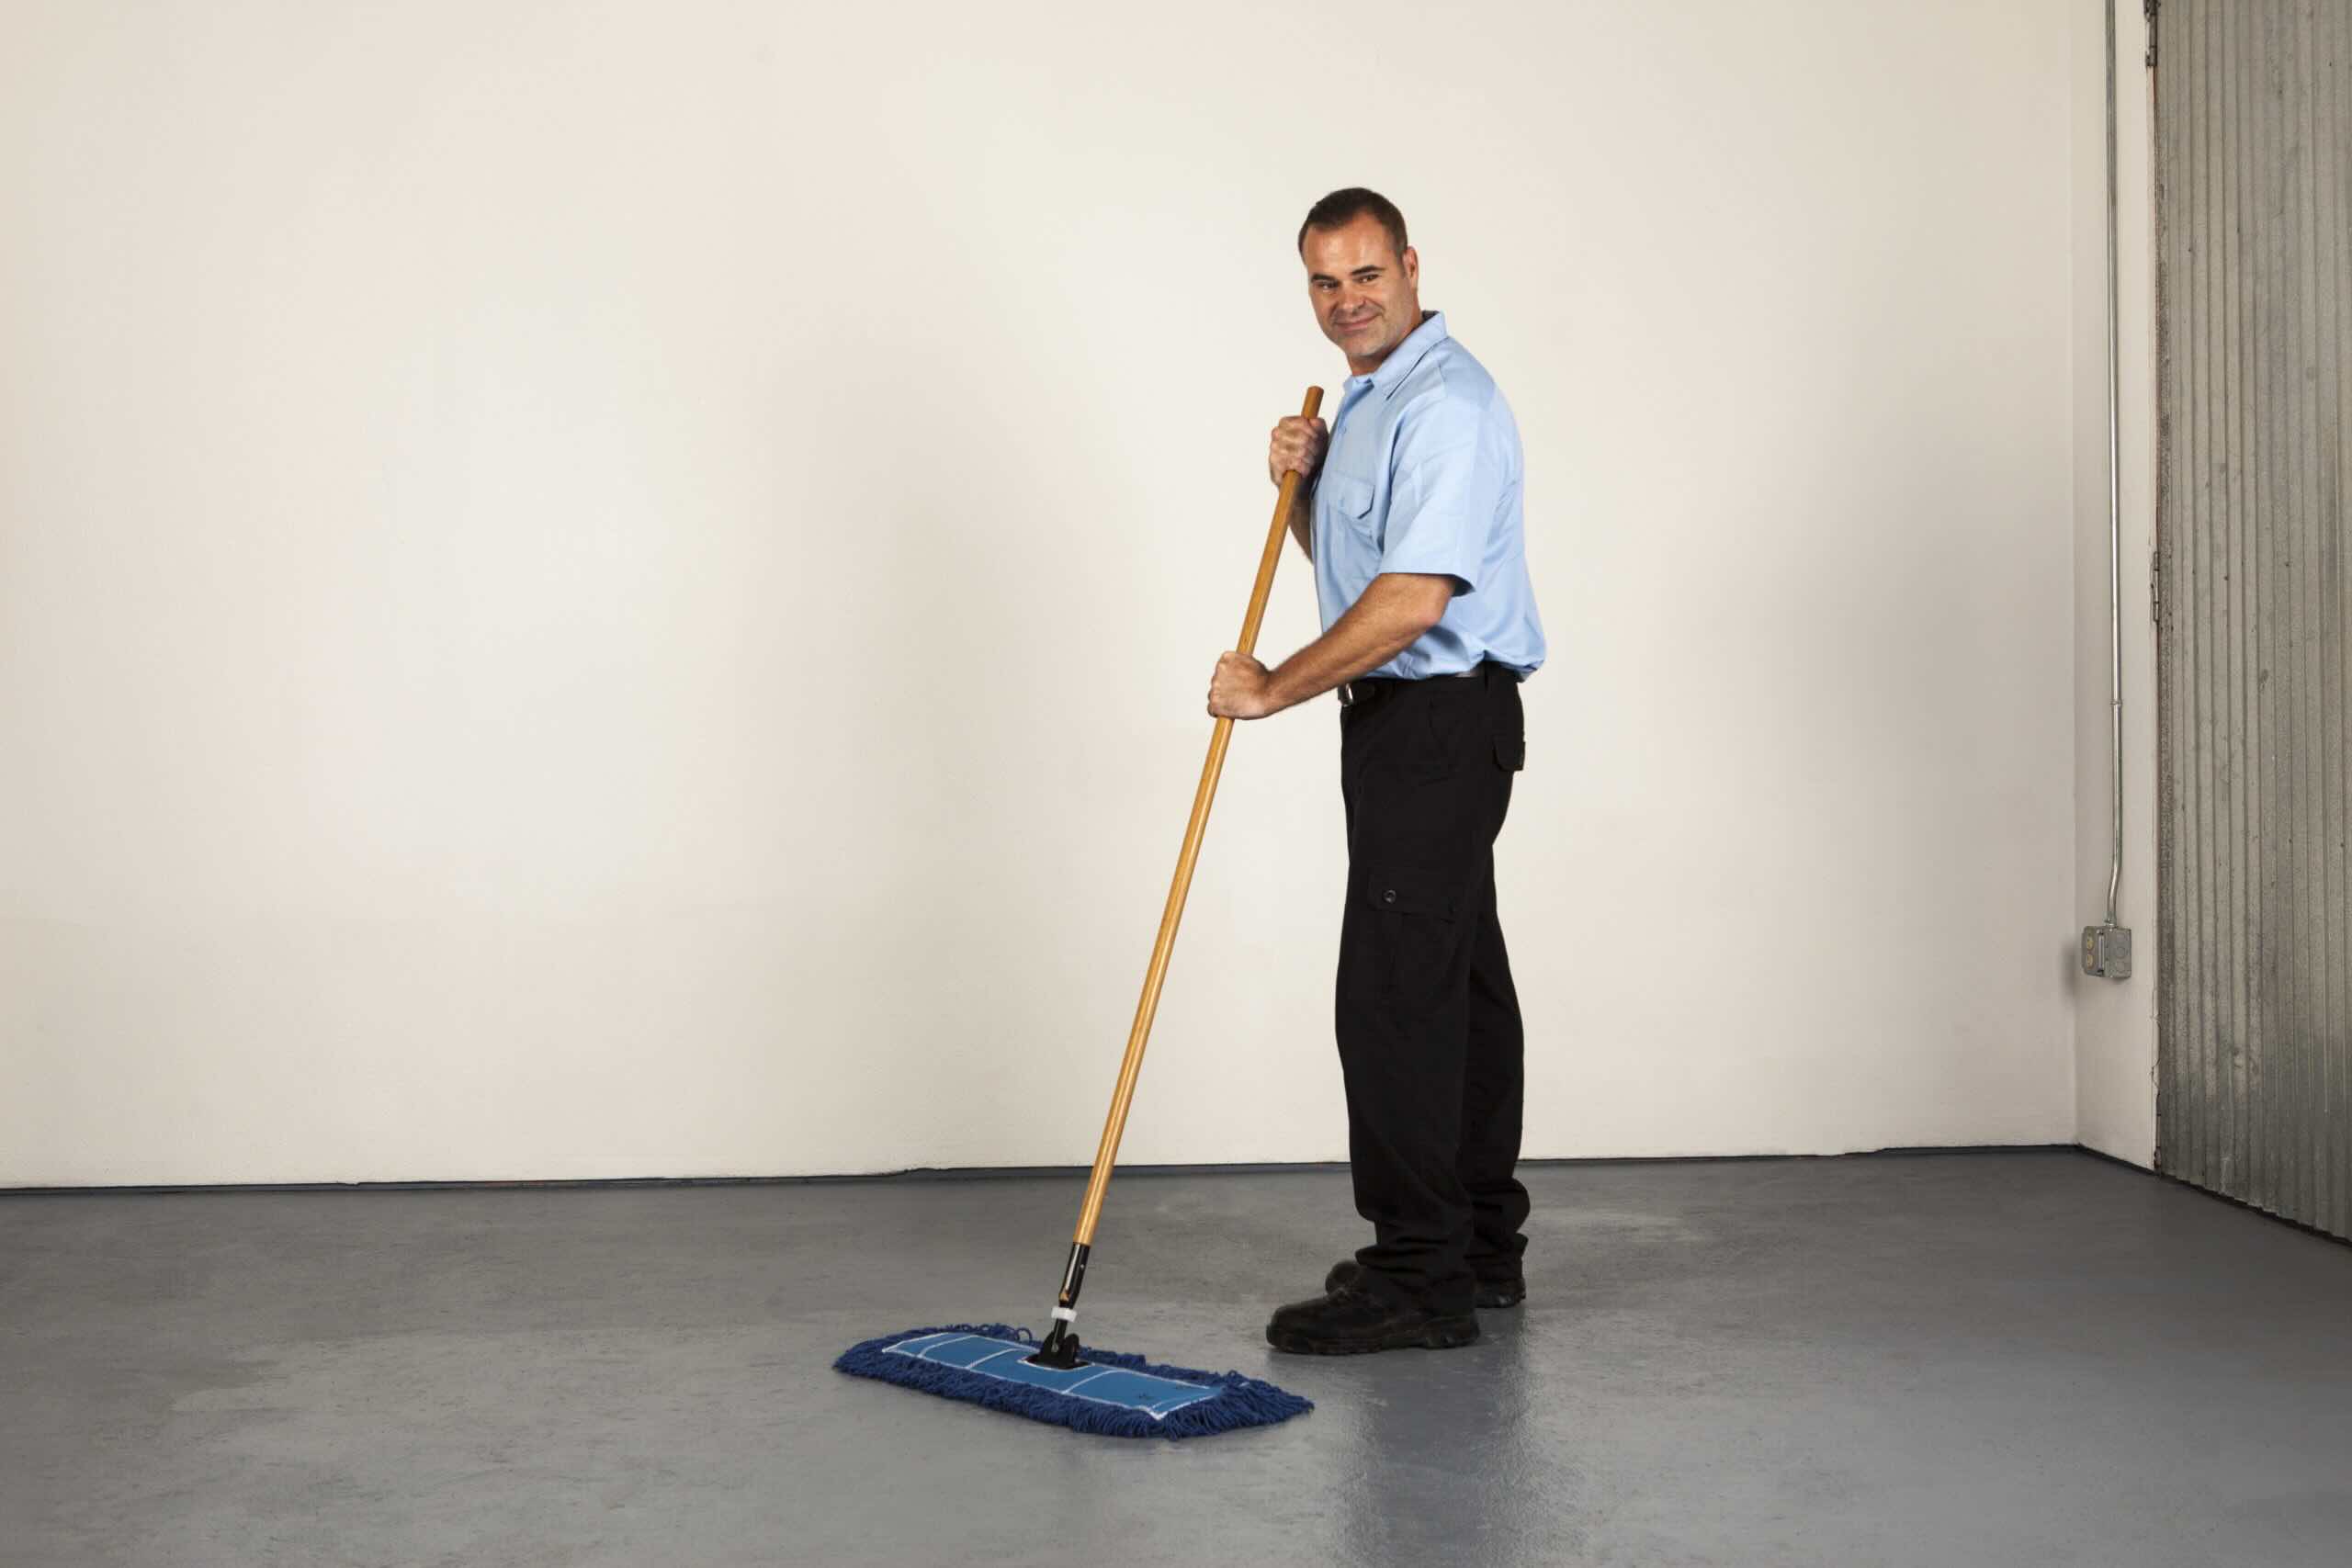
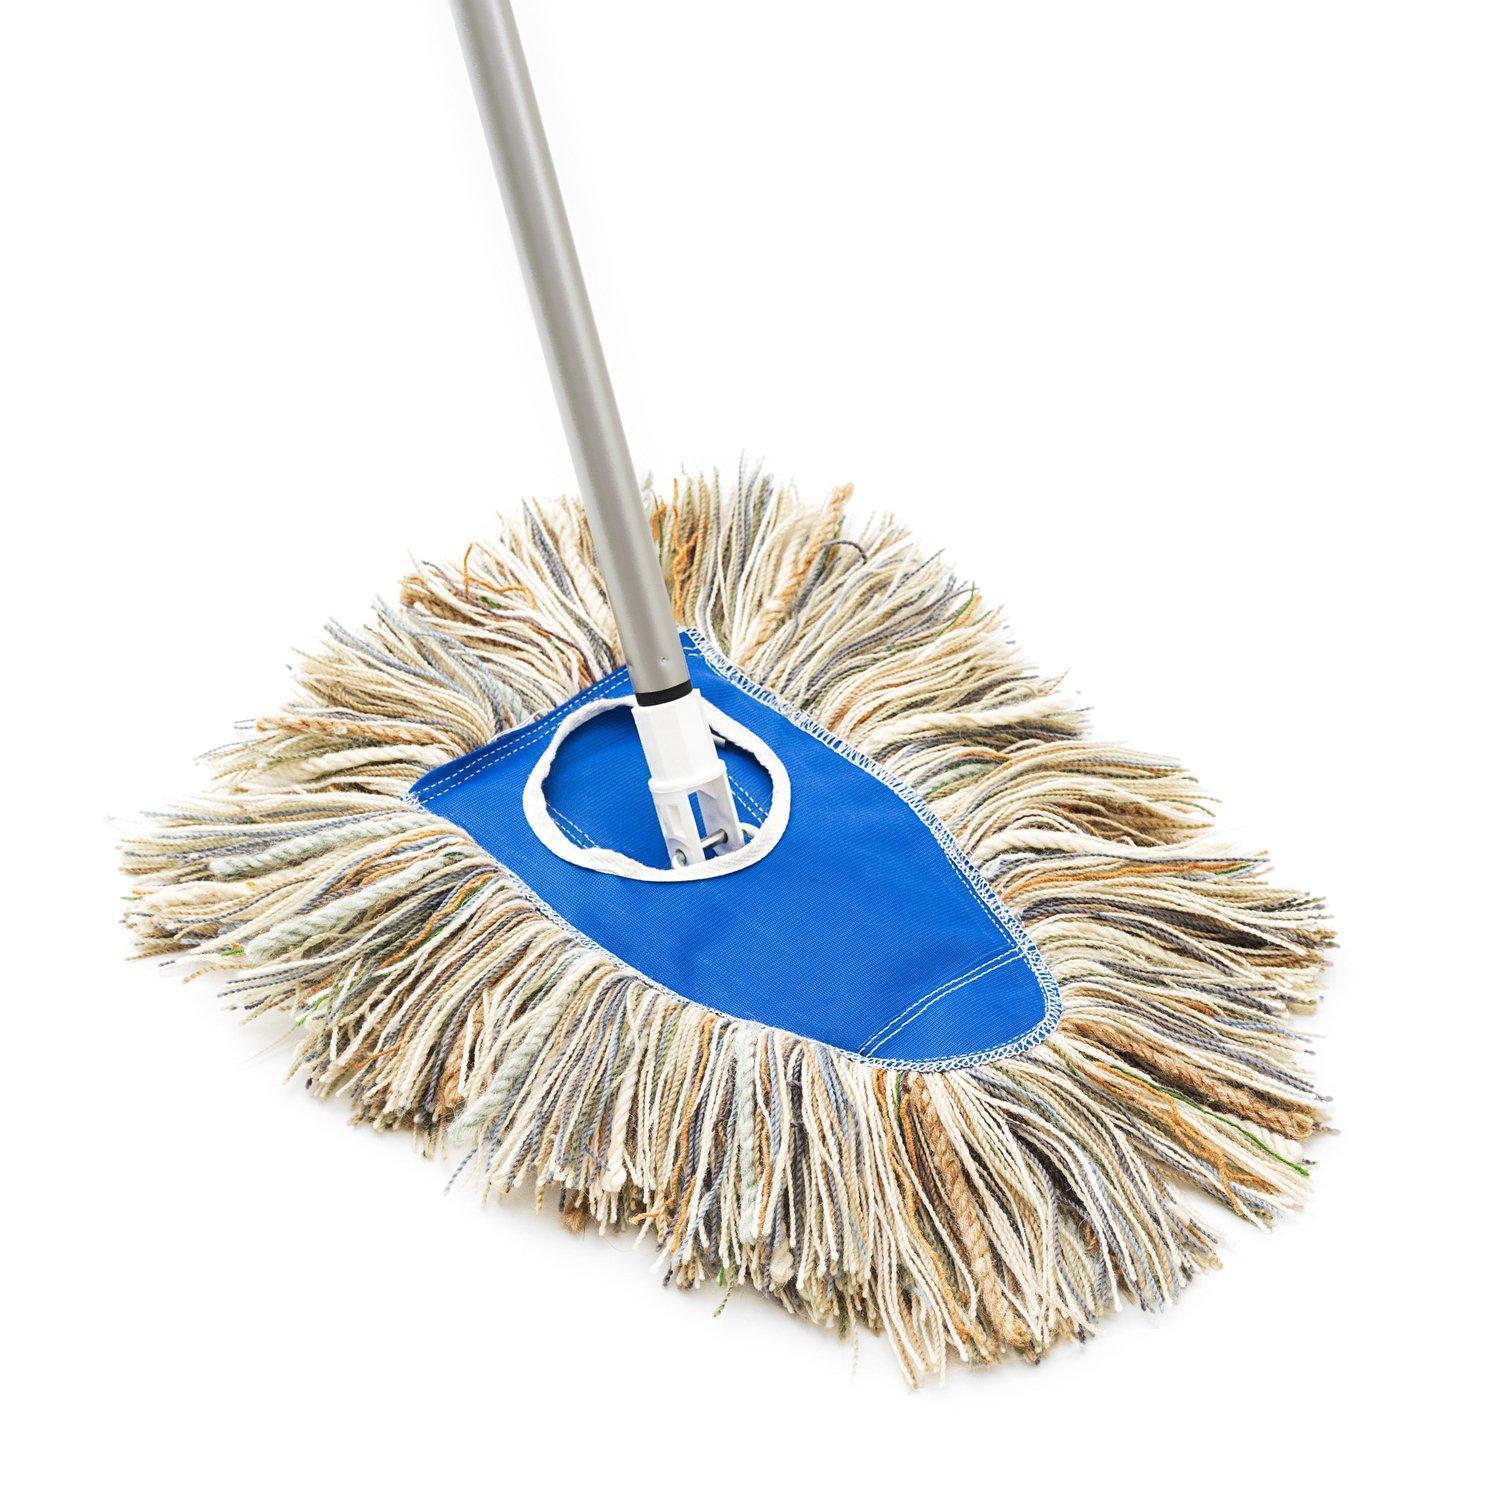
Step 1: Shake Out the Dust
The first step in cleaning a dust mop is to remove the accumulated dust and debris trapped within the fibers. Taking the mop outside is the ideal way to prevent the released dust from resettling on indoor surfaces. Once outside, vigorously shake the dust mop to dislodge as much dust and dirt as possible. You can also lightly tap the mop against a solid surface to help release the trapped particles.
Shaking out the dust is a crucial initial step as it prevents excess dirt and debris from clogging up the washing machine or sink during the subsequent cleaning process. By eliminating as much loose dirt as possible beforehand, you can ensure a more effective and efficient cleaning experience.
It’s important to note that some dust mops come with removable mop heads, which can be easily detached for shaking out the dust. If your dust mop has this feature, simply follow the manufacturer’s instructions for removing and reattaching the mop head.
Once you’ve shaken out the dust, you’re ready to move on to the next step in the cleaning process. Let’s delve into the next crucial phase of rejuvenating your dust mop.
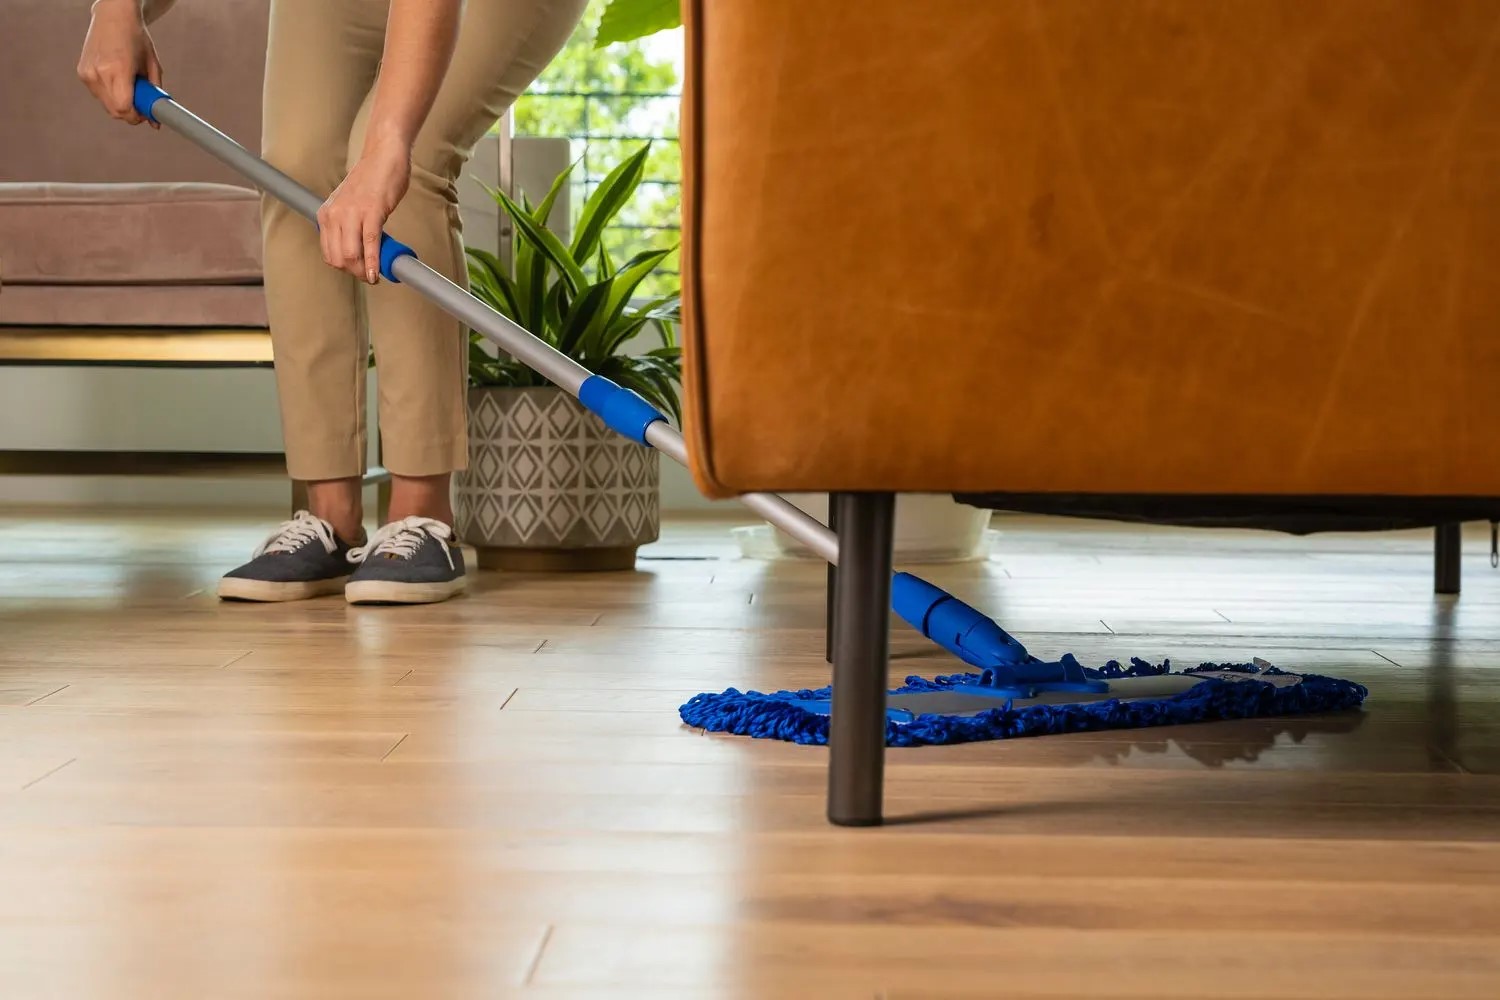
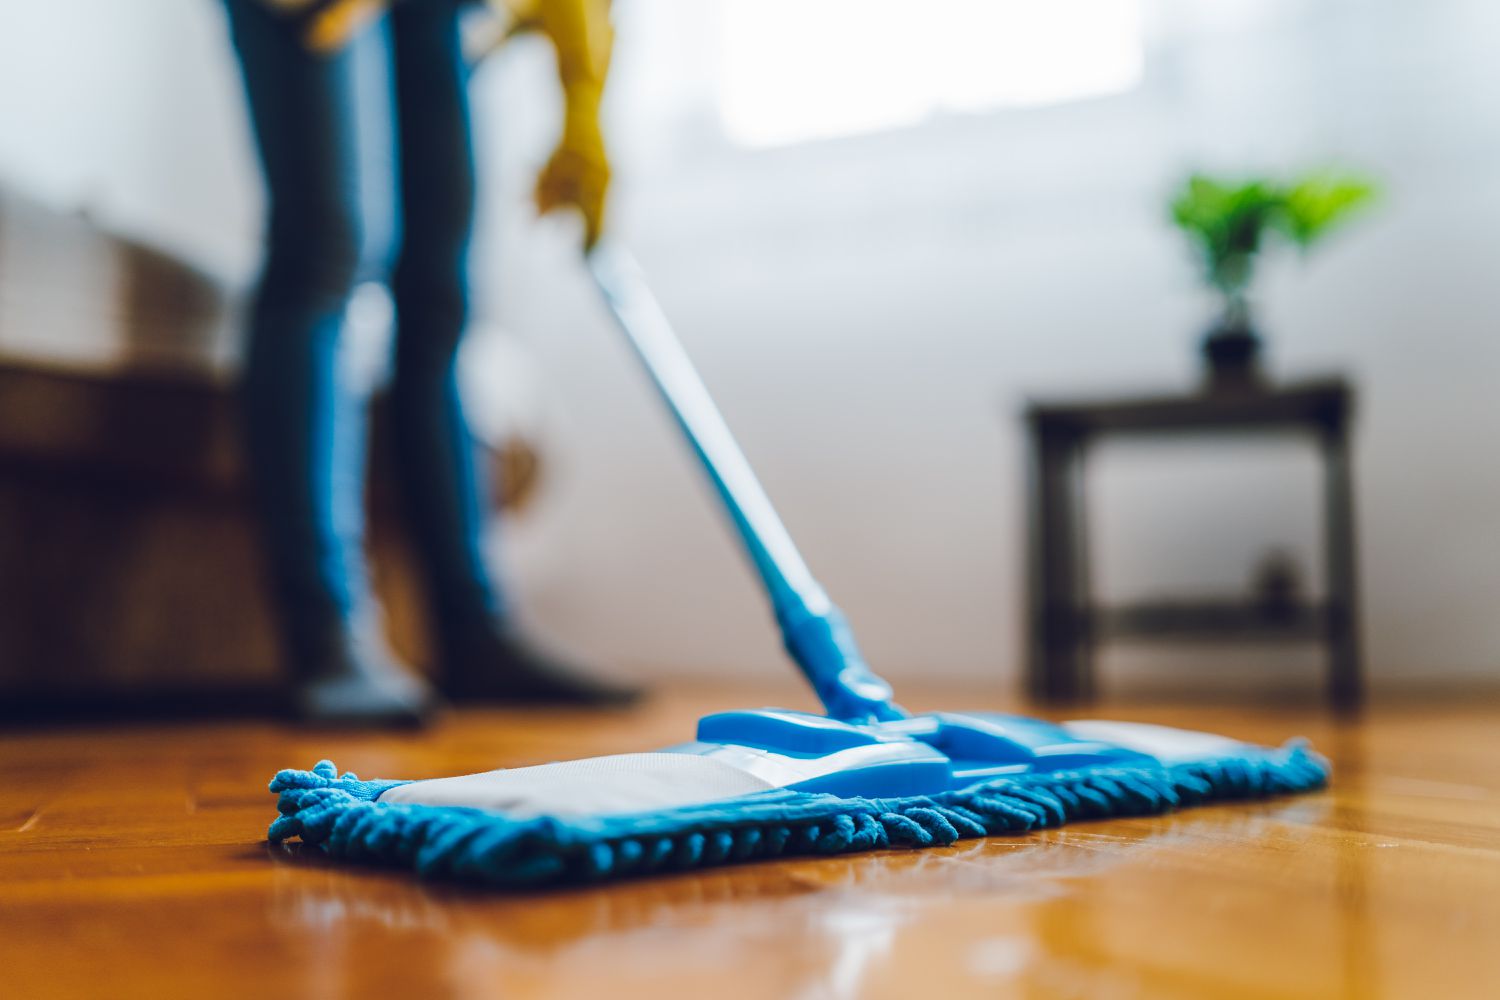
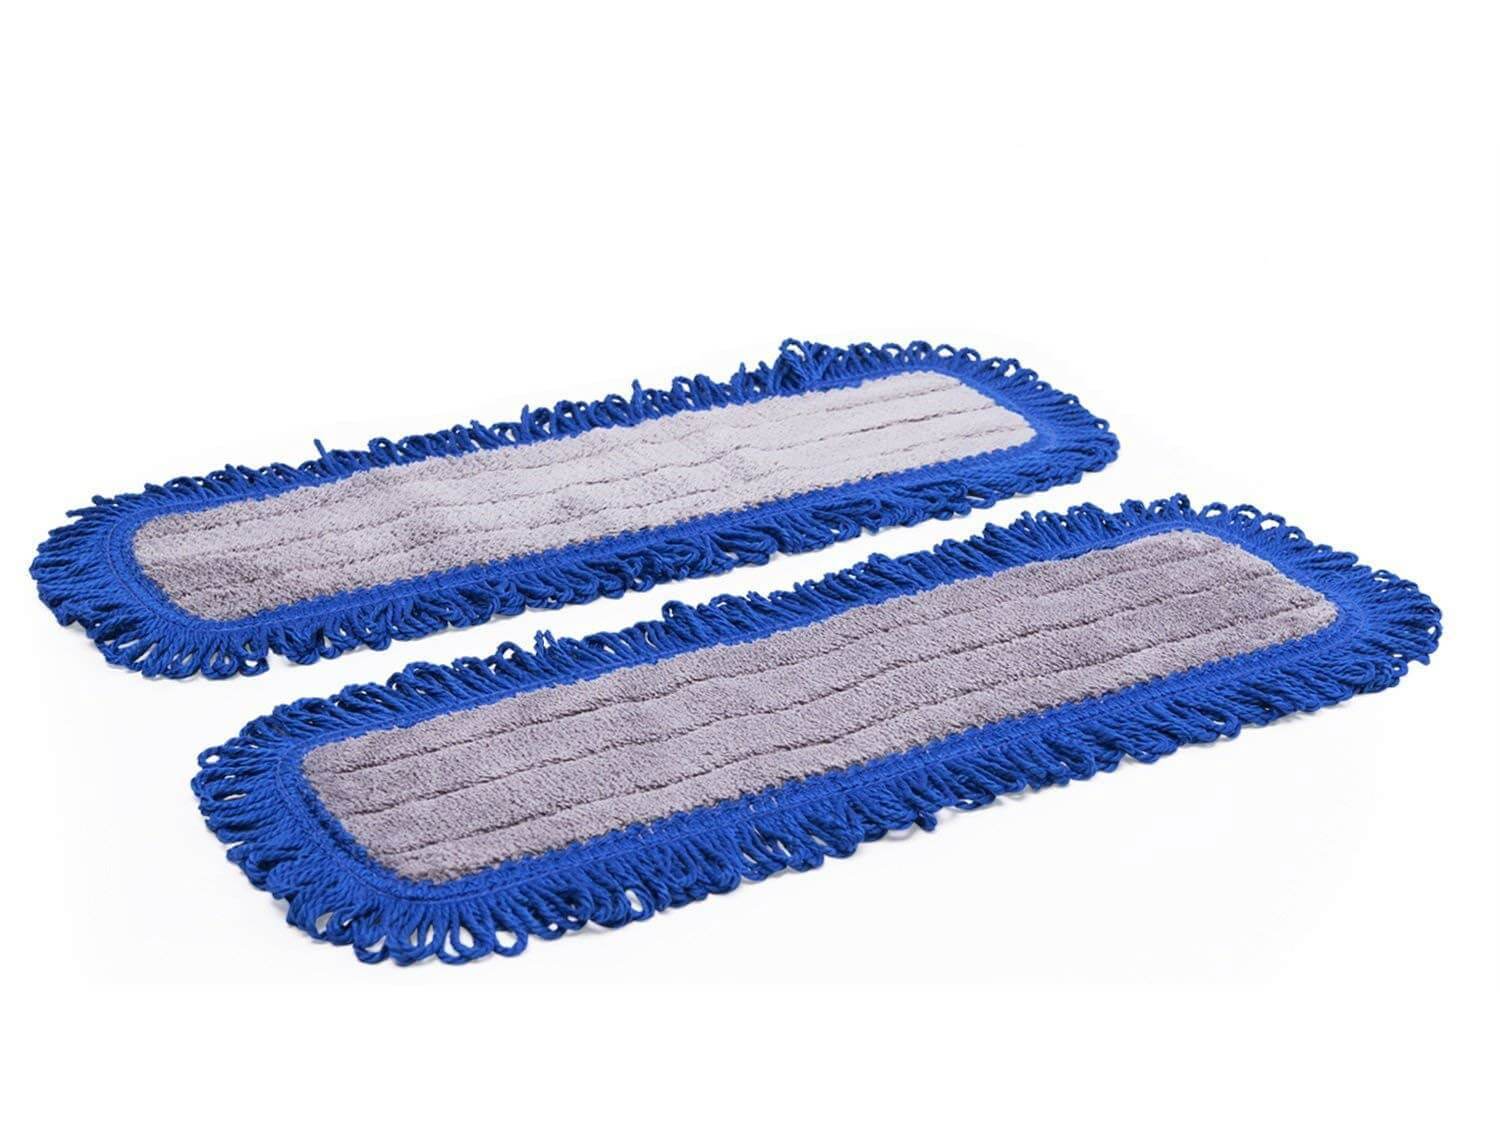
Step 2: Wash the Mop Head
After shaking out the accumulated dust and debris, it’s time to give the mop head a thorough wash. Depending on the material of your dust mop, there are specific cleaning methods to ensure optimal results.
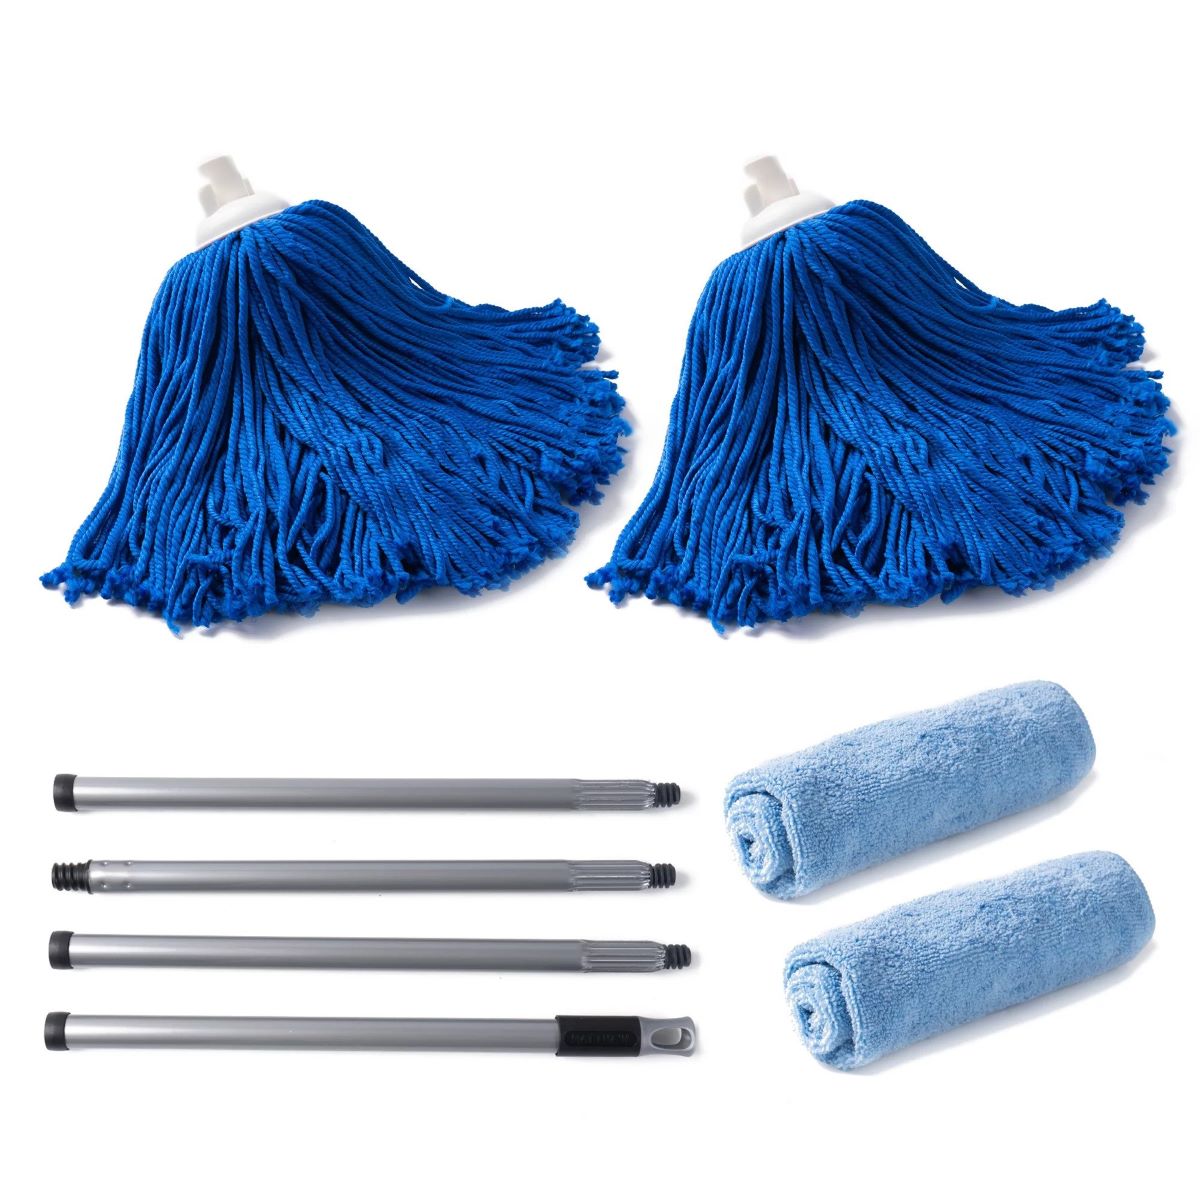
If you have a traditional cotton dust mop, you can typically wash the mop head in a washing machine. Before doing so, check the manufacturer’s instructions to determine the appropriate water temperature and any specific detergent recommendations. It’s advisable to wash the mop head separately from other laundry items to prevent the transfer of dirt and grime.
For microfiber dust mops, it’s best to wash the mop head separately in the washing machine using cold or warm water. Avoid using fabric softeners or harsh detergents, as these can compromise the effectiveness of the microfiber material. Opt for a gentle detergent to maintain the quality and functionality of the microfiber fibers.
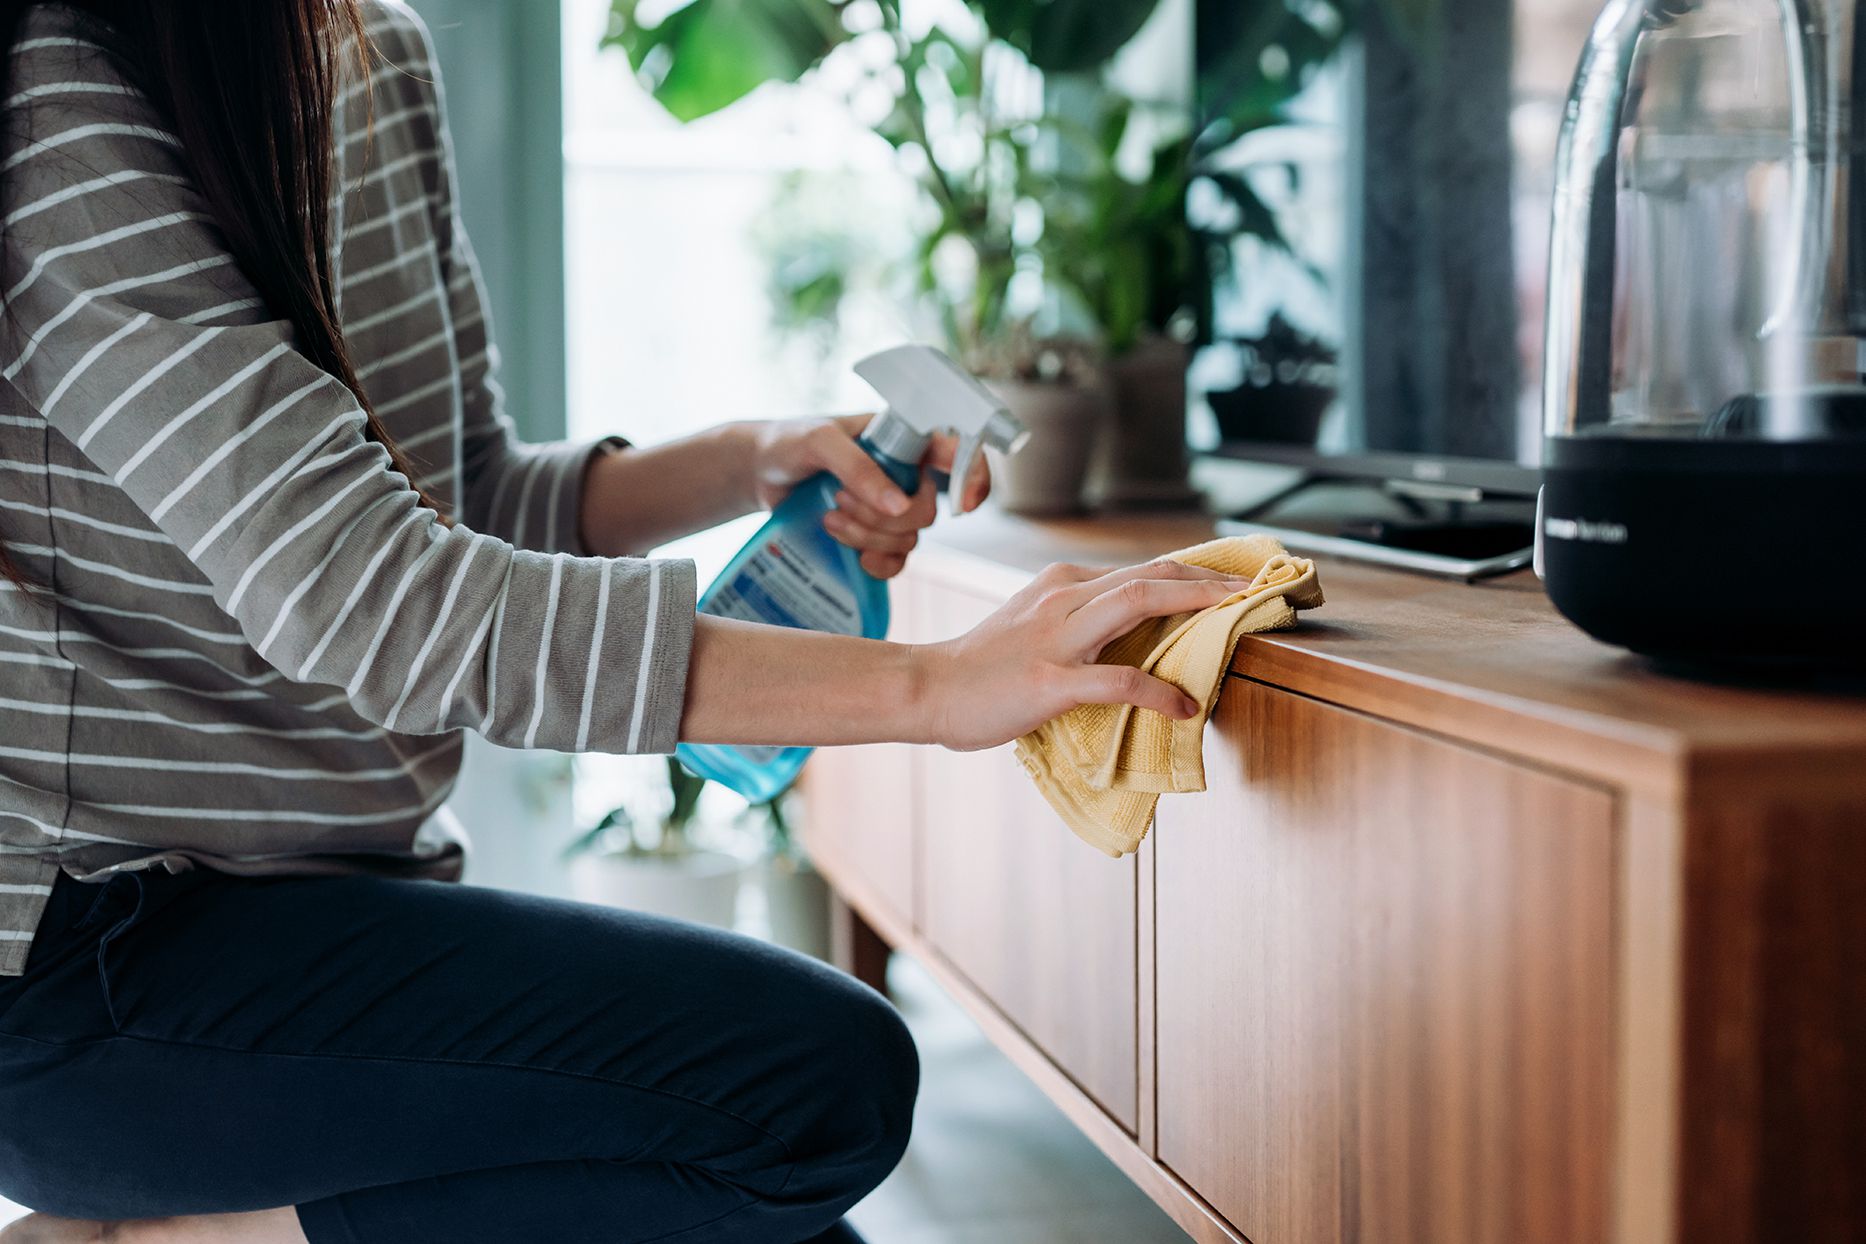
If machine washing is not feasible, you can hand wash the mop head in a sink or large basin filled with water and a mild detergent. Gently agitate the mop head in the soapy water, allowing the detergent to penetrate the fibers and lift away the embedded dirt. Thoroughly rinse the mop head to ensure all detergent residue is removed.
Regardless of the cleaning method chosen, it’s essential to thoroughly rinse the mop head to eliminate any remaining dirt and detergent. Once the mop head is clean and free of grime, it’s time to move on to the final step in the cleaning process.
With the mop head washed and refreshed, the next step will ensure that it is properly rinsed and dried, ready for future use. Let’s proceed to the final phase of rejuvenating your dust mop.
To wash a dust mop, remove the mop head and shake off loose debris. Then, hand wash the mop head in warm soapy water and let it air dry completely before reattaching it to the handle.
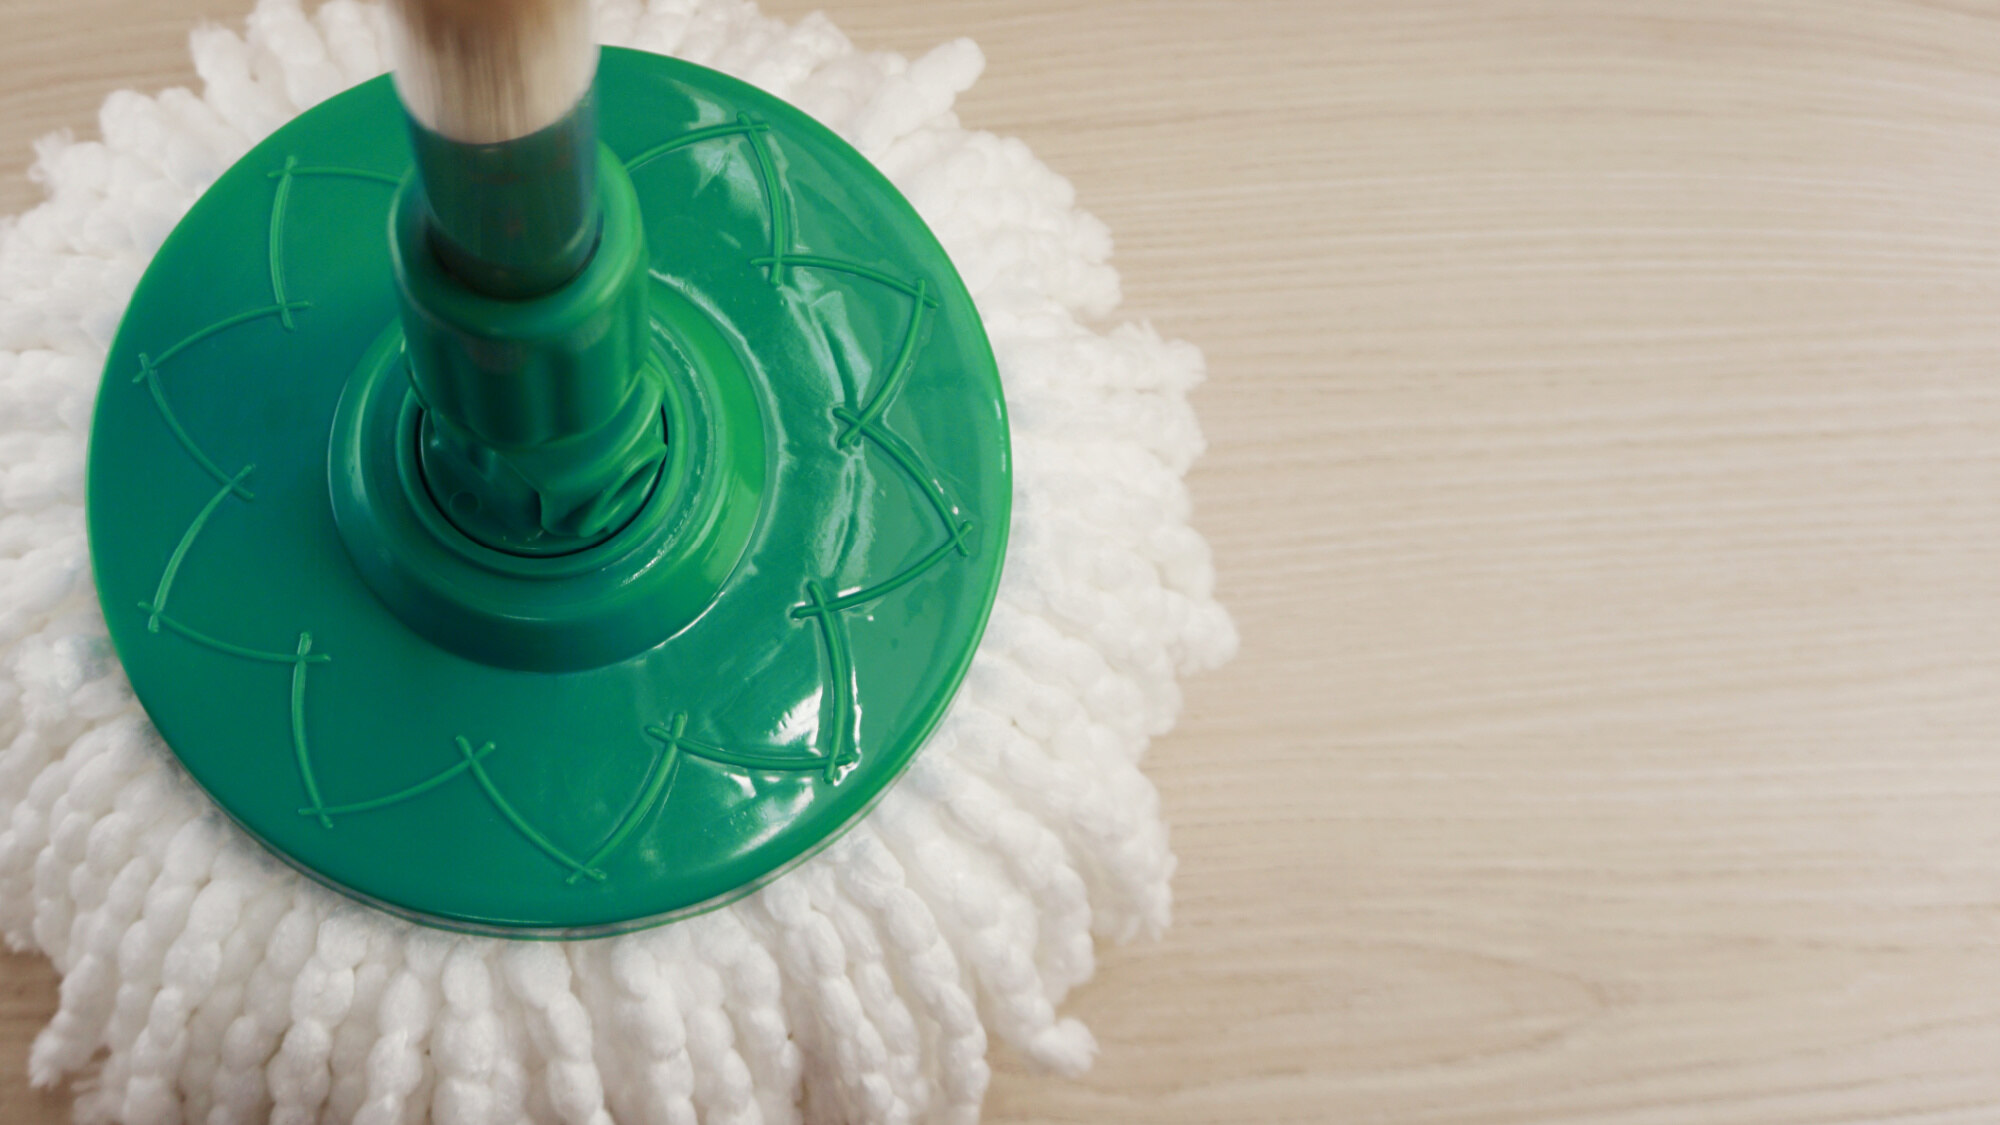
Step 3: Rinse and Dry
After washing the dust mop head, the next crucial step is to thoroughly rinse and dry it to ensure that it is clean and ready for future use. Proper rinsing is essential to remove any lingering detergent and ensure that the mop head is free of residue.
If you washed the mop head in a washing machine, run an additional rinse cycle to guarantee that all detergent has been completely removed. For hand-washed mop heads, rinse them under running water until the water runs clear, indicating the absence of detergent or grime.
Once the mop head has been thoroughly rinsed, it’s time to focus on the drying process. If possible, air-drying the mop head is the best approach. Hang the mop head in a well-ventilated area or outdoors, allowing it to air dry completely. Ensure that the mop head is fully dry before storing or using it again to prevent the growth of mold or mildew.
If time is of the essence and air-drying is not feasible, you can use a dryer on a low heat setting to expedite the drying process. It’s important to monitor the mop head closely to prevent overheating, which can damage certain materials, such as microfiber.
Properly drying the mop head is crucial to maintaining its cleanliness and preventing the development of unpleasant odors. Once the mop head is thoroughly dry, it’s ready to be reattached to the mop handle and put back into action.
With the final step completed, your dust mop is now clean, refreshed, and ready to tackle dust and dirt with renewed efficiency. By following these simple yet essential steps, you can ensure that your dust mop remains a reliable cleaning companion for the long haul.
Conclusion
Cleaning a dust mop is a straightforward yet essential task that can significantly impact its performance and longevity. By following the steps outlined in this guide, you can maintain a clean and effective dust mop, ensuring that it continues to efficiently capture dust and dirt from your floors.
Shaking out the dust is the initial step in the cleaning process, allowing you to remove loose debris before proceeding to wash the mop head. Whether you have a traditional cotton or microfiber dust mop, washing the mop head with the appropriate method is crucial to eliminate embedded dirt and grime.
Rinsing the mop head thoroughly after washing is essential to remove any residual detergent, ensuring that the mop head is clean and free of residue. Proper drying, whether through air-drying or gentle machine drying, is the final step to maintain the cleanliness and freshness of the mop head.
By incorporating these steps into your cleaning routine, you can uphold the effectiveness and hygiene of your dust mop, contributing to a cleaner and healthier living environment. Regular cleaning not only prolongs the life of your dust mop but also enhances its ability to keep your floors free of dust and debris.
Remember, a well-maintained dust mop is a valuable ally in your cleaning arsenal, making the task of keeping your floors clean and tidy a breeze. With these simple cleaning steps, you can ensure that your dust mop remains a reliable and efficient cleaning tool for years to come.
So, the next time your dust mop is in need of a refresh, simply follow these steps to restore its cleanliness and functionality. Your floors will thank you for it!
Frequently Asked Questions about How To Wash Dust Mop
Was this page helpful?
At Storables.com, we guarantee accurate and reliable information. Our content, validated by Expert Board Contributors, is crafted following stringent Editorial Policies. We're committed to providing you with well-researched, expert-backed insights for all your informational needs.

0 thoughts on “How To Wash Dust Mop”