Home>Home Appliances>Laundry Appliances>How To Wash A Mop Head In A Washing Machine
Laundry Appliances
How To Wash A Mop Head In A Washing Machine
Modified: March 2, 2024
Learn how to effectively clean a mop head in a washing machine with our expert laundry appliance tips. Keep your mop clean and fresh effortlessly!
(Many of the links in this article redirect to a specific reviewed product. Your purchase of these products through affiliate links helps to generate commission for Storables.com, at no extra cost. Learn more)
Introduction
Washing a mop head may seem like a simple task, but it's essential to maintain a clean and effective cleaning tool. Over time, mop heads can accumulate dirt, grime, and bacteria, which can spread germs and leave floors less than spotless. By regularly washing your mop head, you can ensure that it continues to effectively clean your floors and prevent the spread of harmful bacteria.
In this comprehensive guide, we will walk you through the step-by-step process of washing a mop head in a washing machine. Whether you're a homeowner looking to keep your floors sparkling clean or a professional cleaner seeking to maintain top-notch hygiene standards, this guide will equip you with the knowledge and techniques to effectively clean your mop head with ease.
By following these simple yet crucial steps, you can extend the lifespan of your mop head, maintain a clean and sanitary environment, and ensure that your floors are thoroughly cleaned with each use. So, let's dive into the details and learn how to properly wash a mop head in a washing machine.
Key Takeaways:
- Keep your mop head clean for effective floor cleaning and to prevent the spread of germs and bacteria. Follow the step-by-step process to wash it in a washing machine and ensure a hygienic environment.
- Properly remove, pre-treat stains, load, choose the right settings, add detergent, start the washing machine, and air dry the mop head to maintain its cleanliness and absorbency for effective cleaning.
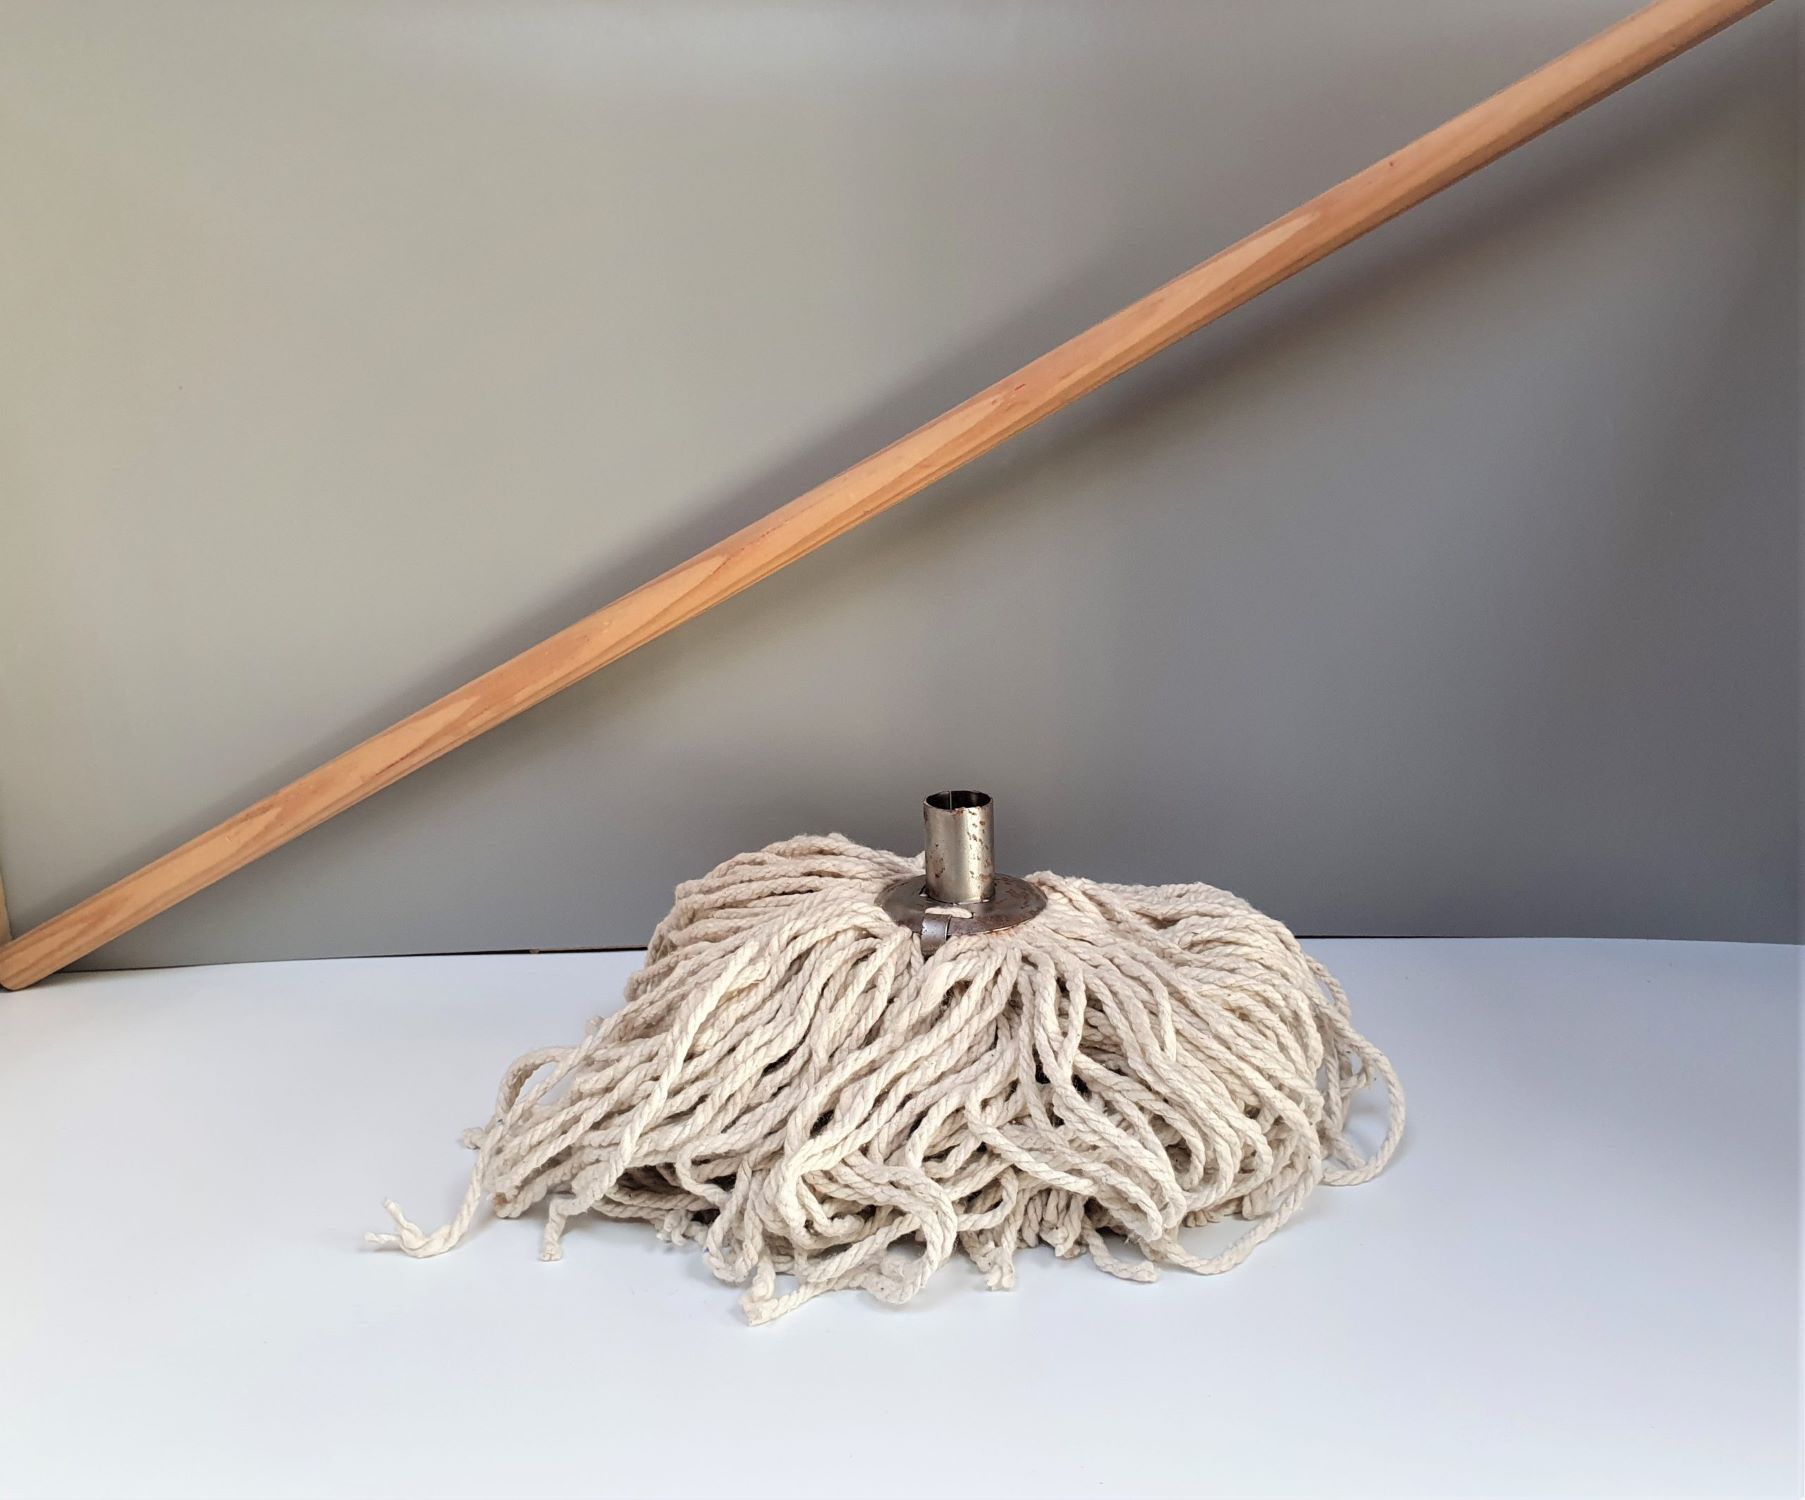
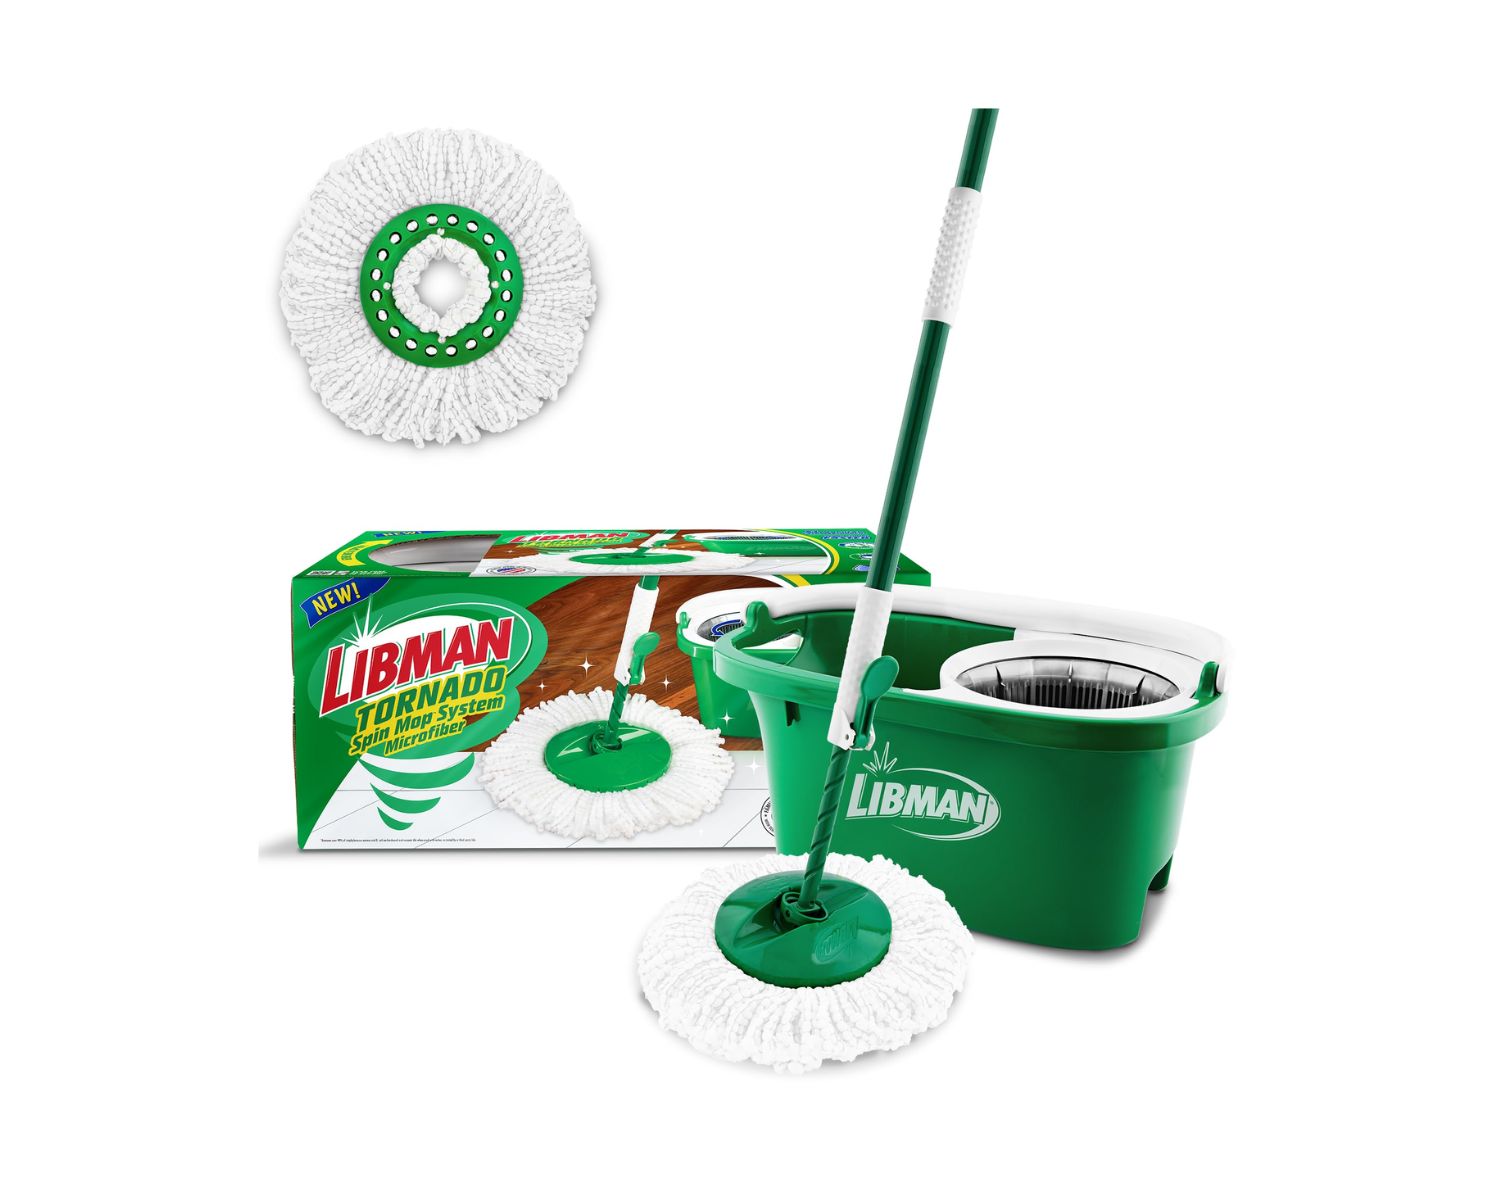
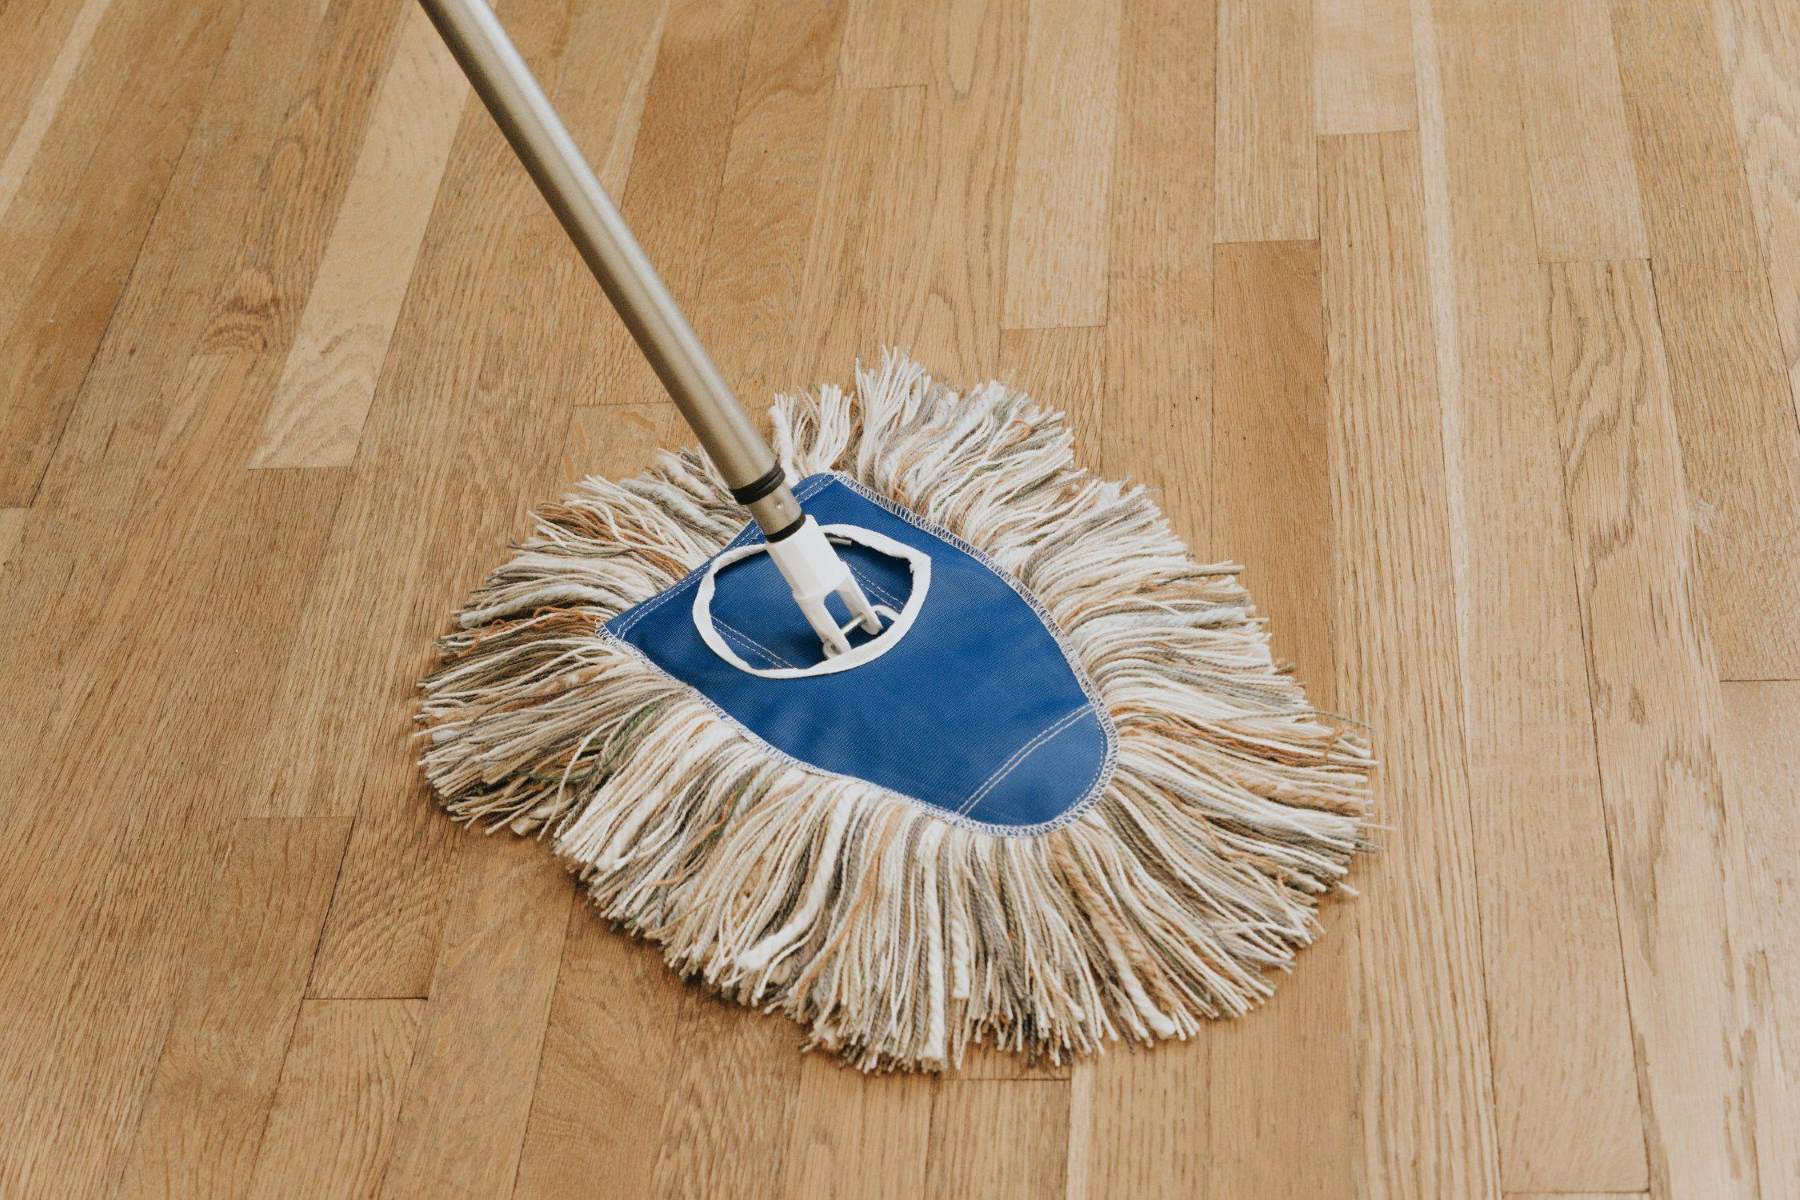
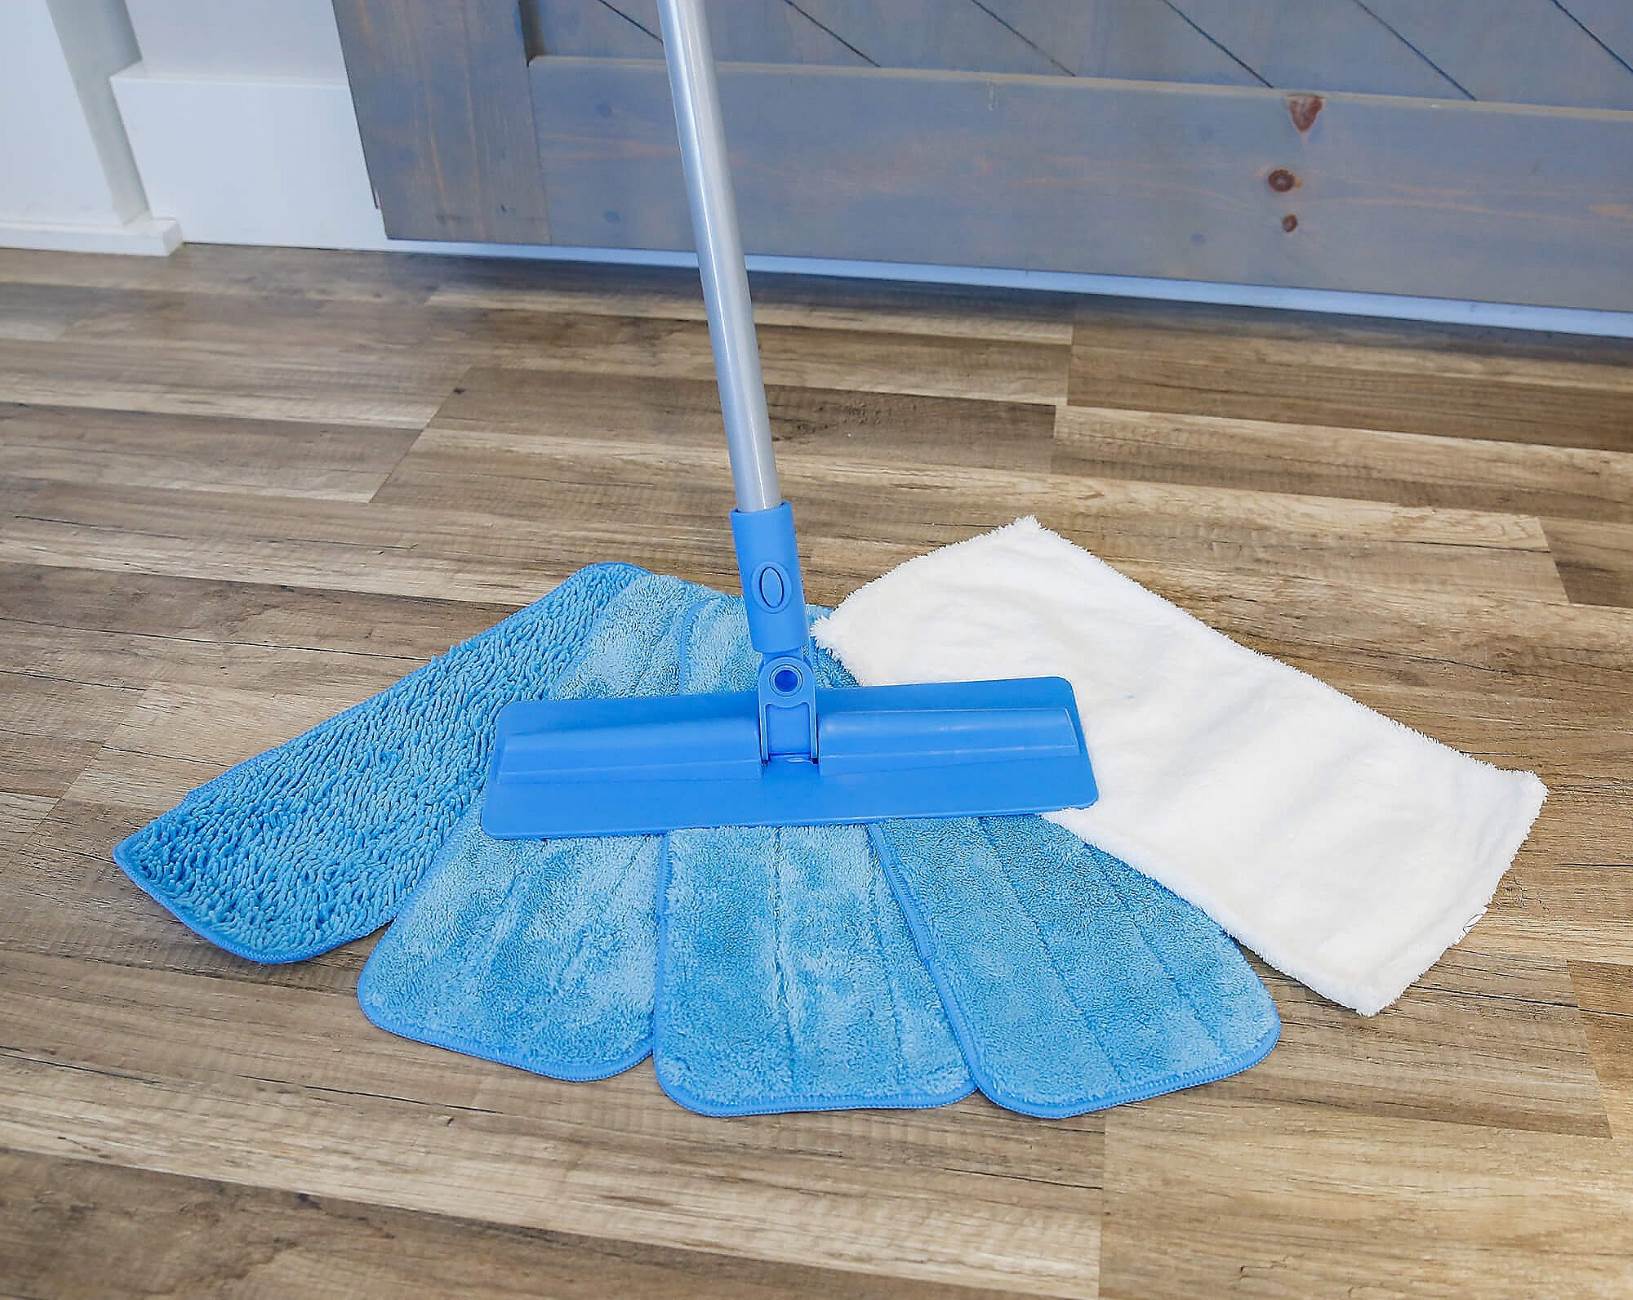
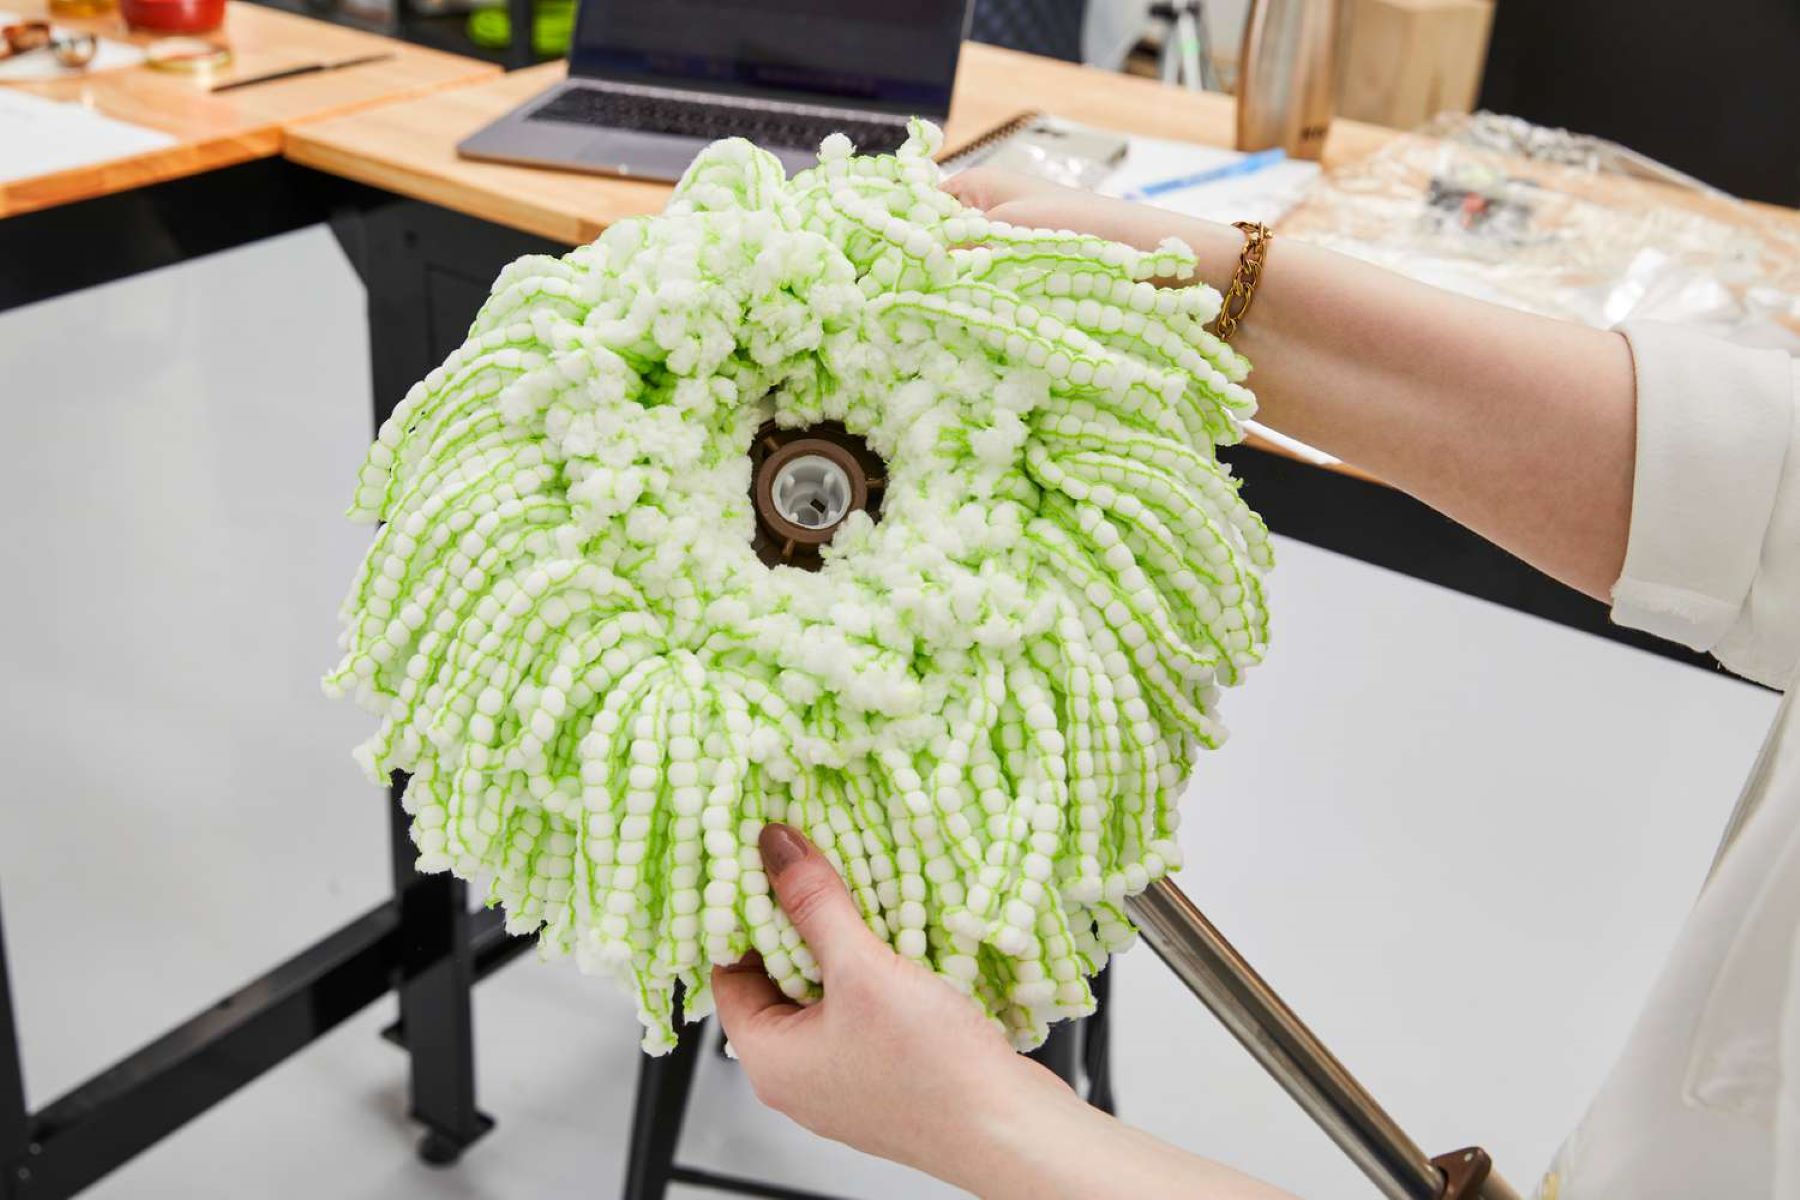
Step 1: Remove the Mop Head
Before you begin the process of washing your mop head, it's crucial to remove it from the mop handle. This step is essential to ensure that the mop head receives a thorough and effective cleaning in the washing machine. Here's how to do it:
-
Unscrew or Release Mechanism: Depending on the type of mop you have, you may need to unscrew the mop head from the handle or release it using a specific mechanism. Follow the manufacturer's instructions to detach the mop head carefully.
-
Inspect for Wear and Tear: While removing the mop head, take a moment to inspect it for any signs of wear and tear. Look for frayed strands, excessive dirt buildup, or any damage that may require special attention during the washing process.
-
Handle with Care: When handling the mop head, be mindful of any accumulated dirt or debris. To prevent spreading dirt to other surfaces, consider placing the mop head directly into a laundry basket or container for transport to the washing machine.
-
Prepare for Washing: Once the mop head is removed, you can proceed to the next steps in the washing process. This includes pre-treating stains, loading the washing machine, and selecting the appropriate settings for a thorough cleaning.
By taking the time to properly remove the mop head from the handle and inspect it for any issues, you set the stage for a successful cleaning process. This attention to detail ensures that the mop head receives the care it needs to effectively clean your floors and maintain a hygienic environment.
With the mop head removed and ready for washing, you're now prepared to move on to the next steps in the process. Let's continue with pre-treating any stains on the mop head to ensure a comprehensive cleaning in the washing machine.
Step 2: Pre-treat Stains
Pre-treating stains on a mop head is a crucial step in ensuring that tough or embedded dirt and grime are effectively removed during the washing process. By addressing stains before placing the mop head in the washing machine, you can enhance the overall cleanliness and longevity of the mop head. Here's how to pre-treat stains on a mop head effectively:
-
Identify Stained Areas: Begin by carefully examining the mop head for any visible stains or areas of heavy soiling. Common culprits include food spills, grease, and stubborn dirt that may have accumulated during cleaning sessions. Identifying these areas will help you target them during the pre-treatment process.
-
Spot Treatment: For localized stains, consider using a pre-treatment solution or stain remover specifically designed for fabric and tough stains. Apply a small amount of the solution directly to the stained areas and gently work it into the fabric using a soft-bristled brush or your fingers. Allow the pre-treatment solution to penetrate the stains for the recommended duration as per the product instructions.
-
Soaking Method: If the entire mop head shows signs of heavy soiling or discoloration, consider soaking it in a solution of water and a mild detergent or a specialized fabric cleaner. Prepare a basin or bucket with the cleaning solution and submerge the mop head completely. Allow it to soak for at least 30 minutes to loosen dirt and grime before proceeding to the washing machine.
-
Gentle Agitation: After applying the pre-treatment solution or soaking the mop head, gently agitate the stained areas by hand. This can help to loosen embedded dirt and prepare the fabric for a thorough cleaning in the washing machine. Avoid aggressive scrubbing, as this may cause damage to the mop head's fibers.
-
Rinse if Necessary: Depending on the pre-treatment method used, you may need to rinse the mop head under running water to remove excess pre-treatment solution or detergent. Ensure that the water runs clear, indicating that the pre-treatment process has effectively lifted the stains and dirt from the fabric.
By pre-treating stains on the mop head, you set the stage for a more effective cleaning process in the washing machine. This proactive approach helps to target tough stains and embedded dirt, ensuring that your mop head emerges from the washing machine thoroughly clean and ready for future use. With the stains pre-treated, you're now ready to proceed to the next step of loading the mop head into the washing machine for a comprehensive cleaning cycle.
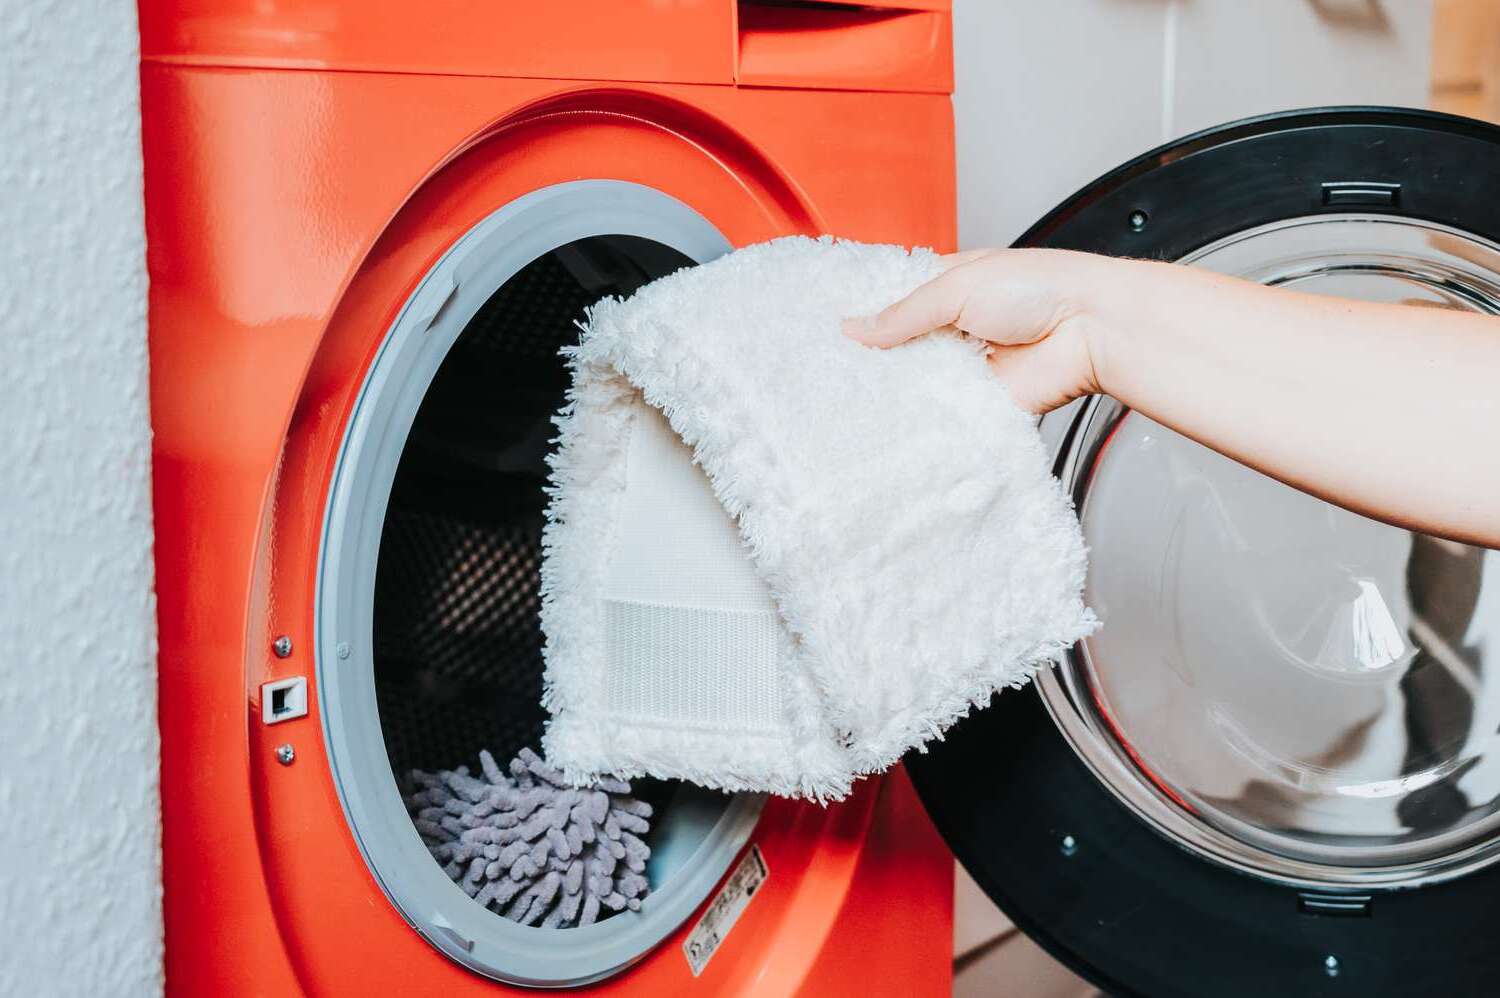
Step 3: Load the Washing Machine
Loading the washing machine properly is a critical step in ensuring that the mop head receives a thorough and effective cleaning. By following the correct procedures for loading the washing machine, you can optimize the cleaning process and maintain the integrity of the mop head. Here's a detailed guide on how to load the washing machine for washing a mop head:
-
Select the Right Washer Size: Before loading the washing machine, ensure that you have selected the appropriate washer size for the load. If you have a top-loading machine, be mindful of the capacity and avoid overfilling the washer. For front-loading machines, adhere to the recommended load capacity to allow for proper agitation and cleaning.
-
Use a Mesh Laundry Bag (Optional): To prevent the mop head from tangling or causing damage to the washing machine, consider placing it inside a mesh laundry bag. This extra layer of protection can help to contain the mop head and prevent loose strands from becoming entangled with other items in the wash.
-
Balance the Load: If you are washing the mop head alongside other laundry items, distribute the weight evenly in the washing machine. Imbalanced loads can lead to excessive vibration and may impact the effectiveness of the cleaning cycle. Ensure that the mop head is not overcrowded in the washer, allowing it to move freely during the wash.
-
Avoid Overcrowding: While it may be tempting to include other cleaning cloths or small items in the same wash cycle, it's important to avoid overcrowding the washing machine. This can hinder the movement of the mop head and compromise the overall cleaning process. Focus on washing the mop head separately or with a small, compatible load to ensure optimal cleaning results.
-
Select the Right Water Temperature: Depending on the material of the mop head and the level of soiling, choose the appropriate water temperature for the wash cycle. Hot water can be effective in removing tough stains and killing bacteria, while cold water is suitable for more delicate fabrics. Follow the manufacturer's recommendations for the best results.
-
Add Other Laundry Detergents (If Applicable): If you are washing the mop head with other laundry items, add the appropriate amount of laundry detergent according to the manufacturer's instructions. For heavily soiled mop heads, consider using a detergent with strong cleaning properties to ensure a thorough wash.
By carefully loading the washing machine and considering these essential factors, you can set the stage for a successful cleaning cycle that leaves your mop head fresh, clean, and ready for future use. With the washing machine loaded and ready to go, the next step is to select the right settings for a comprehensive cleaning cycle.
Step 4: Choose the Right Settings
Selecting the appropriate settings on the washing machine is crucial to ensure that the mop head undergoes a thorough and effective cleaning cycle. By understanding the various settings and their impact on the cleaning process, you can optimize the wash to suit the specific needs of the mop head. Here's a detailed guide on choosing the right settings for washing a mop head:
-
Wash Cycle Selection: Most modern washing machines offer a range of wash cycle options, including regular, delicate, and heavy-duty cycles. For standard mop heads made of durable materials such as cotton or microfiber, the regular or heavy-duty cycle is typically suitable. These cycles provide robust agitation and extended wash times, ideal for lifting embedded dirt and grime from the mop head's fibers. However, for delicate or specialty mop heads, such as those with intricate designs or fragile materials, opt for the delicate cycle to ensure gentle yet effective cleaning.
-
Spin Speed: The spin speed setting determines how fast the washing machine's drum rotates during the spin cycle. For mop heads, especially those with dense fibers or high water retention, selecting a higher spin speed can help to wring out excess water more effectively. This is particularly beneficial for reducing drying time and ensuring that the mop head emerges from the washing machine with minimal moisture, ready for air drying.
-
Water Level: Adjusting the water level ensures that the mop head receives adequate water for thorough cleaning without being submerged excessively. For a single mop head or a small load, a lower water level is sufficient to facilitate proper agitation and cleaning. However, if washing multiple mop heads or combining them with other laundry items, a higher water level may be necessary to accommodate the increased load while maintaining optimal cleaning performance.
-
Temperature Control: The water temperature setting plays a significant role in the cleaning efficacy of the wash cycle. Hot water is effective in killing bacteria and removing tough stains from the mop head, making it an ideal choice for heavily soiled mop heads. On the other hand, cold water is suitable for more delicate mop heads or those with specific care instructions to prevent shrinkage or damage. Always refer to the manufacturer's guidelines for the recommended water temperature based on the mop head's material and construction.
-
Additional Options: Some washing machines offer additional options such as extra rinse, pre-soak, or extended wash cycles. These options can be beneficial for ensuring a more thorough cleaning of the mop head, especially if it has accumulated significant dirt or requires extra rinsing to remove detergent residue effectively.
By carefully selecting the right settings on the washing machine, you can tailor the wash cycle to meet the specific cleaning requirements of the mop head. This attention to detail ensures that the mop head undergoes a comprehensive and effective cleaning process, setting the stage for pristine floors and a hygienic cleaning tool. With the settings chosen, the washing machine is ready to initiate the cleaning cycle, bringing the mop head one step closer to a fresh and revitalized state.
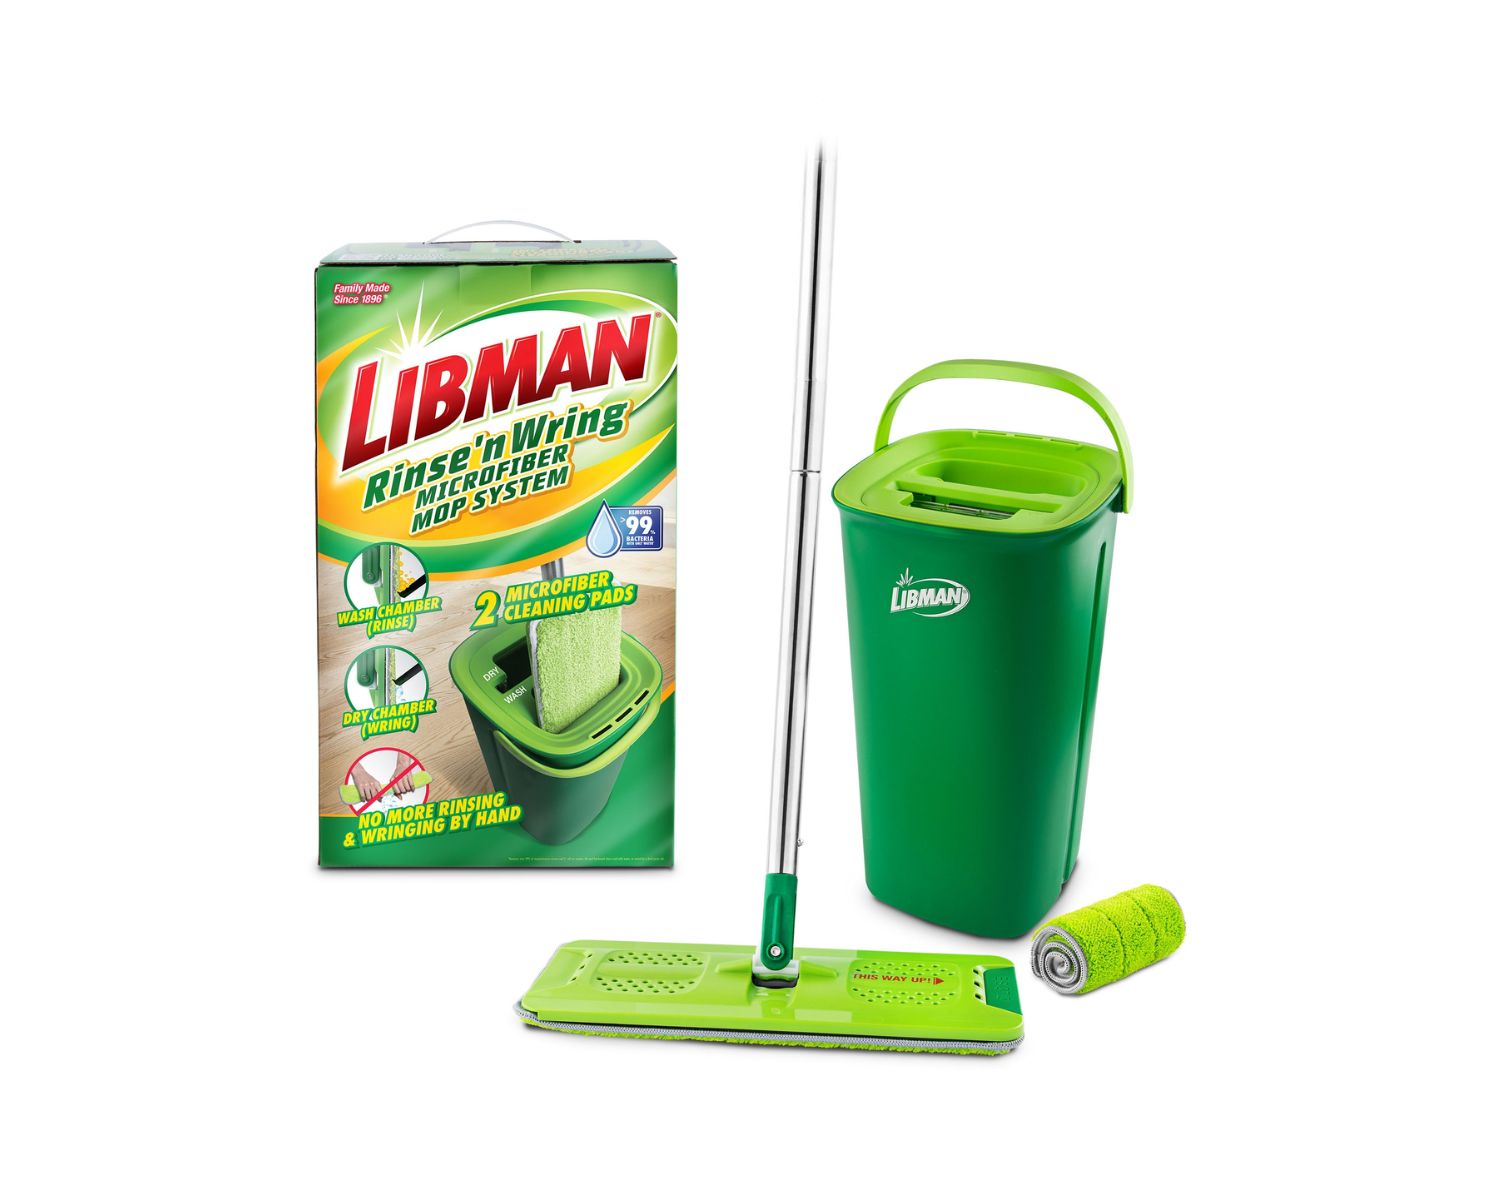
To wash a mop head in a washing machine, place it in a mesh laundry bag to prevent tangling. Use hot water and a heavy-duty detergent to ensure thorough cleaning. Avoid using fabric softener as it can reduce the mop’s absorbency.
Read more: How To Put A Mop Head On
Step 5: Add Detergent
Adding the right detergent is a crucial step in ensuring that your mop head receives a thorough and effective cleaning in the washing machine. The choice of detergent can significantly impact the cleanliness and longevity of the mop head, as well as the overall hygiene of your floors. Here's a detailed guide on adding detergent to the washing machine for washing a mop head:
-
Selecting the Appropriate Detergent: When it comes to washing a mop head, opt for a high-quality laundry detergent that is suitable for the fabric and level of soiling. For standard cotton or microfiber mop heads, a regular laundry detergent with strong cleaning properties is ideal for lifting dirt and grime. If the mop head is heavily soiled or has been used in areas with potential bacterial contamination, consider using a detergent with antibacterial or disinfectant properties to ensure thorough sanitation.
-
Measuring the Detergent: Follow the manufacturer's guidelines to determine the appropriate amount of detergent based on the load size and level of soiling. Using too much detergent can result in excessive sudsing, potentially trapping dirt and residue in the mop head's fibers. Conversely, using too little detergent may compromise the cleaning efficacy of the wash cycle. Measure the detergent carefully and avoid overloading the washing machine with excess detergent, especially when washing a single mop head or a small load.
-
Avoiding Fabric Softeners and Bleach: While fabric softeners and bleach are commonly used in laundry, it's important to avoid using them when washing a mop head. Fabric softeners can leave a residue that diminishes the mop head's absorbency and cleaning performance. Additionally, bleach may cause discoloration or damage to the mop head's fibers, especially if it is not compatible with the material. Stick to using a suitable laundry detergent without added fabric softeners or bleach for optimal cleaning results.
-
Consider Specialized Cleaning Products: In some cases, specialized cleaning products designed for specific mop head materials may offer enhanced cleaning benefits. For example, if you have a microfiber mop head, using a detergent formulated for microfiber cleaning can help maintain its unique properties and ensure a thorough wash. Explore options for specialized cleaning products that cater to the specific needs of your mop head material for exceptional cleaning results.
By adding the right detergent to the washing machine, you can enhance the cleaning power of the wash cycle and ensure that your mop head emerges fresh, clean, and ready for future use. With the detergent added, the washing machine is poised to initiate the cleaning cycle, bringing the mop head one step closer to a revitalized state and ensuring pristine floors with each use.
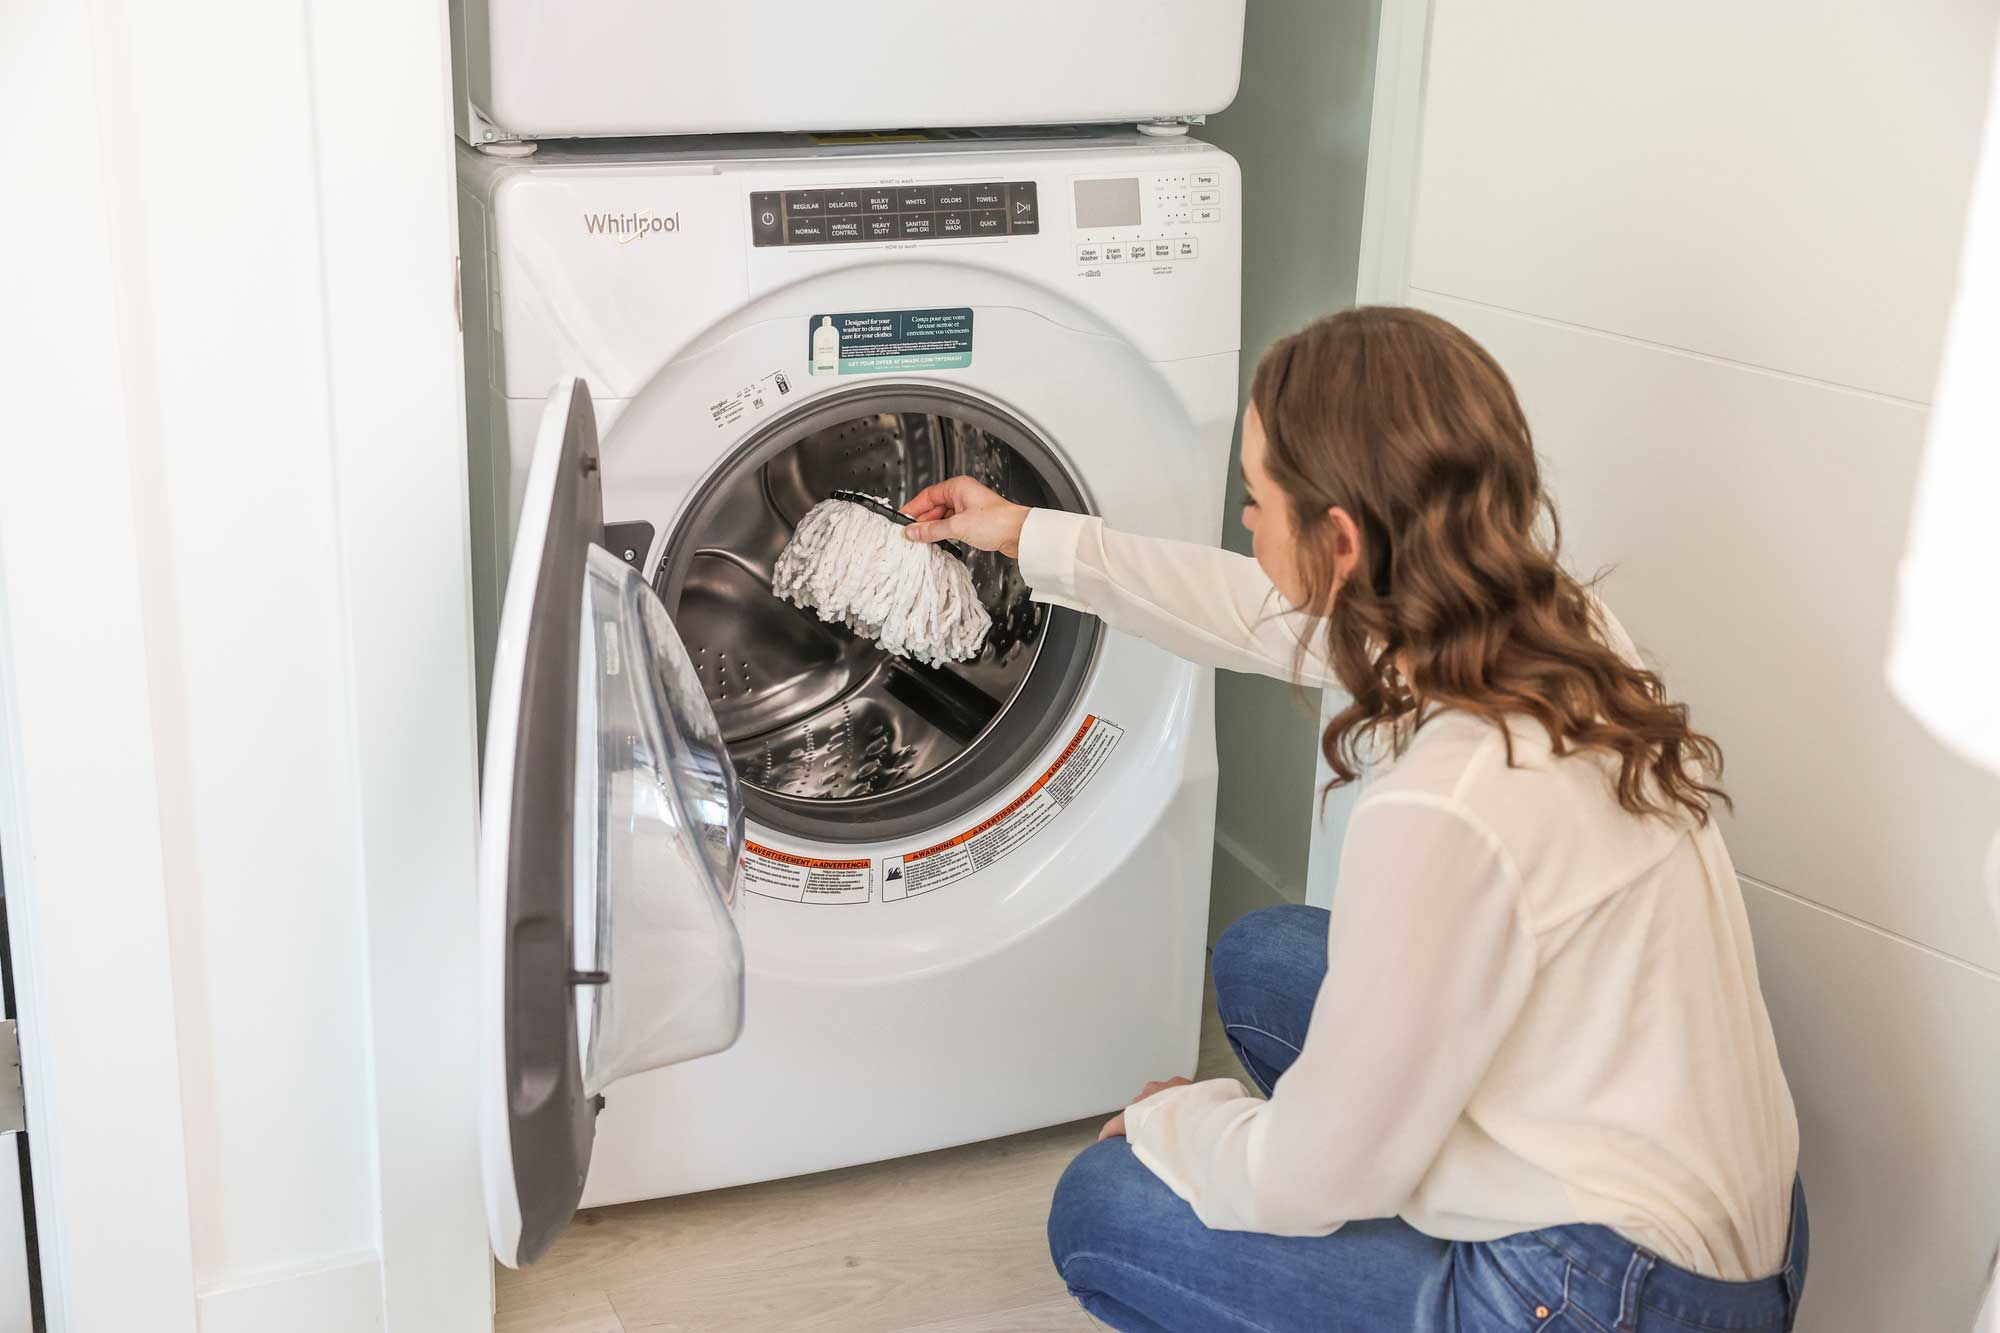
Step 6: Start the Washing Machine
With the mop head loaded, pre-treated, and the appropriate settings selected, it's time to initiate the washing machine cycle. Starting the washing machine marks the pivotal moment when the cleaning process commences, working diligently to revitalize the mop head and ensure its pristine condition for future use.
To start the washing machine, follow these essential steps:
-
Close the Lid or Door: If you have a top-loading washing machine, ensure that the lid is securely closed before initiating the wash cycle. For front-loading machines, close the door firmly to prevent any water leakage during the cycle.
-
Select the Wash Cycle: Double-check that you have chosen the correct wash cycle based on the material and level of soiling of the mop head. Whether it's a regular, delicate, or heavy-duty cycle, confirming the selection ensures that the mop head undergoes the most suitable cleaning process.
-
Adjust Additional Options (If Applicable): If your washing machine offers additional options such as extra rinse or pre-soak, ensure that they are activated if necessary. These supplemental features can enhance the cleaning efficacy, especially for heavily soiled or larger mop heads.
-
Start the Cycle: Once all settings and options are confirmed, start the washing machine cycle according to the manufacturer's instructions. Depending on the selected cycle, the washing machine will begin agitating, soaking, and rinsing the mop head to remove dirt, grime, and any remaining stains.
-
Monitor the Cycle: While the washing machine is in operation, it's advisable to monitor the cycle periodically, especially during the initial stages. This allows you to ensure that the mop head is moving freely within the machine and that the cleaning process is progressing as expected.
-
Wait for Completion: Allow the washing machine to complete the full cycle, including the wash, rinse, and spin cycles. Once the cycle concludes, the mop head should be thoroughly cleaned and ready for the next step in the process.
Starting the washing machine sets the cleaning process in motion, working diligently to restore the mop head to its optimal cleanliness and hygiene. With the cycle underway, the washing machine's robust cleaning action and thorough rinsing prepare the mop head for the final step: air drying.
By following these steps to start the washing machine, you ensure that the mop head undergoes a comprehensive and effective cleaning cycle, setting the stage for pristine floors and a revitalized cleaning tool.
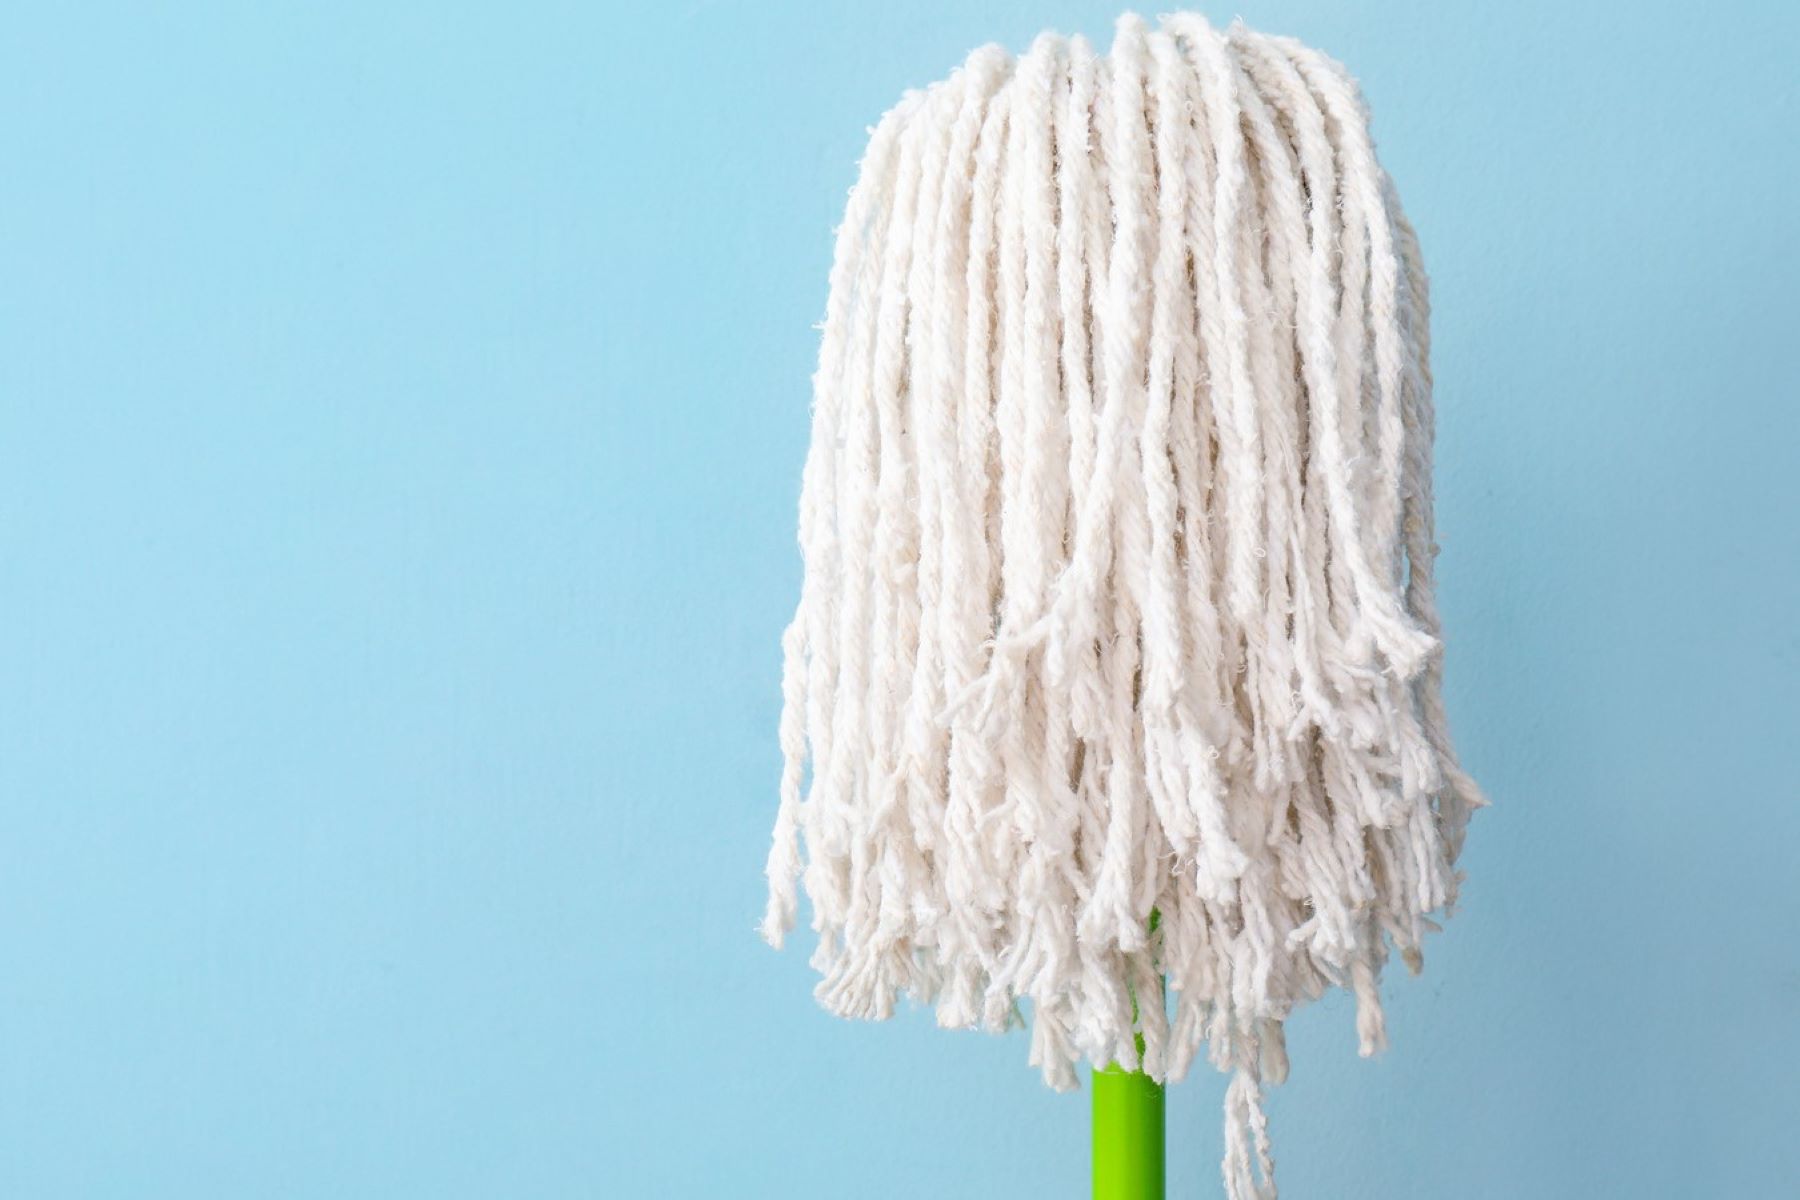
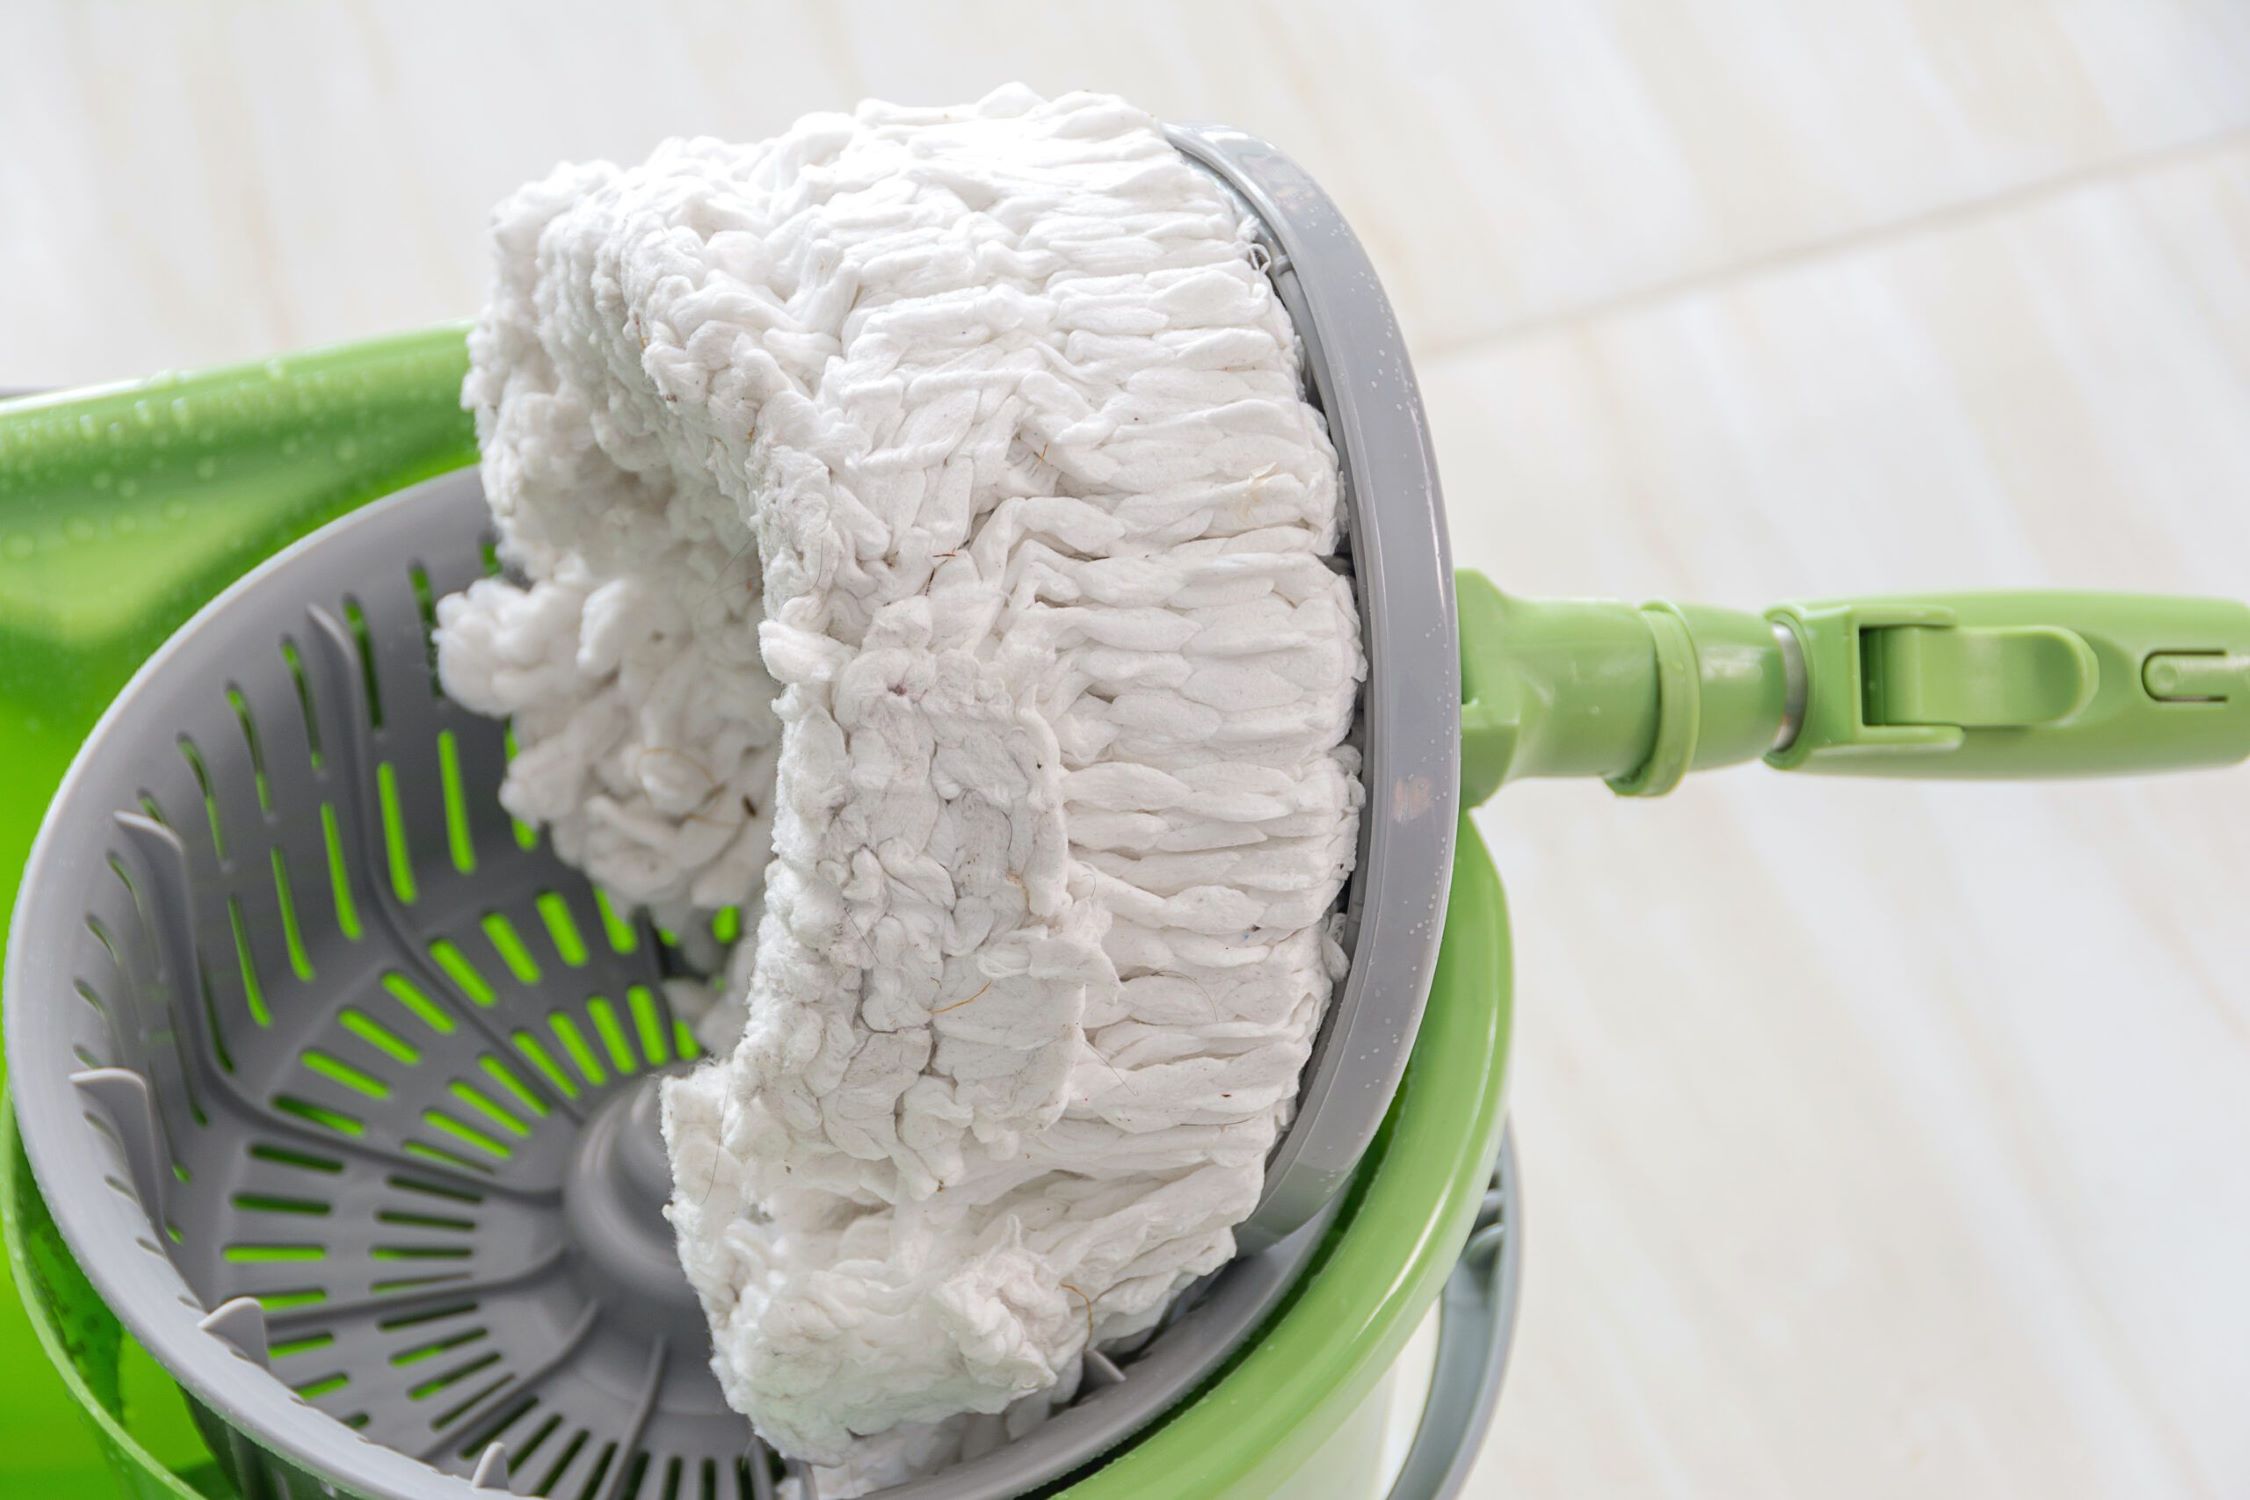
Step 7: Air Dry the Mop Head
After the washing machine cycle is complete, it's essential to air dry the mop head thoroughly to ensure that it is completely clean and ready for future use. Air drying allows the mop head to regain its absorbency and texture while preventing the growth of mold or mildew. Here's a detailed guide on how to effectively air dry the mop head:
-
Remove from the Washing Machine: Carefully remove the clean mop head from the washing machine as soon as the cycle is complete. Promptly attending to the drying process helps prevent the mop head from developing a musty odor or retaining excess moisture.
-
Gentle Squeezing: Before hanging the mop head to dry, gently squeeze out any excess water. Avoid wringing or twisting the mop head aggressively, as this can damage the fibers and affect its cleaning performance. Instead, apply gentle pressure to remove the water without compromising the integrity of the mop head.
-
Choose a Well-Ventilated Area: Select a well-ventilated area for air drying the mop head. Ideally, choose a location with good air circulation and minimal humidity to expedite the drying process. Hanging the mop head in a breezy spot or near a fan can help facilitate faster drying.
-
Avoid Direct Sunlight: While sunlight can aid in drying, direct exposure to prolonged sunlight may cause discoloration or damage to certain mop head materials. Opt for a shaded or indoor drying area to protect the integrity of the mop head's fibers and prolong its lifespan.
-
Use a Drying Rack or Clothesline: Hang the mop head on a drying rack or clothesline, ensuring that it is spread out evenly to allow for efficient air circulation. Avoid bunching or folding the mop head during the drying process, as this can lead to uneven drying and potential mold growth.
-
Monitor Drying Progress: Periodically check the mop head to monitor the drying progress. Depending on the material and thickness of the mop head, it may take several hours for it to dry completely. Patience is key to ensuring that the mop head dries thoroughly without retaining any residual moisture.
-
Ensure Complete Dryness: Before storing or using the mop head, ensure that it is completely dry to the touch. Running your hand over the surface should reveal no dampness or coolness, indicating that the mop head is ready for use.
By following these steps to air dry the mop head, you can ensure that it regains its optimal cleanliness and absorbency, ready to tackle future cleaning tasks effectively. Proper air drying also contributes to maintaining the hygiene and longevity of the mop head, ensuring that it remains a reliable cleaning tool for your floors.
Conclusion
In conclusion, maintaining a clean and hygienic mop head is essential for ensuring effective floor cleaning and preventing the spread of germs and bacteria. By following the step-by-step process of washing a mop head in a washing machine, you can prolong the lifespan of your cleaning tool and uphold a pristine environment in your home or workspace.
The journey of washing a mop head begins with the meticulous removal of the mop head from the handle, allowing for a thorough inspection and preparation for the cleaning process. Pre-treating stains and addressing areas of heavy soiling sets the stage for a comprehensive cleaning cycle, ensuring that embedded dirt and grime are effectively lifted from the mop head's fibers.
Loading the washing machine with the mop head requires careful consideration of the appropriate washer size, the use of a mesh laundry bag for protection, and the avoidance of overcrowding to facilitate optimal cleaning. Selecting the right settings, including wash cycle, spin speed, water level, and temperature control, ensures that the mop head undergoes a tailored cleaning process that suits its material and level of soiling.
Adding the right detergent, measuring it accurately, and avoiding fabric softeners and bleach contribute to the effectiveness of the wash cycle, ensuring that the mop head emerges fresh and clean without any compromise to its absorbency or texture. Initiating the washing machine cycle and monitoring its progress mark the pivotal moments when the cleaning process unfolds, working diligently to revitalize the mop head.
The final step of air drying the mop head in a well-ventilated area ensures that it regains its optimal cleanliness and absorbency, ready to deliver exceptional cleaning performance with each use. By adhering to these steps, you can maintain a clean and hygienic mop head that contributes to the overall cleanliness of your living or working space.
In essence, washing a mop head in a washing machine is not just a routine chore; it is a commitment to upholding cleanliness, hygiene, and the longevity of your cleaning tools. By investing time and care into the maintenance of your mop head, you can enjoy the confidence of knowing that your floors are consistently cleaned to the highest standards, creating a healthier and more inviting environment for all.
Frequently Asked Questions about How To Wash A Mop Head In A Washing Machine
Was this page helpful?
At Storables.com, we guarantee accurate and reliable information. Our content, validated by Expert Board Contributors, is crafted following stringent Editorial Policies. We're committed to providing you with well-researched, expert-backed insights for all your informational needs.
0 thoughts on “How To Wash A Mop Head In A Washing Machine”