Home>Home Appliances>Cleaning Appliances>How To Change Dust Mop Head
Cleaning Appliances
How To Change Dust Mop Head
Modified: October 23, 2024
Learn how to easily change the head of your dust mop for efficient cleaning. Find step-by-step instructions and tips for maintaining cleaning appliances. Keep your home spotless!
(Many of the links in this article redirect to a specific reviewed product. Your purchase of these products through affiliate links helps to generate commission for Storables.com, at no extra cost. Learn more)
Introduction
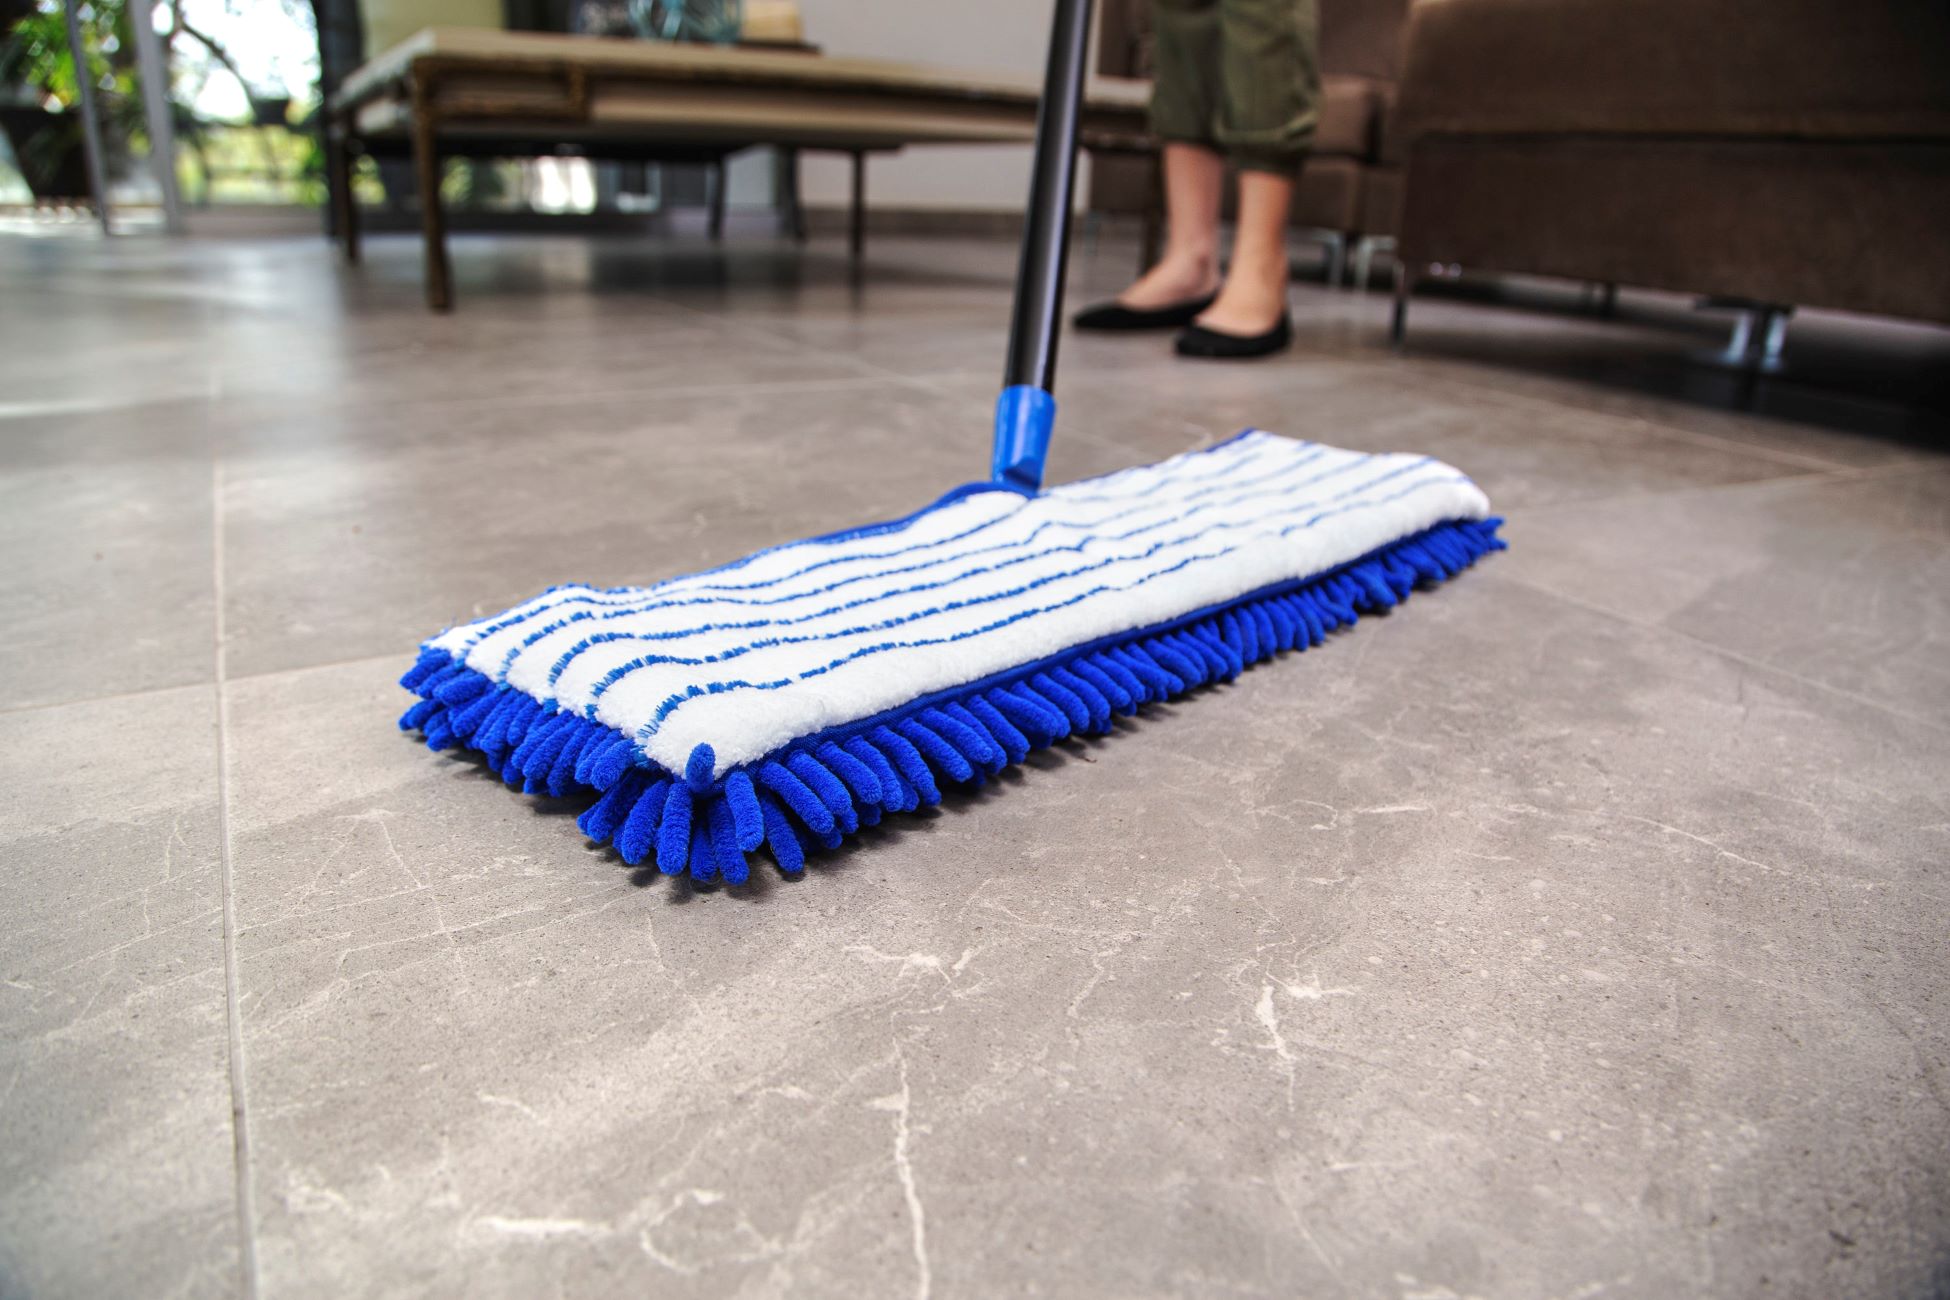
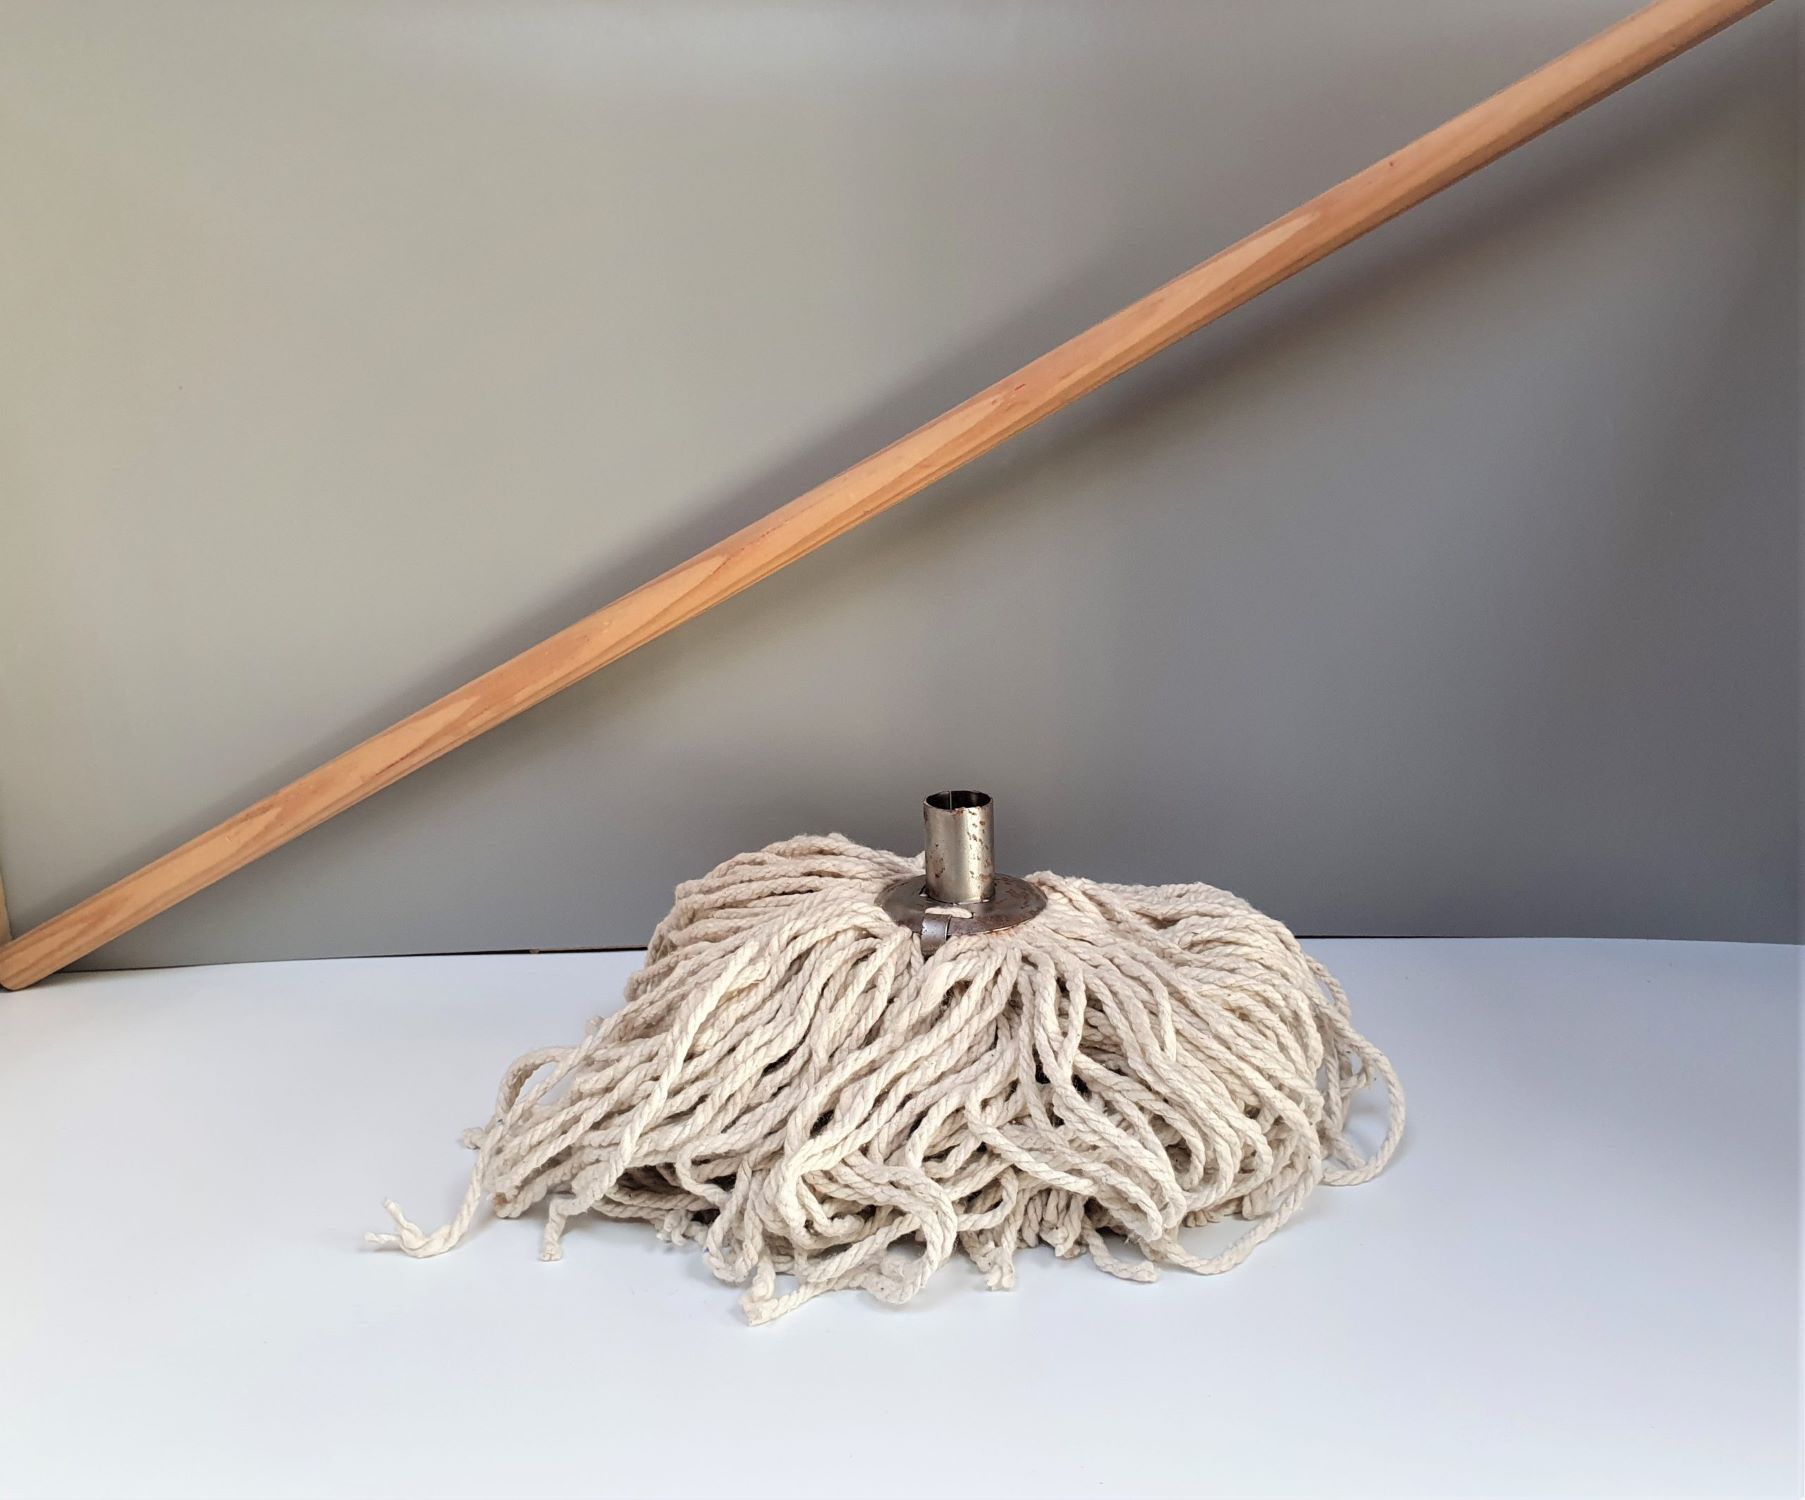
Welcome to the comprehensive guide on how to change a dust mop head! Dust mops are essential tools for keeping your floors clean and free of dust, dirt, and debris. Over time, the mop head can become worn out or dirty, reducing its effectiveness. Fortunately, replacing the dust mop head is a simple and cost-effective solution to restore your cleaning tool's efficiency.
In this guide, we will walk you through the step-by-step process of changing a dust mop head, providing you with the knowledge and confidence to maintain a clean and healthy living environment. Whether you are a homeowner, a cleaning professional, or anyone in between, mastering this skill will ensure that your dust mop continues to deliver exceptional cleaning performance.
So, let's roll up our sleeves and dive into the process of rejuvenating your dust mop with a brand-new head. Let's get started!
Key Takeaways:
- Keep your dust mop efficient by replacing the old mop head with a new one. Gather materials, remove the old head, attach the new one, and test its performance for optimal cleaning results.
- Regularly changing your dust mop head ensures clean and dust-free floors. With the right materials and attention to detail, you can effortlessly rejuvenate your trusty dust mop for exceptional cleaning performance.
Read more: How To Change The Mop Head
Step 1: Gather the Necessary Materials
Before embarking on the process of changing a dust mop head, it’s essential to gather all the required materials. Having everything at hand will streamline the process and ensure a smooth transition to the new mop head. Here’s what you’ll need:
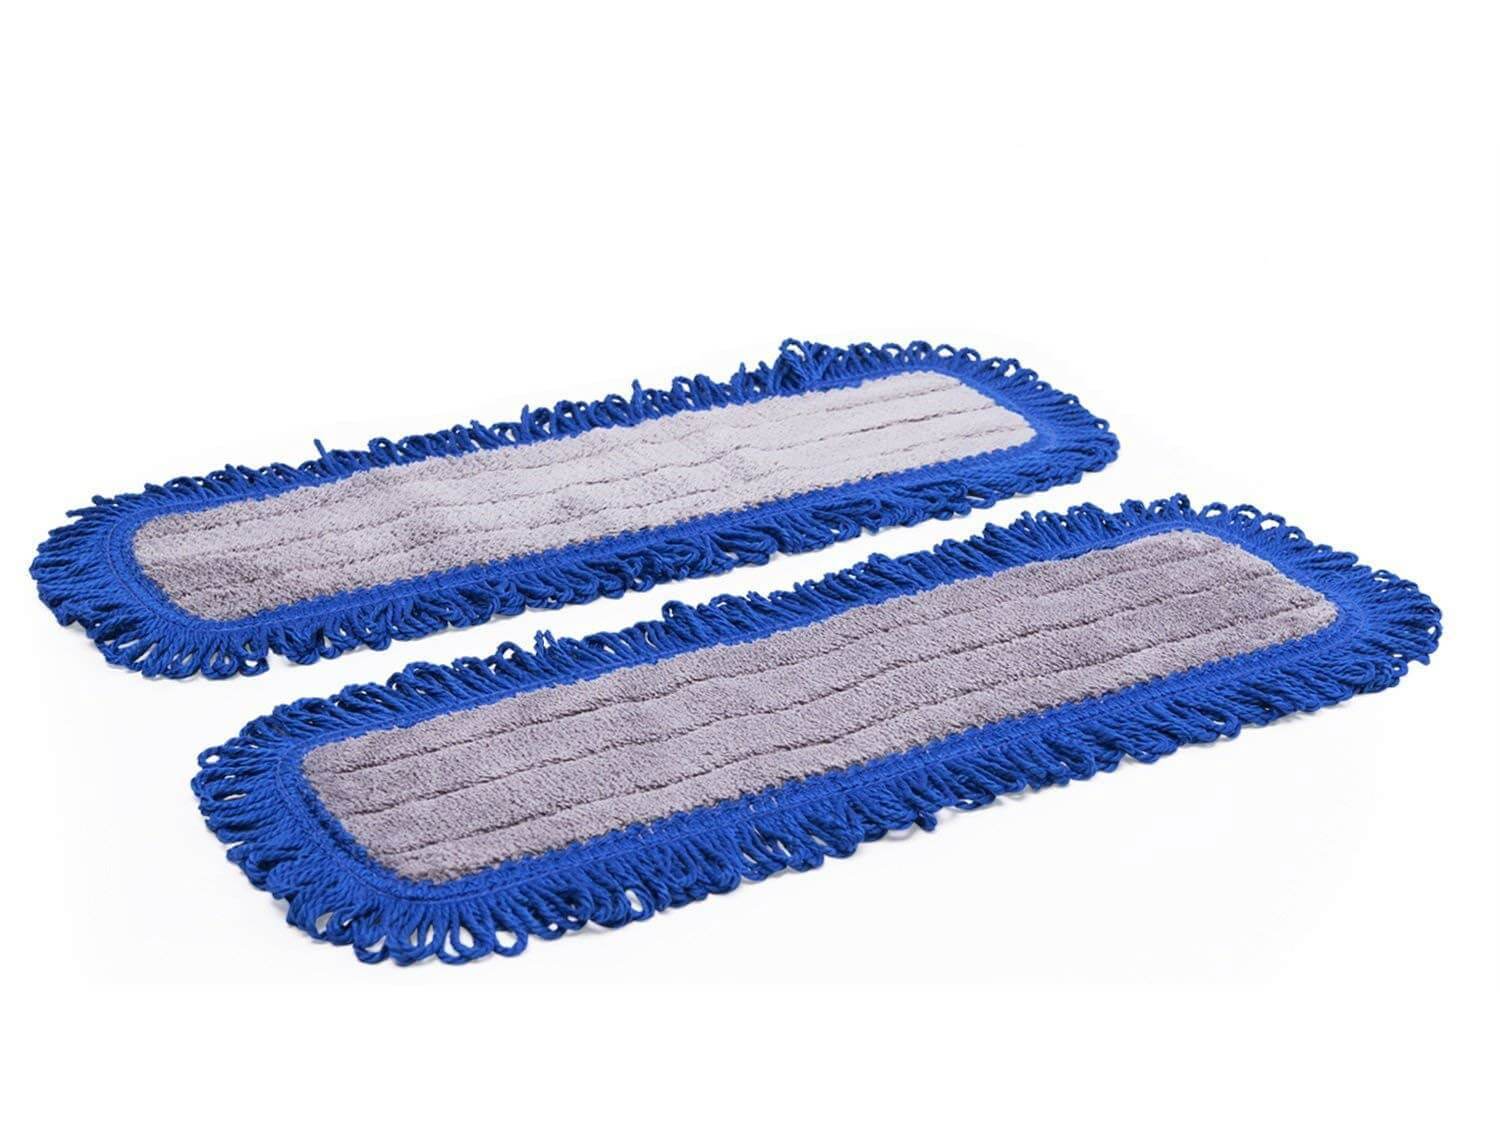
- New Dust Mop Head: Ensure that the replacement mop head is compatible with your dust mop frame. Dust mop heads come in various sizes and materials, so select one that suits your specific cleaning needs.
- Clean, Flat Surface: Find a spacious and clean area to work on, such as a table or the floor, where you can comfortably lay out the dust mop and perform the replacement process.
- Gloves (Optional): While not essential, wearing gloves can protect your hands during the replacement process, especially if the old mop head is particularly dirty or worn.
- Trash Bag: Have a trash bag nearby to dispose of the old mop head. This will help keep your work area tidy and organized.
- Patience and Attention to Detail: Changing a dust mop head requires a steady hand and attention to detail. Take your time and ensure that each step is executed accurately for optimal results.
By gathering these materials, you’ll be fully equipped to proceed with the dust mop head replacement process. With everything in place, you’re ready to move on to the next step and begin the transformation of your trusty dust mop.
Step 2: Remove the Old Dust Mop Head
Now that you have all the necessary materials assembled, it’s time to bid farewell to the old, worn-out dust mop head. Follow these steps to remove the old mop head with ease:
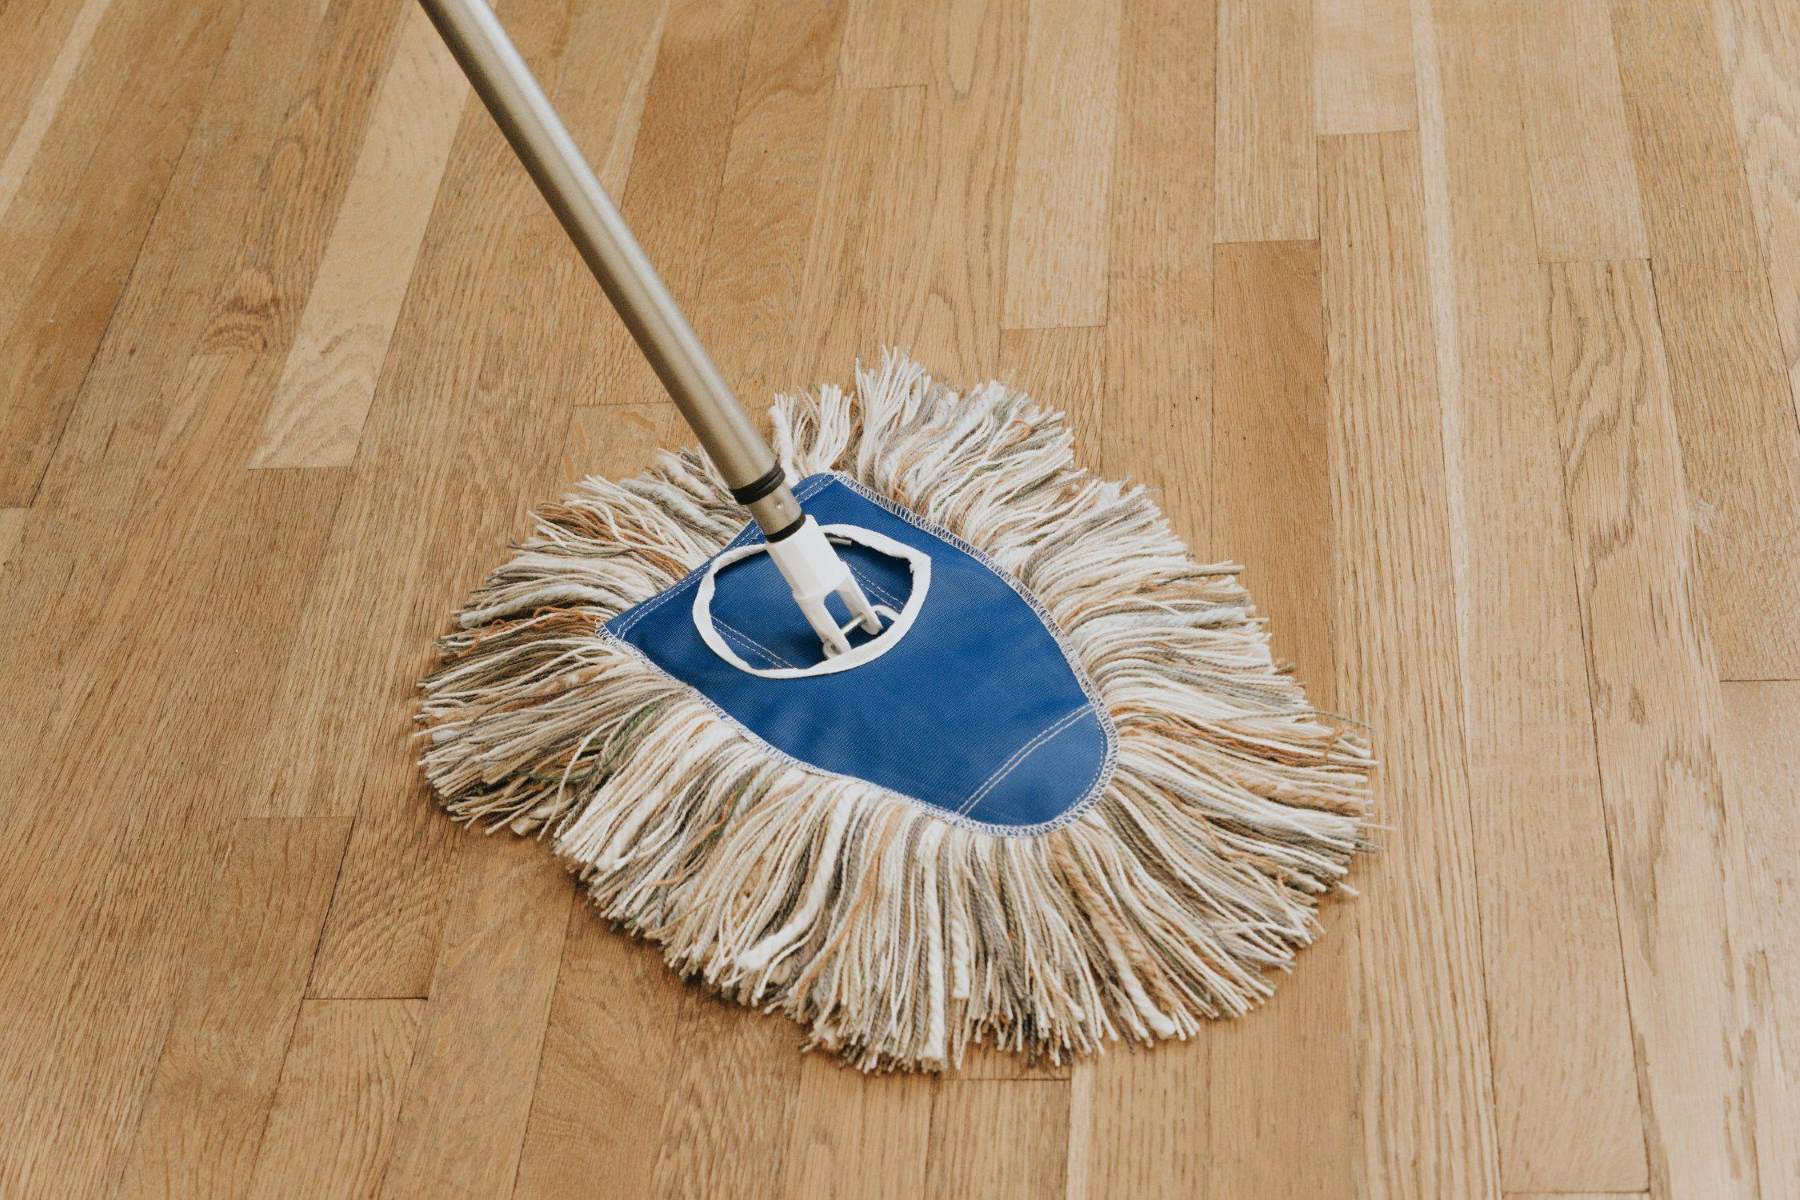
- Lay Out the Dust Mop: Begin by laying the dust mop on a clean, flat surface, ensuring that the mop frame is easily accessible and stable.
- Inspect the Attachment Mechanism: Take a moment to familiarize yourself with how the old mop head is attached to the frame. This may involve snaps, Velcro, or other fastening methods.
- Release the Fastenings: Carefully detach the old mop head from the frame by undoing the fastenings. Be gentle to avoid damaging the frame or the fastening mechanism.
- Dispose of the Old Mop Head: Once the old mop head is detached, place it in the trash bag for proper disposal. If the mop head is machine washable and reusable, consider washing it before storing it for future use.
- Inspect the Frame: With the old mop head removed, take a moment to inspect the frame for any dirt or debris. Wipe the frame clean if necessary to ensure a fresh start for the new mop head.
By following these steps, you’ll successfully remove the old dust mop head, clearing the way for a brand-new replacement. With the old mop head set aside, it’s time to move on to the exciting process of attaching the new dust mop head and revitalizing your cleaning tool.
To change a dust mop head, first remove the old head by detaching it from the frame. Then, attach the new head by securing it onto the frame according to the manufacturer’s instructions.
Step 3: Attach the New Dust Mop Head
With the old dust mop head gracefully retired, it’s now time to breathe new life into your trusty cleaning companion by attaching the fresh, clean mop head. Follow these steps to seamlessly affix the new mop head to the frame:
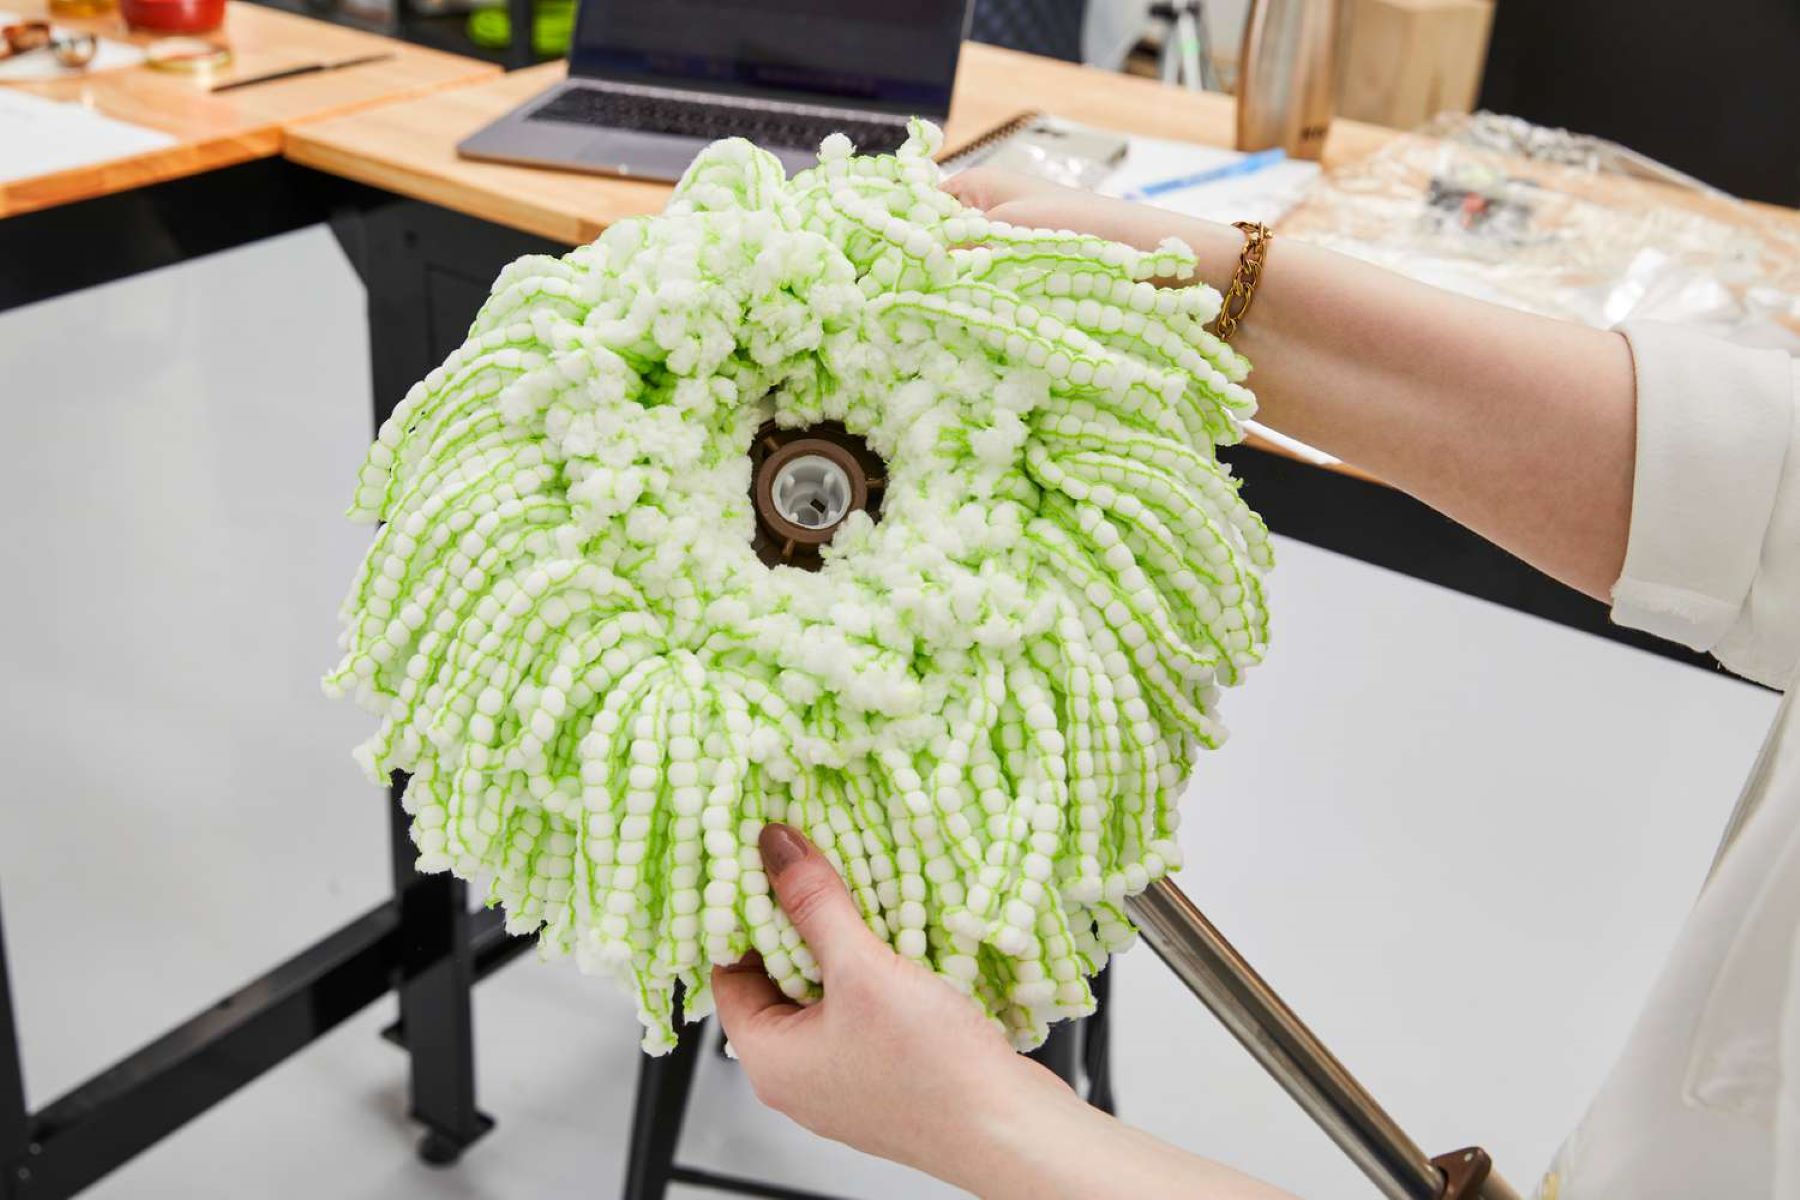
- Position the New Mop Head: Lay the new dust mop head flat on the clean surface, ensuring that it is oriented correctly for attachment to the frame.
- Align the Fastening Mechanism: If your mop head utilizes a fastening mechanism such as snaps or Velcro, align it with the corresponding attachment points on the frame.
- Secure the Mop Head: Carefully fasten the new mop head to the frame, ensuring a snug and secure fit. Double-check that all fastenings are properly engaged to prevent the mop head from becoming loose during use.
- Adjust for Tautness: If your mop head allows for adjustments, ensure that it is taut and evenly positioned on the frame. This will optimize its cleaning efficiency and prevent any unnecessary movement during use.
- Inspect the Attachment: Once the new mop head is in place, inspect the attachment to confirm that it is secure and properly aligned with the frame. This will ensure that the mop head remains firmly in position during cleaning tasks.
By following these steps, you’ll seamlessly attach the new dust mop head to the frame, setting the stage for enhanced cleaning performance and a rejuvenated cleaning tool. With the new mop head securely in place, it’s time to put it to the test and ensure that it meets your cleaning expectations.
Step 4: Test the New Dust Mop Head
Now that the new dust mop head is securely attached to the frame, it’s essential to put it to the test and ensure that it delivers the cleaning performance you expect. Follow these steps to verify the effectiveness of the new mop head:
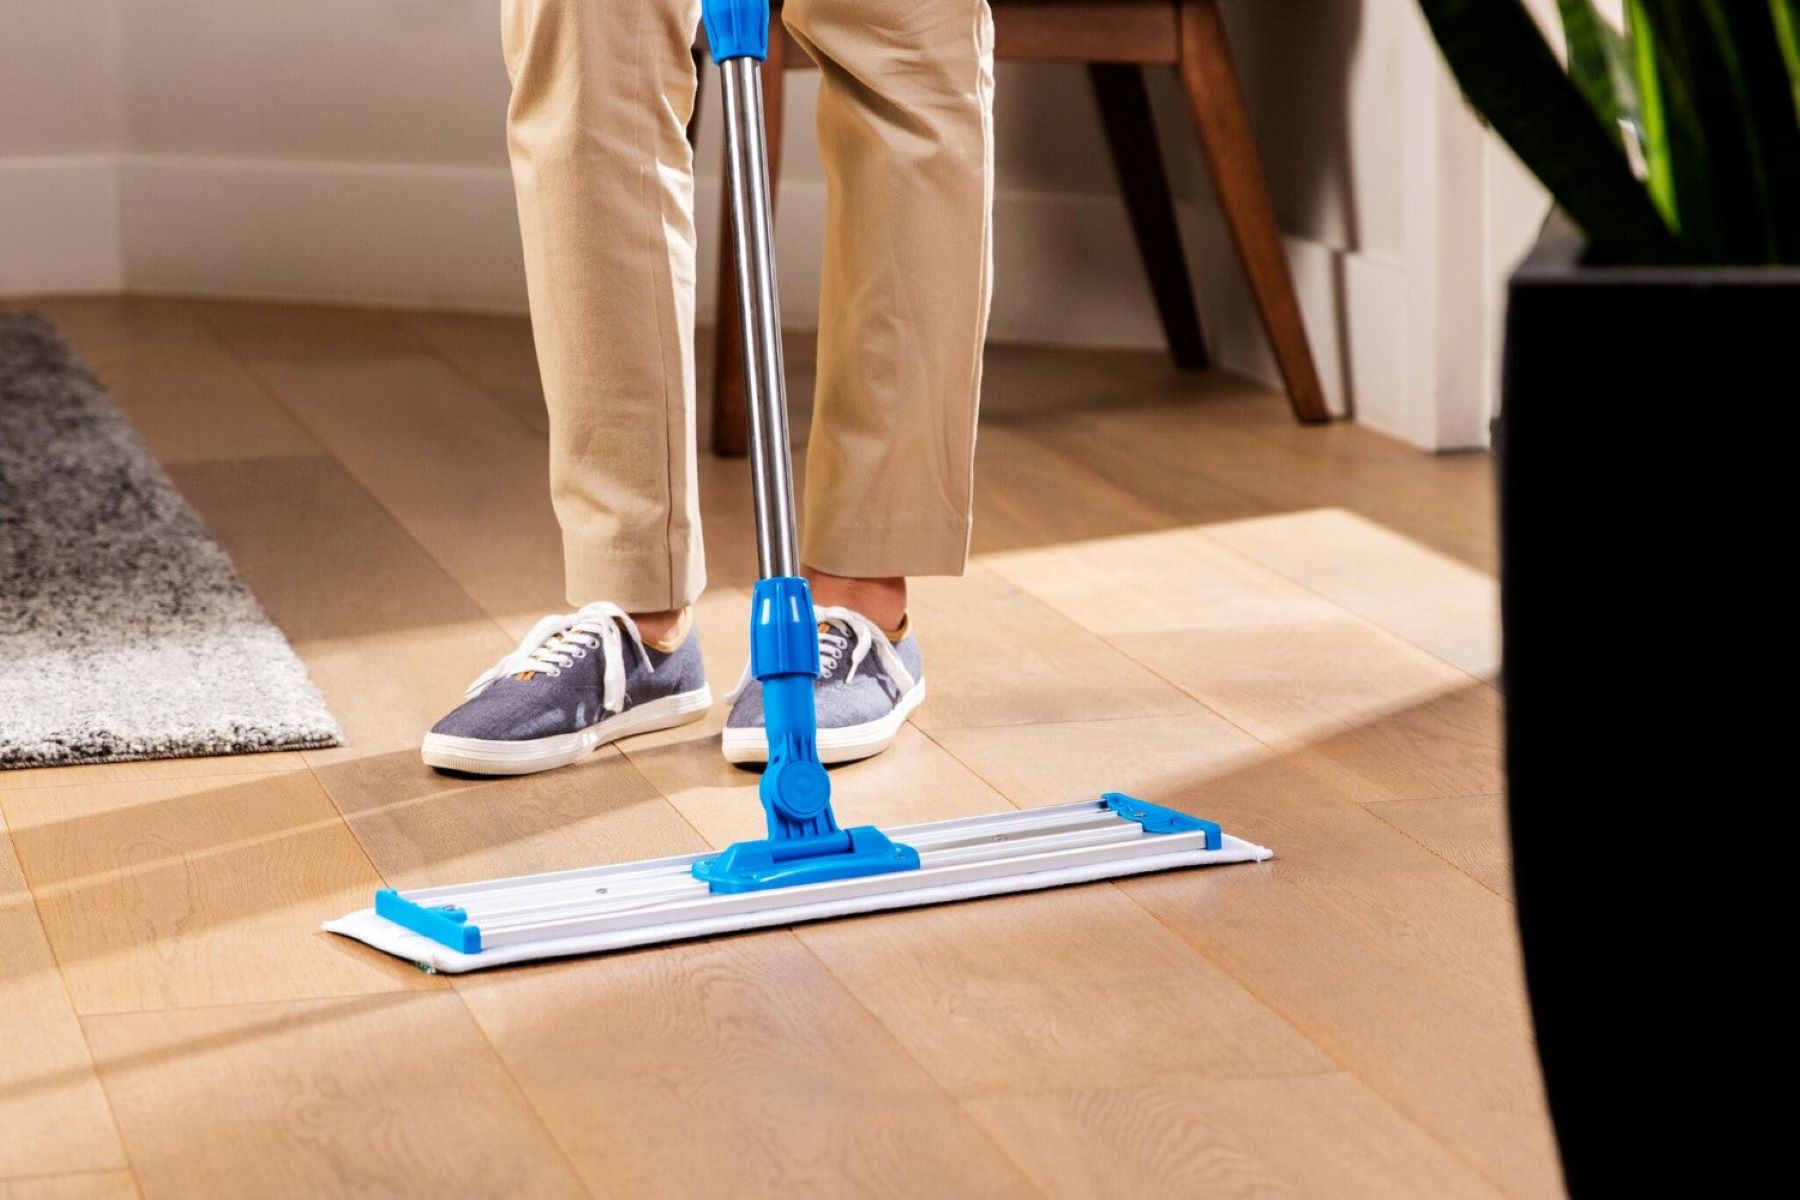
- Choose a Test Area: Select a small section of flooring to test the new mop head. This can be an area that typically accumulates dust and debris, allowing you to assess the mop head’s cleaning capabilities.
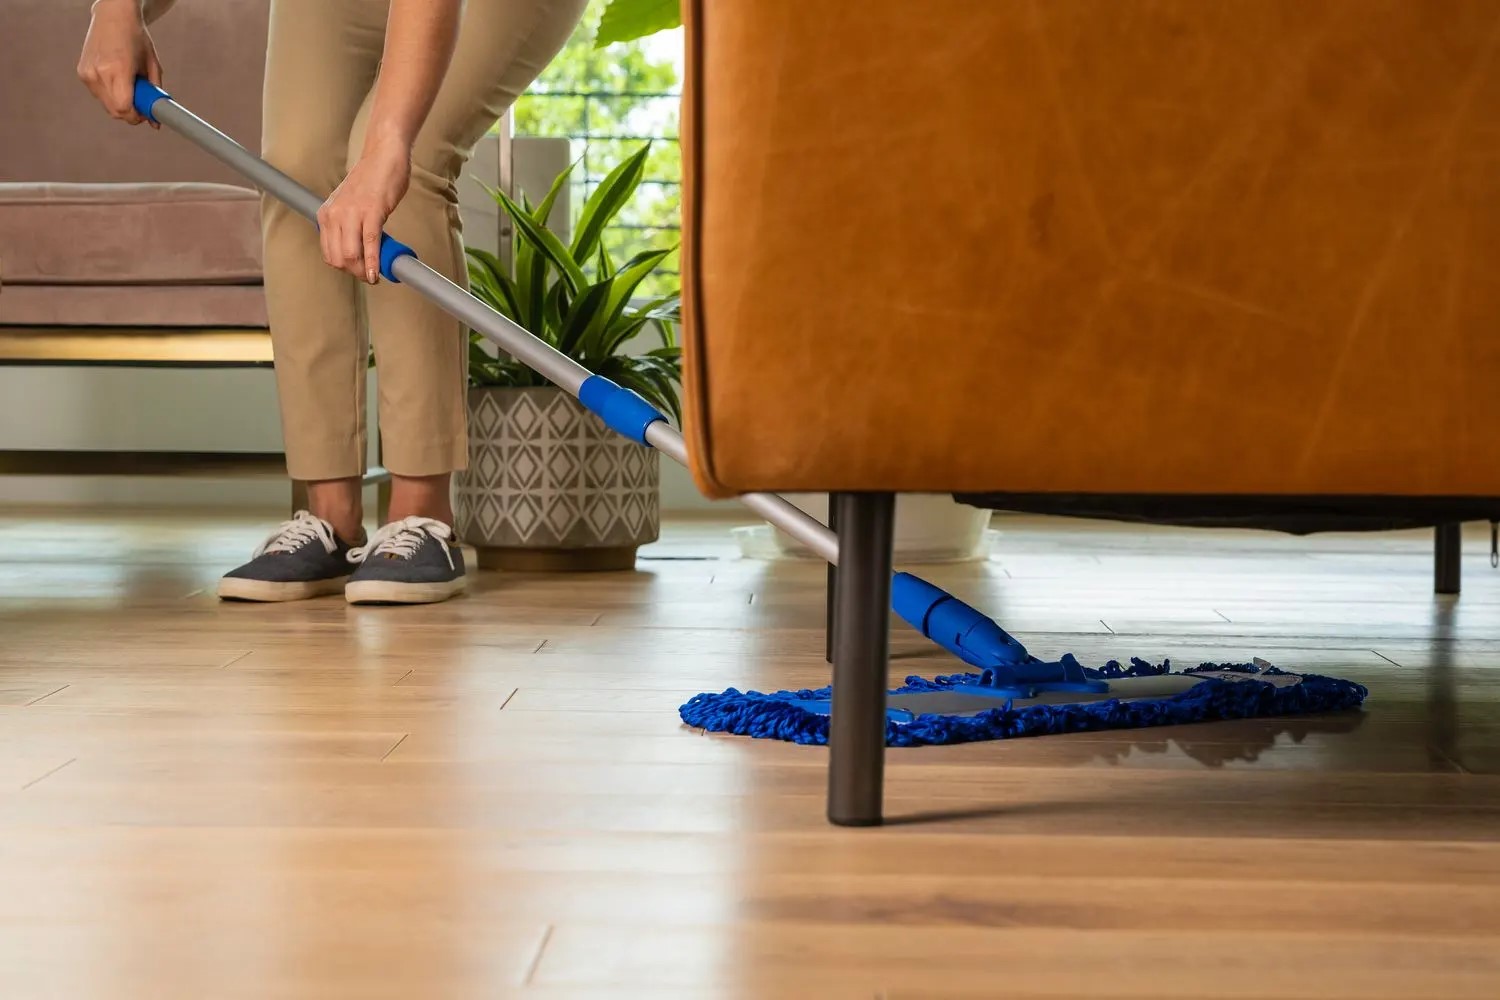
- Engage in Light Cleaning: Gently maneuver the dust mop over the test area, observing how effectively it picks up dust and debris. Pay attention to its maneuverability and the coverage it provides as you navigate the test space.
- Assess Cleaning Results: Examine the dust mop’s performance by evaluating the cleanliness of the test area. Note whether the mop effectively captures dust and debris or if it leaves behind any residual particles.
- Make Adjustments if Necessary: If the cleaning results are not satisfactory, consider making minor adjustments to the tension or positioning of the mop head. This can optimize its performance and ensure thorough cleaning.
- Repeat the Test as Needed: If adjustments are made, repeat the testing process to gauge the impact of the changes. Fine-tune the mop head’s positioning or tension until you are satisfied with its cleaning effectiveness.
By conducting these tests, you’ll gain valuable insights into the performance of the new dust mop head, allowing you to make any necessary adjustments to optimize its cleaning capabilities. Once you are confident in its performance, you can proceed with your regular cleaning tasks, knowing that your dust mop is equipped with a fresh, efficient mop head.
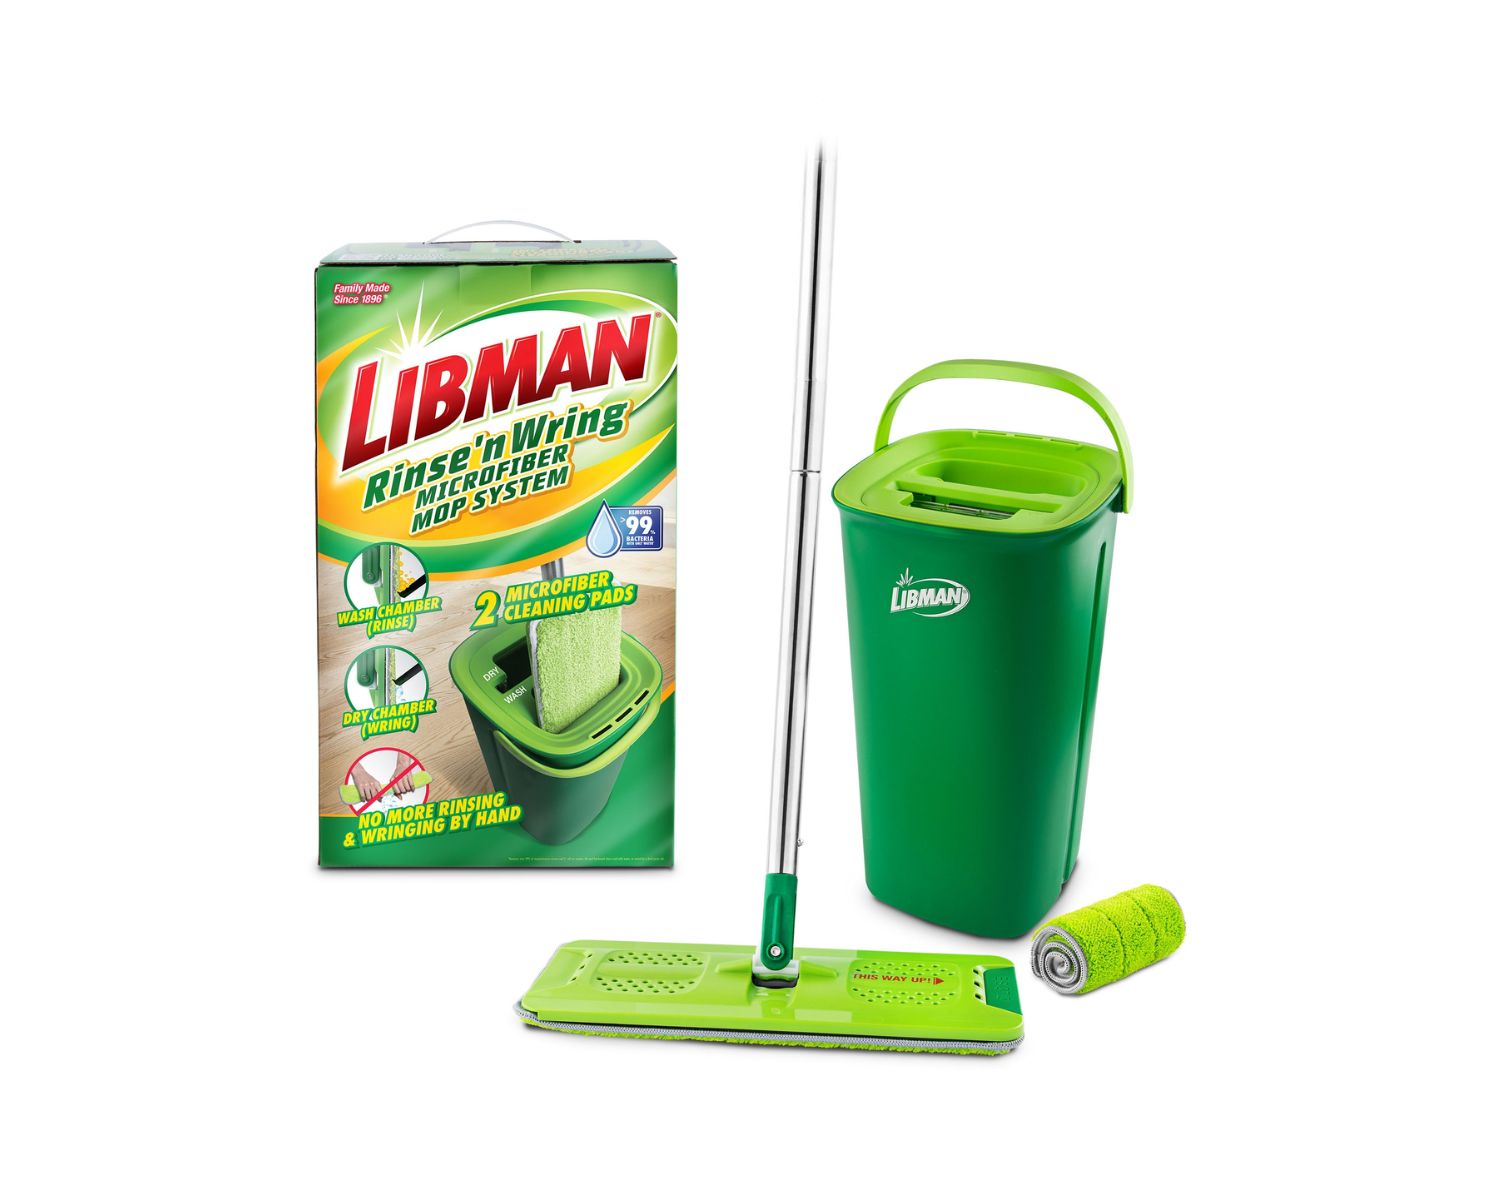
Read more: How To Change Mop Head On Libman Mop
Conclusion
Congratulations! You’ve successfully navigated the process of changing a dust mop head, revitalizing your cleaning tool and ensuring that it remains a reliable ally in maintaining clean and dust-free floors. By following the step-by-step guide outlined here, you’ve empowered yourself with the knowledge and skills to seamlessly transition from an old, worn-out mop head to a fresh and efficient replacement.
Remember, regular maintenance and care for your cleaning tools are essential for achieving optimal cleaning results. By periodically assessing the condition of your dust mop head and promptly replacing it when necessary, you can uphold the cleanliness and hygiene of your living or working space with ease.
Whether you’re a homeowner, a professional cleaner, or anyone in between, the ability to change a dust mop head is a valuable skill that contributes to a healthy and inviting environment. With the right materials, attention to detail, and a dash of patience, you can effortlessly breathe new life into your trusty dust mop, ensuring that it continues to deliver exceptional cleaning performance.
So go ahead, embrace the process of dust mop head replacement as an opportunity to rejuvenate your cleaning routine and elevate the cleanliness of your surroundings. With your newly acquired expertise, you’re well-equipped to tackle this essential maintenance task whenever the need arises, keeping your floors sparkling and free of dust and debris.
Thank you for joining us on this journey of dust mop care and maintenance. Here’s to clean, dust-free floors and the satisfaction of knowing that your dust mop is always ready for the next cleaning challenge!
Frequently Asked Questions about How To Change Dust Mop Head
Was this page helpful?
At Storables.com, we guarantee accurate and reliable information. Our content, validated by Expert Board Contributors, is crafted following stringent Editorial Policies. We're committed to providing you with well-researched, expert-backed insights for all your informational needs.

0 thoughts on “How To Change Dust Mop Head”