Articles
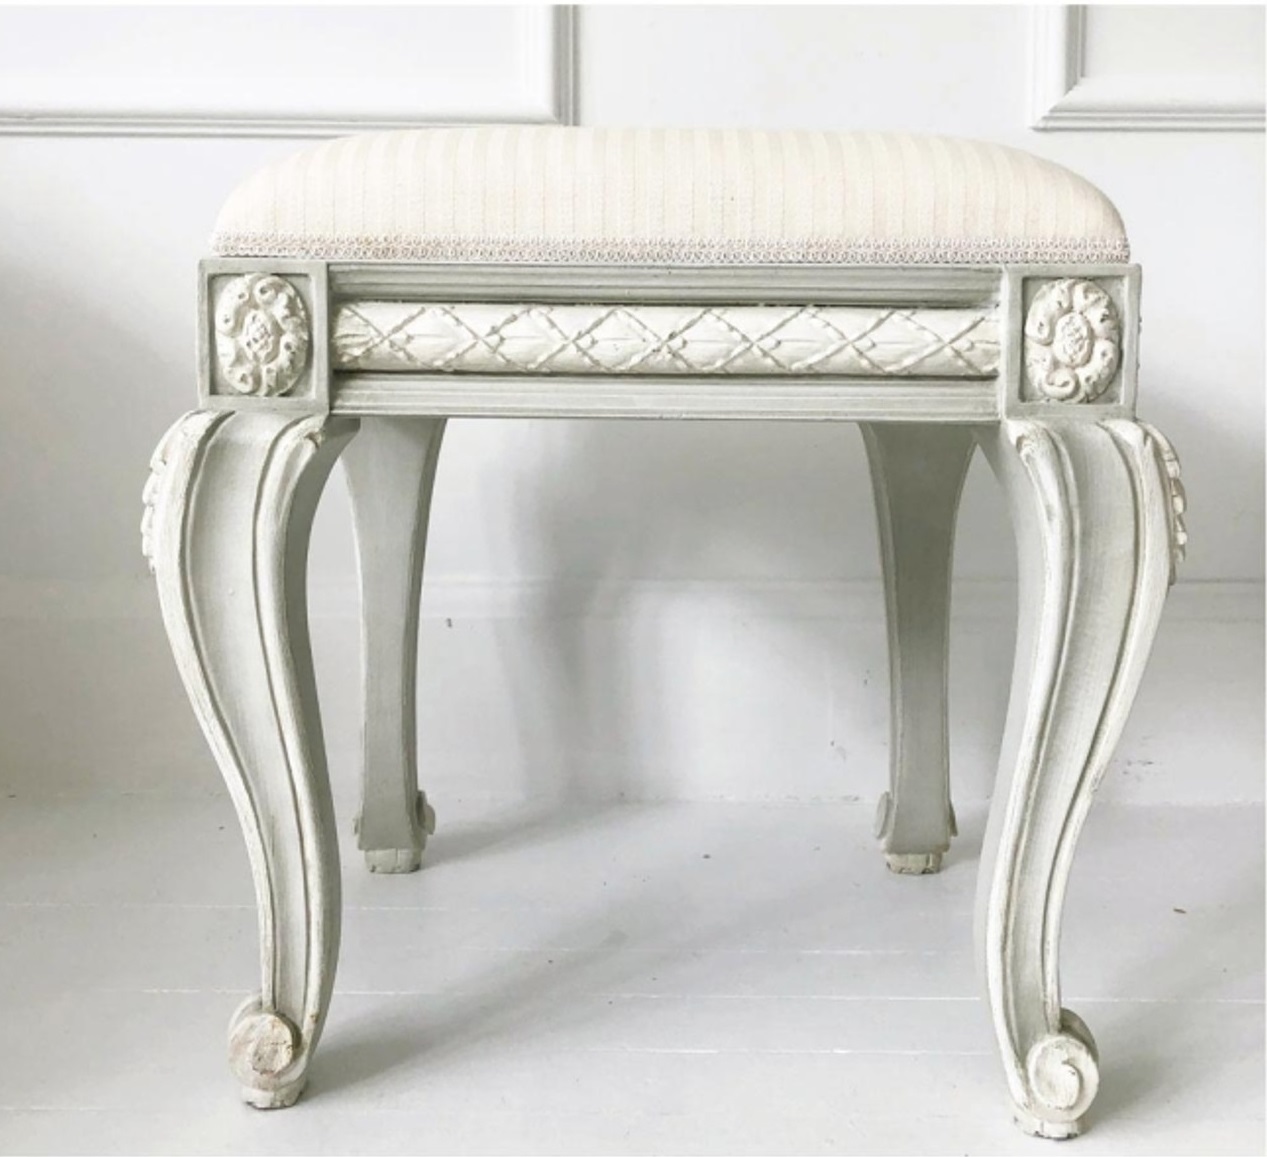
How To Make A Vanity Bench
Modified: September 1, 2024
Learn how to make a stylish and functional vanity bench with our step-by-step articles. Perfect for adding a touch of elegance to your bedroom or dressing room.
(Many of the links in this article redirect to a specific reviewed product. Your purchase of these products through affiliate links helps to generate commission for Storables.com, at no extra cost. Learn more)
Introduction
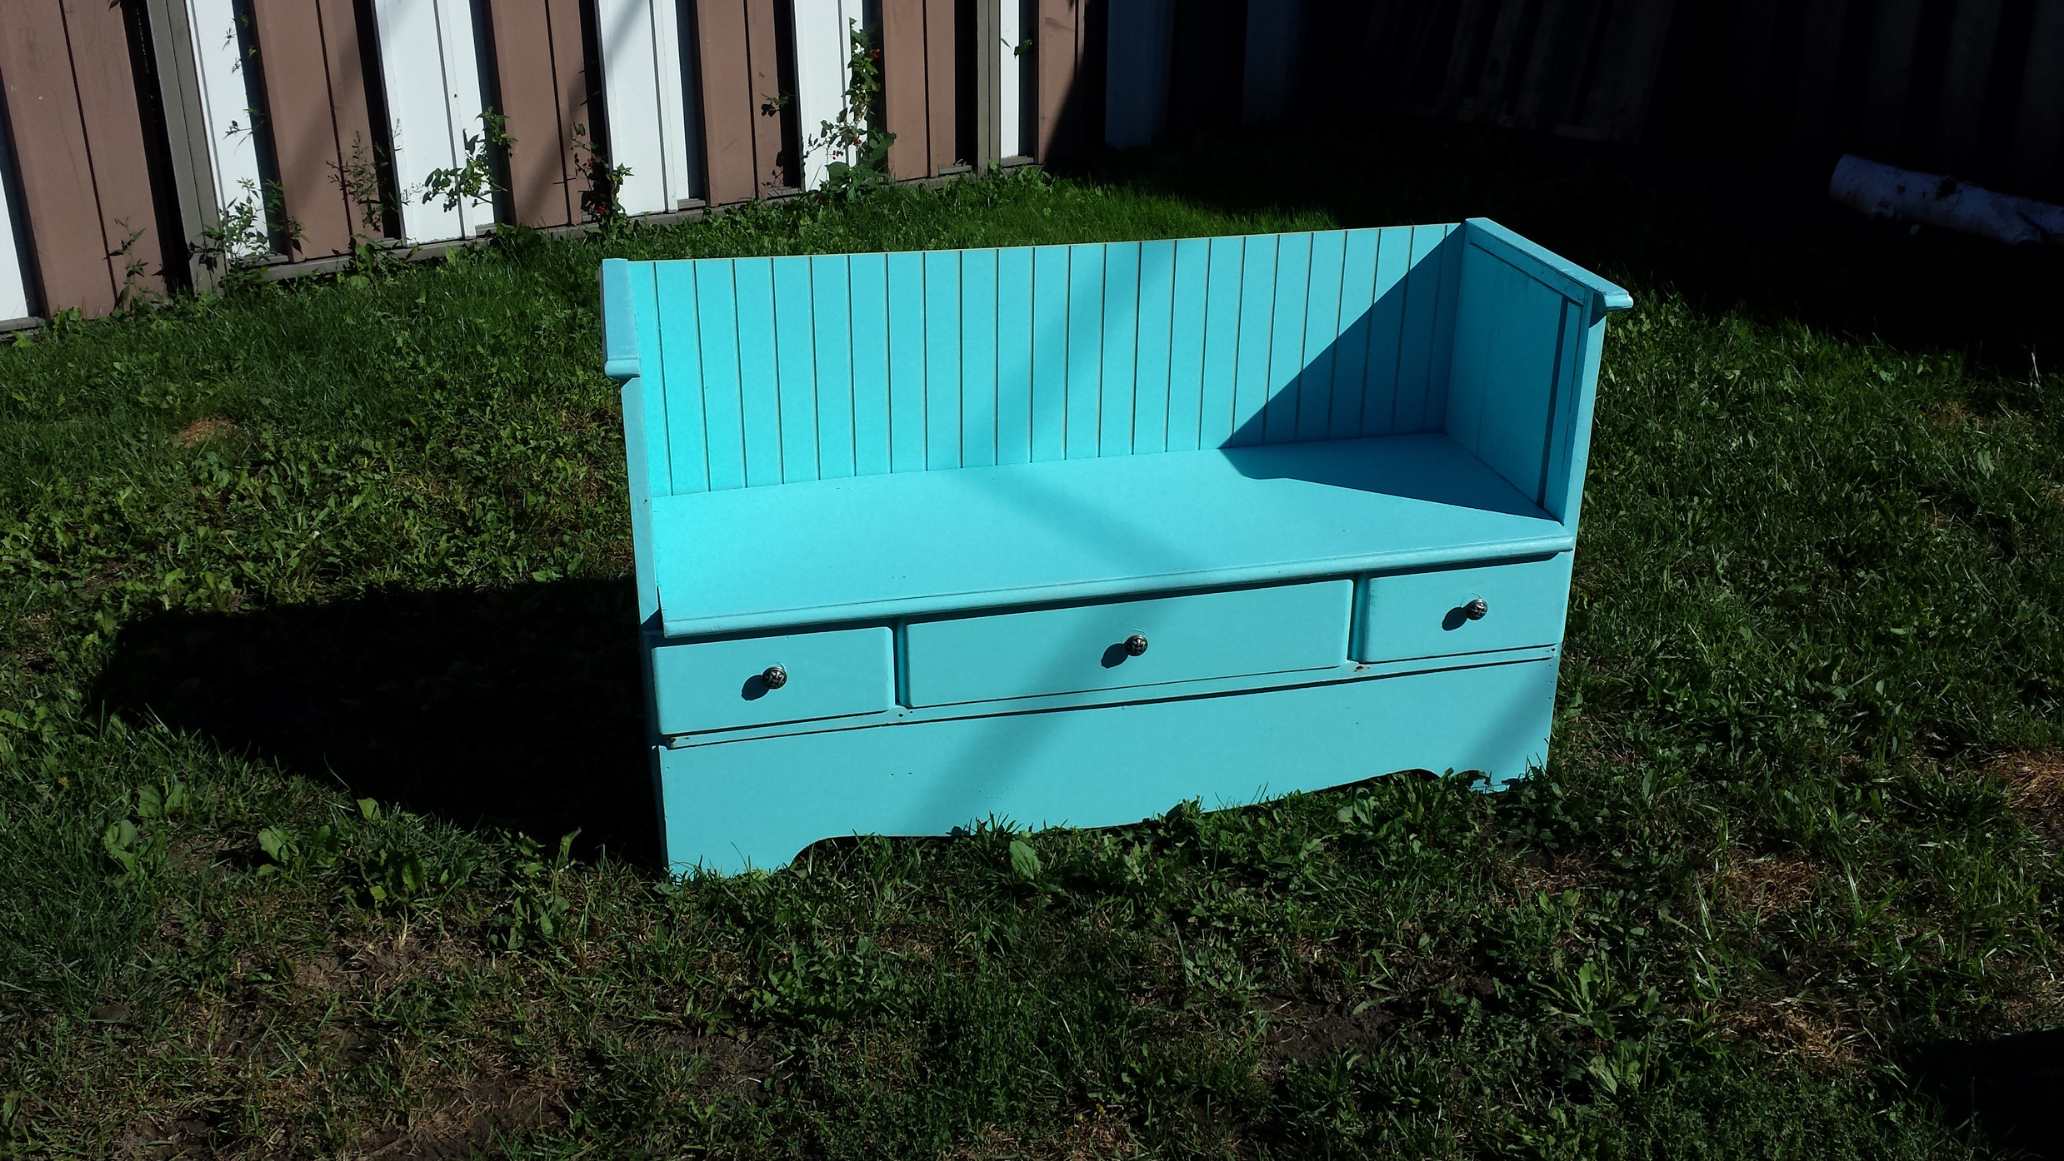
A vanity bench is a beautiful and functional addition to any bedroom or dressing area. It provides a comfortable seat for applying makeup, styling hair, or getting dressed. Not only does it serve a practical purpose, but it also adds a touch of elegance and sophistication to your space.
In this article, we will guide you through the process of making your own vanity bench. Whether you are a seasoned DIY enthusiast or a beginner looking to try your hand at woodworking, this project is a great way to showcase your creativity and craftsmanship. By following these step-by-step instructions, you will be able to create a custom vanity bench that is both stylish and functional.
Before we dive into the construction process, let’s take a look at the materials and tools that you will need for this project.
Key Takeaways:
- Building a vanity bench is a rewarding DIY project that adds elegance and functionality to any space. With careful measurements, sturdy assembly, and stylish upholstery, you can create a custom piece that reflects your personal style.
- Upholstering the seat and finishing the wood surfaces are crucial steps in creating a comfortable and visually appealing vanity bench. Choose high-quality materials, take your time, and enjoy the satisfaction of showcasing your craftsmanship.
Read also: 12 Best Vanity Bench for 2025
Materials Needed
Before you start building your vanity bench, gather the following materials:
- 1-inch thick plywood – for the seat
- 2×2 lumber – for the base and legs
- Screws
- Wood glue
- Sanding paper
- Stain or paint – for finishing
- Foam padding
- Fabric of your choice
- Staple gun
- Measuring tape
- Saw
- Drill
- Screwdriver
Make sure you have all the necessary materials on hand before you begin the construction process. This will ensure a smooth and uninterrupted workflow.
Step 1: Measure and Cut the Wood
The first step in building your vanity bench is to measure and cut the wood according to the desired dimensions. Start by determining the size of the seat. Measure and mark the dimensions on the plywood, making sure to leave a little extra space for the foam padding and fabric.
Next, measure and cut the 2×2 lumber to create the base and legs of the vanity bench. The base should be the same length and width as the seat, while the legs can be cut to your desired height.
Use a saw to make clean and precise cuts on both the plywood and the lumber. Take your time and double-check your measurements before cutting to ensure accuracy.
Once you have all the pieces cut to size, sand the edges and surfaces of the wood to remove any roughness or splinters. This will create a smooth and polished finish.
Make sure to wear appropriate safety gear, such as safety goggles and gloves, when handling the saw and sanding the wood.
This step is crucial, as accurate measurements and clean cuts will determine the overall quality and stability of your vanity bench.
Once you have completed this step, you are ready to move on to the next phase of the construction process – assembling the base.
Step 2: Assemble the Base
Now that you have the wood pieces cut to size, it’s time to assemble the base of your vanity bench. The base provides the foundation and stability for the entire structure.
To begin, lay the plywood seat on a flat and sturdy surface. Take the cut 2×2 lumber pieces that you prepared earlier and position them underneath the seat, forming a rectangular shape. Use wood glue to attach the pieces together at the corners.
Once the glue has dried, reinforce the joints by using screws to secure the base to the seat. Pre-drill pilot holes first to prevent the wood from splitting, and then drive the screws through the holes.
Ensure that the base is centered and aligned with the seat, making any necessary adjustments before fastening it permanently. Use a level to check that the base is even and level.
Take your time during this step to ensure that the base is securely attached to the seat, as it will bear the weight of the person sitting on the vanity bench.
Once the base is assembled and securely attached, move on to the next step – attaching the legs.
Step 3: Attach the Legs
With the base of your vanity bench complete, it’s time to attach the legs for added support and stability.
Start by positioning the cut 2×2 lumber pieces that you prepared for the legs at each corner of the base. Make sure the legs are evenly spaced and aligned with the edges of the base.
Using a drill, create pilot holes through the leg pieces and into the base. This will prevent the wood from splitting when you insert the screws. Then, drive screws through the pilot holes to attach the legs securely to the base.
Once the legs are attached, check that they are straight and level. Adjust if needed, and then tighten the screws to ensure a secure fit.
Verify that all four legs are firmly connected to the base, providing a stable foundation for the vanity bench.
At this point, you should have a sturdy structure with a solid base and attached legs. The next step is to build the seat, which will provide both comfort and style to your vanity bench.
When making a vanity bench, choose a sturdy and comfortable seat, such as a padded cushion or upholstered top, to ensure it is both functional and stylish.
Read more: How To Make A Brick Bench
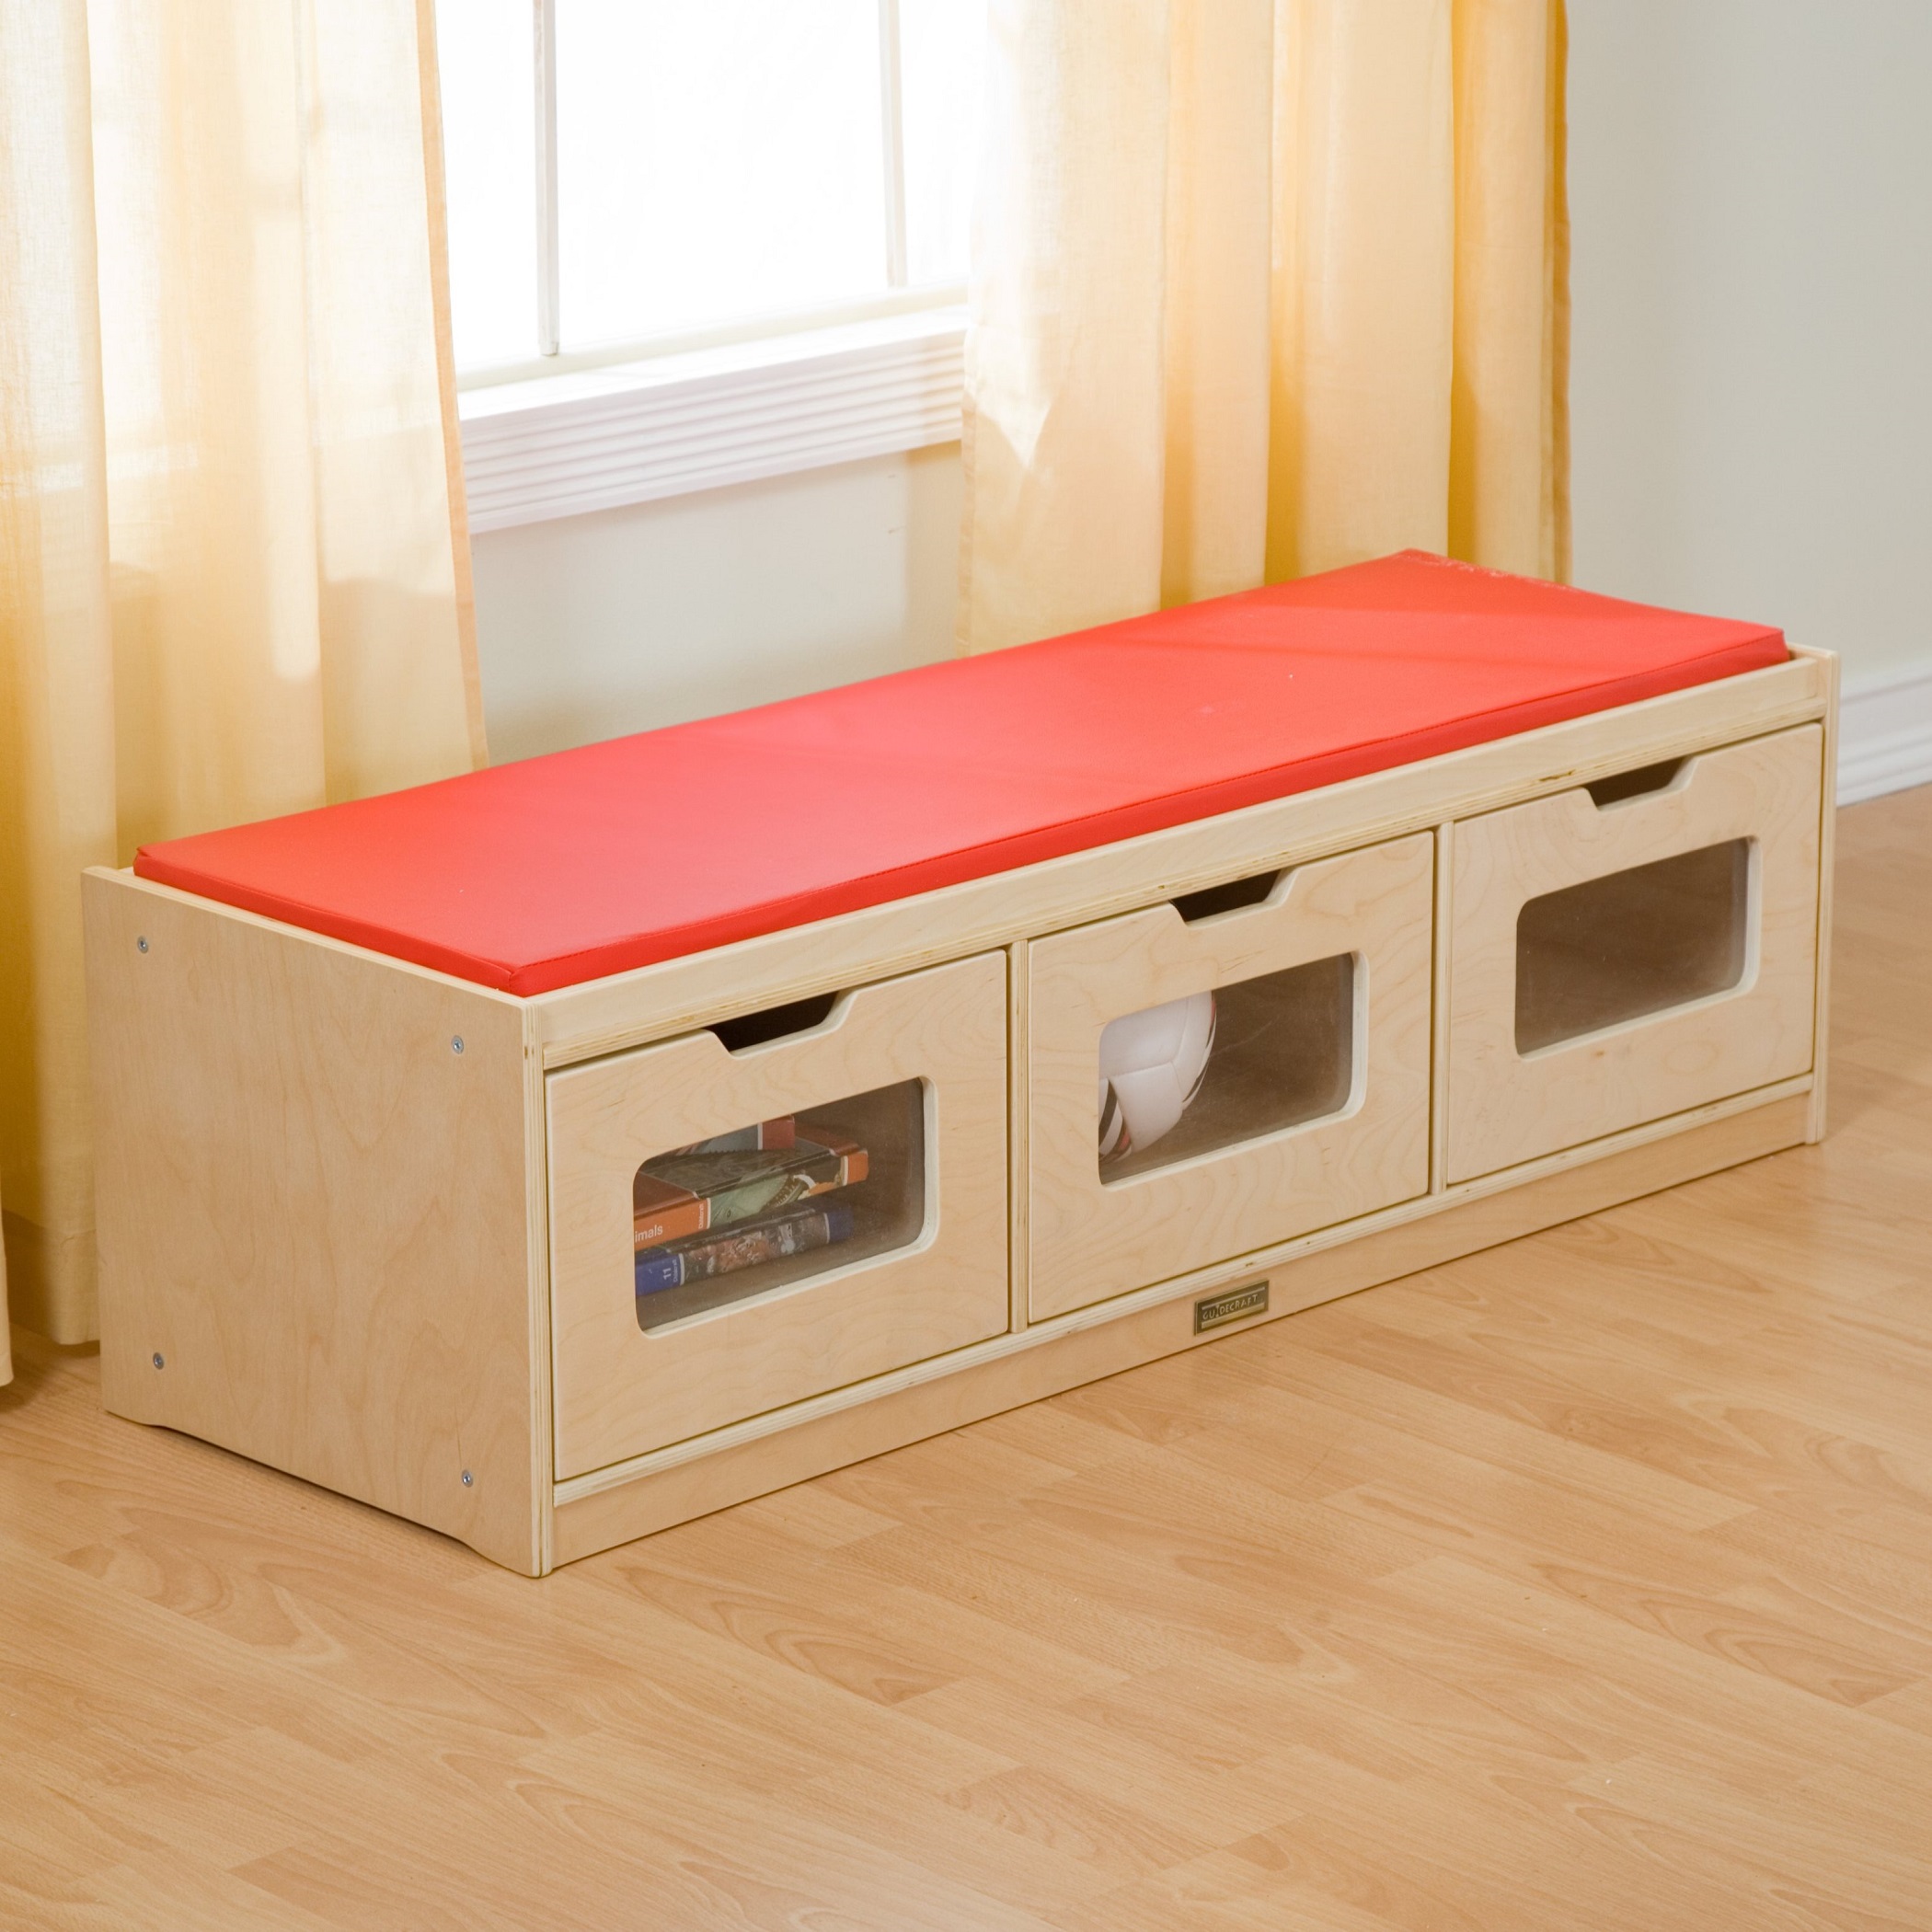
Step 4: Build the Seat
Now that the base and legs are securely attached, it’s time to build the seat of your vanity bench. The seat is where you’ll be sitting, so it’s important to create a comfortable and supportive surface.
Start by measuring and cutting a piece of foam padding to fit the dimensions of the plywood seat. Use a sharp utility knife for a clean cut. Make sure the foam is thick enough to provide cushioning, but not so thick that it feels unstable when attached to the base.
Once the foam is cut, apply a layer of adhesive to the top surface of the plywood seat. Carefully place the foam on top of the adhesive, ensuring it is centered and aligned with the edges of the seat. Press down firmly to secure the foam in place.
After the adhesive has dried, it’s time to cover the foam with fabric. Choose a fabric that complements your décor and personal style. Lay the fabric on a flat surface with the pattern facing down. Place the foam-covered seat on top of the fabric, making sure it is centered.
Wrap the fabric tightly around the edges of the seat and use a staple gun to secure it to the underside of the plywood. Start by stapling the fabric in the center of each side, then work your way out to the corners, pulling the fabric taut as you go.
Trim any excess fabric with scissors to create neat and clean edges.
At this stage, you have built the seat for your vanity bench, providing both comfort and style. The next step is to sand and finish the wood surfaces.
Step 5: Sand and Finish
After building the seat, it’s important to sand and finish the wood surfaces of your vanity bench. This step will not only enhance the overall appearance but also protect the wood and make it smooth to the touch.
Start by using sandpaper with a medium grit to sand all visible wooden surfaces. This will remove any roughness, splinters, or imperfections. Sand in the direction of the wood grain to achieve a smooth and even finish.
Once you have sanded the entire bench, switch to a finer grit sandpaper to create a smoother surface. Sand again, removing any remaining roughness or unevenness.
After sanding, use a damp cloth to remove any dust or debris from the wood. Make sure the surface is clean and dry before moving on to the finishing step.
Choose a stain or paint color of your preference to finish the wood surfaces. Apply the stain or paint in even strokes, following the manufacturer’s instructions for application and drying time.
For a natural and timeless look, you can also opt for a clear varnish or polyurethane finish. Apply the varnish or polyurethane using a brush in long, smooth strokes, ensuring an even coverage.
Allow the stain, paint, or finish to dry completely before moving on to the next step. This will ensure a durable and long-lasting result.
Now that you have sanded and finished the wood surfaces, your vanity bench is starting to take shape. The next step is to upholster the seat with the fabric you have chosen.
Step 6: Upholster the Seat
Upholstering the seat of your vanity bench adds a touch of elegance and comfort to the overall design. Choose a fabric that complements your style and matches the decor of your space.
Start by laying the fabric on a flat surface with the pattern facing down. Place the foam-padded seat on top of the fabric, making sure it is centered.
Wrap the fabric tightly around the edges of the seat, pulling it taut as you go. Use a staple gun to secure the fabric to the underside of the plywood seat. Begin by stapling the fabric in the center of each side, then work your way out to the corners, making sure the fabric is smooth and wrinkle-free.
When reaching the corners, fold the fabric neatly like you would when wrapping a present. It helps to create clean and professional-looking edges.
Trim any excess fabric with scissors, leaving a small margin to ensure the fabric remains securely attached.
Once the fabric is securely stapled to the seat, flip it over and check for any wrinkles or loose areas. Adjust as necessary, pulling the fabric tightly before stapling it in place.
Now that you have successfully upholstered the seat, it’s time to move on to the final step – attaching the seat to the base.
Your vanity bench is almost complete! All that’s left to do is attach the upholstered seat to the base.
Step 7: Attach the Seat to the Base
In the final step of building your vanity bench, you will attach the upholstered seat to the base you constructed earlier.
Start by flipping the seat upside down, with the upholstered fabric facing down. Position it on top of the base, ensuring that it is centered and aligned with the edges.
Using a drill, create pilot holes through the plywood seat and into the base. This will prevent the wood from splitting when you insert the screws. Then, drive screws through the pilot holes to securely attach the seat to the base.
Make sure to use screws that are long enough to go through the seat and into the base, but not so long that they protrude out the other side.
Check that the seat is firmly attached to the base and does not wobble or shift when pressure is applied.
Once the seat is securely attached, give the vanity bench a final inspection. Check for any loose screws or fabric, and make any necessary adjustments or tightenings.
Congratulations! You have successfully built your own vanity bench from scratch. Take a moment to admire your craftsmanship and creativity.
Now, find the perfect spot in your bedroom or dressing area to showcase your beautiful vanity bench. Whether you use it for applying makeup, styling your hair, or getting dressed, it will add a touch of elegance and functionality to your space.
Remember to regularly clean and maintain your vanity bench to keep it looking its best. Wipe down the wood surfaces and spot clean any spills or stains on the fabric upholstery.
Enjoy the fruits of your labor and the satisfaction of knowing that you created a unique piece of furniture that reflects your style and personal touch.
Thank you for following this step-by-step guide. We hope you have found it helpful and inspiring. Happy DIY-ing!
Read more: How To Make A Wooden Outdoor Bench
Conclusion
Building your own vanity bench is a rewarding and fulfilling DIY project that allows you to showcase your creativity and woodworking skills. By following the step-by-step instructions in this guide, you have learned how to create a beautiful and functional vanity bench that adds style and elegance to your bedroom or dressing area.
Throughout the construction process, you have measured and cut wood, assembled the base, attached the legs, built the seat, sanded and finished the wood surfaces, upholstered the seat, and finally attached it to the base. Each step has brought you closer to completing your own customized vanity bench.
Not only does a vanity bench provide a comfortable seat for various grooming and dressing activities, but it also adds a touch of sophistication and luxury to your space. It becomes a focal point in your room, showcasing your personal style and taste.
Remember to choose high-quality materials that will withstand everyday use and ensure the longevity of your vanity bench. Take your time during each step to ensure accurate measurements, clean cuts, and secure attachments. The finished product will be a testament to your craftsmanship.
As you enjoy the functionality and beauty of your newly built vanity bench, don’t forget to maintain it properly. Dust the surfaces regularly and spot clean any spills or stains on the fabric upholstery to keep it looking pristine.
We hope this guide has been helpful and inspiring in your DIY journey. Whether you are a seasoned DIY enthusiast or a beginner, creating your own vanity bench is an achievable and enjoyable project. The satisfaction of using a piece of furniture that you have built with your own hands is immeasurable.
Now, go ahead and show off your craftsmanship by making your own vanity bench. Get creative, experiment with different materials and designs, and make a piece that truly reflects your personal style and flair. Happy DIY-ing!
Frequently Asked Questions about How To Make A Vanity Bench
Was this page helpful?
At Storables.com, we guarantee accurate and reliable information. Our content, validated by Expert Board Contributors, is crafted following stringent Editorial Policies. We're committed to providing you with well-researched, expert-backed insights for all your informational needs.


0 thoughts on “How To Make A Vanity Bench”