Home>Home Appliances>Kitchen Appliances>How To Make Biltong With A Dehydrator

Kitchen Appliances
How To Make Biltong With A Dehydrator
Modified: August 28, 2024
Learn how to make delicious biltong using a dehydrator in your own kitchen. Discover the best techniques and recipes for making biltong at home with kitchen appliances.
(Many of the links in this article redirect to a specific reviewed product. Your purchase of these products through affiliate links helps to generate commission for Storables.com, at no extra cost. Learn more)
Introduction
Introduction
Welcome to the world of homemade biltong! If you're a fan of this South African dried meat delicacy, you'll be thrilled to learn how to make it using a dehydrator. Biltong is not only a delicious snack but also a symbol of tradition and heritage in South Africa. The process of making biltong is an art form that has been passed down through generations, and now, you have the opportunity to craft your own delectable biltong in the comfort of your kitchen.
In this comprehensive guide, we will explore the step-by-step process of making biltong using a dehydrator, along with the essential equipment and ingredients required. Whether you're a seasoned biltong enthusiast or a curious newcomer, this article will equip you with the knowledge and skills to create mouthwatering biltong that rivals the best available commercially.
So, roll up your sleeves, sharpen your knives, and let's embark on a flavorful journey to master the art of biltong-making with a dehydrator!
What is Biltong?
Key Takeaways:
- Master the art of making flavorful biltong at home using a dehydrator, creating a cherished South African delicacy with simple tools and quality ingredients.
- Embrace tradition and creativity in crafting biltong, infusing each batch with personal flair and sharing the joy of exceptional homemade snacks.
Read more: How To Store Biltong
What is Biltong?
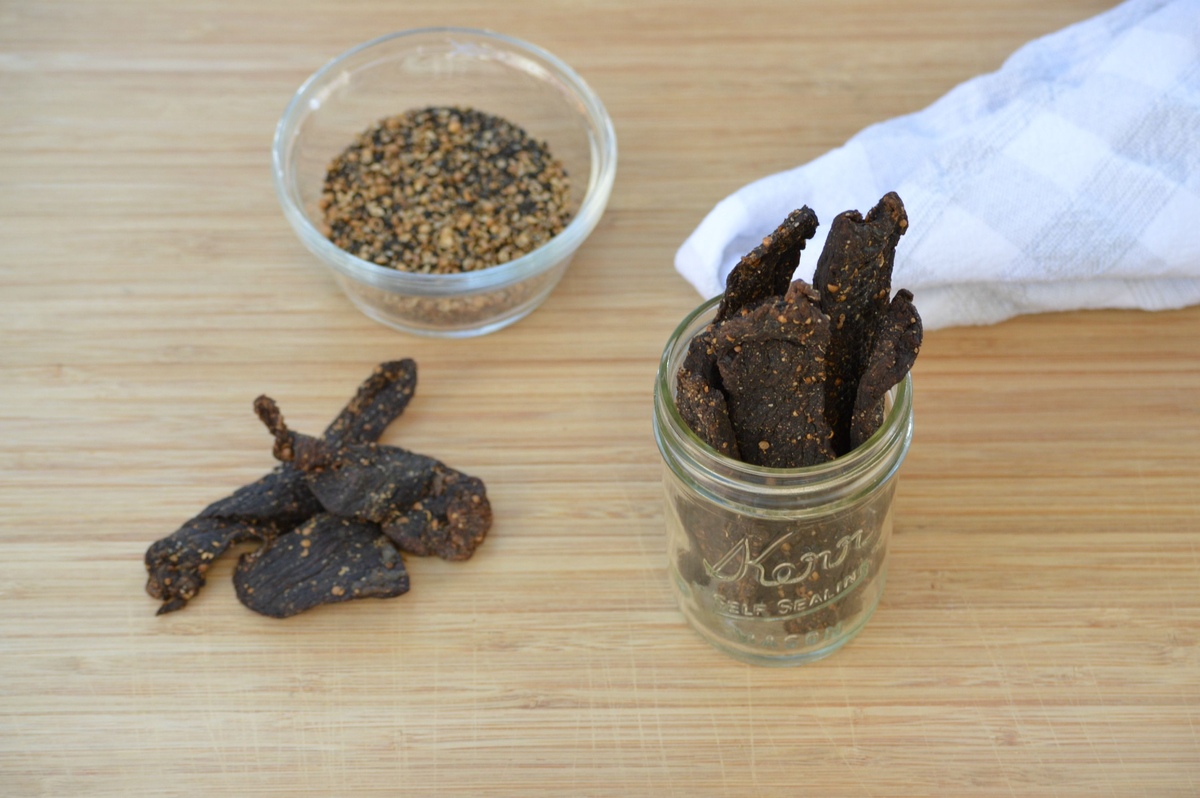
Biltong is a cherished South African dried meat snack that has gained popularity worldwide for its rich flavor and unique texture. This traditional delicacy is deeply rooted in South African culture and has evolved from being a practical method of preserving meat to a beloved culinary tradition.
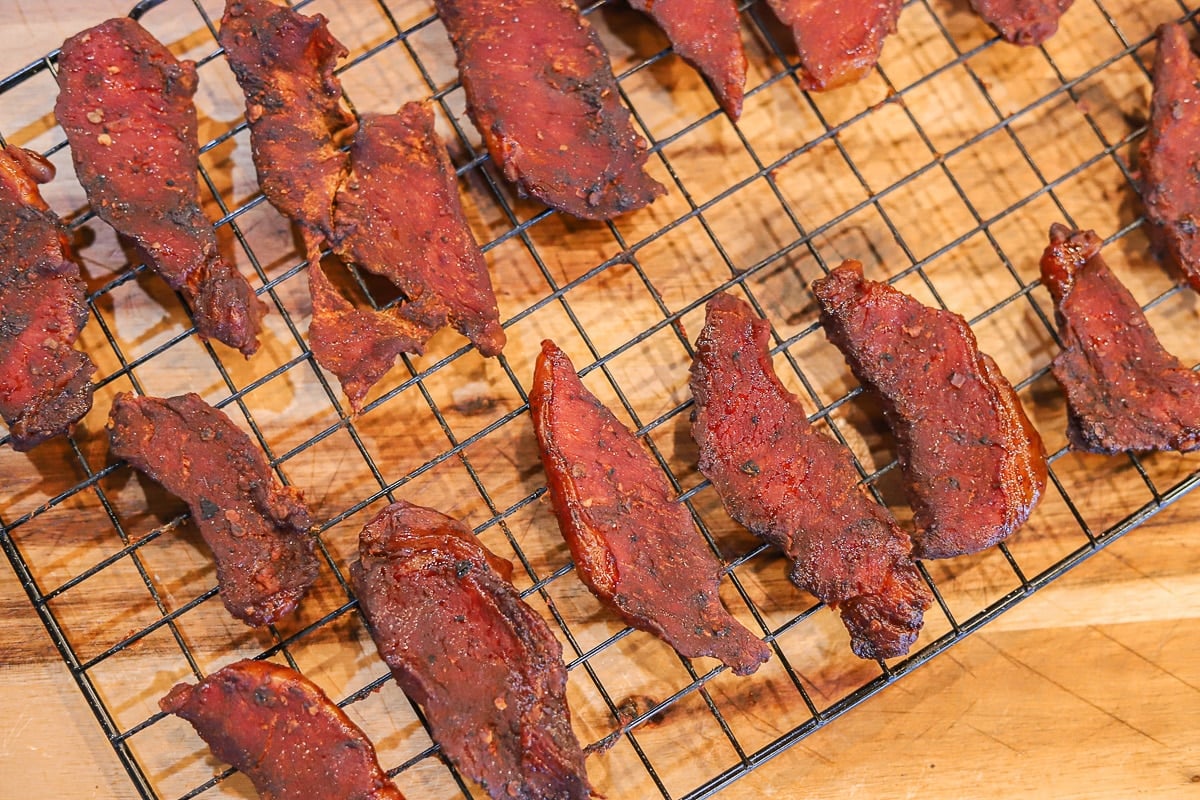
The process of making biltong involves curing strips of meat with a blend of salt, spices, and vinegar before air-drying or dehydrating it. The result is a tender, flavorful, and nutrient-dense snack that can be enjoyed on its own or incorporated into various dishes.
One of the defining characteristics of biltong is its robust flavor profile, which is achieved through the careful selection of spices and the slow curing and drying process. The meat used for biltong is typically beef, although game meats such as venison or ostrich are also popular choices. The cut of meat, such as silverside or topside, is important as it contributes to the texture and tenderness of the final product.
Unlike jerky, which is thinly sliced and often smoked, biltong is typically cut into thicker strips and air-dried or dehydrated without smoking. This results in a chewy yet tender texture with a concentrated meaty flavor that sets biltong apart from other dried meat products.
Whether enjoyed as a protein-packed snack, a flavorful addition to salads and sandwiches, or a gourmet ingredient in culinary creations, biltong offers a versatile and satisfying dining experience. Its enduring appeal lies in its simplicity, natural ingredients, and the artistry of the curing and drying process.
Now that we have a deeper understanding of what biltong is and its cultural significance, let's delve into the equipment and ingredients needed to craft this delectable treat at home.
Equipment Needed
Equipment Needed
Before embarking on your biltong-making journey, it’s essential to gather the necessary equipment to ensure a successful and efficient process. While the traditional method of air-drying biltong involves specific hanging apparatus and environmental conditions, using a dehydrator offers a more controlled and convenient approach without compromising on flavor or quality.
Here’s a list of the essential equipment needed to make biltong using a dehydrator:
- Dehydrator: The cornerstone of biltong-making with a dehydrator is, of course, the dehydrator itself. Look for a reliable model with adjustable temperature settings and ample drying space to accommodate the quantity of biltong you intend to produce.
- Sharp Knife: A high-quality, sharp knife is indispensable for slicing the meat into even strips. This ensures uniform drying and consistent texture in the finished biltong.
- Cutting Board: A clean and sturdy cutting board provides a stable surface for preparing the meat and helps maintain a hygienic workspace.
- Bowl or Container: A non-reactive bowl or container is needed for mixing the curing ingredients and marinating the meat.
- Meat Hooks or Skewers (Optional): If you prefer to hang the meat strips during the drying process, meat hooks or skewers can be used to suspend the biltong in the dehydrator.
- Meat Slicer (Optional): While not essential, a meat slicer can streamline the process of cutting the meat into uniform strips, especially when making larger batches of biltong.
- Meat Thermometer: To ensure food safety, a meat thermometer is helpful for monitoring the internal temperature of the biltong during the drying process.
By assembling these fundamental tools, you’ll be well-prepared to commence the biltong-making process with confidence and precision. With the equipment in place, the next step is to gather the essential ingredients that will infuse the meat with irresistible flavor and aroma.
Ingredients
Ingredients
The art of biltong-making lies not only in the meticulous preparation and drying process but also in the harmonious blend of spices and seasonings that impart a distinctive flavor to the meat. The following list outlines the essential ingredients required to create flavorful biltong using a dehydrator:
- Quality Meat: The foundation of exceptional biltong is high-quality meat, preferably beef, with well-defined grain and minimal fat. Popular cuts include silverside, topside, or round steak, chosen for their lean and tender attributes.
- Vinegar: A key component in the curing process, vinegar not only enhances the flavor of the meat but also aids in tenderizing and preserving it.
- Coarse Salt: Coarse salt is used to season the meat and facilitate the curing process. Its granular texture helps draw out moisture and intensifies the flavors as the biltong dries.
- Coriander Seeds: Whole coriander seeds, toasted and coarsely ground, contribute a fragrant, citrusy flavor to the biltong and are a quintessential component of the spice blend.
- Black Pepper: Coarsely ground black pepper adds a robust and pungent kick to the biltong, enhancing its savory profile and complementing the other spices.
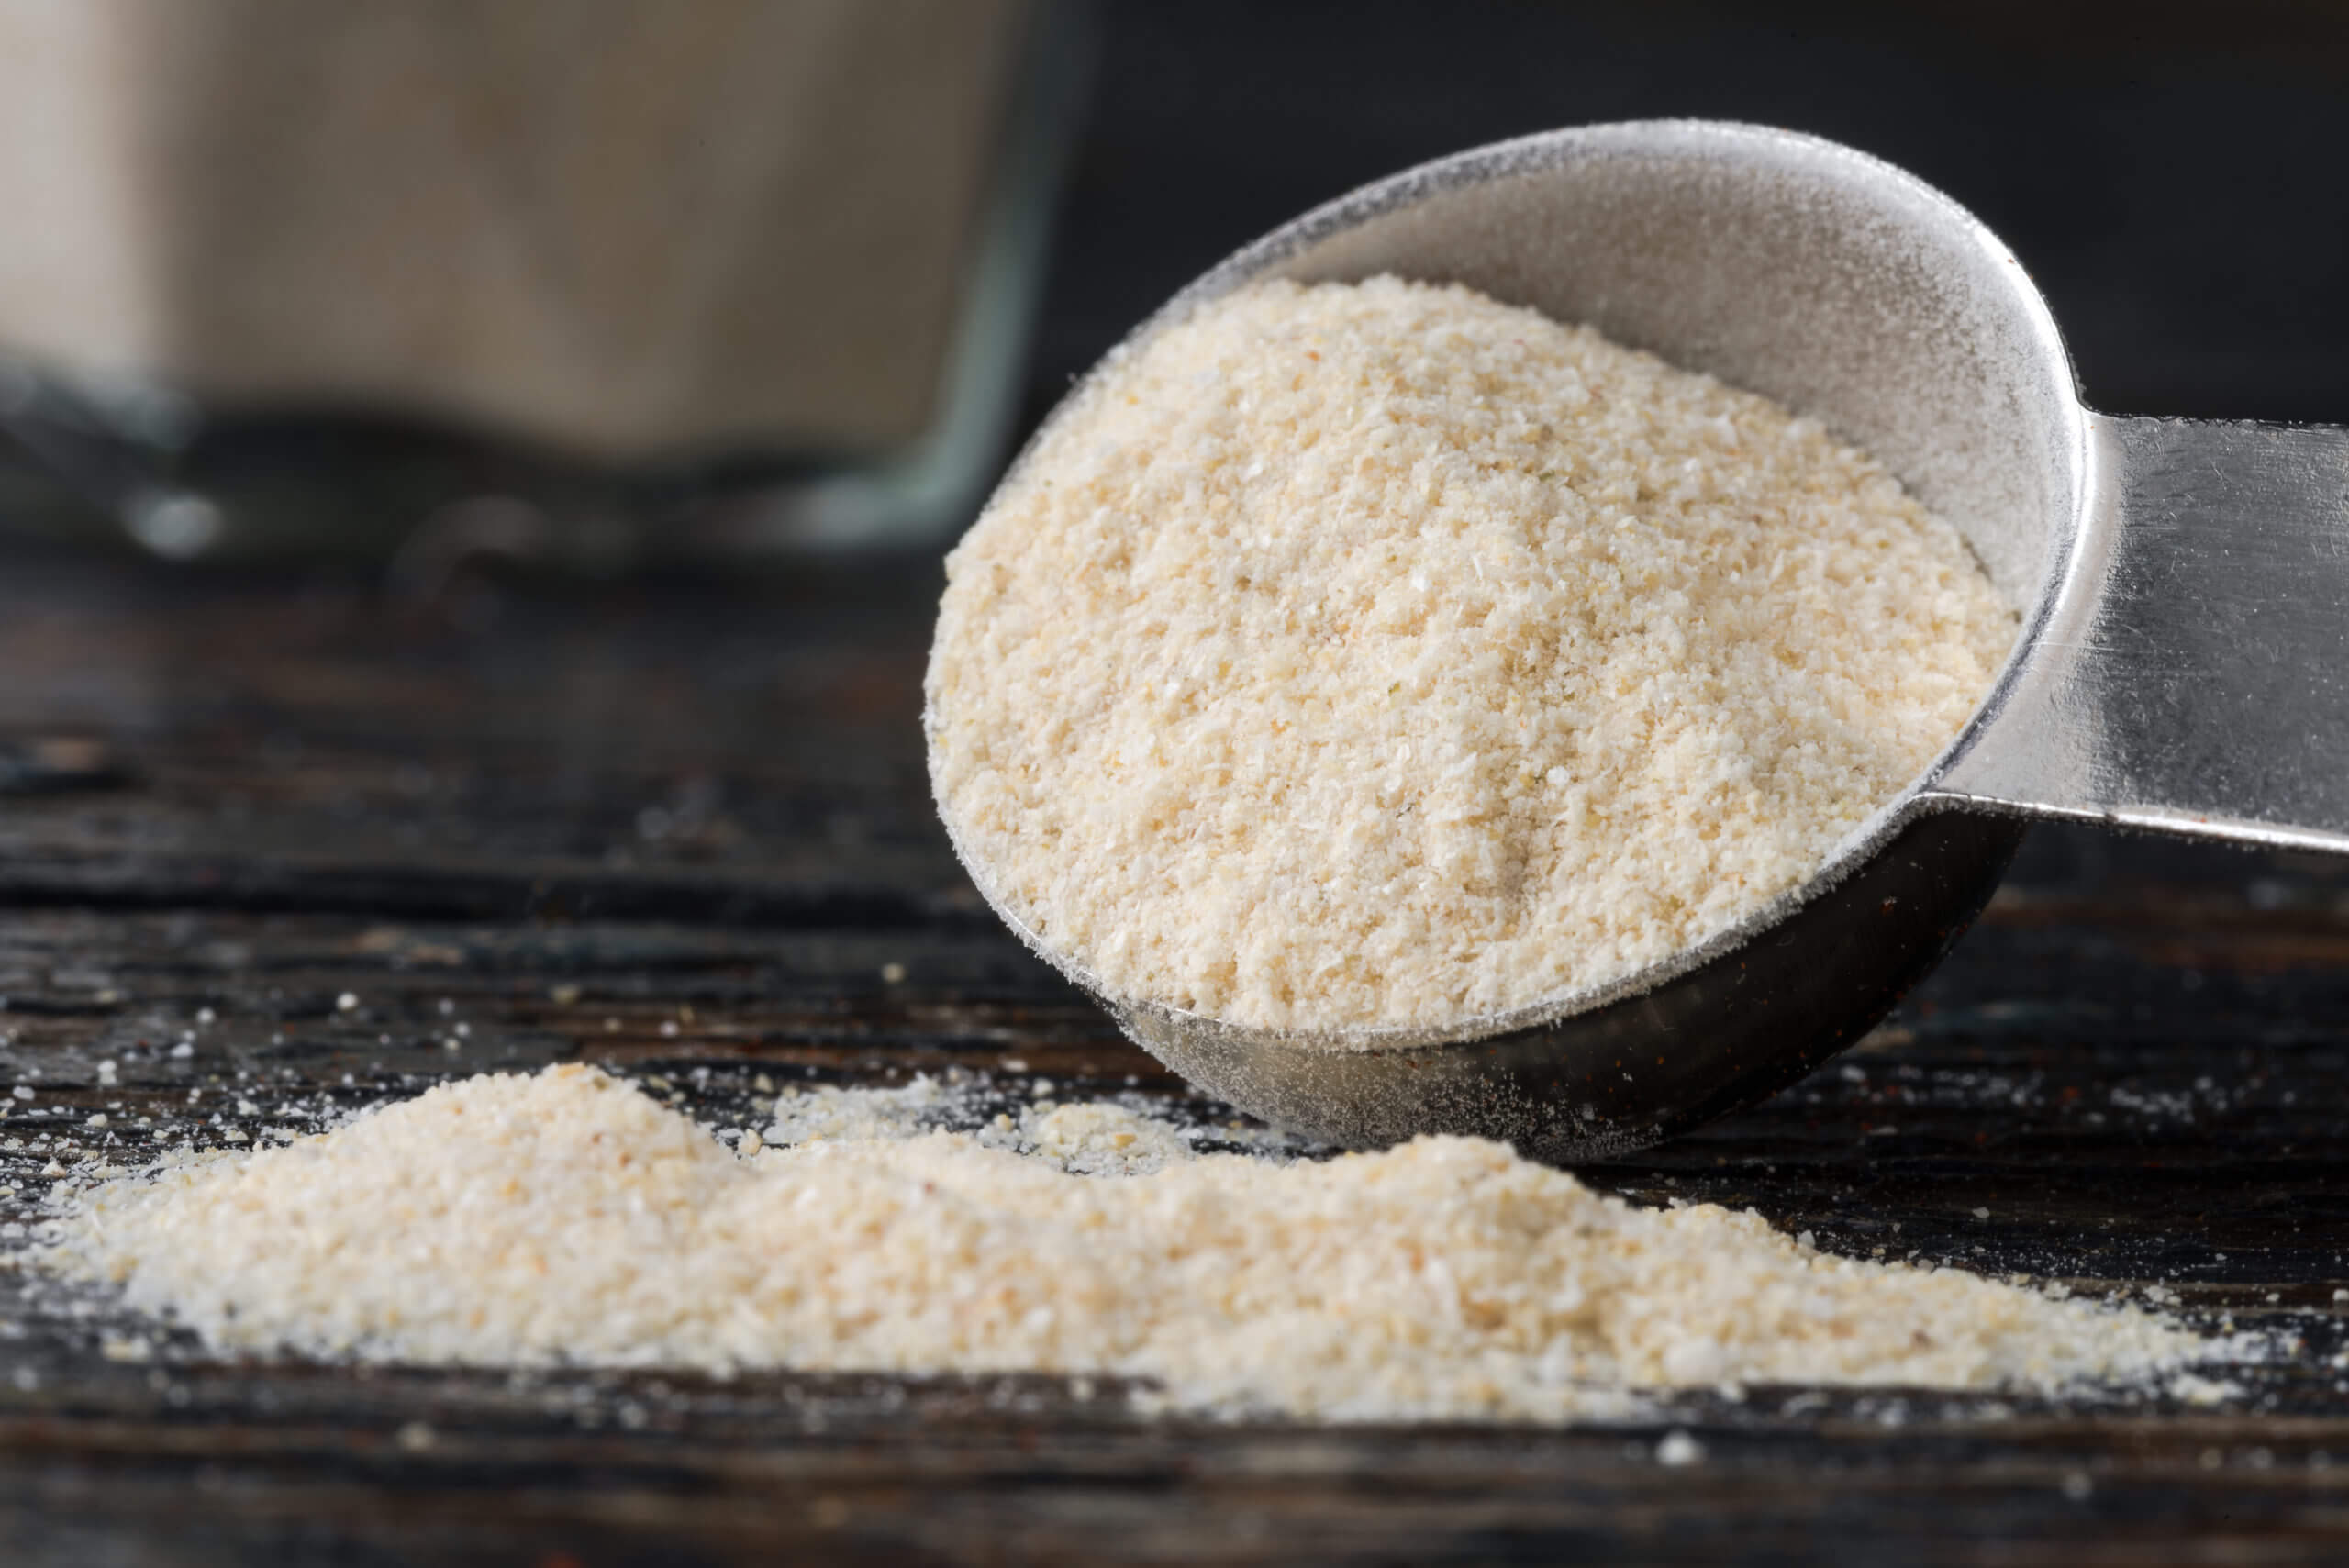
- Other Spices (Optional): Additional spices such as paprika, garlic powder, and cayenne pepper can be incorporated to customize the flavor profile according to personal preference.
- Brown Sugar or Sugar Substitute (Optional): For those who enjoy a hint of sweetness in their biltong, a small amount of brown sugar or a sugar substitute can be included in the spice mixture.
These carefully selected ingredients form the flavorful foundation of biltong, setting the stage for the curing and drying process that transforms simple meat into a delectable, protein-packed snack. With the equipment and ingredients at the ready, it’s time to dive into the step-by-step instructions for crafting your own biltong using a dehydrator.
Instructions
After marinating the meat, make sure to pat it dry before placing it in the dehydrator. This will help the biltong to dry evenly and prevent any mold from forming.
Instructions
Now that you have assembled the essential equipment and gathered the high-quality ingredients, it’s time to embark on the rewarding process of crafting biltong using a dehydrator. The following step-by-step instructions will guide you through the art of biltong-making, ensuring a successful and flavorful outcome:
- Prepare the Meat: Begin by selecting a lean cut of meat, such as silverside or topside, and trimming off any excess fat. Using a sharp knife, slice the meat against the grain into strips of uniform thickness, typically around 1/2 inch wide.
- Mix the Curing Ingredients: In a non-reactive bowl or container, combine the vinegar, coarse salt, toasted and ground coriander seeds, coarsely ground black pepper, and any additional spices or sugar, if desired. Thoroughly mix the ingredients to create a fragrant and flavorful curing mixture.
- Marinate the Meat: Place the meat strips in the curing mixture, ensuring that each strip is evenly coated. Cover the container and refrigerate the marinating meat for 4-6 hours, allowing the flavors to permeate the meat and initiate the curing process.
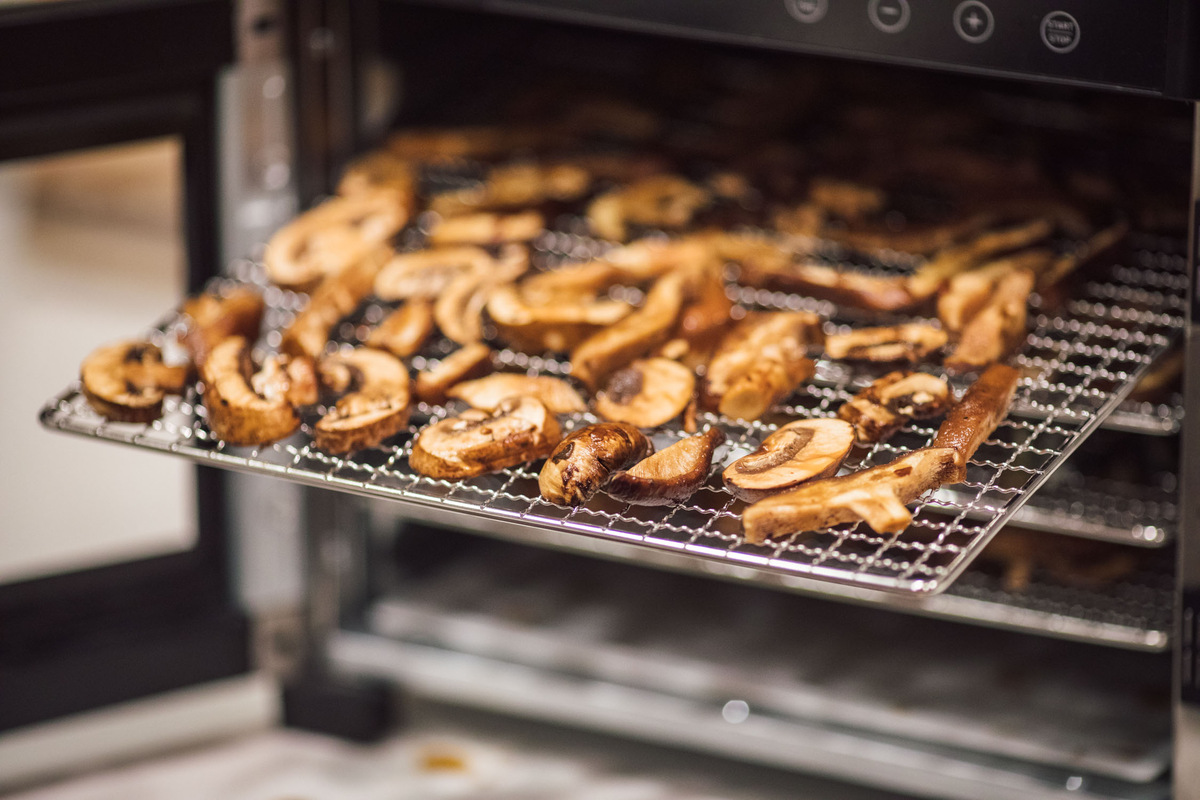
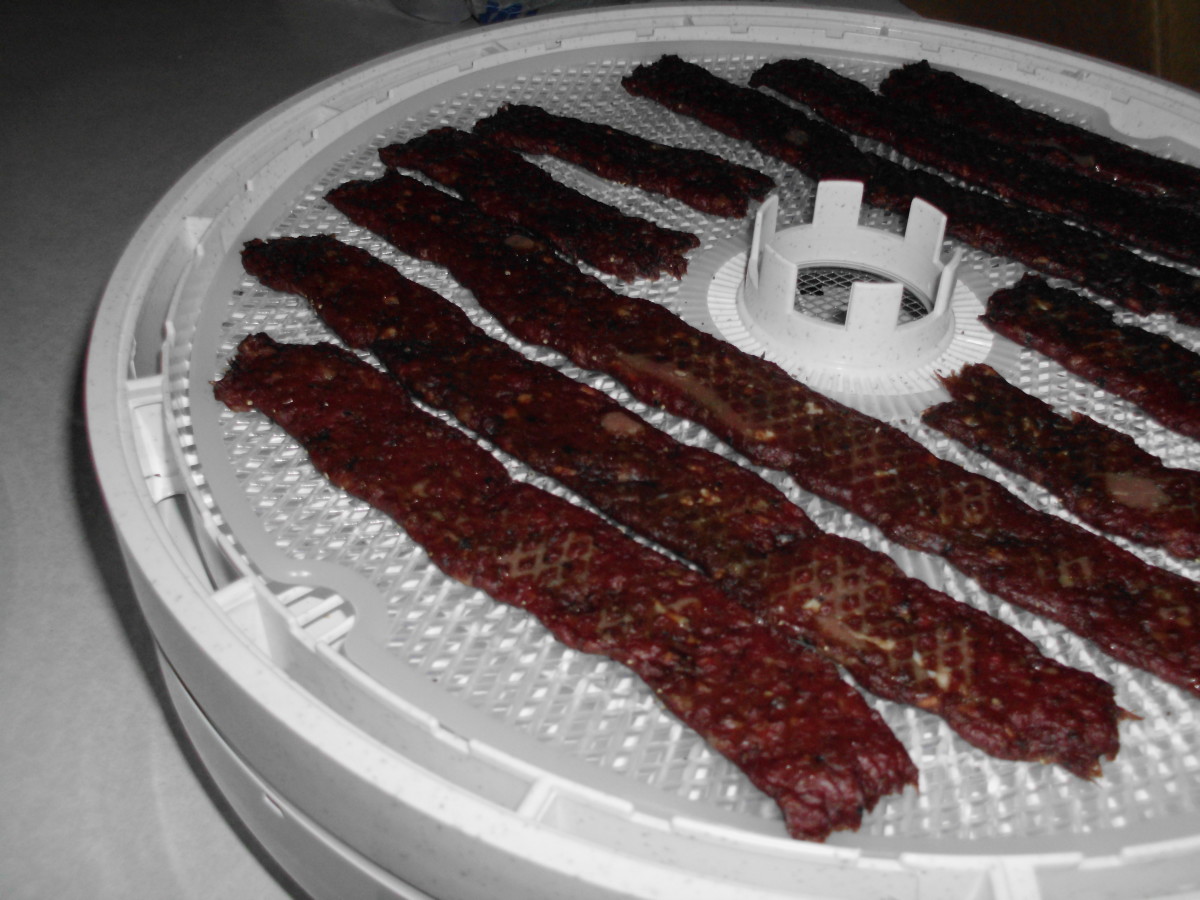
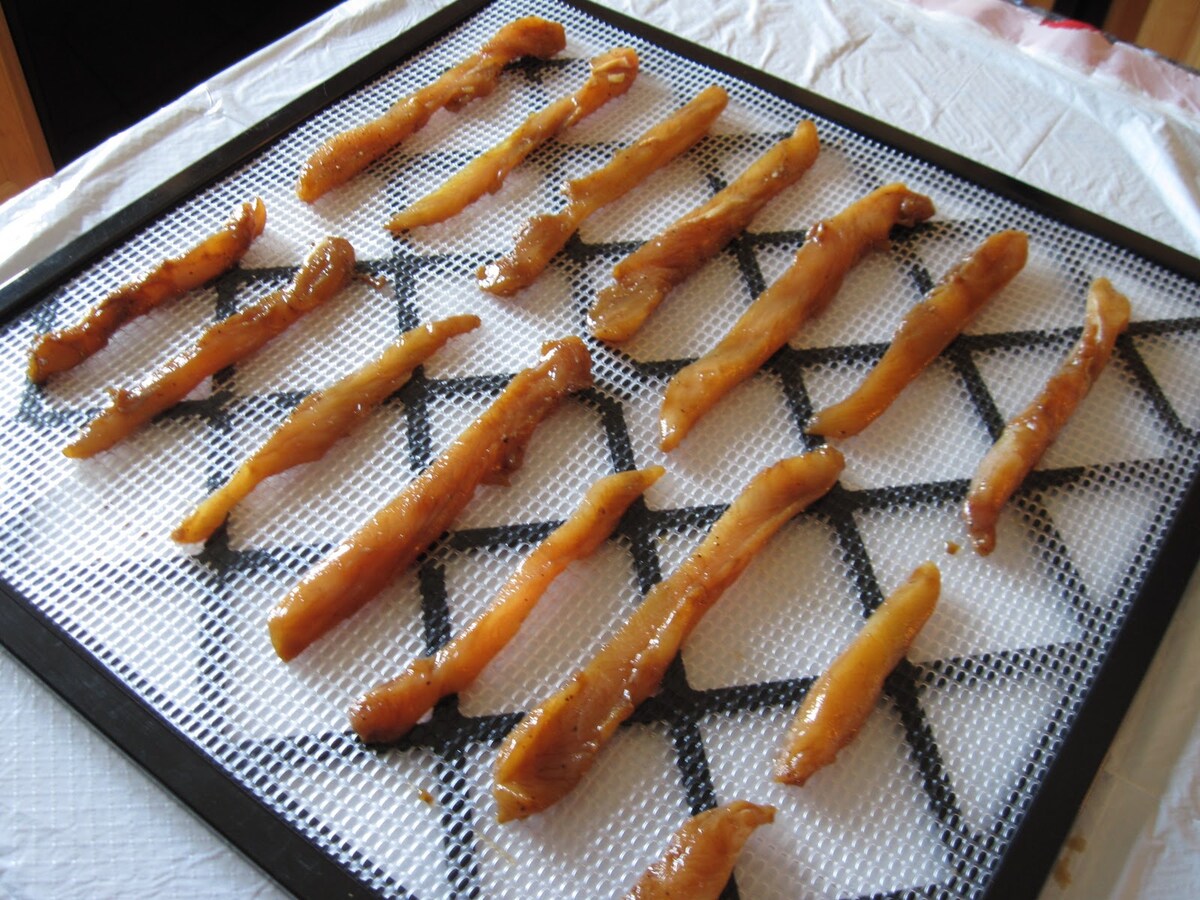
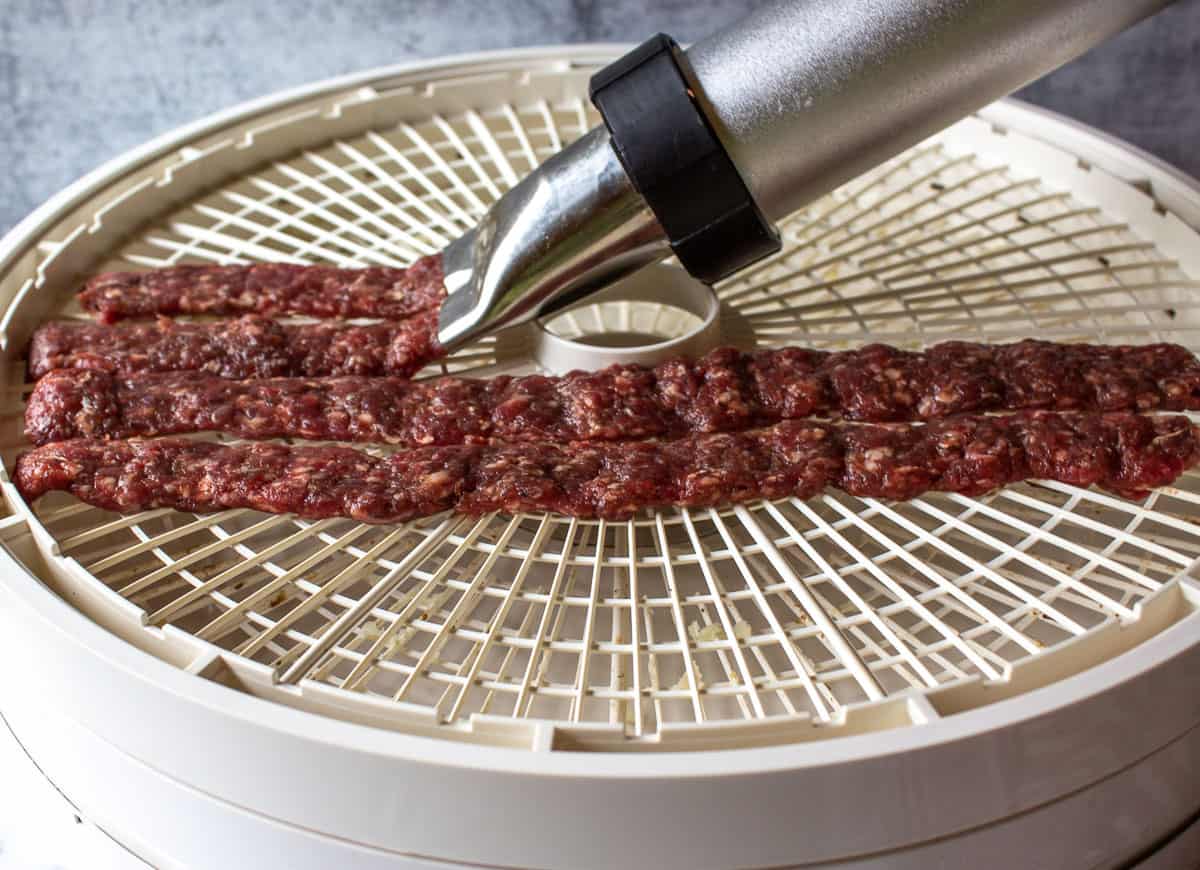
- Pat Dry and Arrange in the Dehydrator: After marinating, remove the meat strips from the curing mixture and pat them dry with paper towels to remove excess moisture. If using meat hooks or skewers, thread the strips through and hang them in the dehydrator, ensuring space between each strip for adequate airflow. If not using hooks, arrange the strips on the dehydrator trays, leaving space between each piece.
- Set the Dehydrator: Adjust the dehydrator to a temperature of around 140°F (60°C) and allow the biltong to dry for 4-6 hours, or until it reaches the desired level of dryness and firmness. Use a meat thermometer to ensure that the internal temperature of the biltong reaches at least 160°F (71°C) for food safety.
- Check for Doneness: Periodically check the biltong for readiness by testing the texture and moisture content. The biltong should be firm and dry on the outside while retaining a slightly chewy texture inside.
- Store and Enjoy: Once the biltong reaches the desired consistency, remove it from the dehydrator and allow it to cool completely. Store the biltong in airtight containers or resealable bags at room temperature or in the refrigerator, and savor the fruits of your labor as a delectable snack or culinary ingredient.
By following these meticulous instructions, you’ll master the art of crafting biltong with a dehydrator, yielding flavorful and tender dried meat that captures the essence of this beloved South African tradition. As you hone your biltong-making skills, consider the following tips to enhance your culinary prowess and achieve consistently exceptional results.
Tips for Making Biltong
Read more: How To Make A Solar Dehydrator
Tips for Making Biltong
As you delve into the art of biltong-making with a dehydrator, incorporating the following tips will elevate your craft and ensure consistently exceptional results:
- Select Quality Meat: Opt for lean, well-marbled cuts of beef, such as silverside or topside, for optimal texture and flavor. Trim any visible fat to prevent spoilage during the drying process.
- Uniform Slicing: Consistently slice the meat against the grain to achieve uniform thickness, promoting even drying and a consistent texture in the finished biltong.
- Curing Time: Allow the meat to marinate in the curing mixture for the recommended duration to ensure thorough flavor infusion and proper curing of the meat.
- Adequate Airflow: Whether using meat hooks or dehydrator trays, ensure that there is ample space between the meat strips for optimal airflow, facilitating even drying and preventing moisture retention.
- Temperature Control: Monitor the dehydrator temperature closely to maintain a consistent drying environment, balancing thorough dehydration with the preservation of moisture and tenderness in the biltong.
- Food Safety: Use a meat thermometer to verify that the internal temperature of the biltong reaches at least 160°F (71°C) to ensure that it is safe for consumption.
- Texture Testing: Periodically assess the texture and moisture content of the biltong during the drying process to gauge its readiness, aiming for a firm exterior and a slightly chewy interior.
- Storage Considerations: After drying, allow the biltong to cool completely before storing it in airtight containers or resealable bags to maintain its freshness and flavor. Store the biltong in a cool, dry place or in the refrigerator, away from direct sunlight.
- Flavor Experimentation: Embrace creativity by experimenting with different spice blends and flavor profiles to personalize your biltong, discovering unique combinations that resonate with your palate.
By incorporating these expert tips into your biltong-making process, you’ll refine your skills and produce biltong that embodies the rich tradition and irresistible flavors of this beloved South African delicacy. With dedication and a touch of culinary finesse, your homemade biltong will captivate the senses and delight discerning palates.
Conclusion
Conclusion
Congratulations on mastering the art of crafting biltong with a dehydrator! Through this journey, you’ve not only honed your culinary skills but also embraced a cherished tradition that spans generations and continents. The process of transforming quality meat into tender, flavorful biltong is a testament to the artistry and craftsmanship inherent in this South African delicacy.
As you savor the fruits of your labor, whether indulging in biltong as a wholesome snack, incorporating it into culinary creations, or sharing it with friends and family, you are perpetuating a tradition that celebrates the simple pleasures of life and the joy of sharing exceptional food with others.
With the knowledge and expertise gained from this guide, you now possess the ability to create biltong that not only rivals its commercial counterparts but also bears the personal touch of your culinary ingenuity. As you continue to refine your biltong-making skills and explore new flavor combinations, remember that the heart and soul you infuse into each batch of biltong are what make it truly extraordinary.
So, as you embark on future biltong-making endeavors, may your creations be a testament to the time-honored tradition and the boundless creativity that define the art of biltong-making. Embrace the process, savor the flavors, and revel in the joy of sharing your homemade biltong with those who appreciate the simple pleasures of exceptional food.
Thank you for joining us on this flavorful journey, and may your biltong-making adventures continue to bring delight and satisfaction to your culinary pursuits. Here’s to the art of biltong-making and the enduring legacy of this beloved South African treasure!
Frequently Asked Questions about How To Make Biltong With A Dehydrator
Was this page helpful?
At Storables.com, we guarantee accurate and reliable information. Our content, validated by Expert Board Contributors, is crafted following stringent Editorial Policies. We're committed to providing you with well-researched, expert-backed insights for all your informational needs.

0 thoughts on “How To Make Biltong With A Dehydrator”