Home>Home Appliances>Kitchen Appliances>How To Make Dog Treats In A Dehydrator

Kitchen Appliances
How To Make Dog Treats In A Dehydrator
Modified: March 19, 2024
Learn how to make healthy dog treats using a dehydrator in your kitchen. Discover easy recipes and tips for using kitchen appliances. Ideal for pet owners seeking natural and nutritious options.
(Many of the links in this article redirect to a specific reviewed product. Your purchase of these products through affiliate links helps to generate commission for Storables.com, at no extra cost. Learn more)
Introduction
Welcome to the world of homemade dog treats! Making delicious and nutritious snacks for your furry friend can be a rewarding and enjoyable experience. In this article, we'll explore the process of creating delectable dog treats using a dehydrator. Whether you're a seasoned chef or a novice in the kitchen, crafting homemade dog treats can be a delightful way to show your canine companion some extra love.
As pet owners, we strive to provide our dogs with the best care possible, and that includes their diet. By preparing treats at home, you have full control over the ingredients, ensuring that your dog enjoys wholesome and natural snacks. Using a dehydrator to make dog treats offers numerous benefits, including the preservation of nutrients and flavors while eliminating the need for added preservatives or artificial ingredients.
Not only are homemade dog treats healthier, but they can also be more cost-effective in the long run. Additionally, creating these treats allows for customization based on your dog's preferences and dietary needs. Whether your pup prefers savory or sweet snacks, you can tailor the ingredients to suit their tastes.
In this guide, we will delve into the process of selecting high-quality ingredients, preparing them for dehydration, utilizing the dehydrator to achieve optimal results, and properly storing the finished treats. By the end of this article, you'll be equipped with the knowledge and confidence to embark on your homemade dog treat-making journey. So, grab your apron, gather your ingredients, and let's get started on this tail-wagging adventure!
Key Takeaways:
- Create healthy, customized dog treats using a dehydrator by choosing quality ingredients, preparing them thoughtfully, and using the dehydrator correctly. Your furry friend will love the wholesome, flavorful snacks made with love!
- Store homemade dog treats in airtight containers, away from moisture and direct sunlight, to maintain their freshness and quality. Label and date the containers for easy monitoring and ensure your pup enjoys delicious, safe snacks.
Choosing Ingredients for Dog Treats
When it comes to making dog treats in a dehydrator, selecting the right ingredients is crucial for both flavor and nutritional value. The beauty of homemade treats lies in the ability to use wholesome, natural ingredients that cater to your dog’s specific dietary requirements and taste preferences.
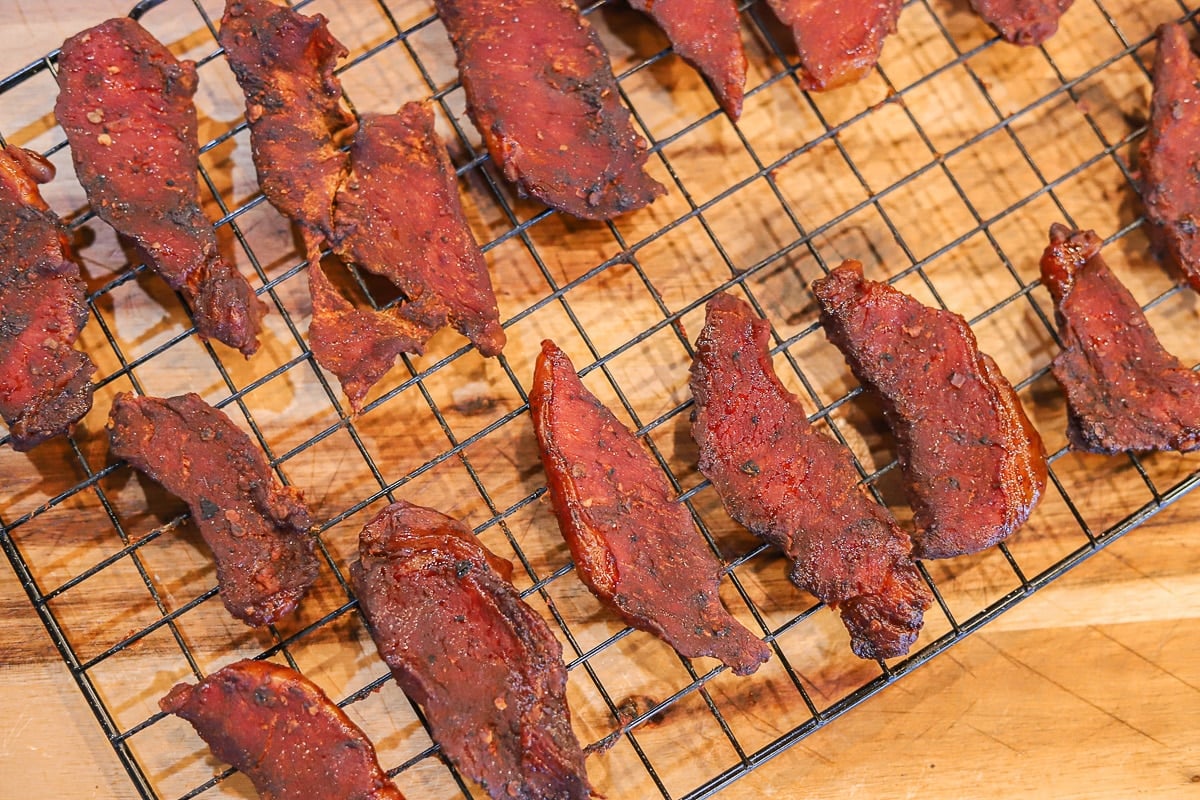
1. Protein: Start by choosing a high-quality protein source, such as lean meats or fish. Chicken, turkey, beef, and salmon are excellent options. Ensure that the meat is fresh and free from any seasonings or additives that could be harmful to your pet.
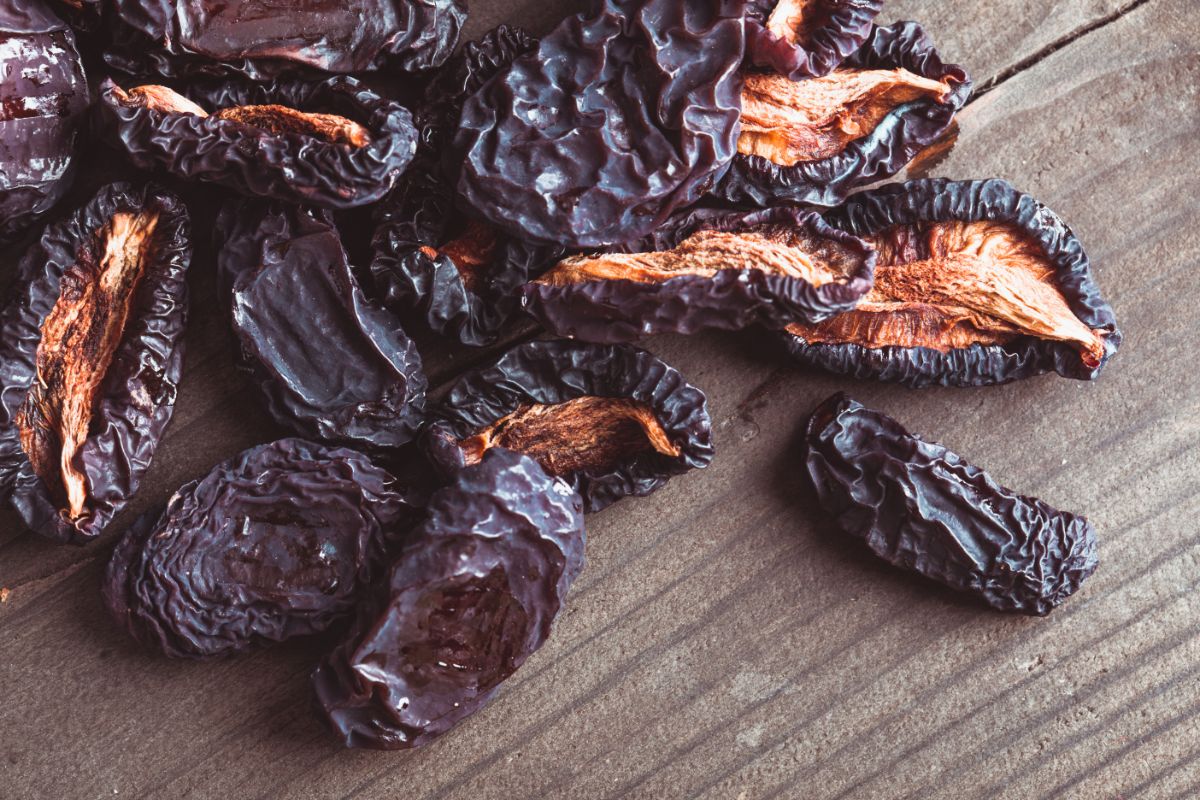
2. Fruits and Vegetables: Incorporating fruits and vegetables into your dog treats adds essential vitamins and minerals. Apples, carrots, sweet potatoes, and blueberries are popular choices. These ingredients not only contribute to the overall nutritional value of the treats but also provide natural sweetness and a satisfying crunch.
3. Grains and Legumes: If your dog tolerates grains well, consider including wholesome grains like oats or quinoa in the treat recipes. Alternatively, legumes such as lentils or chickpeas can be used as a source of plant-based protein and fiber.
4. Supplements: Certain supplements can be beneficial for your dog’s overall well-being. For example, incorporating a small amount of ground flaxseed or fish oil can provide omega-3 fatty acids, promoting a healthy coat and skin.
5. Avoid Harmful Ingredients: It’s important to steer clear of ingredients that are toxic to dogs, such as chocolate, raisins, grapes, onions, and garlic. Additionally, be cautious with the use of salt and sugar, as excessive amounts can be detrimental to your pet’s health.
Remember to consult with your veterinarian if you have any concerns about specific ingredients or if your dog has dietary restrictions. By carefully selecting high-quality, dog-friendly ingredients, you can ensure that the treats you create are not only delicious but also contribute to your pet’s well-being.
Preparing the Ingredients
Once you’ve gathered the finest ingredients for your homemade dog treats, it’s time to prepare them for the dehydration process. Proper preparation ensures that the treats not only turn out delicious but also retain their nutritional value. Here’s a step-by-step guide to preparing the ingredients:
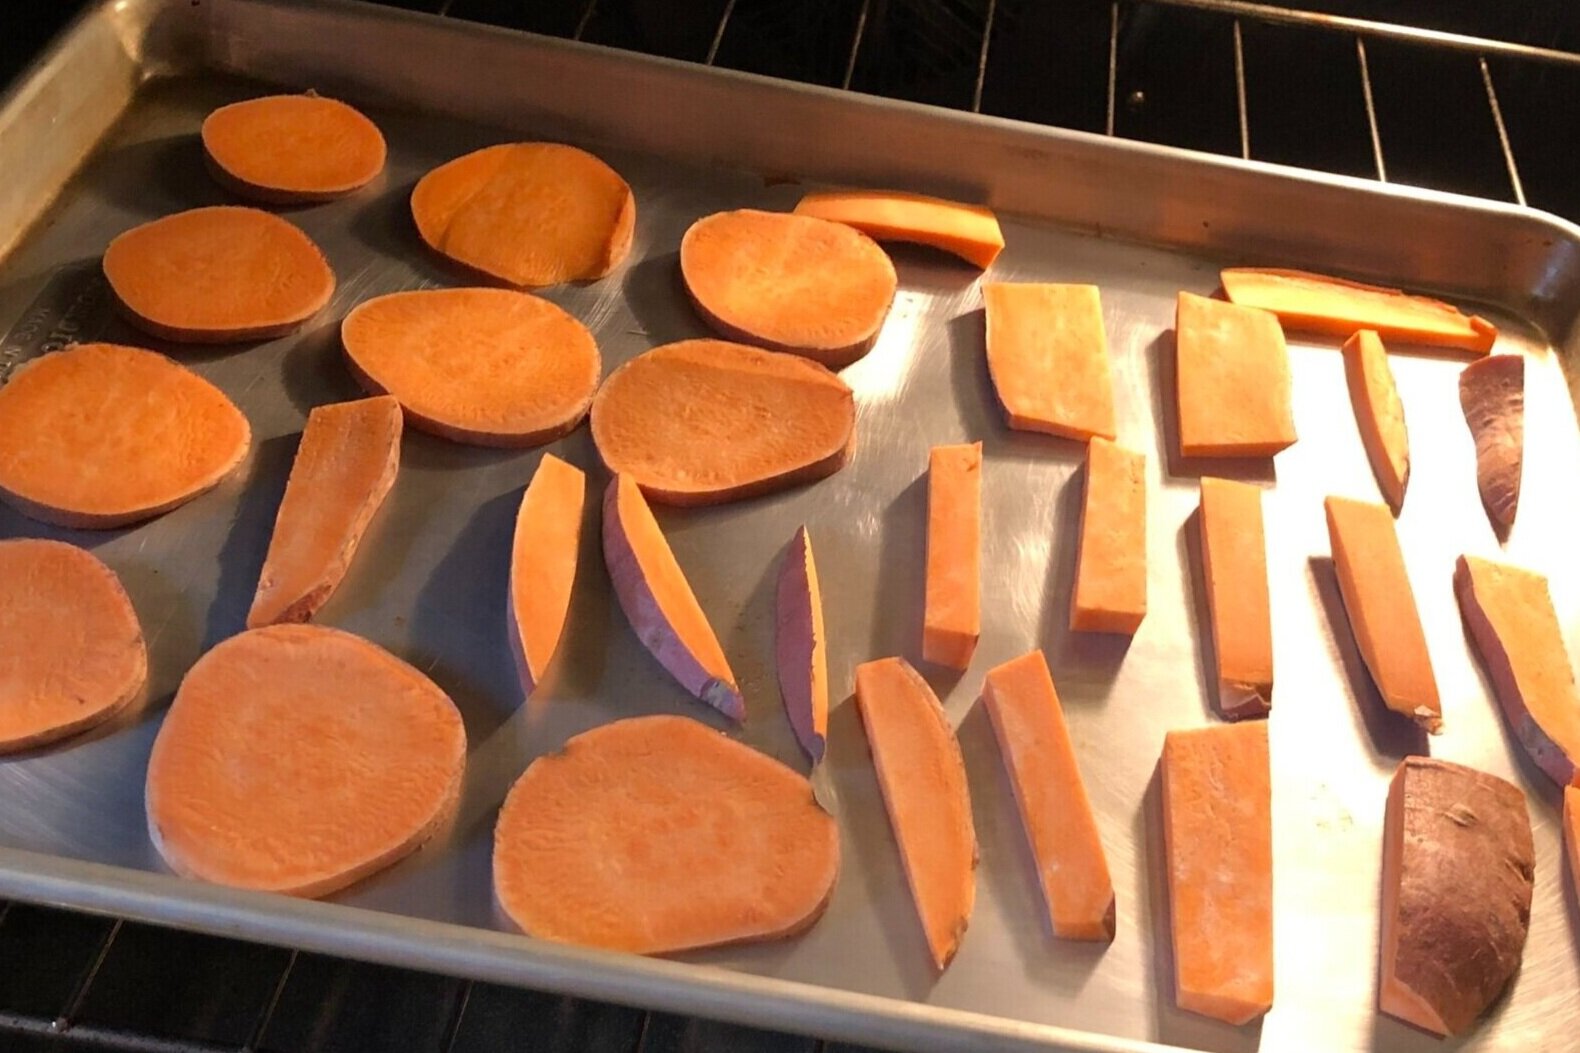
1. Washing and Chopping: Start by thoroughly washing any fruits and vegetables to remove any dirt or residue. Once cleaned, chop them into bite-sized pieces or thin slices, depending on your preference. This step not only makes the ingredients more manageable during the dehydration process but also helps ensure even drying.
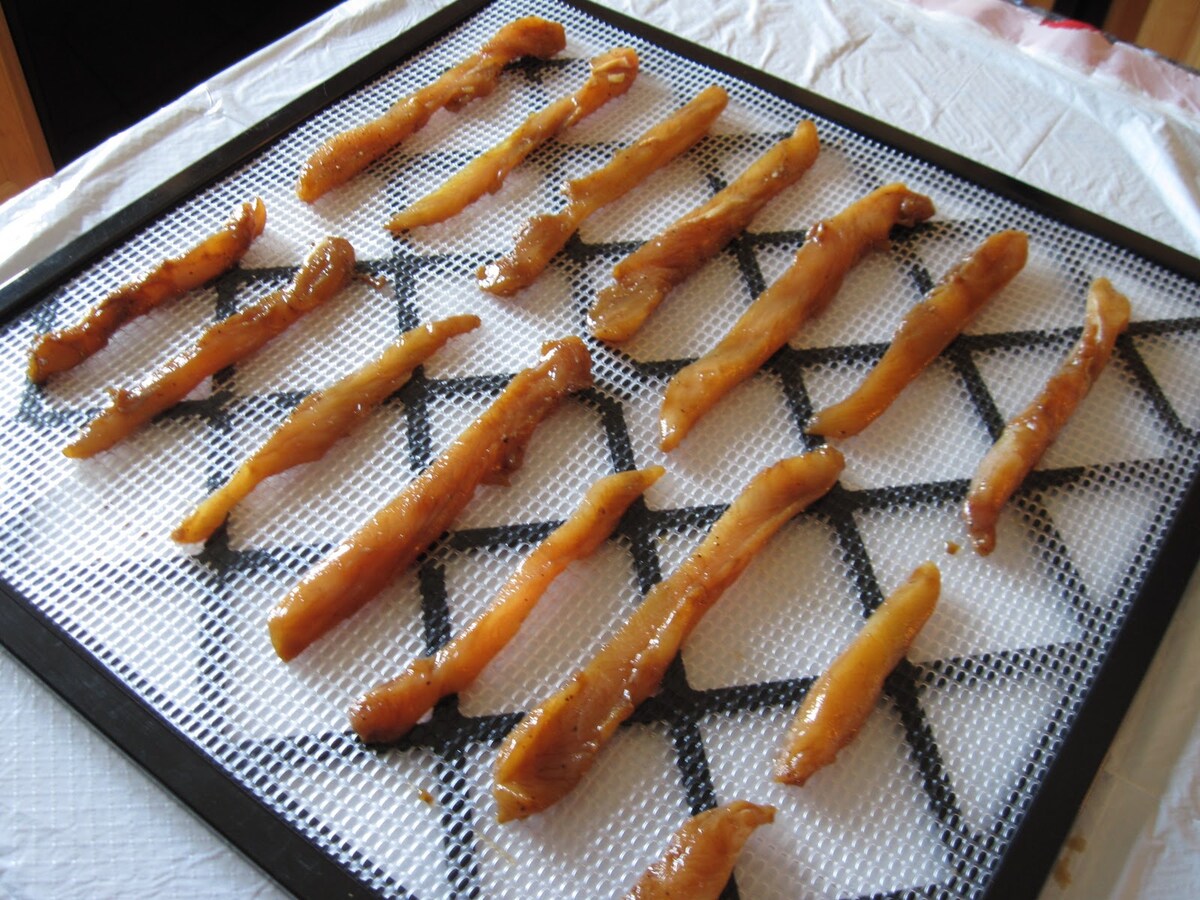
2. Meat Preparation: If you’re using meat as a primary ingredient, it’s essential to trim off excess fat and remove any bones. Additionally, slicing the meat into uniform pieces will aid in consistent drying and result in evenly textured treats.
3. Blanching (Optional): In some cases, blanching certain fruits and vegetables before dehydration can help preserve their color and texture. This involves briefly immersing the produce in boiling water, followed by an immediate plunge into ice water to halt the cooking process. While this step is optional, it can be beneficial for certain ingredients.
4. Marinades and Seasonings: If you choose to marinate or season the ingredients, do so sparingly. While it’s tempting to add flavors that appeal to human taste buds, remember that dogs have a more sensitive sense of smell and taste. Simple, dog-friendly seasonings such as a sprinkle of parsley or a touch of cinnamon can enhance the treats without overwhelming your pet’s palate.
5. Uniform Sizing: Ensuring that the ingredients are uniformly sized is key to achieving consistent dehydration. This uniformity allows the treats to dry evenly and at the same rate, resulting in a batch of uniformly textured snacks.
6. Preliminary Drying: Depending on the moisture content of the ingredients, you may opt to pat them dry with a paper towel before placing them in the dehydrator. This can help expedite the drying process and prevent any excess moisture from prolonging the dehydration time.
By taking the time to prepare the ingredients thoughtfully, you set the stage for successful dehydration and ultimately, a batch of delectable homemade dog treats. The care and attention invested in the preparation process will undoubtedly reflect in the final product, much to the delight of your four-legged friend.
When making dog treats in a dehydrator, make sure to slice the ingredients into uniform sizes to ensure even drying. This will help prevent some pieces from being under or over dried.
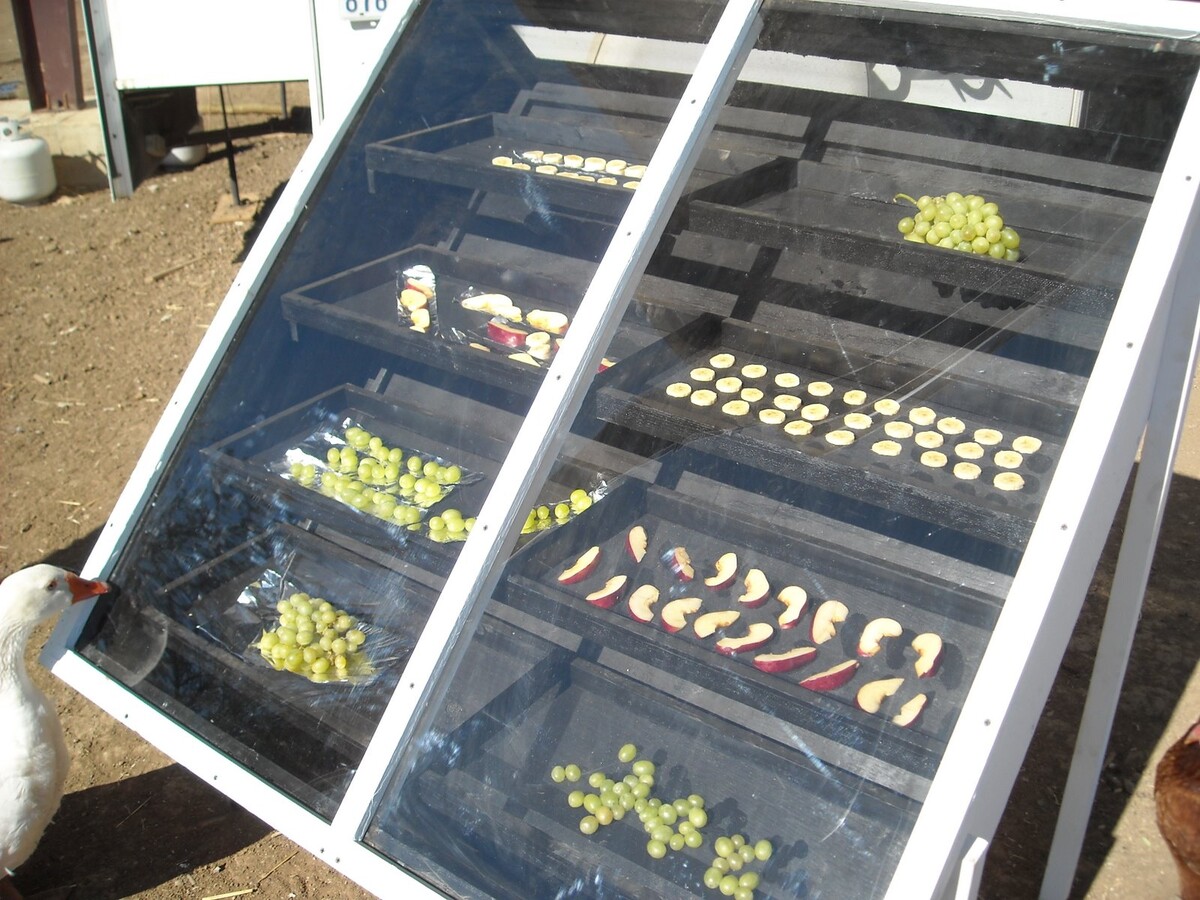
Using the Dehydrator
Now that your ingredients are meticulously prepared, it’s time to harness the power of the dehydrator to transform them into delightful dog treats. Dehydrators offer a convenient and efficient way to remove moisture from foods while preserving their natural flavors and nutrients. Here’s a comprehensive guide to using a dehydrator for crafting homemade dog treats:
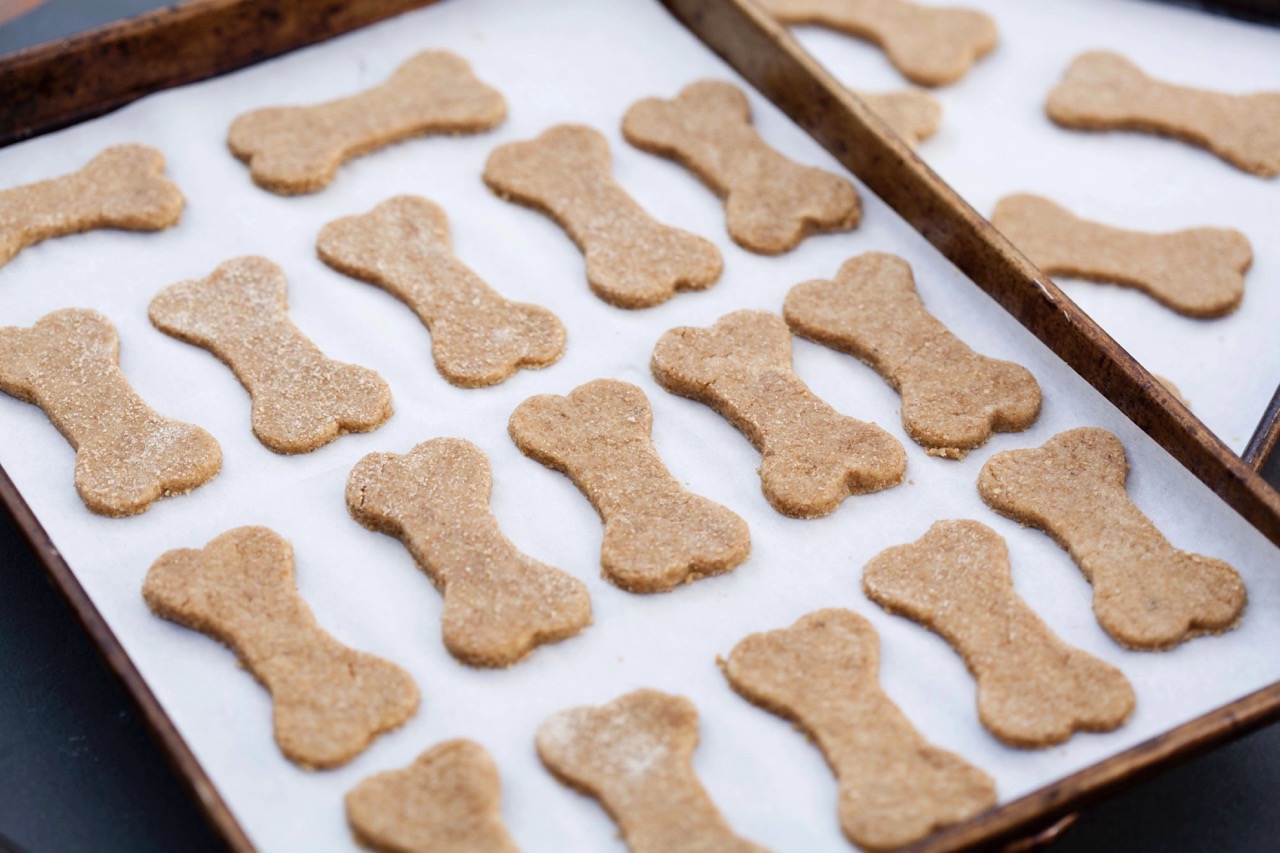
1. Preheat and Arrange: Before loading the dehydrator trays, preheat the unit to the recommended temperature for the specific ingredients you’re using. Once preheated, arrange the prepared ingredients on the trays, ensuring that there is ample space between each piece for proper air circulation.
2. Temperature and Timing: Different ingredients may require varying temperatures and drying times. For example, meats typically require higher temperatures initially to ensure food safety, followed by a lower temperature for the remainder of the drying process. Fruits and vegetables generally dry well at lower temperatures. Refer to the dehydrator’s manual or reliable sources for specific temperature and timing guidelines based on the ingredients you’re using.
3. Monitor the Process: Throughout the dehydration process, periodically check the progress of the treats. This allows you to rotate the trays if necessary, ensuring uniform drying. Keep an eye on the texture and moisture content of the treats, as they should gradually become dry and leathery without any moisture when fully dehydrated.
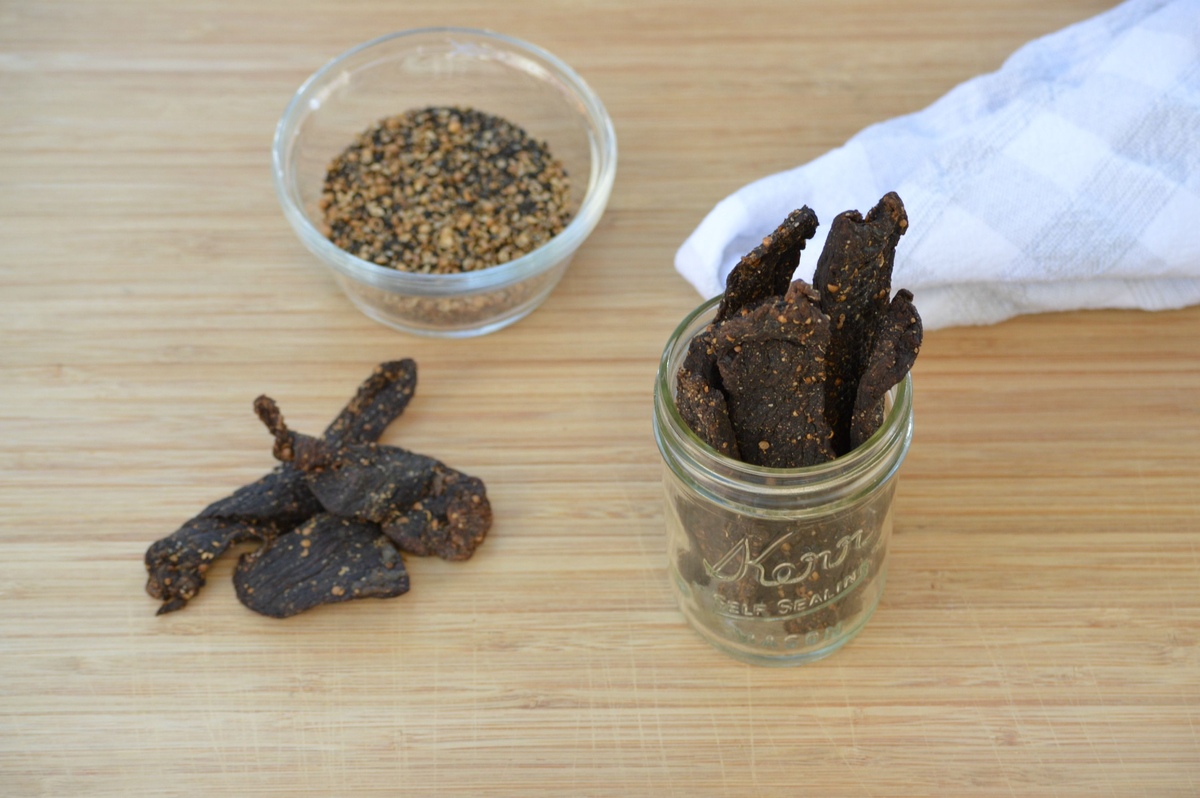
4. Testing for Doneness: To determine if the treats are adequately dehydrated, perform a simple touch test. The treats should be firm and dry to the touch, with no signs of moisture. Additionally, cut a piece in half to inspect the interior; it should be uniformly dry with no visible moisture or signs of undercooking.
5. Cooling and Conditioning: Once the treats are deemed fully dehydrated, allow them to cool to room temperature. Conditioning the treats involves placing them in an airtight container for a few days, shaking the container daily to redistribute any remaining moisture. This step helps ensure that the treats are evenly dried and aids in prolonging their shelf life.
6. Quality Check: Before offering the treats to your dog, conduct a final quality check to ensure that they are thoroughly dehydrated and free from any signs of spoilage. Properly dehydrated treats should be stable at room temperature and exhibit no traces of moisture or mold.
By following these steps and exercising patience throughout the dehydration process, you’ll be rewarded with a batch of wholesome, flavorful dog treats that are sure to make tails wag with joy.
Storing the Dog Treats
After the labor of love that goes into creating homemade dog treats, proper storage is essential to maintain their freshness and quality. By storing the treats correctly, you can ensure that they remain safe for your dog to consume and retain their delightful flavors. Here’s a guide to effectively storing your homemade dog treats:
1. Cooling to Room Temperature: Once the treats have completed the dehydration process and have been conditioned if necessary, allow them to cool to room temperature on a wire rack or a clean, dry surface. This step is crucial before transferring them to storage containers.
2. Airtight Containers: Store the cooled treats in airtight containers to protect them from exposure to air and moisture. Mason jars, food-grade plastic containers, or metal tins with tight-sealing lids are excellent choices. Ensure that the containers are thoroughly clean and dry before filling them with the treats.
3. Avoiding Moisture: Moisture is the enemy when it comes to preserving dehydrated treats. To prevent moisture absorption, consider adding a small food-grade desiccant packet to each storage container. These packets help absorb any residual moisture, maintaining the treats’ crispness and shelf life.
4. Storage Location: Store the containers of treats in a cool, dry place away from direct sunlight. Exposure to heat and light can compromise the treats’ quality and lead to spoilage. A pantry or cupboard in the kitchen is an ideal storage location, as long as it remains consistently cool and dry.
5. Labeling and Dating: To keep track of the treats’ freshness, label each container with the treat’s contents and the date of preparation. This practice allows you to monitor the treats’ shelf life and ensures that you use the oldest treats first, maintaining their optimal quality.
6. Regular Inspection: Periodically inspect the stored treats for any signs of moisture, mold, or staleness. If you notice any issues, promptly discard the affected treats to prevent potential health risks to your dog.
By adhering to these storage guidelines, you can prolong the shelf life of your homemade dog treats and maintain their nutritional integrity and palatability. Your canine companion will undoubtedly appreciate the effort you put into ensuring that their treats are always fresh and delightful.
Frequently Asked Questions about How To Make Dog Treats In A Dehydrator
Was this page helpful?
At Storables.com, we guarantee accurate and reliable information. Our content, validated by Expert Board Contributors, is crafted following stringent Editorial Policies. We're committed to providing you with well-researched, expert-backed insights for all your informational needs.


0 thoughts on “How To Make Dog Treats In A Dehydrator”