Home>Home Appliances>Kitchen Appliances>How To Make A Food Dehydrator
Kitchen Appliances
How To Make A Food Dehydrator
Modified: February 18, 2024
Learn how to make a food dehydrator at home and save money on kitchen appliances. Discover easy DIY methods for creating your own dehydrator.
(Many of the links in this article redirect to a specific reviewed product. Your purchase of these products through affiliate links helps to generate commission for Storables.com, at no extra cost. Learn more)
Introduction
Welcome to the world of DIY food dehydrators! If you’re a fan of homemade snacks, preserving seasonal fruits, or making your own jerky, a food dehydrator is an invaluable kitchen tool. While there are many commercial dehydrators available, building your own can be a rewarding and cost-effective project. In this guide, we'll walk through the process of creating a food dehydrator from scratch, allowing you to customize it to your specific needs and preferences.
By constructing your own food dehydrator, you can tailor its size, shape, and features to accommodate the foods you love to dehydrate. Whether you have a surplus of garden produce, want to make healthy snacks for your family, or simply enjoy hands-on projects, building a food dehydrator can be a fulfilling endeavor. Not to mention, it’s a great way to exercise your DIY skills and create a practical appliance for your kitchen.
Throughout this tutorial, we will cover the materials and tools you’ll need, the step-by-step process of building the dehydrator frame, installing the heating element, adding a ventilation system, assembling the dehydrator trays, and finally, testing and using your homemade food dehydrator. So, roll up your sleeves and get ready to embark on this exciting journey of creating your very own food dehydrator!
Key Takeaways:
- Build a DIY food dehydrator to customize size, features, and materials, reducing food waste and creating healthy snacks with simple, natural ingredients.
- Embrace culinary exploration with a homemade dehydrator, honing DIY skills, and enjoying the satisfaction of creating a functional appliance from scratch.
Read more: How To Make A Solar Dehydrator
Materials and Tools Needed
Before embarking on the construction of your food dehydrator, it’s essential to gather all the necessary materials and tools. Here’s a comprehensive list to help you prepare for the project:
Materials:
- 4 wooden boards (for the frame)
- Plywood or wire mesh (for the trays)
- Insulating material (such as foam board)
- Wood screws
- Aluminum flashing (for the reflector)
- Thermostat
- Heating element (e.g., heating coil or ceramic heater)
- Temperature controller
- Ventilation fan
- Power cord
- Wood glue
- Paint (heat-resistant)
- Hardware (hinges, latches, etc.)
Tools:
- Measuring tape
- Saw
- Drill and drill bits
- Screwdriver
- Pliers
- Wire cutter/stripper
- Sandpaper
- Paintbrushes
- Wire crimper
- Multimeter (for testing electrical components)
- Protective gear (gloves, safety goggles, mask)
These materials and tools will lay the foundation for constructing a functional and durable food dehydrator. Depending on the design and features you envision for your dehydrator, you may need to adjust the quantities and specifications of the materials. With everything in hand, you’re ready to move on to the exciting phase of building the dehydrator frame!
Building the Dehydrator Frame
The frame of your food dehydrator serves as the structural backbone, providing support for the trays and housing the heating and ventilation components. Here’s a step-by-step guide to constructing the frame:
- Design Planning: Begin by sketching out the design of your dehydrator frame. Consider the dimensions, including the height, width, and depth, based on the quantity of food you intend to dehydrate and the available space in your kitchen.
- Cutting the Wooden Boards: Using a saw, cut the wooden boards according to the measurements from your design plan. These boards will form the vertical and horizontal sections of the frame. Sand the edges to ensure a smooth finish and prevent splinters.
- Assembling the Frame: Assemble the cut boards to form the frame structure. Use wood screws and wood glue to secure the joints, ensuring the frame is sturdy and stable. Consider reinforcing the corners for added durability.
- Adding Insulation: Line the interior of the frame with insulating material, such as foam board, to help maintain a consistent temperature during the dehydration process. Secure the insulation in place using adhesive or small fasteners.
- Installing Reflective Material: To enhance the efficiency of the dehydrator, consider adding aluminum flashing to the interior surfaces of the frame. This reflective material helps distribute heat evenly and optimize the dehydration process.
- Applying Protective Finish: If desired, apply a heat-resistant paint or finish to the exterior of the frame to protect the wood from heat and moisture. This step also adds a decorative touch to your homemade dehydrator.
By following these steps, you’ll create a sturdy and well-insulated frame for your food dehydrator. With the frame in place, you’re ready to move on to the next crucial component: installing the heating element.
Read more: How To Make Yogurt In A Dehydrator
Installing the Heating Element
The heating element is a critical component of the food dehydrator, responsible for generating the consistent and controlled heat required to remove moisture from the food. Here’s a detailed guide to installing the heating element:
- Choosing the Heating Element: Select a heating element suitable for your dehydrator’s size and power requirements. Options include heating coils, ceramic heaters, or heat lamps. Ensure the element is compatible with the voltage and temperature range needed for dehydrating various foods.
- Positioning the Heating Element: Determine the optimal placement for the heating element within the dehydrator frame. This may involve mounting the element at the base, along the sides, or at the rear of the frame, depending on the design and airflow requirements.
- Securing the Heating Element: Use appropriate fixtures and brackets to secure the heating element in place. Ensure that it is positioned securely and does not come into direct contact with any flammable materials or surfaces within the dehydrator.
- Wiring the Heating Element: Connect the heating element to the power source using insulated wire and appropriate connectors. If the dehydrator features a temperature controller, wire the heating element through the controller to regulate the temperature effectively.
- Testing the Heating Element: Before proceeding, conduct a thorough test of the heating element to ensure it reaches and maintains the desired temperature. Use a multimeter to verify proper electrical connections and functionality.
By following these steps, you’ll successfully integrate the heating element into your DIY food dehydrator, laying the groundwork for efficient and precise dehydration of fruits, vegetables, meats, and more. With the heating element in place, the next phase involves adding a ventilation system to optimize airflow within the dehydrator.
Adding the Ventilation System
A well-designed ventilation system is crucial for maintaining proper airflow and moisture removal within the food dehydrator. Here’s a comprehensive guide to adding a ventilation system to your DIY dehydrator:
- Planning the Ventilation Layout: Determine the placement and size of vents or ducts to facilitate airflow throughout the dehydrator. Consider the optimal positioning for both intake and exhaust vents to promote efficient air circulation.
- Installing Intake Vents: Cut and install intake vents, typically located at the lower section of the dehydrator frame, to allow fresh air to enter the drying chamber. These vents may feature adjustable openings to regulate airflow as needed.
- Incorporating Exhaust Vents: Create exhaust vents, usually positioned at the upper portion of the frame, to expel moist air from the dehydrator. The size and number of exhaust vents should align with the dehydrator’s capacity and airflow requirements.
- Integrating a Ventilation Fan: Consider installing a small, low-noise ventilation fan to enhance airflow within the dehydrator. The fan can be positioned strategically to promote even distribution of heated air across the trays, accelerating the dehydration process.
- Ensuring Airflow Control: Implement mechanisms, such as adjustable vents or dampers, to regulate the intake and exhaust airflow. This allows for precise control over the drying environment, especially when dehydrating different types of foods that may require varied airflow conditions.
By following these steps, you’ll establish a well-structured ventilation system within your food dehydrator, ensuring optimal airflow and moisture extraction during the dehydration process. With the ventilation system in place, the next phase involves assembling the dehydrator trays to accommodate an array of foods for drying.
When making a food dehydrator, ensure proper ventilation for air circulation to evenly dry the food. This can be achieved by placing vents or fans in strategic locations within the dehydrator.
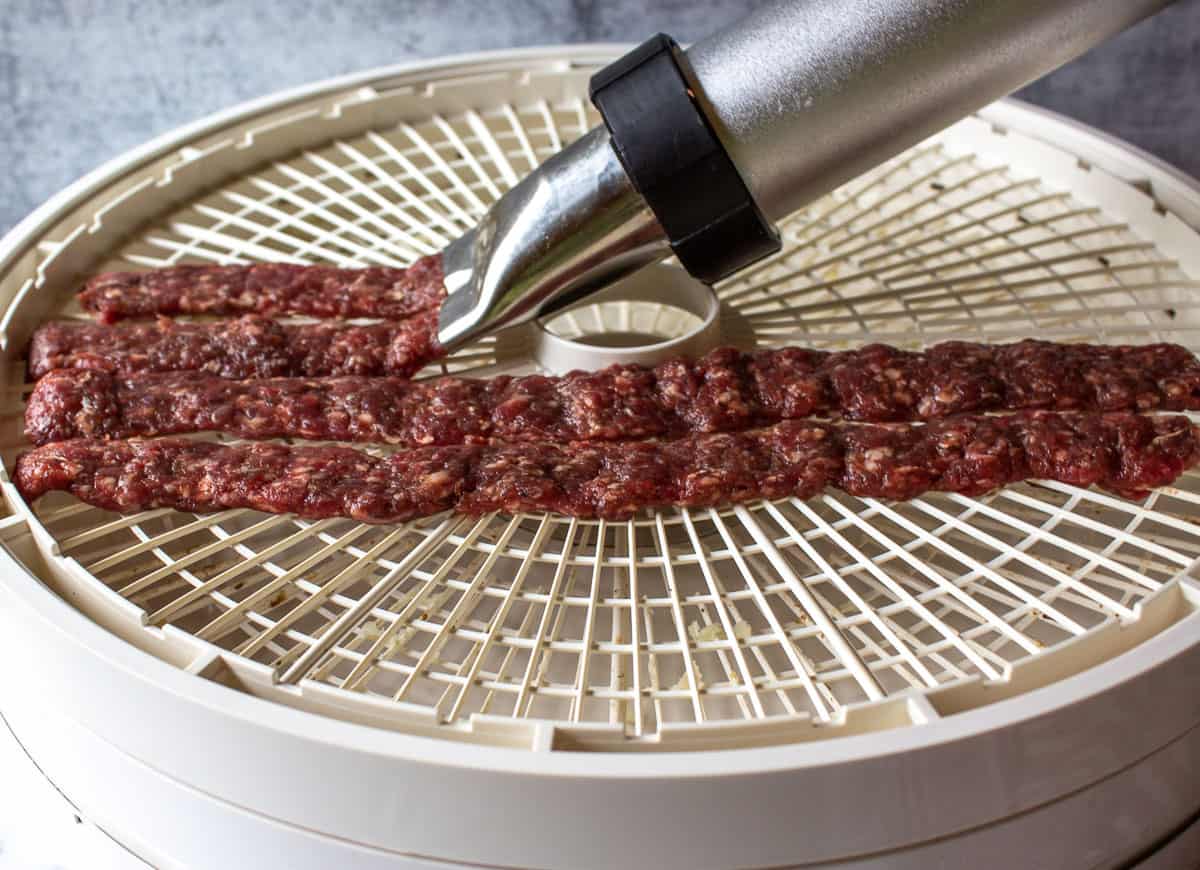
Assembling the Dehydrator Trays
Dehydrator trays play a pivotal role in accommodating and drying an assortment of foods, ranging from fruits and vegetables to jerky and herbs. Here’s a detailed guide to assembling the dehydrator trays for your DIY food dehydrator:
- Preparing Tray Materials: Cut the plywood or wire mesh to fit the dimensions of the trays, ensuring they are sized appropriately to fit within the dehydrator frame while allowing adequate airflow between each tray.
- Adding Reinforcement: If using plywood, consider reinforcing the edges with wooden battens to maintain structural integrity and prevent warping over time. For wire mesh trays, ensure the edges are properly secured and smoothed to prevent snagging or injuries during use.
- Installing Drying Screens: If desired, add removable drying screens to the trays to accommodate smaller food items or prevent sticking. These screens can be made from food-grade plastic mesh or silicone-coated fiberglass, providing a non-stick surface for delicate foods.
- Applying Food-Safe Finish: If using wooden trays, apply a food-grade finish or sealant to the surfaces to prevent absorption of moisture and food odors. This step also facilitates easy cleaning and maintenance of the trays.
- Labeling and Stacking: Consider labeling the trays for easy identification of the foods being dehydrated. Once assembled, stack the trays within the dehydrator frame, ensuring they are evenly spaced to allow for uniform airflow and drying.
By following these steps, you’ll create durable and functional trays for your food dehydrator, providing ample space to dry an array of foods while maintaining optimal airflow and drying conditions. With the trays assembled, you’re now ready to proceed to the exciting phase of testing and using your homemade food dehydrator!
Testing and Using the Dehydrator
With your DIY food dehydrator fully constructed, it’s time to put it to the test and begin the exciting journey of dehydrating a variety of foods. Here’s a comprehensive guide to testing and using your homemade food dehydrator:
- Initial Heat Testing: Before loading the dehydrator with food, conduct an initial heat test to ensure the heating element reaches the desired temperature as indicated by the thermostat. Use a thermometer to verify the temperature accuracy and uniformity across the drying chamber.
- Prepping Foods for Dehydration: Prepare the foods you wish to dehydrate by slicing them to uniform thickness and ensuring they are clean and free of excess moisture. This step is crucial for consistent drying and optimal results.
- Arranging Foods on Trays: Distribute the prepared foods across the trays, ensuring they are spaced apart to allow for adequate airflow. Avoid overcrowding the trays, as this can impede airflow and lead to uneven drying.
- Monitoring the Dehydration Process: Place the loaded trays within the dehydrator and monitor the drying progress at regular intervals. Depending on the foods being dehydrated, the process may take several hours to a few days. Adjust the temperature and airflow as needed to achieve the desired results.
- Storing Dehydrated Foods: Once the foods have reached the desired level of dehydration, allow them to cool to room temperature before transferring them to airtight containers or storage bags. Properly dried foods should be pliable and free of moisture, indicating successful dehydration.
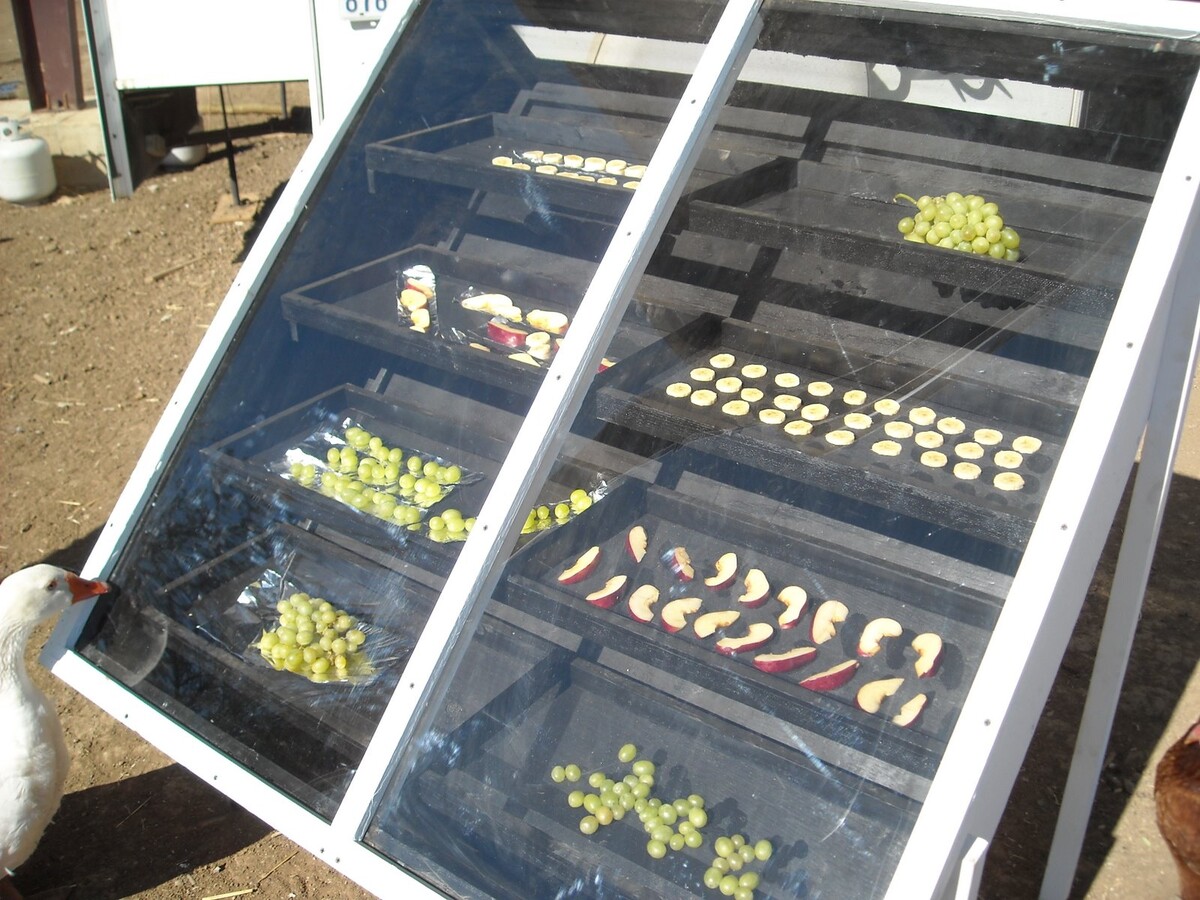
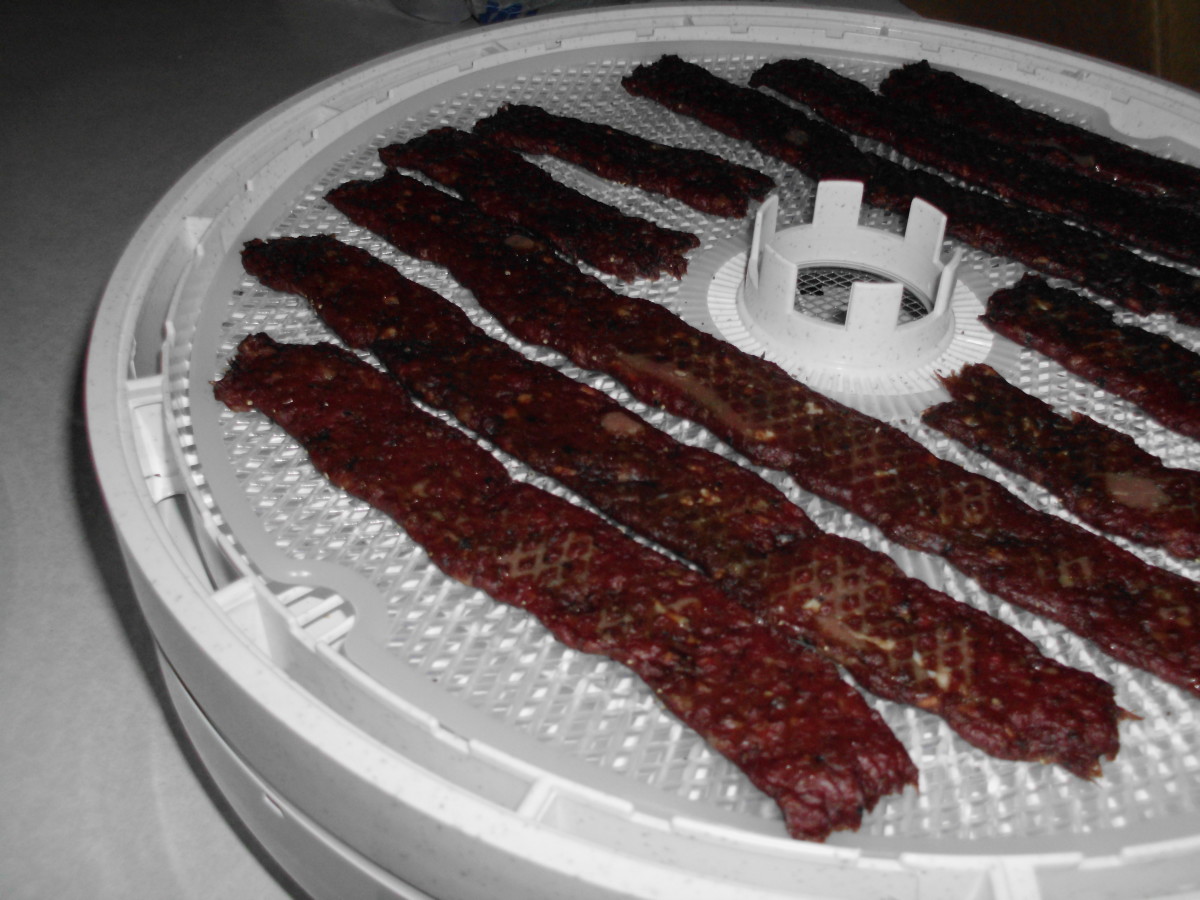
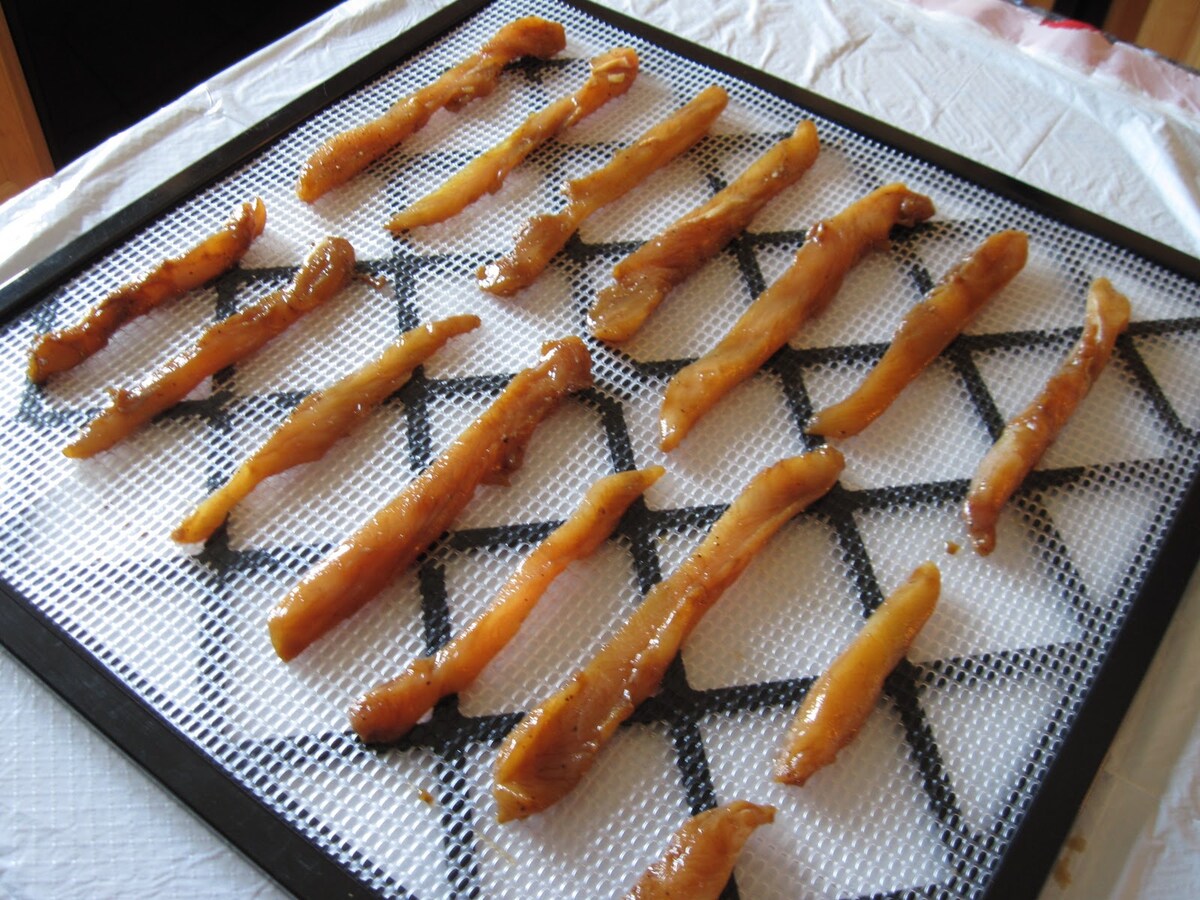
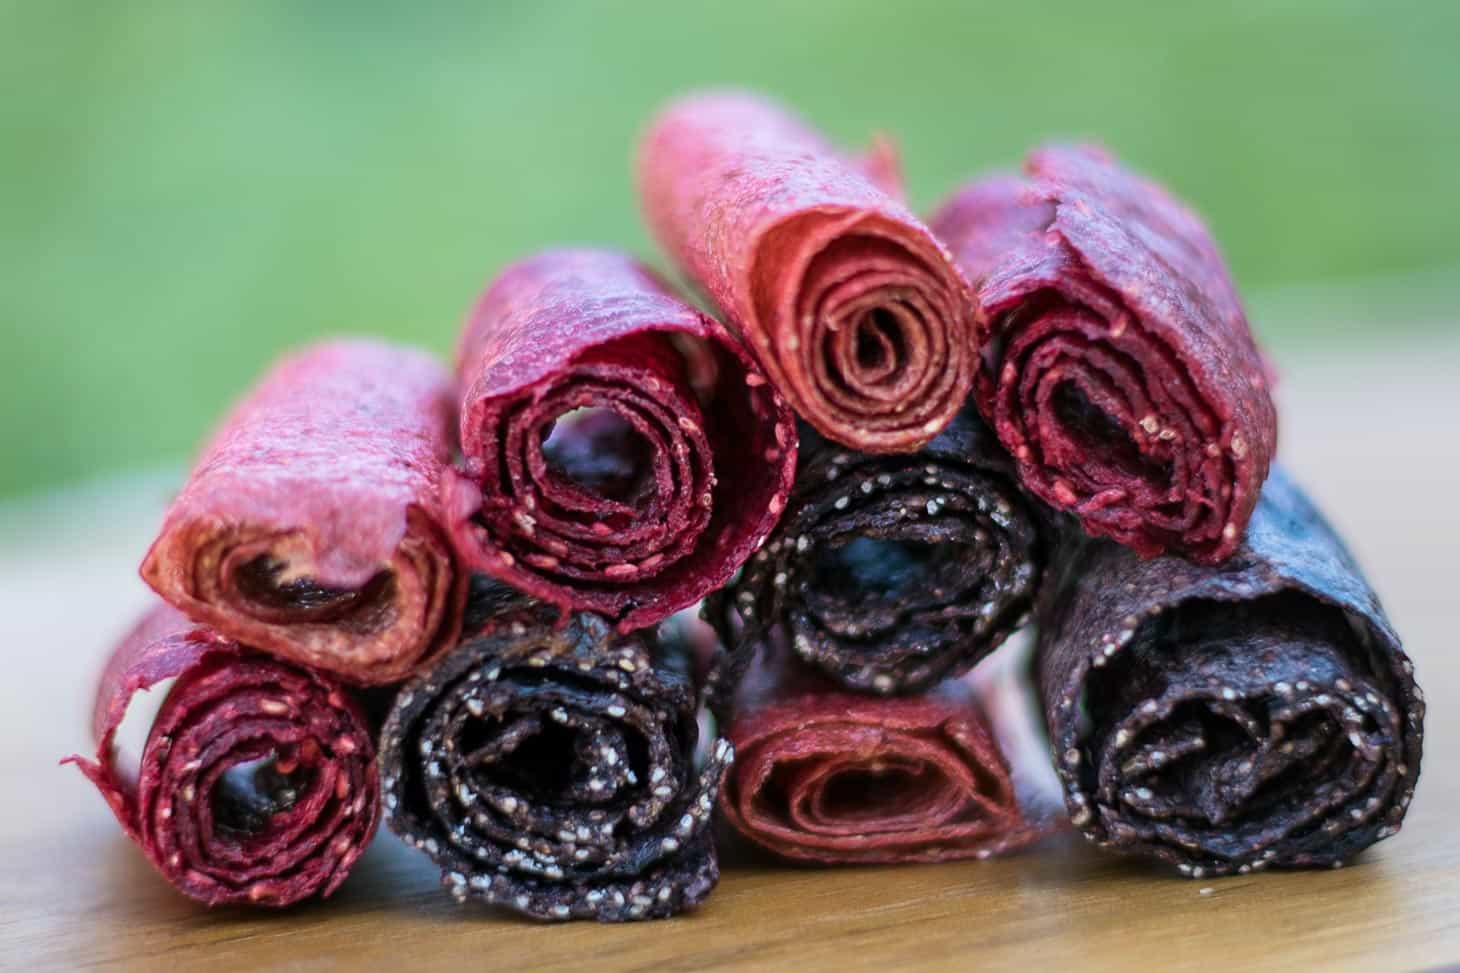
- Experimenting with Recipes: Embrace the versatility of your food dehydrator by experimenting with an array of recipes, from creating flavorful fruit leathers and crispy apple chips to crafting savory beef jerky and preserving garden herbs. Let your creativity flourish as you explore the endless possibilities of dehydrated foods.
By following these steps, you’ll gain hands-on experience in testing and using your DIY food dehydrator, unlocking the potential to create an assortment of delectable and nutritious dried foods. With your newfound expertise in dehydrating, you can savor the satisfaction of enjoying homemade snacks and preserving seasonal produce with ease.
Now that you’ve mastered the art of building, testing, and using a food dehydrator, you’re well-equipped to embark on a culinary adventure that celebrates the flavors and benefits of dehydrated foods. Whether you’re crafting wholesome snacks for your family or exploring the art of food preservation, your homemade food dehydrator stands as a testament to your ingenuity and passion for culinary craftsmanship.
Read more: How To Make Biltong With A Dehydrator
Conclusion
Congratulations on successfully creating your very own food dehydrator! Through this DIY project, you’ve not only built a practical and customizable appliance for your kitchen but also embarked on a rewarding journey of culinary creativity and resourcefulness. As you reflect on the process of constructing, testing, and using your homemade dehydrator, consider the following key takeaways:
- Customization and Flexibility: By building your own food dehydrator, you’ve gained the freedom to customize its size, features, and materials, allowing you to tailor it to your specific needs and culinary preferences.
- Resourcefulness and Sustainability: Embracing the art of food dehydration empowers you to minimize food waste, preserve seasonal produce, and create wholesome snacks using simple, natural ingredients.
- Exploration and Creativity: Your DIY food dehydrator opens the door to a world of culinary exploration, enabling you to experiment with an array of recipes, from dried fruits and vegetables to flavorful jerky and herb blends.
- Self-Sufficiency and Skills Development: Through this project, you’ve honed your DIY skills, expanded your knowledge of kitchen appliances, and embraced the satisfaction of creating a functional appliance from scratch.
As you integrate your homemade food dehydrator into your culinary repertoire, consider the myriad possibilities it offers, from crafting nutritious snacks for your family to embarking on a journey of food preservation and exploration. Whether you’re savoring the flavors of homemade dried fruits or delighting in the convenience of on-the-go snacks, your DIY dehydrator stands as a testament to your ingenuity and passion for culinary craftsmanship.
As you continue to expand your culinary horizons, remember that the journey of DIY projects and culinary creativity is an ongoing adventure, filled with opportunities to learn, innovate, and share the joys of homemade goodness with others. Your food dehydrator represents not only a practical appliance but also a symbol of your dedication to embracing the art of homemade culinary craftsmanship.
With your newfound expertise in food dehydration and the pride of creating a functional appliance, you’re well-equipped to savor the rewards of your DIY endeavor and inspire others to embark on their own culinary adventures. Whether you’re preserving the harvest from your garden or crafting unique snacks for gatherings, your homemade food dehydrator serves as a testament to the power of creativity, resourcefulness, and the joy of culinary exploration.
Frequently Asked Questions about How To Make A Food Dehydrator
Was this page helpful?
At Storables.com, we guarantee accurate and reliable information. Our content, validated by Expert Board Contributors, is crafted following stringent Editorial Policies. We're committed to providing you with well-researched, expert-backed insights for all your informational needs.


0 thoughts on “How To Make A Food Dehydrator”