Articles
How To Store Homemade Dog Treats
Modified: January 5, 2024
Learn the best ways to store your homemade dog treats with these helpful articles. Keep your furry friend's treats fresh and delicious for longer!
(Many of the links in this article redirect to a specific reviewed product. Your purchase of these products through affiliate links helps to generate commission for Storables.com, at no extra cost. Learn more)
Introduction
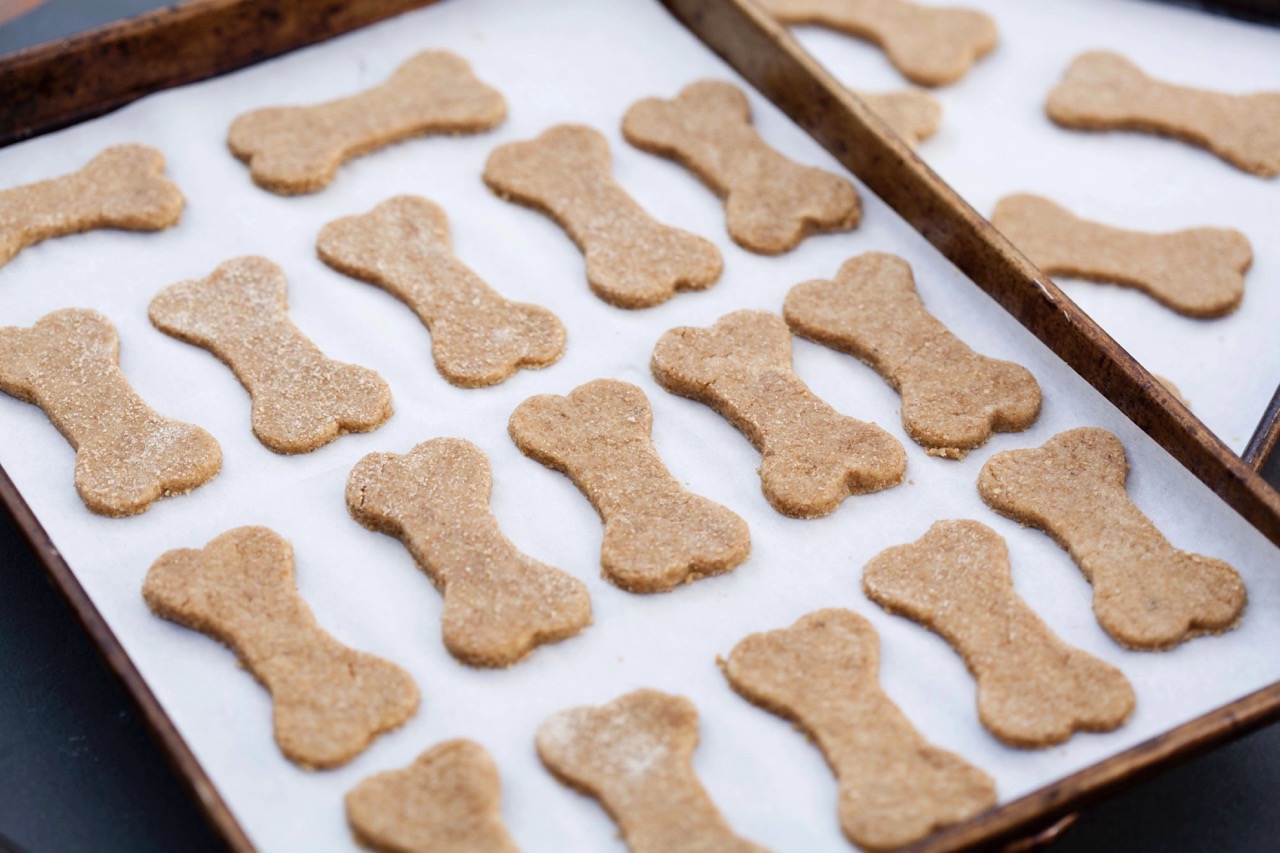
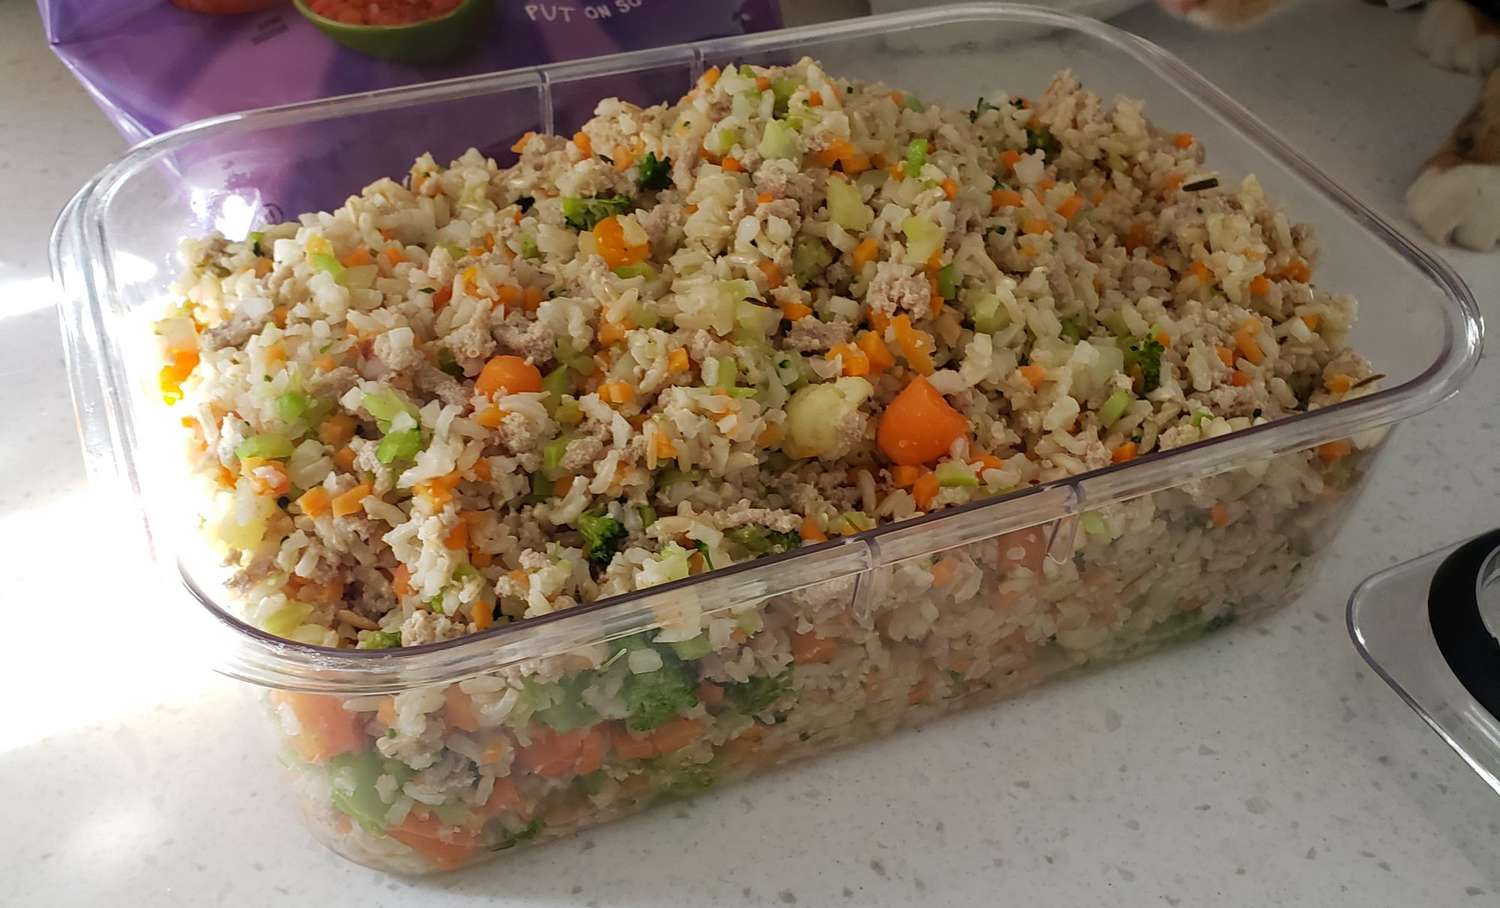
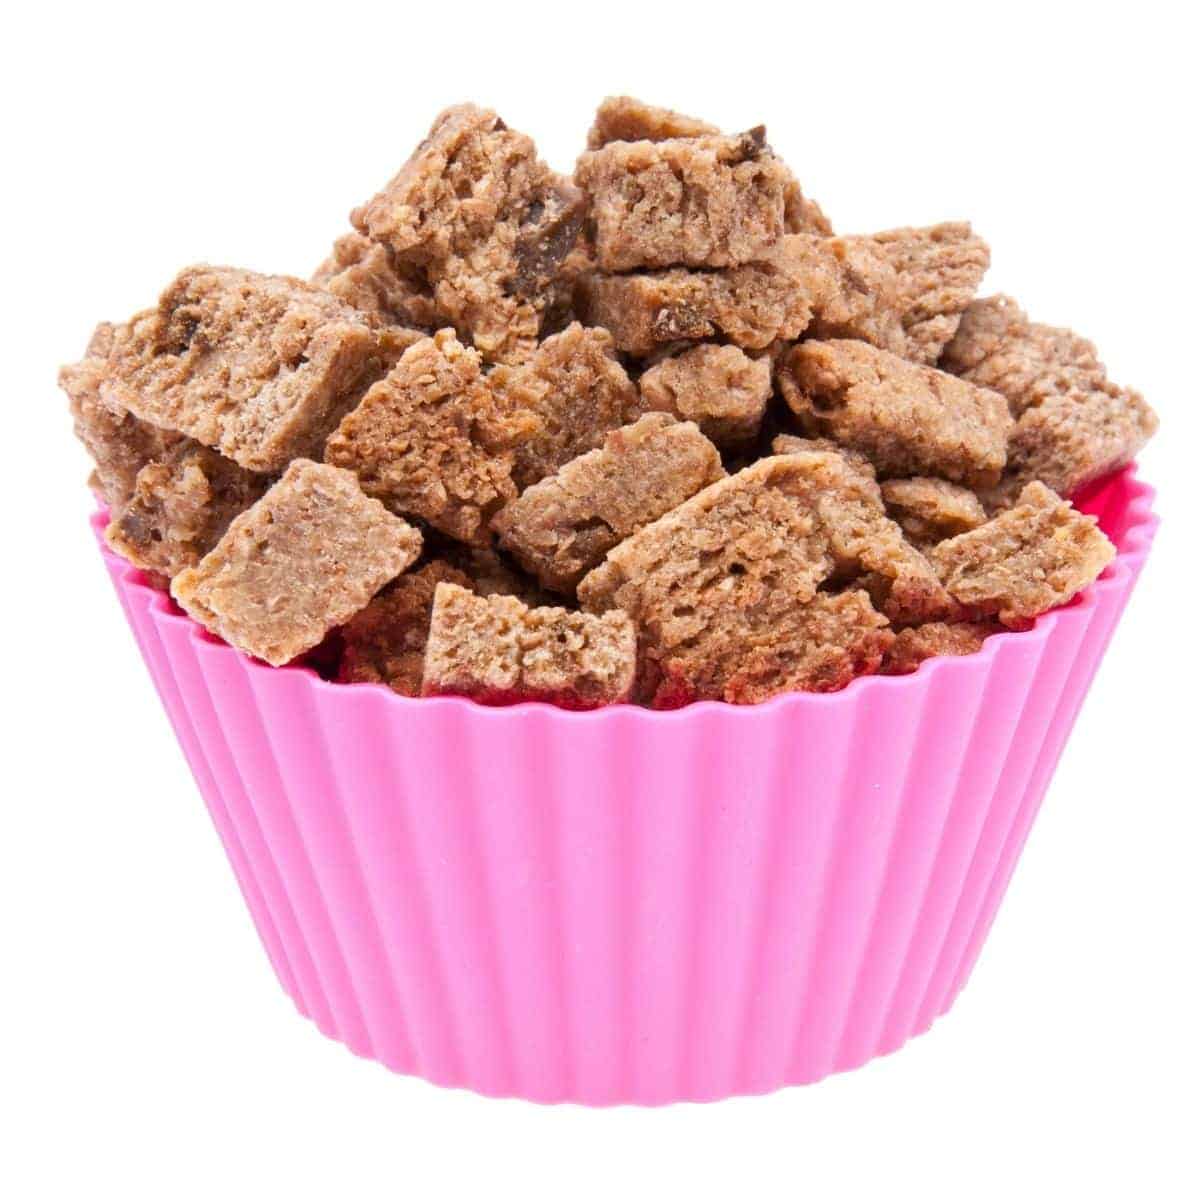
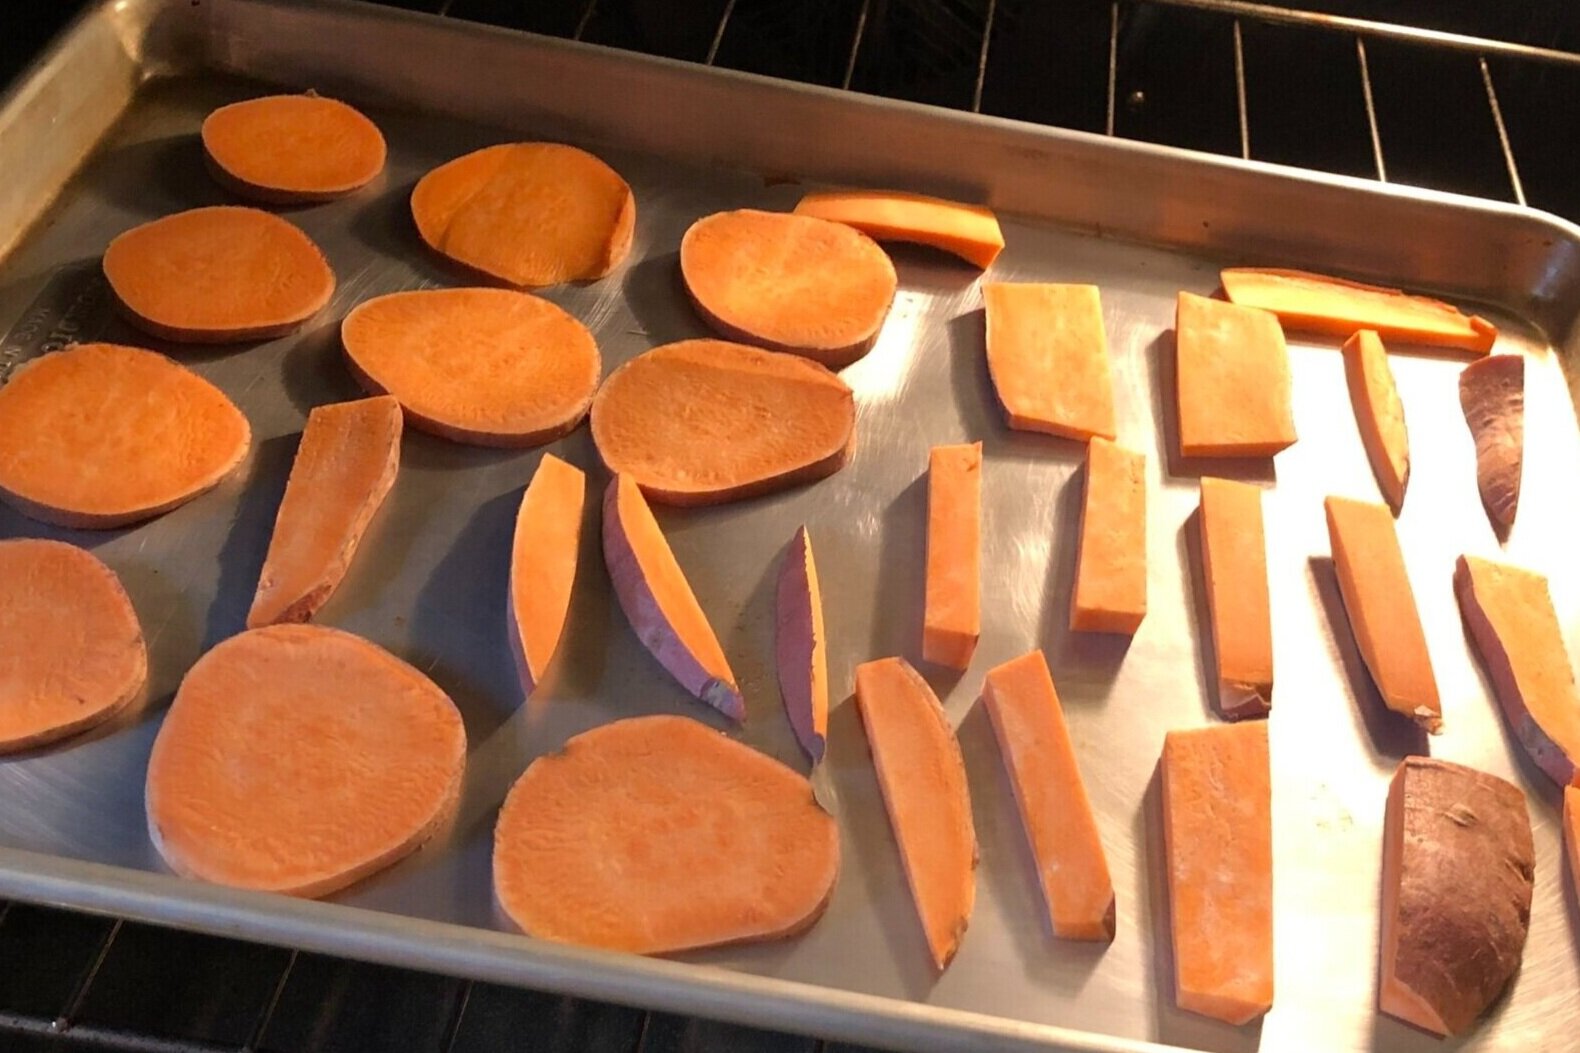
Welcome to the wonderful world of homemade dog treats! As a responsible pet owner, you understand the importance of providing your furry friend with nutritious and tasty snacks. Making homemade dog treats not only allows you to control the ingredients and quality, but it also adds a personal touch that your canine companion will surely appreciate.
While baking and preparing delicious treats for your four-legged friend is a fun and rewarding experience, proper storage is crucial to maintain their freshness, taste, and nutritional value. In this article, we will explore the importance of proper storage for homemade dog treats and provide you with valuable tips and recommendations to ensure their longevity.
By storing your homemade dog treats correctly, you can prevent spoilage, maintain their flavor, and extend their shelf life. In addition, proper storage prevents the growth of harmful bacteria, mold, and other contaminants that can pose a risk to your pet’s health.
So, if you’re excited to learn how to store your homemade dog treats and keep them fresh and delicious for longer, keep reading! We’ll guide you through the factors to consider, recommended storage options, essential tips, and common mistakes to avoid.
Key Takeaways:
- Proper storage of homemade dog treats is crucial to maintain freshness, flavor, and safety. Consider temperature, moisture, and air exposure when choosing storage options to ensure your furry friend enjoys delicious and safe treats.
- Avoid common storage mistakes like improper cooling and using incorrect containers. Follow recommended storage options, label treats with preparation dates, and inspect regularly to maintain the quality and safety of homemade dog treats.
Read more: How To Store Dog Treats
Importance of Proper Storage
Proper storage of homemade dog treats is essential to maintain their quality, flavor, and nutritional value. Here are a few key reasons why it’s crucial to store your treats correctly:
- Freshness: Storing your homemade dog treats properly ensures they stay fresh for longer. This means your furry friend will always get to enjoy treats that taste great and are packed with nutrition.
- Prevent Spoilage: Homemade dog treats, just like any other food item, can spoil if not stored correctly. Factors like heat, humidity, and exposure to air can lead to a loss of texture, spoilage, or the development of mold.
- Food Safety: Improperly stored treats can become a breeding ground for harmful bacteria, such as salmonella. These bacteria can pose serious health risks to your pet and potentially even to yourself if you come into contact with contaminated treats.
By understanding the importance of proper storage and implementing the right techniques, you can ensure that your homemade dog treats remain safe, fresh, and enjoyable for your furry friend.
Factors to Consider for Homemade Dog Treat Storage
When it comes to storing homemade dog treats, several factors should be taken into consideration to maintain their quality and freshness. Here are some important factors to keep in mind:
- Temperature: High temperatures can cause homemade dog treats to spoil quickly. It is important to store them in a cool and dry place, away from direct sunlight or heat sources such as stoves or radiators. The ideal temperature for storage is between 50-70°F (10-21°C).
- Moisture: Moisture is the enemy of homemade dog treats. It can lead to mold growth, softening of treats, and loss of texture. Ensure that your treats are completely cooled before storing them to prevent condensation from forming inside the storage container.
- Air Exposure: Exposure to air can lead to the loss of moisture and crispness in homemade dog treats. It’s important to store them in airtight containers or bags to maintain their texture and prevent them from becoming stale.
- Duration: The shelf life of homemade dog treats can vary depending on the ingredients used and the storage conditions. It’s crucial to check the expiration dates of the ingredients you use and label your treats with the preparation date. Discard any treats that have exceeded their recommended shelf life.
- Pet-Safe Ingredients: Some ingredients used in homemade dog treats may have a shorter shelf life or require specific storage conditions. Be sure to research and select ingredients that are safe for your pet and can withstand the storage conditions required.
- Treat Texture: Consider the desired texture of your homemade dog treats. Some treats, like biscuits or crunchy snacks, require thorough drying and storage in a cool, dry place to maintain their crispness. Soft treats, like chewy or dehydrated options, may require airtight packaging to retain their moisture.
By considering these factors, you can ensure that your homemade dog treats retain their quality and remain fresh for longer, providing your furry friend with a delicious and safe snacking experience.
Recommended Storage Options
When it comes to storing homemade dog treats, there are several storage options to choose from. Here are some of the recommended storage options to keep your treats fresh and delicious:
- Airtight Containers: Airtight containers, such as glass or plastic containers with tight-fitting lids, are an excellent choice for storing homemade dog treats. They help keep out moisture, air, and pests, ensuring the treats remain fresh and crunchy. Look for containers that are BPA-free and food-grade for safe storage.
- Ziplock Bags: Ziplock bags are a convenient and cost-effective storage option for homemade dog treats. Make sure to squeeze out as much air as possible before sealing the bag to maintain the freshness of the treats. Opt for sturdy freezer bags for added protection against moisture and freezer burn, especially if you intend to freeze the treats.
- Mason Jars: Mason jars are not just for canning! They are also a stylish and practical option for storing homemade dog treats. The airtight seal provided by the screw-on lid helps to preserve the treats’ freshness and flavor. Mason jars are available in various sizes, making them suitable for different quantities of treats.
- Freezer Bags: If you want to extend the shelf life of your homemade dog treats, consider storing them in freezer bags. Once completely cooled, place the treats in a freezer bag, remove as much air as possible, and seal it tightly. Freeze the treats and thaw them as needed. Freezing can significantly prolong the shelf life of the treats.
- Cookie Tins: Cookie tins with tight-fitting lids are a classic and charming storage option for homemade dog treats. They provide a sturdy and decorative container that helps keep the treats fresh and protected. Look for tins with a food-safe lining for added security.
Remember to choose storage options that are appropriate for the type and texture of your homemade dog treats. Ensure that the containers you use are clean and dry before storing the treats, and label them with the preparation date for easy tracking.
Ultimately, the key is to select a storage option that effectively prevents moisture, air exposure, and pests, allowing your homemade dog treats to retain their quality and taste for as long as possible.
Store homemade dog treats in an airtight container or resealable bag to maintain freshness. Keep them in a cool, dry place away from direct sunlight to prevent spoilage.
Storage Tips and Best Practices
To ensure the longevity and freshness of your homemade dog treats, follow these storage tips and best practices:
- Cool and Dry Storage: Store your homemade dog treats in a cool and dry place away from direct sunlight, heat sources, and excessive humidity. Aim for a temperature range of 50-70°F (10-21°C).
- Airtight Packaging: Use airtight containers, ziplock bags, or mason jars to store your treats. This prevents air exposure and helps keep out moisture and pests, maintaining the quality and texture of the treats.
- Labeling: Clearly label your homemade dog treats with the preparation date. This helps you keep track of their shelf life and ensures that you use them before they expire.
- Layering and Separation: If you’re storing different types of treats in the same container, consider using parchment paper or wax paper to separate them. This prevents flavors from mingling and maintains the integrity of each treat.
- Rotate Treats: When adding newly made treats to your storage container, rotate the older treats to the top. This ensures that you use them in a timely manner and prevents any treats from being forgotten and going to waste.
- Frequent Inspections: Regularly inspect your stored treats for any signs of spoilage, mold, or pests. If you notice any issues, discard the affected treats to prevent any potential health risks to your furry friend.
- Freezing: If you have made a large batch of homemade dog treats and don’t plan to use them within a few weeks, consider freezing them in airtight freezer bags. Thaw them as needed to maintain their freshness.
- Proper Cooling: Before storing your homemade dog treats, ensure that they are completely cooled down. Placing warm treats in a sealed container can lead to condensation and spoilage.
- Use Quality Ingredients: Using fresh and high-quality ingredients in your homemade dog treats can contribute to their longevity. Avoid using expired or low-quality ingredients that may compromise the overall quality and shelf life of the treats.
By implementing these storage tips and best practices, you can ensure that your homemade dog treats stay fresh, delicious, and safe for your furry companion to enjoy.
Read more: How To Store Homemade Rice Krispie Treats
Common Mistakes to Avoid
While storing homemade dog treats may seem straightforward, there are a few common mistakes that pet owners should avoid to maintain the quality and safety of the treats:
- Improper Cooling: Failing to let your homemade dog treats cool down completely before storing them can lead to excess moisture and condensation, which can result in spoilage or mold growth.
- Using Incorrect Storage Containers: Using containers that are not airtight or not suitable for food storage can expose your treats to air, moisture, or pests. Always opt for airtight containers or bags designed for food storage.
- Exposing Treats to Sunlight: Storing your homemade dog treats in direct sunlight or near heat sources can cause them to become dry, stale, or spoil faster. Keep them in a cool and shaded area.
- Not Rotating Treats: Neglecting to rotate treats can lead to older ones becoming forgotten and potentially going to waste. Always use treats in the order in which they were stored to ensure freshness.
- Ignoring Storage Recommendations for Specific Treats: Different types of homemade dog treats may require specific storage conditions based on their texture and ingredients. Failure to follow these recommendations can result in loss of quality or spoilage.
- Not Checking for Spoilage: It is important to inspect your stored treats regularly for any signs of spoilage, such as mold, unusual odor, or changes in texture. Discard any treats that show signs of spoilage to avoid potential health risks.
- Not Labeling Treats: Failing to label your homemade dog treats with the preparation date can make it difficult to track their shelf life. Ensure clear labeling to help you use the treats within the recommended time frame.
- Using Contaminated Tools or Containers: Sanitize your utensils, containers, and work surfaces before preparing and storing homemade dog treats. Cross-contamination can introduce harmful bacteria and compromise the safety of the treats.
- Not Using Pet-Safe Ingredients: It is crucial to use ingredients that are safe for your furry friend. Avoid using harmful substances, such as chocolate, onions, or artificial sweeteners, which can be toxic to dogs.
- Ignoring Ingredient Expiration Dates: When using ingredients in your homemade dog treats, ensure that they are not expired. Using expired ingredients can affect the overall quality and safety of the treats.
By avoiding these common mistakes, you can ensure that your homemade dog treats remain fresh, delicious, and safe for your beloved pet.
Frequently Asked Questions (FAQs)
Here are some frequently asked questions about storing homemade dog treats:
- Q: Can I store homemade dog treats at room temperature?
- Q: How long do homemade dog treats last?
- Q: Can I freeze homemade dog treats?
- Q: How do I know if my homemade dog treats have gone bad?
- Q: Can I store different types of homemade dog treats together?
- Q: Can I use plastic containers to store homemade dog treats?
- Q: How should I thaw frozen homemade dog treats?
- Q: Can I use leftover treat dough for later?
- Q: Can I store homemade dog treats in the pantry?
- Q: Can I store homemade dog treats in the refrigerator?
A: Yes, you can store homemade dog treats at room temperature as long as you ensure they are stored in a cool and dry place away from direct sunlight or heat sources.
A: The shelf life of homemade dog treats can vary depending on the ingredients used and the storage conditions. Generally, homemade dog treats can last for about 1-2 weeks at room temperature and up to 3 months if stored in the freezer.
A: Yes, you can freeze homemade dog treats to extend their shelf life. Make sure to store them in airtight freezer bags, and thaw them as needed.
A: Signs of spoiled homemade dog treats include mold growth, unusual odor, changes in texture, or signs of pests. If you notice any of these signs, it is best to discard the treats.
A: Yes, you can store different types of homemade dog treats together as long as you separate them with parchment paper or wax paper to prevent flavors from mingling.
A: Yes, you can use plastic containers as long as they are food-grade and have tight-fitting lids to maintain an airtight seal. Look for BPA-free containers for added safety.
A: To thaw frozen homemade dog treats, remove them from the freezer bag and place them in the refrigerator or let them sit at room temperature until they reach a desired consistency.
A: Yes, you can store leftover treat dough in an airtight container in the refrigerator for a short period. Make sure to use it within a couple of days.
A: It is generally recommended to store homemade dog treats in a cool and dry place rather than the pantry. Heat and humidity in the pantry can accelerate spoilage.
A: While it is possible to store homemade dog treats in the refrigerator, it may affect their texture and result in a loss of crispness. If refrigerating, use airtight containers to minimize moisture exposure.
Remember that these are general guidelines, and it’s always best to use your judgment and consider the specific ingredients and storage conditions when storing homemade dog treats.
Conclusion
Proper storage is essential for maintaining the freshness, flavor, and nutritional value of homemade dog treats. By following the recommended storage options, tips, and best practices outlined in this article, you can ensure that your furry friend gets to enjoy delicious and safe treats for longer periods of time.
Consider the factors such as temperature, moisture, air exposure, and treat texture when storing your homemade dog treats. Use airtight containers, ziplock bags, or jars to keep the treats fresh and protected. Label the treats with the preparation date and rotate them to ensure you use them within their recommended shelf life.
Avoid common mistakes like improper cooling, using incorrect storage containers, and ignoring expiration dates. Regularly inspect your stored treats for signs of spoilage, and discard any treats that show signs of mold or unusual odors.
By adhering to these storage guidelines and practices, you can provide your canine companion with homemade dog treats that are not only nutritious but also maintain their quality and taste. Your furry friend will appreciate the thought and effort you put into making these delicious treats, and you can feel confident knowing that you are giving them the best.
So, go ahead and enjoy the process of creating homemade dog treats, but remember the importance of proper storage to ensure that your furry friend always gets to enjoy their treats at their freshest and tastiest!
Frequently Asked Questions about How To Store Homemade Dog Treats
Was this page helpful?
At Storables.com, we guarantee accurate and reliable information. Our content, validated by Expert Board Contributors, is crafted following stringent Editorial Policies. We're committed to providing you with well-researched, expert-backed insights for all your informational needs.


0 thoughts on “How To Store Homemade Dog Treats”