Home>Home Appliances>Kitchen Appliances>What Can You Make With A Dehydrator

Kitchen Appliances
What Can You Make With A Dehydrator
Modified: November 2, 2024
Discover endless possibilities with a dehydrator in your kitchen. From dried fruits to jerky, unlock the potential of this versatile kitchen appliance. Explore recipes and tips!
(Many of the links in this article redirect to a specific reviewed product. Your purchase of these products through affiliate links helps to generate commission for Storables.com, at no extra cost. Learn more)
Introduction
Read more: What Can You Use As A Nail Dehydrator
Introduction
Welcome to the world of dehydrating! Whether you’re a seasoned culinary enthusiast or a novice in the kitchen, a food dehydrator can be a game-changer in your cooking repertoire. This versatile appliance offers a myriad of opportunities to create delicious and nutritious snacks and ingredients that can elevate your culinary creations to new heights.
From preserving the bounties of the harvest season to crafting homemade snacks that surpass their store-bought counterparts in flavor and quality, a dehydrator opens up a world of possibilities in the kitchen. In this article, we’ll explore the diverse range of foods that can be prepared using a dehydrator, and delve into the numerous benefits of incorporating this appliance into your culinary arsenal.
So, grab a seat and get ready to embark on a dehydrating adventure that will revolutionize the way you think about food preservation and snacking. Let’s dive into the exciting world of dehydrator cuisine!
Key Takeaways:
- Discover the Magic of Dehydrating
Unleash your culinary creativity with a dehydrator! From vibrant fruit snacks to savory jerky, this magical appliance transforms fresh ingredients into delicious, shelf-stable treats. - Sustainable Snacking and Cooking
Reduce food waste, save money, and enjoy wholesome snacks with a dehydrator. Embrace the art of dehydration to create flavorful fruits, veggies, and more for sustainable and satisfying culinary adventures.
Benefits of Using a Dehydrator
Before we delve into the delectable array of foods that can be prepared with a dehydrator, let’s first explore the numerous benefits of incorporating this versatile appliance into your kitchen.
Preservation of Fresh Produce: One of the most compelling advantages of using a dehydrator is its ability to preserve fresh fruits, vegetables, and herbs. By removing the moisture from these items, a dehydrator effectively extends their shelf life while retaining their nutritional value and flavors.
Creation of Nutrient-Dense Snacks: Dehydrating fruits, vegetables, and nuts allows you to create wholesome, nutrient-dense snacks that are free from preservatives and additives commonly found in store-bought alternatives. This process concentrates the natural flavors and nutrients of the ingredients, resulting in delicious and healthy snacks for you and your family.
Reduction of Food Waste: With a dehydrator, you can minimize food waste by preserving excess produce that may otherwise spoil before being consumed. This not only saves money but also promotes sustainability by utilizing and enjoying the full bounty of your groceries or garden harvest.
Cost-Effective Meal Preparation: Dehydrating food enables you to stock your pantry with a variety of ingredients at a fraction of the cost of purchasing pre-packaged dried foods. Whether it’s creating homemade dried herbs for seasoning or making your own fruit leathers, a dehydrator empowers you to prepare budget-friendly, gourmet-quality ingredients at home.
Enhancement of Food Flavor and Texture: The dehydration process intensifies the natural flavors of fruits, vegetables, and meats while imparting a satisfying chewy or crunchy texture to the end products. This enhances the overall taste and mouthfeel of the foods, resulting in delectable snacks and ingredients that elevate your culinary endeavors.
With these compelling benefits in mind, it’s clear that a dehydrator is a valuable addition to any kitchen, offering a multitude of opportunities to enhance your cooking, snacking, and food preservation practices.
Fruits
Dehydrating fruits is a delightful way to capture the essence of their natural sweetness and create delicious, shelf-stable snacks that can be enjoyed year-round. Whether you have an abundance of fresh fruits from the farmers’ market or your own orchard, a dehydrator allows you to savor their flavors long after the harvest season has passed.
Selection of Fruits: Virtually any fruit can be dehydrated, but some popular choices include apples, bananas, strawberries, and mangoes. When selecting fruits for dehydration, opt for ripe specimens that are free from bruises and blemishes, as these imperfections can affect the quality of the end product.
Preparation: Before dehydrating, it’s important to prepare the fruits by washing them thoroughly and slicing them into uniform pieces. This ensures even drying and consistent texture in the finished product. Some fruits may benefit from a brief soak in lemon juice or a solution of water and ascorbic acid to prevent browning.
Dehydration Process: Arrange the prepared fruit slices in a single layer on the dehydrator trays, ensuring that they do not overlap. Set the dehydrator to the recommended temperature for the specific type of fruit being dried, typically between 125°F and 135°F (52°C and 57°C). Depending on the moisture content of the fruits and the dehydrator model, the drying process may take anywhere from 6 to 24 hours.
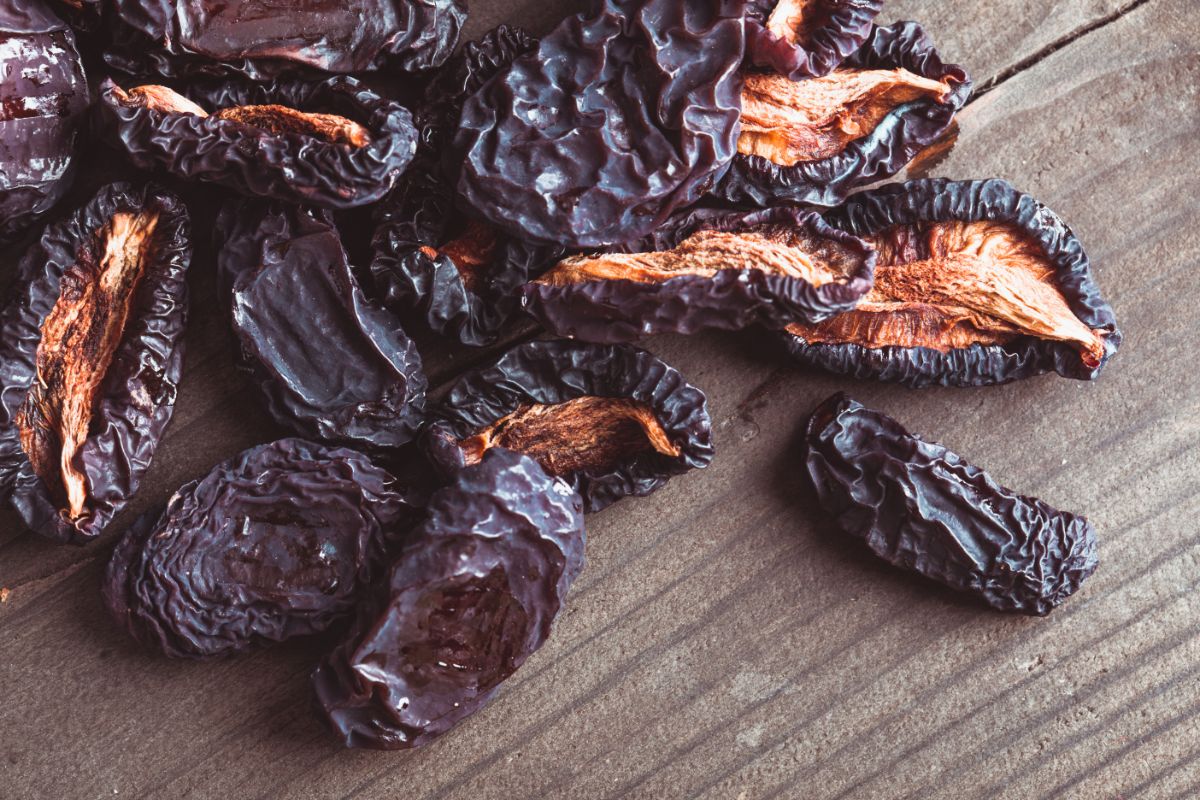
End Result: Once the fruits have been dehydrated to the desired level of dryness, they should be pliable and leathery with no visible moisture. These delectable dried fruits can be enjoyed on their own as wholesome snacks, added to trail mix, granola, or oatmeal, or rehydrated for use in baking and cooking.
From vibrant apple chips to chewy banana slices, the possibilities for creating delightful fruit snacks with a dehydrator are as endless as the variety of fruits available. Embrace your creativity and experiment with different fruit combinations and flavor enhancements to elevate your snacking experience.
Vegetables
Dehydrating vegetables is a fantastic way to preserve their flavors and nutritional benefits while creating versatile ingredients for a wide range of culinary applications. Whether you’re looking to stock your pantry with dried vegetables for soups and stews or seeking to craft nutritious vegetable chips, a dehydrator offers an efficient and effective means of preserving these garden-fresh delights.
Selection of Vegetables: An array of vegetables can be dehydrated, including bell peppers, tomatoes, zucchini, carrots, and green beans. When choosing vegetables for dehydration, opt for fresh, high-quality produce that is free from mold or signs of spoilage.
Preparation: Prior to dehydrating, it’s essential to prepare the vegetables by washing them thoroughly and cutting them into uniform pieces. Blanching certain vegetables, such as carrots and green beans, before dehydration can help preserve their color and nutrients while reducing the drying time.
Dehydration Process: Arrange the prepared vegetable pieces in a single layer on the dehydrator trays, ensuring adequate airflow between the pieces. Set the dehydrator to the recommended temperature for vegetables, typically between 125°F and 135°F (52°C and 57°C). The drying duration varies depending on the moisture content and density of the vegetables, ranging from 6 to 12 hours.
End Result: Once the vegetables have been dehydrated, they should be brittle and free of moisture. These dried vegetables can be stored in airtight containers and rehydrated for use in soups, stews, and casseroles. Additionally, they can be ground into powders to create seasoning blends or reconstituted for use in various recipes.
From vibrant bell pepper strips to crispy kale chips, the world of dehydrated vegetables offers a wealth of possibilities for enhancing your culinary creations with the flavors and nutrients of garden-fresh produce. Experiment with different vegetable varieties and seasoning combinations to discover an array of delightful and nutritious options for your kitchen.
Read more: What Can You Make With An Espresso Machine
Herbs
Dehydrating herbs is a wonderful way to preserve their aromatic flavors and elevate your culinary endeavors with a readily accessible supply of dried herbs. Whether you have an abundant herb garden or wish to take advantage of seasonal offerings at the market, a dehydrator provides an efficient and effective method for drying herbs while retaining their essential oils and flavors.
Selection of Herbs: A diverse array of herbs can be dehydrated, including basil, thyme, rosemary, oregano, and mint. When selecting herbs for dehydration, opt for fresh, vibrant specimens that are free from wilting or yellowing.
Preparation: Before dehydrating, gently wash the herbs and pat them dry with a clean towel. Remove any discolored or damaged leaves, and bundle the herbs into small, manageable bunches for efficient drying. Alternatively, for delicate herbs like parsley and dill, the leaves can be removed from the stems and spread in a single layer on the dehydrator trays.
Dehydration Process: Arrange the prepared herb bundles or individual leaves on the dehydrator trays, ensuring adequate airflow between the herbs. Set the dehydrator to the recommended temperature for herbs, typically between 95°F and 115°F (35°C and 46°C). The drying time for herbs is relatively short, typically ranging from 2 to 4 hours, depending on the herb variety and moisture content.
End Result: Once the herbs have been dehydrated, they should be crisp and crumble easily. Remove the dried leaves from the stems, and store them in airtight containers away from light and moisture. These dried herbs can be used to impart robust flavors to soups, sauces, marinades, and a myriad of culinary creations throughout the year.
From the earthy aroma of dried basil to the fragrant notes of dried rosemary, the world of dehydrated herbs offers an abundance of opportunities to infuse your dishes with the vibrant flavors of fresh herbs. Embrace the art of herb drying and explore the diverse range of culinary possibilities that await in your dehydrator.
Jerky
Dehydrating meat to create flavorful and protein-packed jerky is a time-honored tradition that has evolved into a beloved snack enjoyed by many. Whether you prefer beef, turkey, or venison, a dehydrator provides an ideal environment for safely and efficiently transforming lean cuts of meat into delicious jerky that is perfect for on-the-go snacking or as a savory addition to your culinary repertoire.
Selection of Meat: While beef is a classic choice for jerky, other meats such as turkey, venison, or even fish can be used to create this delectable snack. When selecting meat for jerky, opt for lean cuts with minimal fat content, as fat can lead to spoilage during the dehydration process.
Preparation: Begin by slicing the meat into thin, uniform strips against the grain to ensure tenderness in the finished jerky. Marinate the meat strips in a flavorful blend of seasonings, spices, and marinades to infuse them with robust taste before dehydration. Popular marinade ingredients include soy sauce, Worcestershire sauce, honey, garlic, and various spices tailored to your taste preferences.
Dehydration Process: Arrange the marinated meat strips in a single layer on the dehydrator trays, ensuring adequate spacing between the pieces for proper airflow. Set the dehydrator to the recommended temperature for meat, typically between 145°F and 155°F (63°C and 68°C). The drying time for jerky varies depending on the thickness of the meat slices and the moisture content, typically ranging from 4 to 12 hours.
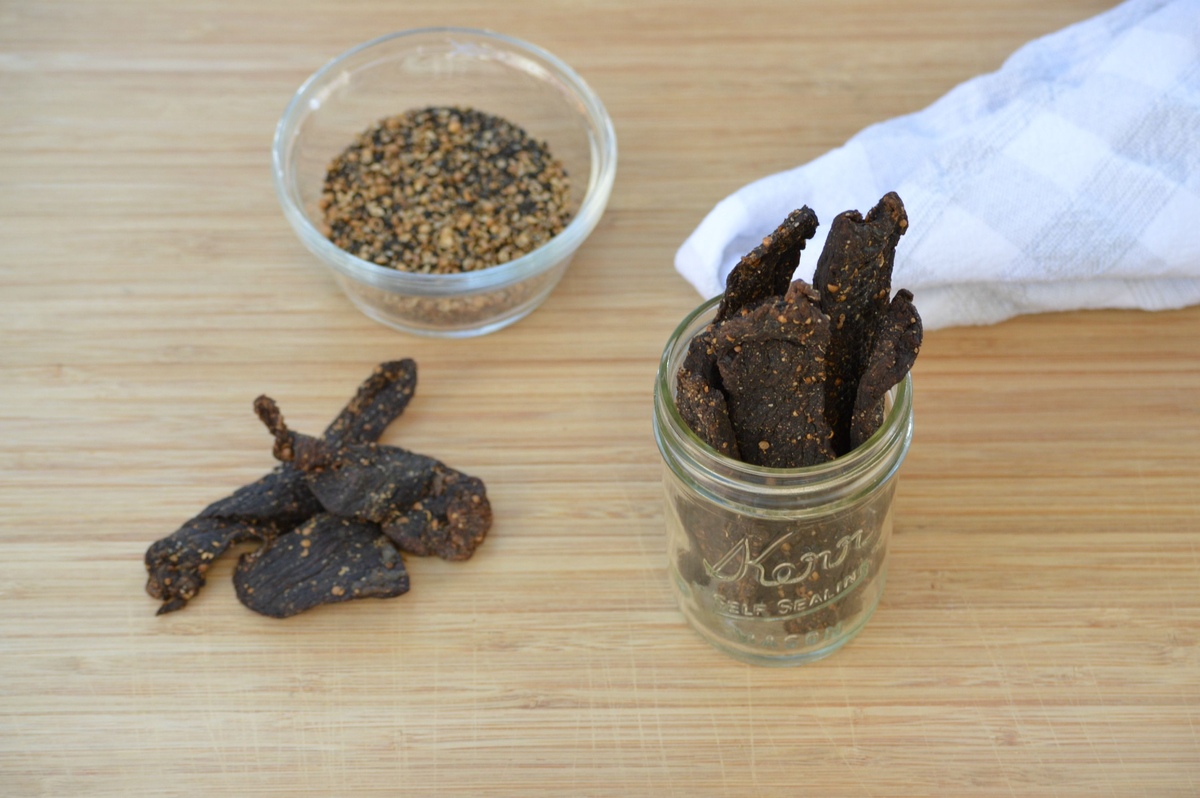
End Result: Once the jerky has been dehydrated, it should be firm and dry to the touch, with no signs of moisture. Properly dehydrated jerky can be stored in airtight containers or resealable bags for long-term enjoyment. Whether you prefer classic smoky flavors or bold and spicy varieties, homemade jerky offers a delicious and satisfying snack that is free from preservatives and additives.
From savory teriyaki beef jerky to zesty turkey jerky, the art of dehydrating meat into flavorful and shelf-stable jerky is a rewarding culinary endeavor that allows you to tailor the flavors and textures to your liking. Embrace the tradition of jerky making and savor the delectable results of your homemade creations.
When using a dehydrator, make sure to evenly space out the food items on the trays to ensure proper air circulation and even drying. This will help prevent any areas from becoming over-dried or under-dried.
Fruit Leathers
Transforming ripe fruits into delectable and chewy fruit leathers is a delightful way to enjoy the natural sweetness of fruits in a convenient, portable form. Whether you have an abundance of seasonal fruits or wish to create wholesome snacks for your family, a dehydrator offers a simple and efficient method for making fruit leathers that are free from artificial additives and preservatives.
Selection of Fruits: A wide variety of fruits can be used to make fruit leathers, including strawberries, peaches, apricots, and berries. When selecting fruits for making fruit leathers, opt for ripe specimens that are at the peak of sweetness and flavor, as these qualities will be concentrated during the dehydration process.
Preparation: Wash and prepare the fruits by removing any stems, pits, or seeds, and then puree them in a blender or food processor until smooth. If desired, sweeten the fruit puree with a small amount of honey or sugar to enhance the natural sweetness. The addition of lemon juice can help preserve the color and flavor of the fruit leathers.
Dehydration Process: Spread the prepared fruit puree evenly and thinly on solid dehydrator sheets or parchment paper, ensuring a uniform thickness for consistent drying. Set the dehydrator to the recommended temperature for fruit leathers, typically between 135°F and 140°F (57°C and 60°C). The drying time for fruit leathers ranges from 6 to 12 hours, depending on the moisture content and thickness of the puree.
End Result: Once the fruit puree has been dehydrated, it should be pliable and tacky to the touch, with no signs of visible moisture. Carefully peel the dried fruit sheet from the dehydrator tray or parchment paper, and cut it into strips or shapes. Roll the fruit leather with wax paper and store it in airtight containers for a convenient and wholesome snack that can be enjoyed on the go.
From vibrant strawberry fruit leathers to exotic mango and pineapple blends, the world of fruit leathers offers a spectrum of flavors and textures to delight your taste buds. Embrace the art of creating homemade fruit leathers and revel in the natural sweetness and nourishment of these delightful treats.
Nuts and Seeds
Dehydrating nuts and seeds is an excellent way to enhance their flavor, extend their shelf life, and create versatile ingredients for a variety of culinary applications. Whether you’re preparing raw nuts for snacking or seeking to incorporate dehydrated seeds into your recipes, a dehydrator offers an efficient and gentle method for preserving these nutrient-dense foods while intensifying their natural flavors.
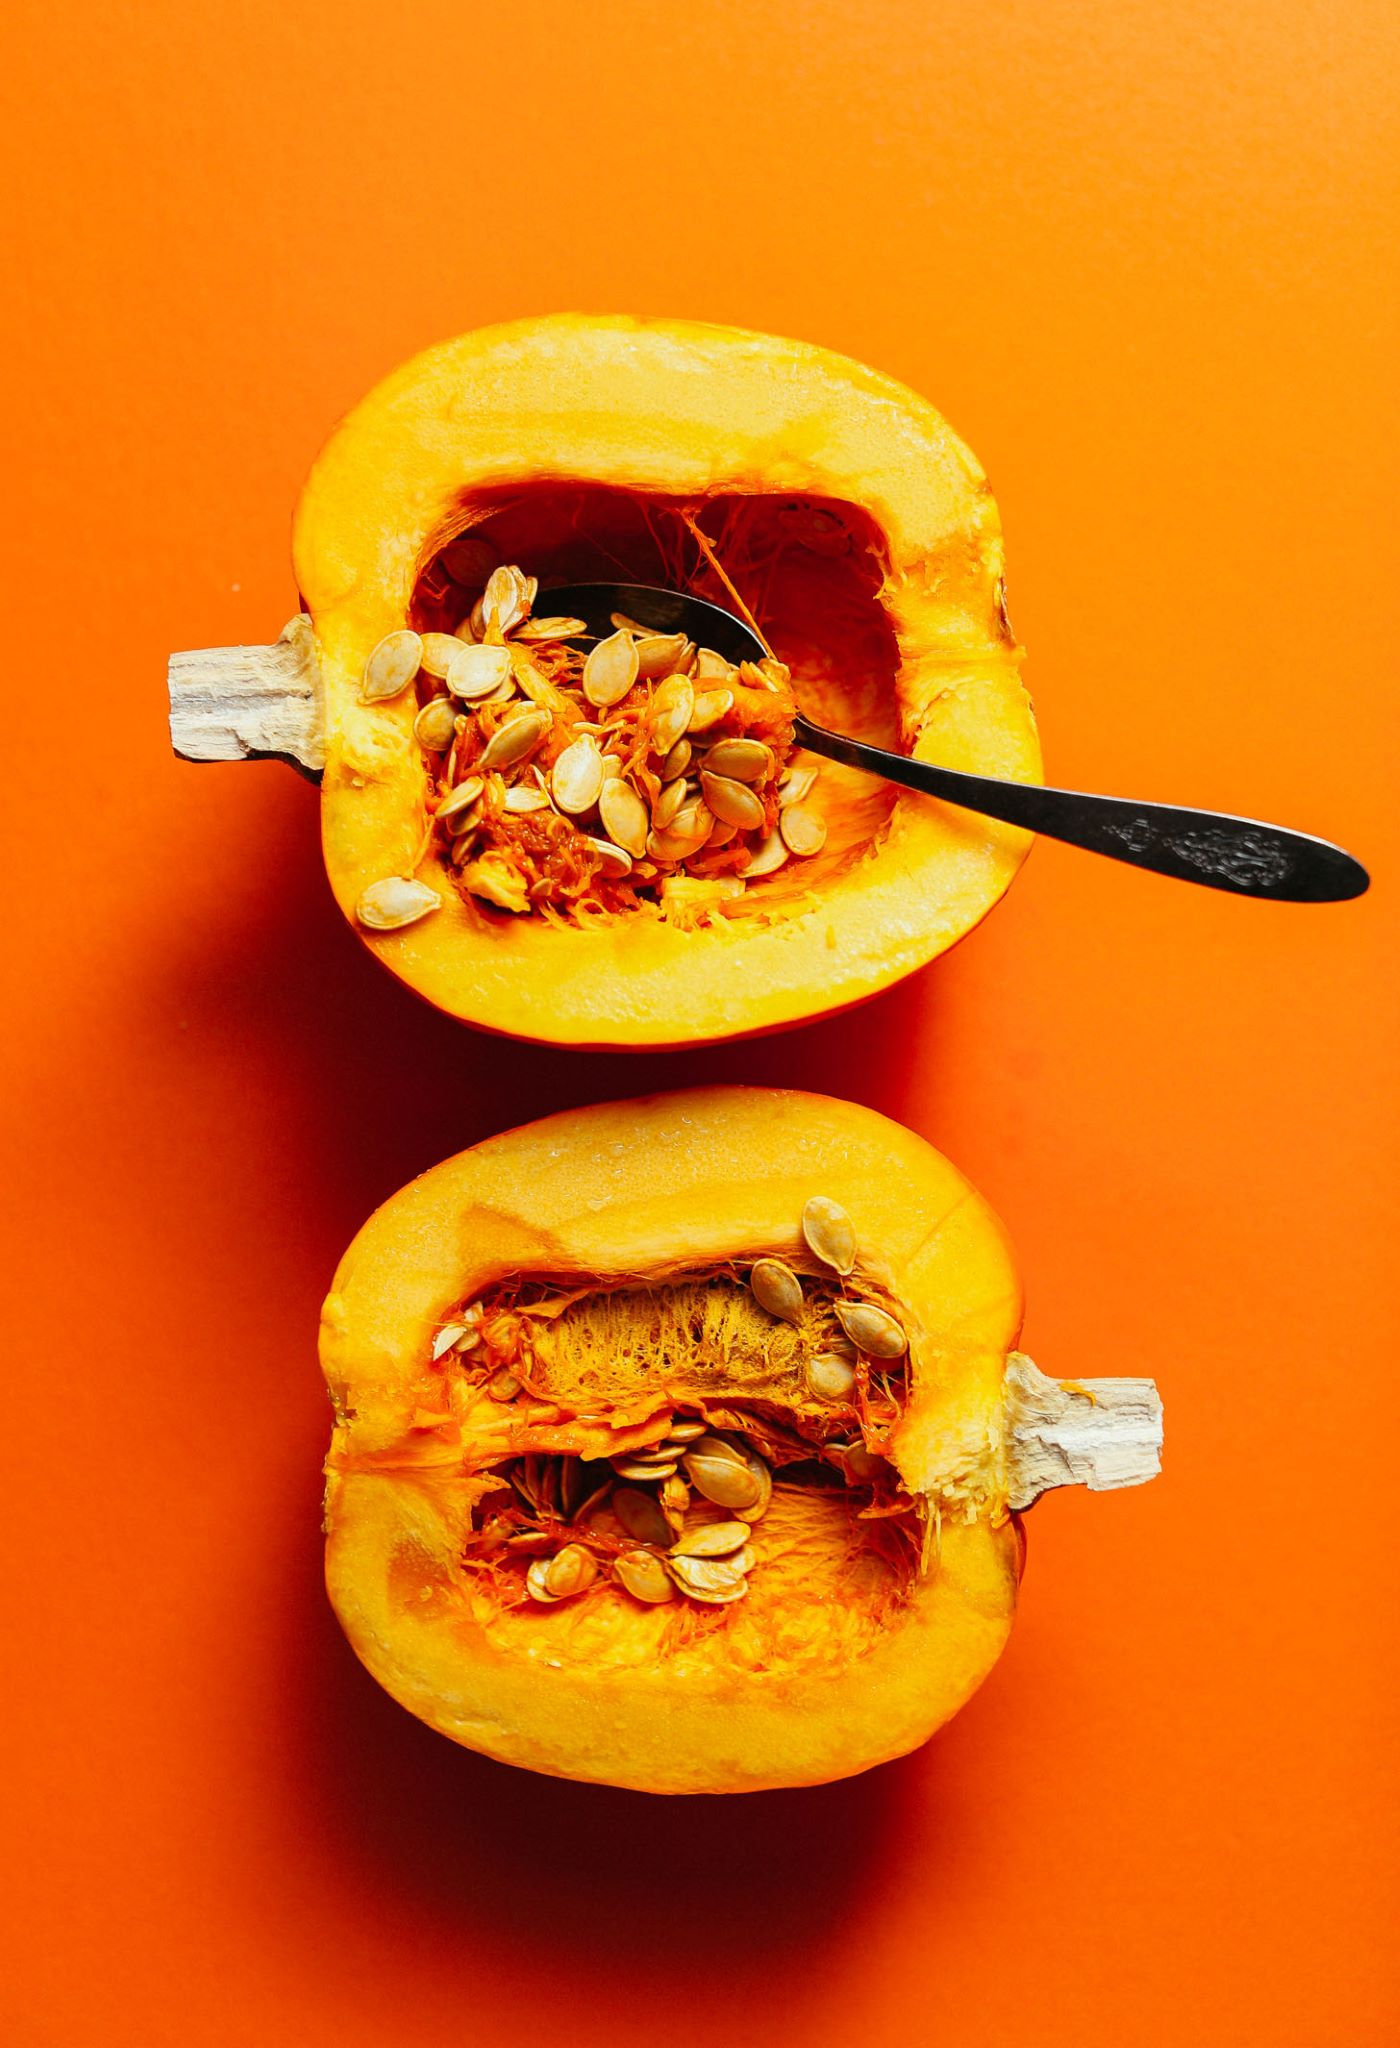
Selection of Nuts and Seeds: An array of nuts and seeds can be dehydrated, including almonds, cashews, walnuts, pumpkin seeds, and sunflower seeds. When selecting nuts and seeds for dehydration, opt for raw, unseasoned varieties to allow for the most flexibility in their subsequent use.
Preparation: Prior to dehydrating, soak the nuts and seeds in water and salt to neutralize enzyme inhibitors and enhance their digestibility. After soaking, thoroughly rinse and drain the nuts and seeds before spreading them in a single layer on the dehydrator trays. This process can also be applied to seeds such as pumpkin and sunflower seeds to optimize their nutritional value.
Dehydration Process: Set the dehydrator to the recommended temperature for nuts and seeds, typically between 115°F and 125°F (46°C and 52°C). The drying duration varies depending on the moisture content and density of the nuts and seeds, ranging from 12 to 24 hours. Periodically check the progress of the dehydration process and rotate the trays as needed to ensure even drying.
End Result: Once the nuts and seeds have been dehydrated, they should be crisp and dry, with no signs of moisture. Properly dehydrated nuts and seeds can be stored in airtight containers for long-term use in snacking, baking, and cooking. Additionally, dehydrated nuts can be used to create homemade nut butters and flavorful nut toppings for salads and desserts.
From crunchy almonds to toasted pumpkin seeds, the world of dehydrated nuts and seeds offers a wealth of possibilities for enhancing your culinary creations with the rich flavors and nutritional benefits of these wholesome ingredients. Embrace the art of nut and seed dehydration and savor the delightful results in your kitchen.
Read more: What Can You Make With Chia Seeds
Yogurt
Dehydrating yogurt to create creamy and nutritious yogurt chips or yogurt powder is a delightful way to enjoy the tangy goodness of yogurt in a convenient, shelf-stable form. Whether you’re looking to craft wholesome snacks or incorporate yogurt into your culinary creations, a dehydrator provides an efficient and gentle method for transforming yogurt into versatile ingredients that can be enjoyed in a variety of applications.
Selection of Yogurt: Opt for plain, unsweetened yogurt to ensure the most versatile and adaptable end product. Greek yogurt, with its thick consistency and high protein content, is particularly well-suited for dehydration and can yield creamy and flavorful yogurt chips or powder.
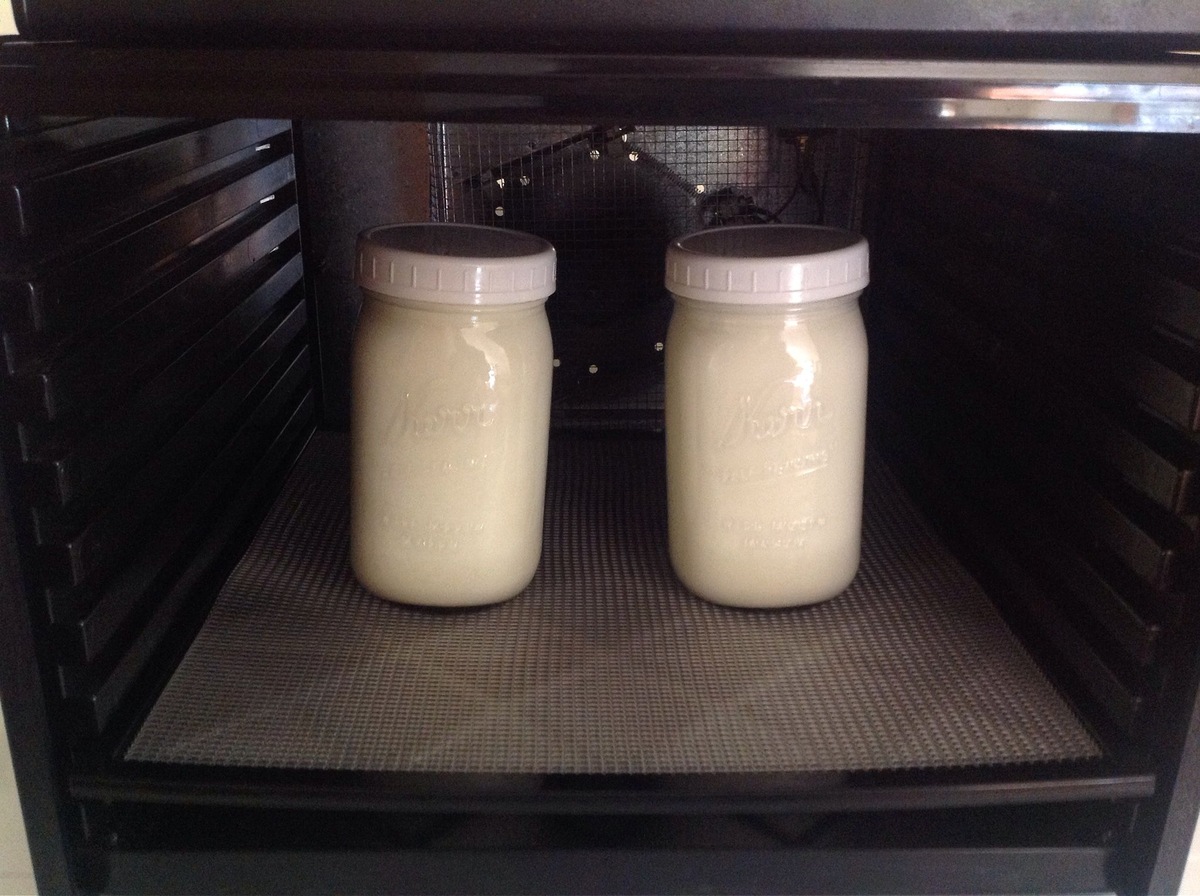
Preparation: If desired, sweeten the yogurt with a small amount of honey or sugar and incorporate flavorings such as vanilla extract or fruit puree to enhance the taste. To create yogurt chips, spread the sweetened and flavored yogurt in a thin, even layer on solid dehydrator sheets. For yogurt powder, spread the yogurt on parchment paper to achieve a thin, uniform layer for efficient drying.
Dehydration Process: Set the dehydrator to the recommended temperature for yogurt, typically between 125°F and 135°F (52°C and 57°C). The drying time for yogurt chips or powder ranges from 6 to 12 hours, depending on the thickness of the yogurt layer and the moisture content.
End Result: Once the yogurt has been dehydrated, it should be firm and dry, with no signs of moisture. For yogurt chips, carefully remove the dehydrated yogurt from the sheets and break it into bite-sized pieces. Store the yogurt chips in airtight containers for snacking or as toppings for desserts and breakfast dishes. For yogurt powder, crumble the dehydrated yogurt into a fine powder and store it in airtight containers for use as a versatile ingredient in smoothies, baking, and savory dishes.
From tangy yogurt chips to creamy yogurt powder, the world of dehydrated yogurt offers a spectrum of flavors and applications to enhance your culinary creations. Embrace the art of dehydrating yogurt and savor the delightful results in your kitchen.
Conclusion
Congratulations on embarking on a dehydrating adventure that has unveiled a world of culinary possibilities in your kitchen. From preserving the bounties of the harvest season to crafting wholesome snacks and versatile ingredients, a dehydrator has undoubtedly enriched your culinary repertoire in numerous ways.
By harnessing the power of dehydration, you have discovered the art of transforming fresh fruits into vibrant and nutritious snacks, creating flavorful and shelf-stable vegetables for a myriad of recipes, and preserving the aromatic essence of herbs to elevate your dishes. The journey has also led you to craft savory jerky, delightful fruit leathers, and a diverse array of delectable nuts, seeds, and yogurt-based treats.
As you savor the fruits of your labor – quite literally – it’s evident that the benefits of using a dehydrator extend far beyond the realm of food preservation. You have minimized food waste, reduced your reliance on store-bought snacks laden with preservatives, and unlocked a realm of creativity in the kitchen that is both rewarding and inspiring.
With each batch of dehydrated delights, you have not only nurtured your culinary skills but also embraced a sustainable and wholesome approach to food preparation. The ability to transform fresh, seasonal ingredients into long-lasting and nutritious snacks and ingredients has empowered you to take control of your culinary creations in a way that is both gratifying and enriching.
As you continue to explore the diverse and delightful world of dehydrator cuisine, may your kitchen be filled with the aromas of fruits, herbs, and spices, and may your pantry be stocked with an array of wholesome and flavorful dehydrated treasures. Embrace the art of dehydration with creativity and enthusiasm, and let the vibrant flavors and nourishing qualities of your homemade creations continue to inspire and delight your culinary endeavors.
Frequently Asked Questions about What Can You Make With A Dehydrator
Was this page helpful?
At Storables.com, we guarantee accurate and reliable information. Our content, validated by Expert Board Contributors, is crafted following stringent Editorial Policies. We're committed to providing you with well-researched, expert-backed insights for all your informational needs.


0 thoughts on “What Can You Make With A Dehydrator”