Home>Home Appliances>Laundry Appliances>How Do I Fix The Lf On My Washing Machine
Laundry Appliances
How Do I Fix The Lf On My Washing Machine
Published: February 22, 2024
Learn how to fix the LF error on your washing machine with our expert tips and troubleshooting guide. Keep your laundry appliances running smoothly.
(Many of the links in this article redirect to a specific reviewed product. Your purchase of these products through affiliate links helps to generate commission for Storables.com, at no extra cost. Learn more)
Common Causes of Lint and Fluff in Washing Machines
Lint and fluff in washing machines can be a common nuisance, causing frustration and affecting the cleanliness of your laundry. Understanding the root causes of these issues is crucial for effectively addressing them. Here are some common reasons why lint and fluff may accumulate in your washing machine:
-
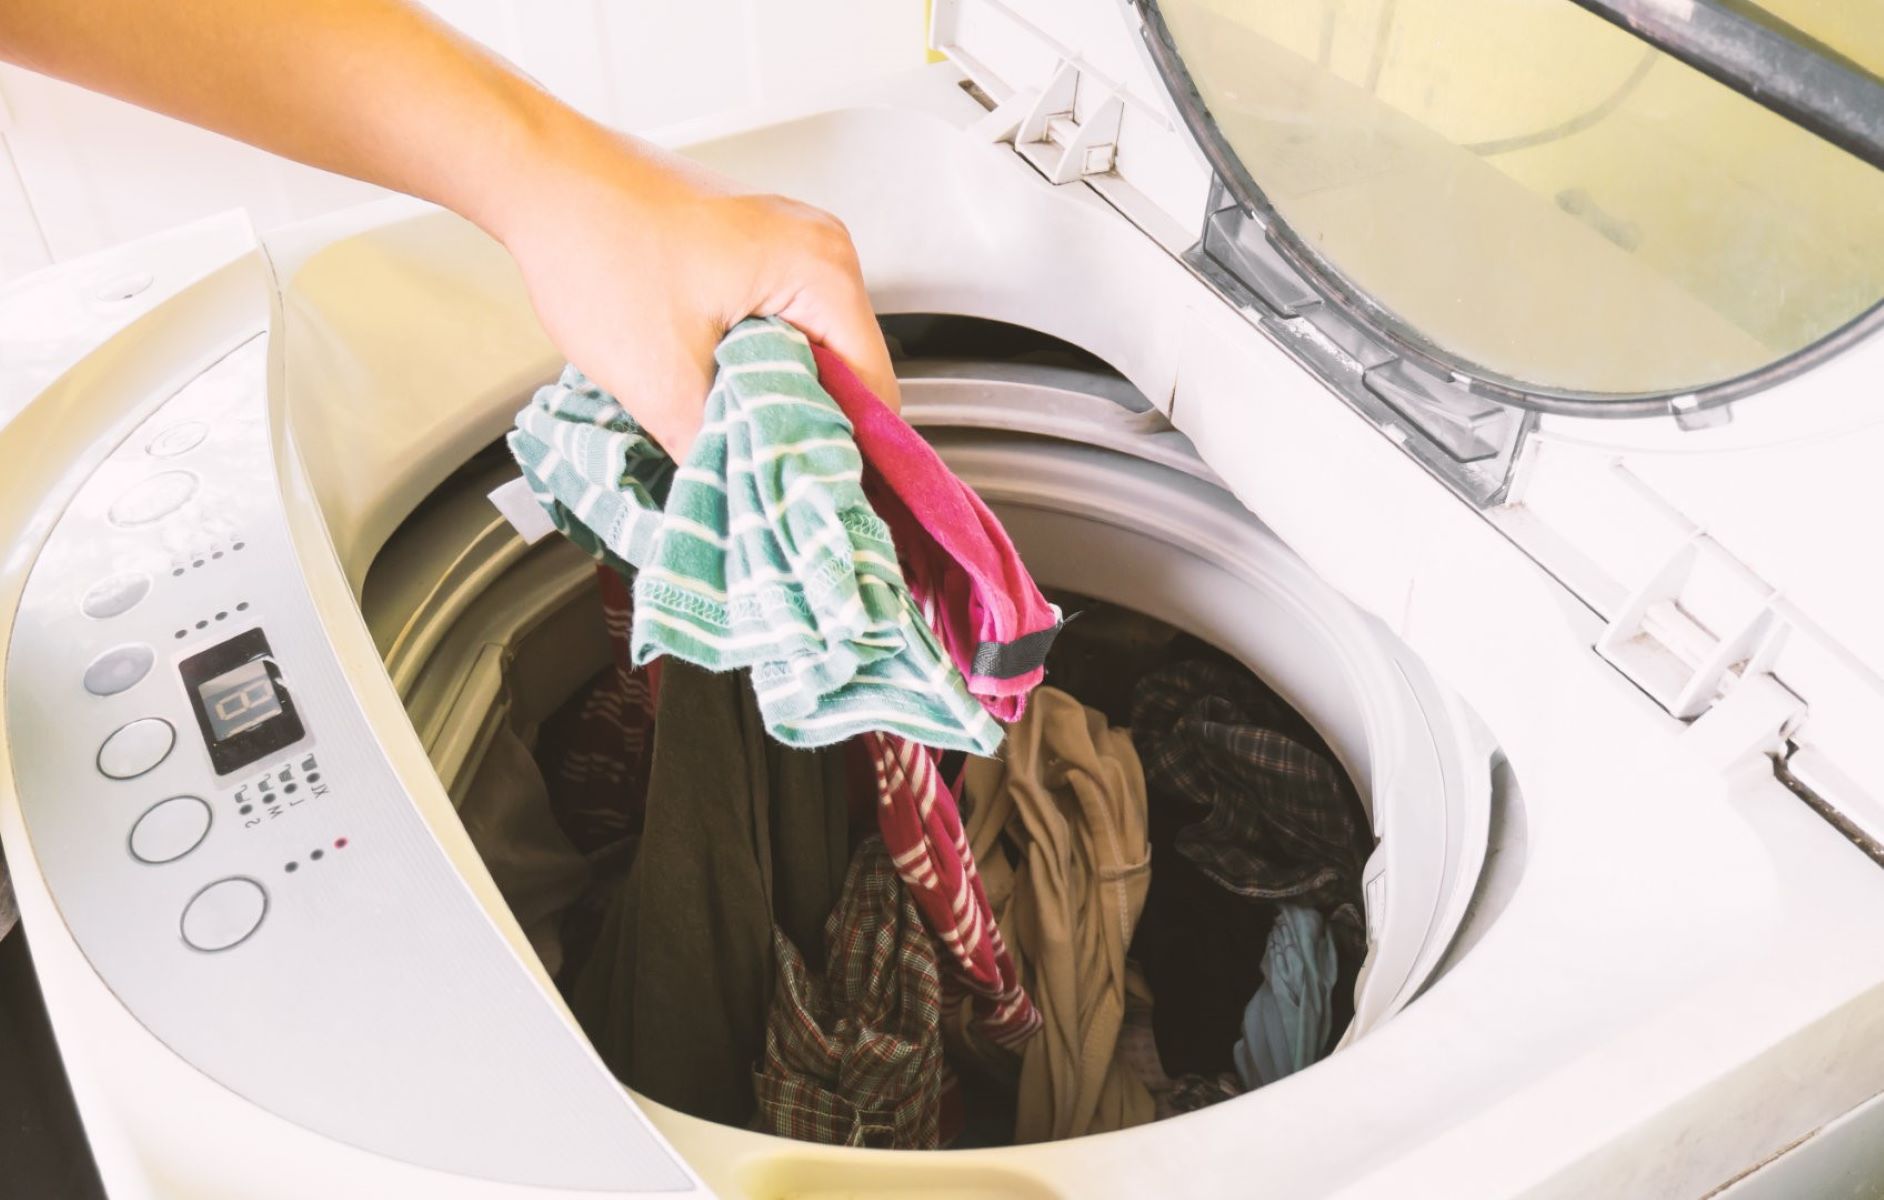
Overloading: Stuffing too many clothes into the washing machine can lead to excessive friction and agitation during the wash cycle. This can cause fabrics to shed more lint and create a buildup of fluff.
-
Worn-out Fabrics: Older or worn-out garments tend to shed more lint during the washing process. The fibers become weak and are more likely to break off, contributing to lint accumulation.
-
Mixing Fabric Types: Washing different fabric types together, such as cotton and synthetic materials, can result in increased lint production. Synthetic fabrics, in particular, are prone to shedding microfibers that contribute to lint buildup.
-
Inadequate Sorting: Failing to separate heavily soiled items from cleaner ones can lead to lint transfer. Soil and lint from dirtier garments can attach to cleaner clothes during the wash, causing lint and fluff accumulation.
-
Low-Quality Detergents: Using low-quality or excessive amounts of detergent can leave residues on clothes, leading to lint and fluff issues. These residues can trap lint and contribute to the problem.
By understanding these common causes, you can take proactive steps to minimize lint and fluff in your washing machine, ensuring cleaner and fresher laundry results.
Key Takeaways:
- Say no to lint and fluff! Avoid overloading, mix fabric types wisely, and use high-quality detergents to keep your washing machine and laundry lint-free and fresh.
- Keep it clean! Regularly clean the lint filter, distribute laundry evenly, and use proper detergents to maintain a lint-free washing machine and enjoy clean laundry.
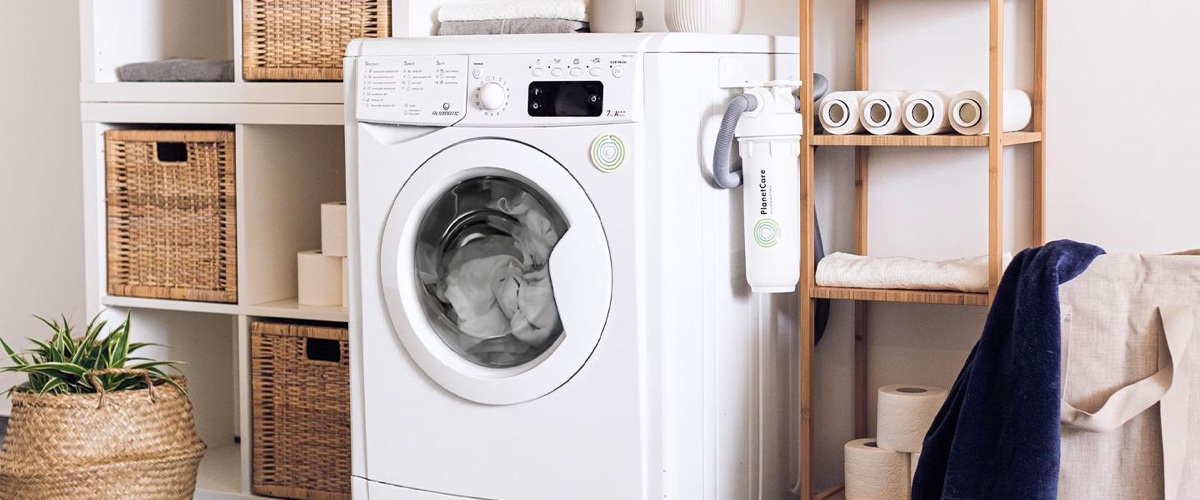
Steps to Clean the Lint Filter
Cleaning the lint filter in your washing machine is a simple yet essential maintenance task that can significantly improve its performance and the cleanliness of your laundry. Follow these steps to effectively clean the lint filter and keep your washing machine running smoothly:
-
Locate the Lint Filter: The first step is to locate the lint filter in your washing machine. In most models, the lint filter is situated near the agitator or the drum and is easily accessible. Refer to your washing machine's manual if you're unsure about its location.
-
Turn Off the Washing Machine: Before proceeding with the cleaning process, ensure that the washing machine is turned off and unplugged from the power source. Safety should always be a priority when performing maintenance tasks.
-
Remove the Lint Filter: Once the washing machine is safely powered off, carefully remove the lint filter from its designated position. Depending on the model, the lint filter may be a pull-out or twist-off component. Handle it gently to avoid damaging the filter or the surrounding parts.
-
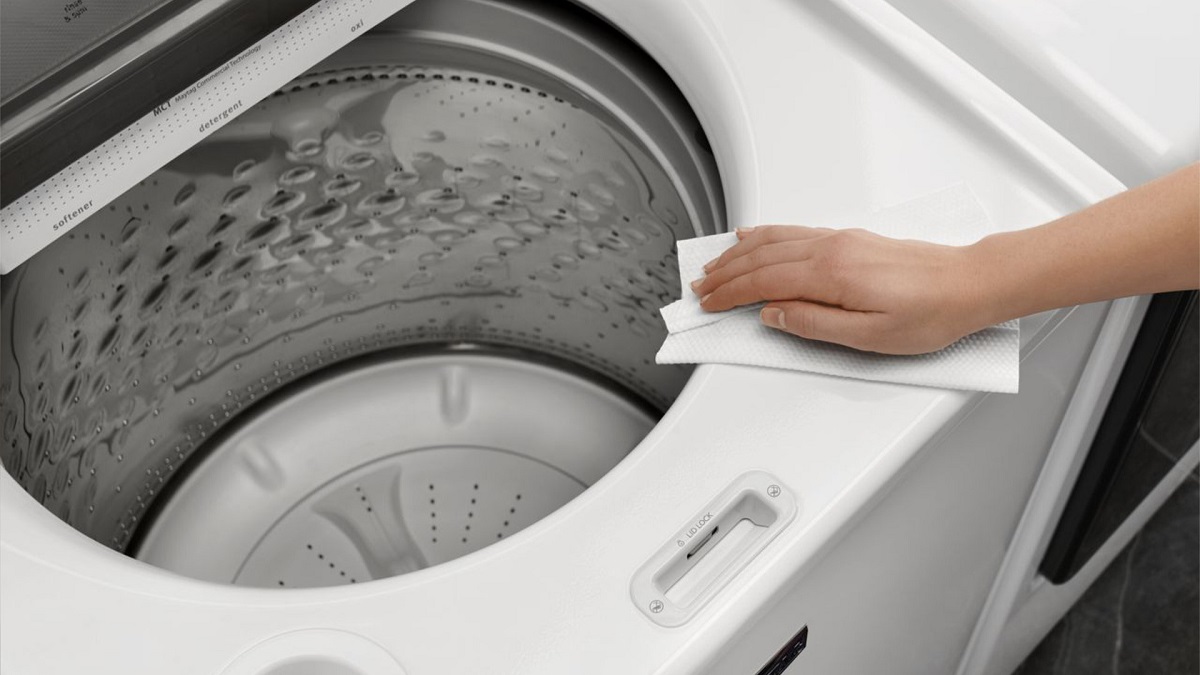
Inspect and Clean the Filter: With the lint filter in hand, visually inspect it for any visible lint, debris, or residue. Use a soft-bristled brush or a cloth to gently remove the accumulated lint from the filter. For stubborn buildup, consider rinsing the filter under running water to dislodge the trapped particles.
-
Check for Blockages: While the lint filter is removed, take a moment to inspect the filter housing and the surrounding area for any potential blockages. Clear away any lint or debris that may have accumulated in these areas to ensure optimal water flow during the wash cycle.
-
Reinstall the Lint Filter: Once the lint filter and its housing are thoroughly cleaned, carefully reinstall the filter back into its original position. Ensure that it is securely in place to prevent any issues during future wash cycles.
-
Run a Test Cycle: To confirm that the lint filter has been effectively cleaned and reinstalled, run a brief test cycle with a small load of laundry. Monitor the washing machine during the cycle to ensure that it operates smoothly without any unusual noises or performance issues.
By incorporating these simple yet crucial steps into your washing machine maintenance routine, you can effectively minimize lint and fluff accumulation, promote efficient water drainage, and maintain the overall cleanliness and functionality of your appliance. Regularly cleaning the lint filter will not only enhance the performance of your washing machine but also contribute to the longevity of its components, ensuring years of reliable service for your laundry needs.
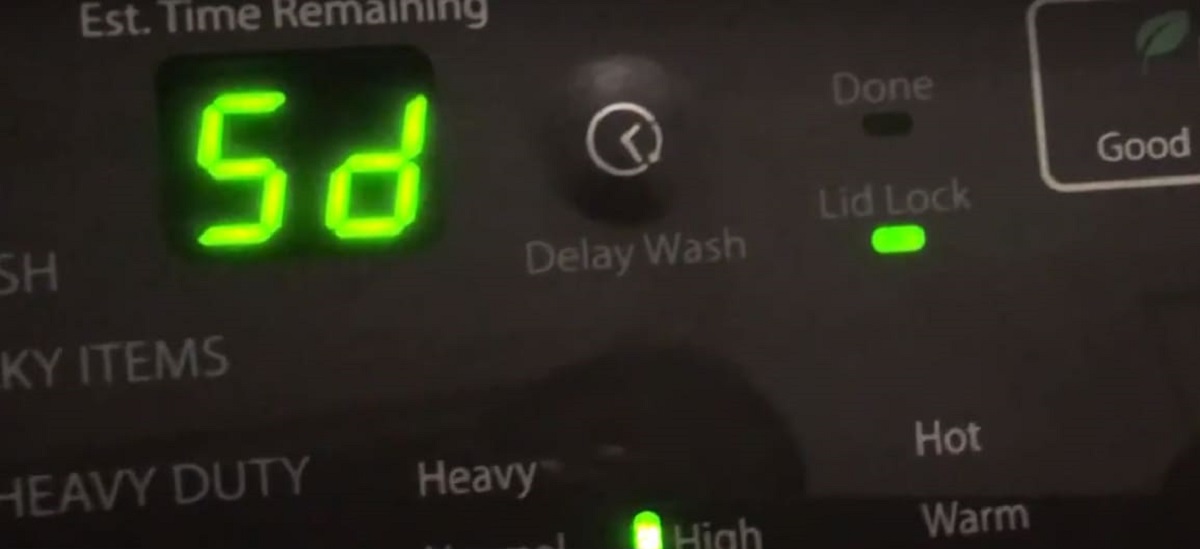
Troubleshooting Lint and Fluff Issues
Identifying and addressing lint and fluff issues in your washing machine is essential for maintaining the quality of your laundry and the optimal performance of the appliance. If you notice excessive lint or fluff on your clothes after washing, or if the washing machine exhibits unusual behavior, troubleshooting the following potential issues can help resolve the problem effectively.
1. Check the Lint Filter
Start by inspecting the lint filter for any clogs or damage. A clogged or damaged lint filter can lead to lint and fluff accumulation in the washing machine. Ensure that the filter is clean and free from obstructions, and replace it if necessary.
2. Examine the Drain Hose
A partially or fully clogged drain hose can impede water drainage from the washing machine, leading to lint and fluff retention on the clothes. Inspect the drain hose for any blockages and clear them to facilitate proper water drainage during the wash cycle.
3. Evaluate the Washing Machine Agitator
The agitator, responsible for moving the clothes during the wash cycle, can contribute to lint and fluff issues if it's damaged or malfunctioning. Check the agitator for any signs of wear or mechanical problems, and address any issues to prevent excessive fabric agitation and lint production.
4. Assess the Water Quality
Hard water can leave mineral deposits on clothes, contributing to lint and fluff accumulation. Consider using a water softener or alternative water treatment methods to improve water quality and minimize the impact of hard water on your laundry.
5. Review Detergent Usage
Excessive detergent usage or using the wrong type of detergent can lead to soap residues that trap lint and fluff on clothes. Follow the manufacturer's guidelines for detergent usage and consider using high-quality, low-residue detergents to mitigate this issue.
6. Inspect the Washer Drum
A damaged or worn-out washer drum can cause excessive fabric abrasion, leading to increased lint and fluff production. Check the drum for any signs of damage or rough edges, and address any issues to prevent fabric wear during the wash cycle.
By systematically troubleshooting these potential issues, you can effectively identify and address the root causes of lint and fluff problems in your washing machine. Regular maintenance and proactive troubleshooting not only improve the cleanliness of your laundry but also contribute to the longevity of your washing machine, ensuring reliable performance for years to come.
Read more: How Do I Clean My Samsung Washing Machine
Maintaining a Lint-Free Washing Machine
Maintaining a lint-free washing machine is essential for preserving the cleanliness of your laundry and ensuring the optimal performance of the appliance. By incorporating regular maintenance practices and adopting preventive measures, you can effectively minimize lint and fluff accumulation, prolong the lifespan of your washing machine, and enjoy consistently fresh and clean laundry results.
1. Regular Lint Filter Cleaning
Consistently cleaning the lint filter is a fundamental step in maintaining a lint-free washing machine. Set a schedule to inspect and clean the lint filter after each laundry cycle or at least once a week, depending on your usage frequency. By removing trapped lint and debris from the filter, you can prevent them from circulating back onto your clothes during subsequent wash cycles.
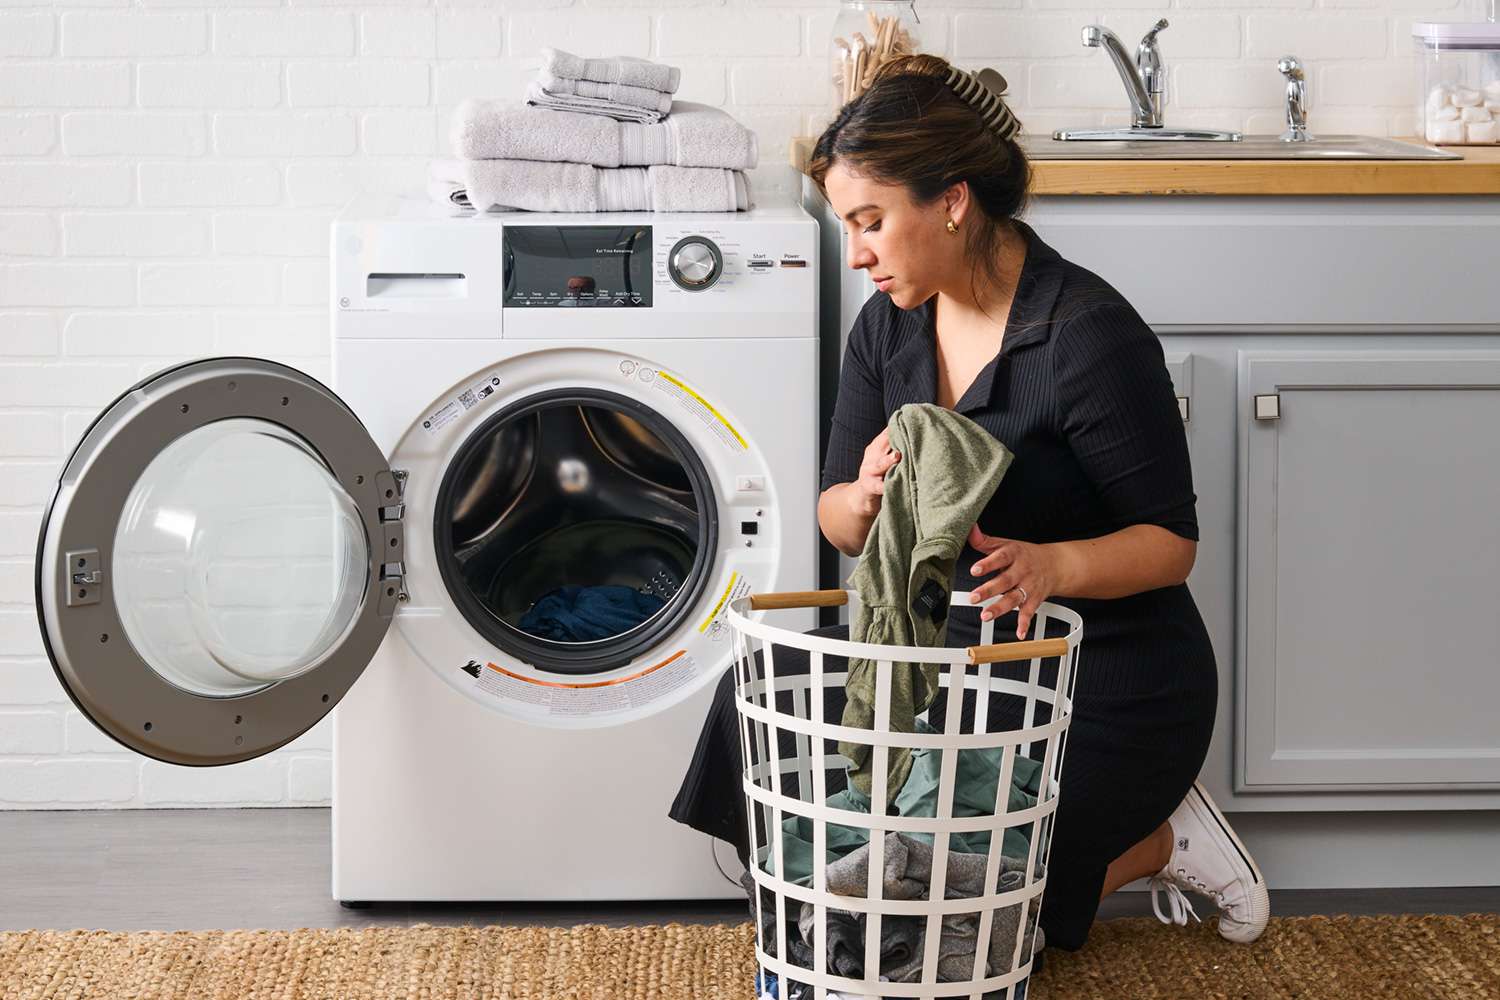
2. Proper Load Distribution
When loading the washing machine, distribute the laundry evenly to minimize fabric friction and agitation. Overloading the machine can lead to increased lint production, as excessive fabric movement can cause fibers to break off and accumulate as lint. By following the manufacturer's load capacity recommendations and avoiding overcrowding, you can reduce the likelihood of lint and fluff issues.
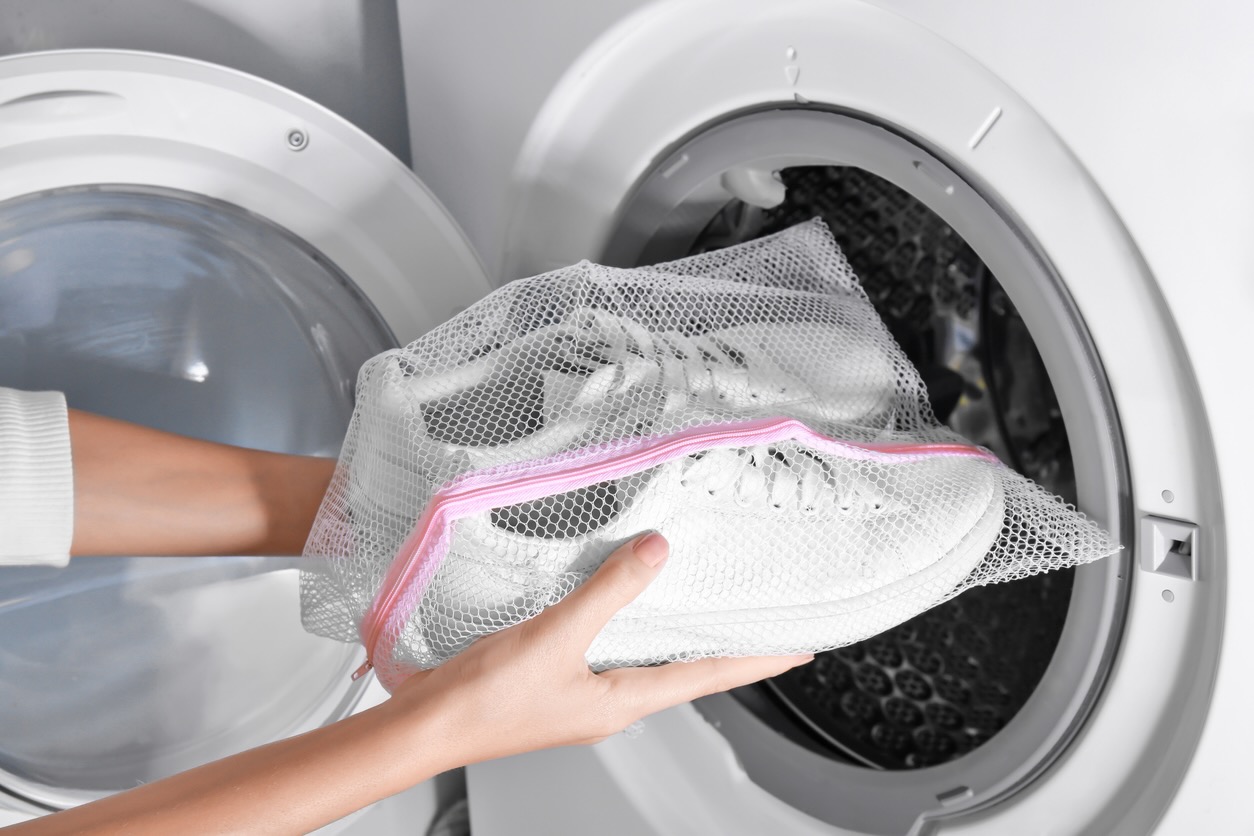
3. Fabric Sorting and Care
Prioritize proper fabric sorting to prevent lint transfer between different garment types. Separate heavily soiled items from cleaner ones to minimize the risk of lint and soil transfer during the wash cycle. Additionally, pay attention to garment care labels and use appropriate wash cycles and water temperatures to maintain fabric integrity and minimize lint shedding.
Read more: How Do I Reset My Samsung Washing Machine
4. Routine Maintenance Checks
Perform routine maintenance checks on other key components of the washing machine, such as the agitator, drum, and drain hose. Inspect these parts for signs of wear, damage, or blockages that could contribute to lint and fluff accumulation. Addressing any issues promptly can prevent them from escalating and impacting the cleanliness of your laundry.
5. High-Quality Detergent Usage
Opt for high-quality, low-residue detergents to minimize the potential for soap buildup and lint retention on clothes. Follow the recommended detergent dosage guidelines to prevent excessive residues that can trap lint and contribute to fluff-related issues. Additionally, consider using detergent additives designed to capture and prevent lint from redepositing on clothes.
6. Water Softening Solutions
If you live in an area with hard water, consider using water softening solutions to improve water quality and reduce mineral deposits on clothes. Hard water can contribute to lint and fluff accumulation, and utilizing water softeners or alternative treatment methods can mitigate this impact, leading to cleaner and lint-free laundry.
By integrating these maintenance practices and preventive measures into your laundry routine, you can effectively maintain a lint-free washing machine and enjoy consistently fresh, clean, and lint-free laundry results. Regular attention to these maintenance aspects not only enhances the performance and longevity of your washing machine but also elevates the overall laundry experience for you and your household.
Frequently Asked Questions about How Do I Fix The Lf On My Washing Machine
Was this page helpful?
At Storables.com, we guarantee accurate and reliable information. Our content, validated by Expert Board Contributors, is crafted following stringent Editorial Policies. We're committed to providing you with well-researched, expert-backed insights for all your informational needs.


0 thoughts on “How Do I Fix The Lf On My Washing Machine”