Articles
Why Do My Clothes Get Stained In The Washer
Modified: October 20, 2024
Discover why your clothes get stained in the washer with these informative articles. Gain insight and learn how to prevent this common laundry problem.
(Many of the links in this article redirect to a specific reviewed product. Your purchase of these products through affiliate links helps to generate commission for Storables.com, at no extra cost. Learn more)
Introduction
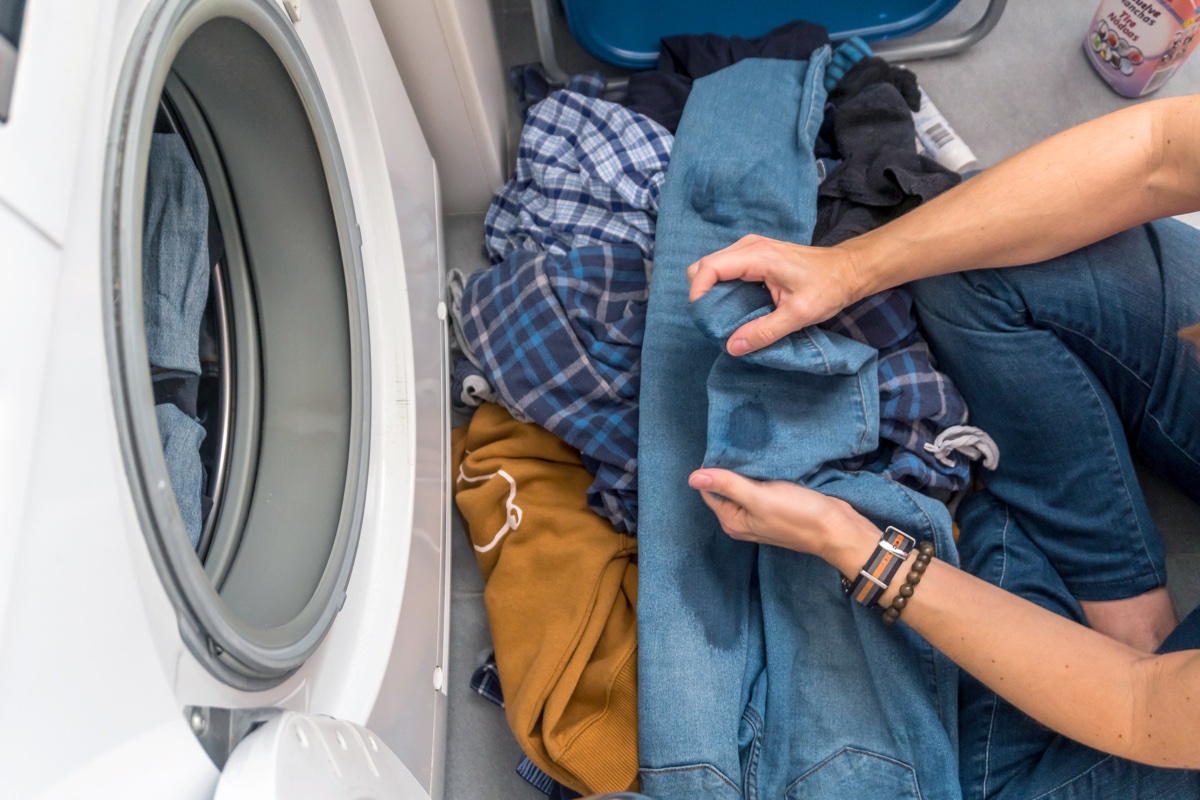
Doing laundry is a tedious task we all have to tackle, but what happens when you eagerly open the washing machine to find your clothes covered in mysterious stains? It’s frustrating and baffling, to say the least. But fear not, because in this article, we will uncover the common causes of stained clothes in the washer and provide you with practical tips on how to prevent and remove these unwanted marks.
Stains can appear on your clothes due to various factors, ranging from the type of water you have to the laundry detergent you use. Understanding the causes behind these stains will help you take the necessary steps to avoid them and keep your clothes clean and pristine.
So, let’s delve into the common culprits of stained clothes in the washer and discover effective ways to prevent and eliminate them.
Key Takeaways:
- Proper sorting of clothes is crucial to prevent color bleeding and fabric damage, ensuring cleaner and longer-lasting garments. Take the time to separate by color, fabric type, and dirtiness for optimal laundry results.
- Using the right amount of detergent is essential for effective cleaning without leaving residue. Consider water hardness, follow care labels, and avoid overdosing to maintain the freshness and quality of your clothes.
Read more: Why Does My Washing Machine Stain My Clothes
Common Causes of Stains in the Washer
Stains on clothes after a washing cycle can be frustrating, especially when you thought your clothes would come out clean and fresh. Understanding the common causes of these stains is crucial in order to effectively address the issue. Here are some of the most common culprits:
- Hard Water Stains: Hard water contains high levels of minerals like calcium and magnesium. When the water evaporates during the drying process, these minerals can leave behind white or yellowish stains on your fabrics.
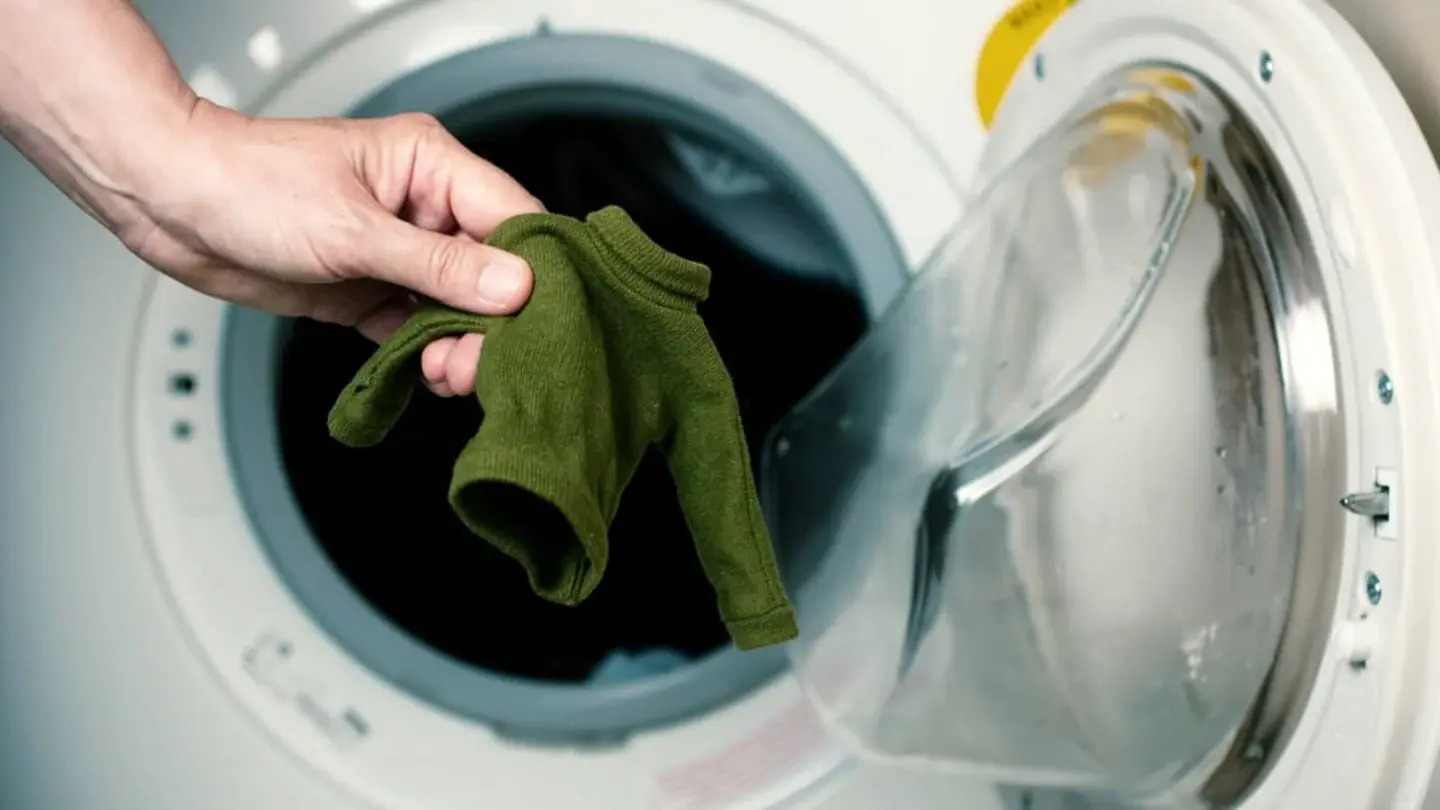
- Dye Transfer: Mixing items of different colors, especially new and vibrant ones, can result in dye transfer. This occurs when the dye from one garment bleeds onto another, leaving behind unsightly stains.
- Oil and Grease Stains: If you don’t pre-treat or properly remove oil and grease stains from clothing before washing, they can become embedded in the fabric and reappear as stains even after a wash cycle.
- Residue from Laundry Detergent: Using too much detergent or not properly dissolving it in the water can lead to detergent residue being left on the clothes. This can cause white or soapy stains on the garments.
- Rust Stains: Rust can come from rusty pipes or even be present in the washing machine itself. If clothes come into contact with rust, either through the water or the machine, they can develop reddish-brown stains.
- Mold and Mildew Stains: If your washing machine is not properly cleaned and maintained, mold and mildew can grow in damp areas like the rubber seal or detergent drawer. When clothes come into contact with these fungi, they can develop unpleasant stains and odors.
Identifying the causes of these stains is the first step towards preventing them. In the next sections, we will explore practical tips and best practices for avoiding stains in the washer and maintaining clean, stain-free clothes.
Hard Water Stains
Hard water can be a common cause of stains on clothes after they have been washed. Hard water is water that contains high levels of minerals such as calcium and magnesium. When this water is used in the washing machine, the minerals can cling to the fabric of the clothes and leave behind white or yellowish stains.
To combat hard water stains, there are a few steps you can take:
- Use a Water Softener: Adding a water softener to your washing machine can help reduce the mineral content in the water. This can prevent the minerals from depositing onto your clothes and leaving behind stains.
- Use a Descaler: Periodically using a descaling agent in your washing machine can help remove any built-up mineral deposits that may be causing stains. Follow the instructions on the descaler carefully to ensure proper usage.
- Vinegar Rinse: Adding a cup of distilled white vinegar to the rinse cycle can help break down mineral deposits and remove stains. Vinegar is a natural cleaner and can effectively combat hard water stains. Make sure to avoid using vinegar with bleach or chlorine-based products.
- Consider a Water Softener System: If you have consistently hard water, it may be beneficial to invest in a whole-house water softener system. This will not only benefit your laundry but also other appliances and plumbing in your home.
- Adjust Detergent Amount: Hard water requires more detergent to effectively clean clothes. Using the recommended amount of detergent for hard water can help lift stains and maintain the freshness of your garments.
By taking these steps, you can minimize the occurrence of hard water stains and ensure that your clothes come out of the washer looking clean and stain-free.
Dye Transfer
Have you ever found your favorite white shirt with unexpected streaks of color after washing? This phenomenon is known as dye transfer and occurs when the dye from one garment bleeds onto another during the wash cycle.
Dye transfer can happen for several reasons:
- Mixing Colors: When garments of different colors are washed together, there is a greater chance of dye transfer. Vibrant colors, especially new ones, are more prone to bleeding.
- Overloading the Washer: Overcrowding the washing machine with too many clothes can cause friction and increase the likelihood of dye transfer.
- Incorrect Sorting: Failing to sort clothes properly based on color can lead to dye transfer. It is essential to separate light-colored garments from darker ones to minimize the risk.
- Improper Detergent Usage: Certain detergents may not be effective in preventing dye transfer. It is crucial to choose a high-quality detergent specifically designed to lock in colors and prevent bleeding.
- Washing New Garments: New clothes, especially those with intense colors, are more likely to bleed during the first few washes. It is advisable to wash them separately or with similar colors until the bleeding subsides.
To prevent dye transfer and keep your clothes looking their best, follow these tips:
- Sort Clothes Properly: Separate your laundry into light and dark colors, and wash them separately to prevent dye transfer.
- Wash New Garments Separately: New clothes, especially those with vibrant colors, should be washed separately or with similar colors to prevent bleeding onto other items.
- Use Color Catcher Sheets: Color catcher sheets are designed to absorb loose dyes in the wash. Toss a color catcher sheet in with your laundry to help minimize the risk of dye transfer.
- Check Garments before Washing: Inspect your clothes for any noticeable color bleeding or stains before throwing them in the washing machine. Pre-treating stains or handwashing delicate items can prevent dye transfer.
- Follow Care Instructions: Always read and follow the care instructions on your garments to ensure proper washing techniques and prevent dye transfer.
By taking these preventive measures, you can minimize the risk of dye transfer and keep your clothes looking vibrant and fresh.
Oil and Grease Stains
Oil and grease stains can be one of the toughest types of stains to remove from clothes. If not properly treated before washing, these stains can become set in the fabric and reappear after the wash cycle, leaving frustrating marks on your clothes. Here are some tips to effectively address oil and grease stains:
- Pre-treat the Stains: Before tossing the stained garments into the washing machine, it’s important to pre-treat the oil or grease spots. Apply a stain remover directly to the stained area and gently rub it in to break down the grease. Let it sit for a few minutes to allow the stain remover to penetrate the fabric.
- Choose the Right Detergent: To combat oil and grease stains, it’s essential to use a detergent that is specially formulated to break down and remove these types of stains. Look for detergents with grease-fighting agents or enzymes that target oils and grease.
- Adjust Water Temperature: Hot water can help dissolve and remove oil and grease stains more effectively. Check the care label of your garments to ensure that they can withstand hot water. For delicate fabrics, warm water may be a better option.
- Pre-wash or Soak the Stained Items: For heavily soiled or stubborn oil and grease stains, consider pre-washing or soaking the items before putting them in the washing machine. This can help loosen the stains and improve the chances of complete removal.
- Inspect Stains before Drying: After the wash cycle, but before drying your clothes, check for any remaining oil or grease stains. If stains are still visible, do not dry the garments as the heat from the dryer can set the stains. Instead, repeat the pre-treating and washing process until the stains are fully removed.
While oil and grease stains can be challenging, following these tips and taking immediate action can significantly increase the chances of successful stain removal. Remember, the sooner you treat the stain, the better the results will be.
Residue from Laundry Detergent
One of the common causes of stains on clothes after washing is residue from laundry detergent. This can occur when too much detergent is used or when the detergent is not properly dissolved in the water. The residue can leave behind white or soapy stains on the fabric, making your clothes look dull and unclean. Here are some tips to prevent and remove residue from laundry detergent:
- Measure the Detergent: Use the recommended amount of detergent for each load of laundry. Overloading the washer with excessive detergent can lead to residue buildup on the clothes.
- Choose the Right Detergent: Opt for high-quality detergent that is designed to dissolve easily in water. Look for detergents labeled as “low-residue” or “high-efficiency (HE)” to ensure effective cleaning without leaving a residue.
- Load the Washer Properly: Avoid overcrowding the washing machine, as this can prevent the proper agitation needed to dissolve the detergent. Leave enough space for the clothes to move freely and allow the water and detergent to circulate evenly.
- Pre-dissolve the Detergent: If you are using a powdered detergent, it may be helpful to dissolve it in water before adding it to the washer. This ensures that the detergent is fully dissolved and prevents any undissolved particles from settling on the clothes.
- Utilize Extra Rinse Cycles: If you notice excessive residue on your clothes, consider adding an extra rinse cycle to the wash. This will help remove any remaining traces of detergent and prevent it from sticking to the fabric.
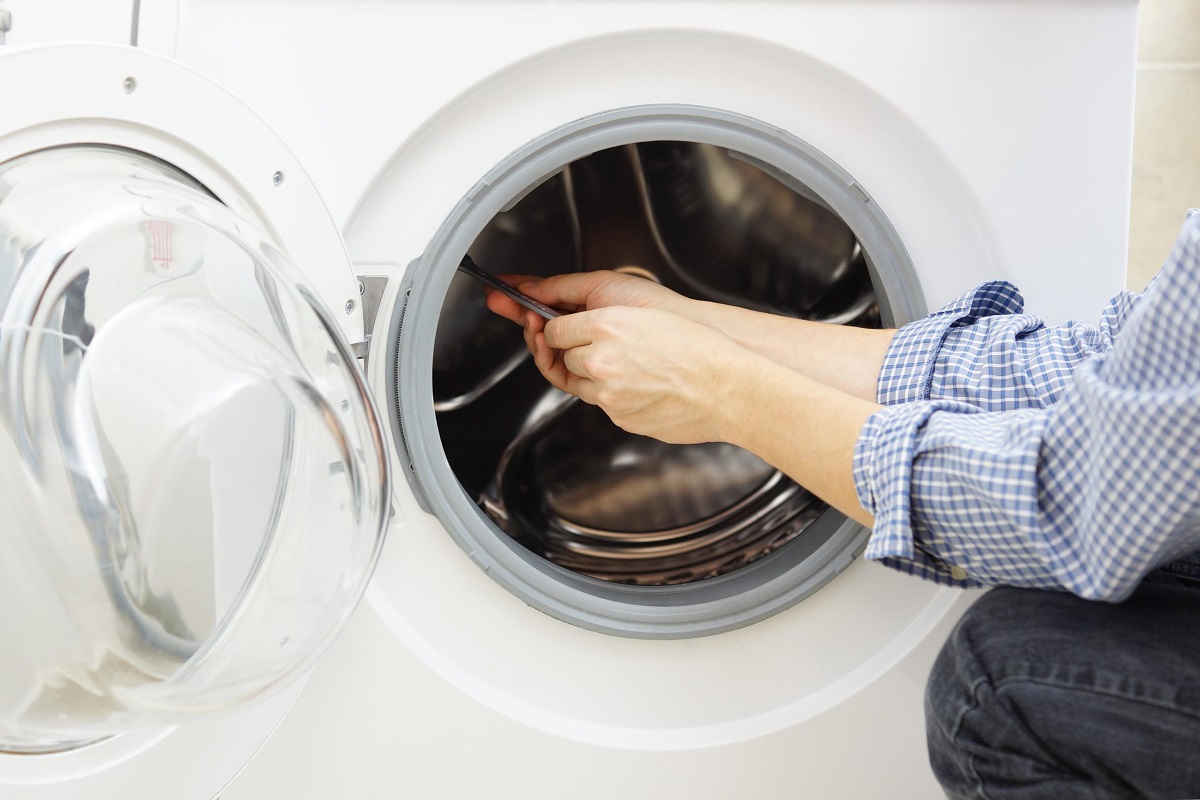
- Clean Your Washing Machine: Regularly clean your washing machine to remove any detergent buildup or residue that may be affecting the cleanliness of your clothes. Follow the manufacturer’s instructions for cleaning and maintenance.
If you have already noticed residue on your clothes, there are a couple of methods you can try to remove it. First, rewash the affected garments using the appropriate amount of detergent and an extra rinse cycle. Alternatively, you can soak the affected items in a mixture of water and vinegar before rewashing. Vinegar helps break down detergent residue and leaves your clothes fresh and clean.
By following these tips and practicing proper detergent usage, you can prevent residue buildup and keep your clothes looking fresh and stain-free after every wash.
Rust Stains
Discovering rust stains on your clothes after a wash can be frustrating and perplexing. Rust stains can occur when clothes come into contact with rusty pipes or when there is rust present in the washing machine itself. Here are some steps you can take to address and prevent rust stains:
- Inspect Water Sources: Check your water supply to ensure that there are no issues with rusty pipes. If you suspect that rusty water is the cause of the stains, consider getting your pipes inspected and resolved by a professional plumber.
- Clean Your Washing Machine: Regularly clean your washing machine to remove any built-up rust or sediment. Follow the manufacturer’s instructions for cleaning or consider using a washing machine cleaner specifically designed to remove rust and maintain machine performance.
- Prevent Rusting Inside the Washer: After each wash, leave the washing machine door open or slightly ajar to allow air to circulate. This helps prevent moisture build-up, which can contribute to rusting inside the machine.
- Separate Rusty Items: If you have clothing items that are prone to rusting, such as metal buckles or buttons, consider washing them separately or placing them in a mesh laundry bag to prevent direct contact with other garments.
- Use Rust Removers: For clothes that have been affected by rust stains, you can try using a rust remover specifically designed for laundry. Follow the instructions on the product carefully and pre-treat the stains before washing.
- Preventive Measures: To prevent future rust stains, always check your clothes before loading them into the washing machine. Remove any metal objects or fasteners that may cause rusting or damage to other garments.
While rust stains can be troublesome, taking these preventive measures and using suitable rust removers can help eliminate the stains and protect your clothes from further damage.
To prevent clothes from getting stained in the washer, make sure to separate dark and light-colored clothes to avoid color transfer. Additionally, use the appropriate amount of detergent and avoid overloading the washer to ensure proper cleaning.
Mold and Mildew Stains
Dealing with mold and mildew stains on your clothes can be unpleasant and distressing. These stains are often the result of a lack of proper cleaning and maintenance of the washing machine, allowing for the growth of fungi in damp areas such as the rubber seal or detergent drawer. Here are some steps you can take to address and prevent mold and mildew stains:
- Regularly Clean Your Washing Machine: Mold and mildew thrive in damp environments. It’s important to clean your washing machine regularly to remove any residual moisture and prevent the growth of fungi. Wipe down the rubber seal, detergent drawer, and other areas prone to moisture with a solution of equal parts water and vinegar.
- Leave the Washer Door Open: After each wash cycle, leave the washing machine door open or slightly ajar to allow air to circulate and dry out any remaining moisture. This will help prevent mold and mildew from developing in the machine.
- Use a Mold Inhibitor: Consider using a mold inhibitor or laundry sanitizer specifically designed to eliminate mold and mildew. Add it to the wash cycle periodically to help kill any existing fungi and prevent their growth.
- Inspect Clothes Before Washing: Before loading your clothes into the machine, inspect them for any signs of mold or mildew stains. If you spot any, do not include them in the wash. Instead, treat them separately to prevent the spread of the stains.
- Avoid Dampness: Make sure your clothes are completely dry before storing them. Storing even slightly damp clothes can create an ideal environment for mold and mildew to grow. Ensure that your clothes are thoroughly dried before putting them away.
- Properly Store the Machine: If you don’t use your washing machine for an extended period of time, ensure that it is thoroughly cleaned and dried before storing it. This will help prevent the growth of mold and mildew while the machine is not in use.
By implementing these preventive measures and practicing proper cleaning and maintenance, you can effectively combat mold and mildew stains and keep your clothes fresh and free from unwanted fungal growth.
Preventing Stains in the Washer
Nobody wants to find stains on their clothes after a wash. To avoid the frustration and disappointment of stained garments, it is important to take preventive measures to keep your clothes clean and pristine. Here are some practical tips for preventing stains in the washer:
- Proper Sorting of Clothes: Sort your laundry based on color, fabric type, and level of dirtiness. Washing similar items together reduces the risk of color bleeding and ensures that each garment receives the appropriate care.
- Use the Right Amount of Detergent: Follow the detergent manufacturer’s instructions and use the recommended amount for each load. Using too much detergent can lead to residue buildup on clothes, while using too little may result in insufficient cleaning.
- Check for Grease or Oil Stains before Washing: Before tossing clothes into the washer, inspect them carefully for any grease or oil stains. Pre-treat these stains with a suitable stain remover or spot cleaning solution to prevent them from spreading or setting in during the wash cycle.
- Separate Delicate and Heavy Fabrics: Separate delicate fabrics from heavy or rough-textured fabrics that could cause damage. Delicate garments should be washed on a gentle or delicate cycle to minimize wear and tear.
- Zip Up Zippers and Close Fasteners: Ensure that all zippers are zipped up and fasteners are securely closed before washing. This prevents them from snagging or damaging other clothes in the machine.
- Turn Clothes Inside Out: Turning clothes inside out before washing can help preserve colors and minimize pilling or damage to the outer surface. This is particularly useful for delicate and dark-colored garments.
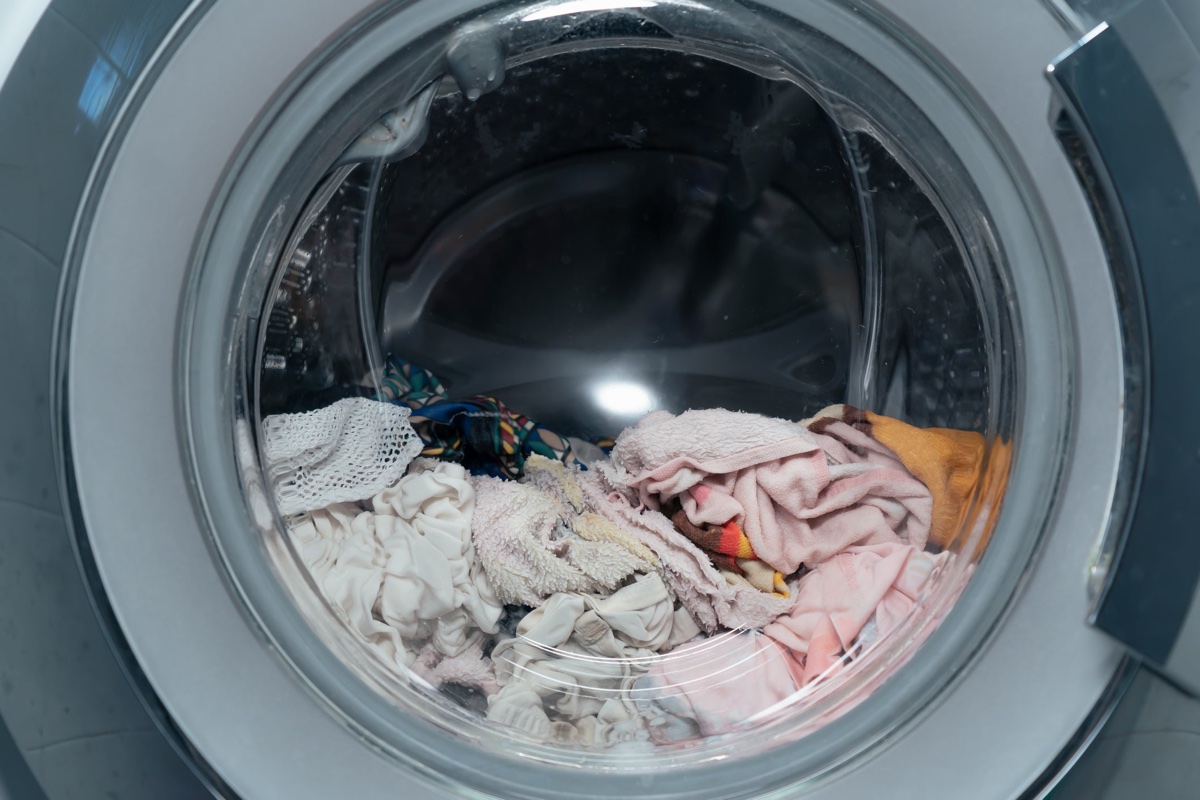
- Avoid Overloading the Washing Machine: Overstuffing the washer can inhibit proper agitation and prevent clothes from getting clean. Leave enough space for clothes to move freely, ensuring thorough cleaning and rinsing.
- Clean Your Washer Regularly: Regularly clean your washing machine to remove any accumulated residue, dirt, or mold that could transfer onto clothes. Refer to the machine’s manual for instructions on how to clean and maintain it properly.
- Use Stain-Removing Techniques: For stubborn stains, consider using stain-removing techniques such as pre-treating, soaking, or spot cleaning before washing. This can help ensure that stains are effectively treated and removed during the wash cycle.
By implementing these preventive measures and following proper laundry practices, you can significantly reduce the chances of stains appearing on your clothes after washing. Take the time and care to properly handle your laundry, and you’ll enjoy clean and stain-free garments every time.
Read more: Why Is My Washer Shaking
Proper Sorting of Clothes
Properly sorting your clothes before washing is a crucial step in ensuring optimal cleaning results and preventing the occurrence of stains. Sorting involves separating your laundry based on various factors, including color, fabric type, and level of dirtiness. By taking the time to sort your clothes, you can avoid potential color bleeding, safeguard delicate fabrics, and improve the overall cleanliness of your garments. Here are some key aspects to keep in mind when sorting your clothes:
- Separate by Color: Sorting your clothes by color is essential to prevent color bleeding. Dark-colored items, especially new ones, have a higher chance of bleeding and staining lighter garments. Wash whites, lights, and darks separately to maintain the vibrancy and cleanliness of each load.
- Consider Fabric Type: Different fabrics require different care during washing. Separating clothes by fabric type helps prevent damage and maintain their quality. Delicate fabrics such as silk, lace, or wool should be washed separately or placed in mesh laundry bags to protect them from getting snagged or stretched by rougher fabrics.
- Sort by Dirtiness: Sorting by dirtiness allows you to adjust the wash cycle and detergent amount accordingly. Heavily soiled items should be washed separately from lightly soiled ones to ensure proper cleaning. This prevents dirt or stains from transferring to other clothes and helps maintain the freshness of each load.
- Consider Texture: Separating clothes based on texture can also help prevent damage. Rough or abrasive fabrics like denim or towels can cause friction and pilling when washed with delicate items. Keep these textured fabrics separate to avoid potential damage.
- Special Care for New Garments: New clothing items, especially those with vibrant colors, should be washed separately or with similar hues. This helps prevent the bleeding of excess dye onto other clothes. Washing new items on their own also prevents potential damage to other garments from loose fibers or embellishments.
By taking the extra time to sort your clothes properly, you can ensure that each item is treated with the appropriate care during the wash cycle. This results in cleaner, fresher clothes and minimizes the risk of stains or damage from color bleeding or fabric interaction.
It’s worth mentioning that sorting clothes not only helps with washing efficiency but can also make the ironing and folding processes easier. Colors remain vibrant, fabrics retain their quality, and your clothes will last longer with proper care and attention.
Using the Right Amount of Detergent
When it comes to achieving clean and fresh-smelling clothes, using the right amount of detergent is crucial. Using too little may result in insufficient cleaning, while using too much can cause unwanted residue buildup on your clothes. Finding the right balance ensures optimal cleaning performance and helps prevent stains or detergent-related issues. Here are some tips for using the right amount of detergent:
- Follow the Manufacturer’s Guidelines: Refer to the detergent manufacturer’s instructions for the recommended amount of detergent per load. These guidelines consider various factors such as load size, water hardness, and detergent concentration.
- Consider Water Hardness: If you have hard water, you may require more detergent to achieve effective cleaning. Hard water contains minerals that can reduce the effectiveness of the detergent. Adjust the detergent amount based on your water hardness levels.
- Refer to the Washing Machine Manual: Some washing machines have specific recommendations for detergent usage. Consult your machine’s manual to understand any unique requirements or guidelines for detergent usage.
- Check for Soil Levels: For heavily soiled clothes, consider using slightly more detergent to ensure thorough cleaning. Detergent helps break down and remove dirt, oils, and stains from fabrics. Adjust the amount accordingly based on the level of dirtiness.
- Avoid Overdosing: While it may be tempting to use excess detergent in hopes of achieving better cleaning results, this can lead to problems. Too much detergent can leave behind residue on clothes, causing them to appear dull or sticky. It can also contribute to the buildup of mold or mildew in the washer.
- Use Measuring Tools: To accurately measure the appropriate amount of detergent, use the measuring cup or cap that comes with the detergent packaging. These tools are designed to help you dispense the correct amount and prevent overuse.
Remember that the goal is to use enough detergent to effectively clean your clothes without leaving behind traces of residue. The right amount may vary depending on factors such as load size, water hardness, and soil levels. By following the manufacturer’s recommendations, considering water hardness, and practicing proper measurement, you can achieve optimal cleaning results and maintain the longevity of your clothes.
Finally, it’s worth noting that if you notice residue on your clothes even when using the recommended amount of detergent, it may be indicative of a larger issue such as hard water or a malfunctioning washing machine. In such cases, it may be beneficial to seek further guidance or consult a professional for assistance.
Checking for Grease or Oil Stains before Washing
Before tossing your clothes into the washing machine, it’s important to check for any grease or oil stains. These types of stains can be stubborn and difficult to remove once they have been set in during the wash cycle. By identifying and treating grease or oil stains before washing, you can significantly improve the chances of successful stain removal. Here are some steps to check for and address grease or oil stains:
- Inspect Each Garment: Before putting your clothes in the washing machine, take a few minutes to carefully inspect each item. Look for any visible stains or spots that may indicate the presence of grease or oil.
- Pre-treat the Stains: If you spot any grease or oil stains, it’s best to pre-treat them before washing. The sooner you address the stains, the better the chances of complete removal. Apply a small amount of stain remover or a solution of dish soap and warm water directly to the stained area. Gently rub the fabric together or use a soft brush to help break down the grease or oil.
- Let the Stain Remover Sit: Allow the stain remover to penetrate the fabric by letting it sit for a few minutes. The stain remover needs time to dissolve the grease or oil and lift it from the fibers of the fabric. This step enhances the effectiveness of the stain removal process.
- Check for Removal: After pre-treating the stains, check the affected areas to see if the grease or oil stains have diminished. If the stains are still visible, repeat the pre-treatment process until the stains have faded or disappeared. Avoid putting the garment in the dryer or exposing it to heat until the stains have been completely removed.
- Wash as Normal: Once the grease or oil stains have been effectively treated, you can proceed with washing the garment as you would normally. Follow the care instructions on the clothing label, including water temperature, cycle selection, and detergent usage.
By taking the time to check for and address grease or oil stains before washing, you can prevent them from becoming set into the fabric during the wash cycle. Prompt treatment and proper stain removal techniques increase the likelihood of completely eliminating the stains and keeping your clothes looking fresh and clean.
Removing Stains from Clothes
Stains on clothes can be frustrating, but with the right techniques and products, most stains can be effectively removed. Prompt and proper treatment is essential to increase the chances of successfully eliminating stains. Here are some general guidelines for removing common stains from clothes:
- Identify the Type of Stain: Different stains require different treatment methods. The type of stain will determine the most effective approach for removal. Common stain categories include food and beverage stains, grease or oil stains, ink stains, and rust stains.
- Act Quickly: The sooner you address a stain, the better the chances of successful removal. Blot or gently scrape off any excess substance on the fabric without rubbing, as rubbing can further embed the stain into the fibers.
- Read the Care Label: Before applying any stain removal products or techniques, refer to the care label on the garment. The care label provides specific instructions on the recommended cleaning methods and any limitations for the fabric.
- Pre-treat the Stain: Apply a stain remover or pre-treatment solution directly to the stained area. Gently rub the fabric together or use a soft brush to work the solution in. Allow it to sit for the recommended time as per the product’s instructions.
- Wash as Directed: Follow the care label instructions for washing the garment. This includes selecting the appropriate water temperature, cycle, and detergent usage. Ensure that the stain is completely removed before drying the item, as heat from the dryer can set the stain.
- Spot Treatment Alternatives: In addition to commercial stain removers, several household items can be used for spot treatment. For example, white vinegar can help remove odors and stains, baking soda can absorb and lift stains, and lemon juice can be effective on stubborn stains. Always test these remedies on a hidden area of the fabric before applying to the stain.
- Seek Professional Help: For stubborn or delicate stains, it may be best to consult a professional cleaner. They have the expertise and specialized equipment to tackle tough stains safely without damaging the fabric.
Remember, different stains may require specific techniques or targeted stain removers. It’s always a good idea to refer to stain removal charts or guides that provide detailed instructions for tackling specific types of stains. With proper and timely treatment, you can increase the chances of successfully removing stains and prolong the life of your clothes.
Conclusion
Maintaining clean and stain-free clothes is a common goal for anyone doing laundry. By understanding the common causes of stains in the washer and implementing preventative measures, you can significantly reduce the occurrence of stains and keep your clothes looking fresh and pristine. Proper sorting of clothes, using the right amount of detergent, and checking for grease or oil stains before washing are important steps in preventing stains. Additionally, addressing specific types of stains, such as hard water stains, dye transfer, oil and grease stains, residue from laundry detergent, rust stains, and mold and mildew stains, requires specific techniques and products.
By taking the time to properly sort your clothes based on color, fabric type, and level of dirtiness, you can minimize the risk of color bleeding and preserve the quality of your garments. Using the recommended amount of detergent, taking into consideration water hardness, and avoiding overdosing will ensure effective cleaning without leaving residue on your clothes. Checking for grease or oil stains before washing and pre-treating them promptly will improve the chances of successful stain removal. Addressing specific types of stains through proper treatment methods, such as using stain removers, can help remove stains entirely.
Remember to always read and follow the care instructions on the clothing labels, as they provide essential information specific to each garment. Regular maintenance of your washing machine, including proper cleaning and routine checks, will further contribute to stain prevention. When in doubt or dealing with stubborn stains, seeking professional help from a cleaner can provide specialized assistance.
By implementing these strategies and maintaining a proactive approach to stain prevention and removal, you can enjoy clean, fresh, and stain-free clothes after every wash. So go ahead and tackle your laundry with confidence, knowing that you are armed with the knowledge to keep your clothes looking their best.
Frequently Asked Questions about Why Do My Clothes Get Stained In The Washer
Was this page helpful?
At Storables.com, we guarantee accurate and reliable information. Our content, validated by Expert Board Contributors, is crafted following stringent Editorial Policies. We're committed to providing you with well-researched, expert-backed insights for all your informational needs.


0 thoughts on “Why Do My Clothes Get Stained In The Washer”