Articles
How Do I Descale My Nespresso Coffee Machine
Modified: October 19, 2024
Learn how to descale your Nespresso coffee machine with these helpful articles. Keep your machine running smoothly and enjoy your perfect cup of coffee every time.
(Many of the links in this article redirect to a specific reviewed product. Your purchase of these products through affiliate links helps to generate commission for Storables.com, at no extra cost. Learn more)
Introduction
Welcome to the world of Nespresso, where you can indulge in the perfect cup of coffee day after day. But as your love for coffee grows, so does the need to properly care for your Nespresso coffee machine. One essential maintenance task that every Nespresso machine owner should become familiar with is descaling.
Descaling is the process of removing mineral buildup and limescale from the internal components of your Nespresso machine. Over time, minerals from water can accumulate in the heating elements and pipes, affecting the overall performance and taste of your coffee. By regularly descaling your machine, you can ensure that it brews delicious coffee with maximum efficiency.
In this comprehensive guide, we will walk you through the reasons why descaling is important, and provide step-by-step instructions on how to descale your Nespresso coffee machine. So, grab a cup of your favorite Nespresso blend, sit back, and let’s dive into the world of descaling.
Key Takeaways:
- Regular descaling of your Nespresso machine ensures optimal performance, maintains coffee flavor, and extends its lifespan. Follow manufacturer’s guidelines and enjoy barista-quality coffee at home.
- Prepare a descale solution using water and white vinegar or use a Nespresso descaling kit. Follow the step-by-step descaling process to remove limescale and maintain your machine’s efficiency.
Read more: What Does Descaling A Coffee Machine Do
Understanding Descaling
Before we jump into the process of descaling your Nespresso coffee machine, it’s important to understand why this maintenance task is necessary. Over time, minerals such as calcium and magnesium can build up in your machine’s heating elements and pipes. This buildup, known as limescale, can significantly affect the performance and lifespan of your machine.
Limescale can cause blockages in the internal components of your coffee machine, leading to reduced water flow, slower brewing times, and even potential damage to the heating element. In addition, limescale can negatively impact the taste of your coffee, making it bitter or acidic.
By descaling your Nespresso machine regularly, you can prevent these issues and ensure that it continues to operate optimally. Descaling helps remove limescale and mineral deposits, improving water flow, maintaining consistent brewing times, and preserving the quality of your coffee. It also helps extend the lifespan of your machine, saving you from costly repairs or the need to replace it sooner than expected.
It is recommended to descale your Nespresso machine every three to six months, depending on the hardness of your water. If you live in an area with particularly hard water, you may need to descale more frequently.
Now that we have a clear understanding of why descaling is important, let’s move on to the next section where we discuss the reasons to descale your Nespresso coffee machine.
Reasons to Descale your Nespresso Coffee Machine
There are several compelling reasons why you should make descaling a regular part of your Nespresso coffee machine maintenance routine:
- Ensure Optimal Performance: Over time, limescale buildup can clog the internal components of your machine, affecting water flow and brewing time. Regular descaling helps remove these deposits, ensuring that your machine operates at its best and delivers consistent, high-quality coffee.
- Maintain Taste and Flavor: Limescale can alter the taste of your coffee by making it taste bitter or funky. Descaling helps maintain the purity of your coffee’s flavor by removing any impurities and allowing for a clean and delicious brew.
- Prolong Machine Lifespan: By preventing limescale buildup, descaling helps extend the lifespan of your Nespresso machine. It reduces the risk of damage to the heating element and other internal components, saving you from the expense of repairs or the need for a replacement machine.
- Prevent Malfunctions: A heavily scaled coffee machine is prone to malfunctions and performance issues. Regular descaling reduces the likelihood of these problems, ensuring that your machine consistently delivers the coffee experience you expect.
- Preserve Warranty: Descaling your Nespresso machine as recommended by the manufacturer helps maintain the warranty coverage. Neglecting this maintenance task could potentially void the warranty, leaving you responsible for any repair costs that may arise.
Now that you understand the importance of descaling your Nespresso coffee machine, let’s move on to the practical steps involved in the descaling process.
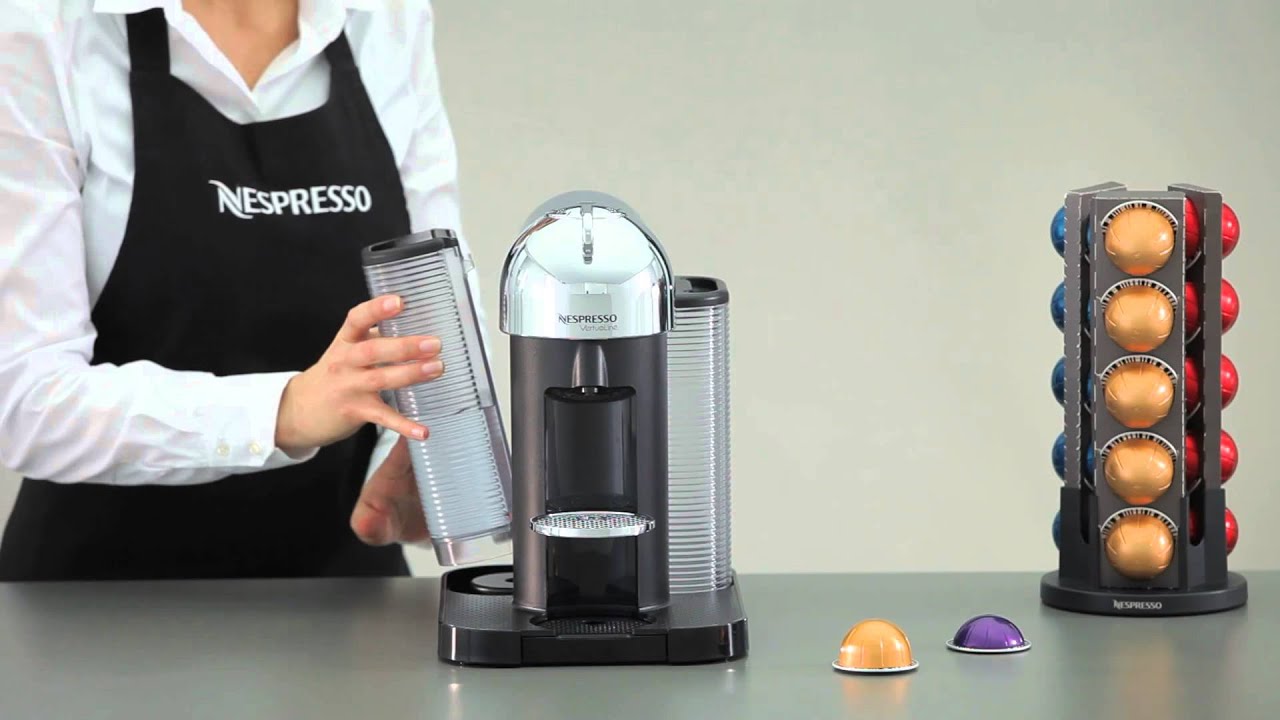
Steps to Descaling your Nespresso Coffee Machine
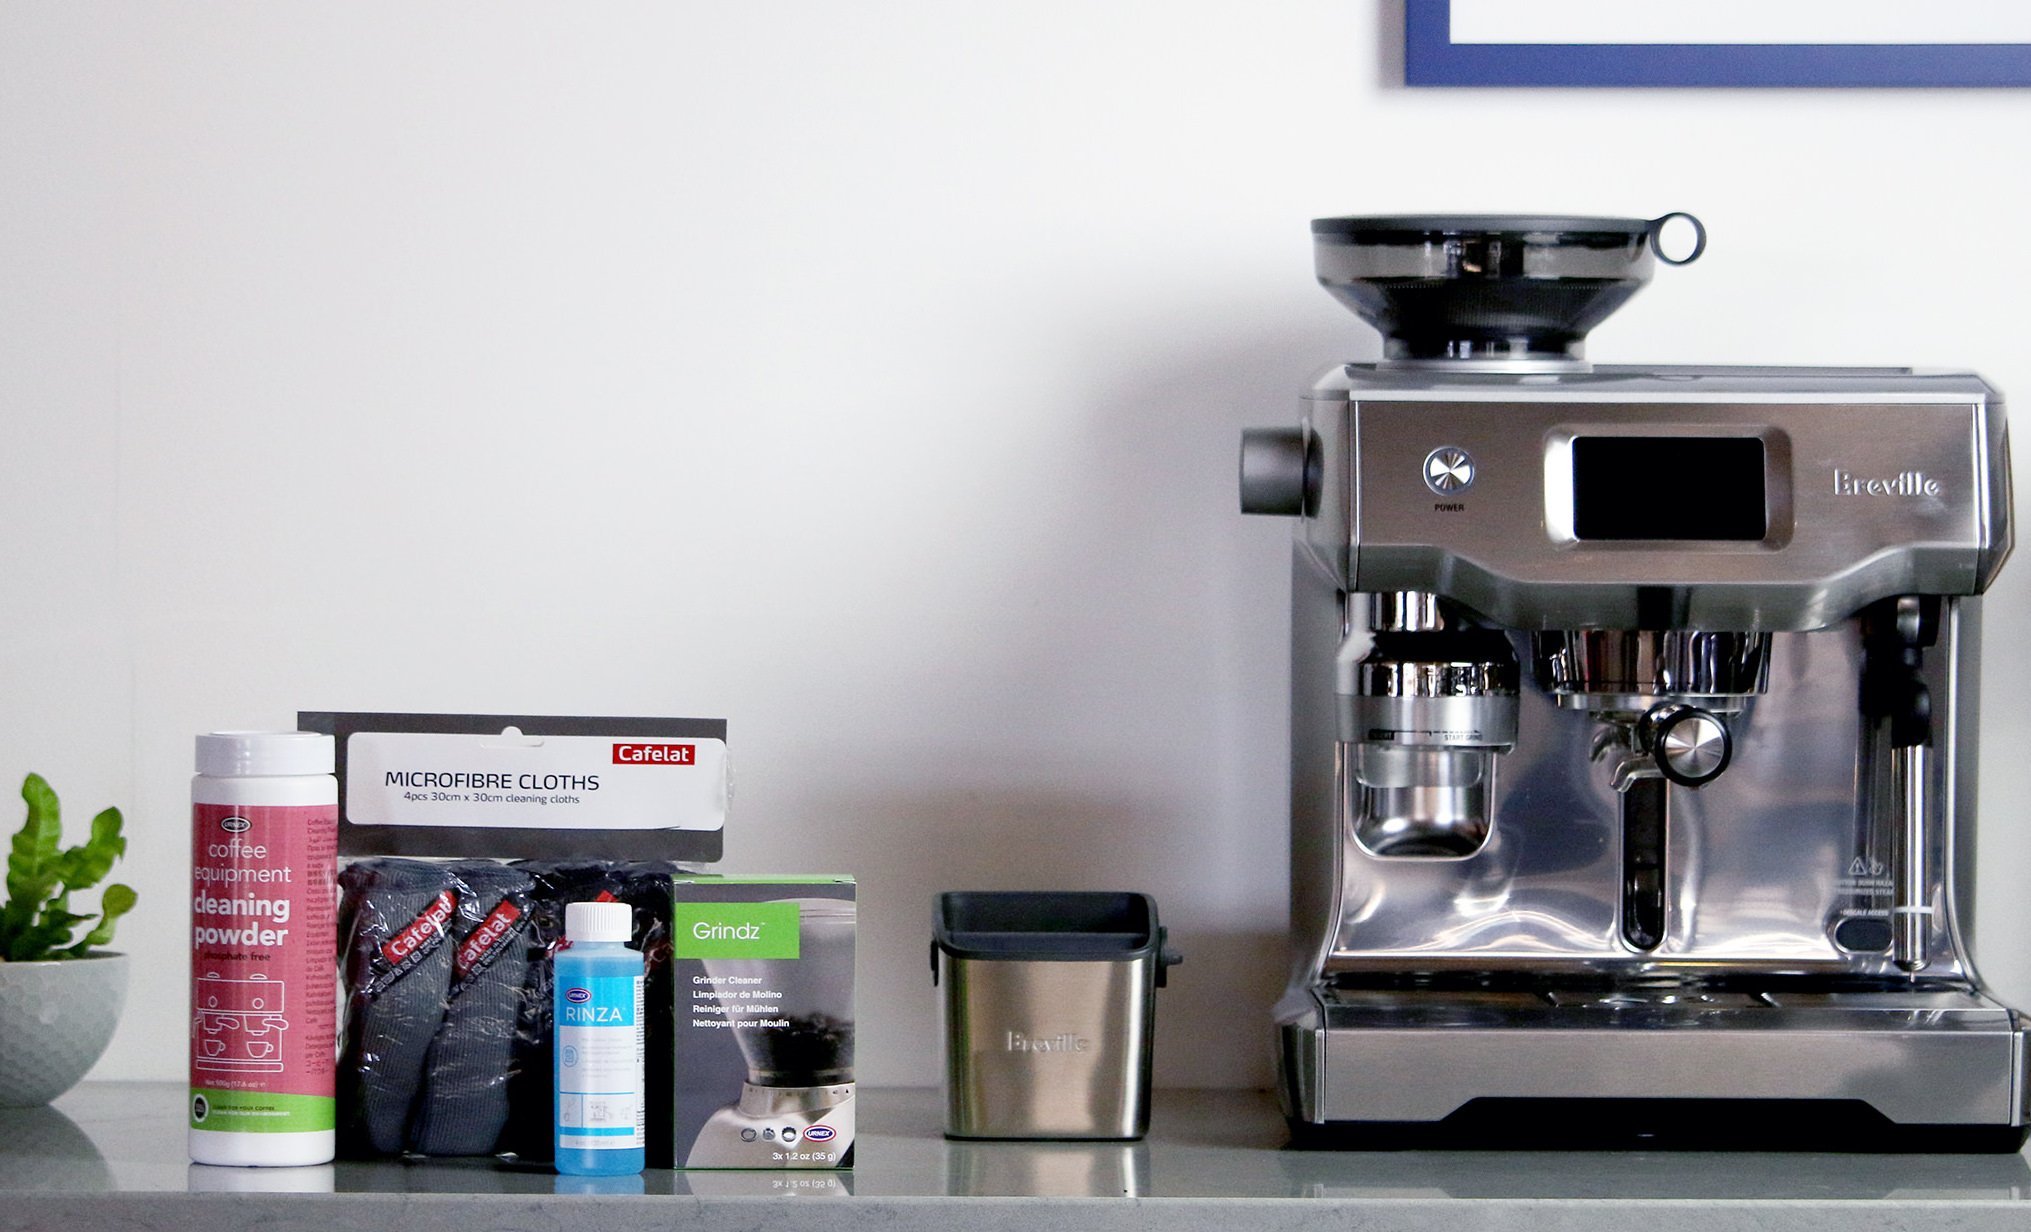
Descaling your Nespresso coffee machine is a relatively simple process that can be done at home with just a few supplies. Follow these steps to ensure that you effectively remove limescale and keep your machine in optimal condition:
- Check the Manufacturer’s Instructions: Before beginning the descaling process, refer to the user manual or the manufacturer’s instructions specific to your Nespresso coffee machine. This will provide any machine-specific recommendations or variations to the descaling process.
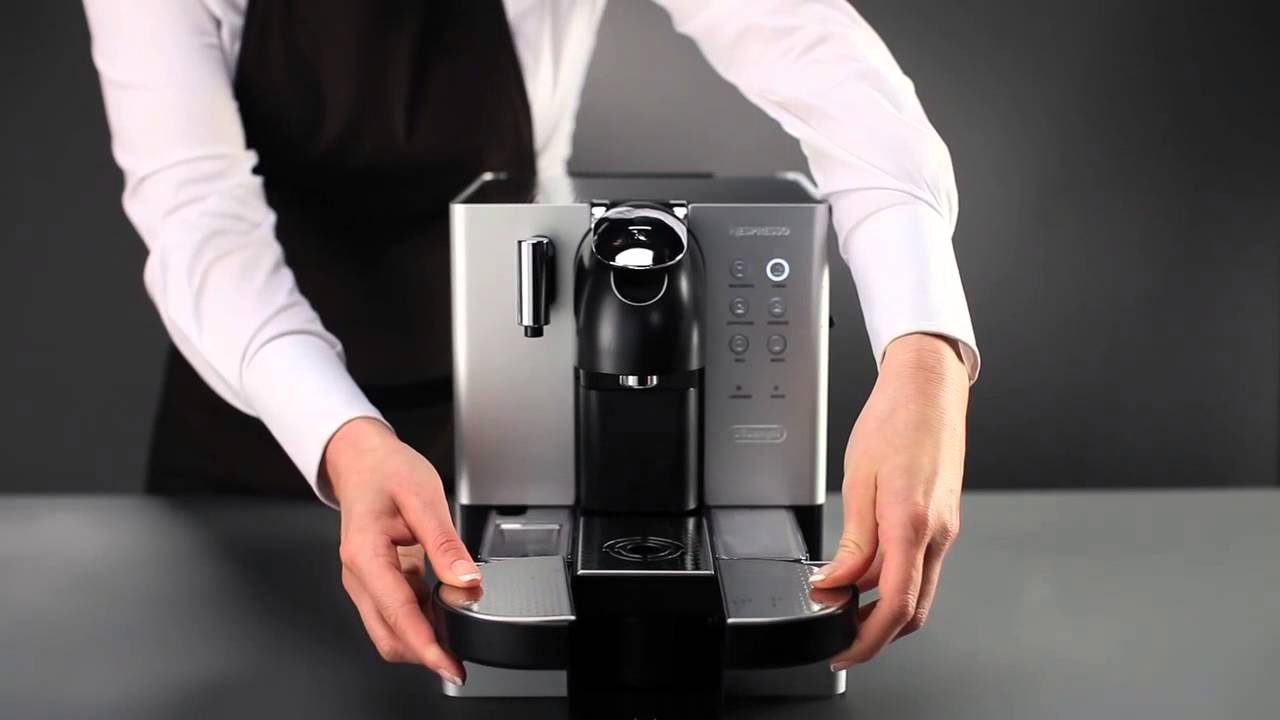
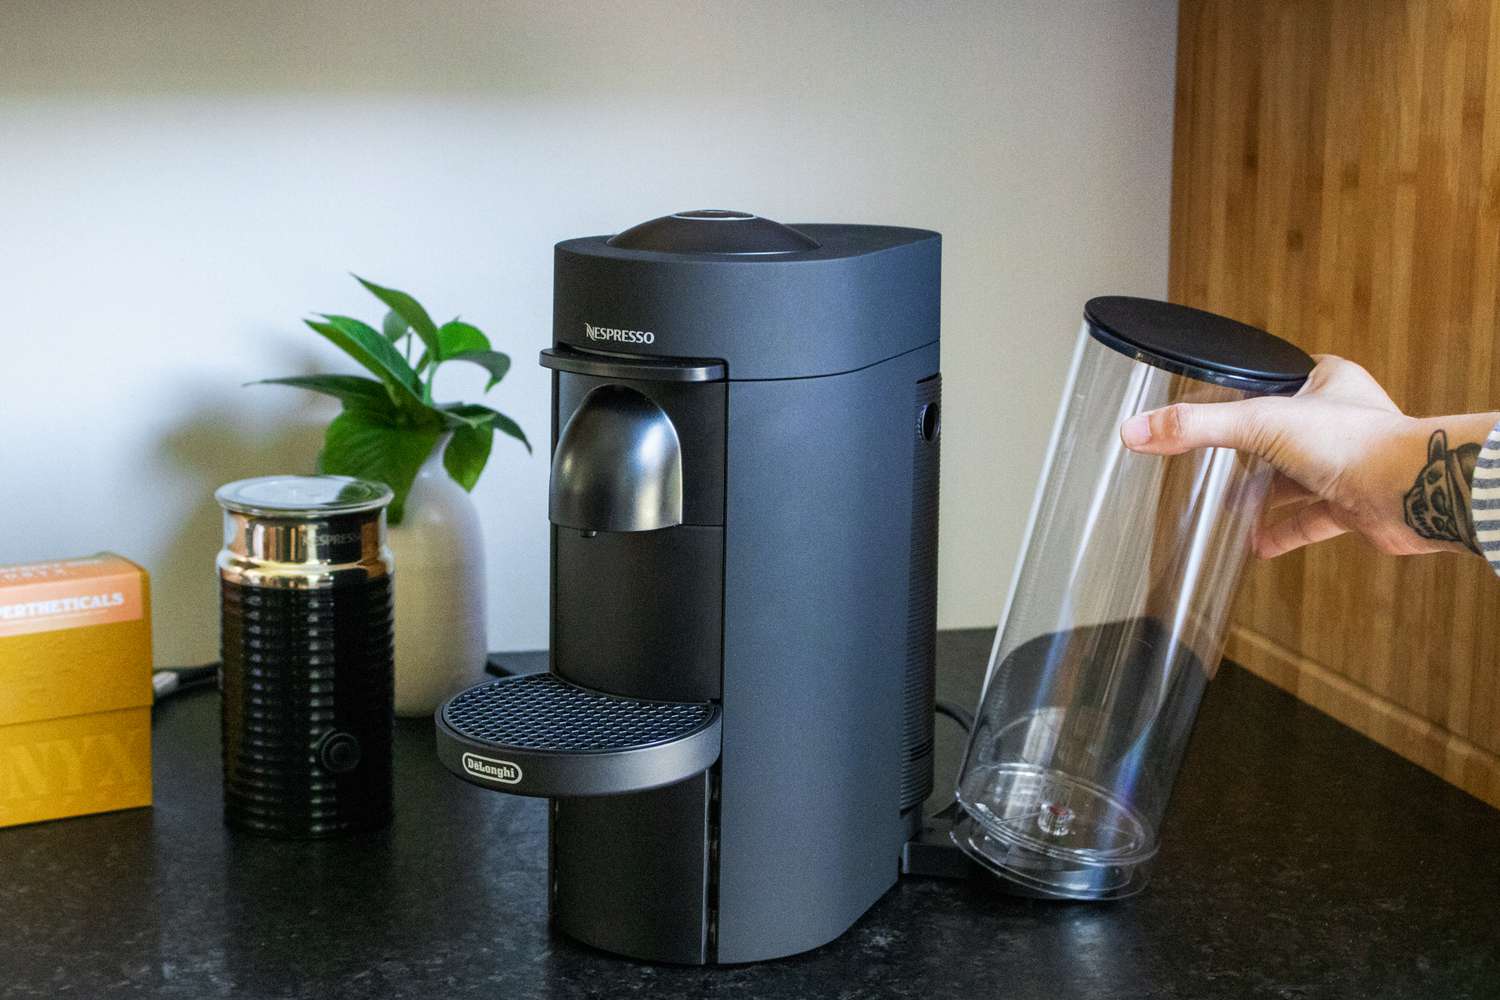
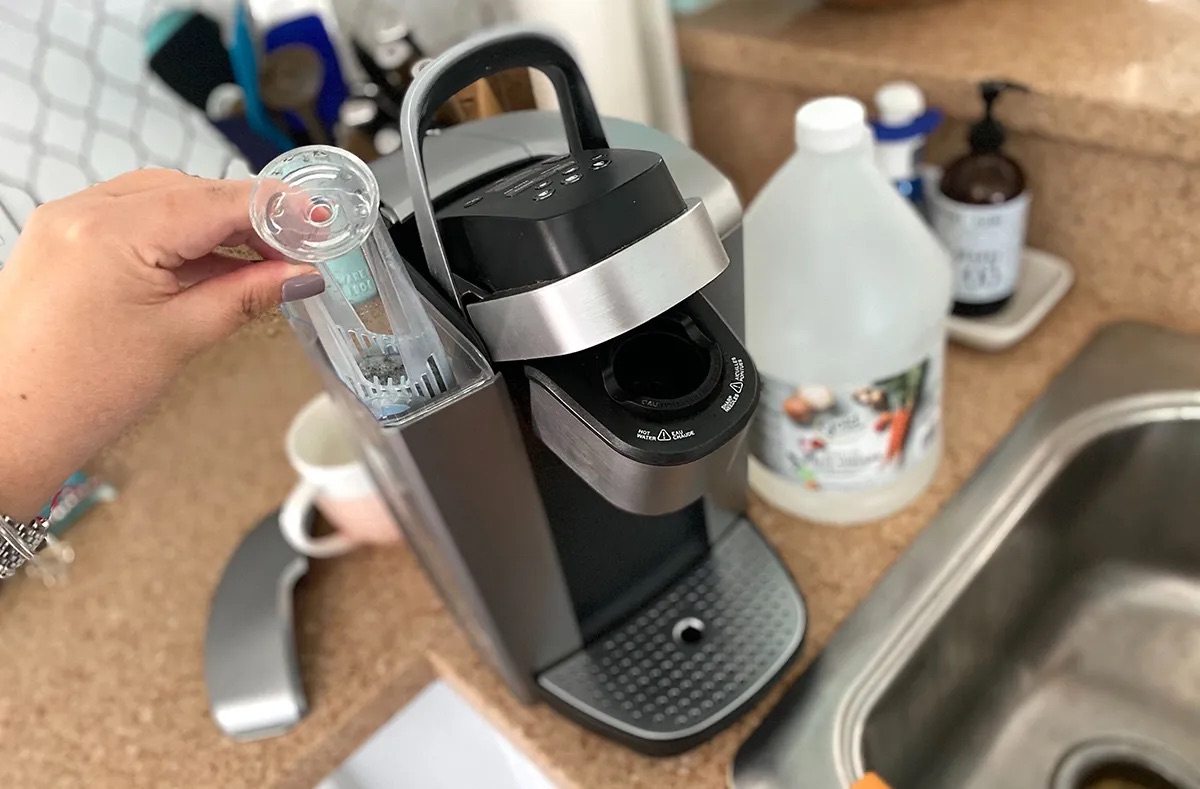
- Empty and Clean the Water Tank: Start by emptying and cleaning the water tank of your Nespresso machine. Rinse it thoroughly to remove any residue or leftover coffee grounds.
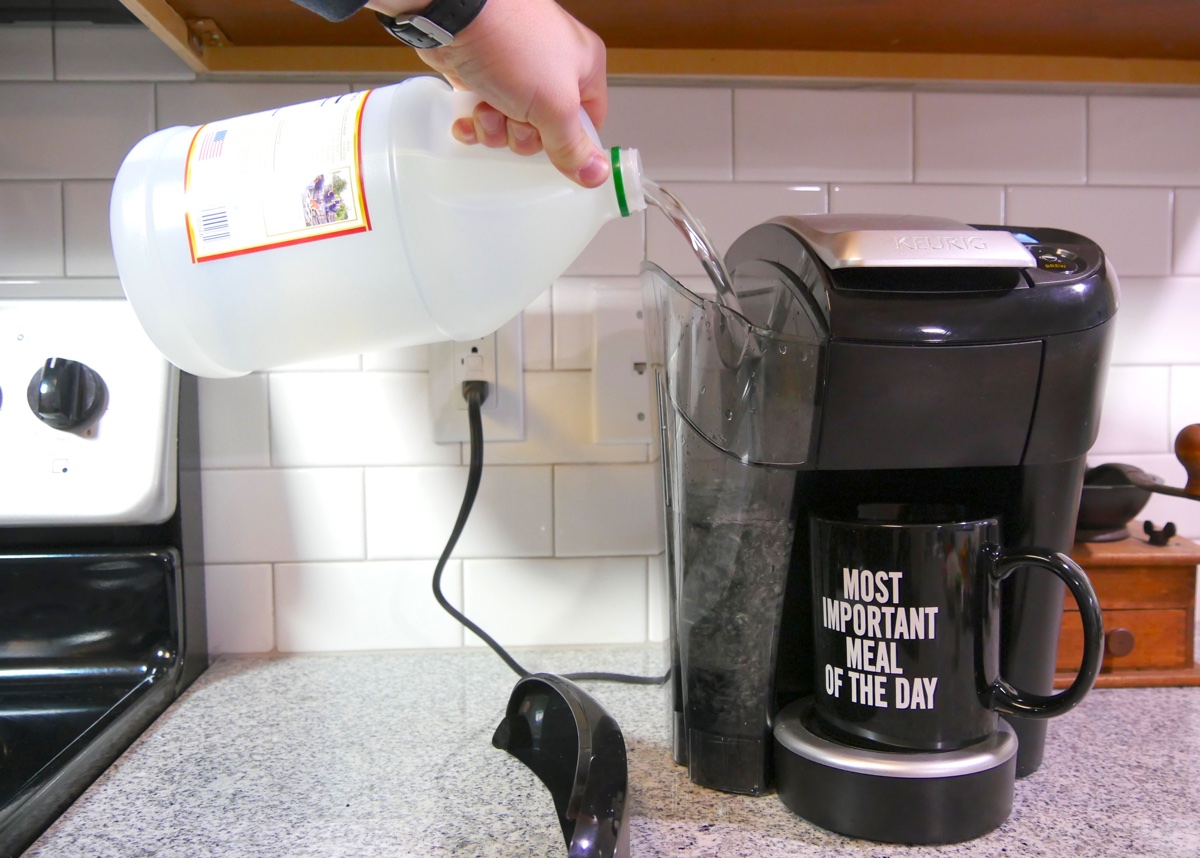
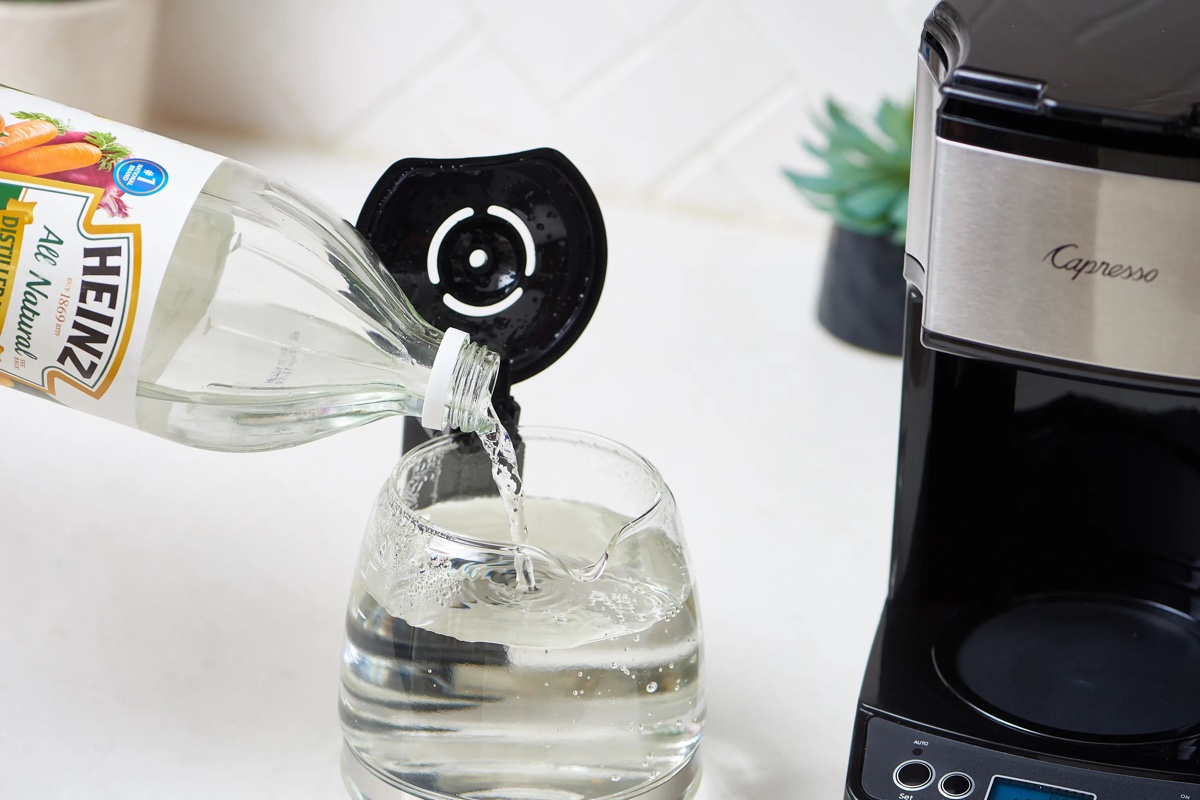
- Prepare the Descale Solution: Most Nespresso machines come with their own descaling solution, which is specifically formulated to remove limescale effectively. If you don’t have a Nespresso descaling solution, you can use a mixture of equal parts water and white vinegar as a DIY alternative. Prepare the solution according to the instructions provided.
- Empty and Clean the Drip Tray: Remove the drip tray and clean it with warm water and mild soap. This will prevent any buildup of coffee residue or limescale from affecting the descaling process.
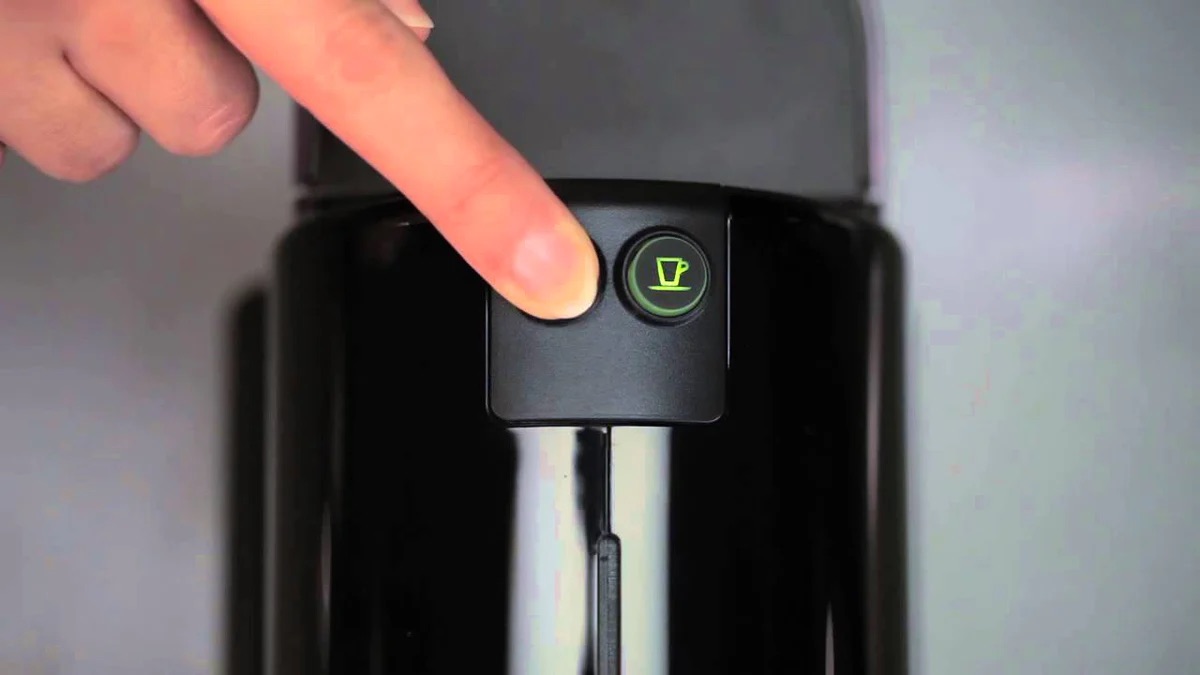
- Begin the Descaling Process: Place a container underneath the coffee outlet to catch the descaling solution. Switch on your Nespresso machine and enter descaling mode (refer to the manufacturer’s instructions). Start the descaling process and allow the solution to run through the machine. This will help remove limescale from the internal components, pipes, and heating element.
- Rinse and Clean: Once the descaling process is complete, rinse the water tank thoroughly to remove any traces of the descaling solution. Fill the water tank with fresh water and run the machine without any coffee pods to flush out any remaining solution.
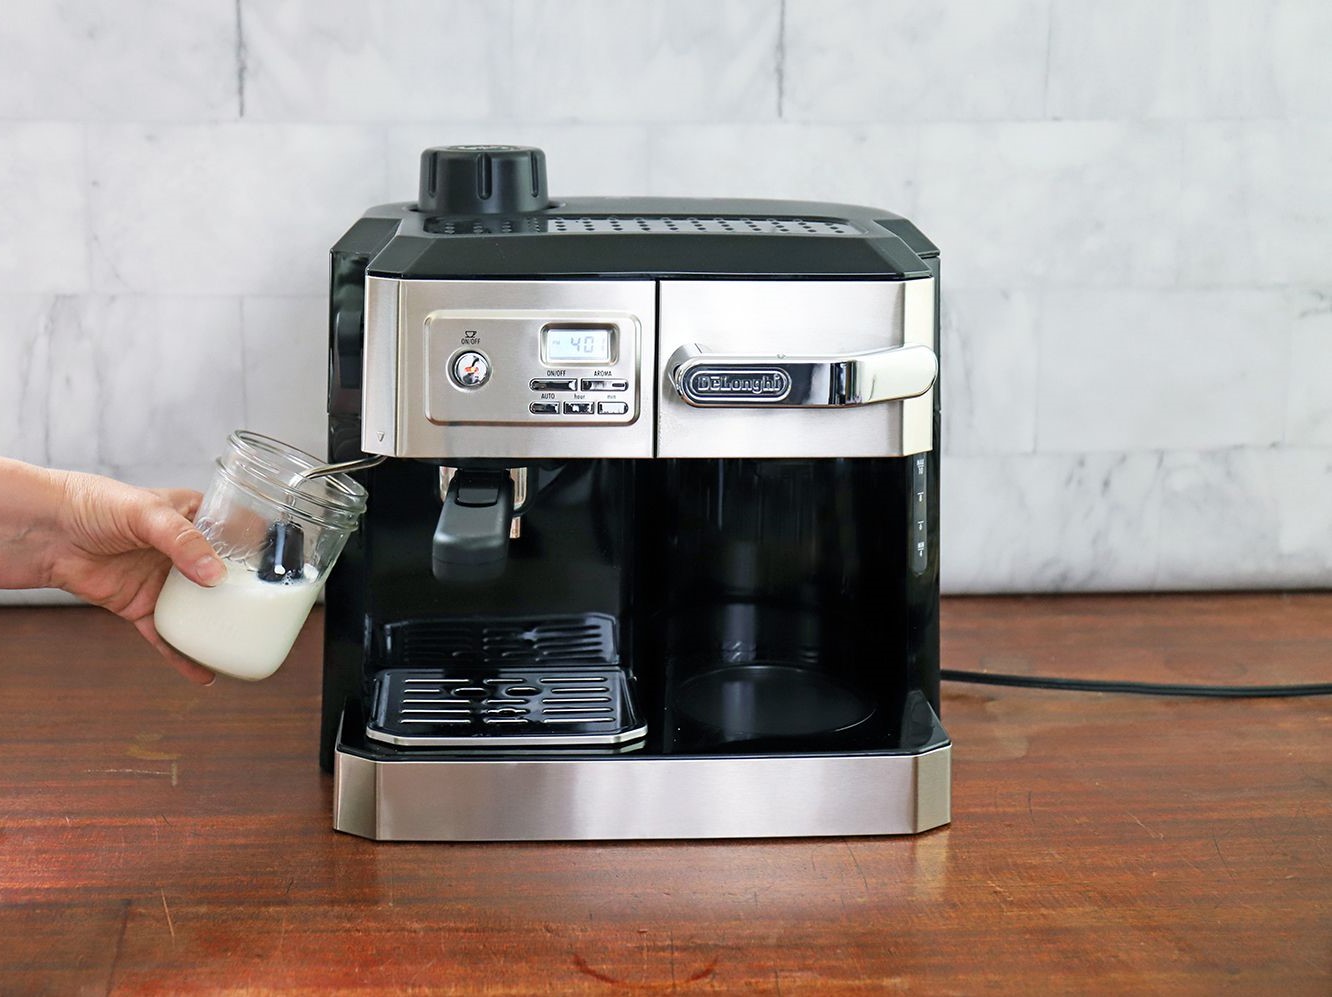
- Clean Exterior Surfaces: Use a damp cloth to clean the exterior surfaces of your Nespresso machine, including the housing, buttons, and display panel. This will help remove any dirt or stains that may have accumulated during the descaling process.
- Reassemble and Enjoy: After cleaning and drying all the components, reassemble your Nespresso machine. Your machine is now ready to brew delicious cups of coffee once again.
Regular descaling is key to maintaining the performance and longevity of your Nespresso coffee machine. By following these steps, you can effectively remove limescale and ensure that your machine consistently delivers the perfect cup of coffee.
Now that you know how to descale your Nespresso machine, let’s move on to the next step – preparing the descale solution.
Preparing the Descale Solution
Before you begin the descaling process for your Nespresso coffee machine, you will need to prepare the descale solution. The descale solution is a vital component that helps remove limescale and mineral buildup from the internal components of your machine.
If you have a Nespresso descaling kit, it usually includes a descaling solution specifically formulated for Nespresso machines. Follow the instructions provided in the kit to prepare the solution. If you don’t have a Nespresso descaling kit, you can create a homemade descale solution using equal parts water and white vinegar.
Here are the steps to prepare the descale solution:
- Gather the Ingredients: For a DIY descale solution, you will need water and white vinegar in equal parts. Make sure you have enough of each ingredient depending on the size of your Nespresso machine.
- Mix the Solution: In a clean container, mix equal parts of water and white vinegar. For example, if you’re using 500ml of water, mix it with 500ml of white vinegar. Stir the solution well to ensure that the two ingredients are thoroughly combined.
- Alternative Descaling Products: If you prefer not to use vinegar, there are also commercial descaling products available on the market that are compatible with Nespresso machines. These products are specifically formulated to effectively remove limescale and mineral deposits. Follow the instructions provided with the product for preparing the descale solution.
- Check the Machine’s Instructions: Refer to the manufacturer’s instructions or the user manual for your specific Nespresso machine to see if they have any specific guidelines or recommendations for preparing the descale solution. Some machines may have a specific descaling mode or may require a different method of preparing the solution.
Once the descale solution is prepared, you are ready to proceed with the descaling process. It is important to follow the manufacturer’s guidelines and instructions for your Nespresso machine, as they may have specific recommendations for the descaling process.
Now that you are ready with the descale solution, let’s move on to the next step and delve into the details of the descaling process for your Nespresso coffee machine.
Run a descaling solution through your Nespresso machine according to the manufacturer’s instructions. Then, run a cycle of clean water to rinse out any remaining solution.
Read more: How Do You Use A Nespresso Coffee Machine
Descaling Process
Now that you have prepared the descale solution, it’s time to start the descaling process for your Nespresso coffee machine. Follow these step-by-step instructions to effectively remove limescale and mineral buildup from your machine:
- Empty and Clean: Start by emptying and cleaning the water tank of your Nespresso machine. This ensures that you are working with a clean surface for the descaling process. Rinse the water tank thoroughly to remove any residue.
- Place a Container: Position a clean container or cup underneath the coffee outlet to catch the descale solution as it flows through the machine.
- Enter Descaling Mode: Check the user manual or the manufacturer’s instructions for your specific Nespresso machine to determine how to enter descaling mode. Follow the recommended steps to initiate the descaling process.
- Add the Descale Solution: Carefully pour the prepared descale solution into the water tank of your Nespresso machine. Ensure that you follow the recommended amount specified by the manufacturer or the instructions provided in the Nespresso descaling kit.
- Start the Descaling Process: Switch on your Nespresso machine to start the descaling process. The machine will begin pumping the descale solution through the internal components, pipes, and heating element to remove limescale and mineral buildup. Allow the solution to flow completely through the machine.
- Wait for the Process to Complete: Depending on your machine, the descaling process may take a few minutes. During this time, the descale solution will dissolve and remove the limescale. Be patient and let the machine complete the process.
- Empty and Rinse: Once the descaling process is complete, empty the remaining descale solution from the water tank. Rinse the water tank thoroughly with clean water to remove any traces of the descale solution.
- Flush with Fresh Water: Fill the water tank with fresh water and run the machine without any coffee pods. This helps flush out any remaining descale solution from the internal components. Repeat this process a couple of times to ensure that all traces of the descale solution are removed.
- Clean the Drip Tray and Accessories: While the machine is flushing with water, remove and clean the drip tray and other removable accessories. This will prevent any buildup of coffee residue or limescale in those parts.
- Reassemble and Test: Once you have completed the rinsing process and cleaned the accessories, reassemble your Nespresso machine. It is now ready to brew delicious cups of coffee again.
Remember to refer to the user manual or the manufacturer’s instructions specific to your Nespresso machine for any additional or machine-specific steps during the descaling process.
Regular descaling of your Nespresso coffee machine is an important maintenance task that helps maintain performance, preserve taste, and prolong the lifespan of your machine. Now that you’ve successfully completed the descaling process, let’s move on to the next step – rinsing and cleaning.
Rinse and Clean
After completing the descaling process for your Nespresso coffee machine, it’s important to thoroughly rinse and clean the various components to ensure that no residue or descale solution remains. Follow these steps to complete the rinsing and cleaning process:
- Rinse the Water Tank: Empty the water tank and rinse it thoroughly with fresh water. This will remove any traces of the descale solution and prepare the tank for clean water.
- Flush with Fresh Water: Fill the water tank with fresh water and run the machine without any coffee pods. Allow the water to flow through the machine to flush out any remaining descale solution and residue.
- Repeat the Flushing Process: To ensure a thorough rinse, repeat the flushing process a couple of times with fresh water. This will help remove any lingering taste or smell of the descale solution.
- Clean the Drip Tray and Accessories: While the machine is flushing with water, remove the drip tray and other removable accessories. Wash them with warm water and mild soap, ensuring all coffee residue and descale solution are removed. Rinse thoroughly and dry them before reassembling.
- Clean the Exterior: Use a damp cloth to clean the exterior surfaces of your Nespresso machine. Wipe down the housing, buttons, and display panel to remove any dirt or stains that may have accumulated during the descaling process.
- Inspect and Dry: Take a moment to inspect the various components of your Nespresso machine, such as the water tank, drip tray, and coffee outlet. Ensure they are clean and free of any residue. Dry all components thoroughly before reassembling.
- Reassemble and Test: Once all the components are dry, reassemble your Nespresso machine. Make sure everything is properly fitted and aligned. Run a test cycle without any coffee pods to ensure that everything is functioning as expected.
By following these steps to rinse and clean your Nespresso coffee machine after descaling, you will ensure that no residue or descale solution remains, maintaining the cleanliness and efficiency of your machine.
Now that you have completed the rinsing and cleaning process, your Nespresso machine is ready to brew delicious cups of coffee. In the final section of this guide, we’ll summarize the key points discussed and provide some closing thoughts.
Final Thoughts
Congratulations! You have successfully learned how to descale your Nespresso coffee machine. By regularly descaling your machine, you can ensure optimal performance, maintain the taste and flavor of your coffee, and prolong the lifespan of your Nespresso machine.
Remember, descaling is an important maintenance task that should be done every three to six months, depending on the hardness of your water. Following the manufacturer’s instructions and using the recommended descale solution will help keep your machine in top-notch condition.
In addition to descaling, it’s essential to follow other maintenance practices, such as cleaning the machine’s exterior surfaces, regularly emptying and cleaning the drip tray, and using fresh, high-quality ingredients like water and coffee pods. These practices, combined with descaling, will ensure that your Nespresso machine continues to brew perfect cups of coffee for years to come.
If you’re still unsure about the descaling process or have any specific concerns about your Nespresso machine, it’s always a good idea to refer to the user manual or contact Nespresso’s customer support for assistance. They can provide you with further guidance and address any questions or issues you may have.
Now that you’re equipped with the knowledge of how to descale your Nespresso coffee machine, take the time to incorporate this important maintenance task into your routine. Your taste buds and your machine will thank you as you continue to enjoy delicious, barista-quality coffee from the comfort of your own home.
Happy Brewing!
Frequently Asked Questions (FAQs)
Here are some commonly asked questions about descaling Nespresso coffee machines:
- How often should I descale my Nespresso machine?
- Can I use vinegar to descale my Nespresso machine?
- Can I use other descaling products with my Nespresso machine?
- What should I do if my Nespresso machine doesn’t have a descaling mode?
- Can descaling affect the taste of my coffee?
- What should I do if my Nespresso machine still has limescale even after descaling?
It is recommended to descale your Nespresso machine every three to six months, depending on the hardness of your water. If you live in an area with particularly hard water, you may need to descale more frequently.
Yes, you can use a mixture of equal parts water and white vinegar as a DIY descale solution for your Nespresso machine. However, it is best to follow the manufacturer’s recommendations and use a Nespresso descaling kit or a descaling solution recommended for your specific machine.
Yes, there are descaling products available on the market that are specifically formulated for Nespresso machines. These products are designed to effectively remove limescale and mineral deposits. Follow the instructions provided with the product and ensure it is compatible with your Nespresso machine.
If your Nespresso machine does not have a descaling mode, you can still descale it by following the general descaling process outlined in this guide. The key is to ensure that the descale solution passes through the internal components, pipes, and heating element of the machine.
No, descaling should not affect the taste of your coffee. In fact, regular descaling can help maintain the purity of your coffee’s flavor by removing any limescale or mineral buildup that may impact the taste of your brew.
If you find that there is still limescale residue in your Nespresso machine after descaling, you may need to repeat the descaling process or use a stronger descale solution. Consult the manufacturer’s instructions or contact Nespresso’s customer support for further assistance.
If you have any other questions or concerns about descaling your Nespresso coffee machine, it is recommended to consult the user manual, reach out to Nespresso’s customer support, or seek assistance from an authorized Nespresso service center.
We hope this FAQ section has addressed some of your concerns about descaling your Nespresso machine. If you have any additional questions, feel free to reach out for further assistance.
Frequently Asked Questions about How Do I Descale My Nespresso Coffee Machine
Was this page helpful?
At Storables.com, we guarantee accurate and reliable information. Our content, validated by Expert Board Contributors, is crafted following stringent Editorial Policies. We're committed to providing you with well-researched, expert-backed insights for all your informational needs.
0 thoughts on “How Do I Descale My Nespresso Coffee Machine”