Home>Others>Specialized Home Improvement Topics>How To Organize Physical Photos
Specialized Home Improvement Topics
How To Organize Physical Photos
Published: March 2, 2024
Learn effective strategies for organizing physical photos at home with our specialized home improvement tips. Streamline your photo collection today!
(Many of the links in this article redirect to a specific reviewed product. Your purchase of these products through affiliate links helps to generate commission for Storables.com, at no extra cost. Learn more)
Introduction
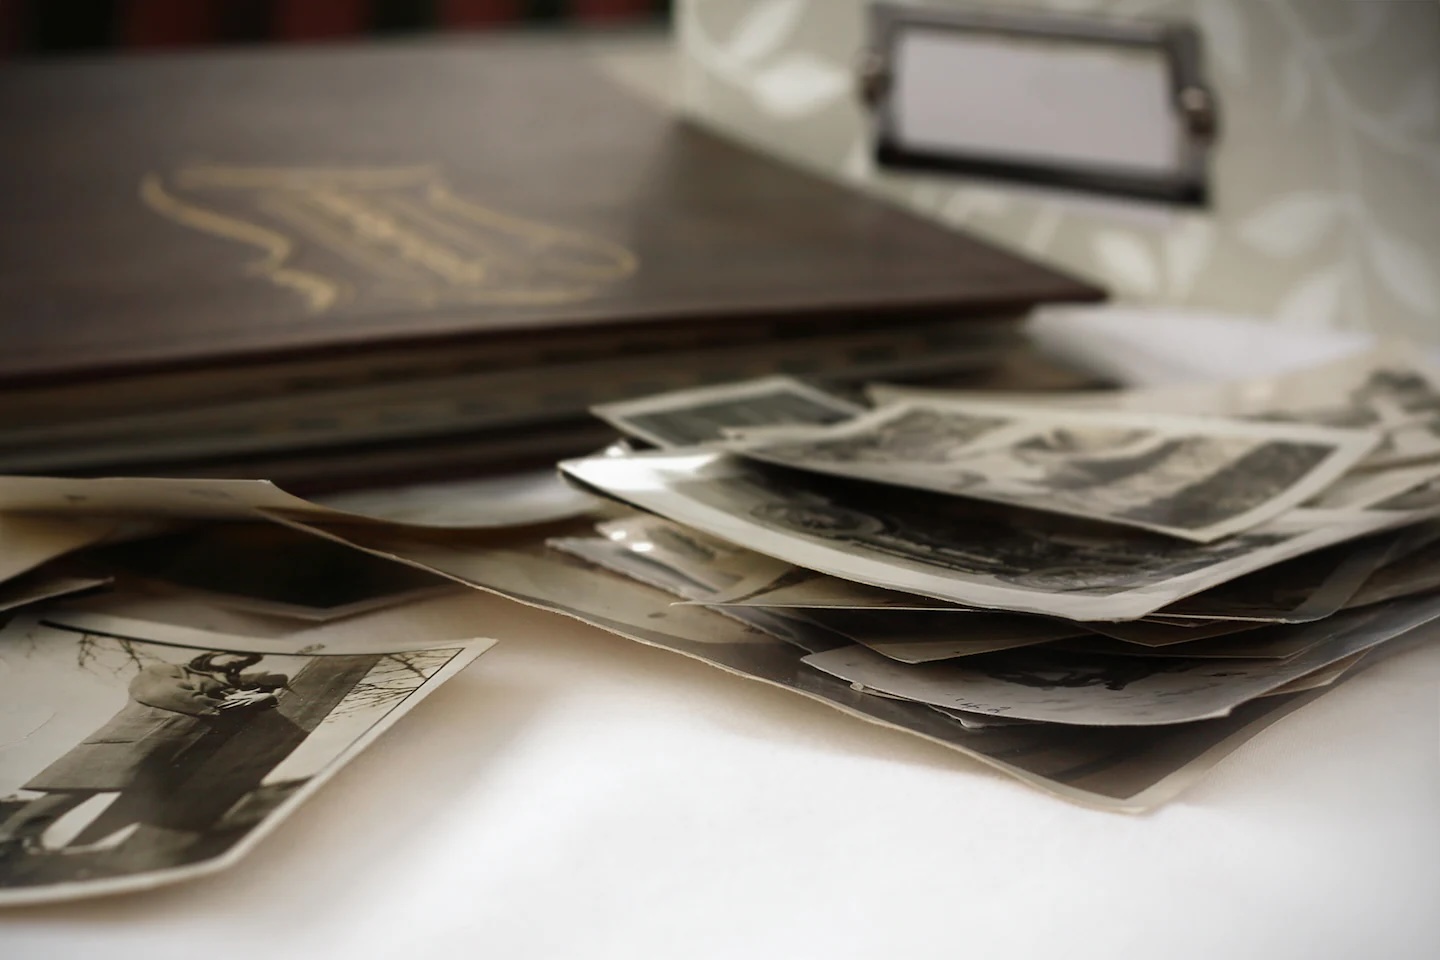
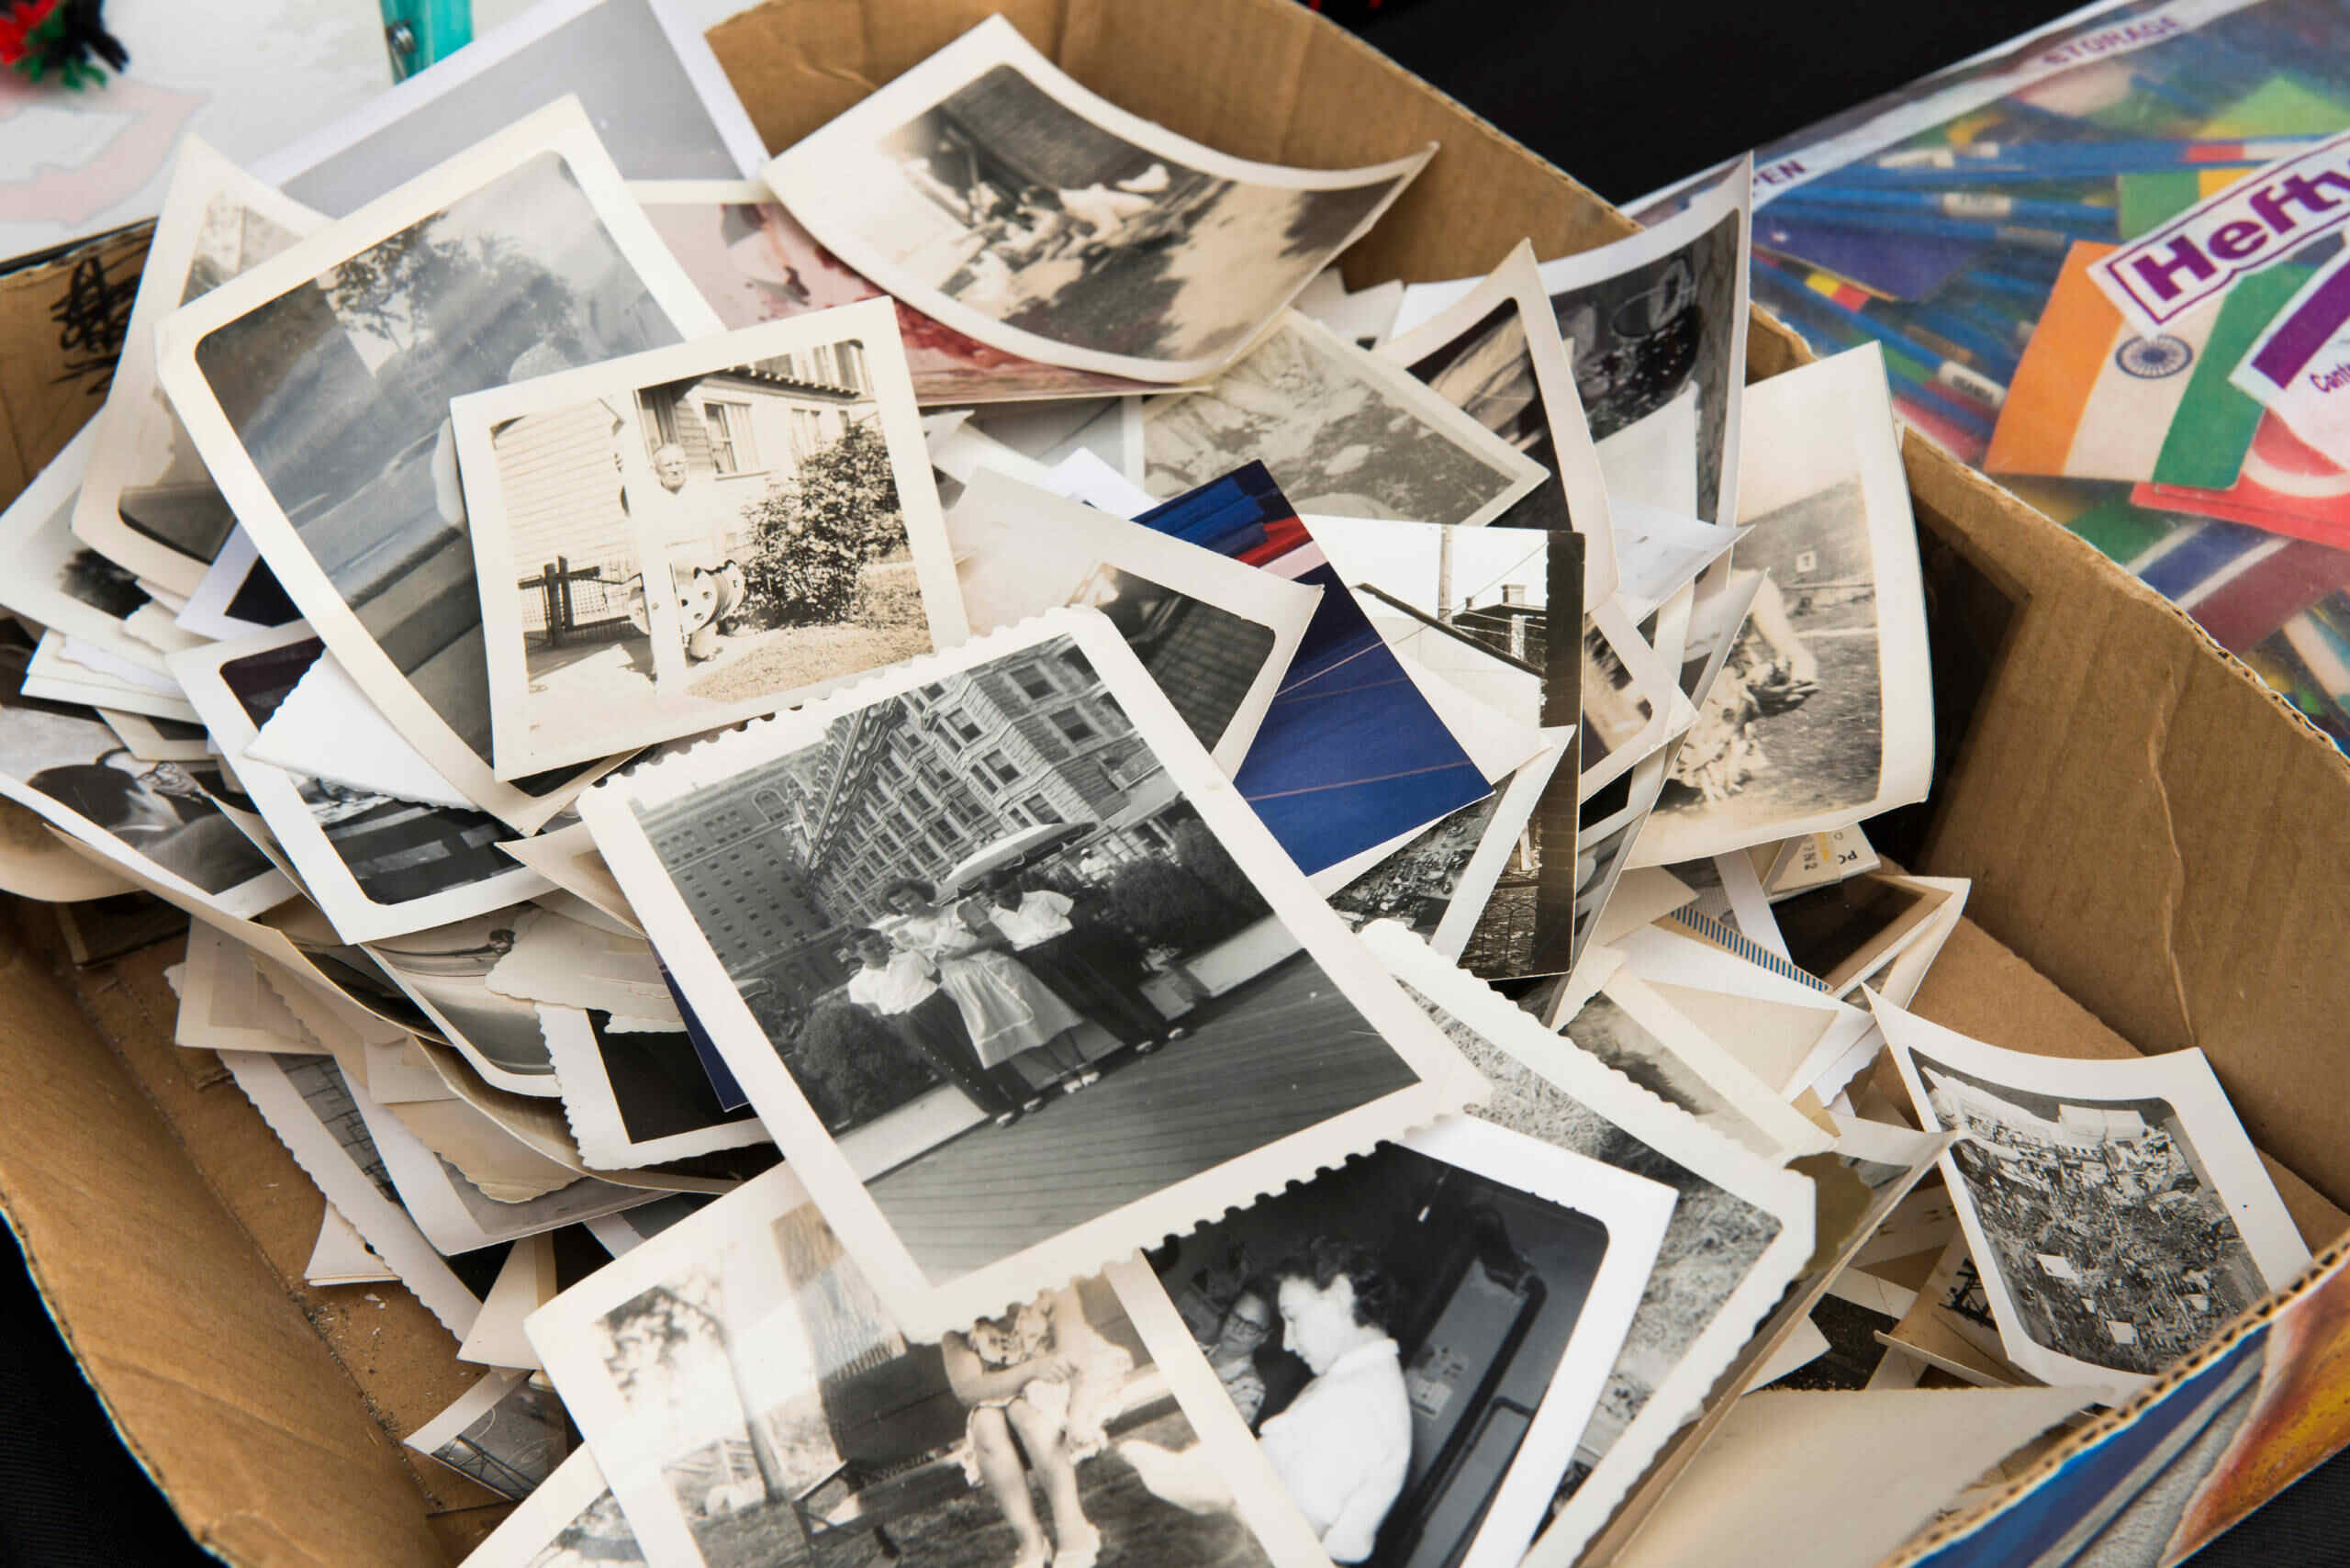
Are you tired of having your physical photos scattered all over the place? Organizing your physical photos can be a daunting task, but with the right approach, it can be a rewarding and enjoyable experience. In this article, we will explore the best methods for organizing your physical photos, from sorting and categorizing to choosing the right storage solutions and even digitizing your photos for safekeeping. By the end of this guide, you'll be equipped with the knowledge and tools to transform your photo chaos into a beautifully organized collection. Let's dive in and bring order to your cherished memories!
Key Takeaways:
- Transform your photo chaos into a beautifully organized collection by sorting, categorizing, and decluttering your physical photos. Enjoy the trip down memory lane while setting up a workspace and using tools to aid categorization.
- Preserve your cherished memories by choosing the right storage solution, labeling and indexing your photos, and digitizing them for safekeeping. Ensure their longevity and accessibility for generations to come.
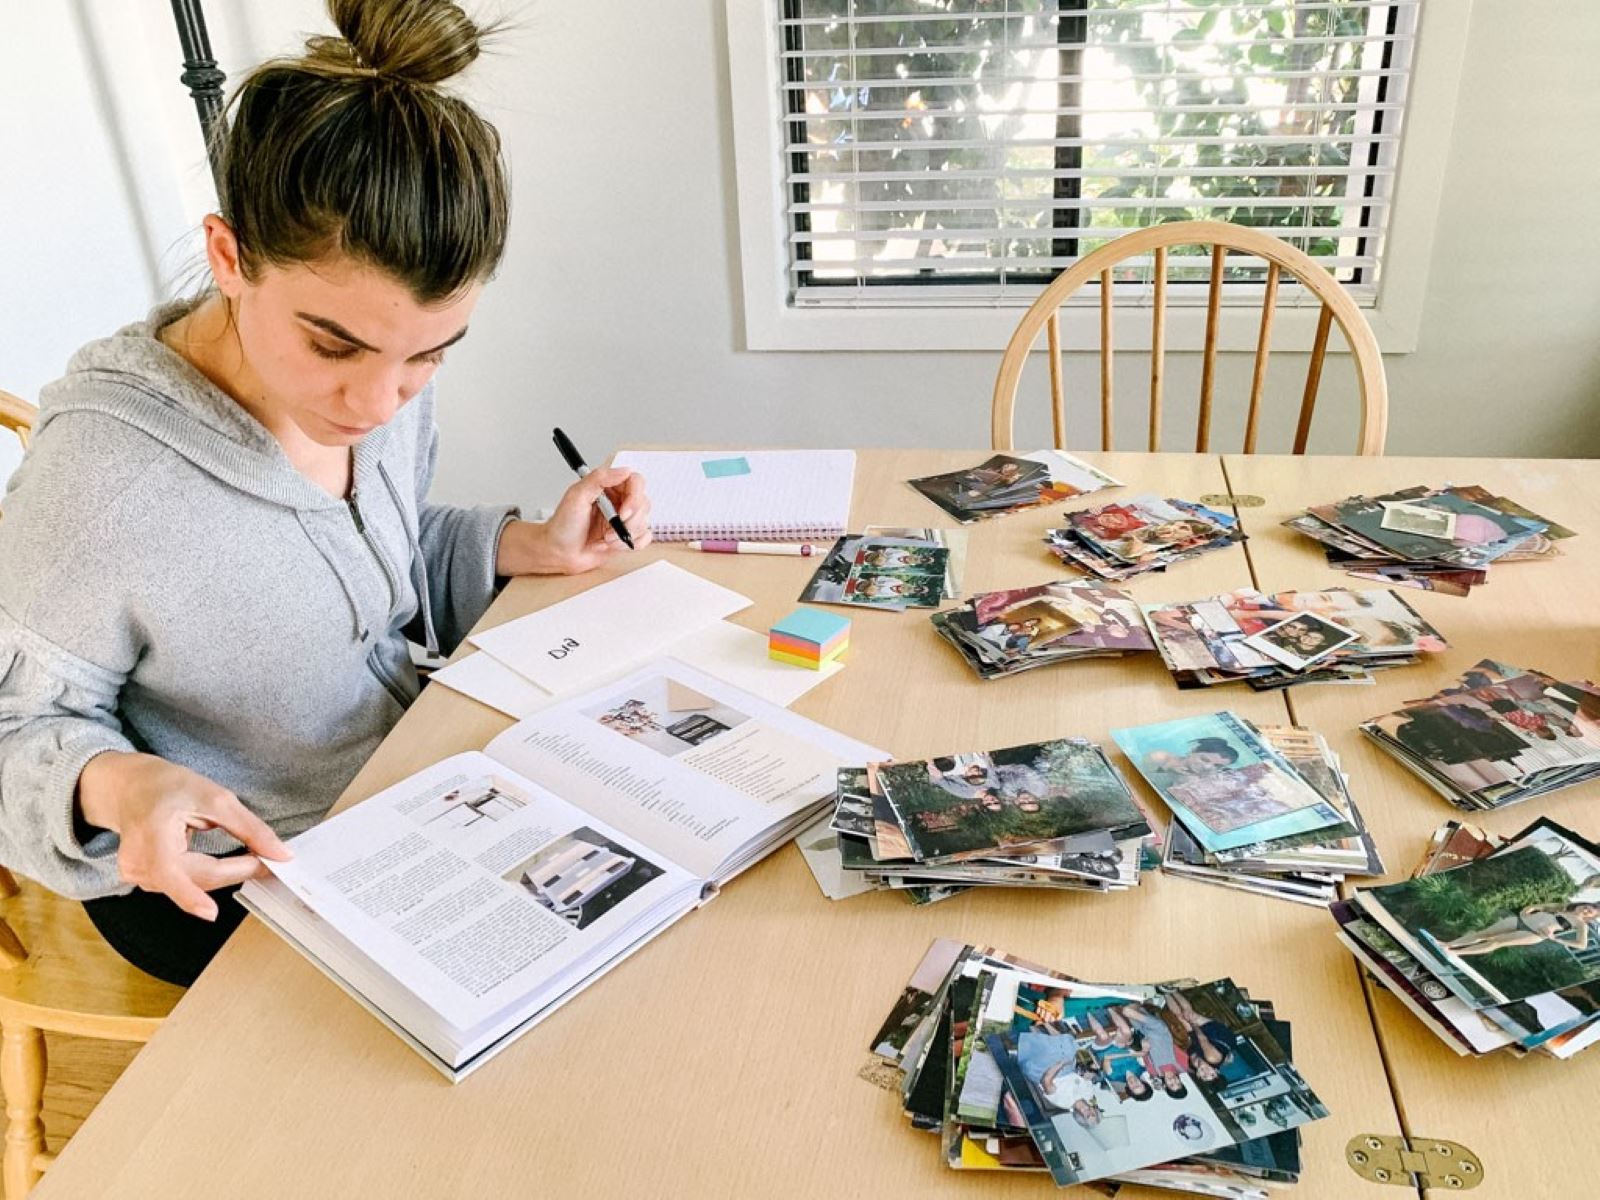
Sorting and Categorizing
When it comes to organizing physical photos, the first step is to sort and categorize them. This process can seem overwhelming, especially if you have a large collection of photos, but breaking it down into manageable steps can make it much more achievable.
1. Set Up a Workspace
Designate a specific area where you can spread out and work comfortably. A large table or clean, flat surface will provide the space you need to lay out your photos and begin the sorting process.
2. Establish Categories
Start by creating broad categories for your photos, such as family events, vacations, holidays, and special occasions. As you go through your collection, you can further divide these categories into subcategories to make the organization more detailed and specific.
3. Sort Methodically
Begin sorting your photos into the categories you've established. Take your time and enjoy the trip down memory lane as you handle each photo. Consider organizing them chronologically or by theme to make the process more systematic.
Read more: How To Display Family Photos Without Clutter
4. Declutter as You Go
As you sort through your photos, take the opportunity to declutter. Discard any duplicate or blurry photos, as well as those that hold no significant meaning. This will help streamline your collection and make the organizing process more efficient.
5. Use Tools to Aid Categorization
Consider using tools such as sticky notes, index cards, or small containers to help keep your sorted photos organized within their categories. Labeling each category will make it easier to keep track of where each photo belongs.
By following these steps, you can effectively sort and categorize your physical photos, setting the stage for the next crucial steps in the organization process.
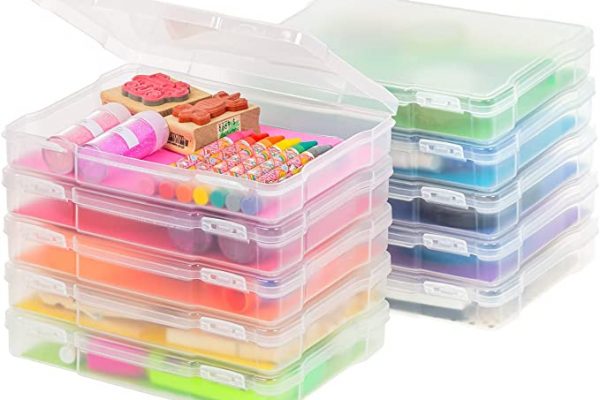
Choosing the Right Storage Solution
Selecting the right storage solution for your organized physical photos is essential to ensure their preservation and easy access. Here are some key considerations to keep in mind when choosing the right storage solution:
-
Archival-Quality Materials: Opt for storage materials that are specifically designed for preserving photos, such as acid-free photo albums, photo boxes, and sleeves. These materials are free from harmful chemicals that can deteriorate your photos over time.
-
Albums and Photo Boxes: Photo albums and boxes are classic storage options that provide protection from light, dust, and handling. Look for albums with PVC-free plastic covers and acid-free pages to safeguard your photos.
-
Sleeves and Protectors: If you prefer to store your photos in a standard box or binder, consider using archival-quality photo sleeves or protectors. These transparent sleeves provide an extra layer of protection against fingerprints, moisture, and tears.
-
Climate-Controlled Environment: Store your photos in a cool, dry, and stable environment to prevent damage from humidity, temperature fluctuations, and sunlight exposure. Avoid attics, basements, and areas prone to moisture.
-
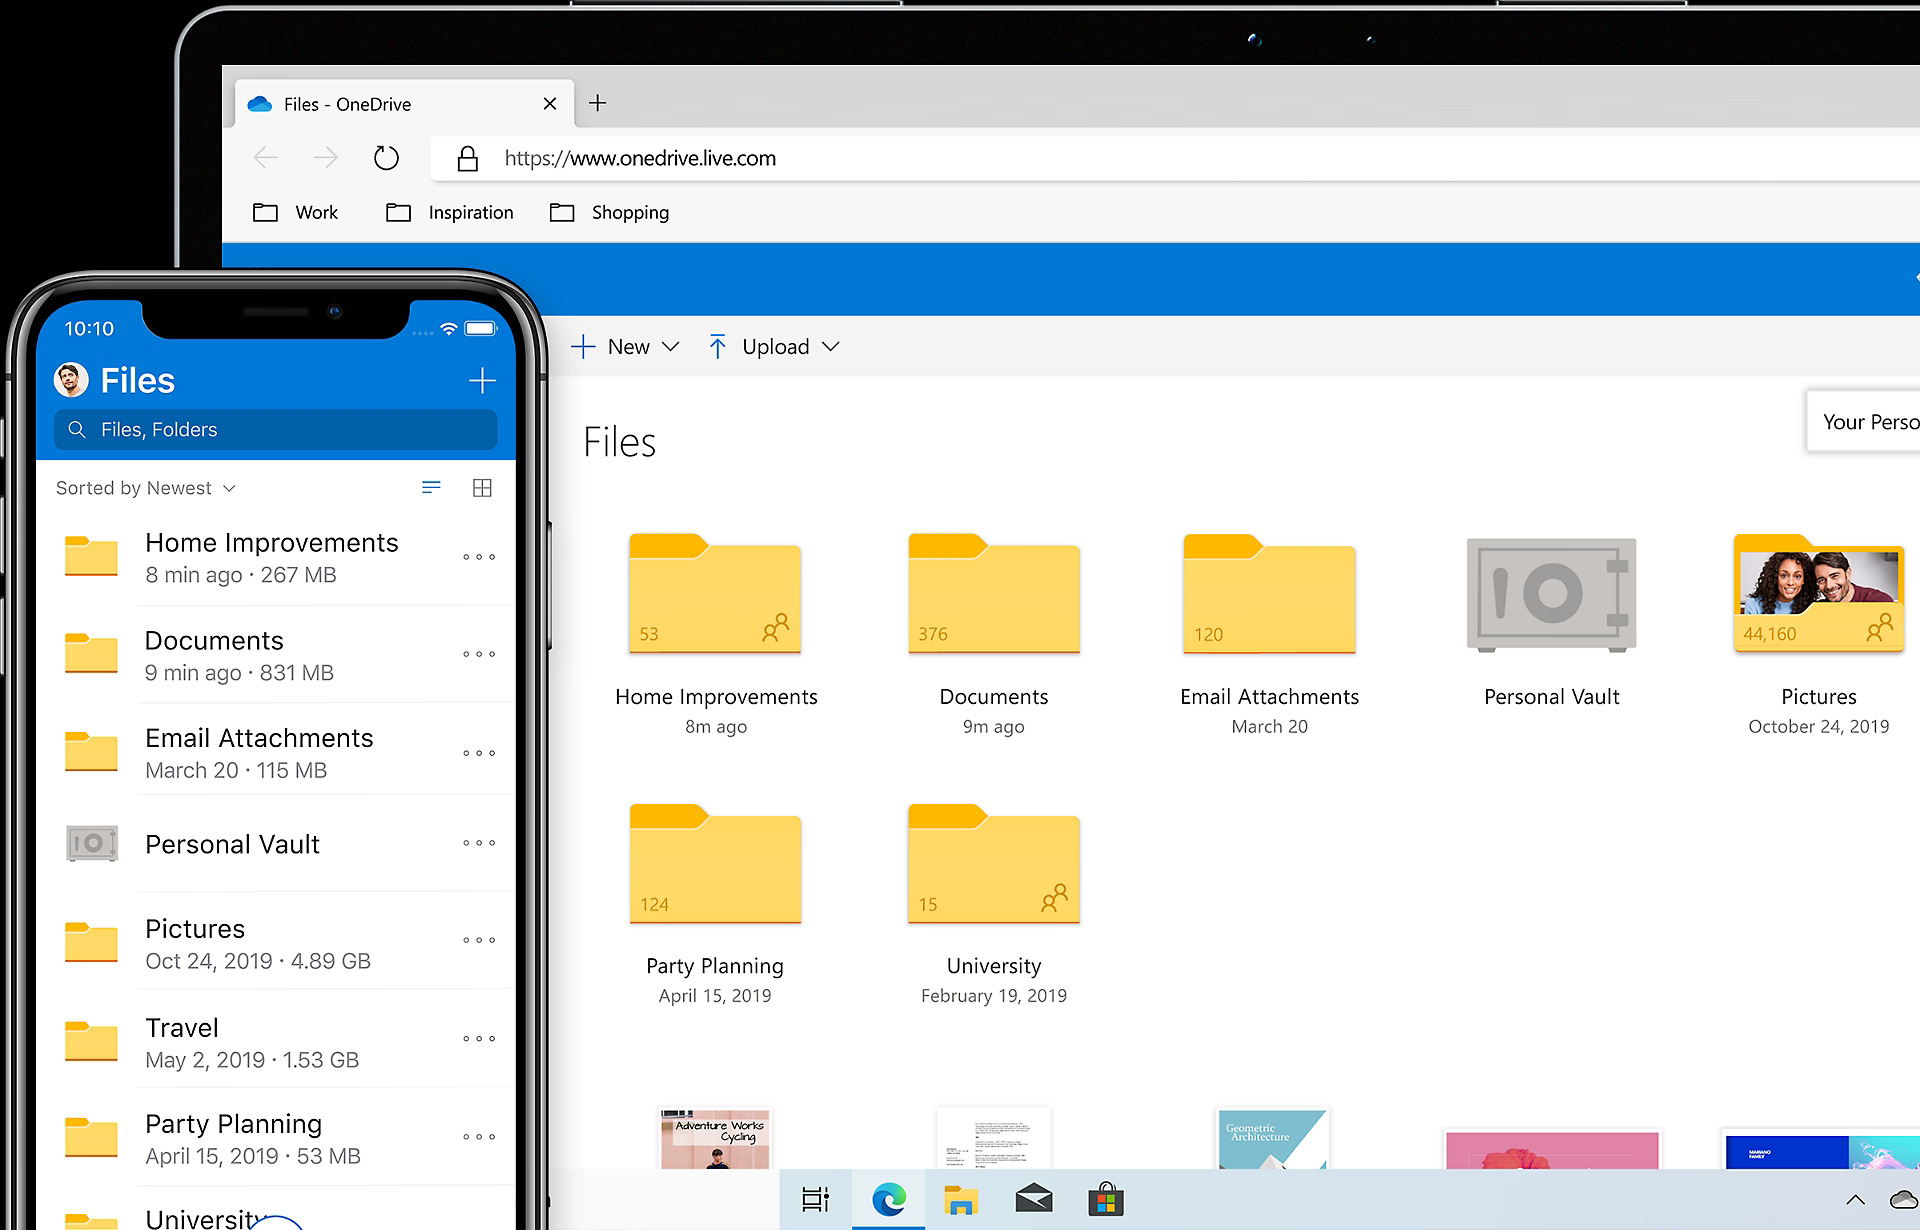
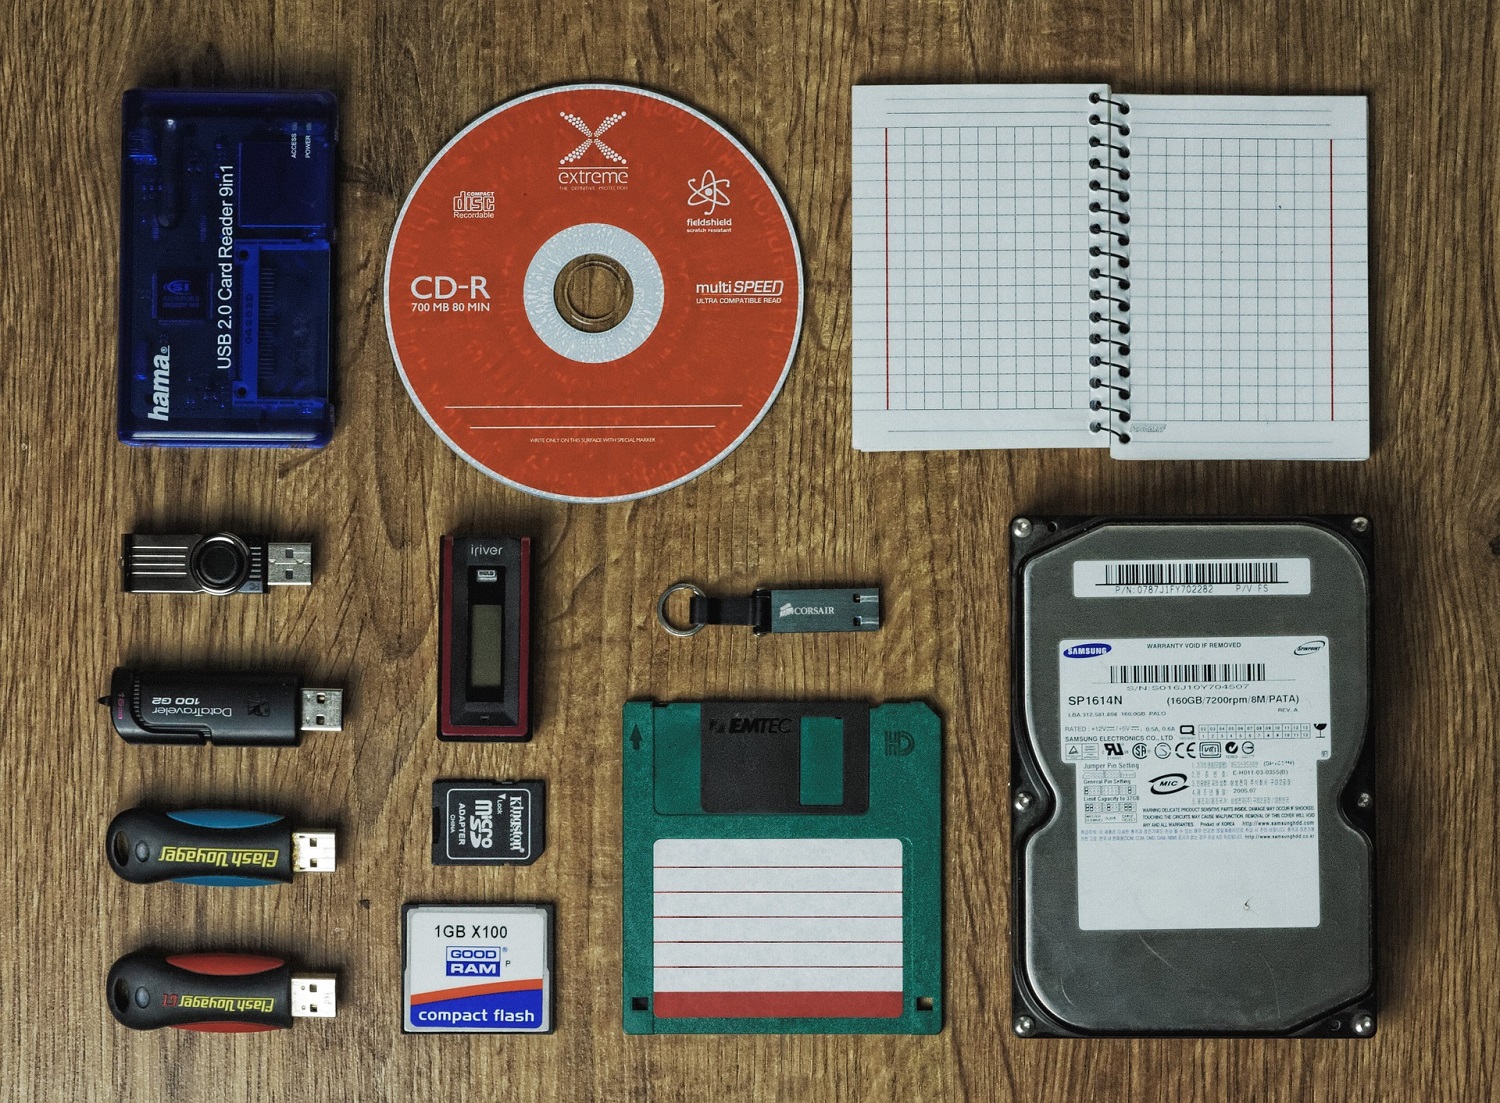
Digital Backup: Consider creating a digital backup of your physical photos as an additional safeguard against loss or damage. Scan your photos and store them on a secure digital platform, such as an external hard drive, cloud storage, or a dedicated photo management software.
-
Labeling and Indexing: Whichever storage solution you choose, ensure that it allows for easy labeling and indexing. Clearly label your albums, boxes, or sleeves with dates, events, or names to facilitate quick retrieval and organization.
By carefully considering these factors, you can select the right storage solution that not only protects your physical photos but also allows you to enjoy and share them for years to come.
Labeling and Indexing
Labeling and indexing your organized physical photos is a crucial step in ensuring that you can easily locate and retrieve specific photos whenever needed. Here are some detailed tips for effective labeling and indexing:
-
Consistent Format: When labeling your photos, maintain a consistent format to ensure uniformity and clarity. Whether you use handwritten labels, printed labels, or adhesive tags, make sure the format is easy to read and understand.
-
Use Descriptive Labels: Provide descriptive labels that convey essential information about each photo, such as the date, location, event, and individuals featured in the photo. This level of detail will make it much easier to identify and categorize your photos.
-
Organize by Chronology or Theme: Consider organizing your labeled photos chronologically or by theme within your storage solution. This approach will allow you to create a logical and intuitive system for indexing and retrieving your photos.
-
Indexing System: If you have a large collection of photos, consider creating an indexing system to catalog and track the contents of your storage. This can be as simple as maintaining a digital or physical index that lists the contents of each album, box, or sleeve.
-
Digital Tagging: If you have digitized your physical photos, take advantage of digital tagging features to add keywords, dates, and other metadata to each photo file. This will enable you to search and filter your digital collection with ease.
-
Conservation of Information: Ensure that the labeling and indexing methods you choose are durable and resistant to fading or smudging. Use archival-quality pens, markers, or labels to preserve the information for the long term.
-
Accessible Location: Store your labeled and indexed photos in an easily accessible location within your home. This will encourage you to revisit and enjoy your organized collection while maintaining the system you've established.
By implementing these labeling and indexing strategies, you can create a well-organized and easily navigable system for your physical photos, allowing you to cherish and share your memories with confidence.
Read also: 11 Best Digital Photo Storage For 2025
Digitizing Your Photos
Digitizing your physical photos is a valuable step in preserving and safeguarding your cherished memories for the future. Here's a comprehensive guide to help you successfully digitize your photos:
-
Choose the Right Scanner: Invest in a high-quality flatbed scanner or a dedicated photo scanner to ensure clear and detailed digital reproductions of your physical photos. Look for a scanner with a high optical resolution to capture fine details and vibrant colors.
-
Prepare Your Photos: Before scanning, gently clean your physical photos with a soft, dry cloth to remove any dust or debris. Organize your photos in chronological or thematic order to streamline the scanning process.
-
Adjust Scanner Settings: Set the scanner to the appropriate resolution and color mode for photo scanning. Opt for a minimum resolution of 300 DPI (dots per inch) to capture sufficient detail, and choose the color mode that best represents the original photo (e.g., color, grayscale, or black and white).
-
Scan in Batches: To expedite the scanning process, group your photos into batches based on similar sizes and orientations. This will allow you to optimize the scanning settings for each batch and maintain a consistent workflow.
-
Save in a Lossless Format: When saving your scanned photos, choose a lossless file format such as TIFF (Tagged Image File Format) to preserve the highest quality and detail. Avoid using compressed formats like JPEG for archival purposes.
-
Organize Digital Files: Create a well-structured folder system on your computer to organize and store your digitized photos. Consider creating subfolders based on dates, events, or individuals to facilitate easy retrieval.
-
Backup Your Digital Collection: Once you have digitized your photos, establish a reliable backup system to protect your digital collection. Consider using external hard drives, cloud storage, or a combination of both for redundancy.
-
Consider Professional Services: If you have a large volume of photos or delicate originals, you may opt for professional photo scanning services. These services utilize specialized equipment and expertise to ensure the highest quality digital reproductions.
-
Share and Enjoy: Once your photos are digitized, take advantage of the digital format to share and enjoy your memories with friends and family. Create slideshows, digital albums, or personalized gifts using your digitized photos.
By following these steps, you can effectively digitize your physical photos, ensuring their longevity and accessibility for generations to come.
Frequently Asked Questions about How To Organize Physical Photos
Was this page helpful?
At Storables.com, we guarantee accurate and reliable information. Our content, validated by Expert Board Contributors, is crafted following stringent Editorial Policies. We're committed to providing you with well-researched, expert-backed insights for all your informational needs.


0 thoughts on “How To Organize Physical Photos”