
Articles
How To Fix A Leaking Washer
Modified: February 27, 2024
Discover effective articles on how to fix a leaking washer and keep your laundry room dry. Simple and practical solutions to tackle washer leaks.
(Many of the links in this article redirect to a specific reviewed product. Your purchase of these products through affiliate links helps to generate commission for Storables.com, at no extra cost. Learn more)
Introduction
A leaking washer can be a major inconvenience, causing water damage to your floors and potentially leading to mold and mildew growth. Fortunately, identifying and resolving the cause of the leak is often a straightforward process that you can tackle on your own. In this article, we will guide you through the steps to fix a leaking washer, saving you time and money on professional repairs.
Before you begin troubleshooting, it’s important to understand that there are several common causes of a leaking washer. These include faulty hoses and connections, a malfunctioning pump, a damaged door seal or gasket, or issues with the tub or drum. By working through a systematic process, you can identify the source of the leak and take the necessary steps to fix it.
Before we dive into the troubleshooting process, you’ll need to gather a few tools and materials to have on hand. These may include a screwdriver, pliers, a flashlight, towels, a bucket, and replacement parts like hoses or seals. Having these items readily available will help facilitate the repair process.
Now that you’re equipped with the necessary tools, let’s move on to the step-by-step guide to fix your leaking washer. Remember to always follow safety precautions such as shutting off the power and water supply before making any repairs. If you’re unsure about any step or feel uncomfortable performing the repairs yourself, it’s best to consult a professional.
Key Takeaways:
- Don’t let a leaking washer dampen your day! By following the step-by-step guide, you can identify and fix common causes of leaks, saving time and money on professional repairs.
- Prioritize safety, gather the right tools, and systematically troubleshoot to fix a leaking washer. Regular maintenance can prevent future leaks and extend your washer’s lifespan.
Read more: How To Fix An AC Leak
Common Causes of a Leaking Washer
A leaking washer can be caused by a variety of factors. Understanding these common causes can help you quickly identify the problem and take the necessary steps to fix it. Here are some of the most frequent culprits of washer leaks:
- Faulty hoses and connections: Over time, the hoses that supply water to your washer can develop cracks or become loose, resulting in leaks. Additionally, the connections between the hoses and the washer or the water supply valves may also experience wear and tear, causing water to escape.
- Malfunctioning pump: The pump in your washer is responsible for draining water during the wash and spin cycles. If the pump becomes clogged or fails to function correctly, it can lead to leaks.
- Damaged door seal or gasket: Front-loading washers feature a rubber seal or gasket around the door that creates a watertight seal. If the seal becomes worn, torn, or damaged, water can leak through the door.
- Issues with the tub or drum: The tub or drum of the washer may develop cracks or corrosion over time, leading to leaks. This can occur due to overloading the washer or using it with excessive force.
- Excessive detergent use: Using too much detergent can cause an overflow of suds in the washer. As a result, the excess suds can lead to leaks.
By understanding these common causes, you can narrow down the source of the leak and proceed with the appropriate troubleshooting steps. In the next section, we will explore the tools and materials you’ll need to fix your leaking washer.
Tools and Materials Needed
Before you begin fixing a leaking washer, it’s essential to gather the necessary tools and materials. Having these items readily available will make the troubleshooting and repair process much smoother. Here are the tools and materials you’ll need:
- Screwdriver: A screwdriver is a versatile tool that will come in handy for disassembling and reassembling various components of your washer.
- Pliers: Pliers will be useful for tightening or loosening hose connections and clamps.
- Flashlight: A flashlight will help you get a better view of hard-to-reach areas inside your washer.
- Towels: Having a stack of towels nearby is essential for soaking up any water that may leak during the troubleshooting process.
- Bucket: A bucket will be useful for catching any water that may spill when disconnecting hoses or checking the pump.
- Replacement parts: Depending on the cause of the leak, you may need to replace certain parts like hoses or seals. Make sure you have the necessary replacement parts on hand before starting the repair process.
Having these tools and materials at your disposal will help ensure that you can work efficiently and effectively to fix the leak in your washer. Now that you’re well-prepared, let’s move on to the step-by-step guide to resolve the issue.
Step 1: Shutting Off the Power and Water Supply
Before you begin troubleshooting and repairing your leaking washer, it’s crucial to ensure your safety by shutting off the power and water supply. Here’s how to do it:
- Unplug the washer: Locate the power cord of your washer and unplug it from the electrical outlet. This step will prevent any potential electrical hazards while you work on the appliance.
- Turn off the water supply: Look for the water shutoff valves located behind your washer or in a utility room nearby. Turn the valves clockwise to shut off the water supply to the washer. If you don’t have individual shutoff valves, you may need to shut off the main water supply to your home.
- Open the washer’s door or lid: Open the door or lid of your washer to release any pressure and allow any water trapped inside to drain out. This step will minimize the risk of water leakage during the repair process.
By shutting off the power and water supply, you eliminate the risk of electric shock and prevent any further water leakage during the repair process. With these precautions in place, you can safely move on to inspecting the hoses and connections, which we will cover in the next step.
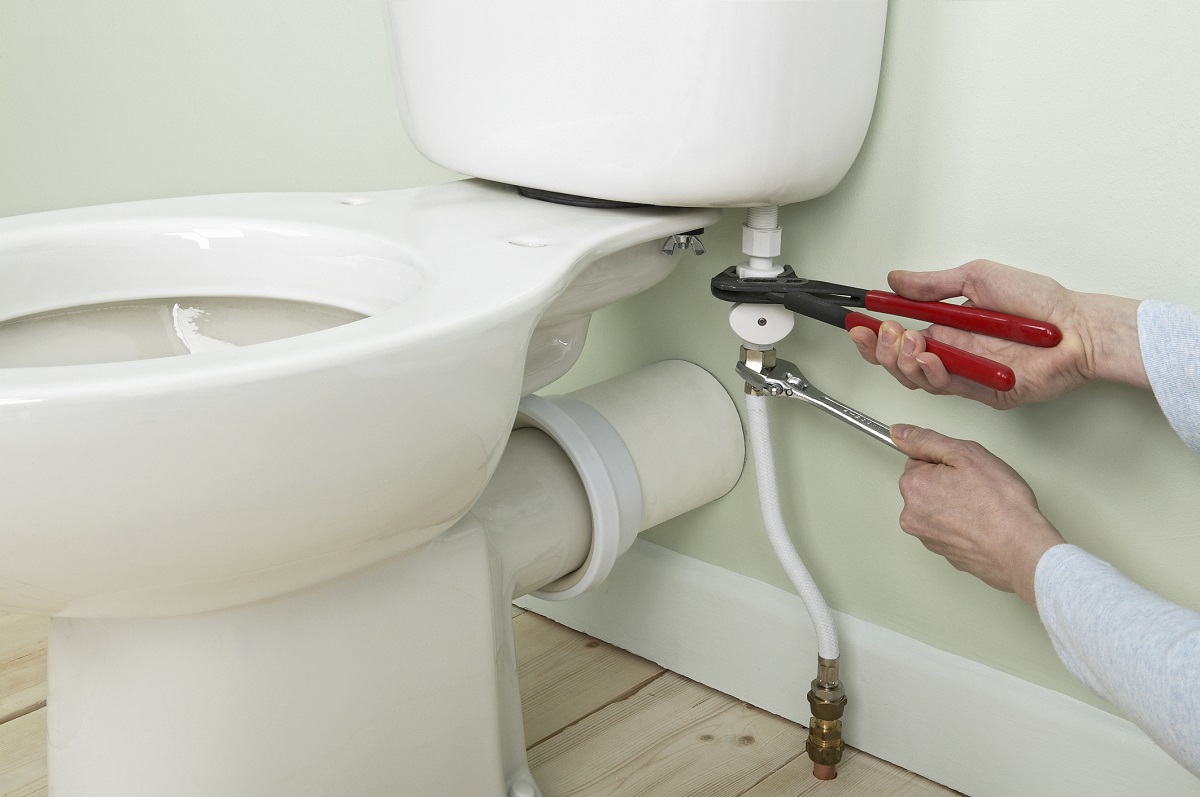
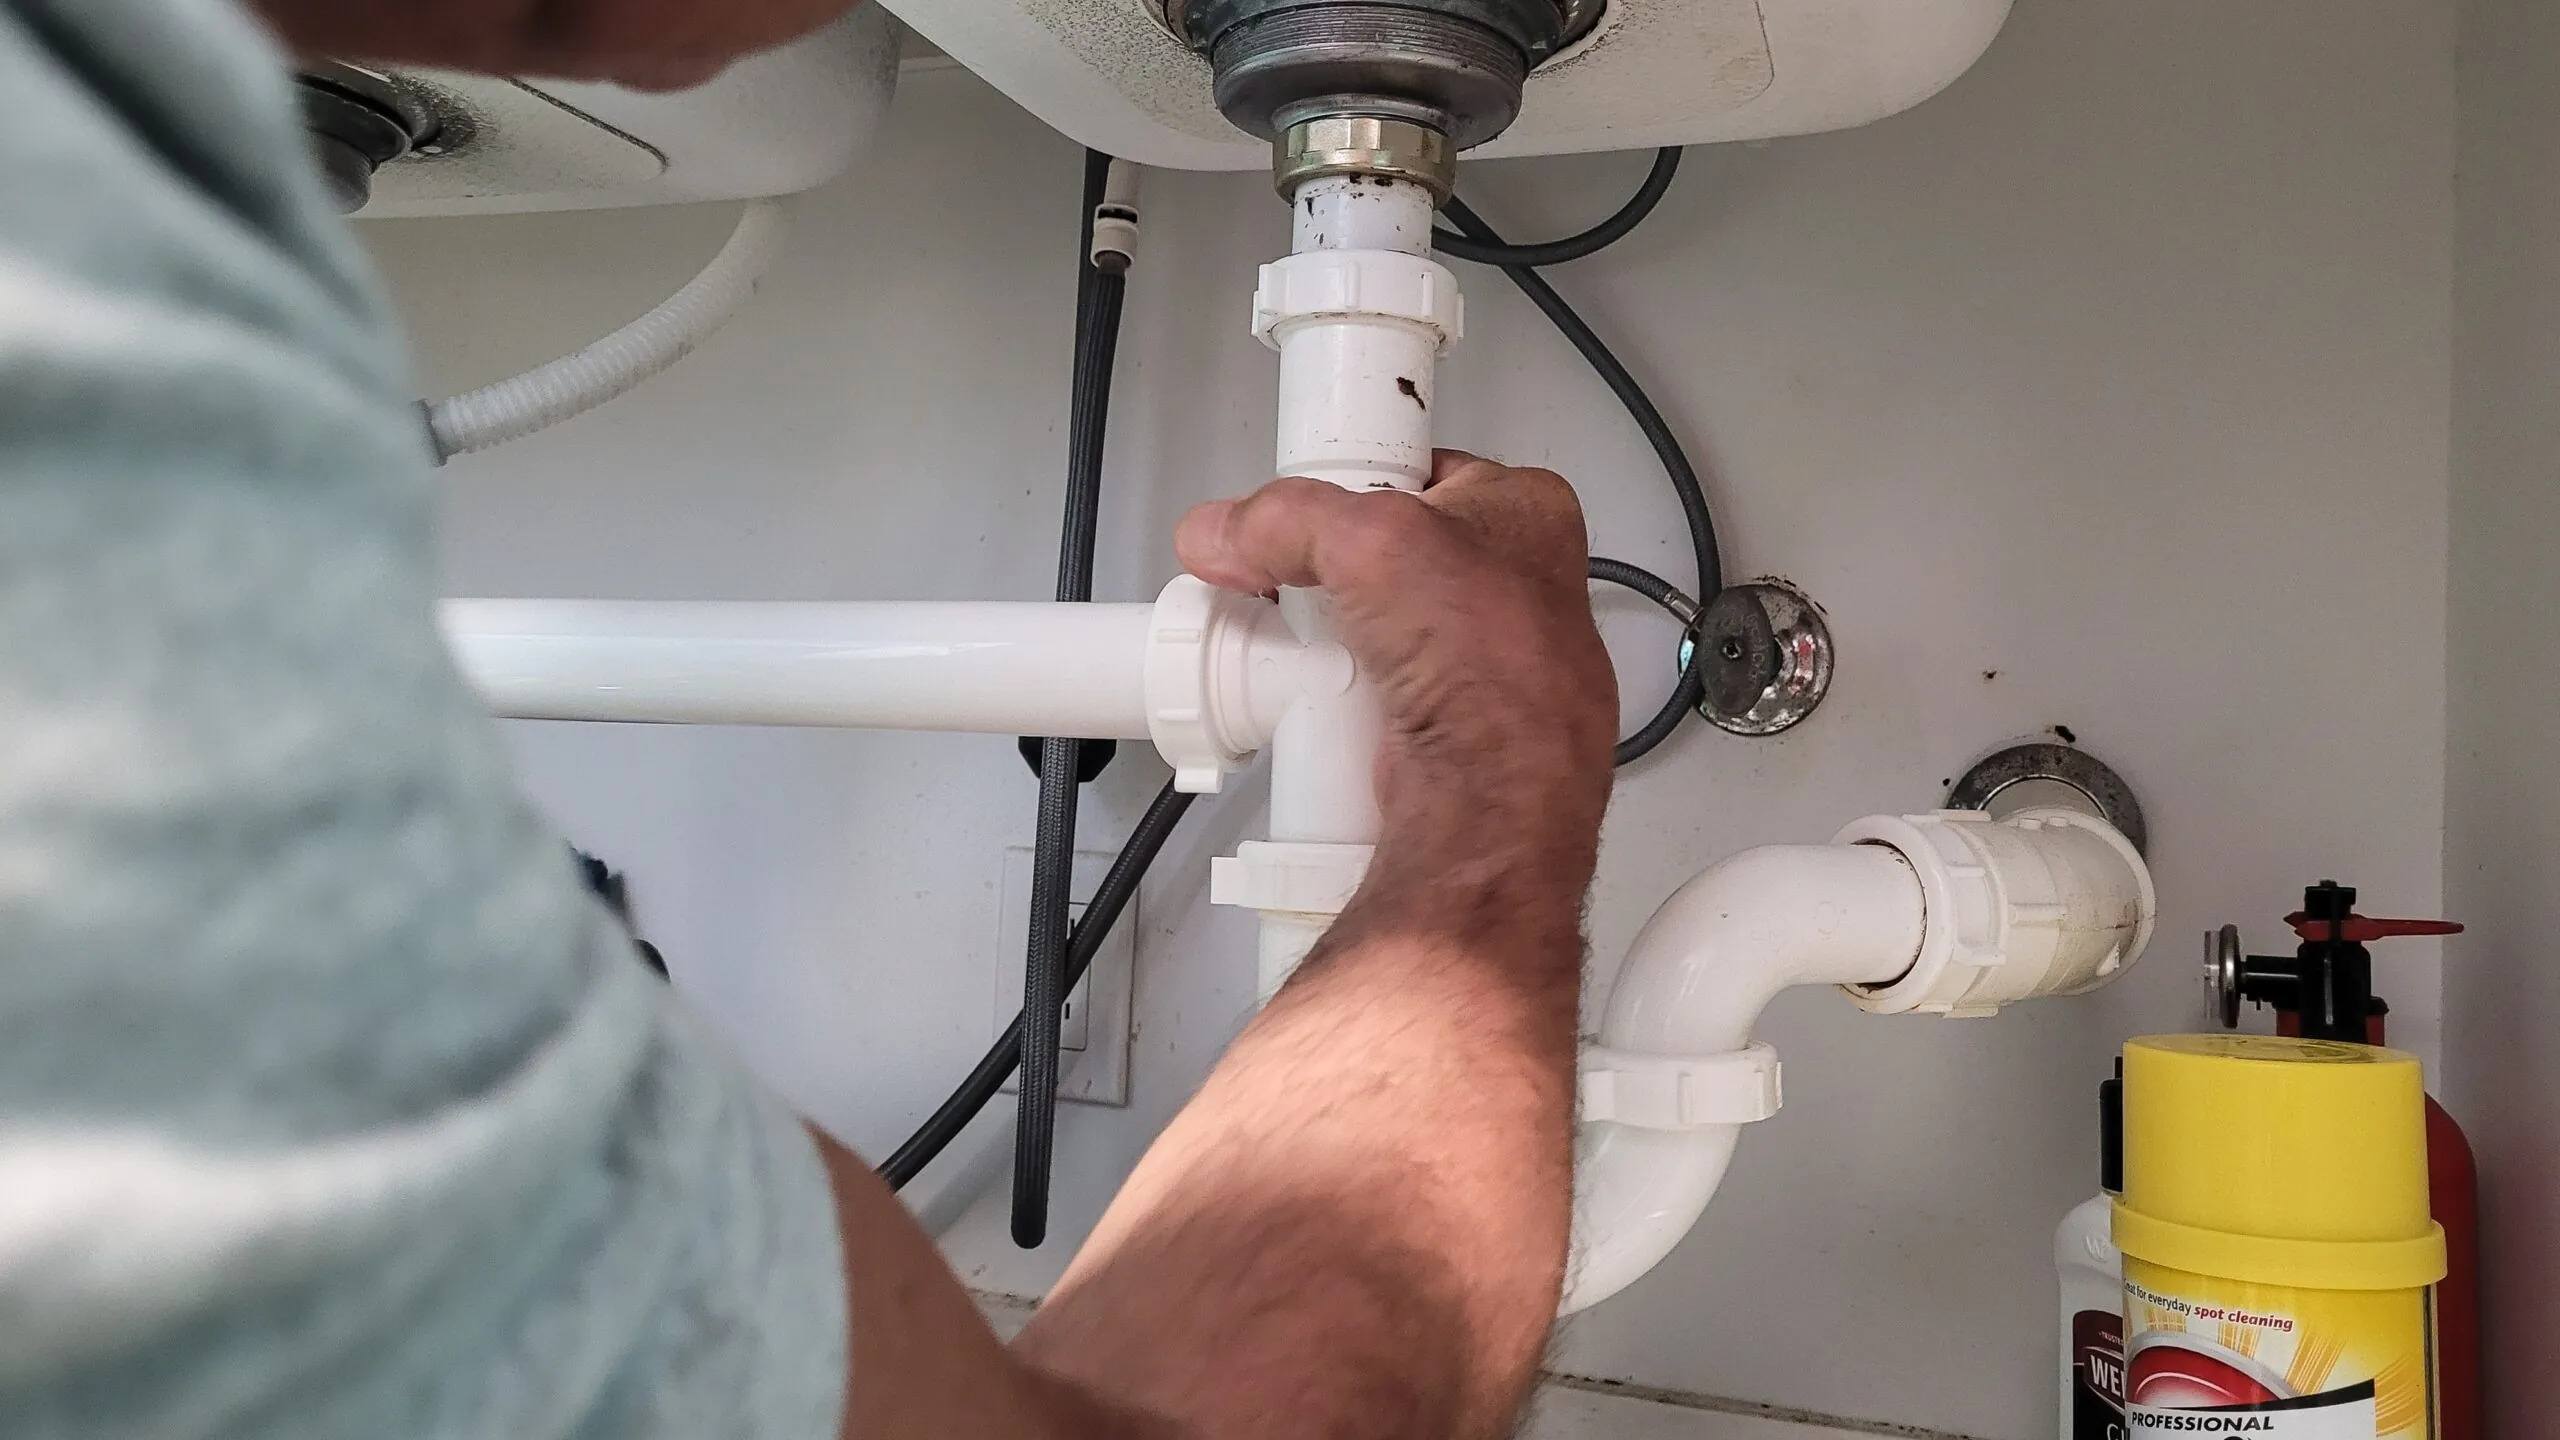
Step 2: Inspecting the Hoses and Connections
Once you’ve shut off the power and water supply to your leaking washer, the next step is to inspect the hoses and connections. Faulty hoses or loose connections are common culprits for washer leaks. Here’s how to inspect them:
- Locate the hoses: Most washers have two hoses – one for hot water and one for cold water. They are usually connected at the back of the machine, near the water inlet valve.
- Visually inspect the hoses: Carefully examine the hoses for any visible signs of damage, such as cracks, bulges, or leaks. Check both the hose itself and the connection points at the washer and water supply valves.
- Tighten the connections: If you notice any loose connections, use pliers to tighten them. Make sure not to overtighten, as this can cause damage to the hose or the connection.
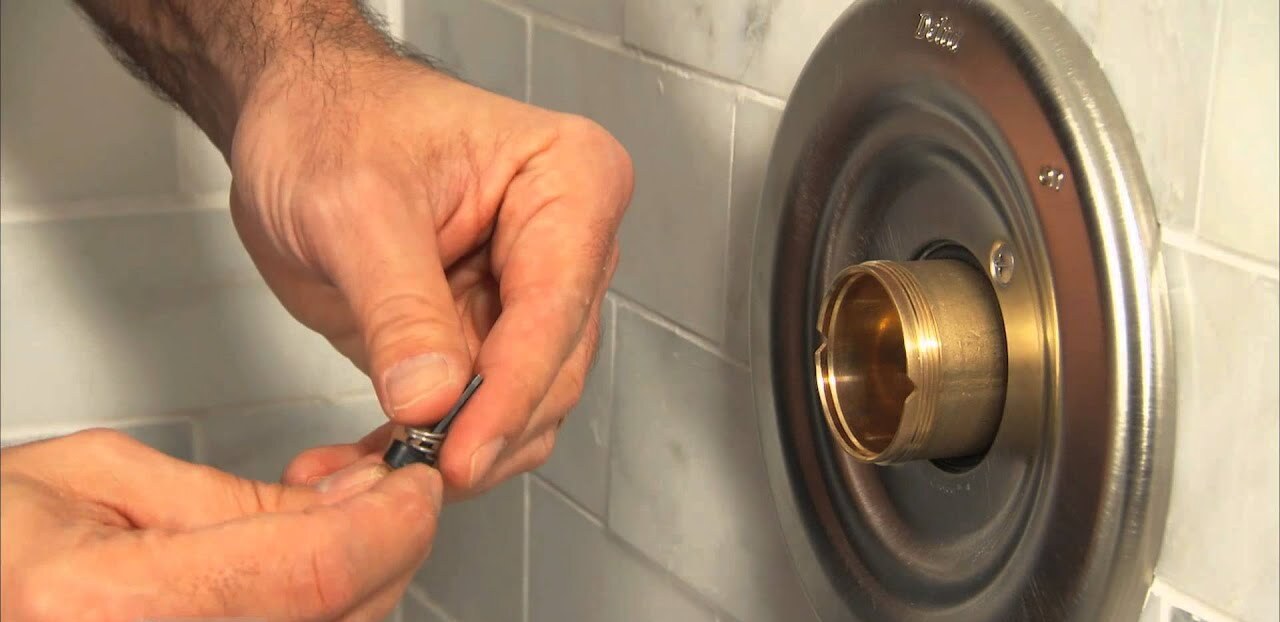
- Check the washers and gaskets: The hoses are typically secured to the washer and water supply valves with rubber washers or gaskets. Inspect these washers or gaskets for signs of wear or deterioration. If necessary, replace them with new ones.
- Examine the inlet valve screens: Some models have screens at the water inlet valve to prevent debris from entering the washer. If these screens are clogged, it can lead to leaks. Clean the screens if needed.
By inspecting the hoses and connections, you can identify any issues that may be causing your washer to leak. If you notice any damaged hoses or connections that cannot be repaired, you may need to replace them with new ones. In the next step, we will explore how to check the pump for any faults or blockages.
Read more: How To Fix Leaking Showerhead
Step 3: Checking the Pump
After inspecting the hoses and connections, the next step in fixing a leaking washer is to check the pump. The pump is responsible for draining water during the wash and spin cycles, and any malfunction can lead to leaks. Here’s how to check the pump:
- Locate the pump: The pump is typically located at the bottom or back of the washer. Refer to your washer’s manual to find the exact location.
- Check for blockages: Inspect the pump for any debris or foreign objects that may be blocking the drain. Remove any obstructions and clean the pump if necessary.
- Inspect the pump for leaks: While examining the pump, look for any signs of water leakage or damage. If you notice any cracks or leaks, it’s likely that the pump needs to be replaced.
- Test the pump: Manually spin the pump impeller to check for smooth movement. If the impeller is difficult to rotate or feels stuck, it may be a sign that the pump motor is faulty and needs to be replaced.
If you find any blockages or damage to the pump, it’s crucial to address the issue promptly. Clearing blockages or replacing a faulty pump can eliminate leaks and restore the proper functioning of your washer. Next, we will move on to examining the door seal or gasket, which is common in front-loading washers.
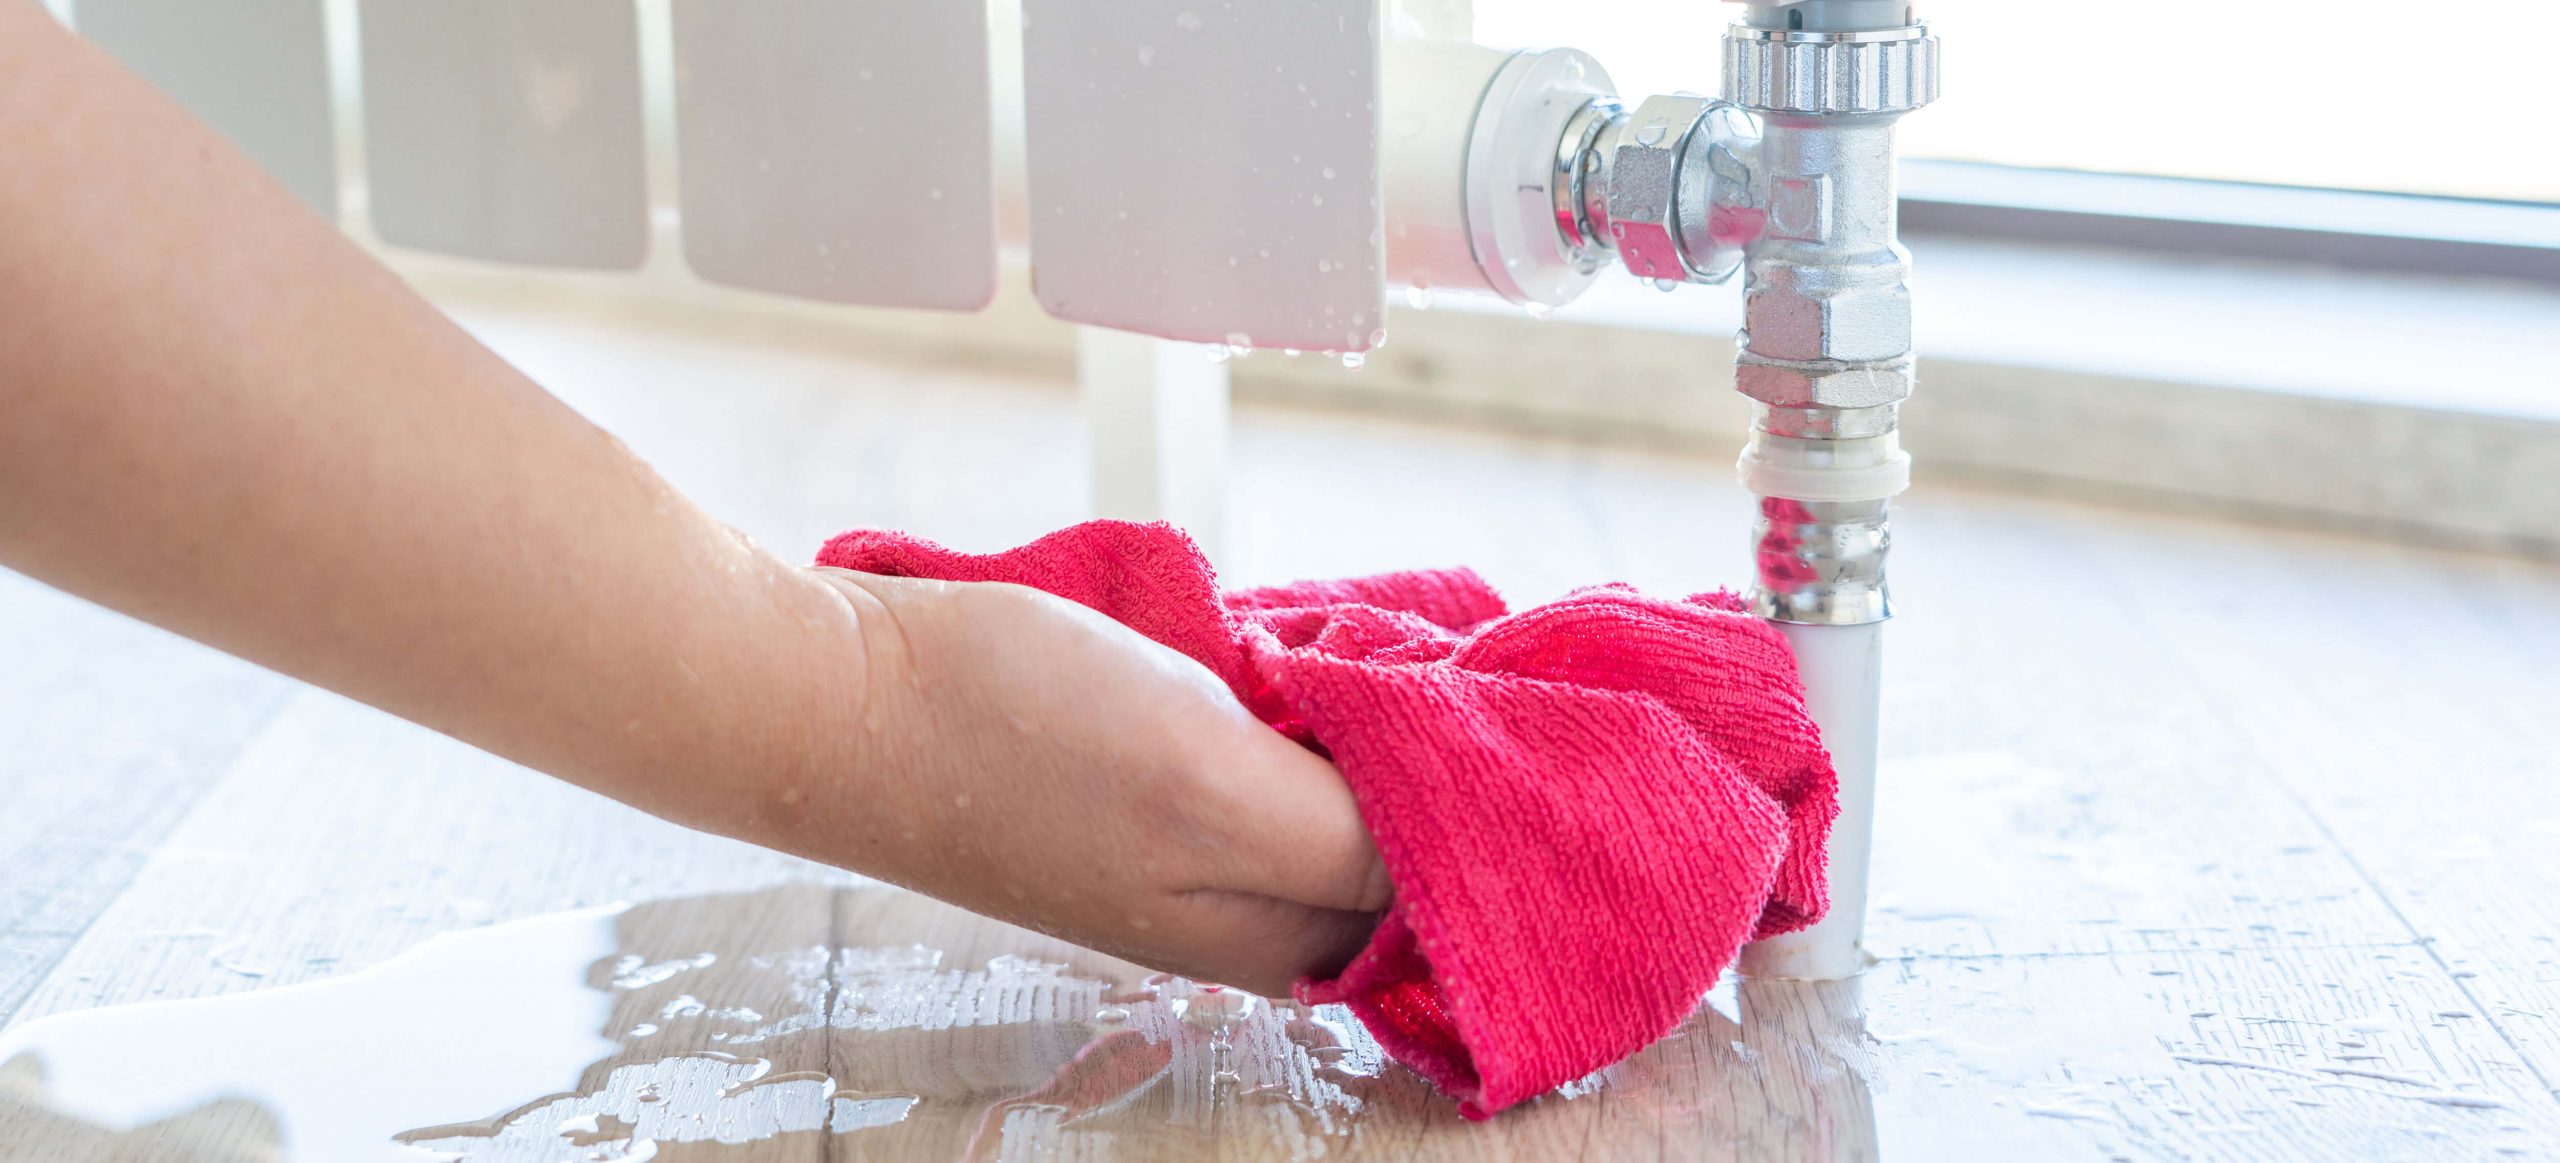
Check the hoses and connections for any leaks or cracks. Tighten any loose connections and replace any damaged hoses to fix the leaking washer.
Step 4: Examining the Door Seal or Gasket
If you have a front-loading washer, a damaged door seal or gasket can be a common cause of leaks. The seal or gasket creates a watertight seal between the door and the drum. Here’s how to examine the door seal or gasket:
- Inspect the seal or gasket: Carefully examine the door seal or gasket for any visible signs of damage, such as cracks, tears, or mold growth. Pay close attention to the areas where the seal makes contact with the door and the drum.
- Clean the seal or gasket: If you notice any mold or mildew, clean the seal or gasket using a mixture of mild soap and water. Scrub gently with a soft brush or sponge to remove any buildup.
- Check for proper alignment: Make sure that the seal or gasket is properly aligned with the door and the drum. Any misalignment can result in water leakage. Adjust the position if necessary.
- Replace a damaged seal or gasket: If the seal or gasket is severely damaged or cannot be cleaned effectively, it’s recommended to replace it with a new one. Consult your washer’s manual or contact the manufacturer for the correct replacement part.
By examining and maintaining the door seal or gasket, you can prevent leaks and ensure a proper seal between the door and the drum of your front-loading washer. Next, we will move on to evaluating the tub or drum for any issues.
Step 5: Evaluating the Tub or Drum
The tub or drum of your washer can develop cracks, corrosion, or other issues over time, leading to leaks. It’s important to evaluate the condition of the tub or drum to identify any potential problems. Here’s how to evaluate the tub or drum:
- Inspect the tub or drum: Examine the interior of the tub or drum for any visible signs of damage, such as cracks, rust, or corrosion. Pay close attention to the seams and edges, as these areas are more prone to leaks.
- Check for loose or damaged components: Ensure that all components inside the tub or drum, such as baffles or agitator fins, are securely fastened and in good condition. Loose or damaged components can cause water to splash out during the wash cycle.
- Test the tub or drum for leaks: Fill the washer with a small amount of water and observe for any signs of leakage. If you notice water escaping from the tub or drum, it may indicate a crack or other structural issue.
- Address any issues: If you discover any cracks, rust, or other damage to the tub or drum, it’s essential to address them promptly. Depending on the severity of the damage, you may need to repair the affected area or consider replacing the entire tub or drum.
Evaluating the tub or drum is crucial to ensure the integrity of your washer and prevent further water leakage. If you find any significant damage to the tub or drum that requires repair or replacement, it’s recommended to consult a professional or contact the manufacturer for assistance.
Now that you’ve evaluated the tub or drum, we can move on to the next step of replacing faulty parts or seals, if necessary.
Step 6: Replacing Faulty Parts or Seals
If you have identified any faulty parts or seals during the previous steps, it’s important to replace them to fix the leaking washer. Here’s how to replace faulty parts or seals:
- Identify the problematic component: Refer back to your troubleshooting and inspection steps to determine which specific part or seal needs to be replaced.
- Obtain the replacement part: Consult your washer’s manual or contact the manufacturer to obtain the correct replacement part. Ensure that you have the necessary tools and materials ready for the replacement process.
- Disconnect the power and water supply: As a safety precaution, unplug the washer from the electrical outlet and shut off the water supply before proceeding with the replacement.
- Follow the manufacturer’s instructions: Carefully follow the instructions provided by the manufacturer to remove the faulty part or seal and install the new one properly. Pay attention to any specific steps or precautions.
- Tighten connections and secure components: When replacing parts or seals, make sure to tighten all connections securely and ensure that components are properly secured in their designated positions.
- Double-check for leaks: After replacing the faulty part or seal, fill the washer with a small amount of water and check for any signs of leakage. If there are no leaks, you can proceed to the next step. If leaks persist, you may need to reassess the installation or seek further assistance.
By replacing faulty parts or seals, you can effectively resolve the issue of a leaking washer. It’s important to follow the manufacturer’s instructions and exercise caution during the replacement process to ensure proper functionality and prevent future leaks.
Now that you have successfully replaced the faulty part or seal, the final step is to test the washer for any remaining leaks. We will cover this step in the next section.
Read more: How To Fix A Leak In The Attic
Step 7: Testing for Leaks
After performing repairs and replacing any faulty parts or seals, it’s essential to test your washer for any remaining leaks. Here’s how to test for leaks:
- Reconnect the power and water supply: Plug the washer back into the electrical outlet and turn on the water supply valves. Ensure that the connections are secure and the valves are fully open.
- Run a test cycle: Start a short test cycle on your washer, following the manufacturer’s instructions. Allow the washer to fill, agitate, drain, and spin to simulate a typical wash cycle.
- Inspect for leaks: As the test cycle runs, carefully monitor the washer for any signs of leakage. Pay close attention to the areas that were previously identified as problematic during your troubleshooting process.
- Check for any residual leaks: Once the test cycle is complete, examine the floor around the washer for any signs of water. Use a flashlight if necessary to check hidden areas.
- Address any remaining leaks: If you observe any residual leaks, identify the source and determine the necessary steps to fix the issue. It could involve reseating connections, tightening seals, or seeking professional assistance.
By thoroughly testing your washer for leaks, you can ensure that the repairs have effectively resolved the issue. It’s important to address any remaining leaks promptly to prevent further water damage and ensure the optimal performance of your washer.
Congratulations! You have successfully followed the steps to fix a leaking washer. By identifying the cause of the leak, inspecting components, and making necessary repairs, you have taken proactive measures to restore your washer’s functionality and prevent future leaks.
If you encounter any difficulties during the repair process or if leaks persist despite your efforts, it’s recommended to consult a professional technician or contact the washer’s manufacturer for further assistance.
Remember to maintain regular maintenance for your washer to prevent leaks and prolong its lifespan. Cleaning the washer, checking hoses and connections periodically, and following proper loading guidelines can help prevent future issues and keep your washer running smoothly for years to come.
Conclusion
Dealing with a leaking washer can be a frustrating and inconvenient experience. However, by following the step-by-step guide outlined in this article, you can successfully troubleshoot and fix the issue on your own, saving time and money on professional repairs.
We discussed common causes of a leaking washer, including faulty hoses and connections, a malfunctioning pump, a damaged door seal or gasket, and issues with the tub or drum. By systematically inspecting these components, you can identify the source of the leak and take appropriate action.
Throughout the process, it’s crucial to prioritize safety. Always shut off the power and water supply before making any repairs. Additionally, gathering the necessary tools and materials ahead of time will ensure a seamless repair process.
As you work through the troubleshooting steps, make sure to properly evaluate and address each potential issue. Whether it’s tightening connections, clearing blockages, replacing faulty parts or seals, or evaluating the integrity of the tub or drum, every action takes you closer to resolving the leak.
Once you’ve completed the necessary repairs, the final step is to test the washer for any remaining leaks. Running a test cycle and checking for leaks will confirm that your efforts have been successful.
By taking the time to fix a leaking washer, you not only prevent further water damage to your home but also prolong the lifespan of your appliance. Regular maintenance, such as cleaning the washer and checking for potential issues, can help prevent leaks and ensure the optimal functioning of your appliance for years to come.
If you encounter any difficulties during the repair process or if leaks persist despite your efforts, it’s always a good idea to consult a professional technician or contact the manufacturer for further assistance.
Remember, tackling a leaking washer requires patience, attention to detail, and a systematic approach. With the information and guidance provided in this article, you can successfully resolve the issue and enjoy a leak-free washer once again.
Frequently Asked Questions about How To Fix A Leaking Washer
Was this page helpful?
At Storables.com, we guarantee accurate and reliable information. Our content, validated by Expert Board Contributors, is crafted following stringent Editorial Policies. We're committed to providing you with well-researched, expert-backed insights for all your informational needs.


0 thoughts on “How To Fix A Leaking Washer”