Home>Home Appliances>Laundry Appliances>How To Use Rit Dye In A Washing Machine

Laundry Appliances
How To Use Rit Dye In A Washing Machine
Modified: October 18, 2024
Learn how to use Rit Dye in a washing machine for vibrant, long-lasting colors. Discover the best techniques for dyeing clothes at home with your laundry appliances.
(Many of the links in this article redirect to a specific reviewed product. Your purchase of these products through affiliate links helps to generate commission for Storables.com, at no extra cost. Learn more)
Introduction
Rit Dye is a versatile and convenient way to breathe new life into your favorite garments, linens, and fabrics. Whether you want to revitalize faded clothing, create custom-colored textiles, or simply enjoy a fun and creative DIY project, using Rit Dye in a washing machine can yield impressive results. This method offers a hassle-free approach to achieving vibrant and long-lasting color transformations, all while leveraging the efficiency of your washing machine.
By harnessing the power of Rit Dye and your trusty washing machine, you can unlock a world of possibilities for personalizing your wardrobe and home decor. This innovative dyeing technique allows you to infuse your fabrics with rich, custom hues, ensuring that each piece reflects your unique style and personality. Whether you're a seasoned crafter or a novice enthusiast, using Rit Dye in a washing machine is an accessible and rewarding endeavor that can elevate your textiles to new heights of visual appeal.
In the following sections, we will delve into the step-by-step process of using Rit Dye in a washing machine, from preparing the machine and fabric to achieving stunning color results. With a few simple materials and a touch of creativity, you can embark on a transformative journey that breathes fresh vitality into your beloved textiles. Let's explore the seamless and exciting world of dyeing with Rit Dye in your washing machine, and discover how this method can elevate your fabric projects to extraordinary new levels.
Key Takeaways:
- Revitalize your clothing and fabrics with Rit Dye in your washing machine. Clean the machine, prep the fabric, and follow the dyeing process for vibrant, personalized results.
- Prepare your washing machine and fabric, then use Rit Dye for a seamless and rewarding dyeing experience. Achieve stunning, long-lasting color transformations with ease.
Read more: How To Set Tie Dye In The Washing Machine
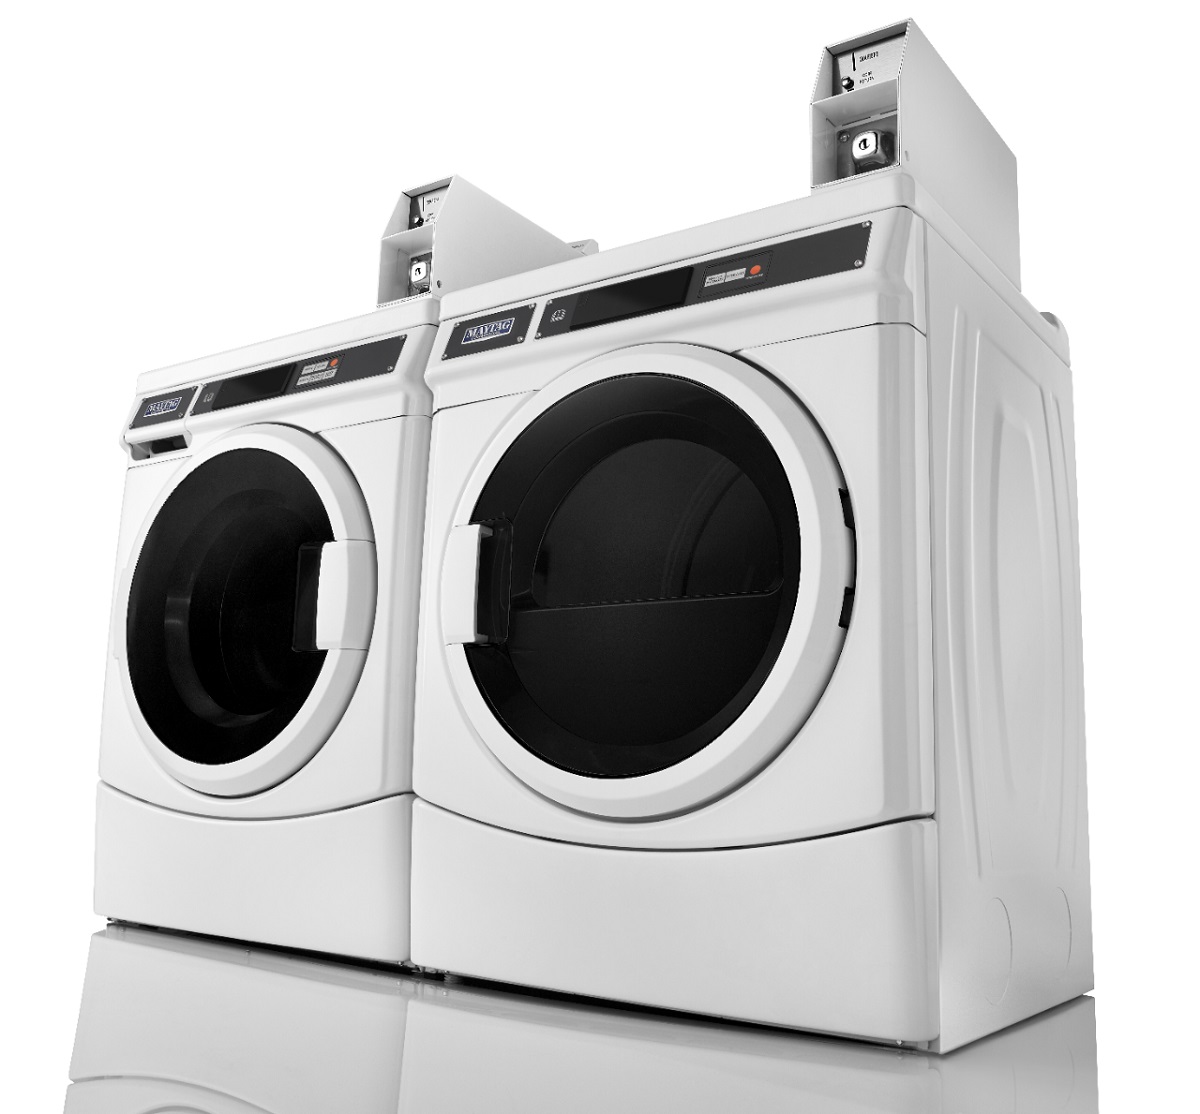
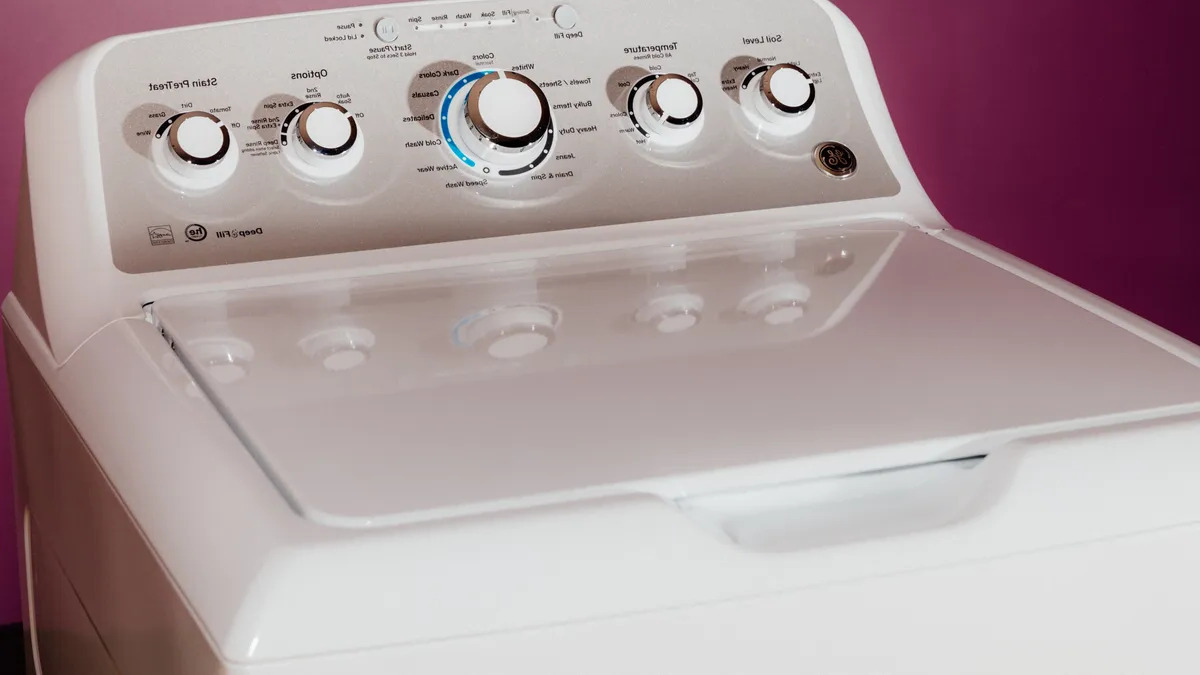
Preparing the Washing Machine
Before embarking on your Rit Dye adventure, it's crucial to ensure that your washing machine is primed and ready to facilitate the dyeing process effectively. By following these preparatory steps, you can create an optimal environment for achieving vibrant and long-lasting color results.
-
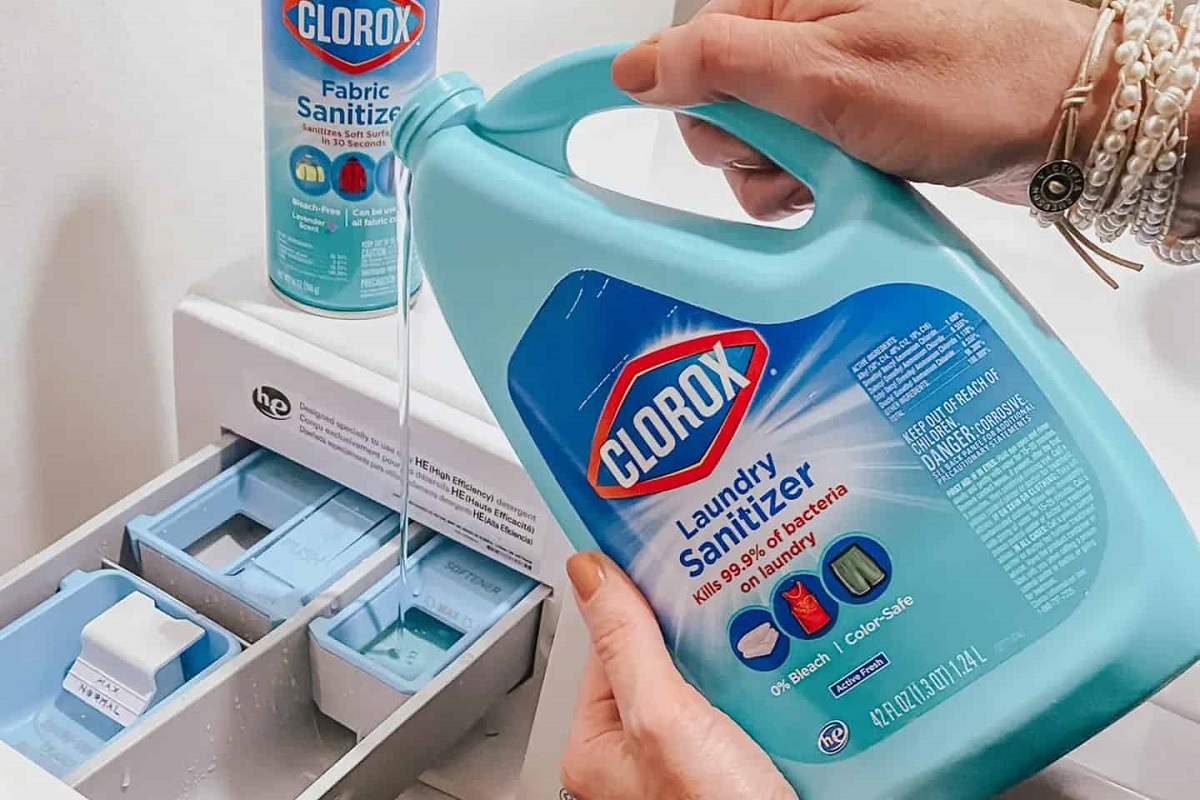
Clean the Washing Machine: Begin by thoroughly cleaning your washing machine to remove any lingering residues or impurities that could compromise the dyeing process. Run a hot water cycle with detergent to eliminate any traces of dirt, detergent buildup, or fabric softener. This step is essential for preventing unwanted discoloration or uneven dye absorption during the dyeing process.
-
Check for Residue: After cleaning the machine, inspect the interior for any remaining detergent or fabric softener residue. Wipe down the drum and agitator to ensure that the surfaces are free from any potential contaminants that could affect the dye's performance. This meticulous approach sets the stage for consistent and uniform color application on your fabrics.
-
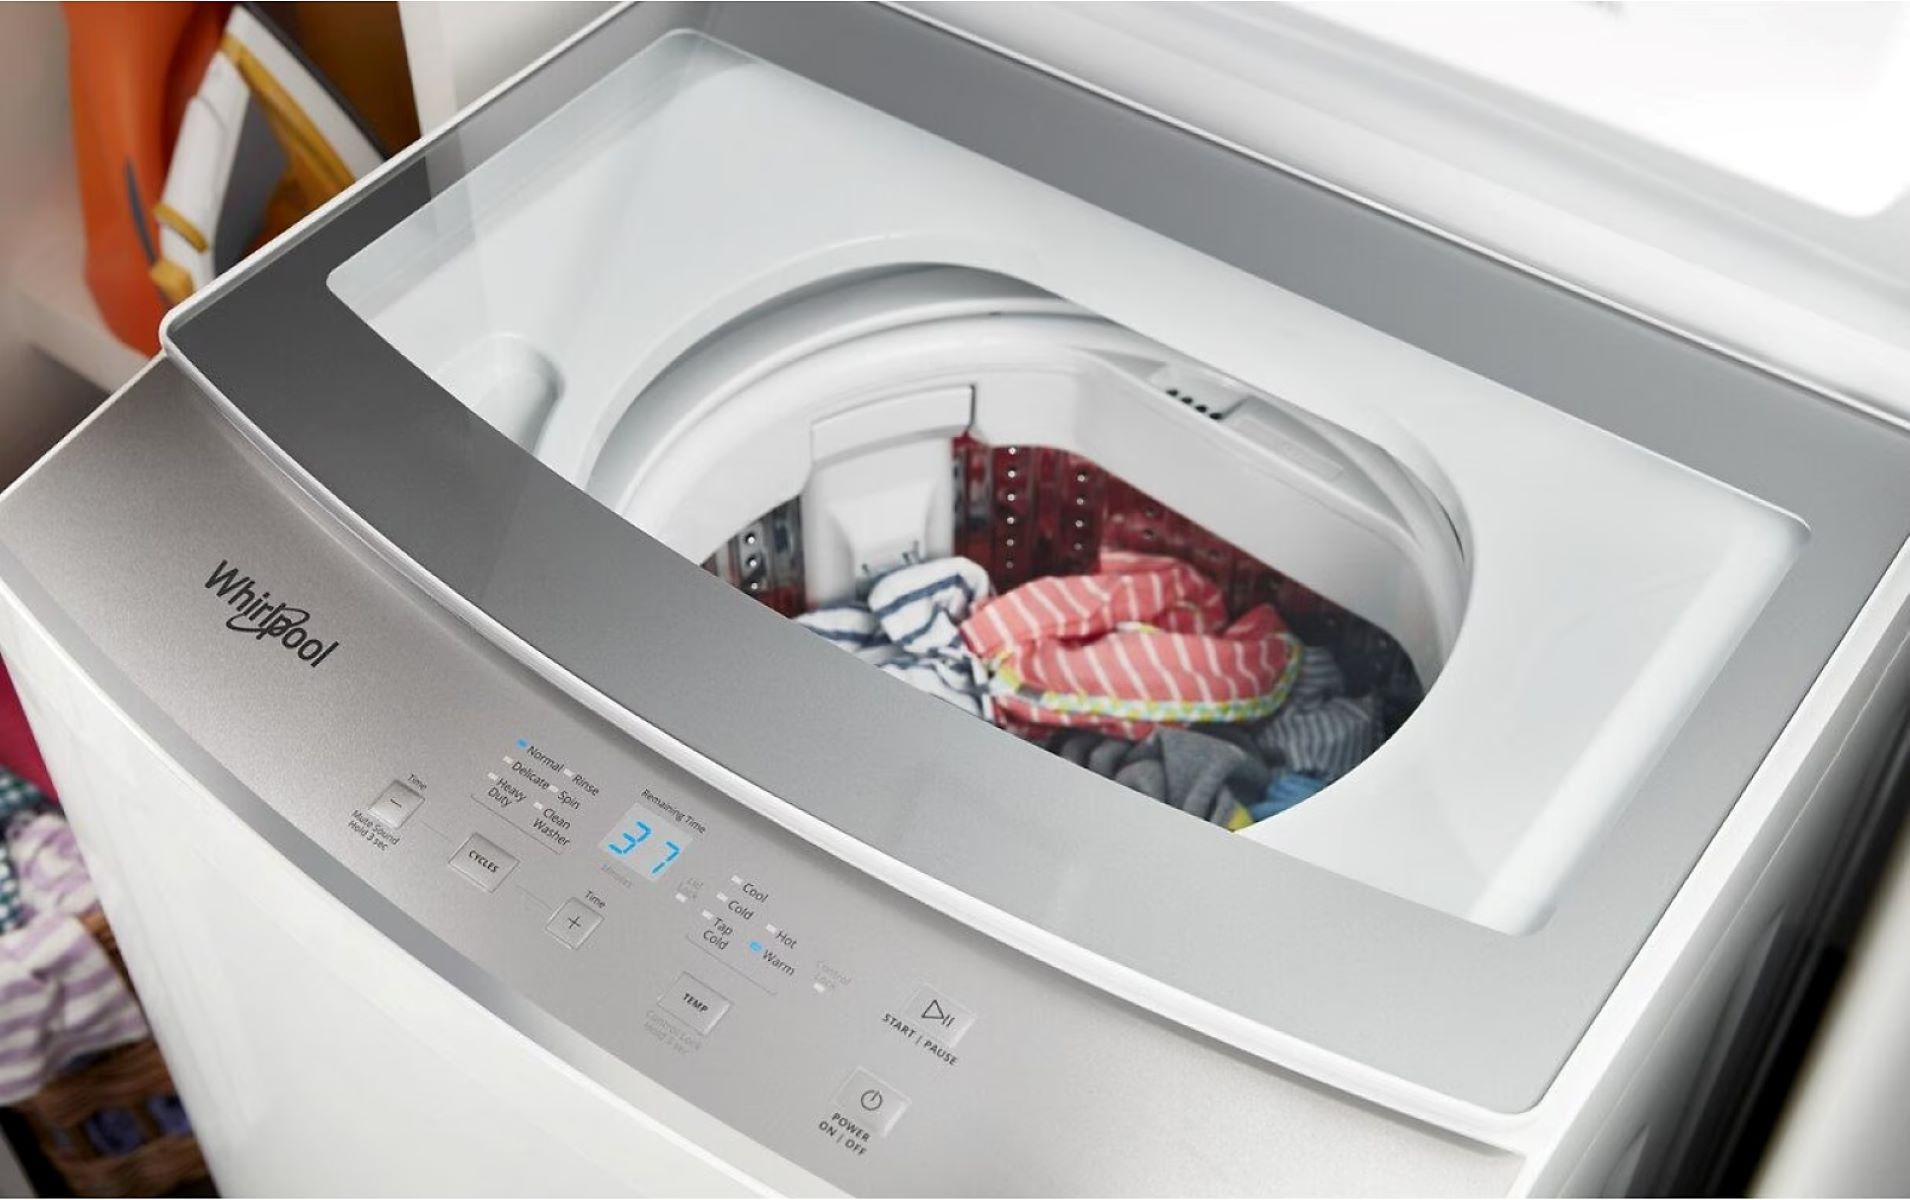
Adjust Water Temperature: Depending on the fabric you intend to dye, adjust the washing machine's water temperature to the appropriate setting. For natural fibers such as cotton or linen, hot water is ideal for promoting optimal dye absorption. Conversely, synthetic fabrics like polyester may require a lower temperature setting to achieve the best results. Adhering to the recommended water temperature for your specific fabric type is crucial for maximizing the dye's effectiveness.
-
Select a Suitable Load Size: Determine the appropriate load size for the fabric you plan to dye, ensuring that it aligns with the capacity of your washing machine. Overcrowding the machine can impede the dye's ability to disperse evenly, potentially leading to uneven coloration. By selecting the correct load size, you can facilitate thorough dye penetration and consistent color saturation across your fabrics.
-
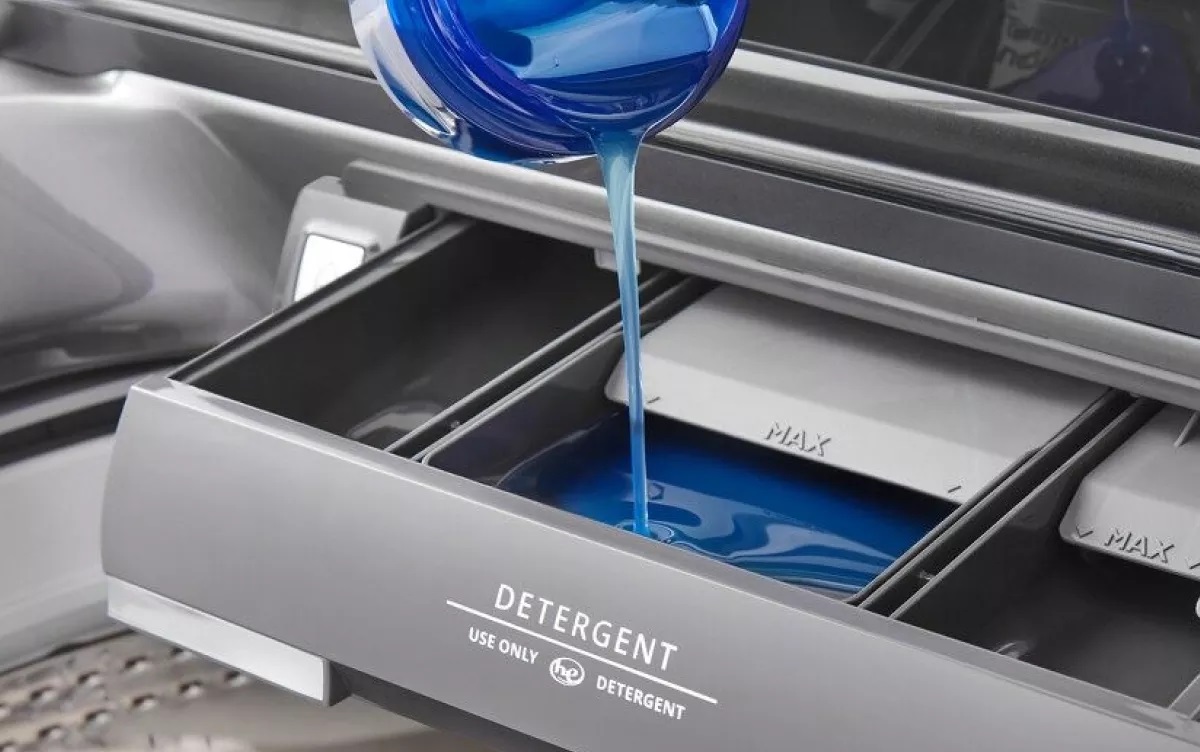
Prepare the Dye Dispenser: If your washing machine is equipped with a detergent or bleach dispenser, ensure that it is clean and free from any residual products. This step is essential for preventing cross-contamination and maintaining the purity of the dye solution throughout the dyeing process.
By meticulously preparing your washing machine for the dyeing process, you can establish a solid foundation for achieving vibrant and professional-quality results. These proactive measures set the stage for a seamless and rewarding dyeing experience, ensuring that your fabrics emerge with stunning, custom hues that reflect your unique creative vision.
Preparing the Fabric
Preparing the fabric is a crucial step in ensuring successful and vibrant dye results when using Rit Dye in a washing machine. By meticulously prepping the fabric, you can optimize its ability to absorb the dye, resulting in rich and long-lasting color transformations. Here's a detailed guide to preparing your fabric for the dyeing process:
-
Selecting the Fabric: Begin by choosing the fabric or garment you wish to dye. Rit Dye is suitable for a wide range of natural fibers, including cotton, linen, wool, and silk, as well as certain synthetic materials such as nylon and rayon. It's essential to verify that the fabric is compatible with the type of dye you plan to use, ensuring optimal color uptake and adherence.
-
Pre-Washing the Fabric: Prior to dyeing, thoroughly pre-wash the fabric to remove any dirt, oils, or fabric treatments that could hinder the dye's penetration. Use a mild detergent to launder the fabric, and refrain from using fabric softeners or dryer sheets, as these can create barriers that impede the dye's absorption. Pre-washing also helps to eliminate any sizing or finishes applied during the fabric's manufacturing process, promoting better dye adherence.
-
Testing for Fabric Composition: If you're uncertain about the fabric's composition, perform a simple burn test to determine its fiber content. This involves snipping a small piece of the fabric and carefully burning it to observe the resulting ash and odor. By identifying the fabric's composition, you can ensure that you select the appropriate dye type and application method for optimal color results.
-
Dampening the Fabric: Before immersing the fabric in the dye solution, dampen it thoroughly with water. This step helps to open up the fabric's fibers, allowing the dye to penetrate more effectively and evenly. Ensure that the fabric is evenly dampened throughout, as this promotes uniform dye absorption and minimizes the risk of splotchy or uneven coloration.
-
Protecting Unwanted Areas: If there are specific areas of the fabric that you wish to preserve in their original color, such as buttons, zippers, or decorative elements, take the necessary precautions to shield these areas from the dye. Use masking tape, rubber bands, or wax to create barriers that prevent the dye from reaching these designated areas, preserving their original appearance.
By meticulously preparing the fabric before dyeing, you can set the stage for a successful and visually stunning transformation. These preparatory measures ensure that the fabric is primed to absorb the dye effectively, resulting in vibrant and long-lasting color outcomes that breathe new life into your textiles.
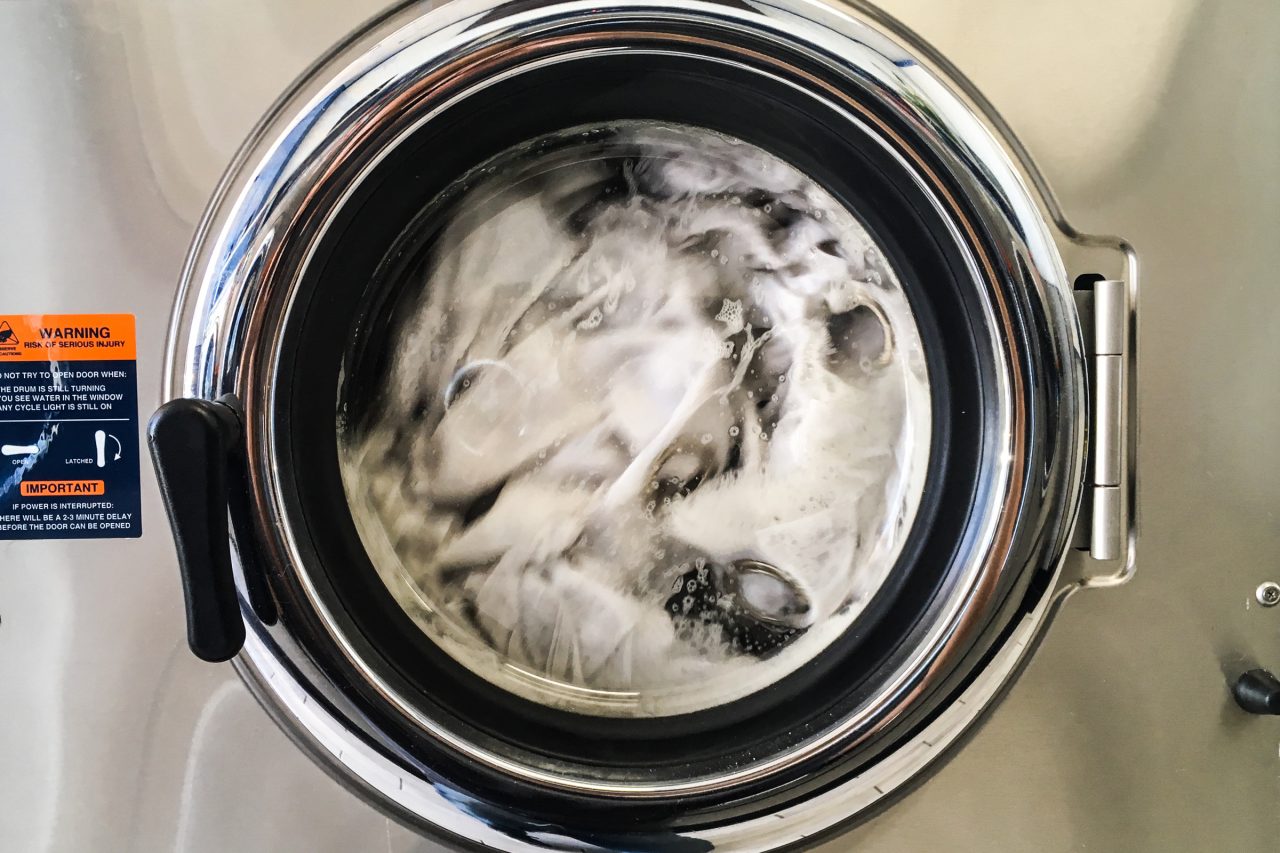
Using Rit Dye in the Washing Machine
Using Rit Dye in a washing machine offers a convenient and efficient method for achieving vibrant and long-lasting color transformations on your fabrics. This innovative approach harnesses the power of your trusty washing machine to facilitate seamless dye application, ensuring consistent and professional-quality results. Here's a comprehensive guide to using Rit Dye in the washing machine, from preparing the dye solution to completing the dyeing process:
-
Preparing the Dye Solution: Begin by preparing the Rit Dye solution according to the instructions on the packaging. Dissolve the appropriate amount of dye in hot water, ensuring that it is thoroughly mixed to create a uniform and concentrated solution. This step is crucial for achieving consistent color results and maximizing the dye's effectiveness.
-
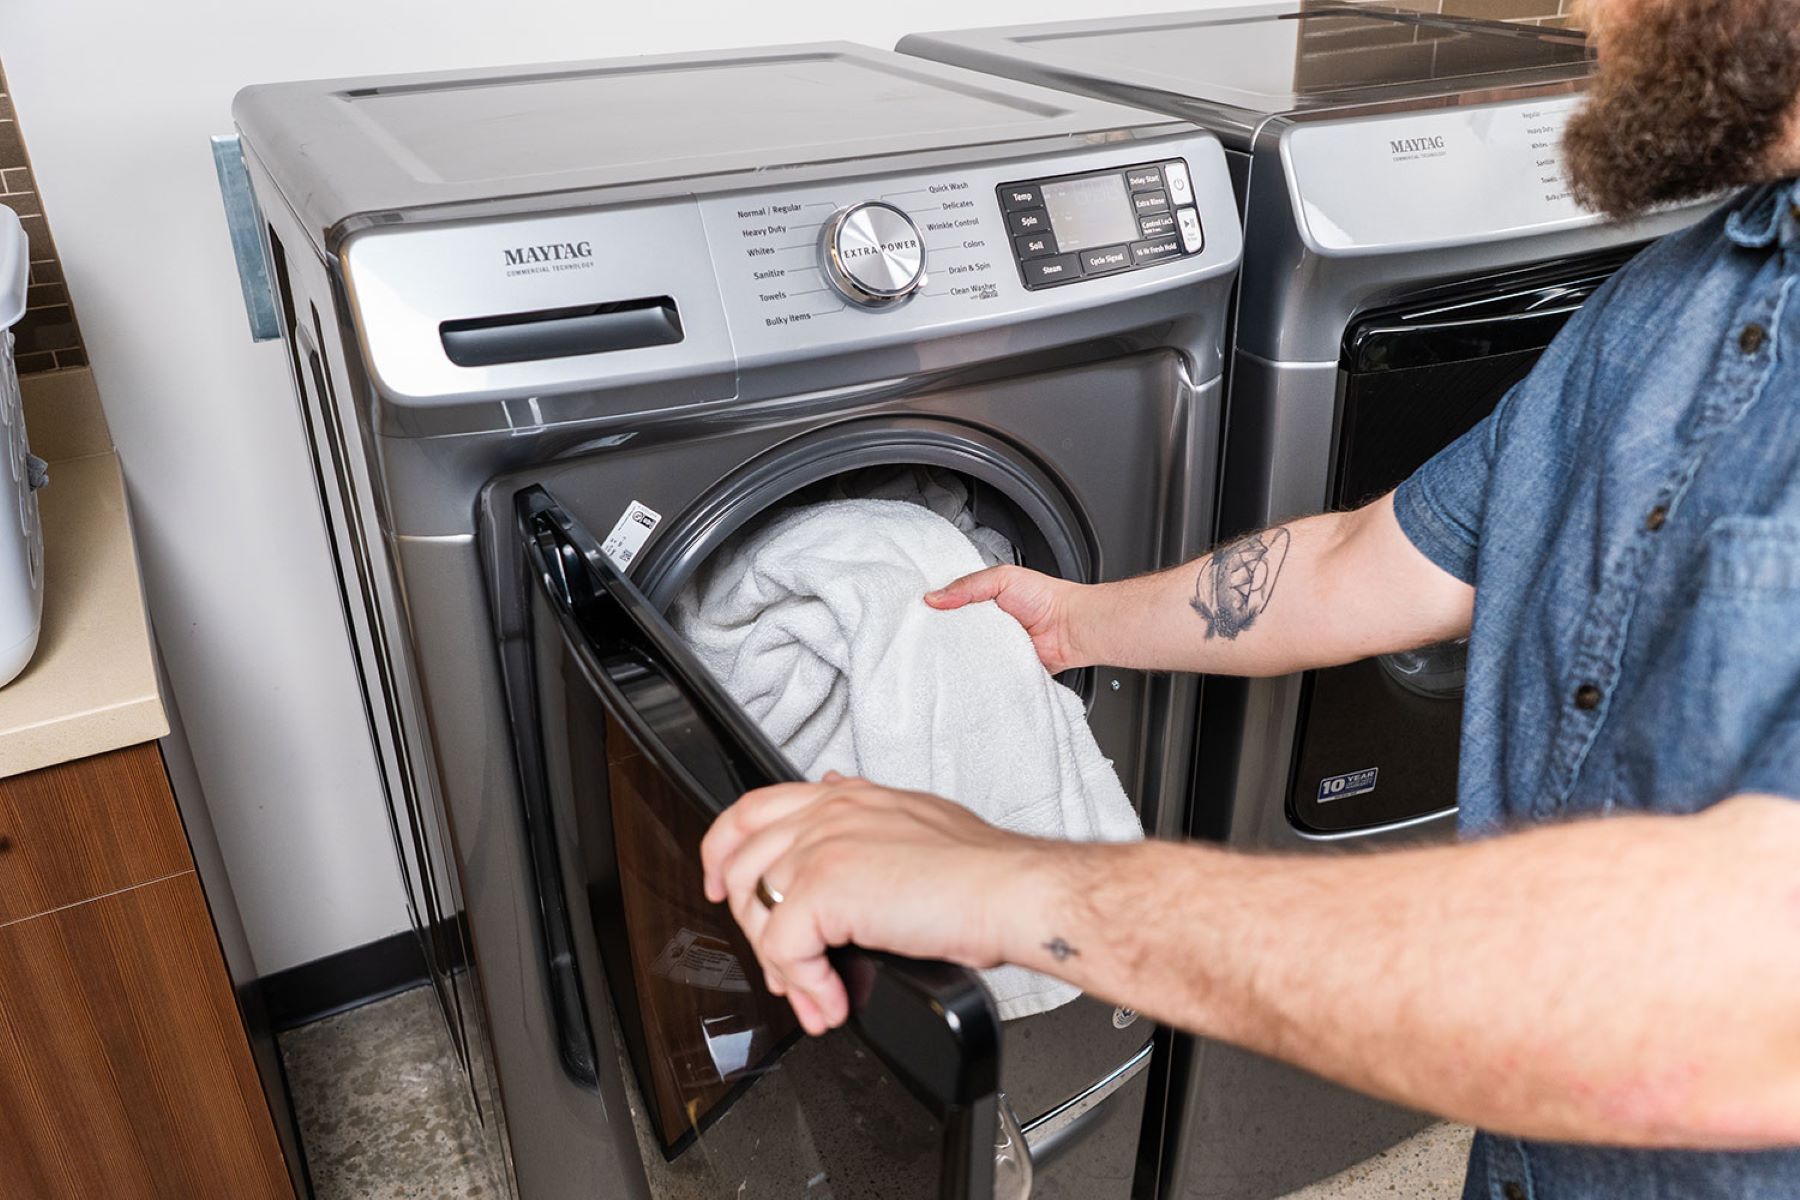
Adding the Dye to the Washing Machine: Once the dye solution is prepared, carefully pour it into the washing machine's detergent dispenser or directly into the drum, depending on the machine's design. Ensure that the dye is evenly distributed and that it is added before introducing the fabric to facilitate uniform color absorption.
-
Loading the Fabric: Place the prepped fabric into the washing machine, ensuring that it is arranged in a manner that allows for ample movement and dye penetration. Avoid overcrowding the machine, as this can impede the dye's ability to disperse evenly and may result in patchy coloration.
-
Commencing the Dyeing Cycle: Set the washing machine to run a full cycle using the appropriate water temperature and agitation settings for the fabric type and dye color. This step allows the fabric to be thoroughly immersed in the dye solution, promoting optimal color uptake and ensuring that the dye penetrates the fibers evenly.
-
Monitoring the Dyeing Process: Throughout the dyeing cycle, periodically check the fabric to assess the color development and ensure that the dye is distributing evenly. This proactive approach allows you to make any necessary adjustments to the dyeing process, such as extending the cycle duration for deeper color saturation.
-
Completing the Cycle and Rinsing: Once the dyeing cycle is complete, proceed to run an additional rinse cycle to remove any excess dye from the fabric. Use cold water for this rinse to help set the color and minimize color bleeding. After rinsing, carefully remove the dyed fabric from the washing machine.
By following these steps, you can leverage the efficiency of your washing machine to achieve stunning and professional-quality dye results using Rit Dye. This method offers a straightforward and accessible approach to transforming your fabrics with custom hues, allowing you to unleash your creativity and personalize your textiles with ease.
Finishing and Cleaning Up
After completing the dyeing process, it's essential to focus on the finishing touches and thorough cleanup to ensure that your fabrics emerge with vibrant and long-lasting color results. The final steps of the dyeing journey play a pivotal role in sealing in the custom hues and preserving the integrity of the dyed fabrics. Here's a detailed guide to the finishing and cleanup phase:
Read more: Kenmore Washer How To Use
Removing Excess Dye
Once the dyeing cycle is complete, carefully remove the dyed fabric from the washing machine and proceed to remove any excess dye that may have accumulated on the surface. Gently rinse the fabric under cold water, allowing the excess dye to run off until the water runs clear. This step helps to minimize color bleeding and ensures that the fabric's true color is revealed.
Setting the Color
To enhance the colorfastness of the dyed fabric, it's crucial to set the color using a color fixative or vinegar solution. Prepare a mixture of cold water and either a commercial color fixative or plain white vinegar, and immerse the fabric in the solution for an appropriate duration as per the product's instructions. This setting process helps to lock in the vibrant hues and prevent fading during subsequent washes.
Final Rinse and Drying
After setting the color, proceed to give the fabric a final rinse under cold water to remove any residual fixative or vinegar solution. Once the rinse is complete, carefully wring out the excess water from the fabric and hang it to dry in a well-ventilated area. Avoid exposing the dyed fabric to direct sunlight during the drying process, as this can cause the colors to fade prematurely.
Cleaning the Washing Machine
Following the dyeing process, it's crucial to clean the washing machine thoroughly to remove any traces of dye and prevent potential color transfer to future loads of laundry. Run a hot water cycle with detergent and bleach (if applicable) to cleanse the machine's interior and eliminate any residual dye particles. Wipe down the drum and agitator to ensure that the washing machine is free from any dye remnants.
Read more: How To Use A Portable Washing Machine
Storing Dye and Supplies
Once the cleanup is complete, store the remaining Rit Dye and dyeing supplies in a cool, dry place away from direct sunlight. Proper storage helps to maintain the potency and effectiveness of the dye for future projects, ensuring that you can continue to unleash your creativity with vibrant color transformations.
By meticulously attending to the finishing and cleanup phase, you can ensure that your dyed fabrics boast enduring and captivating color results. These final steps elevate the overall dyeing experience, culminating in textiles that exude personalized style and visual allure.
Frequently Asked Questions about How To Use Rit Dye In A Washing Machine
Was this page helpful?
At Storables.com, we guarantee accurate and reliable information. Our content, validated by Expert Board Contributors, is crafted following stringent Editorial Policies. We're committed to providing you with well-researched, expert-backed insights for all your informational needs.


0 thoughts on “How To Use Rit Dye In A Washing Machine”