Home>Home Appliances>Laundry Appliances>How To Set Tie Dye In The Washing Machine
Laundry Appliances
How To Set Tie Dye In The Washing Machine
Modified: March 2, 2024
Learn how to set tie dye in the washing machine with our expert tips and tricks. Discover the best laundry appliances for vibrant and long-lasting results.
(Many of the links in this article redirect to a specific reviewed product. Your purchase of these products through affiliate links helps to generate commission for Storables.com, at no extra cost. Learn more)
Introduction
Tie dyeing is a captivating and creative way to add a burst of color and personality to your clothing and fabrics. While the traditional method involves hand-dyeing and meticulous attention to detail, setting tie dye in the washing machine offers a convenient and efficient alternative. This method not only saves time but also produces vibrant and long-lasting results.
In this comprehensive guide, we will delve into the step-by-step process of setting tie dye in the washing machine. From choosing the right dye to adding the finishing touches, we will explore each stage in detail, providing valuable insights and tips to ensure a successful tie dyeing experience.
Whether you are a seasoned tie dye enthusiast or a novice looking to embark on your first colorful adventure, this guide will equip you with the knowledge and confidence to achieve stunning tie dye creations with the help of your trusty washing machine. So, roll up your sleeves and get ready to infuse your fabrics with a kaleidoscope of hues as we embark on this exciting tie dyeing journey together.
Key Takeaways:
- Embrace the Vibrancy: Set tie dye in the washing machine using fiber reactive dyes for convenient, long-lasting, and vibrant results. Prepare fabric, add dye, run the cycle, and finish with care for personalized creations.
- Colorful Creations Made Easy: Choose the right dye, prep fabric, set up the washing machine, add dye, run the cycle, and finish with care for stunning tie dye designs. Enjoy the creative journey!
Read more: How To Tie-Dye A Tablecloth
Choosing the Right Dye
Selecting the appropriate dye is a pivotal first step in the tie dyeing process. The market offers an array of dye options, each with unique characteristics and application methods. When setting tie dye in the washing machine, it is crucial to opt for a dye that is compatible with this specific dyeing technique.
Considerations for Choosing the Right Dye
-
Type of Dye: There are various types of dyes available, including fiber reactive dyes, all-purpose dyes, and natural dyes. Fiber reactive dyes are particularly well-suited for tie dyeing in the washing machine as they form a strong bond with the fabric, resulting in vibrant and colorfast designs.
-
Color Range: Dyes come in an extensive range of colors, from bold and bright hues to subtle pastels. Consider the color palette you wish to work with and select dyes that align with your creative vision. It's also possible to mix different dye colors to create custom shades and gradients.
-
Quantity of Dye: Depending on the size and quantity of fabric you intend to dye, ensure that you have an adequate amount of dye on hand. It's essential to follow the manufacturer's guidelines regarding the dye-to-fabric ratio to achieve optimal color saturation.
-
Safety and Environmental Impact: Prioritize dyes that are safe to use and environmentally friendly. Look for dyes that are non-toxic and formulated to minimize harm to the environment during the dyeing process.
-
Compatibility with Washing Machine Dyeing: Not all dyes are suitable for setting tie dye in the washing machine. Ensure that the dye you choose is explicitly labeled for machine dyeing to achieve the best results and prevent any potential damage to your washing machine.
Recommended Dye Brands
Several reputable brands offer high-quality dyes specifically designed for machine tie dyeing. Some popular options include Tulip One-Step Tie Dye, Jacquard Procion MX Dye, and Dylon Machine Dye. These brands provide a diverse range of colors and are formulated to deliver vibrant and long-lasting results when used in conjunction with the washing machine dyeing method.
By carefully considering these factors and selecting a dye that aligns with your preferences and project requirements, you can set the stage for a successful tie dyeing experience. The right dye will not only enhance the visual impact of your creations but also contribute to the overall durability and color retention of the finished pieces.
Preparing the Fabric
Before immersing your fabric in a vibrant symphony of colors, it is essential to prepare it adequately to ensure optimal dye absorption and long-lasting results. Properly preparing the fabric sets the foundation for a successful tie dyeing venture and contributes to the overall quality of the finished product.
Read more: How To Tie-Dye A Pillowcase
Washing the Fabric
The first step in preparing the fabric involves thoroughly washing it to remove any residual chemicals, dirt, or sizing that may hinder the dye's ability to penetrate the fibers. Use a mild detergent and wash the fabric in the washing machine, following the manufacturer's care instructions. This initial wash not only cleanses the fabric but also primes it for superior dye uptake, allowing the colors to adhere more effectively.
Dampening the Fabric
Once the fabric is clean, dampen it with water before proceeding with the tie dyeing process. Damp fabric facilitates the application and diffusion of the dye, resulting in more vibrant and evenly distributed colors. Lightly wring out the excess water to achieve the ideal level of dampness, ensuring that the fabric is moist but not dripping wet.
Preparing the Work Surface
In addition to prepping the fabric, it is crucial to set up a suitable work area for the tie dyeing process. Lay down a protective covering, such as a plastic tablecloth or garbage bags, to shield the work surface from potential dye spills and splatters. This precautionary measure helps maintain the cleanliness of your workspace and prevents accidental staining of surrounding areas.
Securing the Fabric
Depending on the desired tie dye pattern, you may need to fold, twist, or bind the fabric to create intricate designs. Secure the fabric using rubber bands, strings, or clips, ensuring that the chosen binding method aligns with your creative vision for the final outcome. This step sets the stage for the unique patterns and color variations that define tie dye artistry.
By meticulously preparing the fabric and establishing an organized work environment, you pave the way for a seamless and rewarding tie dyeing experience. These preparatory measures not only optimize the dyeing process but also contribute to the longevity and vibrancy of the tie dyed fabric, ensuring that your creations remain vivid and captivating for years to come.
Read more: How To Tie-Dye A Blanket
Setting Up the Washing Machine
Setting up the washing machine for tie dyeing is a crucial phase that directly impacts the outcome of the dyeing process. By carefully configuring the washing machine and implementing the appropriate settings, you can create an optimal environment for seamlessly infusing your fabric with vibrant and enduring colors.
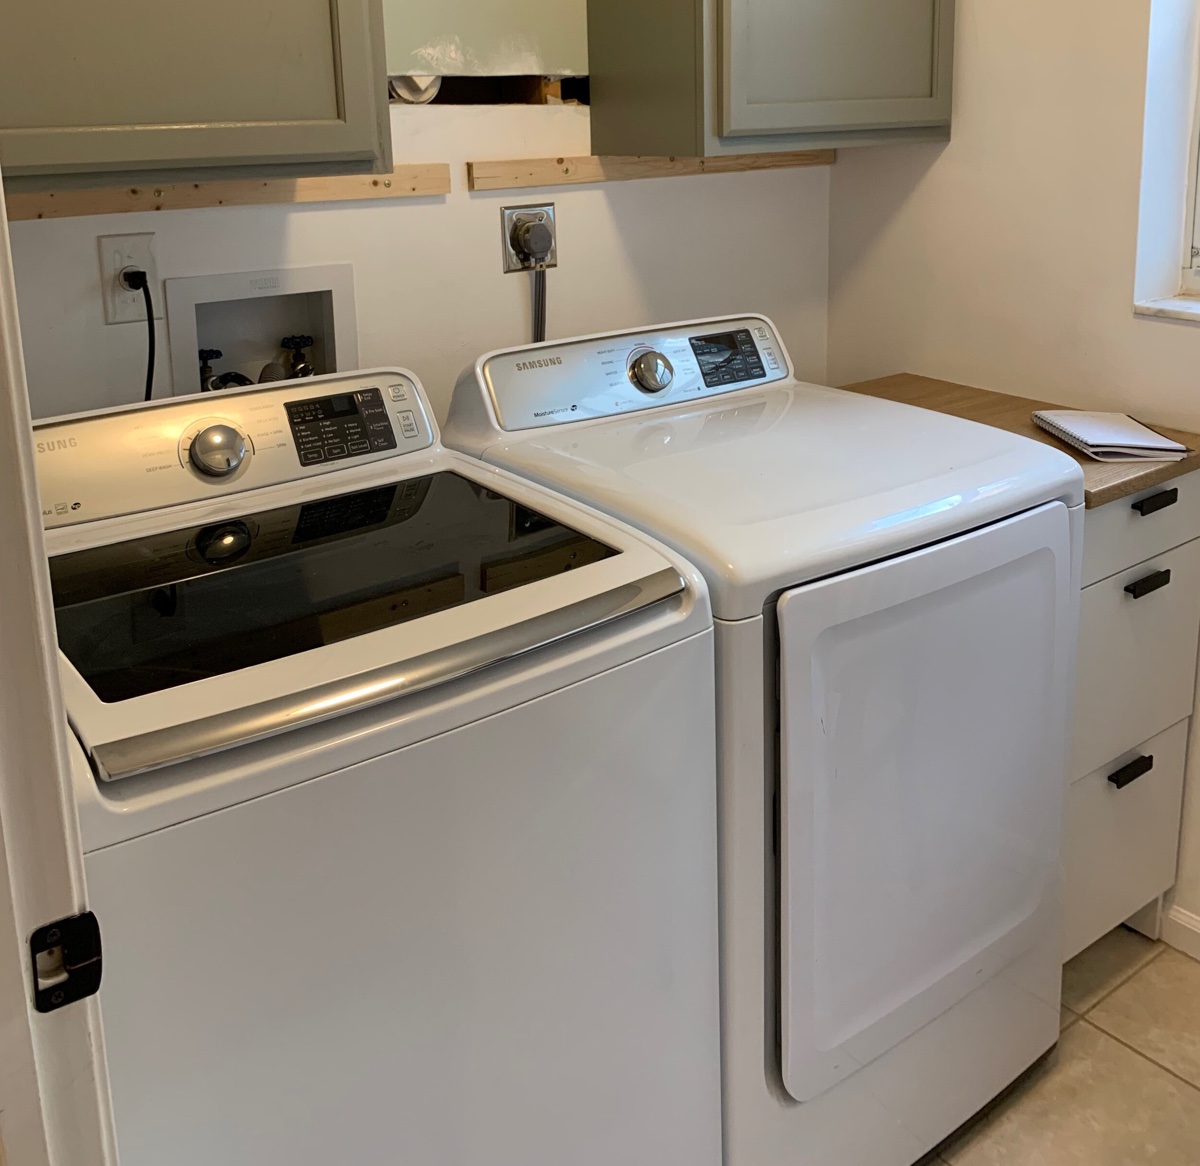
Selecting the Washing Machine
When embarking on the tie dyeing journey, it is essential to choose a washing machine that is well-suited for this specific dyeing method. While most modern washing machines are equipped to handle dyeing tasks, it is advisable to select a machine that offers a spacious drum capacity, allowing ample room for the fabric to move freely during the dyeing cycle. Additionally, opt for a washing machine with customizable settings, such as water temperature and cycle duration, to accommodate the dye manufacturer's recommendations and the specific requirements of the fabric being dyed.
Cleaning the Washing Machine
Before commencing the tie dyeing process, ensure that the washing machine is clean and free from any residual detergents or contaminants that could compromise the dye's adherence to the fabric. Run a hot water cycle with a washing machine cleaner or a mixture of vinegar and baking soda to eliminate any lingering residues and odors. Thoroughly rinse the washing machine to ensure that it is primed for the dyeing phase, free from any potential impurities that could affect the dye's performance.
Adjusting the Water Temperature and Cycle
The water temperature plays a pivotal role in the dye absorption process, influencing the vibrancy and permanence of the colors. Refer to the dye manufacturer's instructions to determine the recommended water temperature for the specific dye being used. Adjust the washing machine to the prescribed temperature, ensuring that it aligns with the dye's requirements to achieve optimal results. Additionally, select a cycle that provides sufficient agitation and soaking time to facilitate thorough dye penetration and fixation within the fabric fibers.
Read more: How To Use Rit Dye In A Washing Machine
Ensuring Proper Dye Dispersion
To ensure uniform and consistent dye distribution, add the appropriate amount of dye directly to the washing machine's detergent dispenser or designated dye compartment. This step is crucial in facilitating the even dispersion of the dye throughout the fabric, preventing concentrated color deposits and promoting balanced color saturation across the entire dyed surface. Carefully follow the dye manufacturer's guidelines regarding the quantity of dye to use based on the fabric weight and desired color intensity.
Final Checks and Preparations
Before initiating the dyeing cycle, double-check the washing machine settings to confirm that the water temperature, cycle duration, and dye dispensing method align with the dye manufacturer's recommendations and the specific requirements of the fabric. Once all settings are verified, load the prepared fabric into the washing machine, ensuring that it is positioned to allow unrestricted movement during the dyeing process. With the washing machine meticulously set up and the fabric poised for transformation, you are now ready to initiate the dyeing cycle and witness the captivating metamorphosis of your fabrics into vibrant tie dye masterpieces.
By meticulously configuring the washing machine and adhering to the dye manufacturer's guidelines, you establish an optimal environment for the tie dyeing process, setting the stage for vivid and enduring color transformations. The careful attention to detail during the setup phase ensures that the dyeing process unfolds seamlessly, culminating in striking and long-lasting tie dye creations that reflect your artistic vision and creativity.
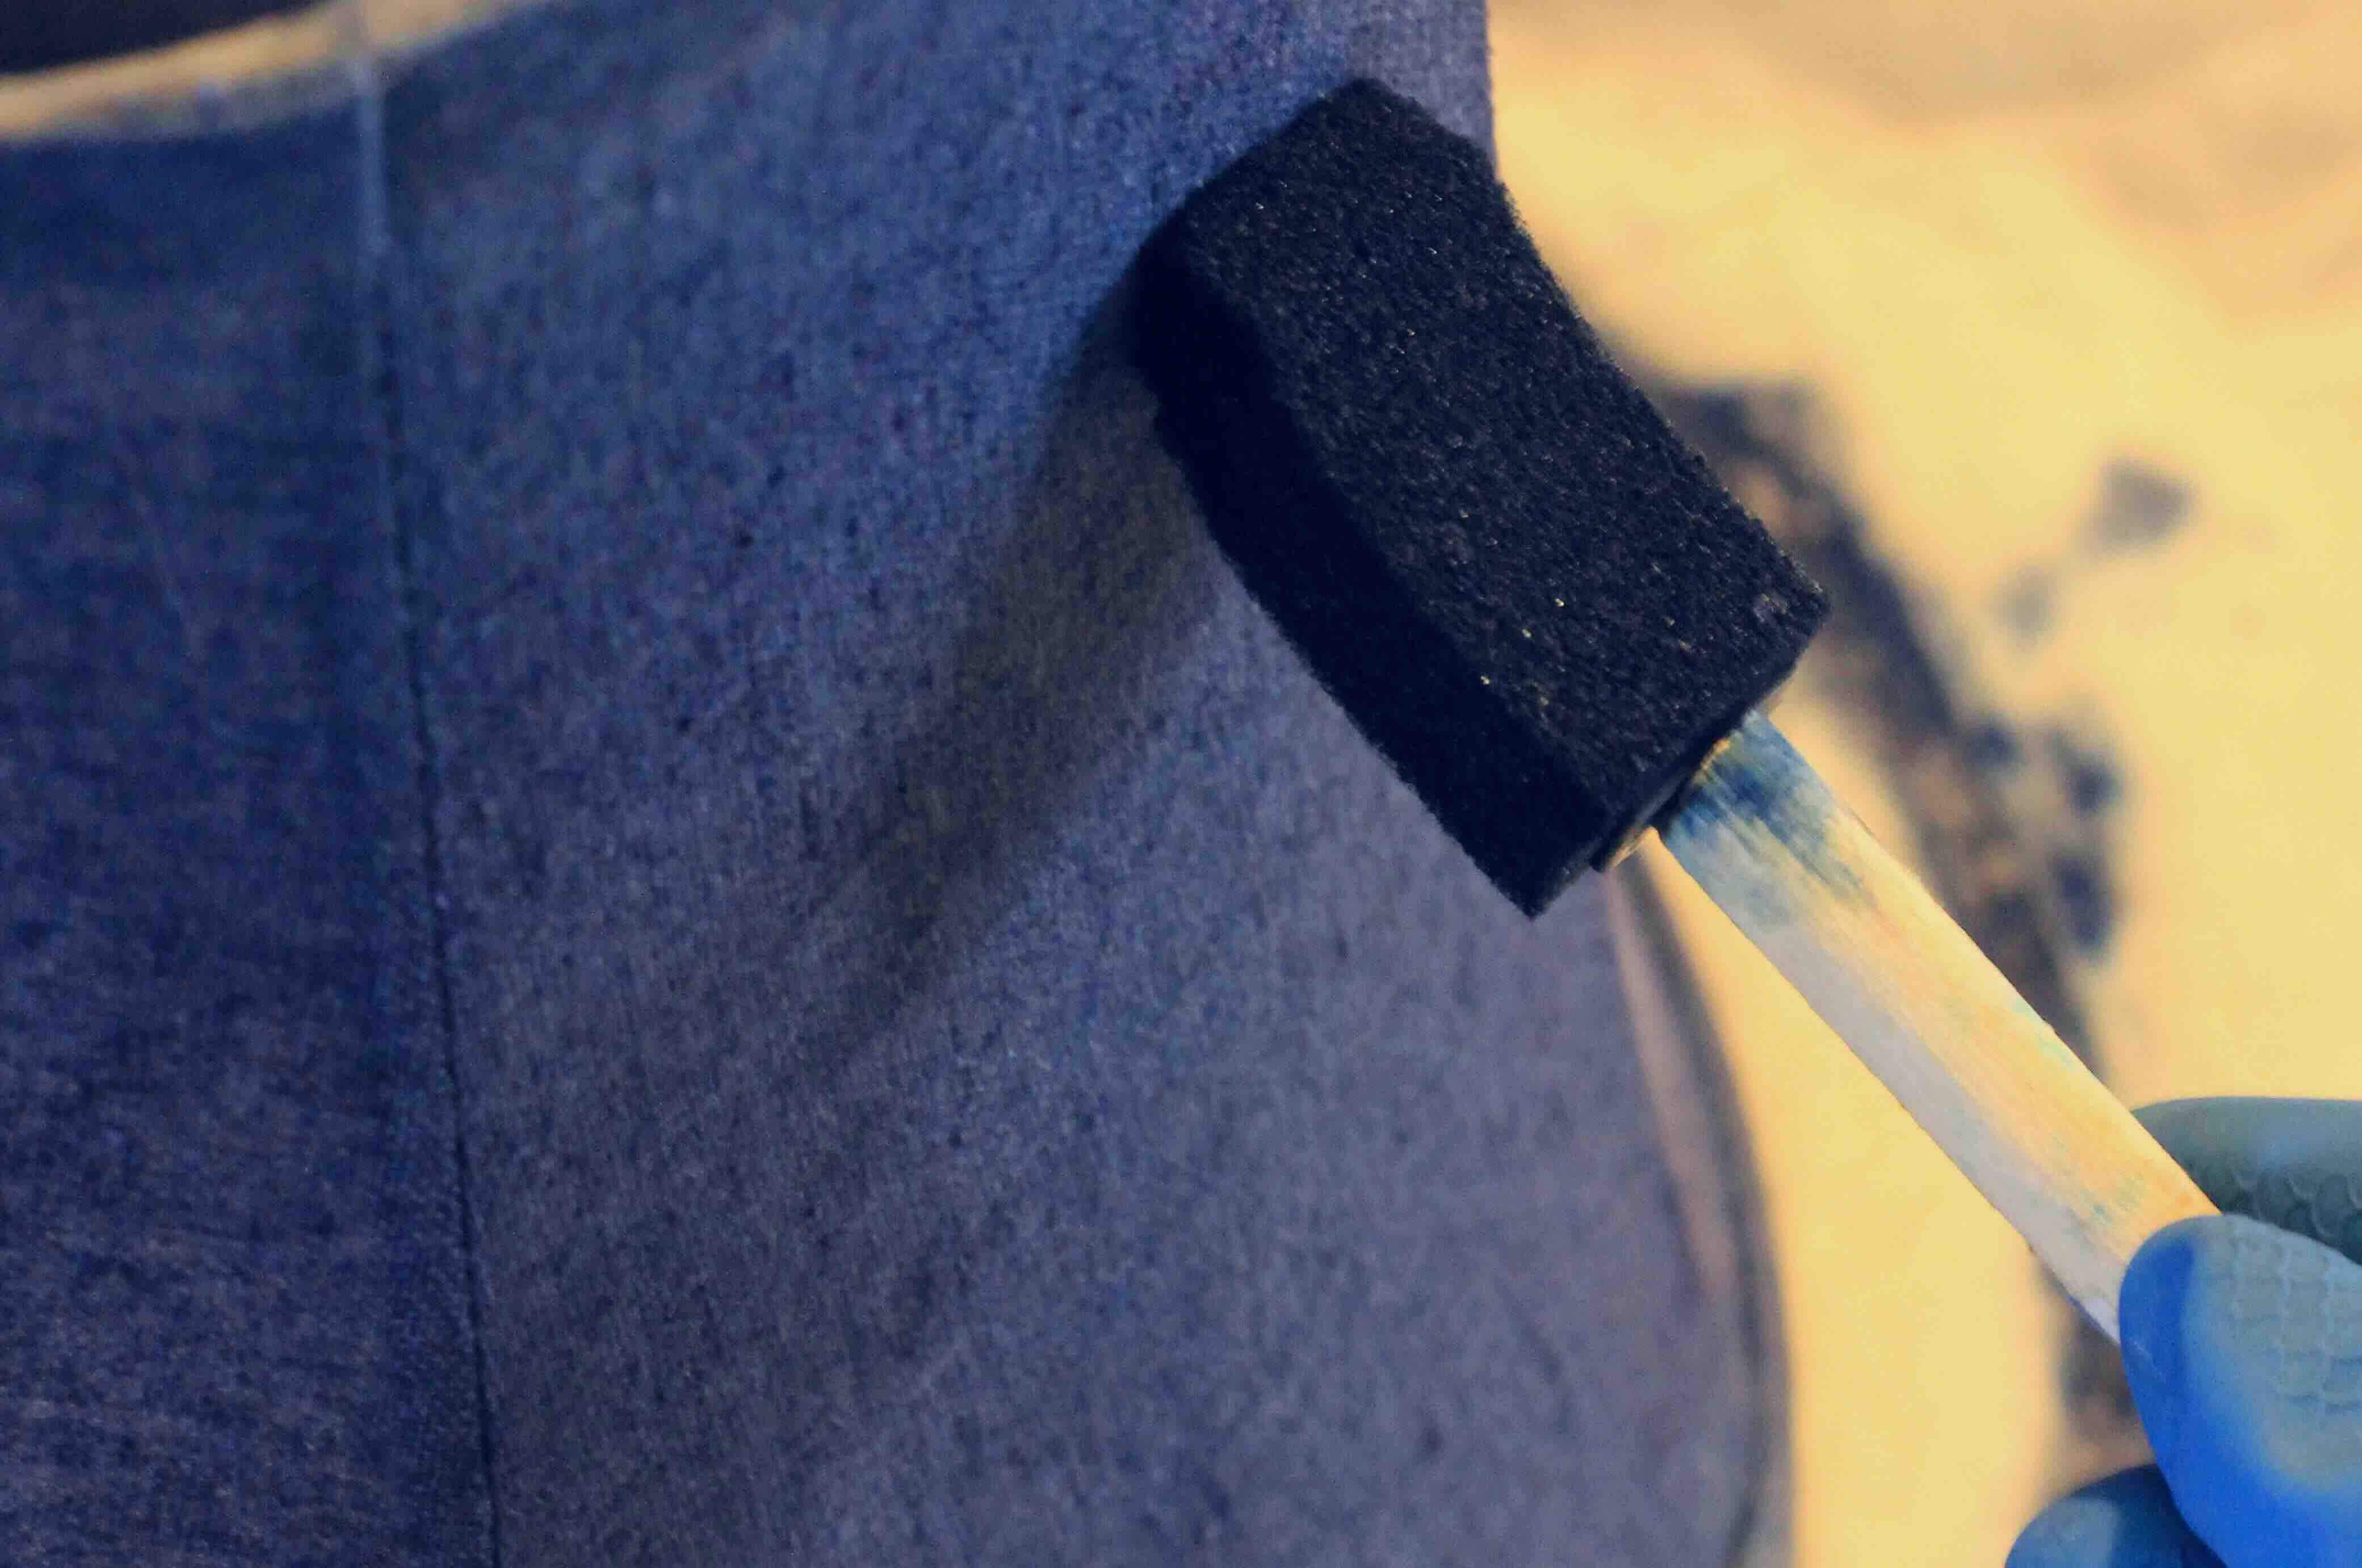
Adding the Dye
The addition of dye marks a pivotal stage in the tie dyeing process, where the transformation from plain fabric to a kaleidoscope of vibrant hues begins. This step requires precision and care to ensure that the dye is evenly distributed, resulting in captivating and enduring color patterns.
Before adding the dye to the washing machine, carefully review the dye manufacturer's instructions to determine the recommended quantity of dye based on the fabric weight and the desired color intensity. It is essential to adhere to these guidelines to achieve optimal color saturation and prevent over- or under-dyeing of the fabric.
Once the appropriate amount of dye has been determined, add it directly to the washing machine's detergent dispenser or designated dye compartment. This method ensures the uniform dispersion of the dye throughout the fabric, promoting consistent color absorption and minimizing the risk of concentrated color deposits in specific areas.
When adding the dye, it is advisable to wear protective gloves to prevent skin contact with the concentrated dye solution. Additionally, exercise caution to avoid splashing or spilling the dye, as it may result in unintended color stains and require meticulous cleaning of the surrounding area.
As the dye is introduced into the washing machine, observe the mesmerizing interplay of colors as they mingle with the fabric, setting the stage for the creation of unique and captivating tie dye patterns. The infusion of vibrant pigments into the fabric fibers signifies the transition from a blank canvas to a vibrant tapestry of personalized artistry.
Throughout the dyeing process, monitor the washing machine to ensure that the dye is thoroughly dispersed and absorbed by the fabric. The rhythmic motion of the washing machine facilitates the diffusion of the dye, allowing it to permeate the fabric and bond with the fibers, resulting in enduring and colorfast designs.
By meticulously adding the dye and overseeing its integration into the fabric, you play a crucial role in shaping the visual impact and longevity of the tie dye creations. The careful execution of this step sets the stage for the emergence of captivating and personalized designs, each infused with a symphony of colors that reflect your artistic vision and creativity.
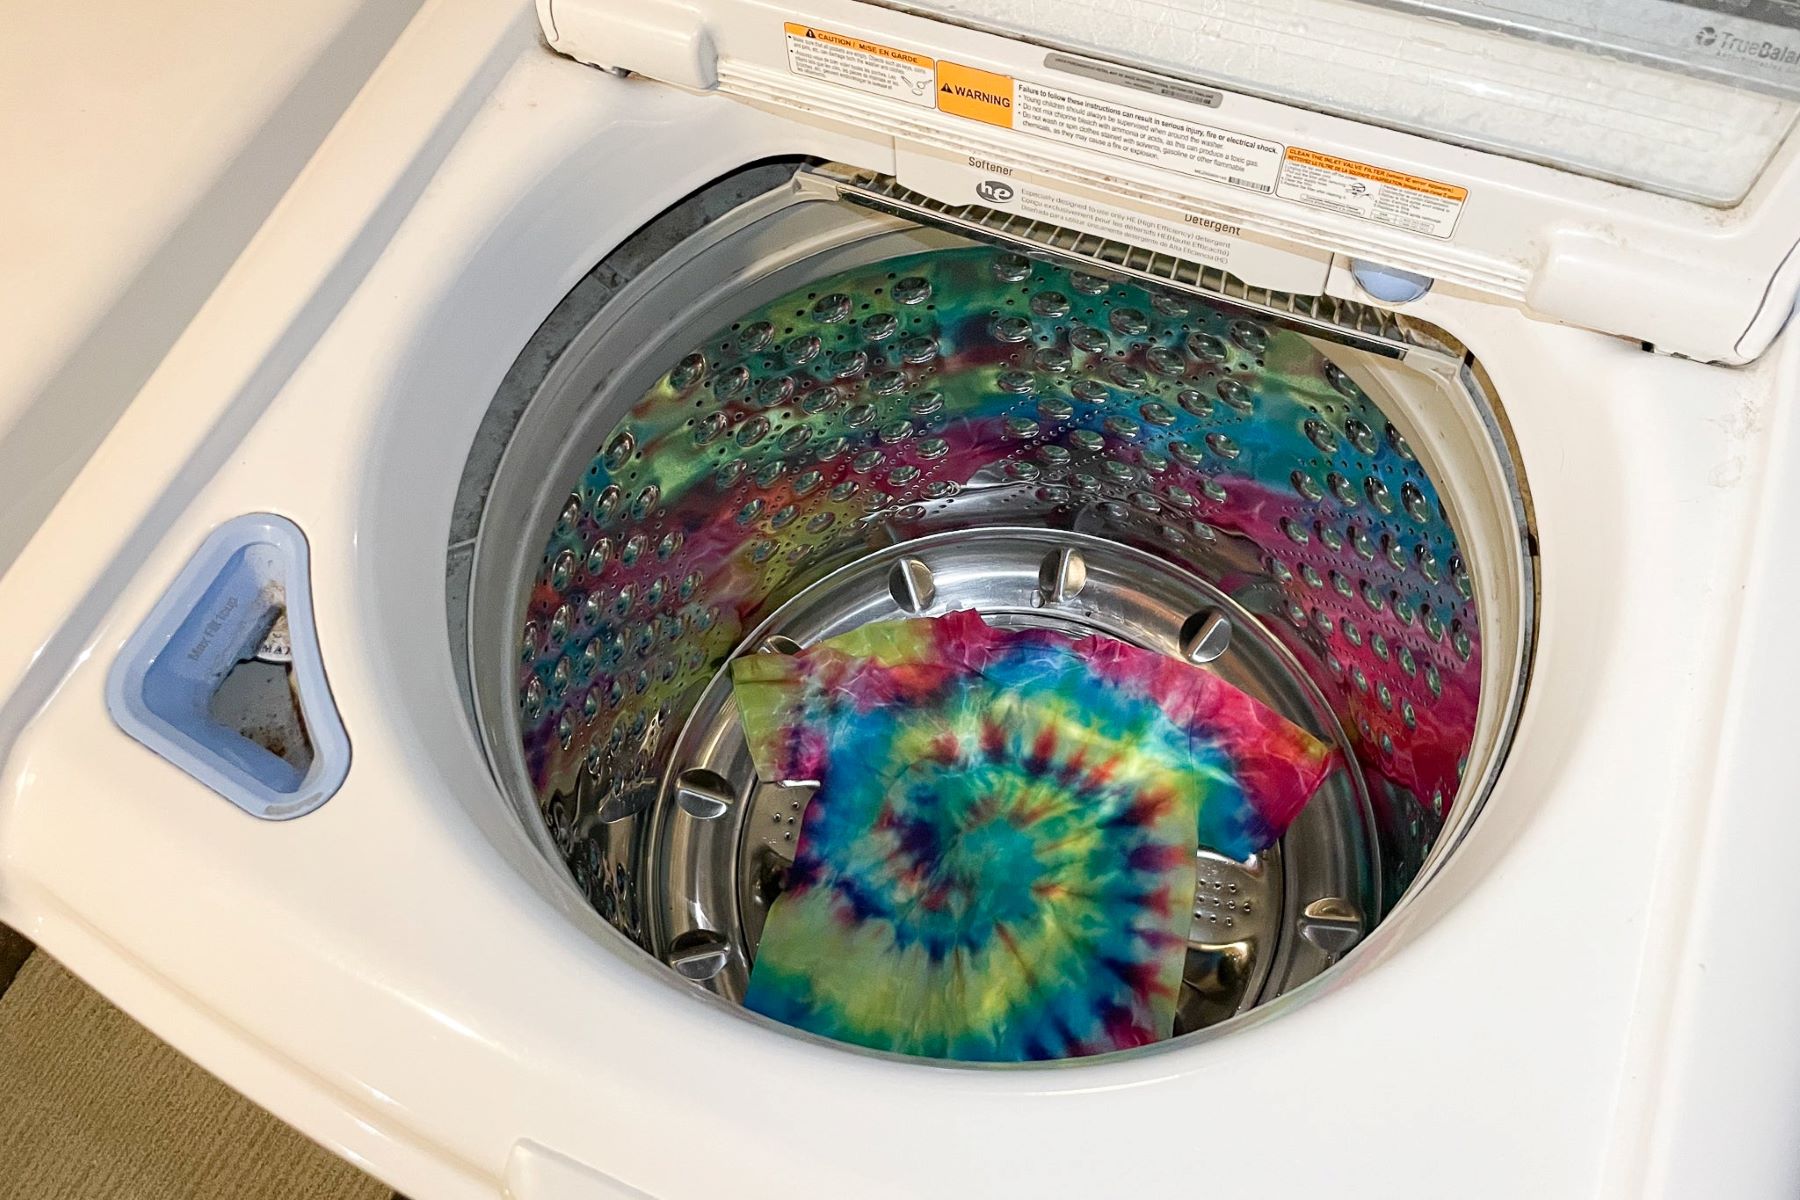
Running the Washing Machine
Once the dye has been added and the fabric is poised for its colorful metamorphosis, it's time to set the washing machine in motion. Initiating the dyeing cycle marks a pivotal phase where the fabric absorbs the vibrant pigments, culminating in captivating tie dye patterns. The rhythmic whir of the washing machine becomes the orchestrator of this transformative process, facilitating the seamless integration of colors into the fabric fibers.
As the washing machine commences its cycle, the fabric undergoes a mesmerizing dance within the drum, ensuring that the dye is thoroughly diffused and absorbed. The gentle yet purposeful agitation of the washing machine promotes the even distribution of the dye, allowing it to permeate the fabric and form a lasting bond with the fibers. This pivotal phase sets the stage for the creation of enduring and colorfast tie dye designs that will adorn the fabric with personalized artistry.
Throughout the dyeing cycle, it is essential to monitor the washing machine, ensuring that the fabric moves freely within the drum. This unrestricted movement is crucial in facilitating uniform dye absorption and preventing the formation of uneven color patches. By maintaining a watchful eye on the dyeing process, you actively contribute to the creation of vibrant and harmonious tie dye patterns that reflect your creative vision.
As the dyeing cycle progresses, the fabric undergoes a captivating transformation, evolving from its original state into a canvas adorned with a symphony of colors. The washing machine's gentle yet purposeful actions work in harmony with the dye, infusing the fabric with vibrant pigments that define the unique tie dye patterns. This harmonious collaboration between the washing machine and the dye culminates in the creation of personalized and enduring tie dye designs that bear the imprint of your artistic expression.
With the dyeing cycle nearing its completion, the fabric emerges as a testament to the captivating fusion of colors and the seamless integration of artistic vision with practical application. The washing machine, serving as the conduit for this transformative process, plays a pivotal role in bringing the tie dye creations to life, infusing them with vibrancy and enduring allure. As the cycle draws to a close, the fabric stands as a testament to the harmonious union of creativity and technique, embodying the captivating essence of tie dye artistry.
Read more: How To Tie A Napkin Knot
Finishing Touches
As the dyeing cycle draws to a close, the fabric emerges as a vibrant tapestry adorned with captivating tie dye patterns. However, the journey towards achieving enduring and visually striking tie dye creations is not complete without the essential finishing touches. These final steps are instrumental in preserving the integrity of the dye, ensuring colorfastness, and enhancing the overall appeal of the tie dyed fabric.
Once the dyeing cycle concludes, carefully remove the tie dyed fabric from the washing machine and gently untie or remove the binding materials, such as rubber bands or strings. This unveiling marks the unveiling of the intricate and personalized tie dye patterns, each a testament to the fusion of creativity and technique. As the fabric is unfurled, the vibrant colors and mesmerizing designs come to life, reflecting the unique artistic vision that guided the tie dyeing process.
Following the removal of the binding materials, rinse the tie dyed fabric under cold water to eliminate any residual dye and facilitate the initial color setting. This rinsing process helps remove excess dye from the fabric, preventing color bleeding and ensuring that the tie dye patterns remain crisp and vibrant. As the water runs clear, the fabric begins to reveal its true colors, each hue a testament to the meticulous dye absorption and the harmonious interplay of pigments.
After rinsing, launder the tie dyed fabric separately using a mild detergent and cold water. This gentle washing cycle further enhances the colorfastness of the tie dye patterns, ensuring that the vibrant hues remain vivid and enduring. Once laundered, carefully inspect the fabric to ensure that the tie dye patterns are preserved and that the colors exhibit the desired intensity and clarity.
Upon completion of the washing cycle, allow the tie dyed fabric to air dry in a well-ventilated area, away from direct sunlight. This gradual drying process allows the colors to set and permeate the fabric fibers, contributing to the longevity and enduring allure of the tie dye patterns. As the fabric dries, the tie dye designs stand as a testament to the seamless fusion of artistic expression and meticulous dye application, each pattern a reflection of the creative journey that culminated in captivating and enduring tie dye creations.
Incorporating these essential finishing touches ensures that the tie dyed fabric embodies the hallmark characteristics of enduring tie dye artistry. The meticulous removal of binding materials, thorough rinsing, gentle laundering, and gradual air drying collectively contribute to the preservation of vibrant colors and the longevity of the tie dye patterns, resulting in personalized creations that exude enduring allure and reflect the artistic vision that inspired their inception.
Frequently Asked Questions about How To Set Tie Dye In The Washing Machine
Was this page helpful?
At Storables.com, we guarantee accurate and reliable information. Our content, validated by Expert Board Contributors, is crafted following stringent Editorial Policies. We're committed to providing you with well-researched, expert-backed insights for all your informational needs.


0 thoughts on “How To Set Tie Dye In The Washing Machine”