Home>Home Appliances>Laundry Appliances>How To Wash Caps In The Washing Machine

Laundry Appliances
How To Wash Caps In The Washing Machine
Modified: August 20, 2024
Learn how to properly wash caps in the washing machine with our expert tips. Keep your laundry appliances in top condition with our helpful guide.
(Many of the links in this article redirect to a specific reviewed product. Your purchase of these products through affiliate links helps to generate commission for Storables.com, at no extra cost. Learn more)
Introduction
Washing caps in a washing machine can be a convenient and effective way to keep your favorite headwear clean and fresh. Whether it's a baseball cap, a trucker hat, or a stylish snapback, regular cleaning helps maintain their shape, color, and overall appeal. However, it's essential to approach this task with care to prevent damage and ensure optimal results.
Properly washing caps in a washing machine involves more than simply tossing them in with your regular laundry. It requires attention to detail, the right materials, and a gentle touch to preserve the integrity of the caps. By following the correct steps and using suitable products, you can effectively remove dirt, sweat, and odors without compromising the quality of your cherished headwear.
In this comprehensive guide, we will walk you through the process of washing caps in a washing machine, providing valuable tips and insights to help you achieve the best outcomes. From gathering the necessary materials to preparing the caps and setting up the washing machine, we'll cover each step in detail. Additionally, we'll discuss the importance of proper drying techniques and offer final tips to ensure that your caps emerge from the washing machine looking as good as new.
Whether you're an avid sports enthusiast, a fashion-conscious individual, or simply someone who appreciates a well-maintained wardrobe, learning how to wash caps in the washing machine can be a game-changer. With the right approach and a little know-how, you can extend the lifespan of your caps and keep them looking sharp for years to come.
So, let's dive into the process and discover the secrets to effectively cleaning and caring for your beloved caps using your trusty washing machine. With the right techniques and a touch of TLC, you'll soon be enjoying fresh, clean caps ready to complement your everyday style.
Key Takeaways:
- Keep your caps looking fresh by washing them in the washing machine with gentle detergent, cool water, and a mesh laundry bag. Proper preparation and drying techniques are essential for maintaining their shape and quality.
- For caps with delicate embellishments, consider hand washing to preserve intricate details. Incorporate regular maintenance, spot-cleaning, and gentle care to extend the lifespan of your beloved headwear.
Read also: 8 Best Cap Washer Ball Cap For 2025
Materials Needed
Before embarking on the journey of washing your caps in the washing machine, it's crucial to gather the necessary materials to ensure a successful and effective cleaning process. Here's a comprehensive list of the items you'll need:
-
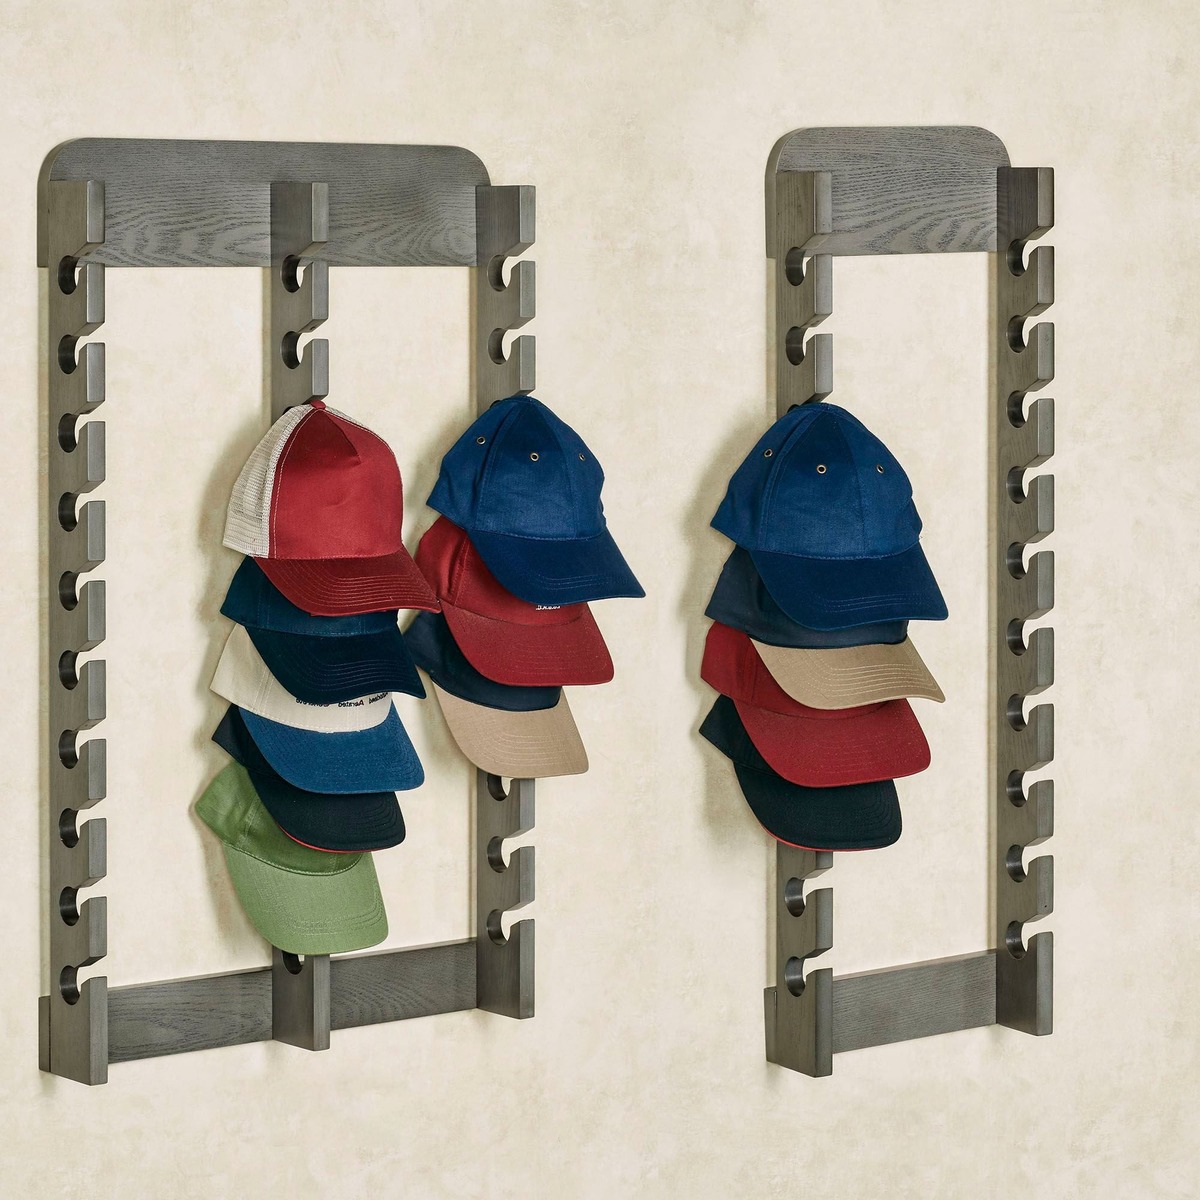
Caps: Gather the caps that require cleaning. Ensure that they are suitable for machine washing, as some delicate or embellished caps may require alternative cleaning methods.
-
Mild Detergent: Select a gentle, color-safe detergent specifically formulated for delicate fabrics. Avoid using harsh detergents or bleach, as they can damage the fabric and affect the color of the caps.
-
Mesh Laundry Bag: Invest in a quality mesh laundry bag designed for washing delicate items such as caps. This will help protect the caps from getting misshapen or tangled during the washing cycle.
-
Soft-Bristled Brush: A soft-bristled brush can be useful for spot-cleaning any stubborn stains or soiled areas on the caps before washing them. Ensure that the brush is gentle to avoid damaging the fabric.
-
Cool Water: It's essential to use cool or lukewarm water for washing caps, as hot water can cause shrinkage and affect the shape of the caps.
-
Fabric Softener (Optional): If desired, you can use a mild fabric softener to help maintain the softness and suppleness of the caps' fabric. However, this is an optional addition and should be used sparingly.
-
Lint-Free Towel: Have a lint-free towel on hand for gently blotting excess water from the caps after washing, aiding in the drying process.
By ensuring that you have these materials readily available, you can proceed with confidence, knowing that you have everything necessary to effectively clean your caps in the washing machine. With the right tools at your disposal, you'll be well-prepared to embark on the next steps of the cap-cleaning process, ensuring that your headwear emerges from the washing machine looking fresh and revitalized.
Preparing the Caps
Before placing your caps in the washing machine, it's essential to prepare them properly to ensure a thorough and gentle cleaning process. Here's a step-by-step guide to preparing your caps for machine washing:
-
Spot-Cleaning: Inspect each cap for any visible stains or soiled areas. Using a soft-bristled brush and a small amount of mild detergent, gently spot-clean the affected areas. Take care not to scrub too vigorously, as this could damage the fabric or cause discoloration. By addressing stains before washing, you can increase the likelihood of successful removal during the cleaning cycle.
-
Shape Restoration: Over time, caps can lose their original shape due to regular wear or storage. To restore the shape of your caps, consider using a cap form or a suitable substitute, such as a clean, rounded object that matches the size of the cap. Place the cap on the form to help maintain its structure during the washing process. This step is particularly important for fitted caps or those with structured brims.
-
Secure Fastenings: If your caps feature adjustable straps, Velcro closures, or any other fastenings, ensure that they are securely fastened before washing. This helps prevent tangling and minimizes the risk of damage to the caps or other items in the washing machine. Additionally, fastening closures can help maintain the shape and integrity of the caps during the cleaning cycle.
-
Use of Mesh Laundry Bag: For an extra layer of protection, consider placing the prepared caps inside a mesh laundry bag. This step is especially beneficial for caps with delicate embellishments or those made from sensitive materials. The mesh bag helps prevent the caps from getting tangled with other items in the washing machine and minimizes the risk of deformation during the cleaning process.
By meticulously preparing your caps for machine washing, you set the stage for a successful and gentle cleaning experience. Addressing stains, restoring shape, securing fastenings, and utilizing a mesh laundry bag all contribute to ensuring that your caps emerge from the washing machine looking clean and revitalized. With these preparatory steps completed, you're now ready to proceed to the next phase of the cap-cleaning process: setting up the washing machine for optimal results.
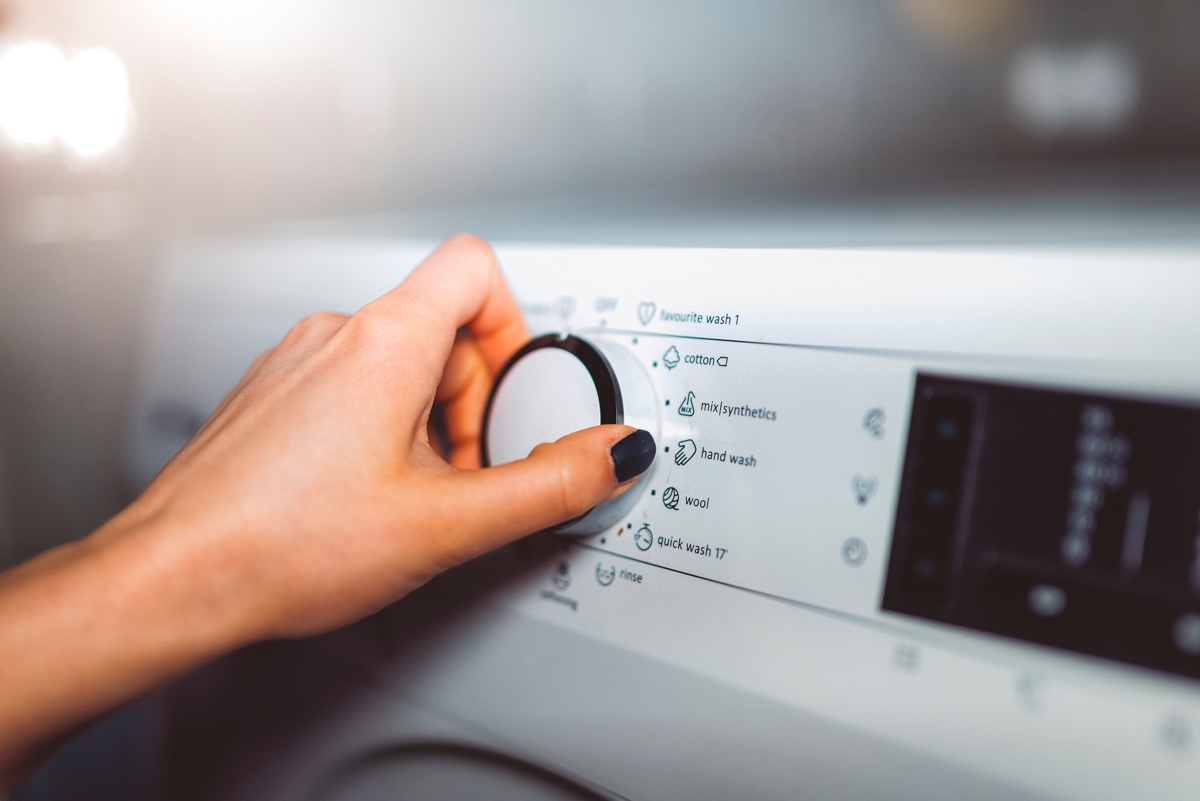
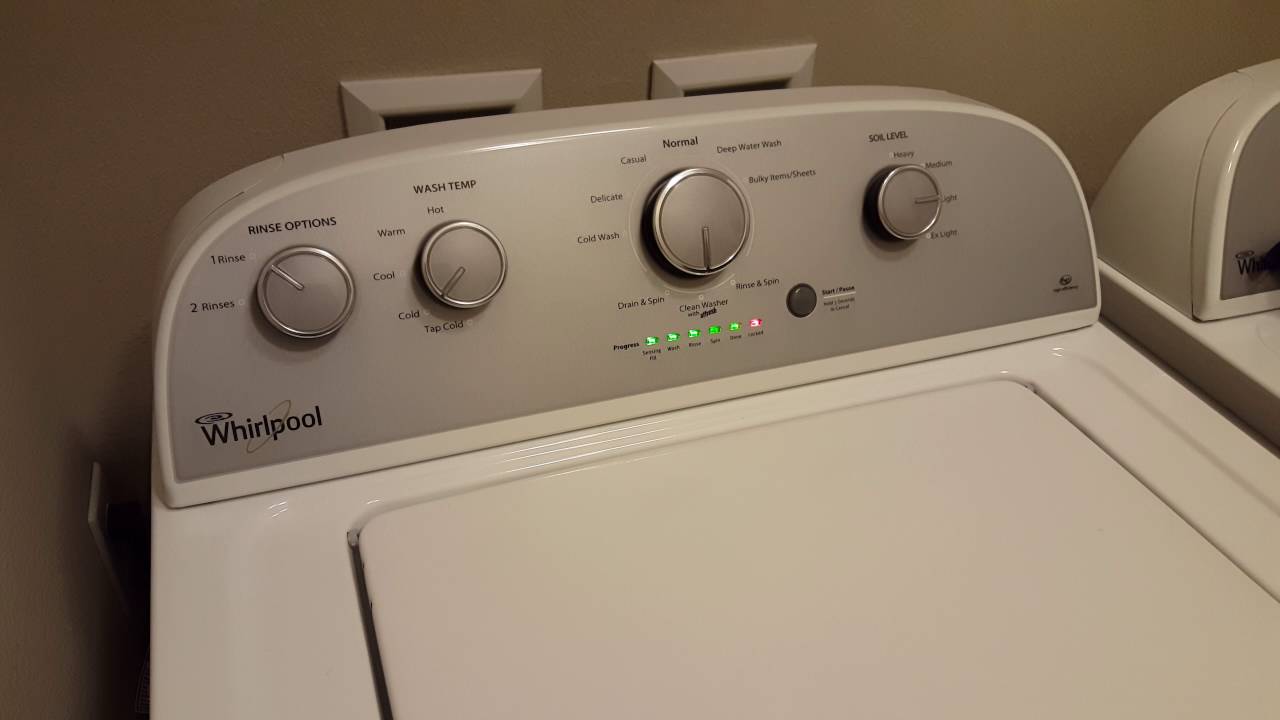
Setting Up the Washing Machine
Properly setting up the washing machine is crucial to ensure that your caps receive the gentle yet effective cleaning they deserve. Follow these steps to prepare the washing machine for washing your caps:
-
Select the Gentle Cycle: When washing caps, it's best to opt for the gentle or delicate cycle on your washing machine. This setting uses slower agitation and lower spin speeds, minimizing the risk of damage to the caps during the cleaning process. If your washing machine offers a specific setting for delicate items or hand washables, this would be the ideal choice for washing caps.
-
Cool Water Temperature: Set the water temperature to cool or lukewarm. Avoid using hot water, as it can cause shrinkage and affect the shape and color of the caps. Cool water is gentle on the fabric and helps maintain the integrity of the caps during the washing cycle.
-
Add Mild Detergent: Measure the appropriate amount of mild detergent for a small to medium-sized load, as recommended by the detergent manufacturer. Avoid overloading the washing machine with too much detergent, as this can lead to excessive sudsing, which may be difficult to rinse out completely.
-
Place the Mesh Laundry Bag: If you opted to use a mesh laundry bag for your caps, place the prepared caps inside the bag and securely zip or fasten it closed. This extra layer of protection helps prevent the caps from getting tangled with other items in the washing machine and minimizes the risk of deformation during the cleaning process.
-
Load the Washing Machine: Once the caps are prepared and the washing machine is set up, carefully place the mesh laundry bag containing the caps into the washing machine. Ensure that the load is balanced to prevent the washing machine from vibrating excessively during the cycle.
-
Optional: Add Fabric Softener: If you choose to use fabric softener, add a small amount to the designated dispenser in the washing machine. However, it's important to use fabric softener sparingly, as excessive use can affect the absorbency of the caps and may leave behind a residue.
By following these steps to set up the washing machine, you create an optimal environment for washing your caps effectively and safely. The gentle cycle, cool water temperature, appropriate detergent usage, and the optional addition of fabric softener all contribute to a meticulous and caring approach to cleaning your cherished headwear. With the washing machine properly prepared, you're now ready to initiate the washing cycle and breathe new life into your caps.
To wash caps in the washing machine, place them in a mesh laundry bag to protect their shape. Use a gentle cycle with cold water and mild detergent. Air dry to prevent shrinking or misshaping.
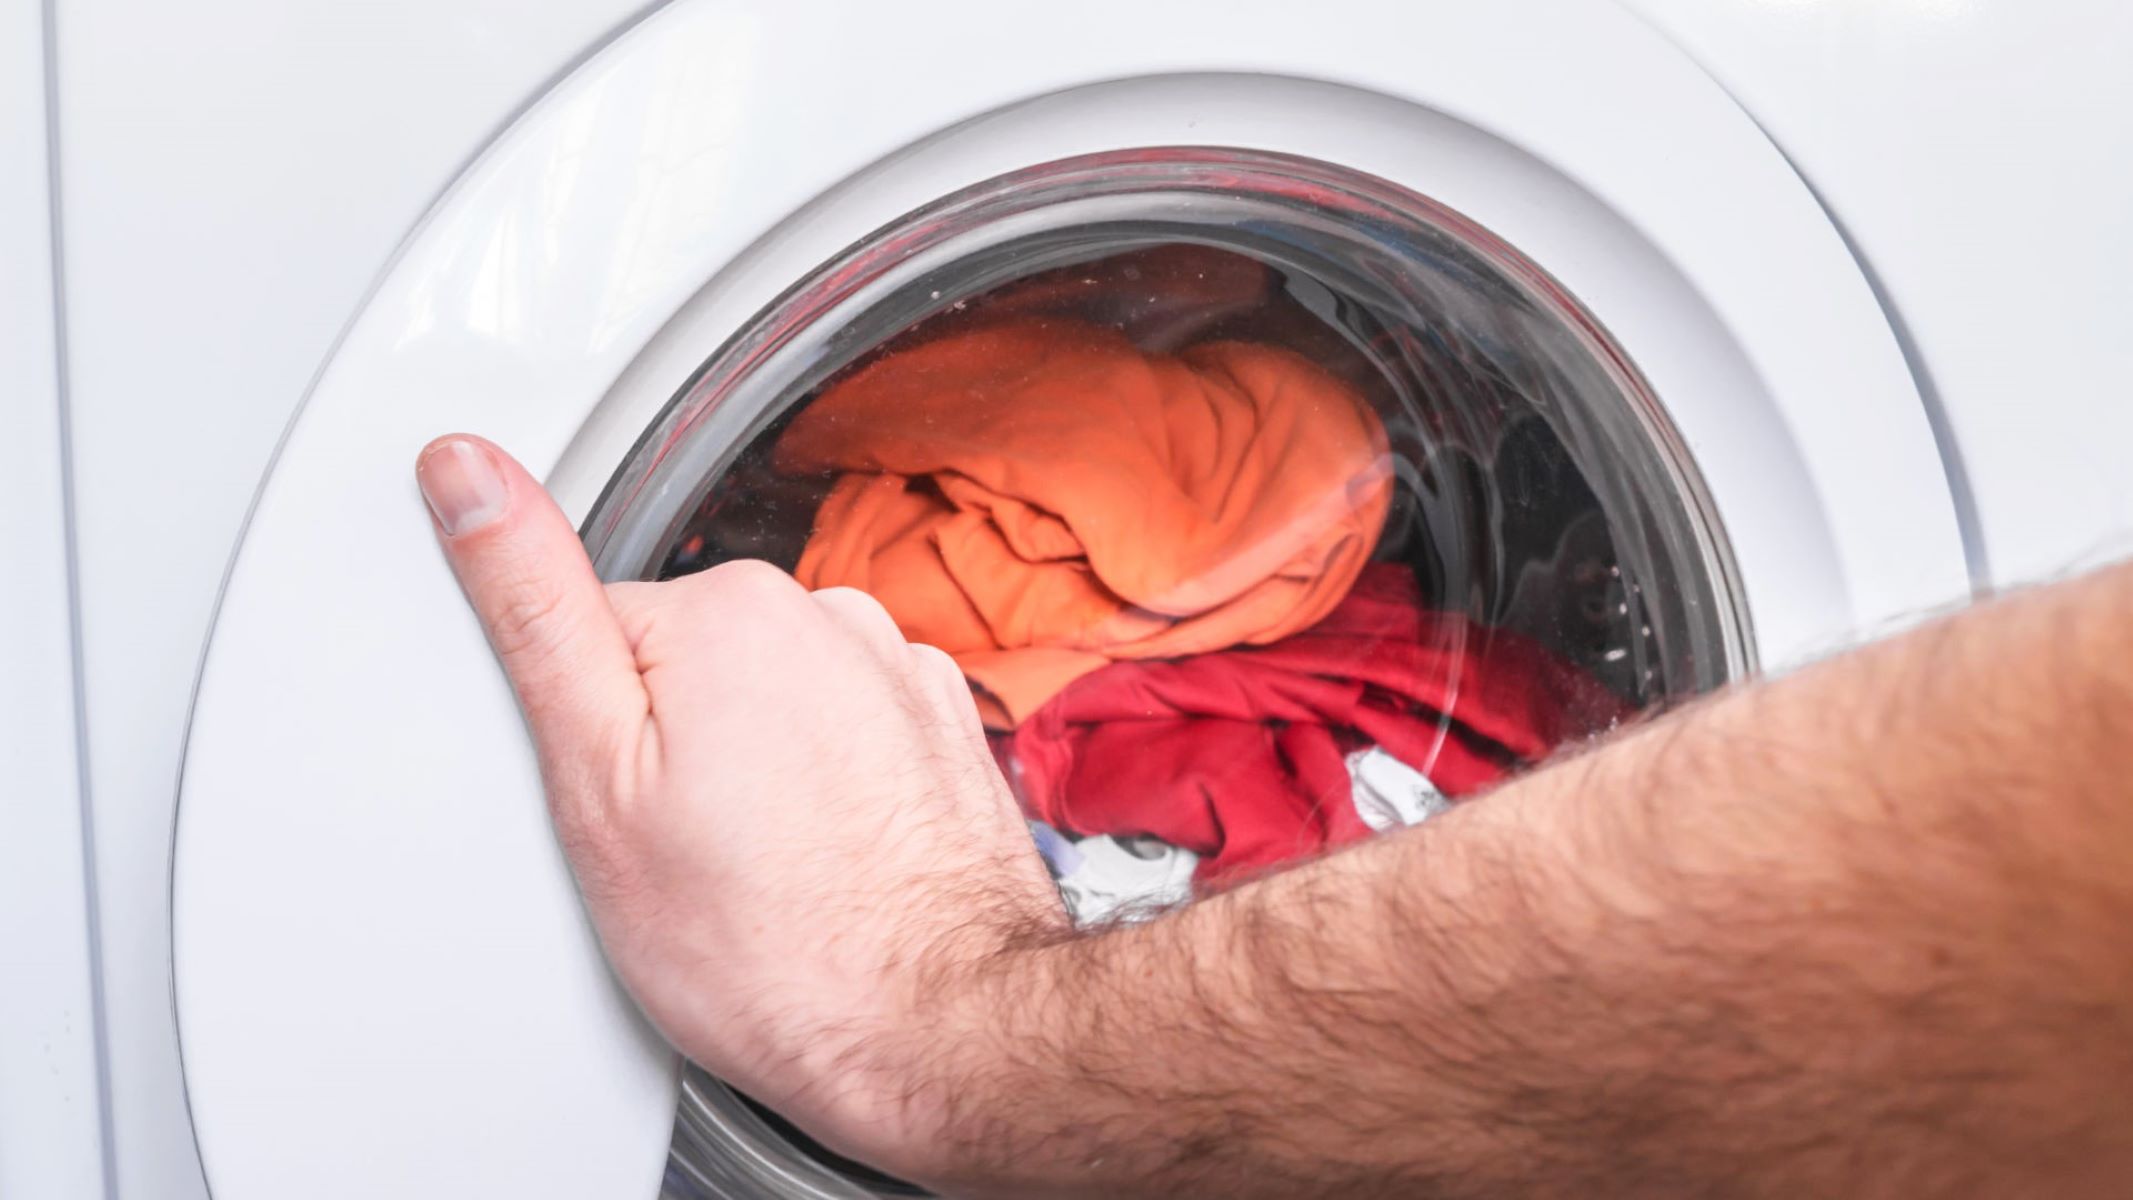
Washing the Caps
With the washing machine set up and the caps prepared for cleaning, it's time to initiate the gentle yet thorough washing process. Follow these steps to ensure that your caps receive the care and attention they deserve during the cleaning cycle:
-
Commence the Washing Cycle: Start the washing machine, allowing it to progress through the gentle or delicate cycle. The slow agitation and lower spin speeds of this setting help protect the caps from excessive movement and potential damage. As the cycle begins, the mild detergent and cool water work together to lift dirt, sweat, and odors from the fabric without compromising its integrity.
-
Monitor the Washing Process: While the washing machine is in operation, it's advisable to keep an eye on the cycle, especially during the initial stages. This allows you to ensure that the caps remain secure inside the mesh laundry bag and that the washing machine functions smoothly without any irregular vibrations or disturbances.
-
Exercise Patience: As the washing machine continues its cycle, exercise patience and allow the cleaning process to unfold at a gentle pace. Avoid the temptation to interrupt the cycle prematurely, as this could impact the effectiveness of the cleaning and rinsing stages. By allowing the cycle to run its course, you give the caps the best chance of emerging thoroughly cleaned and revitalized.
-
Rinse and Spin: Once the washing cycle is complete, the washing machine will proceed to the rinsing and spinning phases. During these stages, the detergent is thoroughly rinsed from the caps, and excess water is spun out, preparing the caps for the subsequent drying process. The rinsing and spinning stages are essential for ensuring that no detergent residue remains on the caps, which could affect their appearance and texture.
-
Carefully Remove the Caps: Once the washing, rinsing, and spinning phases are complete, carefully remove the mesh laundry bag containing the caps from the washing machine. Handle the caps with care, avoiding any unnecessary squeezing or wringing, which could distort their shape or fabric. Instead, gently transfer the caps to a clean, lint-free towel for the next phase of the cleaning process.
By following these steps, you can effectively wash your caps in the washing machine, ensuring that they receive the gentle yet thorough cleaning they need to look their best. With the washing process completed, the next phase involves carefully drying the caps to preserve their shape and quality.
Drying the Caps
After the gentle yet effective washing process, it's crucial to focus on the proper drying of your caps to preserve their shape, fabric, and overall quality. Here's a detailed guide on how to ensure that your caps dry thoroughly and maintain their original form:
-
Blot Excess Water: Upon removing the caps from the washing machine, gently blot them with a clean, lint-free towel to absorb excess water. Avoid wringing or squeezing the caps, as this can distort their shape and fabric. Instead, apply gentle pressure to remove moisture without compromising the integrity of the caps.
-
Air Drying: The most recommended method for drying caps is air drying. Choose a well-ventilated area away from direct sunlight to allow the caps to air dry naturally. Avoid placing them on radiators or using a tumble dryer, as excessive heat can cause shrinkage and damage the fabric.
-
Maintain Shape: To ensure that the caps maintain their original shape during the drying process, consider using a cap form or a clean, rounded object that matches the size of the caps. Place the caps on the form and gently adjust them to their proper shape, allowing them to dry in their intended form.
-
Patience is Key: Allow the caps to air dry at their own pace, exercising patience throughout the process. Rushing the drying stage can lead to misshapen caps and compromised fabric. By allowing them to dry naturally, you help maintain their structure and overall appearance.
-
Check for Dryness: Periodically check the caps for dryness, gently touching the fabric to assess its moisture level. Depending on the material and environmental conditions, the drying time may vary. Ensure that the caps are completely dry before storing or wearing them to prevent any residual moisture from causing mildew or odors.
By following these steps, you can effectively dry your caps after washing, ensuring that they maintain their original shape, fabric quality, and overall appeal. With the proper drying techniques in place, your caps will emerge from the cleaning process looking fresh, clean, and ready to complement your style.
Remember, proper drying is essential for preserving the integrity of your caps and ensuring that they remain in top condition for future wear. With the washing and drying process complete, you can confidently enjoy your revitalized caps, knowing that they have received the care and attention they deserve.
Final Tips and Considerations
-
Preserving Embellishments: If your caps feature delicate embellishments such as embroidery, patches, or decorative elements, consider hand washing them instead of using the washing machine. This extra precaution can help safeguard the intricate details and prevent damage during the cleaning process.
-
Regular Maintenance: Incorporate cap cleaning into your regular laundry routine to prevent dirt and sweat from accumulating. By addressing stains and odors promptly, you can maintain the freshness and appearance of your caps without the need for intensive cleaning.
-
Storage Practices: When not in use, store your caps in a well-ventilated area away from direct sunlight to prevent discoloration and maintain their shape. Avoid stacking heavy items on top of your caps, as this can cause deformation over time.
-
Spot-Cleaning: For minor stains or localized dirt, spot-cleaning with a gentle detergent and soft brush can be an effective way to maintain the cleanliness of your caps between thorough washings. This targeted approach helps address specific areas without subjecting the entire cap to a full washing cycle.
-
Quality Inspection: Periodically inspect your caps for signs of wear, loose stitching, or fading. Addressing these issues promptly can help prolong the lifespan of your caps and prevent minor concerns from escalating into more significant problems.
-
Avoid Harsh Chemicals: Refrain from using harsh chemicals, bleach, or strong cleaning agents on your caps, as these can cause discoloration, fabric damage, and affect the overall quality of the headwear.
-
Consult Manufacturer Guidelines: If your caps come with specific care instructions from the manufacturer, be sure to follow these guidelines for cleaning and maintenance. Adhering to the manufacturer's recommendations can help preserve the integrity of the caps and prevent unintended damage.
-
Consider Hand Washing: While machine washing can be convenient, hand washing your caps in a basin of cool water with mild detergent is an alternative method that allows for greater control over the cleaning process. This approach is particularly beneficial for delicate or vintage caps that require extra care.
By incorporating these final tips and considerations into your cap-cleaning routine, you can maintain the quality, appearance, and longevity of your cherished headwear. With a blend of attentive care, gentle cleaning methods, and proactive maintenance, your caps can continue to complement your style and make a lasting impression for years to come.
Frequently Asked Questions about How To Wash Caps In The Washing Machine
Was this page helpful?
At Storables.com, we guarantee accurate and reliable information. Our content, validated by Expert Board Contributors, is crafted following stringent Editorial Policies. We're committed to providing you with well-researched, expert-backed insights for all your informational needs.


0 thoughts on “How To Wash Caps In The Washing Machine”