Articles
How To Move Washer
Modified: August 25, 2024
Learn the best method for moving a washer with these informative articles. Get tips and advice on safely transporting your washing machine to your new home.
(Many of the links in this article redirect to a specific reviewed product. Your purchase of these products through affiliate links helps to generate commission for Storables.com, at no extra cost. Learn more)
Introduction
When it comes to moving heavy appliances like a washer, proper planning and careful execution are key. Whether you’re relocating to a new home or simply rearranging your laundry area, moving a washer requires some preparation to ensure a smooth and hassle-free process.
In this article, we will guide you through the steps of moving a washer safely and efficiently. From gathering the necessary tools and supplies to reconnecting the washer in its new location, we’ll provide you with valuable tips and insights to make the process as seamless as possible.
Before you embark on moving your washer, there are a few considerations to keep in mind. Firstly, ensure that you have the physical strength and capability to handle the weight and size of the washer. If you have any concerns about your ability to safely move the washer yourself, it’s best to seek assistance from a professional moving company.
Additionally, it’s important to familiarize yourself with the specific instructions and recommendations provided by the washer manufacturer. Different models may have unique requirements, and following these guidelines will help prevent damage to the machine and ensure its proper functioning.
Now that we’ve covered the preliminary considerations, let’s move on to the next section, where we’ll discuss the tools and supplies you’ll need for a successful washer move.
Key Takeaways:
- Moving a washer requires careful planning, proper tools, and attention to detail. Safely disconnecting, preparing, and securing the washer during transportation are crucial steps to ensure its integrity and functionality in its new location.
- Testing the washer after moving is essential to identify any potential issues or malfunctions. Listening for abnormal noises, checking for leaks, and ensuring proper functioning will help address any problems early on and prevent further complications.
Read more: How To Move A Stackable Washer Dryer
Considerations for Moving a Washer
Moving a washer requires careful planning and consideration to ensure that the task is carried out safely and effectively. Here are some key factors to keep in mind before you begin the moving process:
- Size and weight: Washers can be heavy and bulky appliances, particularly top-loading models. Before attempting to move the washer, make sure you have the physical strength and proper lifting techniques to handle its size and weight. If you have any doubts, it’s advisable to enlist the help of a professional mover.
- Accessibility: Assess the layout of your home to determine the most efficient path for moving the washer. Take note of any narrow doorways, stairwells, or tight corners that may pose difficulties during the moving process. Clear any obstacles or furniture that may hinder the movement of the washer.
- Water and electricity: Before moving the washer, ensure that the water supply and electricity are properly disconnected. This will prevent any accidents or damage during the moving process. Follow the manufacturer’s instructions for safely disconnecting the water and electricity connections.
- Transportation: Decide whether you will be moving the washer within your home or to a new location. If you’re relocating, consider whether you have the appropriate vehicle or trailer to transport the washer. Secure the washer properly to prevent it from shifting or tipping during transportation.
- Protective measures: Protect the washer from damage by using padding and securing it with straps or ropes. Use blankets or towels to cover delicate parts of the machine and prevent scratches or dents. Avoid placing heavy objects or other items on top of the washer during the moving process.
By taking these considerations into account, you can ensure a smoother and safer moving experience for your washer. Now that we’ve discussed the important factors to consider, let’s move on to the next section, where we’ll discuss the tools and supplies you’ll need to gather before moving the washer.
Gather Necessary Tools and Supplies
Before you begin moving your washer, it’s important to gather the necessary tools and supplies to ensure a smooth and efficient process. Here’s a list of essential items you’ll need:
- Appliance dolly or hand truck: This is an essential tool for moving heavy appliances like a washer. An appliance dolly or hand truck with straps will make it easier to transport the washer safely and reduce the risk of injury.
- Furniture sliders or moving blankets: These tools will help protect your floors and make it easier to maneuver the washer. Furniture sliders can be placed under the washer’s feet to slide it across the floor without causing damage. Moving blankets can be used to wrap and protect the washer during transportation.
- Adjustable wrench or pliers: You’ll need these tools to disconnect the water supply hoses from the washer. Make sure you have the correct size wrench or pliers to loosen the connections without damaging them.
- Bucket or towels: Have a bucket or towels ready to collect any excess water that may spill when disconnecting the water supply hoses. This will prevent any water damage to your floors.
- Zip ties or tape: These can be used to secure the washer’s power cord and hoses during the moving process. Keeping them neatly tied or taped will prevent any tangled wires or hoses.
- Protective gloves: It’s important to protect your hands during the moving process. Wear sturdy gloves to provide a better grip and prevent any injuries.
- Measuring tape: Have a measuring tape on hand to measure doorways and narrow spaces to ensure the washer will fit through them. This will help you plan the best route for moving the washer.
- Straps or bungee cords: Use straps or bungee cords to secure the washer on the dolly or hand truck during transportation. This will prevent it from shifting or falling off.
By gathering these necessary tools and supplies, you’ll be well-prepared to tackle the task of moving your washer. In the next section, we’ll discuss the steps involved in disconnecting the washer properly.
Disconnecting the Washer
Before you can safely move your washer, you need to disconnect it properly. This involves disconnecting the water supply hoses, unplugging the power cord, and ensuring that all connections are secure. Follow these steps to disconnect your washer:
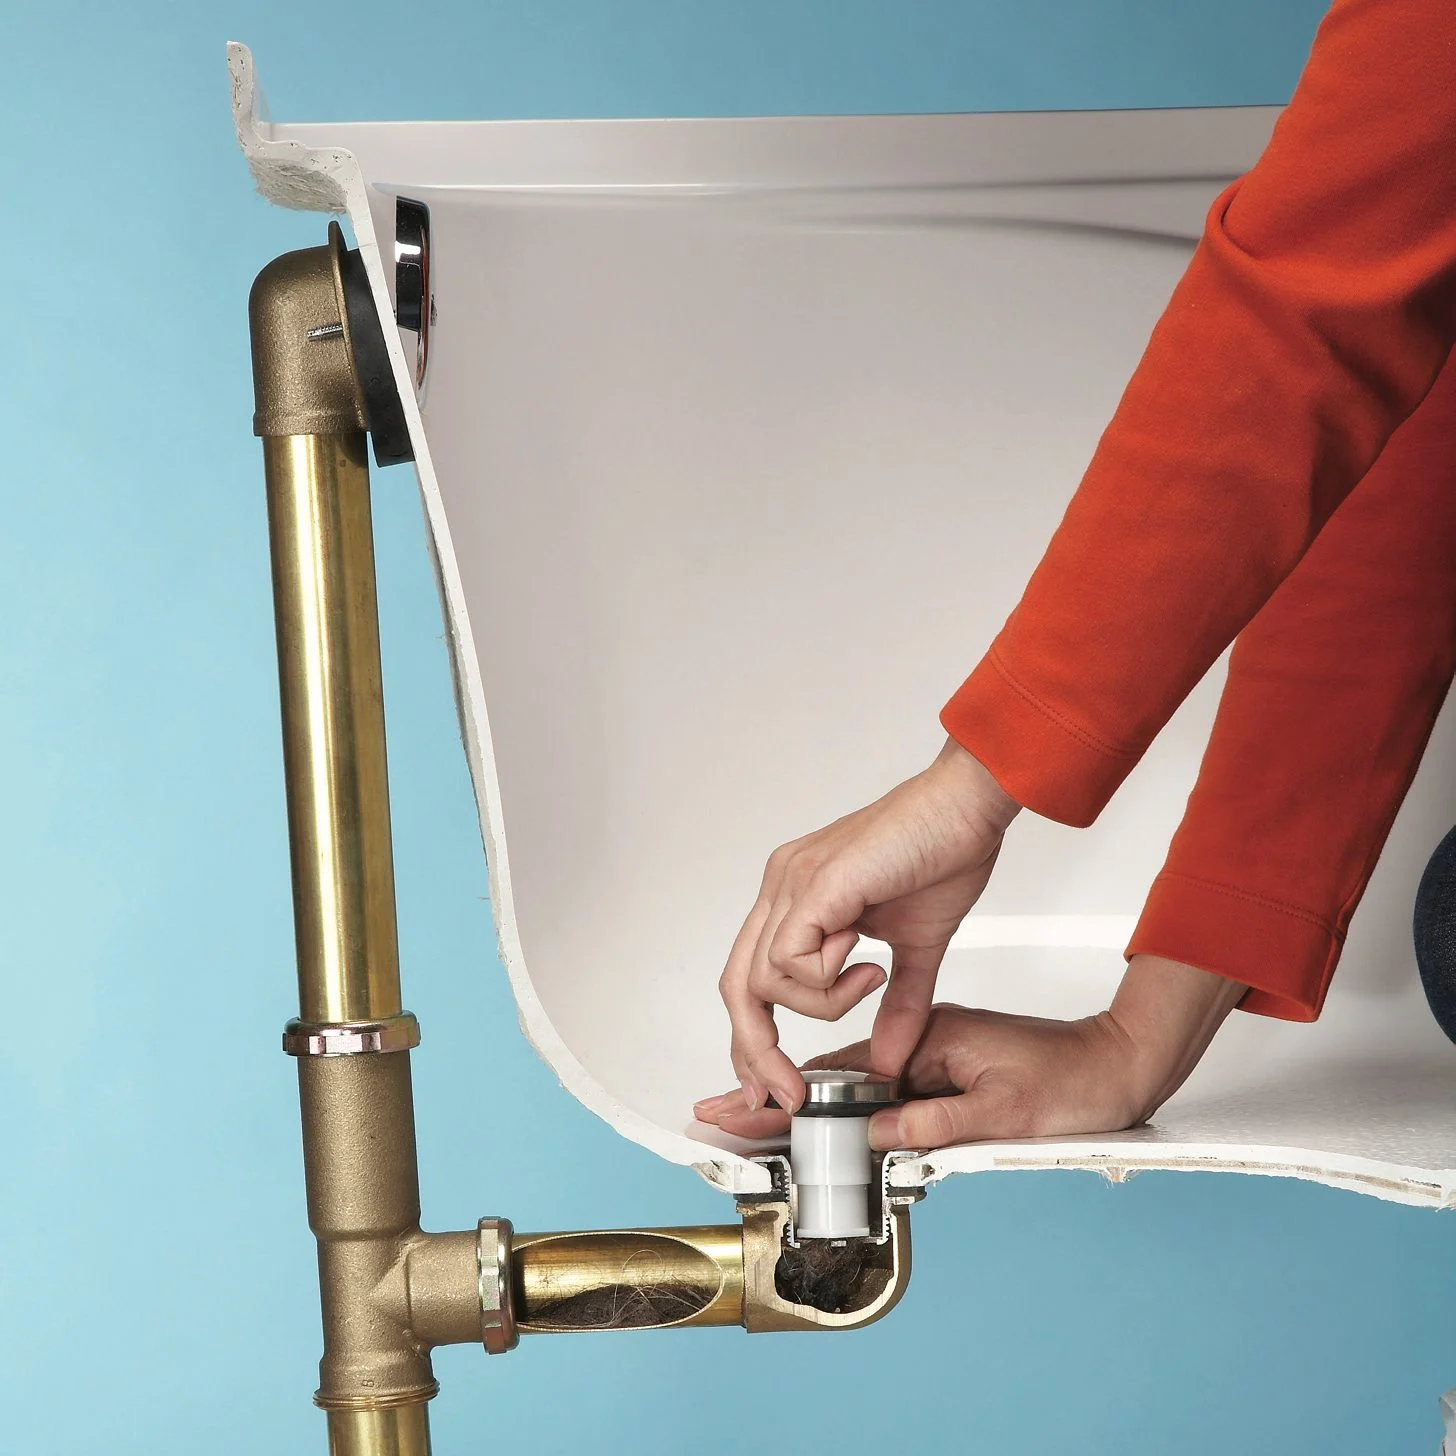
- Turn off the water supply: Locate the shut-off valves behind the washer and turn them clockwise to shut off the water supply. This will prevent any water from flowing into the machine during the disconnection process.
- Unplug the power cord: Locate the washer’s power cord and unplug it from the electrical outlet. This will ensure your safety and prevent any electrical mishaps during the moving process.
- Remove the water supply hoses: Using an adjustable wrench or pliers, loosen the nuts connecting the water supply hoses to the back of the washer. Gently twist the nuts counterclockwise until they are completely loose. Once the nuts are loose, you can carefully remove the hoses from the back of the washer.
- Drain excess water: As you disconnect the water supply hoses, it’s common for some water to remain in the hoses and washer. You can either pour out the excess water from the hoses into a bucket or let it drain into a nearby sink or floor drain. Use towels to soak up any remaining water and ensure the area is dry before moving the washer.
- Secure the cords and hoses: Once the water supply hoses are disconnected, secure them using zip ties or tape. Wrap the power cord and hoses together, making sure they are not tangled or dangling. This will prevent any tripping hazards or damage to the cords and hoses.
- Inspect for any damage: Take a moment to visually inspect the water supply hoses for any signs of wear, such as cracks or leaks. If you notice any damage, it’s best to replace the hoses before reconnecting the washer.
By following these steps, you can disconnect your washer safely and prepare it for the moving process. In the next section, we’ll discuss how to properly prepare the washer for moving to prevent any damage during transportation.
Preparing the Washer for Moving
Before you move your washer, it’s important to take steps to ensure that it is properly prepared to withstand the transportation process. By following these precautions, you can help prevent any damage or malfunctions that may occur during the move:
- Clean the washer: Give your washer a thorough cleaning before moving it. Remove any dirt, debris, or detergent residue from the drum and external surfaces. This will not only keep your washer in good condition but also prevent any potential mess during the move.
- Secure the drum: If your washer has a drum inside, it’s important to secure it properly. Most modern washers have a transit bolt or disk that needs to be inserted to immobilize the drum during transportation. Consult your washer’s manual to locate and install the necessary parts to secure the drum. This will prevent any internal damage to the washer’s components.
- Protect delicate parts: Take extra care to protect any delicate or vulnerable parts of the washer. Use bubble wrap or moving blankets to cover the control panel, knobs, and other fragile components. This will help safeguard them from scratches or damage.
- Secure the door: If your washer has a door, make sure it is properly secured during transportation. Use tape or a bungee cord to hold the door closed to prevent it from swinging open or accidentally getting damaged during the move.
- Remove detachable parts: If your washer has any detachable parts, such as detergent or fabric softener dispensers, remove them and pack them separately. This will prevent them from getting lost or damaged during the move.
- Use moving blankets or padding: Wrap the entire washer with moving blankets or padding to provide an extra layer of protection. Secure the blankets with tape or rope to ensure that they stay in place during transportation.
- Keep the washer upright: It’s crucial to transport the washer in an upright position to avoid any mechanical problems. Tipping the washer on its side or back can cause damage to internal parts. Use a dolly or hand truck to carefully transport the washer, keeping it in an upright position at all times.
By taking the time to properly prepare your washer for moving, you can help ensure its safety and integrity during transportation. In the next section, we’ll discuss the steps involved in physically moving the washer to its new location.
When moving a washer, always disconnect the power and water supply, secure the drum, and use a dolly or hand truck to transport it safely.
Read more: How Do I Stop My Stacked Washer From Moving?
Moving the Washer
With the necessary preparations in place, it’s time to move your washer to its new location. Follow these steps to safely transport the washer:
- Secure the dolly or hand truck: Place the washer securely on the dolly or hand truck, ensuring that it is centered and balanced. Use straps or bungee cords to secure the washer to the dolly, preventing it from shifting or falling during the move.
- Plan the route: Before you start moving the washer, plan out the route you will take. Clear any obstacles, such as furniture or rugs, along the path to ensure a smooth and unobstructed passage.
- Use furniture sliders or moving blankets: If needed, place furniture sliders under the feet of the washer to make it easier to maneuver. If you encounter any steps or uneven surfaces, use moving blankets to create a smooth surface for ease of movement.
- Move with caution: Slowly and steadily move the washer, using the dolly or hand truck to support its weight. Take care to navigate corners and narrow spaces, ensuring that the washer doesn’t bump into walls or doorframes.
- Ask for assistance if needed: If the washer is too heavy or if you are unable to safely move it on your own, don’t hesitate to ask for help. Enlist the assistance of a friend or family member to ensure the safe and efficient transport of the washer.
- Take breaks if necessary: Moving a washer can be physically demanding. If you feel fatigued or strained, take short breaks to rest and avoid overexertion. Pace yourself to prevent injuries.
- Keep the washer upright: Throughout the move, make sure the washer remains in an upright position. Avoid tilting or tipping the washer, as this can cause damage to the internal components.
By following these steps and exercising caution, you can successfully move your washer to its new location. In the next section, we’ll discuss the steps involved in reconnecting the washer once it has been moved.
Reconnecting the Washer
After successfully moving your washer to its new location, the next step is to reconnect it. Follow these steps to ensure a proper and secure reconnection:
- Position the washer: Carefully position the washer in its designated spot, ensuring that it is level and stable. Use a level to check if the washer is balanced, adjusting the feet if necessary.
- Reattach the water supply hoses: Take the water supply hoses that you previously disconnected and reattach them to the appropriate connections on the back of the washer. Use an adjustable wrench or pliers to tighten the nuts, ensuring a secure and leak-free connection.
- Turn on the water supply: Locate the shut-off valves that you previously turned off and turn them counterclockwise to restore the water supply. Check for any leaks around the hose connections and tighten them if necessary.
- Plug in the power cord: Insert the power cord into a nearby electrical outlet. Ensure that the outlet is grounded and compatible with the washer’s power requirements.
- Check for proper connections: Double-check all the connections to ensure that they are secure and properly attached. This includes the water supply hoses, power cord, and any other connections specific to your washer model.
- Remove any transit bolts or disks: If you secured the drum of the washer with transit bolts or disks during the moving process, now is the time to remove them. Follow the instructions provided by the manufacturer to safely remove these parts.
- Test the washer: Before starting a full load of laundry, run a quick test cycle to ensure that the washer is working properly. Check for any unusual noises, leaks, or error messages on the display panel. If you notice any issues, consult the manufacturer’s manual or contact customer support for assistance.
By following these steps, you can successfully reconnect your washer and ensure that it is ready for use in its new location. In the next section, we’ll discuss the importance of testing the washer after it has been moved.
Testing the Washer after Moving
After reconnecting the washer in its new location, it’s crucial to test it to ensure that it is functioning properly. Testing the washer will help you identify any potential issues or malfunctions that may have occurred during the moving process. Follow these steps to test your washer:
- Run a short test cycle: Select a short and simple cycle on your washer, such as a quick wash or rinse cycle. Follow the instructions provided by the manufacturer to start the cycle.
- Listen for any abnormal noises: During the test cycle, listen for any unusual noises coming from the washer. If you hear excessive rattling, banging, or grinding sounds, there may be an issue with the machine’s internal components.
- Observe for leaks: Keep an eye out for any leaks around the water supply hose connections or the washer’s drum. Even small drips or seepage should be addressed to prevent further damage or water damage to your home.
- Ensure proper functioning: Monitor the cycle to ensure that the washer is carrying out its functions correctly. Check if the water is filling, draining, and spinning as expected. Pay attention to any error messages or error codes that may appear on the display panel.
- Check for proper alignment: Examine the washer’s alignment during the test cycle. Make sure it does not shake excessively or move around. If there are issues with stability or balance, you may need to readjust the leveling feet.
- Perform additional tests if necessary: If you have any specific concerns about the washer’s performance, such as temperature accuracy or detergent dispenser functionality, perform additional tests to address those concerns.
If you notice any issues or problems during the testing phase, consult the manufacturer’s manual for troubleshooting steps or contact their customer support for assistance. It’s better to address any problems early on to prevent further damage or complications.
By thoroughly testing your washer after it has been moved, you can ensure that it is working properly and ready for use. In the next section, we’ll conclude our guide on moving a washer and provide some final thoughts.
Conclusion
Moving a washer requires careful planning and execution to ensure a successful and stress-free process. By following the steps outlined in this guide, you can confidently move your washer to a new location or rearrange your laundry area with ease.
From considering the size and weight of the washer to gathering the necessary tools and supplies, each step plays a crucial role in ensuring a smooth move. Disconnecting the washer properly, preparing it for transportation, and securing it during the move are essential steps in safeguarding the machine and preventing any damage.
Reconnecting the washer and testing it after the move are vital to ensure that it is functioning correctly and ready for use. Paying attention to any unusual noises, leaks, or malfunctions during the testing phase will help you address any potential issues early on and prevent further complications down the line.
Always refer to the manufacturer’s instructions and guidelines specific to your washer model to ensure that you are following the proper procedures throughout the process. If you have any doubts or concerns about moving the washer yourself, consider seeking assistance from professional movers to ensure its safe transportation.
Remember, proper preparation and attention to detail are key when moving a washer. By carefully following the steps in this guide, you can confidently move your washer and enjoy its continued functionality in its new location.
Good luck with your washer move!
Frequently Asked Questions about How To Move Washer
Was this page helpful?
At Storables.com, we guarantee accurate and reliable information. Our content, validated by Expert Board Contributors, is crafted following stringent Editorial Policies. We're committed to providing you with well-researched, expert-backed insights for all your informational needs.


0 thoughts on “How To Move Washer”