
Articles
How To Drain A Kenmore Washer
Modified: August 27, 2024
Learn how to efficiently drain a Kenmore washer with these helpful articles.
(Many of the links in this article redirect to a specific reviewed product. Your purchase of these products through affiliate links helps to generate commission for Storables.com, at no extra cost. Learn more)
Introduction
Draining a Kenmore washer is an essential task, especially when you encounter issues such as a clogged drain or need to move the appliance to a new location. Knowing how to properly drain the washer will ensure a smooth process without any water leakage or damage. In this article, we will guide you step by step on how to drain a Kenmore washer effectively.
Before you begin, it is important to gather the necessary tools and materials to make the draining process easier. Additionally, familiarize yourself with the location of the washer’s drain hose, as you will need to access it during the draining process.
By following the instructions outlined in this article, you will be able to confidently drain your Kenmore washer and address any water-related issues that may arise. So let’s dive in and learn how to drain a Kenmore washer!
Key Takeaways:
- Safely and effectively drain your Kenmore washer by following step-by-step instructions, ensuring proper preparation, and addressing potential clogs to maintain optimal performance and extend the appliance’s lifespan.
- Prioritize safety by unplugging the washer before draining, gather necessary tools and materials, locate and prepare the drain hose, and reattach it securely to prevent water leakage and ensure efficient operation.
Read more: How To Fix A Kenmore Washer
Tools and materials needed
Before starting the process of draining a Kenmore washer, it’s important to gather the necessary tools and materials to ensure a smooth and hassle-free experience. Here’s a list of items you’ll need:
- A pair of pliers: These will come in handy for loosening and tightening hose clamps.
- A bucket or basin: This will be used to catch the water as it drains from the washer.
- A towel or mop: In case of any spills or drips, it’s good to have a towel or mop nearby to clean up.
- A screwdriver: You may need a screwdriver to remove or loosen any screws or fasteners holding the drain hose in place.
- A drain tube or extension hose (optional): If you need to redirect the water to a specific location, having a drain tube or extension hose can be helpful.
It’s important to ensure that all the tools and materials are readily available before you begin the draining process. This will save you time and prevent any interruptions as you work on the washer.
Once you have gathered all the necessary tools and materials, you’re ready to move on to the next steps of draining the Kenmore washer. Make sure to have everything within reach and maintain a clean and organized work area for a smooth and efficient process.
Step 1: Unplug the washer
The first step in draining a Kenmore washer is to ensure that it is unplugged from the power source. This is a crucial safety measure that will protect you from any electrical hazards during the draining process.
Locate the power cord at the back of the washer and unplug it from the outlet. Avoid pulling on the cord itself to prevent damage. Instead, firmly grasp the plug and gently pull it out of the socket.
Once the washer is unplugged, you can proceed with the next steps of draining the water from the machine.
It’s important to note that you should never attempt to drain the washer while it is still connected to the power source. This can be extremely dangerous and may cause electrical shocks or other accidents. Always prioritize your safety and unplug the washer before proceeding with any maintenance or draining procedures.
With the washer safely disconnected from the power source, you can move on to the next step in the process.
Step 2: Locate the drain hose
After unplugging the Kenmore washer, the next step is to locate the drain hose. The drain hose is responsible for carrying the water out of the washer and into the designated drainage area.
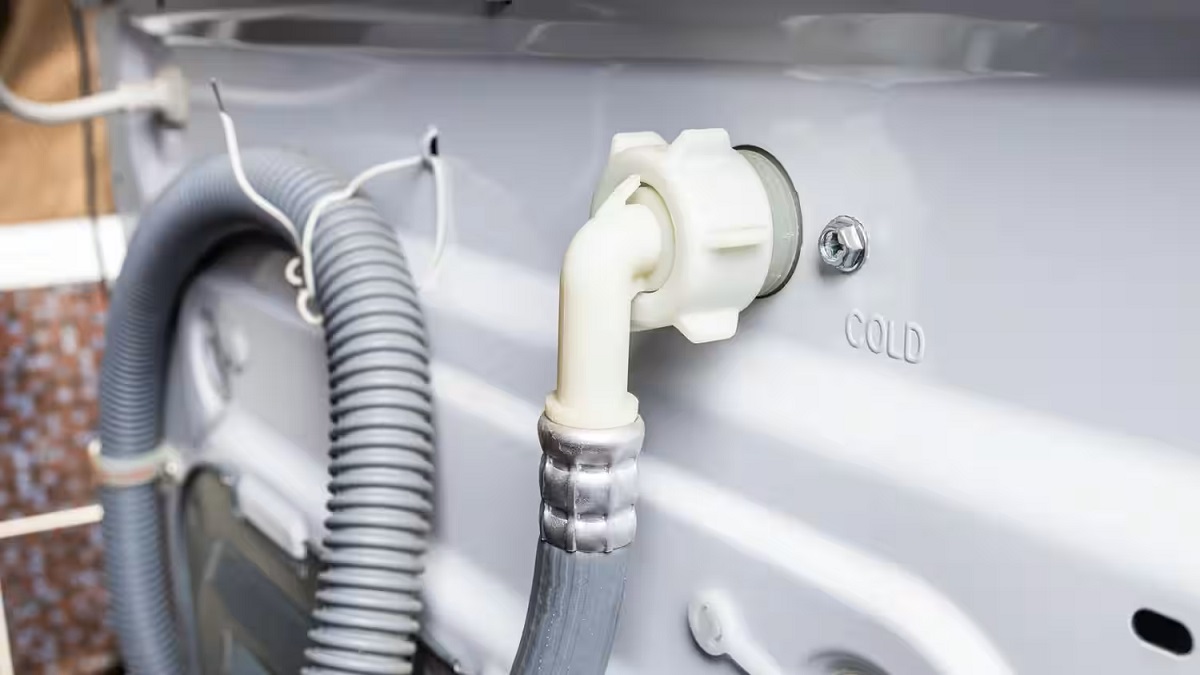
The drain hose is typically located at the back of the washer and is connected to a drain pump or a standpipe. Depending on the model of your Kenmore washer, the drain hose may be visible or concealed behind a panel. Take a moment to familiarize yourself with the layout of the washer and locate the drain hose.
If the drain hose is visible, it will be a thick, rubber hose that is connected to the back of the Kenmore washer. In some cases, it may be secured with hose clamps or fasteners. If the hose is concealed, you may need to remove a panel or access cover to locate it.
Identifying the drain hose is essential as it will be the main point of water drainage during the process. Once you have located the drain hose, you can proceed to the next steps of preparing for draining the water from the washer.
If you are having trouble locating the drain hose, consult the user manual of your Kenmore washer or refer to the manufacturer’s website for specific instructions. Each model may have slight variations in design and hose placement, so it’s important to follow the guidelines for your particular appliance.
Step 3: Prepare for draining
Before you begin draining the water from your Kenmore washer, it’s important to take a few preparatory steps to ensure a smooth and efficient process.
First, make sure you have the necessary tools and materials nearby, including a bucket or basin to catch the drained water, a pair of pliers to loosen any hose clamps, and a towel or mop to clean up any spills.
Next, position the bucket or basin near the drain hose to catch the water as it flows out of the washer. It’s important to have something to collect the water to prevent any water damage or mess.
Now, locate the hose clamps, if any, that secure the drain hose to the washer and the drainage area. If they are present, use your pliers to loosen the clamps. This will allow you to disconnect the drain hose more easily when the time comes.
If you have a drain tube or extension hose that you plan to use to redirect the water to a specific location, make sure it is connected securely before proceeding.
Lastly, if you haven’t done so already, protect your work area by placing a towel or old newspapers underneath the washer. This will catch any spills or drips during the draining process, making it easier to clean up afterward.
By taking these preparatory steps, you will be ready to drain the water from your Kenmore washer successfully. Once you have completed the necessary preparations, you can proceed to the next step of removing the drain hose.
Read more: How To Reset Kenmore Washer
Step 4: Remove the drain hose
Now that you have prepared for draining the water from your Kenmore washer, it’s time to remove the drain hose from the appliance. This will allow the water to flow out freely and into your chosen collection container.
If your drain hose is secured with hose clamps, use a pair of pliers to loosen the clamps and slide them down the hose. This will detach the hose from both the washer and the drain pipe or standpipe it is connected to. If there are no clamps, you may be able to simply pull the drain hose away from the connections.
Once the drain hose is detached, carefully guide the end of the hose into your bucket or basin. This will ensure that the water drains directly into the container and does not cause any unnecessary spillage or mess.
As the water starts to flow out of the drain hose, it’s important to keep an eye on the progress and monitor the container to prevent overflowing. Adjust the position of the hose if necessary to ensure the water is being directed into the container effectively.
If the water flow seems slow or stagnant, it may indicate a clog in the drain hose or pump. In such cases, refer to the next step for instructions on how to check for any potential blockages.
Once the water has completely drained from the washer, you can proceed to the next step of manually checking for any clogs in the drain hose or pump, if necessary.
By removing the drain hose, you have successfully allowed the water to flow out of the Kenmore washer. Now, let’s move on to the next step and address any potential clogs that may be hindering the draining process.
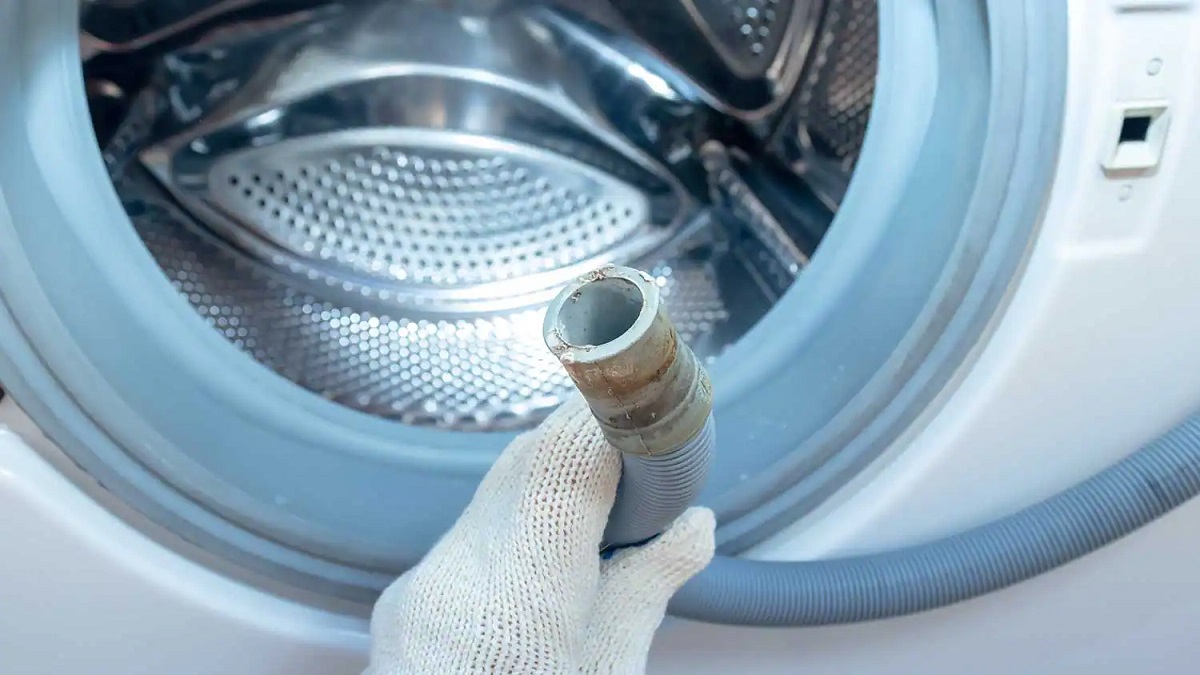
To drain a Kenmore washer, locate the drain hose at the back of the machine. Place a shallow pan or bucket underneath and carefully remove the hose to let the water drain out. Be prepared for a significant amount of water to come out, so have a large enough container ready.
Step 5: Drain the water manually
If the water is not draining out of your Kenmore washer properly, or if you prefer to manually drain the remaining water, you can do so with the help of a few simple steps.
Start by locating the manual drain valve or pump. This valve or pump is usually located at the bottom front of the washer. Check your Kenmore washer’s user manual or manufacturer’s website for specific instructions on locating the manual drain valve or pump for your particular model.
Once you have located the valve or pump, place a shallow container or towel underneath it to catch any water that may spill out during the manual draining process.
If your Kenmore washer has a manual drain valve, open it by turning it counterclockwise. This will release the water from inside the machine. Allow the water to drain completely into the container or towel below. If there is a hose attached to the valve, you can direct the water flow into a larger container for easier disposal.
If your Kenmore washer has a manual drain pump, activate it by pressing or turning the pump knob or lever. This will activate the pump and start the process of draining the water from the machine. Again, make sure a container or towel is in place to catch the water.
As the water drains out, keep an eye on the container or towel to prevent overflow. If the container fills up, replace it with an empty one. Continue the manual draining process until all the water has been removed from the washer.
Once the water has been successfully drained, move on to the next step to check for any potential clogs that may be causing the drainage issue.
By manually draining the water, you have taken control of the draining process and ensured that all the water is removed from the Kenmore washer. Now, let’s move on to the next step and investigate any potential clogs that may be affecting the proper drainage of the appliance.
Step 6: Check for any clogs
If you have experienced issues with water not draining properly from your Kenmore washer, there may be a clog in the system. Addressing and resolving any potential clogs is essential to ensure the proper functioning of your washer. Here’s how to check for and clear any clogs:
- Inspect the drain hose: Start by visually examining the drain hose for any visible clogs or blockages. Look for items such as lint, debris, or foreign objects that may have accumulated inside the hose. If you notice any obstructions, carefully remove them using a pair of pliers or by gently shaking the hose.
- Check the drain pump filter: The drain pump filter is another common area where clogs may occur. Locate the access panel on the front or bottom of your Kenmore washer and remove it. Once the panel is off, locate the drain pump filter. Carefully unscrew the filter cap, ensuring you have a towel or container to catch any water that may spill out. Once the cap is removed, check for any debris or clogs in the filter. Clean out any dirt or obstructions and securely screw the filter cap back in place.
- Inspect the drain pipe or standpipe: If the drain hose connects to a drain pipe or standpipe, check for any clogs or blockages at that connection point. Use a flashlight to inspect the opening of the pipe, looking for any debris or obstructions that may be hindering the flow of water. If necessary, use a pipe snake or a long, flexible brush to clear any clogs.
- Clear the detergent dispenser: Sometimes, detergent can accumulate and cause clogs in the dispenser area. Remove the detergent dispenser tray and wash it thoroughly with warm water and a mild detergent. Use a small brush or toothbrush to clean out any residue or clogs in the dispenser cavity.
By checking for and clearing any potential clogs in the drain hose, drain pump filter, drain pipe, and detergent dispenser, you can ensure that water can flow freely and efficiently out of your Kenmore washer.
If you have thoroughly inspected and cleared any clogs, and the water is still not draining properly, it may be necessary to seek professional assistance or contact Kenmore customer support for further troubleshooting.
With any clogs addressed and resolved, you are now ready to move on to the next step of reattaching the drain hose.
Step 7: Reattach the drain hose
After draining the water and addressing any potential clogs, it’s time to reattach the drain hose to your Kenmore washer. This step is crucial to ensure the proper functioning of the drainage system. Here’s how you can reattach the drain hose:
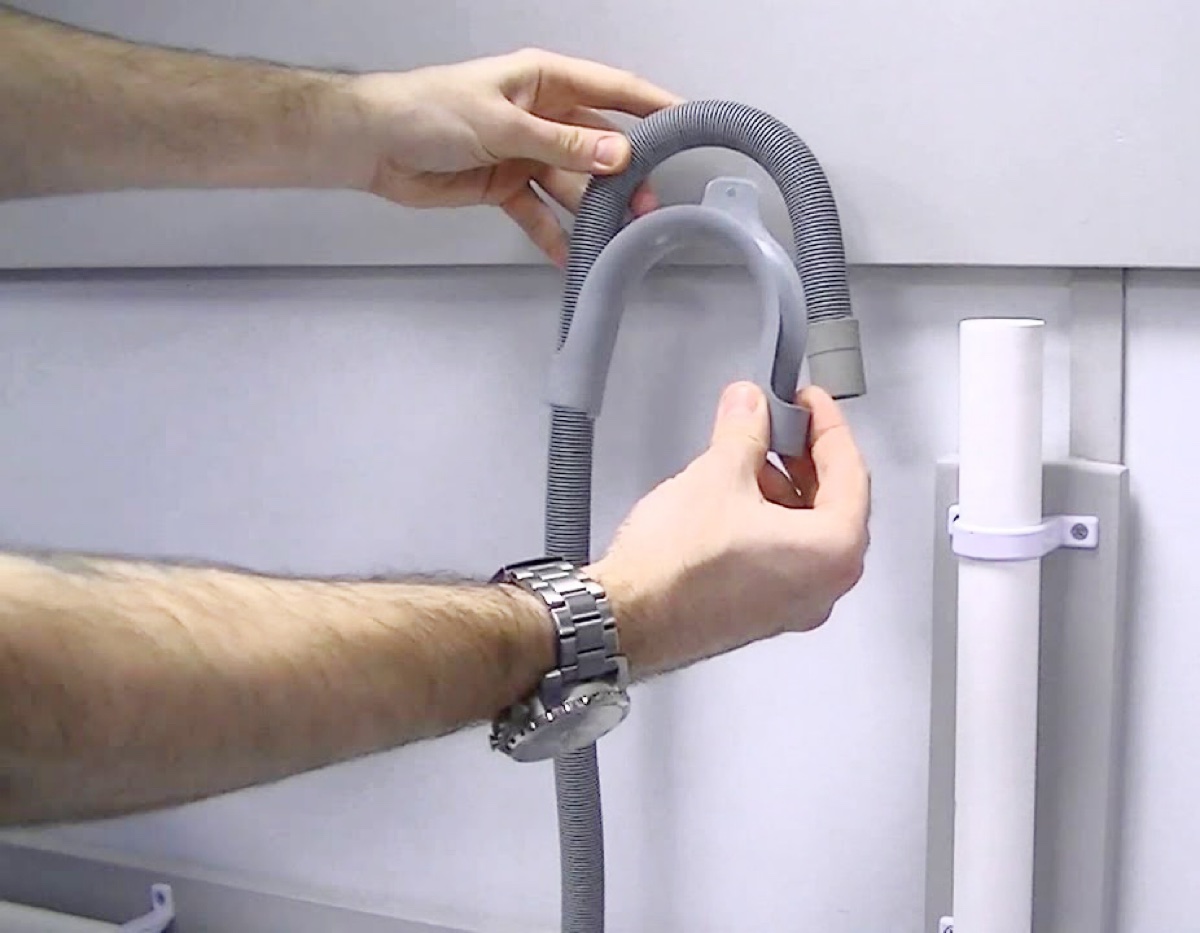
- Begin by positioning the end of the drain hose so that it aligns with the drainage connection on the back of the washer. Make sure it is properly aligned and seated securely before proceeding.
- If your drain hose uses hose clamps, slide them back into place over the hose connections. Use a pair of pliers to tighten the clamps, ensuring a secure and watertight connection. If your washer does not use clamps, ensure the hose is tightly pushed onto the connections.
- Double-check all the connections to ensure there are no leaks or loose fittings. It’s important to have a secure connection to prevent any water leakage during future washing cycles.
- If you are using a drain tube or extension hose to redirect the water, ensure that it is securely attached to the drain hose outlet as well.
Once you have reattached the drain hose and confirmed a secure connection, take a moment to inspect the surrounding area for any signs of water leakage. Look for any drips or dampness around the hose connections and make any necessary adjustments to achieve a watertight seal.
After ensuring a secure connection without any leaks, you can proceed to the final step of the process, which is plugging in the Kenmore washer and preparing it for use.
By reattaching the drain hose properly, you have completed a crucial step in the draining process, ensuring that the water will be efficiently carried out of the washer during future cycles. Let’s move on to the final step and plug in the washer.
Read more: Kenmore Washer How To Use
Step 8: Plug in the washer
With the draining process complete and the drain hose reattached securely, it’s time to plug in your Kenmore washer and prepare it for future use. Here’s how to safely plug in your washer:
- Locate the power cord at the back of the washer.
- Ensure that the area around the power outlet is dry to prevent any electrical hazards.
- Insert the power cord into a nearby electrical outlet.
- Make sure the plug is properly inserted and fully seated in the outlet.
- Give a gentle tug on the power cord to ensure it is snugly connected.
- Check for any signs of damage or frayed wires on the power cord. If any damage is present, do not plug in the washer and seek professional assistance to address the issue.
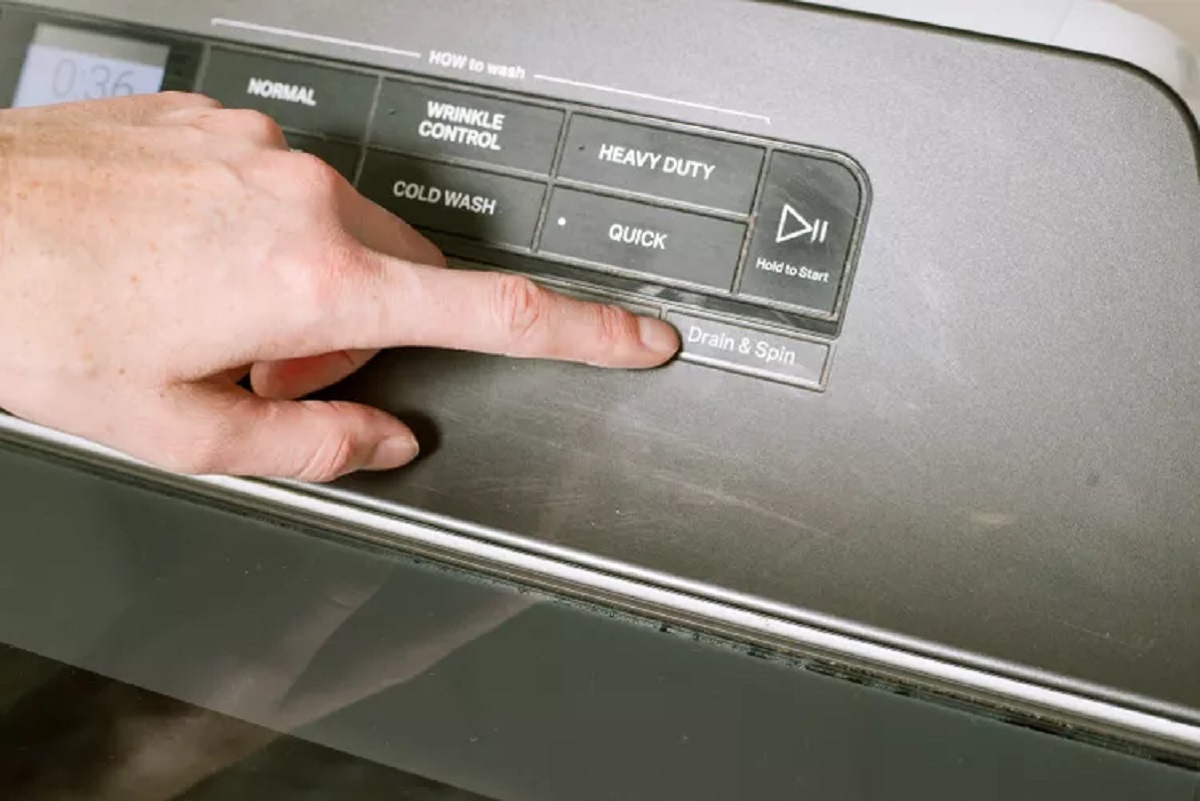
- Once you have confirmed a secure and safe power connection, switch on the power to the washer.
- Verify that the washer powers on and displays the appropriate indicators on its control panel.
By plugging in your Kenmore washer properly, you are now ready to use it for your laundry needs. Ensure that you follow the manufacturer’s instructions for loading your washer, selecting the appropriate cycle and settings, and maintaining proper care and cleaning of the appliance.
Remember to periodically check the drain hose and connections for any signs of leaks or clogs. Regular maintenance will help ensure the continued efficient operation of your Kenmore washer.
Congratulations! You have successfully drained your Kenmore washer, cleared any clogs, reattached the drain hose, and plugged in your washer. Enjoy the convenience of a properly functioning appliance for your laundry needs.
If you encounter any further issues or have questions about your Kenmore washer, don’t hesitate to consult the user manual or seek assistance from Kenmore customer support.
Happy washing!
Conclusion
Draining a Kenmore washer is a necessary task that may be required for various reasons, such as addressing clogs, moving the appliance, or performing maintenance. With the proper knowledge and tools, you can successfully drain your Kenmore washer and ensure its optimal performance.
In this comprehensive guide, we have outlined the step-by-step process of draining a Kenmore washer effectively. We began by emphasizing the importance of safety, urging users to unplug the washer before starting any draining procedures.
We then discussed the tools and materials needed, including pliers, a bucket or basin, a towel or mop, and a screwdriver among others. Properly gathering these items will help make the draining process more efficient.
The subsequent steps covered locating the drain hose, preparing for draining, removing the drain hose, manually draining the water, checking for any clogs, reattaching the drain hose, and finally, plugging in the washer once the draining process is complete.
Throughout the guide, safety precautions were emphasized, such as being cautious of electrical connections and ensuring a secure and watertight reattachment of the drain hose. Additionally, we highlighted the importance of checking for any clogs and troubleshooting issues that may hinder the draining process.
By following these steps and guidelines, you can confidently drain your Kenmore washer and resolve any water drainage issues that may arise. Remember to consult the user manual specific to your model for more detailed instructions and to contact Kenmore customer support if you encounter any difficulties or need further assistance.
With proper maintenance and regular checks for potential clogs, you can maintain the efficient and smooth operation of your Kenmore washer. A well-drained washer ensures optimal performance and extends the lifespan of the appliance, allowing you to enjoy clean and fresh laundry for years to come.
Thank you for reading our guide on how to drain a Kenmore washer. We hope this information has been helpful in guiding you through the process. Happy washing!
Now that you've mastered draining your Kenmore washer, why not take maintenance up a notch? Upcoming articles will guide you through enhancing your appliance's efficiency. For instance, if you're considering a pump upgrade, our detailed review on Kenmore drain pumps will be invaluable. This guide covers everything from selection to installation, ensuring your washer runs smoother than ever. So, keep your eyes peeled for this essential read!
Frequently Asked Questions about How To Drain A Kenmore Washer
Was this page helpful?
At Storables.com, we guarantee accurate and reliable information. Our content, validated by Expert Board Contributors, is crafted following stringent Editorial Policies. We're committed to providing you with well-researched, expert-backed insights for all your informational needs.


0 thoughts on “How To Drain A Kenmore Washer”