Home>Home Maintenance>How To Fix Car Air Conditioning
Home Maintenance
How To Fix Car Air Conditioning
Modified: August 27, 2024
Learn how to fix your car's air conditioning at home with our easy step-by-step guide and save money on maintenance.
(Many of the links in this article redirect to a specific reviewed product. Your purchase of these products through affiliate links helps to generate commission for Storables.com, at no extra cost. Learn more)
Introduction
Welcome to the comprehensive guide on how to fix car air conditioning. We understand that having a malfunctioning air conditioning system in your car can be frustrating, especially during hot summer months. However, with the right knowledge and some basic tools, you can diagnose and resolve many common issues with your car’s AC system.
Before we begin, it’s important to note that while some maintenance tasks and troubleshooting can be done on your own, more complex issues may require professional assistance. If you’re uncomfortable working with car systems or unsure about your abilities, we recommend consulting a reputable mechanic or air conditioning specialist.
Now, let’s dive into the step-by-step process of fixing your car’s air conditioning system. By following these guidelines, you’ll be able to identify the problem, conduct proper inspections, and make necessary repairs or adjustments to get your AC working optimally again.
Key Takeaways:
- Keep your car’s air conditioning system running smoothly by regularly inspecting and cleaning key components like the compressor, condenser, and blower motor. Addressing issues promptly can prevent potential problems and extend the lifespan of your AC system.
- Understanding the importance of maintaining proper refrigerant levels and recharging the system when necessary will ensure optimal cooling performance, keeping you comfortable on hot summer days. If unsure, seek professional assistance for delicate tasks.
Read more: Where To Get Car Air Conditioning Fixed
Step 1: Diagnosing the Issue
The first step in fixing your car’s air conditioning system is to diagnose the issue. By conducting a thorough assessment, you can determine the root cause of the problem and take appropriate action. Here are some key points to consider:
1. Checking for Common Problems:
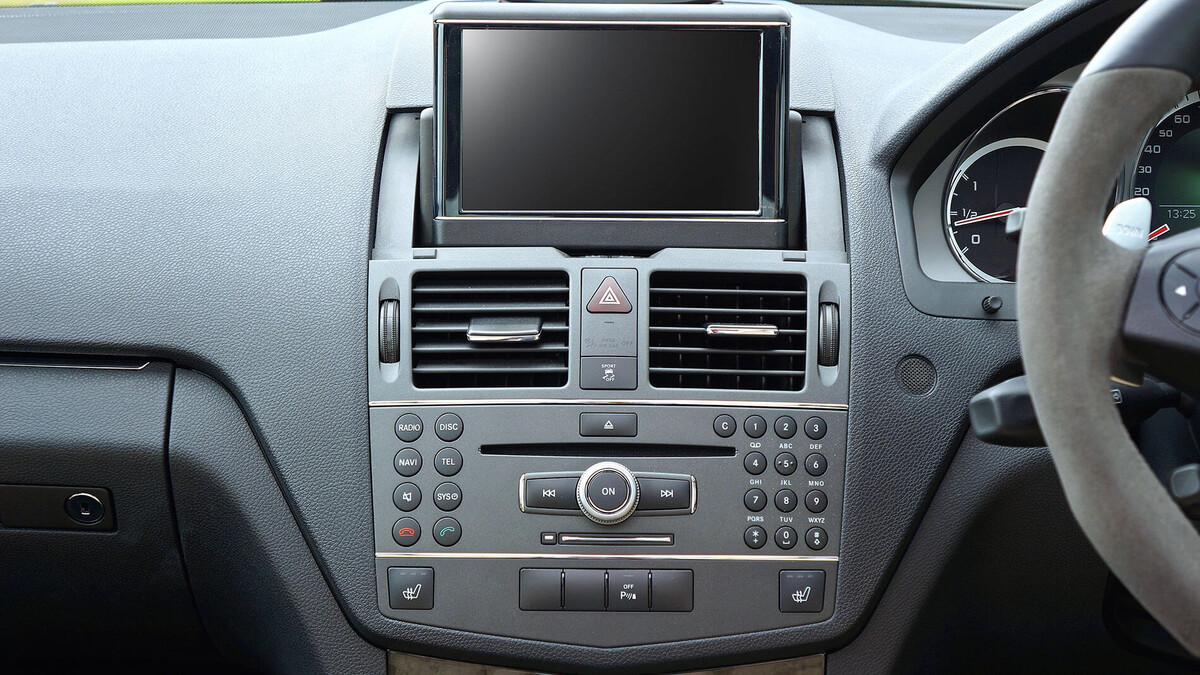
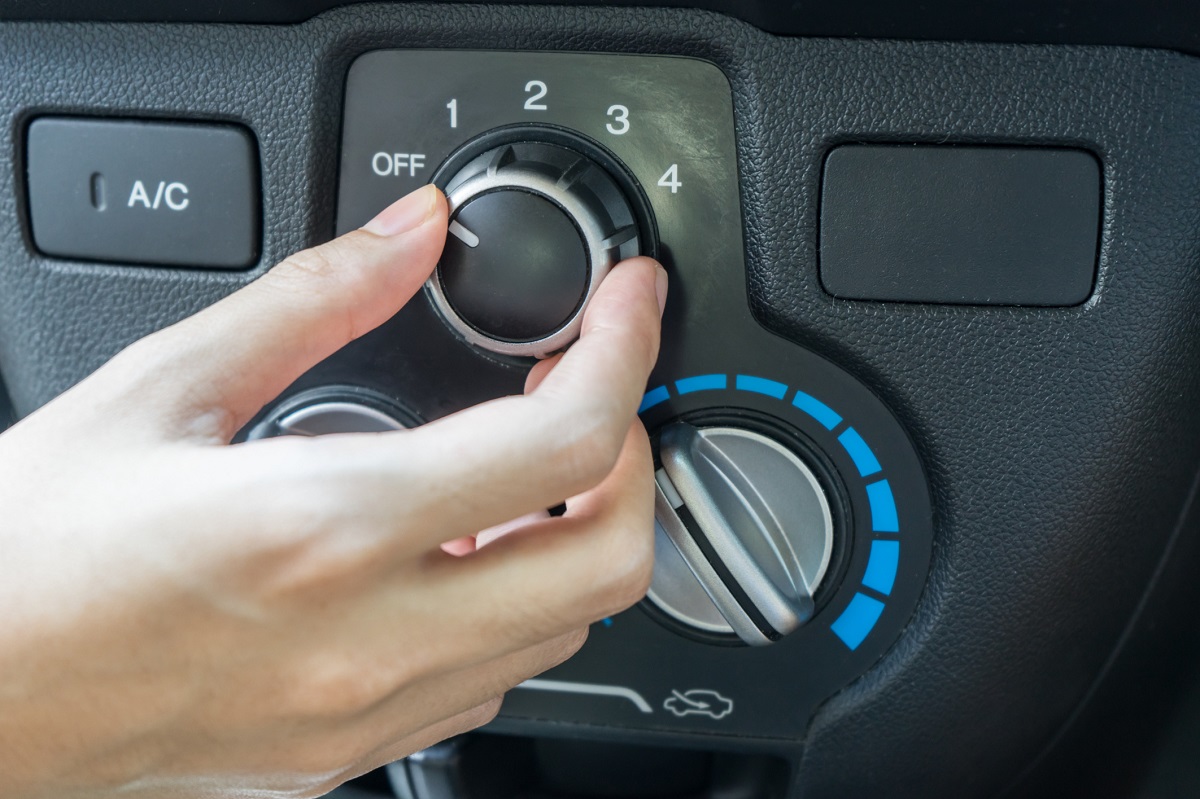
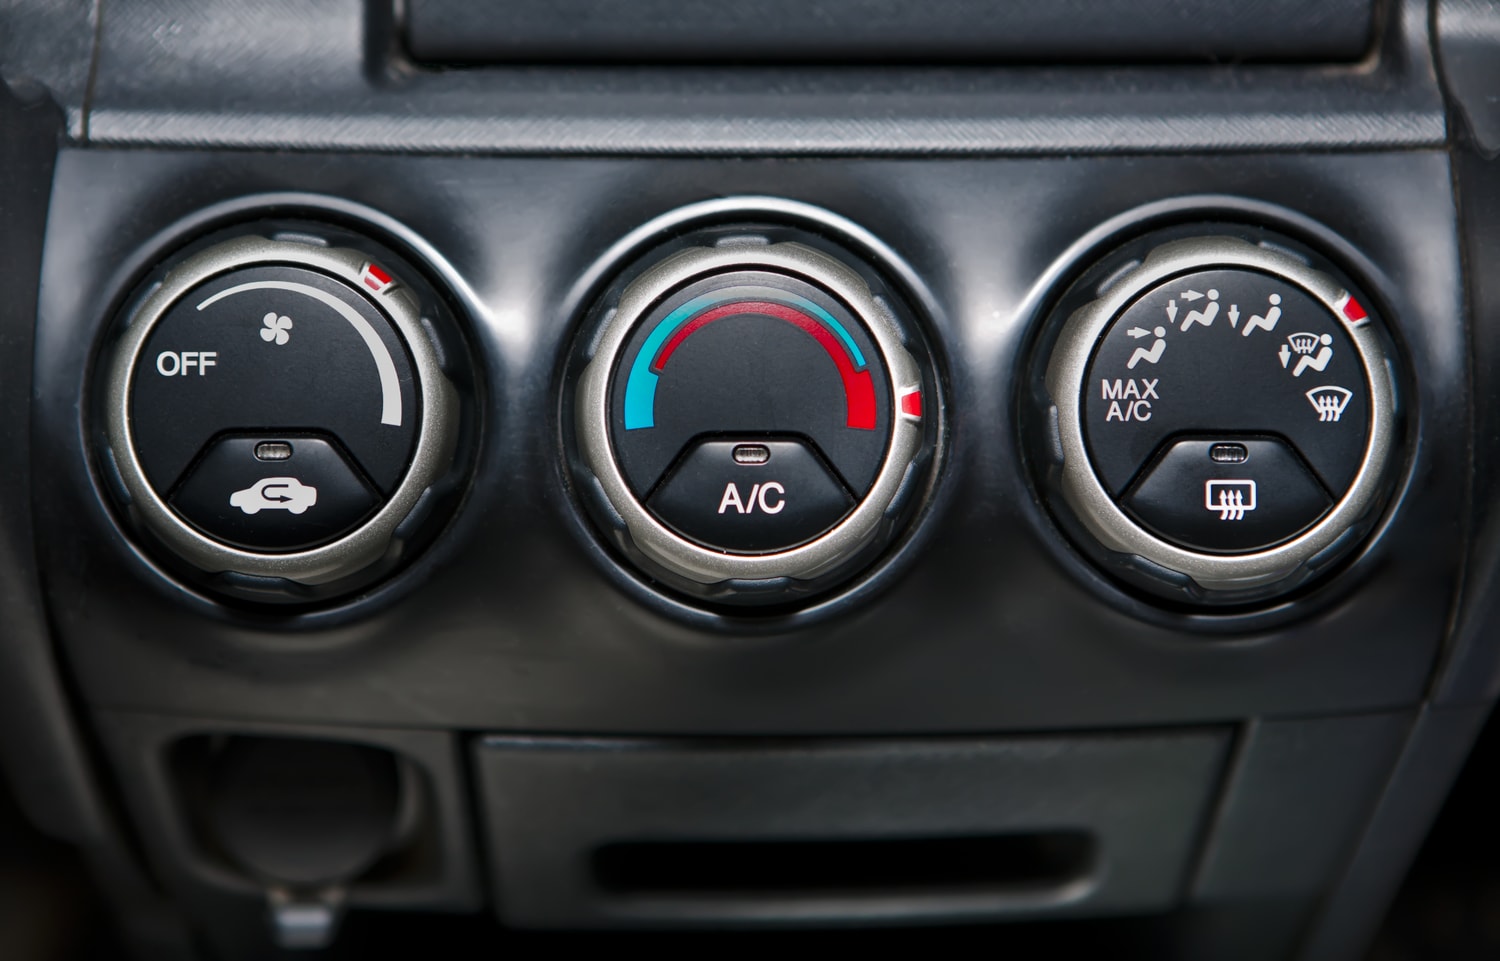
Start by inspecting the obvious issues that can affect your AC system. Check if the AC controls are properly set and if the fan is working. Also, examine the fuses and relays related to the AC. Sometimes, a blown fuse or faulty relay can be the culprit behind a malfunctioning system.
2. Listening for Unusual Sounds:
Turn on your car’s AC and listen for any unusual noises. A clicking or rattling sound could indicate a problem with the compressor or a loose component. A squealing noise may be a sign of a worn-out drive belt. Identifying these sounds can narrow down the possible issues and help you address them more effectively.
3. Evaluating Air Temperature:
Feel the air coming out of the vents and take note of the temperature. If the air is not as cold as it should be or is not cooling at all, it could indicate low refrigerant levels, a faulty compressor, or a clogged condenser. Understanding the air temperature will give you insights into potential underlying problems.
Once you have completed these initial diagnostic steps, you will have a better idea of what might be causing the AC issue in your car. The next steps will delve deeper into specific components of the AC system to help you pinpoint the exact problem and initiate the necessary repairs or adjustments.
Step 2: Checking the Compressor
The compressor is a vital component of your car’s air conditioning system. It is responsible for pressurizing and circulating the refrigerant, allowing the system to cool the air effectively. Here’s how you can check the compressor to ensure it is functioning properly:
1. Inspecting the Drive Belt:
Start by visually inspecting the drive belt that connects the compressor to the engine. Look for any signs of damage or wear, such as cracks or fraying. A worn-out or loose drive belt can cause the compressor to malfunction. If you notice any issues with the drive belt, it should be replaced promptly.
2. Verifying Compressor Engagement:
With the engine running and the AC turned on, observe the compressor to see if it is engaged. The compressor clutch, located at the front of the compressor, should be spinning when the AC is activated. If the clutch is not engaging, it could indicate an electrical problem or a faulty compressor clutch. Further inspection or professional help may be required to diagnose the exact issue.
3. Testing Compressor Functionality:
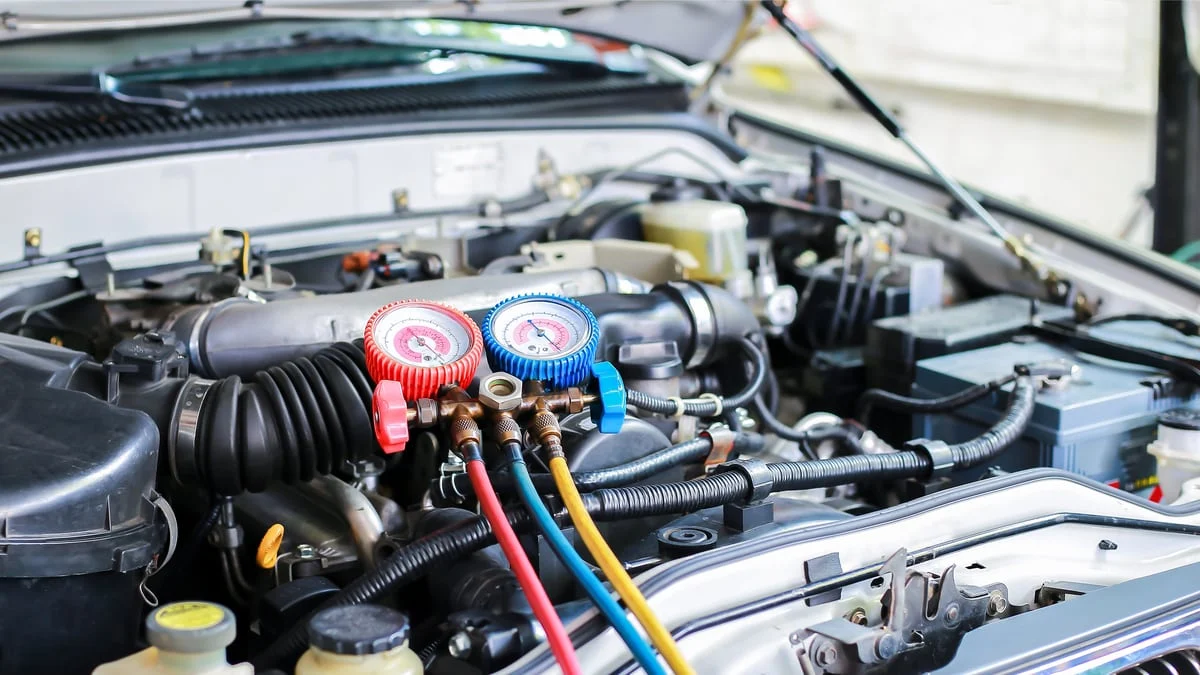
If the drive belt and compressor engagement appear to be in good condition, you can perform a functionality test. Connect a manifold gauge set to the low-pressure and high-pressure ports of the AC system. Start the engine and let it run for a few minutes with the AC on. The gauge readings will give you an indication of the compressor’s performance. If the pressures are abnormal or fluctuating, it may indicate a problem with the compressor or other components of the AC system.
By checking the compressor and its associated components, you can determine if it is functioning as it should. This assessment will help you identify any issues related to the compressor and take appropriate action, whether it’s repairing or replacing the compressor, drive belt, or other related parts.
Step 3: Evaluating the Refrigerant Levels
The refrigerant is a crucial component of your car’s air conditioning system. It absorbs heat from the air and helps cool it before circulating it back into the cabin. Checking and maintaining the proper refrigerant levels is essential for optimal AC performance. Here’s how you can evaluate and adjust the refrigerant levels:
1. Understanding the Importance of Refrigerant:
Refrigerant plays a vital role in the cooling process of the AC system. It undergoes a phase change from a gas to a liquid and back again, absorbing and releasing heat in the process. Insufficient refrigerant levels can lead to inadequate cooling, while excessive levels can cause damage to the system. It’s crucial to maintain the correct refrigerant levels to ensure optimal performance.
2. Using a Pressure Gauge to Measure Levels:
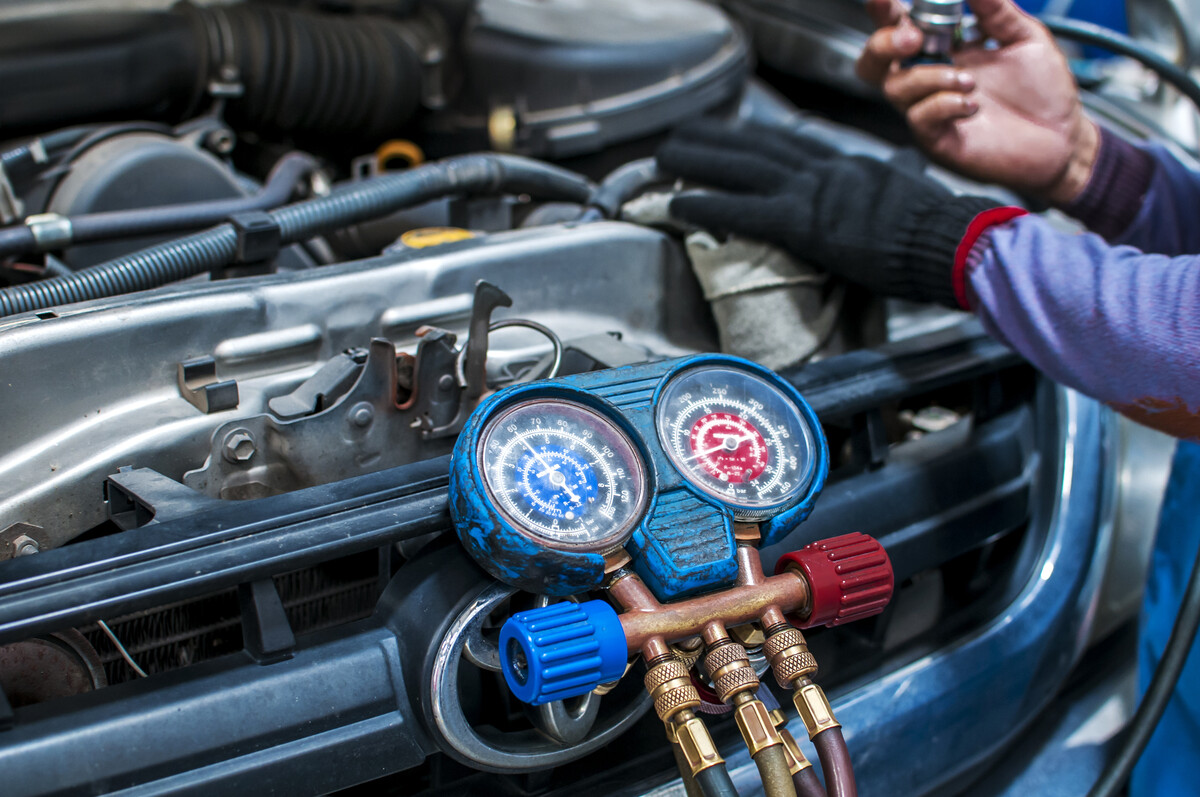
Connect a pressure gauge to the low-pressure port of the AC system. Follow the manufacturer’s instructions on how to properly attach the gauge. Start the engine and let it run for a few minutes with the AC on its highest setting. Read the pressure gauge and compare it to the recommended levels specified by the manufacturer. If the pressure is too high or too low, it indicates an issue with the refrigerant levels.
3. Adding or Removing Refrigerant as Needed:
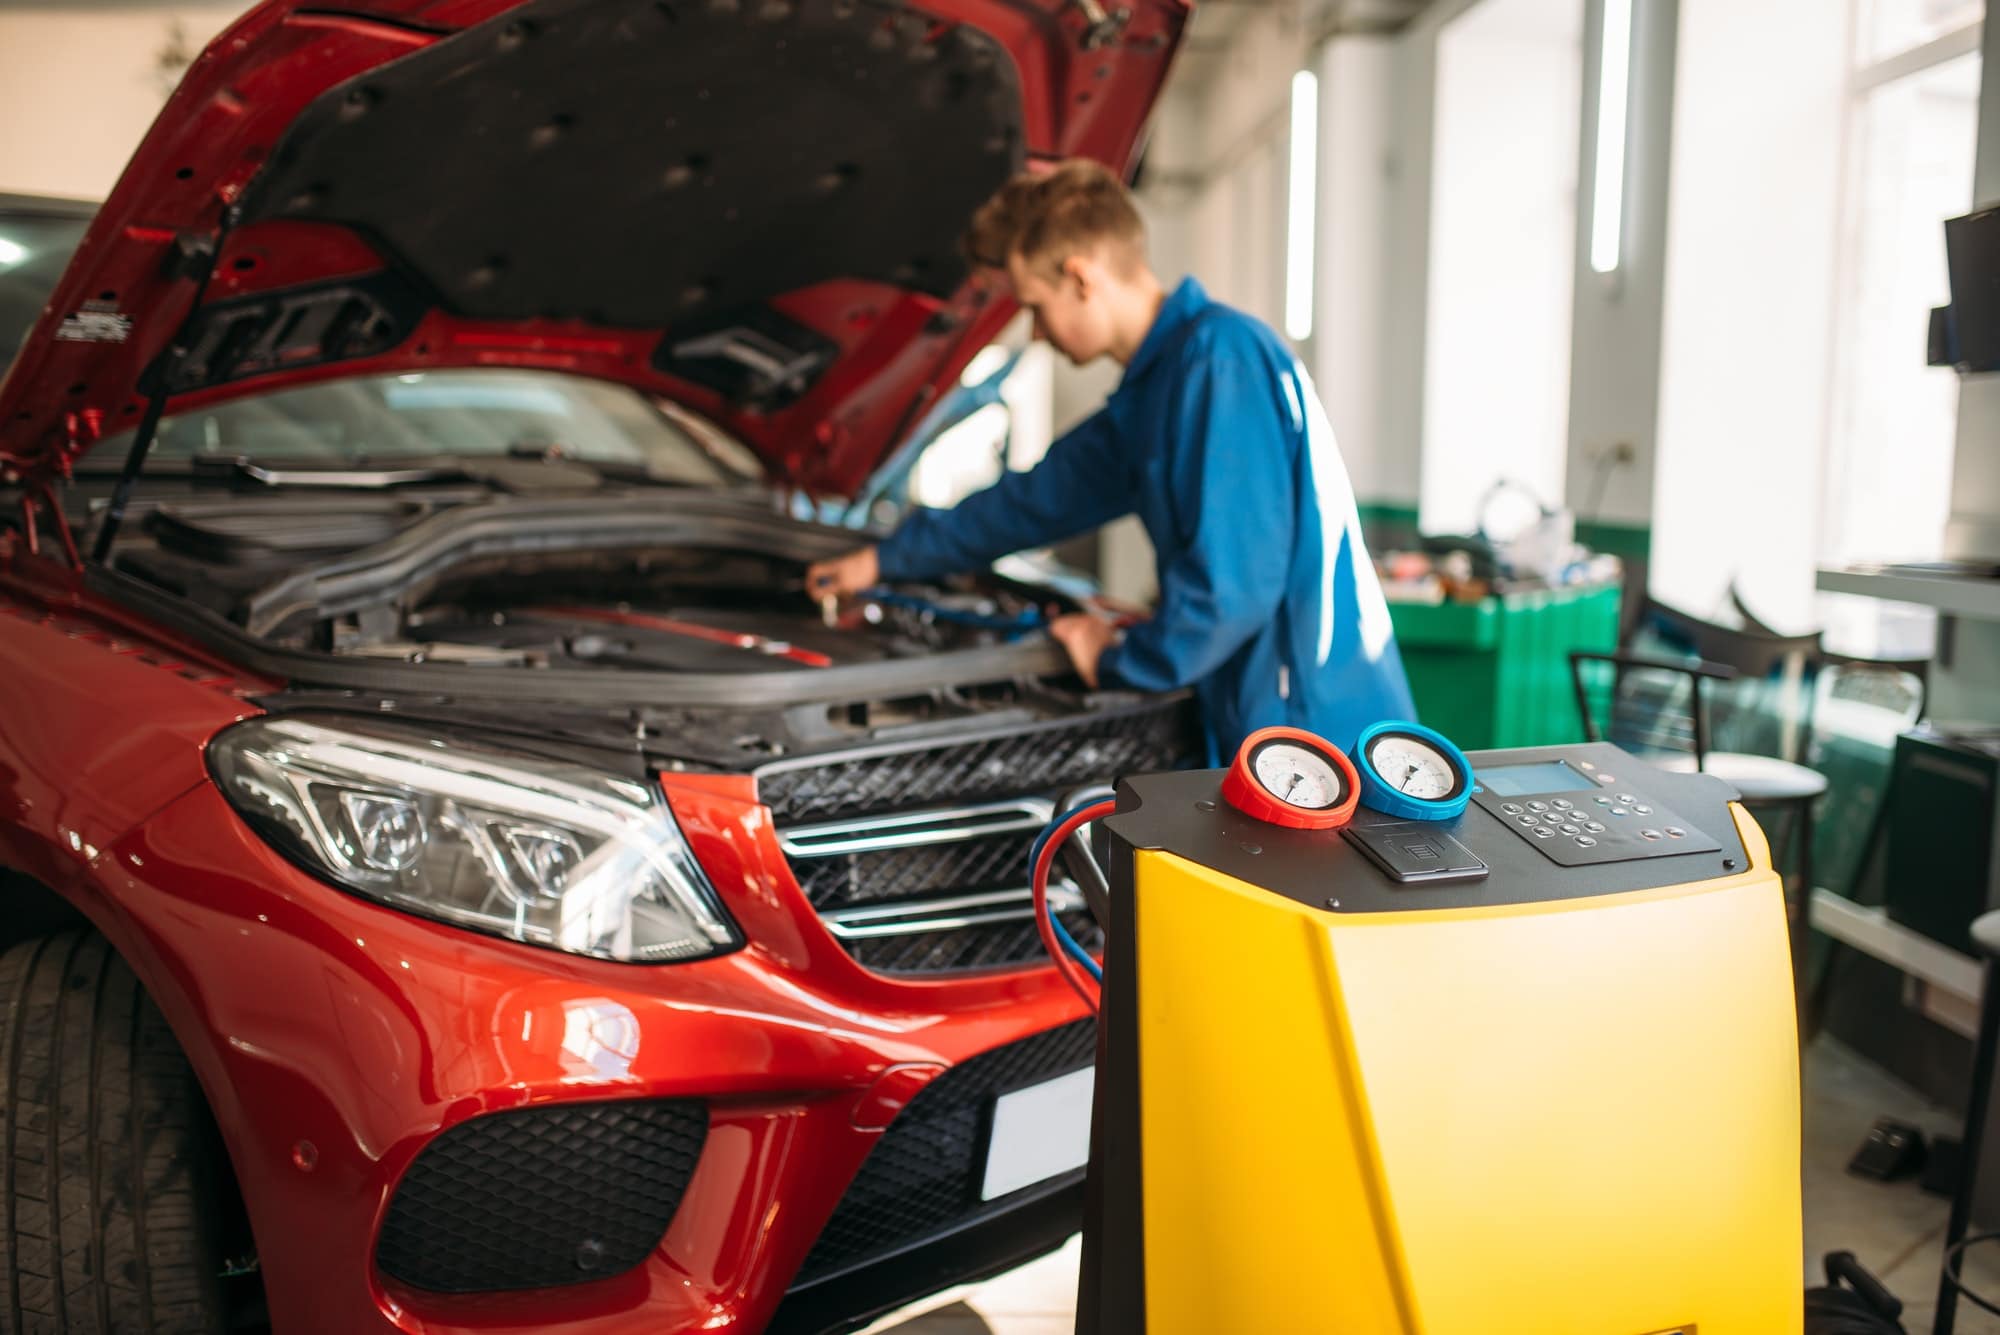
If the pressure gauge indicates low refrigerant levels, you may need to add more refrigerant to the system. To do this correctly, consult the vehicle’s manual for the appropriate type and amount of refrigerant. It’s recommended to use a professional AC service machine to accurately add the required quantity of refrigerant. Avoid overcharging the system, as it can result in poor performance or damage to the components.
On the other hand, if the pressure gauge shows excessive refrigerant levels, it’s necessary to remove some of the refrigerant. This should be done by a professional using specialized equipment to ensure accurate removal and proper disposal of the excess refrigerant.
By evaluating and adjusting the refrigerant levels, you can ensure that your car’s AC system is operating at its best. Maintaining the proper refrigerant levels will enable efficient cooling and prolong the lifespan of your AC components.
Step 4: Examining the Condenser
The condenser plays a crucial role in the air conditioning system as it helps dissipate heat from the refrigerant. Over time, the condenser can become clogged or damaged, affecting the efficiency of the AC system. Here’s how you can examine and address issues with the condenser:
1. Inspecting for Blockages or Damage:
Start by visually inspecting the condenser for any blockages or damage. Look for debris, such as leaves or dirt, that may be obstructing the airflow through the condenser. Additionally, check for any bent or damaged fins that could hinder proper heat transfer. Ensure that the condenser is clean and free from any obstructions or physical damage.
2. Cleaning or Replacing the Condenser if Necessary:
If you find any blockages or debris on the condenser, you can clean it using compressed air or a gentle stream of water. Be cautious not to apply excessive pressure that may bend the fins. In case the condenser is severely damaged or cleaning does not improve its performance, it may be necessary to replace the condenser. Consult a professional or refer to the vehicle’s manual for proper replacement procedures.
Regular maintenance and inspection of the condenser can prevent blockages and ensure efficient heat dissipation. This will help optimize the overall performance of your car’s air conditioning system and extend its lifespan.
Regularly check and replace the air filter in your car’s air conditioning system to ensure proper airflow and efficient cooling. A clogged filter can restrict airflow and cause the system to work harder, leading to potential damage.
Read more: What Is Dual Air Conditioning In A Car
Step 5: Assessing the Evaporator
The evaporator is responsible for cooling the air before it is circulated into the car’s cabin. Over time, the evaporator can accumulate dirt, debris, and even develop leaks or damage. To ensure that the evaporator is functioning properly, follow these steps:
1. Cleaning or Replacing the Evaporator:
If you suspect that the evaporator is dirty or clogged, it’s important to clean it. Begin by locating the evaporator, which is typically housed inside the dashboard or under the hood. Check the vehicle’s manual for specific instructions on accessing and cleaning the evaporator. Use a mild detergent and water solution, along with a soft brush, to gently clean the evaporator fins and remove any accumulated debris. Avoid using harsh chemicals or excessive force when cleaning to prevent damaging the evaporator.
In some cases, if the evaporator is severely damaged or cleaning does not improve its performance, it may need to be replaced. It’s best to consult a professional or refer to the vehicle’s manual for guidance on replacing the evaporator.
2. Examining for Leaks or Damage:
While cleaning the evaporator, visually inspect it for any signs of leaks or physical damage. Look for oil stains, dampness, or corrosion on the evaporator fins or surrounding areas. If you notice any leaks or significant damage, it may be necessary to address the issue promptly. Leaks can lead to a loss of refrigerant and affect the cooling performance of the AC system. Consider seeking professional help to repair or replace the evaporator if leaks or damage are detected.
Regularly assessing and maintaining the evaporator is crucial to ensure optimal cooling performance. By keeping it clean and addressing any leaks or damage, you can maximize the efficiency and lifespan of your car’s air conditioning system.
Step 6: Checking the Blower Motor
The blower motor is responsible for circulating the cooled air throughout the car’s cabin. If the blower motor is not functioning correctly, it can hinder the overall performance of the air conditioning system. To ensure that the blower motor is operating optimally, follow these steps:
1. Testing Blower Motor Functionality:
Start by turning on your car’s AC and adjusting the fan speed to the highest setting. Listen for the sound of the blower motor running. If you can’t hear any noise or if the air isn’t blowing with sufficient force, it could indicate a problem with the blower motor. Additionally, check if the blower motor responds to adjustments in fan speed. If it doesn’t operate at different speeds, it may be malfunctioning and require inspection and maintenance.
2. Cleaning or Replacing the Blower Motor if Needed:
If the blower motor appears to be dirty or clogged, it’s important to clean it. The blower motor is often located under the dashboard, near the evaporator. Follow the vehicle’s manual for specific instructions on accessing and cleaning the blower motor. Use a soft brush or compressed air to remove any debris or dust buildup. Cleaning the blower motor can improve its efficiency and air circulation.
In some cases, if the blower motor is damaged or cleaning doesn’t resolve the issue, it may need to be replaced. Consult a professional or refer to the vehicle’s manual for guidance on replacing the blower motor. They can assist in identifying the correct replacement part and provide oversight during the process.
Ensuring that the blower motor is functioning properly is crucial for maintaining adequate airflow in your car’s air conditioning system. Regular inspection and maintenance can help prevent issues and ensure efficient cooling throughout the cabin.
Step 7: Verifying Electrical Connections
The electrical connections within your car’s air conditioning system are essential for its proper functioning. Loose or damaged wires can disrupt the flow of electricity and lead to AC issues. To ensure that the electrical connections are secure and in good condition, follow these steps:
1. Checking for Loose or Damaged Wires:
Inspect the electrical connections within the AC system, including those connected to the compressor, blower motor, and control panel. Look for any loose or disconnected wires, frayed insulation, or signs of damage. Check for corrosion or rust on the connectors as well, as this can cause poor conductivity. Address any issues promptly to prevent further complications.
2. Repairing or Replacing Connections as Necessary:
If you find any loose or damaged wires, it’s important to repair or replace them. Start by tightening any loose connections using the appropriate tools. If the wires are damaged or the insulation is compromised, they may need to be replaced entirely. Carefully remove the damaged wires and install new ones following the manufacturer’s guidelines or seeking professional assistance if needed.
Remember to exercise caution when working with electrical components. If you’re unsure about your abilities or uncomfortable handling electrical connections, it’s best to seek the assistance of a professional. They have the expertise and proper tools to ensure the electrical connections are correctly repaired and secured.
Verifying and maintaining the integrity of the electrical connections is vital for your car’s air conditioning system to function effectively. By ensuring that the wires are properly connected and in good condition, you can prevent unnecessary disruptions and address any issues promptly.
Step 8: Recharging the System
Over time, your car’s air conditioning system may experience a loss of refrigerant, which can impact its cooling performance. Recharging the system can help restore the optimal refrigerant levels. Follow these steps to recharge your AC system:
1. Understanding the Process of Recharging:
Recharging the AC system involves adding the correct amount of refrigerant to achieve the recommended pressure levels. It’s important to note that recharging alone may not fix underlying issues such as leaks or mechanical problems. It’s crucial to identify and address those issues before proceeding with the recharge.
2. Adding Refrigerant with the Proper Tools:
To recharge the AC system, you will require a set of manifold gauges, a refrigerant canister, and the appropriate adapters for your vehicle. Begin by connecting the low-pressure and high-pressure manifold gauges to the corresponding AC ports.
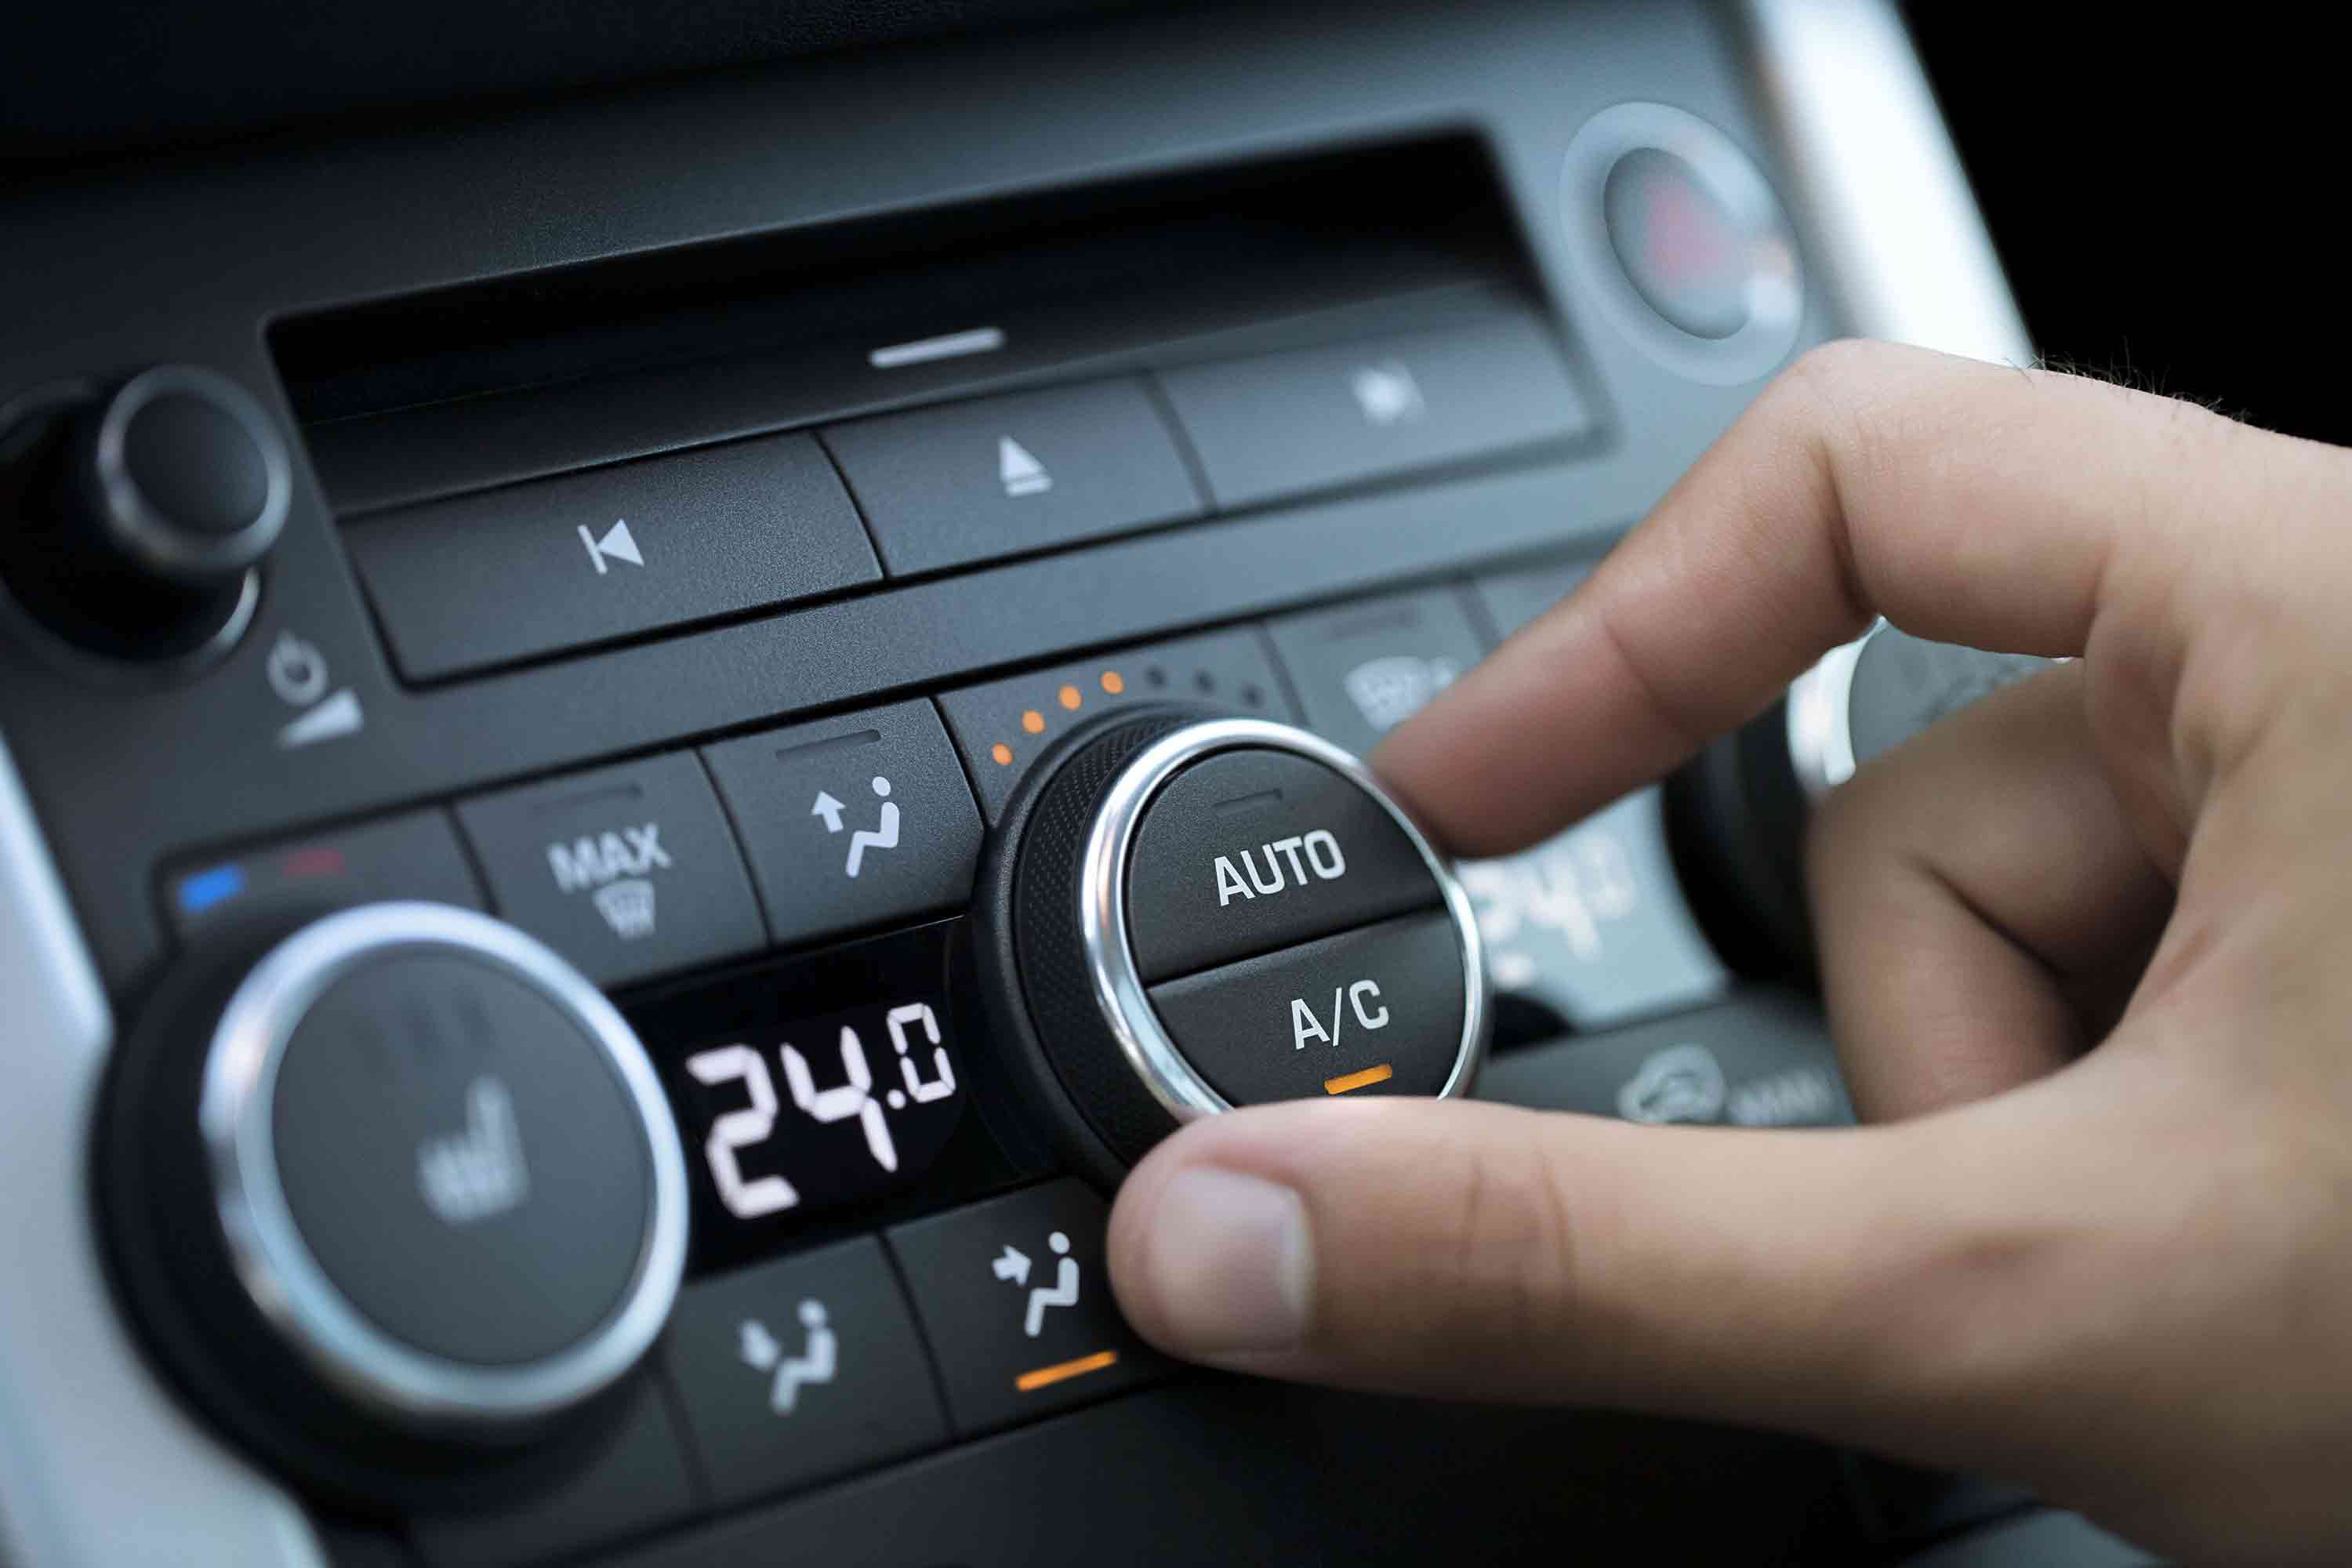
Start the engine and turn on the AC to its maximum setting. Read the pressure levels on the gauges and compare them to the manufacturer’s specifications. If the pressure is too low, indicating low refrigerant levels, carefully add the proper amount of refrigerant following the instructions provided with the canister. Take care not to overcharge the system, as it can lead to poor performance or damage.
It’s worth noting that recharging the AC system is a delicate process that requires attention to detail. If you’re not confident in performing this task, it is recommended to seek professional assistance. An experienced technician will have the knowledge and tools necessary to recharge the system accurately and safely.
Recharging the air conditioning system can help restore proper cooling performance. However, if you find yourself needing to recharge the system frequently or experiencing other issues, it’s advisable to have a professional inspect and diagnose any potential problems.
Read more: How To Clean My Car Air Conditioning
Conclusion
Congratulations! You have successfully learned how to fix your car’s air conditioning system. By following the step-by-step guide outlined above, you were able to diagnose issues, check and maintain key components, and restore optimal performance to your AC system.
Remember, understanding the importance of regular maintenance and addressing any issues promptly is crucial for keeping your car’s air conditioning system running smoothly. By taking the time to inspect and clean components such as the compressor, condenser, evaporator, blower motor, and electrical connections, you can prevent potential problems and extend the lifespan of your AC system.
Additionally, being aware of any signs of damage or leaks and addressing them promptly will help you avoid more significant issues down the line. If at any point you find yourself uncomfortable or unsure about a task, it is always best to seek the assistance of a professional.
Lastly, don’t forget about the importance of maintaining the proper refrigerant levels. Regularly checking and recharging the system, if necessary, will ensure optimal cooling performance and keep you comfortable on those hot summer days.
With the knowledge and skills you have gained, you can now enjoy a well-functioning and efficient air conditioning system in your car. Stay cool and drive comfortably!
Frequently Asked Questions about How To Fix Car Air Conditioning
Was this page helpful?
At Storables.com, we guarantee accurate and reliable information. Our content, validated by Expert Board Contributors, is crafted following stringent Editorial Policies. We're committed to providing you with well-researched, expert-backed insights for all your informational needs.