Home>Home Maintenance>How To Install Air Conditioning Unit
Home Maintenance
How To Install Air Conditioning Unit
Modified: March 6, 2024
Learn how to install an air conditioning unit yourself with our step-by-step guide. Improve your home maintenance skills and stay cool all summer long.
(Many of the links in this article redirect to a specific reviewed product. Your purchase of these products through affiliate links helps to generate commission for Storables.com, at no extra cost. Learn more)
Introduction
Welcome to our comprehensive guide on how to install an air conditioning unit in your home. Installing an air conditioner can greatly improve the comfort and quality of your living space, especially during hot summers. Whether you’re a homeowner looking to save on installation costs or a do-it-yourself enthusiast, this step-by-step guide will walk you through the process of installing an air conditioning unit.
Before we dive into the installation steps, it’s important to note that installing an air conditioning unit requires some technical knowledge and skills. If you’re not confident in your abilities, it’s always a good idea to consult with a professional HVAC technician to ensure a safe and successful installation.
In this guide, we’ll cover everything you need to know to install your air conditioning unit properly. From choosing the right type of unit to connecting the refrigerant lines and electrical wiring, we’ve got you covered. So let’s get started!
Key Takeaways:
- Choosing the right air conditioning unit is crucial. Consider factors like cooling capacity, energy efficiency, installation method, cost, and noise level to ensure the best fit for your space and needs.
- Proper installation and maintenance are essential for efficient and long-lasting performance. Always consult professionals if unsure, and follow manufacturer’s instructions for safe and effective operation.
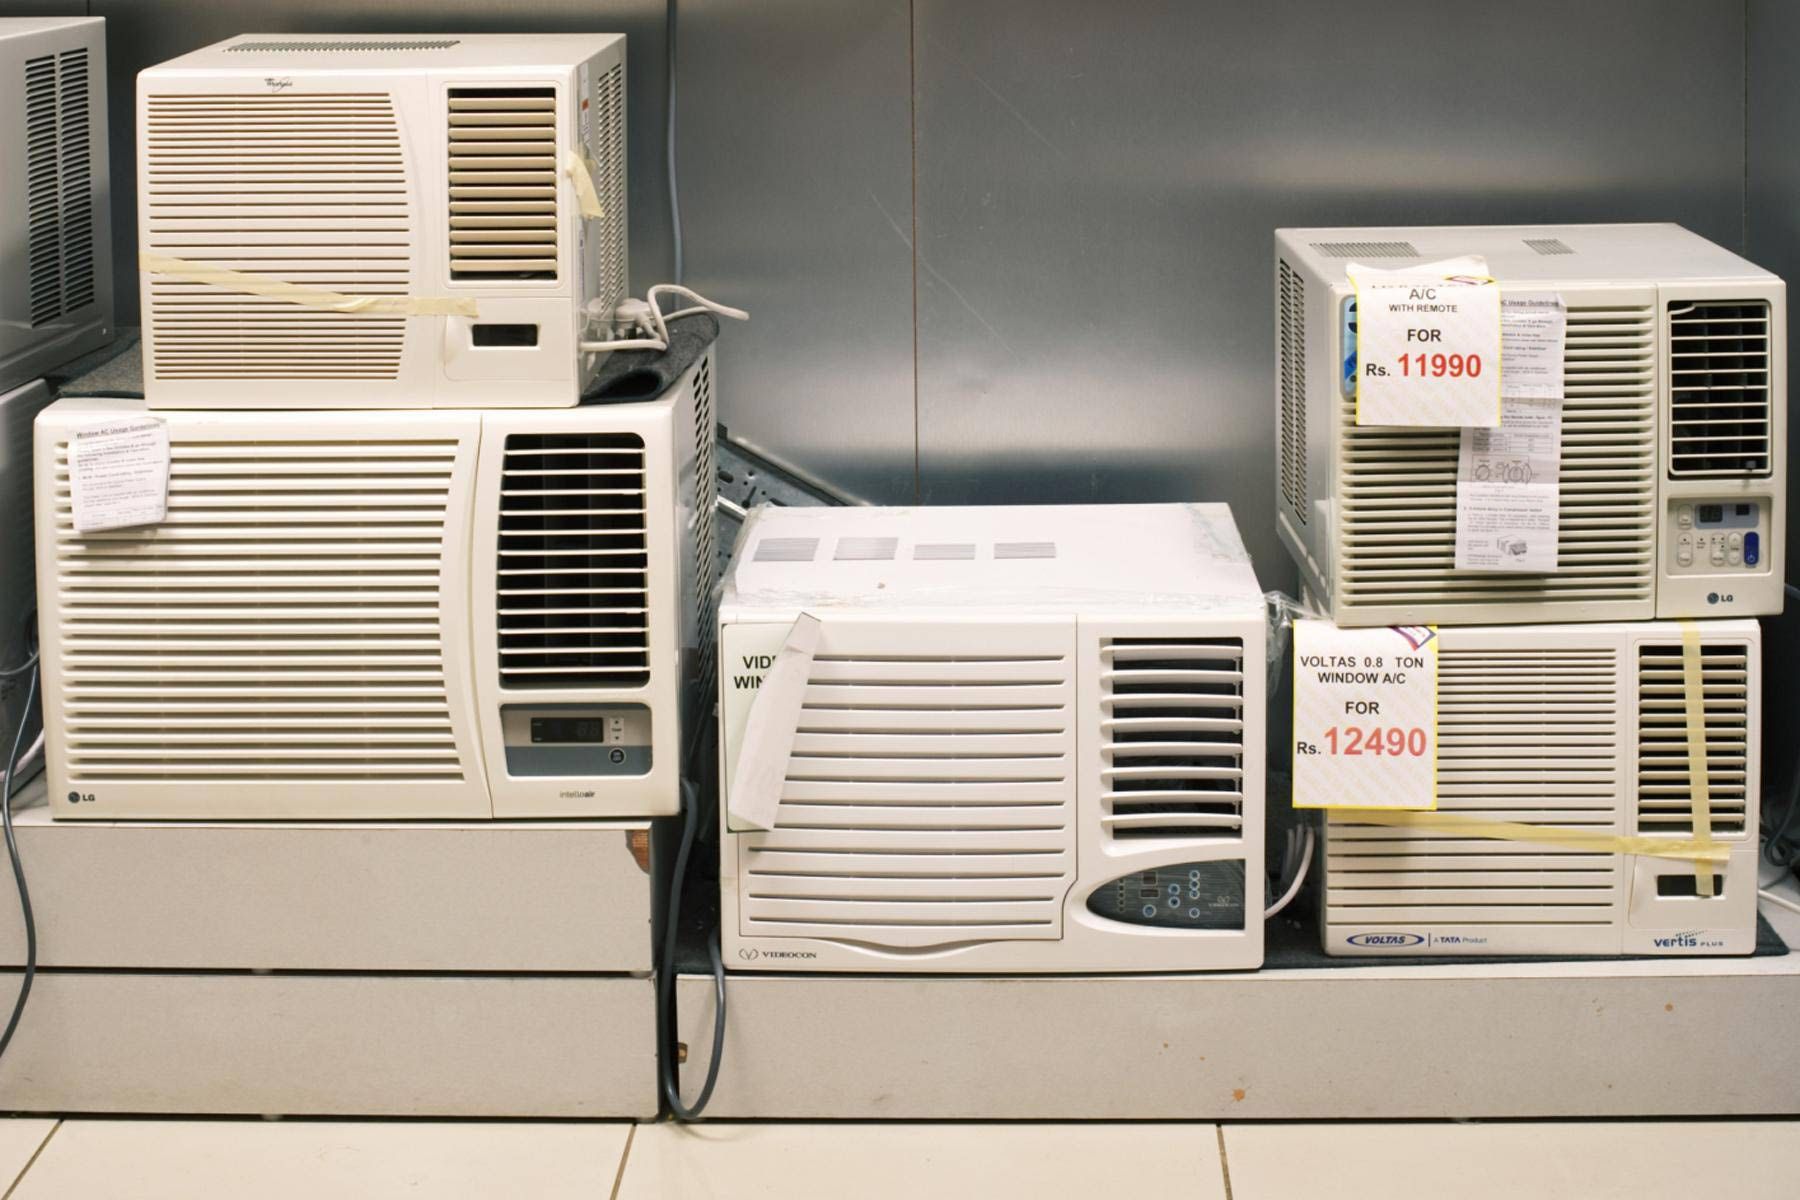
Step 1: Choose the Right Type of Air Conditioning Unit
The first step in installing an air conditioning unit is choosing the right type of unit for your specific needs and space. There are several options available, including window units, split systems, and central air conditioning systems. Consider the following factors when selecting the appropriate unit:
- Cooling Capacity: Determine the cooling capacity that your space requires. This is measured in British Thermal Units (BTUs). A higher BTU rating is needed for larger rooms or spaces with more windows or heat-producing appliances.
- Energy Efficiency: Look for units with a high Energy Efficiency Ratio (EER) or Seasonal Energy Efficiency Ratio (SEER) rating. Higher ratings indicate better energy efficiency, which can help you save on utility costs in the long run.
- Installation Method: Consider the installation requirements and limitations of different types of units. Window units are designed to fit in a window opening, while split systems require professional installation and have both an indoor and outdoor unit. Central air conditioning systems require ductwork to distribute cool air throughout the entire house.
- Cost: Evaluate the initial cost, maintenance expenses, and long-term savings associated with each type of unit. While window units are typically the most affordable, central air conditioning systems may provide better long-term value.
- Noise Level: Take into account the noise levels of different units. Some air conditioning units may be quieter than others, which is important if you value quiet and peaceful indoor environments.
Once you’ve considered these factors, you can make an informed decision about the type of air conditioning unit that best suits your needs. Take measurements of the installation area to ensure proper sizing and compatibility before making a purchase.
Remember, proper sizing and installation are crucial for the efficient operation of your air conditioning unit. If you’re unsure about the right unit for your space, consult with an HVAC professional who can recommend the best option based on your specific requirements.
Step 2: Measure and Prepare the Installation Area
After selecting the right type of air conditioning unit, it’s time to measure and prepare the installation area. This step is crucial to ensure that the unit fits properly and functions optimally. Here’s what you need to do:
- Measure the Space: Measure the dimensions of the area where you plan to install the unit. This includes both the indoor and outdoor spaces for split system or central air conditioning units.
- Check Clearances: Ensure that there is enough clearance around the unit for proper airflow and access for maintenance. Refer to the manufacturer’s guidelines for the recommended clearances.
- Prepare the Surface: For window units, clean the window opening and remove any debris or obstructions. For split system or central air conditioning units, clear the area of any obstacles and ensure a stable surface for installation.
- Check for Obstructions: Inspect the area for any obstructions such as trees, shrubs, or outdoor furniture that may restrict airflow to the outdoor unit. Trim or remove any obstructions as necessary.
- Ensure Proper Drainage: If needed, make sure there is a suitable drainage system in place for condensate removal. This can be in the form of a nearby floor drain or an external condensate pump.
By measuring accurately and preparing the installation area, you can ensure a smooth installation process and prevent any potential issues down the line. Keep in mind that each type of unit may have specific requirements, so consult the manufacturer’s instructions or seek professional guidance if needed.
Once you have measured and prepared the installation area, you are ready to move on to the next steps of the installation process. In the next step, we will discuss how to install the indoor unit of a split system or central air conditioning system.
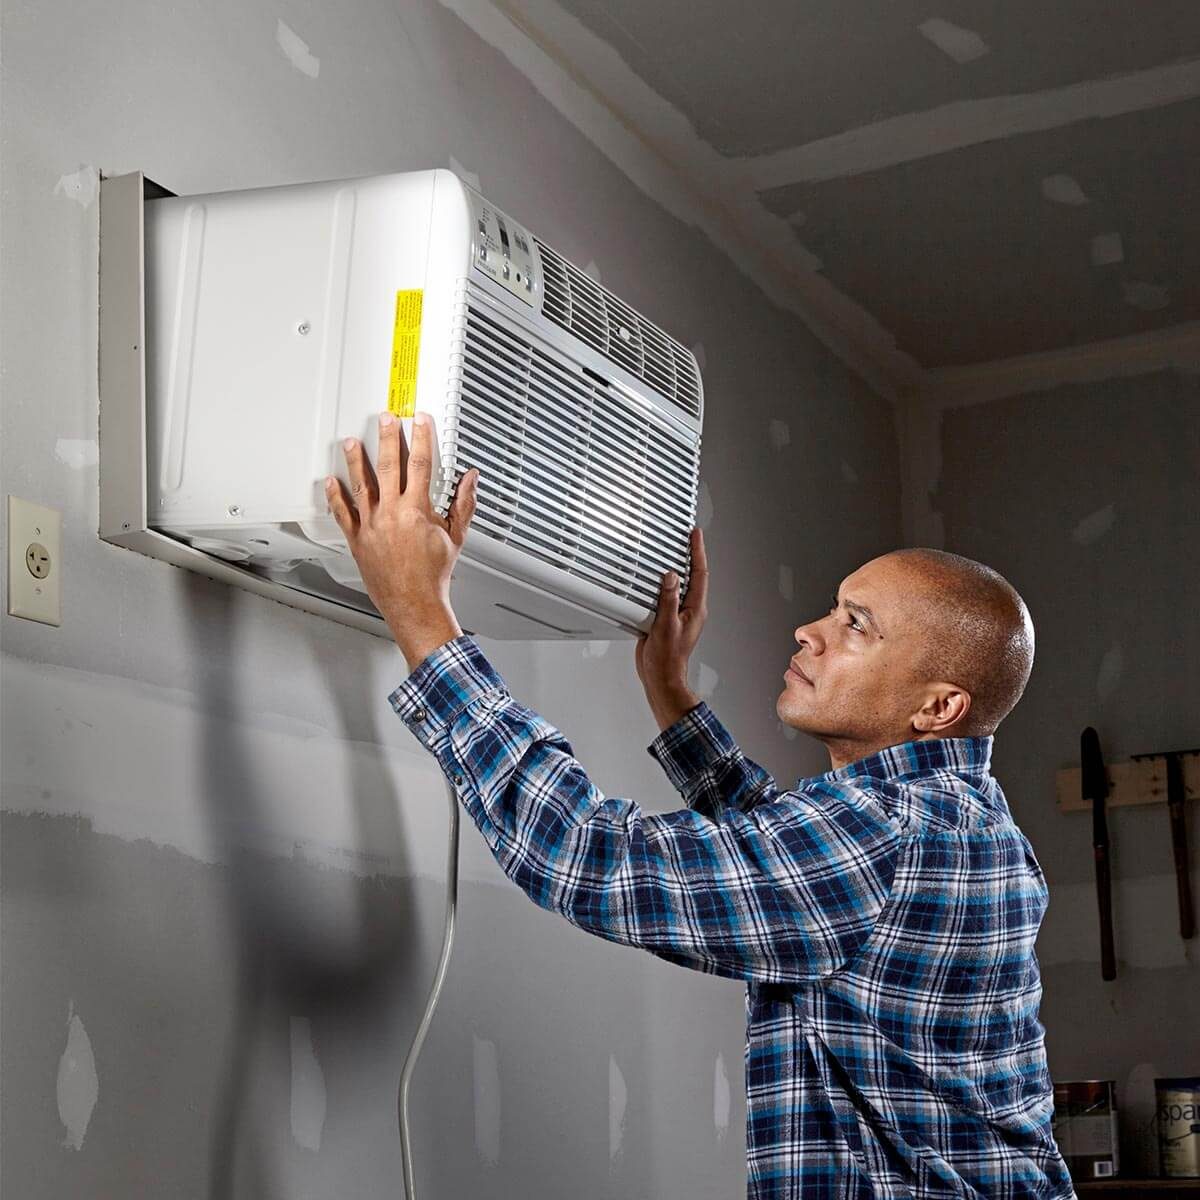
Step 3: Install the Indoor Unit
Once you have measured and prepared the installation area, it’s time to install the indoor unit of your air conditioning system. The indoor unit is responsible for cooling the air and distributing it throughout your space. Here’s how you can install it:
- Choose an Optimal Location: Select a location for the indoor unit that allows for even air distribution and is easily accessible for maintenance. It should be placed high on a wall or suspended from the ceiling, ensuring that it is away from any obstructions.
- Mount the Unit: Follow the manufacturer’s instructions to mount the indoor unit securely on the wall or ceiling. Use a level to ensure it is properly aligned.
- Drill Holes for Piping: Drill holes in the wall where the refrigerant lines and electrical cables will run. Make sure the holes are properly sized to accommodate the piping and cables.
- Connect the Refrigerant Lines: Connect the refrigerant lines from the outdoor unit to the indoor unit, following the manufacturer’s instructions. Use proper insulation on the lines to prevent condensation and maximize efficiency.
- Connect the Drain Pipe: Connect the condensate drain pipe to the indoor unit. Ensure that it has a proper slope to allow for effective drainage.
- Secure and Seal: Secure the indoor unit in place and seal any gaps around it with appropriate sealant to minimize air leakage.
- Connect Electrical Wiring: Connect the electrical wiring of the indoor unit, following the manufacturer’s instructions and adhering to local electrical codes. It’s recommended to hire a licensed electrician for this step to ensure safety.
Throughout the installation process, refer to the manufacturer’s instructions for specific guidance and consult with a professional if needed. Once the indoor unit is securely installed, you’re ready to move on to the next step of installing the outdoor unit.
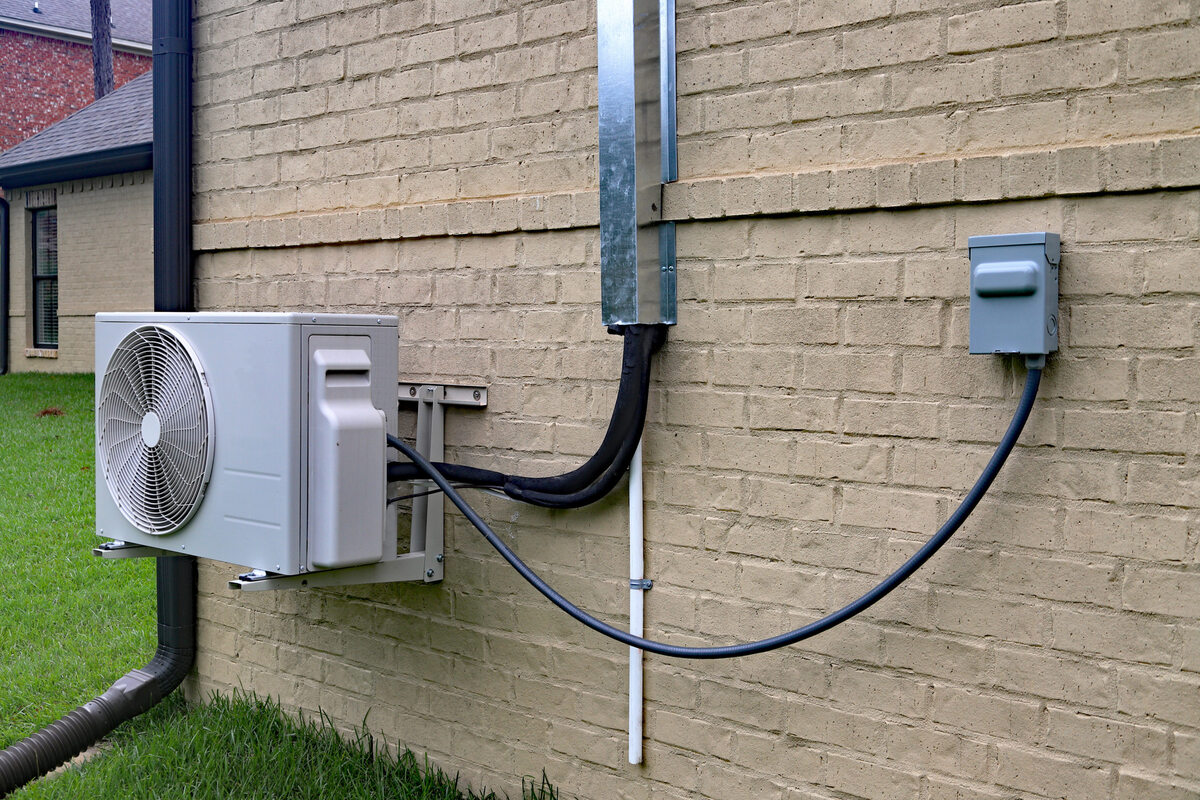
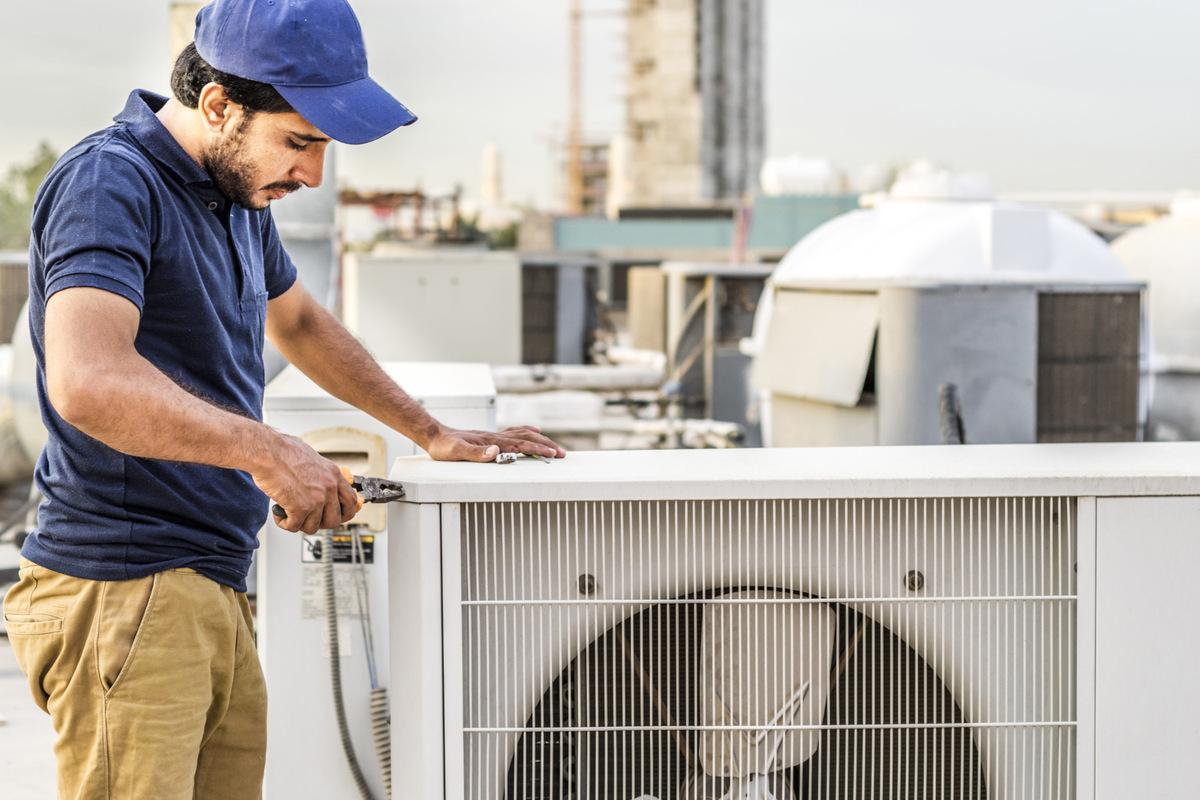
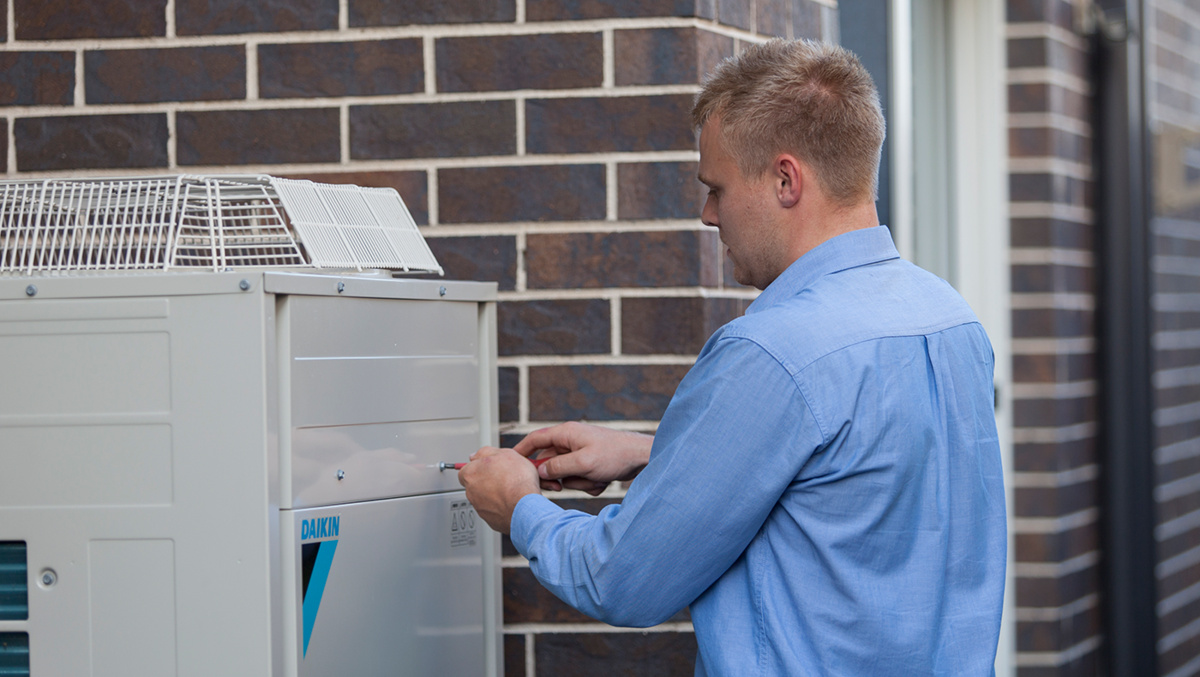
Step 4: Install the Outdoor Unit
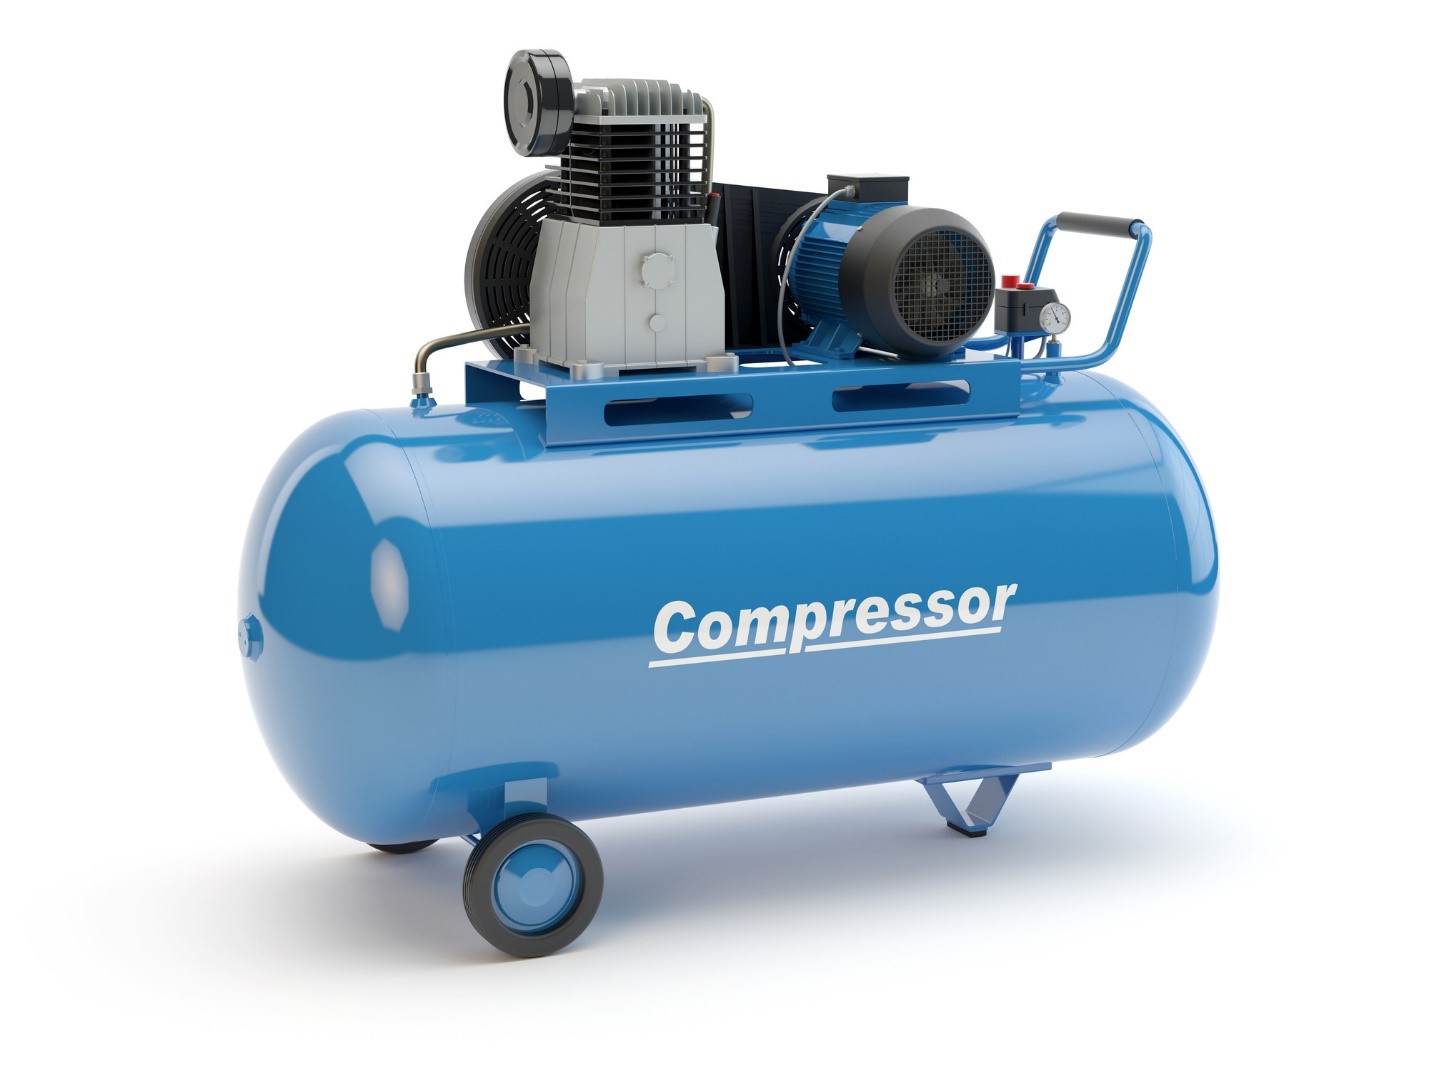
With the indoor unit securely installed, it’s time to move on to installing the outdoor unit of your air conditioning system. The outdoor unit houses the compressor and condenser, which work together to expel heat from the indoor air. Here’s how to install it:
- Choose an Appropriate Location: Select a suitable location for the outdoor unit that allows for proper airflow and is away from obstructions. It should be placed on a level surface, elevated above ground level.
- Place a Concrete Pad: If required, place a concrete pad or base to provide a stable and level surface for the outdoor unit.
- Anchor the Unit: Securely anchor the outdoor unit to the concrete pad using appropriate brackets or mounting hardware.
- Connect the Refrigerant Lines: Connect the refrigerant lines from the outdoor unit to the previously drilled holes in the wall, ensuring a secure and leak-free connection. Use proper insulation on the lines.
- Connect the Drain Pipe: Connect the condensate drain pipe from the indoor unit to the designated drainage point on the outdoor unit. Ensure that it is properly sloped for optimal drainage.
- Connect the Electrical Wiring: Connect the electrical wiring from the outdoor unit to the corresponding electrical panel, following local codes and guidelines. It is recommended to hire a licensed electrician for this step.
- Secure and Protect: Secure the outdoor unit in place and protect it from the elements with a cover or housing, if necessary.
It is important to follow the manufacturer’s instructions and consult with a professional if you have any doubts or concerns during the outdoor unit installation. Proper installation ensures efficient performance and longevity of your air conditioning system.
Once the outdoor unit is installed, you can proceed to the next step of connecting the refrigerant lines in order to complete the installation process.
Read more: What Is Air Conditioning
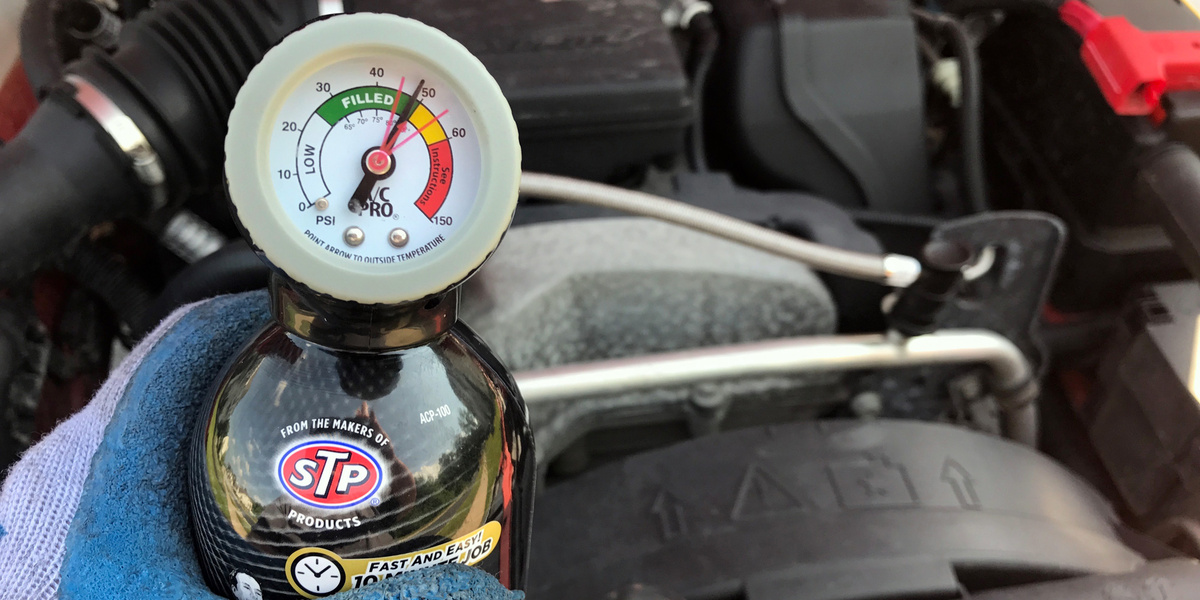
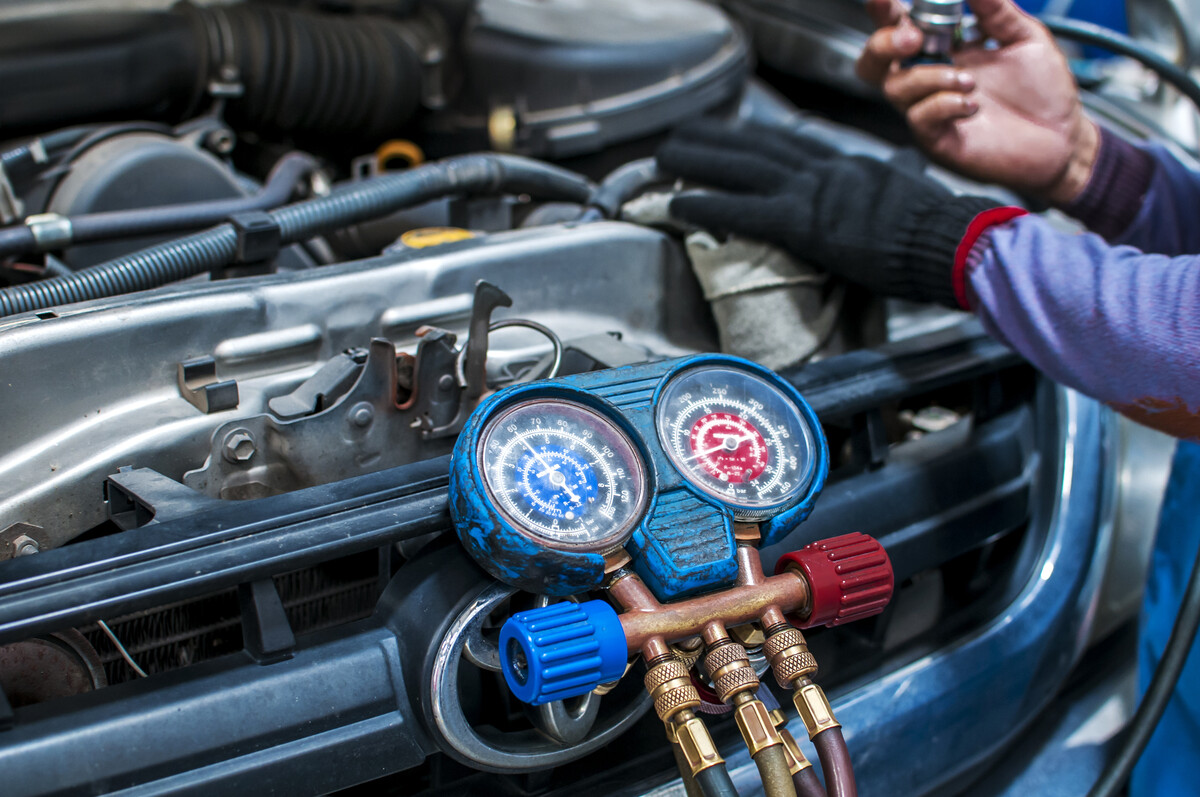
Step 5: Connect the Refrigerant Lines
Connecting the refrigerant lines is an essential step in the installation of your air conditioning unit. These lines allow the refrigerant to flow between the indoor and outdoor units, facilitating the cooling process. Follow these steps to connect the refrigerant lines:
- Inspect the Lines: Before connecting the refrigerant lines, carefully inspect them for any damage or signs of wear. Replace any damaged or faulty lines to ensure optimal performance.
- Purge the Lines: To remove any contaminants or air from the lines, it is important to purge or evacuate them before connection. This step is best performed by a trained HVAC technician using specialized equipment.
- Connect the Lines: Align the refrigerant lines with the corresponding fittings on the indoor and outdoor units. Ensure that the lines are properly secured and tightened to prevent any leaks.
- Insulate the Lines: Use refrigerant line insulation on the connected lines to minimize heat gain or loss, enhance energy efficiency, and prevent condensation. Secure the insulation in place with tape or clamps.
- Pressure Test: Once the refrigerant lines are connected and insulated, it is essential to perform a pressure test to check for any leaks. This test helps ensure that the system is properly sealed and functioning correctly.
- Refrigerant Charging: If the pressure test is successful and there are no leaks, you can proceed with the refrigerant charging process. This step involves adding the correct amount of refrigerant to the system to achieve the optimal cooling performance.
Connecting the refrigerant lines is a critical step that requires proper knowledge and expertise. It is recommended to hire a professional HVAC technician to perform this task to ensure the safety and efficiency of your air conditioning system.
Once the refrigerant lines are successfully connected, you can move on to the next step of installing the condensate drain pipe.
Make sure to properly size the air conditioning unit for the space you want to cool. An undersized unit won’t cool effectively, while an oversized unit will cycle on and off too frequently, leading to higher energy costs and potential maintenance issues.
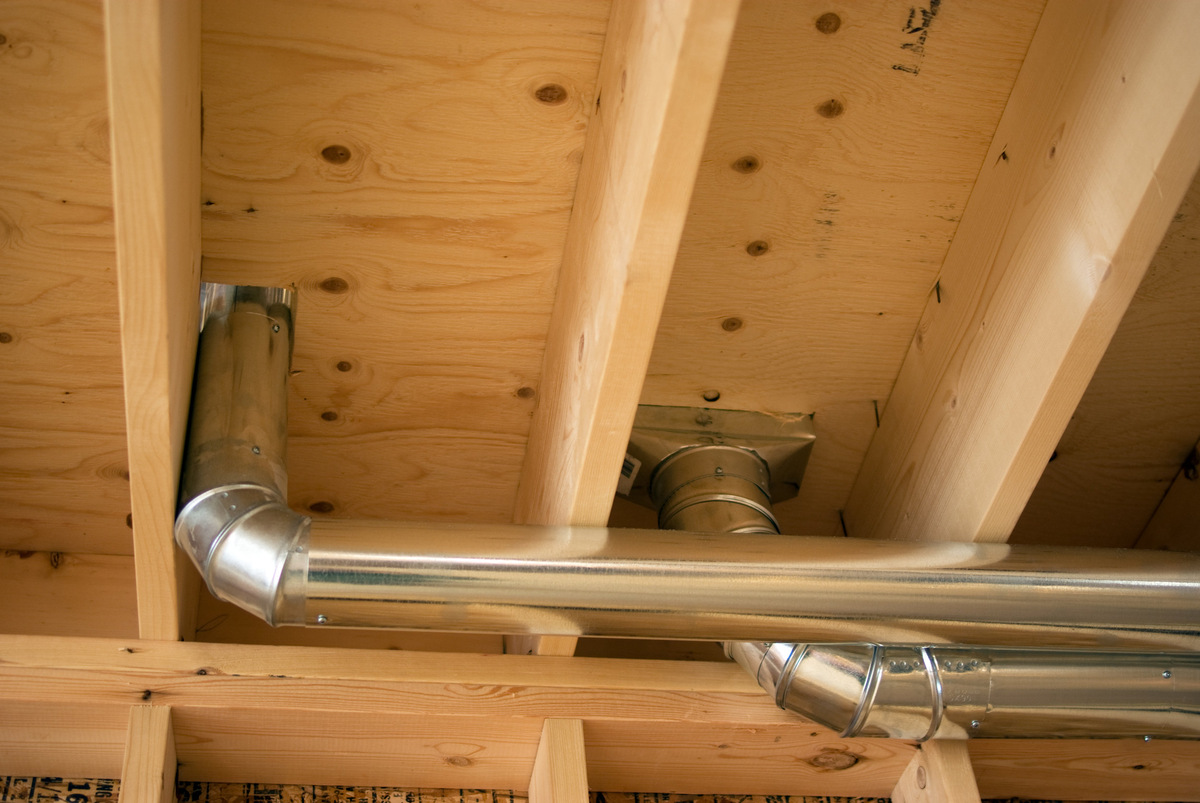
Step 6: Install the Condensate Drain Pipe
The condensate drain pipe is an important component of your air conditioning system as it helps remove the excess moisture that is produced during the cooling process. Installing the condensate drain pipe properly ensures that the condensate is effectively drained away from your home. Follow these steps to install the condensate drain pipe:
- Determine the Drain Point: Identify a suitable location for the condensate drain pipe to drain the excess water. This can be an existing floor drain, a utility sink, or an exterior location away from the foundation of your home.
- Choose the Pipe Type: Select the appropriate type and size of condensate drain pipe for your system. Common materials used for drain pipes include PVC, ABS, or flexible plastic tubing.
- Route the Pipe: Begin by routing the condensate drain pipe from the indoor unit to the predetermined drain point. Plan the route, ensuring a gradual downward slope to allow for proper drainage.
- Cut and Connect: Use a pipe cutter or a suitable saw to cut the drain pipe to the required length. Connect the pipe sections using appropriate connectors, adhering to the manufacturer’s instructions.
- Secure the Pipe: Use pipe straps or hangers to secure the condensate drain pipe to the wall or ceiling, ensuring that it is properly supported along its length.
- Install a Trap: It’s important to install a P-trap or a condensate trap in the drain pipe near the indoor unit. The trap prevents the entry of pests and odors from the drain into your living space.
- Check for Leaks: Once the condensate drain pipe is installed, check for any leaks by running water through the pipe. Ensure that the water flows freely and there is no leakage along the pipe or connections.
Proper installation of the condensate drain pipe is crucial for maintaining efficient operation and preventing any water damage to your home. If you are unsure about installing the drain pipe, it is recommended to seek the assistance of a professional HVAC technician.
Once the condensate drain pipe is successfully installed, you can proceed to the next step of connecting the electrical wiring for your air conditioning unit.
Step 7: Connect the Electrical Wiring
Connecting the electrical wiring is a critical step in the installation of your air conditioning unit. It ensures that the unit receives the necessary power supply to operate effectively and safely. Follow these steps to connect the electrical wiring:
- Ensure Safety: Before working with any electrical components, make sure to turn off the power supply to the area where you are installing the unit. This can be done by switching off the circuit breaker or disconnecting the power source.
- Check the Voltage Requirement: Verify that the voltage requirement of your air conditioning unit matches the electrical supply in your home. This information can be found in the manufacturer’s specifications.
- Prepare the Wiring: Strip the ends of the electrical wires to expose the bare copper ends. Use wire strippers to remove the insulation, ensuring that an appropriate length of wire is exposed for secure connections.
- Identify the Wiring Connections: Locate the wiring terminals on both the indoor and outdoor units. The terminals might be labeled as L1, L2, N for line and neutral connections, and G or E for the grounding wire. Refer to the manufacturer’s instructions for specific wiring details.
- Connect the Wiring: Make the electrical connections following the manufacturer’s instructions. Generally, the line wires from your power supply are connected to the corresponding line terminals, neutral wires to neutral terminals, and the grounding wire to the grounding terminal. Ensure that the connections are tight and secure.
- Secure the Connections: Once the electrical connections are made, use wire nuts or appropriate connectors to secure the wires together. Wrap electrical tape around the connections for added safety and insulation.
- Double-Check the Connections: Before proceeding, double-check all the electrical connections to ensure they are correct and secure. This step is crucial for the safe and efficient operation of your air conditioning unit.
- Restore Power Supply: Once you have completed the electrical connections and checked them thoroughly, you can restore the power supply to the area by switching on the circuit breaker or reconnecting the power source.
It is important to note that working with electrical wiring can be hazardous, and improper wiring can lead to serious damage or injury. If you are unsure or uncomfortable with electrical work, it is highly recommended to seek the assistance of a licensed electrician to ensure a safe and proper installation.
After connecting the electrical wiring, you are almost ready to test and check the installation. But before that, we will discuss some finishing touches in the next step.
Step 8: Test and Check the Installation
After completing the installation of your air conditioning unit, it’s essential to thoroughly test and check its functionality to ensure everything is working properly. Here are the steps to test and check the installation:
- Power On the Unit: Turn on the power supply to the air conditioning unit and ensure that both the indoor and outdoor units receive power.
- Check the Airflow: Stand in front of the indoor unit and feel for airflow. You should be able to feel cool air coming from the unit. If there is no airflow or it feels weak, check for any obstructions or improperly installed filters.
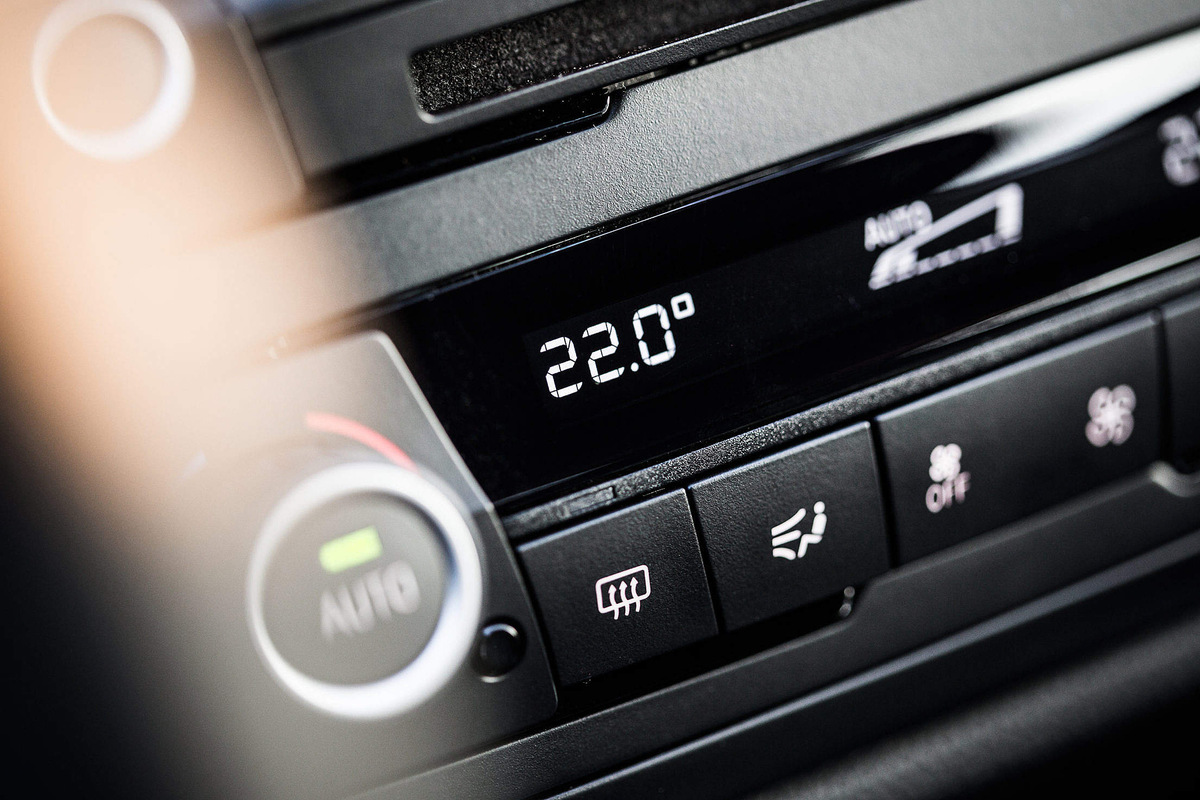
- Adjust Temperature Settings: Set the temperature on the indoor unit to a comfortable level and make sure the unit responds by cooling the air accordingly. The air conditioning should kick in and start producing cool air.
- Test the Fan and Mode Settings: Experiment with different fan speeds and mode settings to ensure they are functioning correctly. The fan should respond to different speed settings, and the modes (e.g., cool, fan-only) should work as intended.
- Monitor for Unusual Noises or Odors: Keep an ear out for any strange noises or odors coming from the unit. Unusual noises, such as grinding or rattling, could indicate a problem that needs to be addressed by a professional technician.
- Check for Leaks: Inspect both the indoor and outdoor units and their connections for any signs of refrigerant leaks or condensate drainage issues. If you notice any leaks, it is important to address them promptly to avoid further damage.
- Test the Thermostat: Ensure that the thermostat is functioning correctly by setting it to different temperatures. The unit should respond and adjust the cooling accordingly.
- Perform a Full Cooling Cycle: Run your air conditioning unit through a full cooling cycle, allowing it to operate for at least 15-20 minutes. This will help ensure that it cools the space consistently and effectively.
- Monitor Energy Consumption: Keep track of your energy consumption after installing the air conditioning unit. If you notice a significant increase in your energy bill, it could indicate a potential problem that requires professional attention.
By carefully testing and checking the installation, you can identify and address any issues early on, ensuring that your air conditioning unit operates efficiently and provides optimal cooling comfort. If you encounter any problems or concerns during the testing phase, it’s advisable to consult with a certified HVAC technician for further assistance.
Once you are satisfied with the performance and functionality of your air conditioning unit, you can proceed to the final step – completing the installation with some finishing touches.
Read more: How To Air Condition A Shed
Step 9: Complete the Installation with Finishing Touches
After testing and checking the functionality of your air conditioning unit, it’s time to complete the installation with some finishing touches. These steps will ensure that your installation is not only functional but also visually appealing and well-maintained. Here’s what you need to do:
- Clean the Surrounding Area: Clear away any debris or construction materials from the installation area. Clean the indoor unit and the surrounding space to maintain cleanliness and prevent dust accumulation on the unit’s components.
- Adjust Air Vents: Adjust the air vents throughout your space to ensure even air distribution. Direct the vents away from areas that don’t require cooling, such as empty rooms or unoccupied corners.
- Install a Thermostat: Install a programmable or smart thermostat to effectively control the temperature and optimize energy efficiency. Set up the thermostat according to your preferred cooling schedule and desired temperature settings.
- Seal and Insulate: Inspect the areas around the indoor and outdoor units for any gaps or openings. Seal any gaps with appropriate sealant or weatherstripping to prevent air leaks and improve energy efficiency.
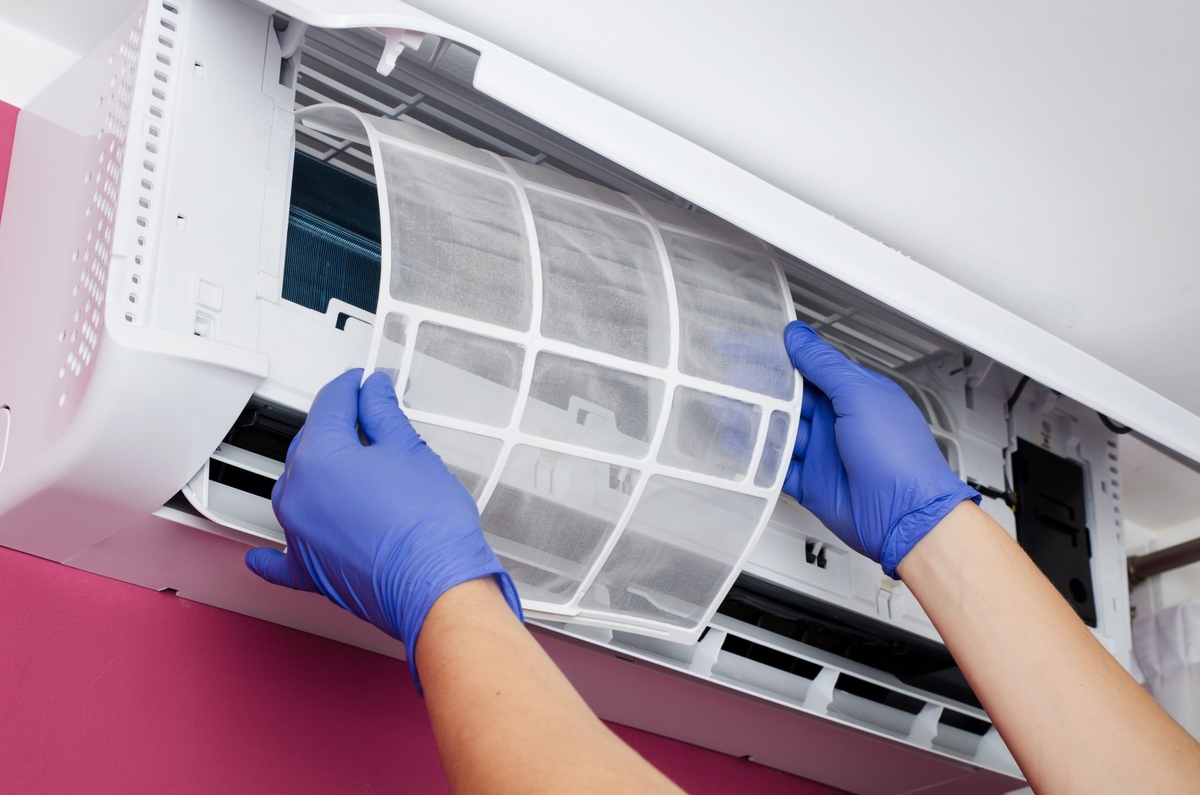
- Clean or Replace Air Filters: Regularly clean or replace the air filters to maintain optimal airflow and prevent dust and debris from clogging the system. Refer to the manufacturer’s instructions on how to properly clean or replace the filters.
- Maintain Outdoor Unit: Regularly inspect the outdoor unit for any debris or vegetation that may obstruct airflow. Trim any nearby shrubs or plants to ensure proper ventilation for the unit.
- Schedule Regular Maintenance: It’s important to schedule regular maintenance for your air conditioning unit to ensure its longevity and efficient performance. Consider hiring a professional technician to perform annual or bi-annual maintenance checks and servicing.
- Keep Records: Maintain a record of the installation, including receipts, warranty information, and any maintenance or repairs performed on the unit. This will help you stay organized and facilitate future servicing or warranty claims.
- Follow Manufacturer’s Recommendations: Lastly, it is crucial to follow the manufacturer’s recommendations for proper operation, maintenance, and servicing of your air conditioning unit. This will help maximize its lifespan and ensure that you meet all warranty requirements.
By completing these finishing touches, you can enhance the appearance and efficiency of your air conditioning unit. Regular maintenance and proper care will not only extend the lifespan of the system but also contribute to a comfortable and healthy indoor environment.
Congratulations! You have successfully completed the installation of your air conditioning unit. Enjoy the cool comfort it provides and stay cool all summer long!
Note: If you encounter any issues or challenges during the installation process, it is always recommended to seek professional assistance for a safe and accurate installation.
Conclusion
Congratulations! You have reached the end of our comprehensive guide on how to install an air conditioning unit in your home. By following the step-by-step instructions and guidelines provided, you should now have a clear understanding of the installation process and be equipped with the knowledge to tackle the job confidently.
Installing an air conditioning unit is a fulfilling project that can greatly improve your comfort and quality of life, especially during hot summer months. Remember that while this guide provides valuable information, it is important to prioritize safety and consult with professionals when necessary. If you are unsure about any aspect of the installation process, it is recommended to seek the assistance of a licensed HVAC technician to ensure a safe and successful installation.
Throughout the installation process, make sure to choose the right type of air conditioning unit for your specific needs, carefully measure and prepare the installation area, install the indoor and outdoor units correctly, connect the refrigerant lines and electrical wiring accurately, and test and check the installation thoroughly. Completing these steps, along with the finishing touches and regular maintenance, will ensure that your air conditioning system operates efficiently and provides optimal cooling comfort for years to come.
Remember to always refer to the manufacturer’s instructions, local building codes, and regulations while installing and maintaining your air conditioning system. This guide serves as a general overview, but specific instructions may vary based on the type and model of the unit you choose.
Enjoy the cool comfort that your new air conditioning unit brings, and stay cool and refreshed even during scorching summer days!
Frequently Asked Questions about How To Install Air Conditioning Unit
Was this page helpful?
At Storables.com, we guarantee accurate and reliable information. Our content, validated by Expert Board Contributors, is crafted following stringent Editorial Policies. We're committed to providing you with well-researched, expert-backed insights for all your informational needs.