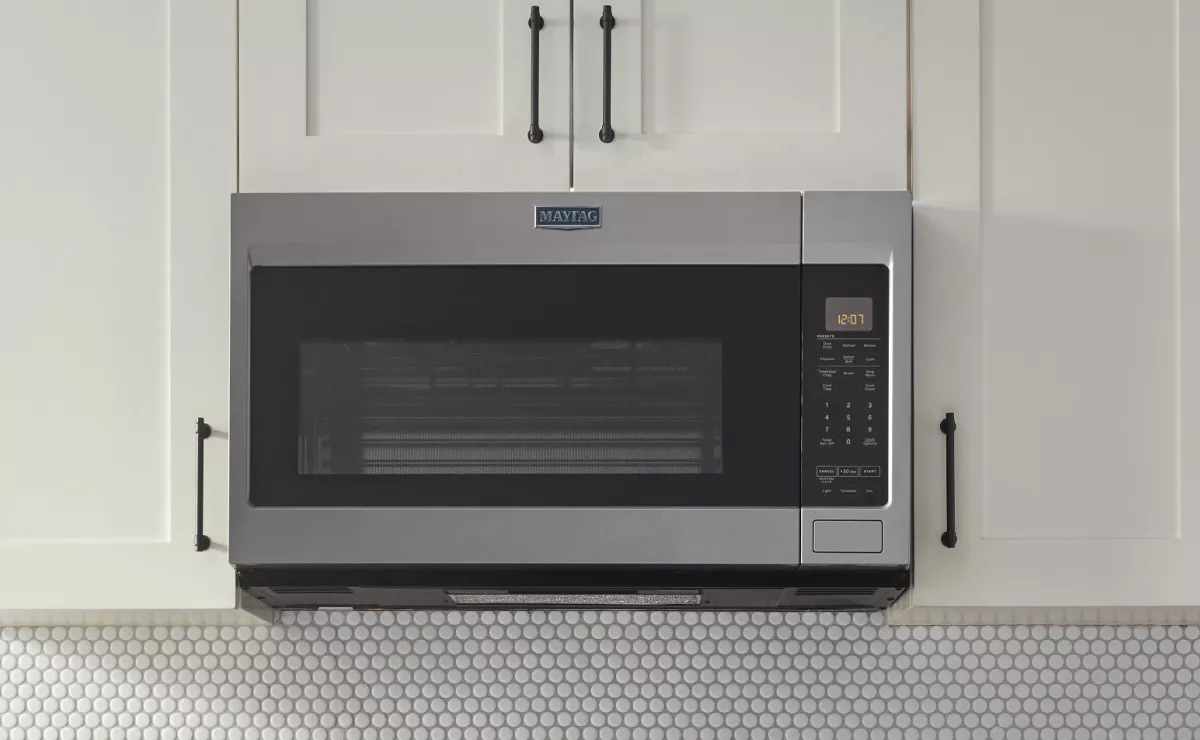
Home>Home Maintenance>How To Alter The Ventilation System On GE Microwave Model JNM3151Df1Ww
Home Maintenance
How To Alter The Ventilation System On GE Microwave Model JNM3151Df1Ww
Modified: August 28, 2024
Learn how to alter the ventilation system on GE Microwave Model JNM3151Df1Ww for optimal home maintenance. Improve air circulation and functionality quickly and easily.
(Many of the links in this article redirect to a specific reviewed product. Your purchase of these products through affiliate links helps to generate commission for Storables.com, at no extra cost. Learn more)
Introduction
Welcome to our guide on altering the ventilation system for the GE Microwave Model JNM3151Df1Ww. A properly functioning ventilation system is essential for maintaining a safe and efficient microwave. Over time, the ventilation system may become clogged or worn out, impairing its ability to remove smoke, steam, and unpleasant odors from your kitchen. In this article, we will provide you with step-by-step instructions on how to alter the ventilation system of your GE microwave, ensuring that it operates in top condition.
Before we dive into the process, it is important to note that altering the ventilation system of your microwave should be done with caution and attention to safety. Always unplug the microwave before starting any maintenance work to prevent electrical shock. Additionally, ensure you have the necessary tools and materials on hand to complete the alteration smoothly.
So, if you’re ready to improve the ventilation of your GE Microwave Model JNM3151Df1Ww, let’s get started with the first step – unplugging the microwave.
Key Takeaways:
- Keep your GE Microwave Model JNM3151Df1Ww safe and efficient by following these simple steps to alter its ventilation system. Remember to unplug, clean, and reassemble with caution and attention to detail.
- Ensure a smooth and safe process by adhering to safety precautions, gathering necessary tools and materials, and following step-by-step instructions to alter the ventilation system of your GE Microwave Model JNM3151Df1Ww.
Read more: How To Vent A Microwave Range Hood Outside
Safety Precautions
Before you begin altering the ventilation system on your GE Microwave Model JNM3151Df1Ww, it’s important to ensure your safety. Follow these precautions to minimize the risk of accidents or injuries:
- Unplug the microwave: Always disconnect the microwave from the power source before attempting any maintenance work. This will prevent accidental electric shock.
- Ensure the microwave is cool: Let the microwave cool down completely before you start working on it. The internal components can become hot during use and may cause burns if touched.
- Use appropriate tools: Make sure to use the correct tools for the job. Using the wrong tools can result in damage to the microwave or personal injury.
- Protective equipment: Wear protective gloves or goggles if necessary. Some parts of the microwave may have sharp edges or require contact with cleaning agents, so it’s important to protect yourself.
- Work in a well-ventilated area: Ensure there is proper airflow in the room to prevent the accumulation of fumes or odors. If necessary, open windows or doors to improve ventilation.
- Follow manufacturer instructions: Refer to the owner’s manual or manufacturer’s instructions for specific guidelines and safety information related to your GE Microwave Model JNM3151Df1Ww.
- Ask for professional help if needed: If you’re unsure about any step or encounter a complex issue, it’s best to seek assistance from a qualified technician or the manufacturer’s customer service.
- Keep an organized work area: Clear the area around the microwave to prevent tripping hazards. Organize your tools and keep them within reach to avoid accidents or damage to the microwave.
- Dispose of waste safely: When discarding old parts or materials, make sure to follow proper disposal guidelines. Toxic or hazardous substances should be disposed of in accordance with local regulations.
By adhering to these safety precautions, you can ensure a smooth and safe process while altering the ventilation system of your GE Microwave Model JNM3151Df1Ww.
Tools and Materials
Before you begin altering the ventilation system of your GE Microwave Model JNM3151Df1Ww, gather the necessary tools and materials. Having everything prepared in advance will save you time and ensure a smoother process. Here’s what you’ll need:
Tools:
- Phillips head screwdriver
- Flathead screwdriver
- Needle-nose pliers
- Clean cloth or sponge
Materials:
- New ventilation filter (if replacement is needed)
- Mild detergent or microwave-safe cleaning spray
- Water
Make sure to have these tools and materials readily available before starting the alteration process. This will allow you to move seamlessly from one step to the next, without the need for multiple interruptions or trips to gather supplies.
Now that you have everything ready, it’s time to move on to the first step – unplugging the microwave.
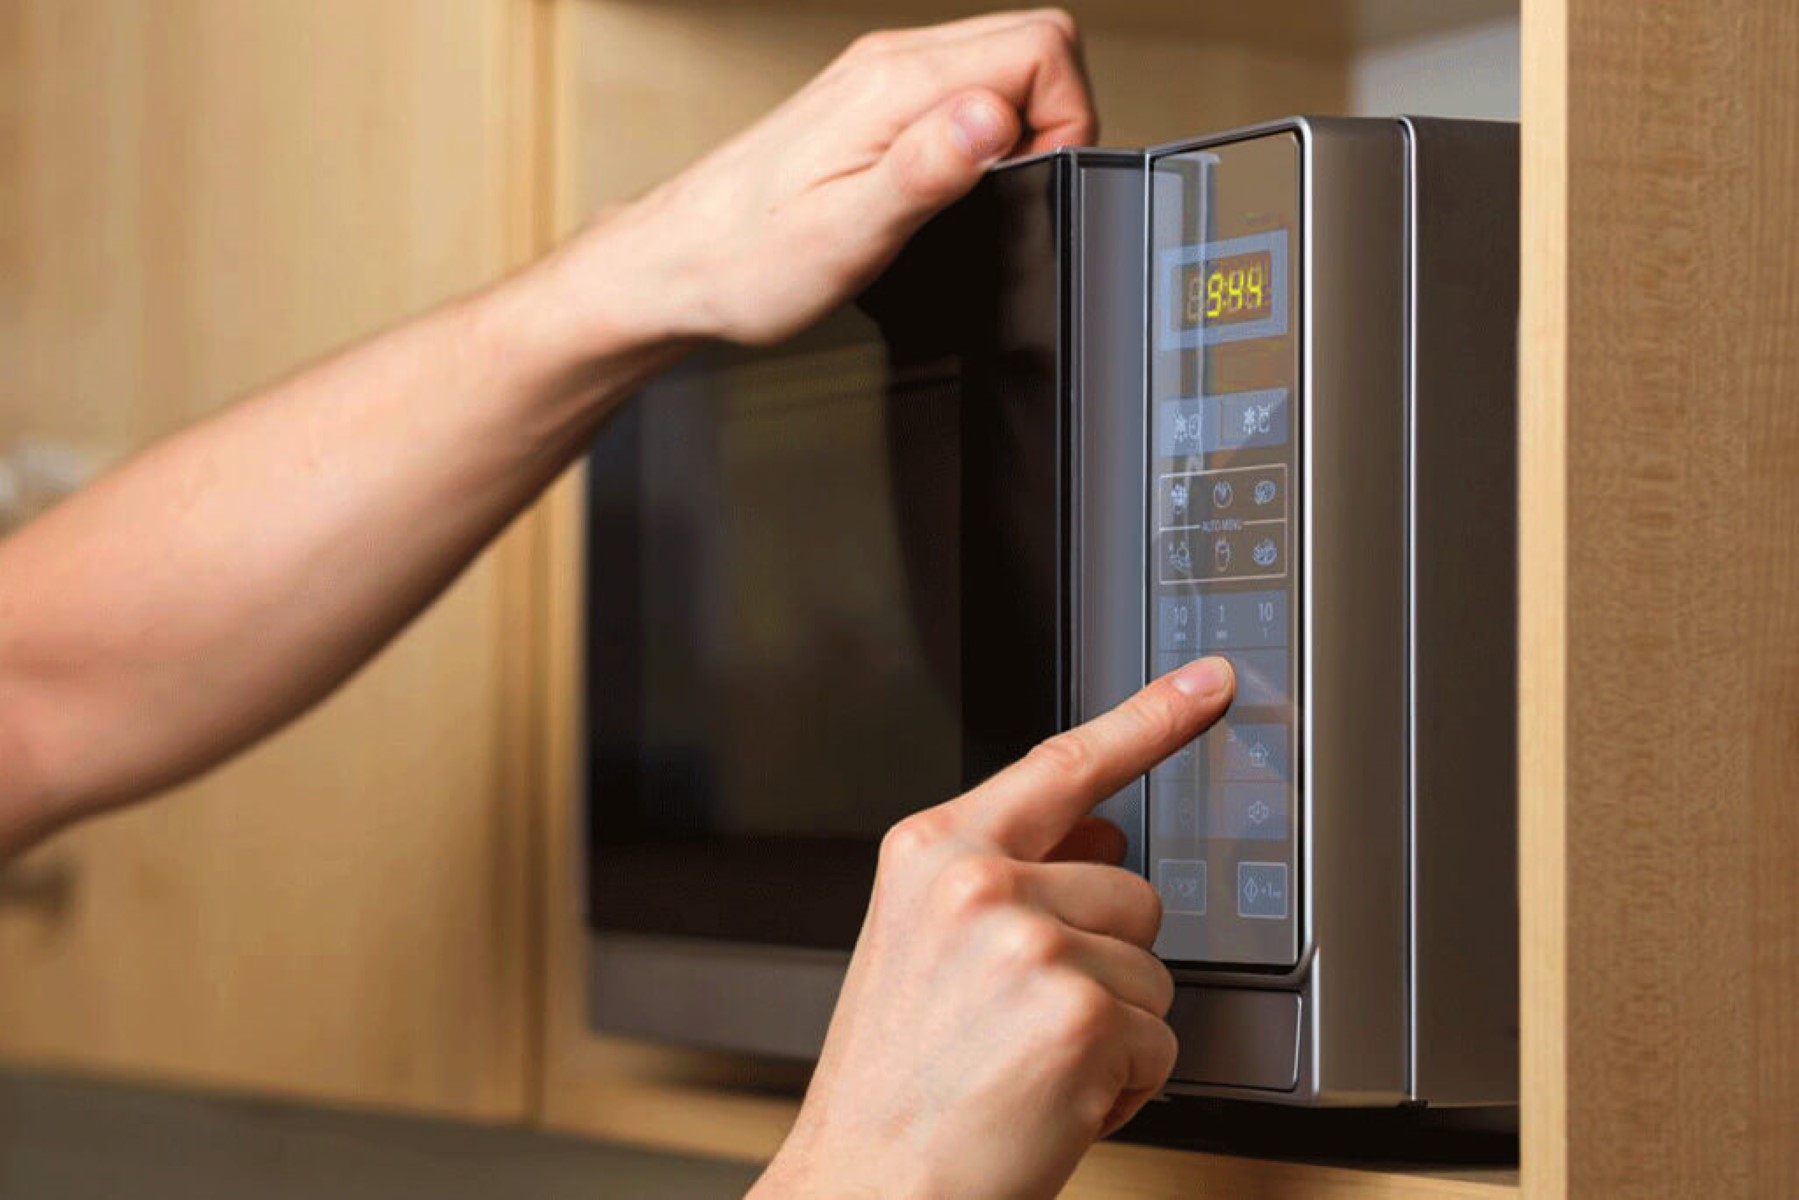
Step 1: Unplug the Microwave
The first step in altering the ventilation system of your GE Microwave Model JNM3151Df1Ww is to ensure that it is completely disconnected from the power source. Follow these instructions to safely unplug the microwave:
- Locate the power cord: The power cord is typically located at the back of the microwave, near the bottom.
- Gently pull the power cord: Hold the plug firmly and pull it out from the socket. Make sure to pull it straight out to avoid damaging the cord or the socket.
- Confirm the power is disconnected: Check that the microwave’s display or any LED lights are turned off. This will ensure that there is no electrical power flowing to the appliance.
By unplugging the microwave, you are minimizing the risk of electrical shock and protecting yourself from any potential hazards that may arise while working on the ventilation system.
Once you have confirmed that the microwave is unplugged, you can proceed to the next step – removing the ventilation cover.
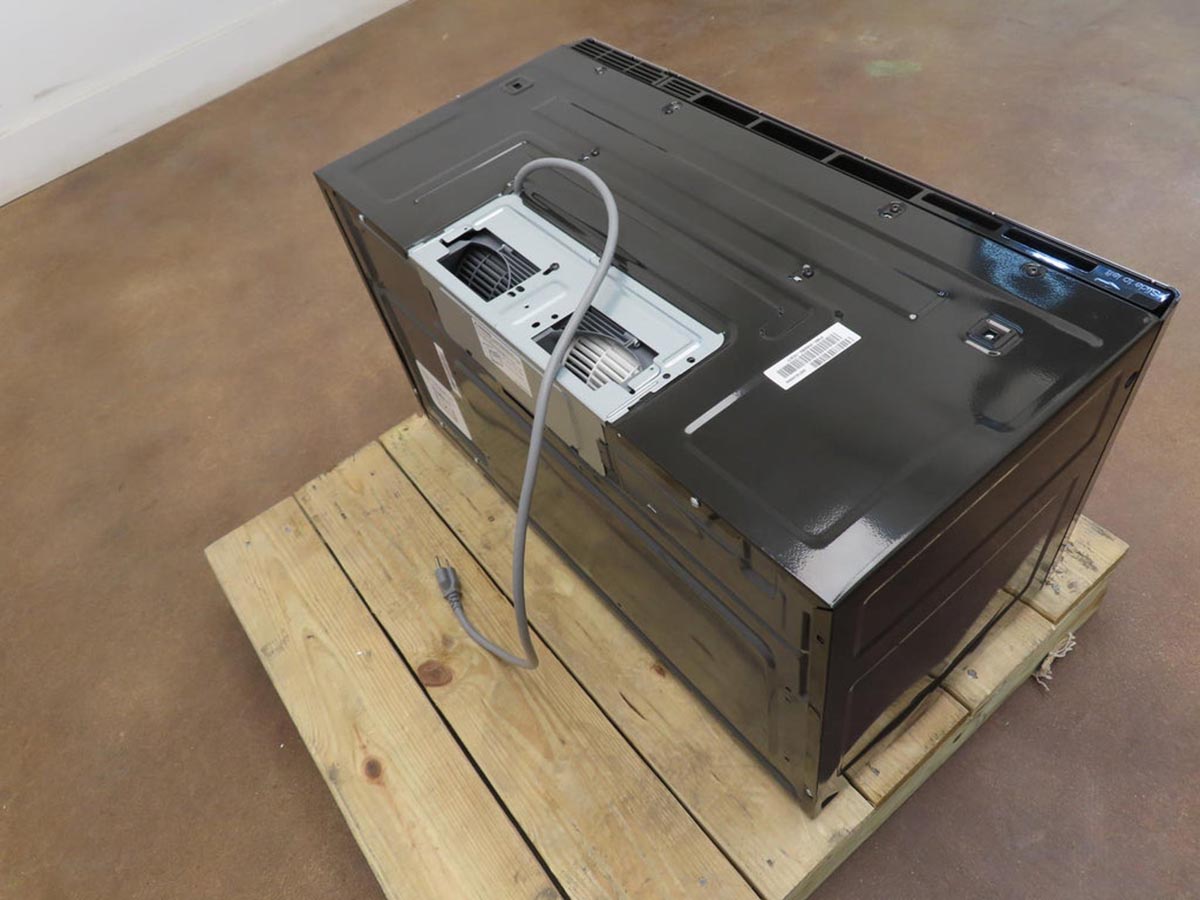
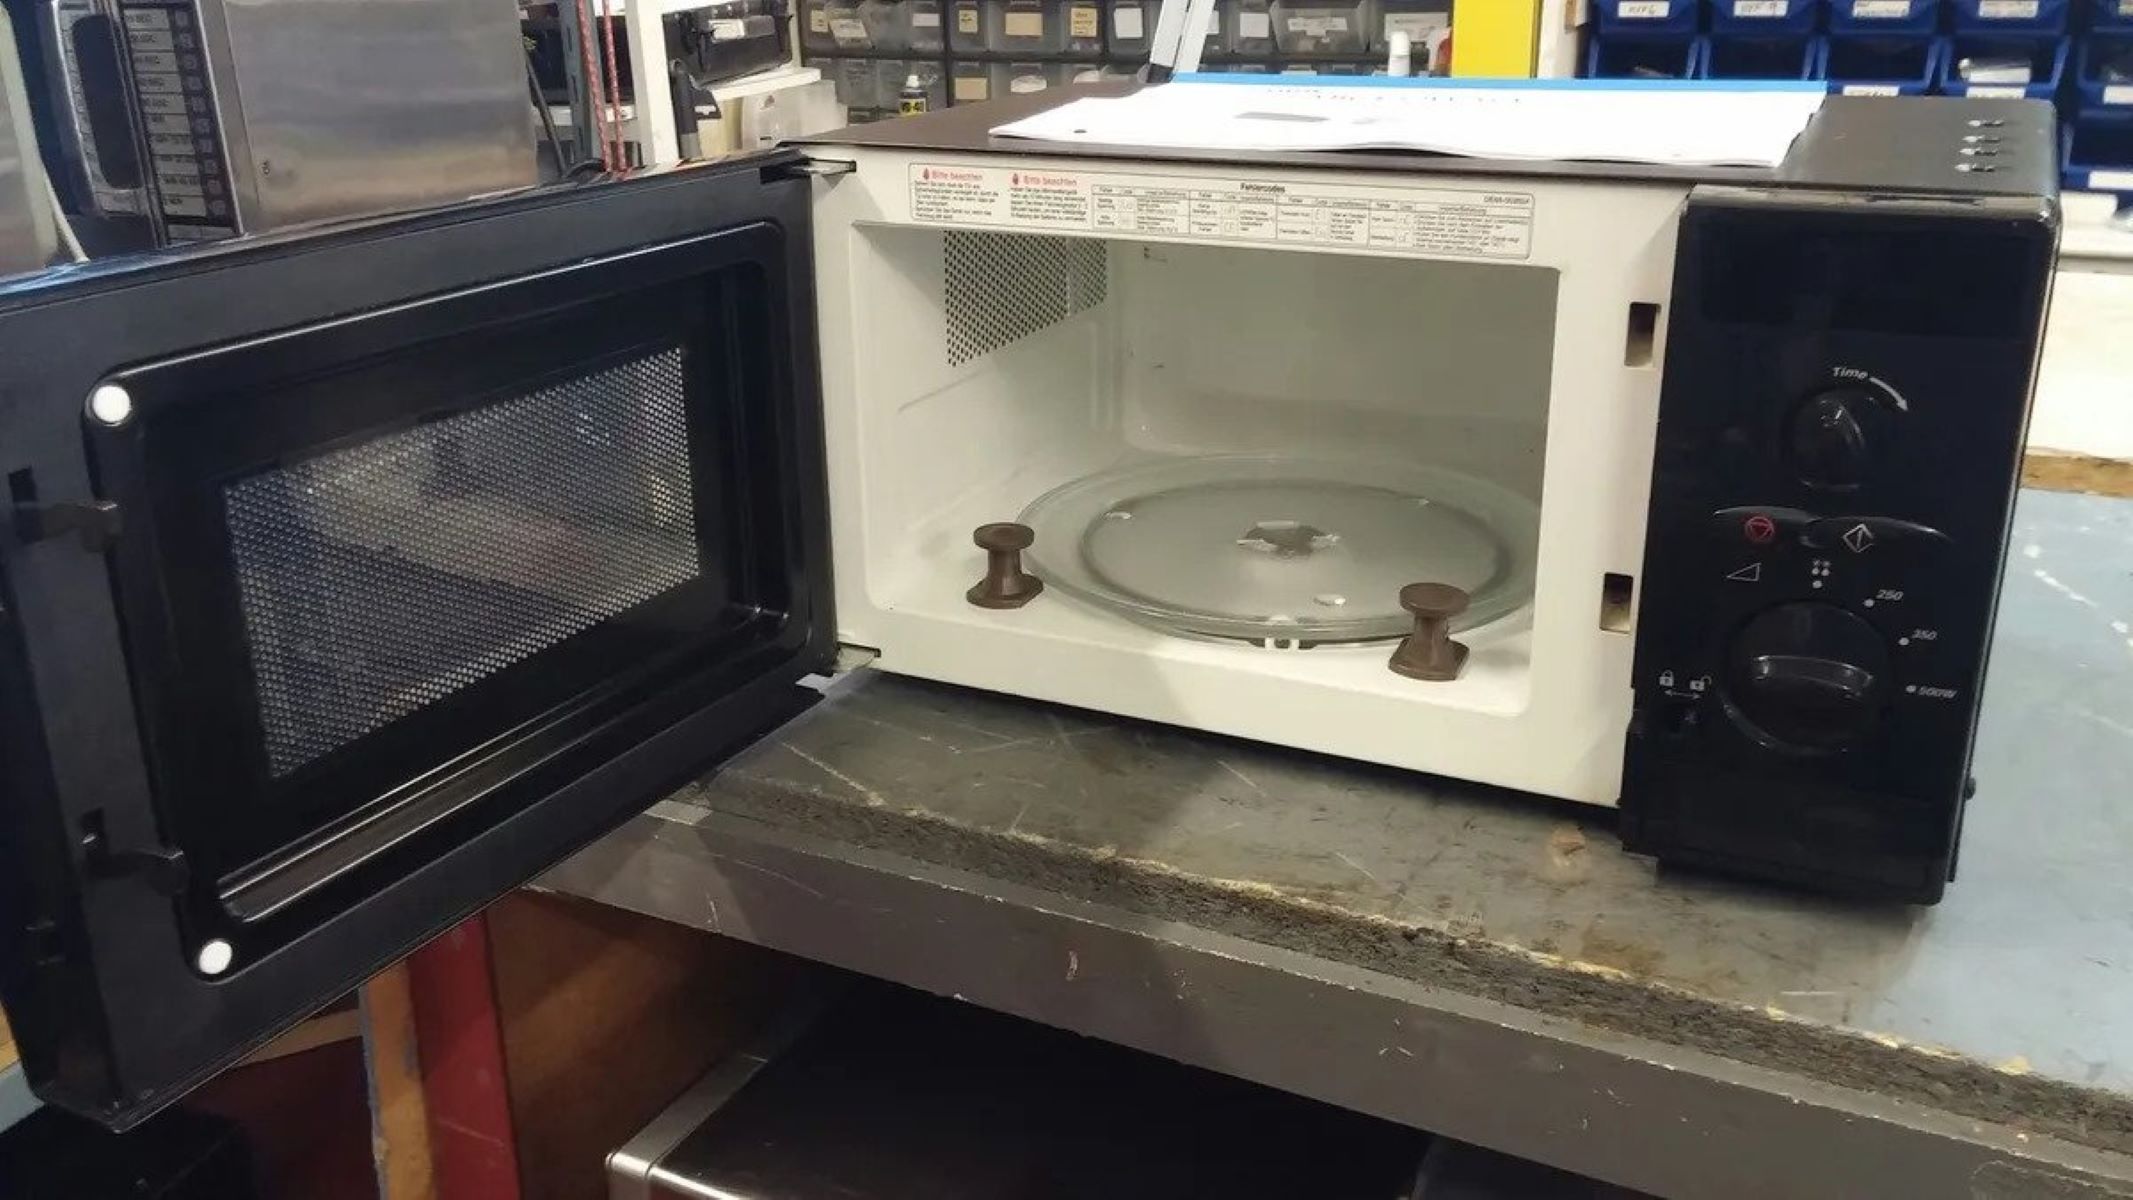
Step 2: Remove the Ventilation Cover
Now that the microwave is safely unplugged, it’s time to remove the ventilation cover. The ventilation cover is located on the top or back of the microwave and allows for the intake and outflow of air. Follow these steps to remove the ventilation cover:
- Locate the screws: Look for the screws securing the ventilation cover in place. These screws are typically located on the top or back of the microwave.
- Use a Phillips head screwdriver: Insert the Phillips head screwdriver into the screw heads and turn counterclockwise to loosen and remove the screws. Keep the screws in a safe place, as you will need them later when reassembling the microwave.
- Gently lift the ventilation cover: Once the screws are removed, carefully lift the ventilation cover straight up. Be cautious not to force it, as there may be still clips or additional screws holding it in place.
- Set the cover aside: Place the ventilation cover in a safe and clean area to prevent any damage or dirt from accumulating on it.
With the ventilation cover removed, you now have access to the internal components of the microwave’s ventilation system. This will allow you to inspect and alter the system more effectively.
In the next step, we will learn how to detach the ventilation fan.
Read more: How To Fix The Error Code DF5 For GE Dryer
Step 3: Detach the Ventilation Fan
After removing the ventilation cover, the next step in altering the ventilation system of your GE Microwave Model JNM3151Df1Ww is to detach the ventilation fan. The fan plays a crucial role in circulating the air, so it’s essential to handle this step with care. Follow these instructions to detach the ventilation fan:
- Locate the ventilation fan: The ventilation fan is situated inside the microwave, near or behind the ventilation cover.
- Disconnect the fan wires: Look for the wires connected to the fan motor. Using a pair of needle-nose pliers, gently grip the wire connectors and pull them apart. Be sure to remember or mark which wire corresponds to which connector for reassembly.
- Release the fan mounting screws: Use a Phillips head screwdriver to loosen and remove any screws securing the fan to the microwave. Set the screws aside for later.
- Remove the ventilation fan: Carefully lift the ventilation fan out of its housing. Ensure you have a firm grip to avoid dropping or damaging the fan.
With the ventilation fan successfully detached, you can now inspect it for any signs of damage or wear. If necessary, this is also an opportune time to clean the fan blades from any built-up grease or debris. When cleaning, use a clean cloth or sponge dampened with mild detergent or a microwave-safe cleaning spray.
Once the fan is clean, set it aside in a safe location. In the next step, we will discuss how to replace or clean the ventilation filter.
To alter the ventilation system on a GE Microwave Model JNM3151DF1WW, first, unplug the microwave. Then, remove the vent grille and change the fan speed by adjusting the fan control. Finally, reinstall the vent grille and plug the microwave back in.
Step 4: Replace or Clean the Ventilation Filter
The ventilation filter in your GE Microwave Model JNM3151Df1Ww is responsible for trapping grease, smoke, and other airborne particles, preventing them from entering the internal components of the microwave. Over time, the filter can become clogged and hinder the ventilation system’s effectiveness. In this step, we will explain how to replace or clean the ventilation filter:
If replacing the filter:
- Remove the old filter: Locate the ventilation filter, which is usually positioned near the front of the microwave’s interior. Push the filter towards the back of the microwave and then pull it out.
- Insert the new filter: Take the new ventilation filter and slide it into the same position where the old filter was removed. Ensure it fits snugly and securely in place.
If cleaning the filter:
- Remove the filter: Follow the same process as described above to remove the ventilation filter from its position.
- Clean the filter: Rinse the filter under warm water to remove any trapped grease and debris. If necessary, you can use a mild detergent or a specialized filter cleaning solution. Gently scrub the filter with a soft brush or sponge to remove stubborn residue.
- Dry the filter: After cleaning, thoroughly dry the filter before placing it back into the microwave. Allow it to air dry or use a clean towel to pat it dry.
- Reinsert the filter: Once the filter is clean and dry, slide it back into its designated spot in the microwave. Ensure it is properly aligned and securely in place.
Whether you choose to replace the venti
Step 5: Reattach the Ventilation Fan
Now that you have replaced or cleaned the ventilation filter, it’s time to reattach the ventilation fan. Follow these steps to ensure the fan is properly reconnected:
- Position the ventilation fan: Take the ventilation fan and align it back into its housing inside the microwave. Make sure the fan is oriented correctly, with the motor facing towards the rear of the microwave.
- Secure the fan with mounting screws: Using a Phillips head screwdriver, reinsert and tighten the screws that hold the fan in place. Ensure they are snug but not overtightened.
- Reconnect the fan wires: Find the wires that were disconnected from the fan motor. Match the wire connectors and gently push them together until they click into place.
Double-check the connections to ensure they are secure and properly seated. This step is crucial for the proper functioning of the ventilation fan.
Once the fan is reattached and the connections are secure, you have completed the process of reattaching the ventilation fan. Next, we will move on to replacing the ventilation cover.
Step 6: Replace the Ventilation Cover
After reattaching the ventilation fan, it’s time to replace the ventilation cover on your GE Microwave Model JNM3151Df1Ww. Follow these steps to ensure the cover is properly secured:
- Align the ventilation cover: Position the ventilation cover over the opening where it was removed from. Ensure that it aligns correctly with the screw holes on the microwave’s body.
- Insert the screws: Take the screws that were removed earlier and insert them into the screw holes on the cover. Use a Phillips head screwdriver to tighten the screws until they are snug.
- Check the fit: Gently press down on the ventilation cover to ensure it is securely in place. Verify that there are no gaps or loose areas where air could escape.
It is important to properly secure the ventilation cover to maintain the integrity of the ventilation system. Loose or improperly fitted covers can impede the airflow or allow smoke and odors to escape into your kitchen.
With the ventilation cover successfully replaced, we are almost done with the alteration process. The next step involves plugging the microwave back in.
Read more: How To Replace Range Hood With Microwave
Step 7: Plug in the Microwave
In the final step of altering the ventilation system of your GE Microwave Model JNM3151Df1Ww, it’s time to plug the microwave back in. Follow these steps to ensure a safe and proper connection:
- Locate the power cord: Identify the power cord of the microwave, usually located at the back or bottom of the appliance.
- Insert the power plug: Take the power plug and insert it into a properly grounded electrical outlet. Ensure that the plug is fully inserted and secure.
- Confirm the power supply: Check the display or LED lights on the microwave to verify that it has power. You should see the display illuminate or some indication that electricity is flowing to the appliance.
- Test the microwave: Press some buttons or start a short cooking cycle to confirm that the microwave is functioning correctly. This will ensure that the alteration process did not disrupt any other aspects of the appliance’s operation.
With the microwave plugged in and functioning properly, you have successfully completed the process of altering the ventilation system. Now you can enjoy a well-ventilated and efficient microwave for all your cooking needs.
Remember, if you encounter any issues or are uncertain about any step, it is always recommended to consult the owner’s manual or contact the manufacturer for assistance. Safety should always be a top priority when working on any electrical appliance.
Congratulations on altering the ventilation system of your GE Microwave Model JNM3151Df1Ww! Enjoy the improved ventilation and better kitchen experience!
Conclusion
Altering the ventilation system of your GE Microwave Model JNM3151Df1Ww is a necessary maintenance task to ensure optimal performance and a clean kitchen environment. By following the steps outlined in this guide, you have successfully completed the alteration process.
We started by emphasizing the importance of safety precautions, including unplugging the microwave and working in a well-ventilated area. These precautions are crucial to ensure your personal safety and prevent any accidents or injuries while altering the ventilation system.
We then provided a list of tools and materials you would need for the task. Having these readily available saves time and helps streamline the alteration process. Remember to use the appropriate tools and clean the materials as needed.
The step-by-step instructions covered each phase of the process, including unplugging the microwave, removing the ventilation cover, detaching the ventilation fan, replacing or cleaning the ventilation filter, reattaching the ventilation fan, replacing the ventilation cover, and finally, plugging the microwave back in.
Throughout the steps, we emphasized the importance of attention to detail, proper alignment, and securing screws and connectors. These steps are essential to ensure that the ventilation system functions efficiently and effectively.
By completing these steps, you have improved the ventilation of your microwave, allowing it to remove smoke, steam, and unwanted odors more effectively. This not only enhances your cooking experience but also helps maintain a fresh and clean kitchen environment.
Remember, if you ever encounter any issues during the alteration process or are unsure about any step, it’s recommended to consult the owner’s manual or reach out to the manufacturer for assistance. Your safety and the proper functioning of your microwave are always a top priority.
Thank you for following this comprehensive guide on altering the ventilation system of your GE Microwave Model JNM3151Df1Ww. We hope that this article has been helpful, and you can now enjoy your microwave with improved ventilation capabilities.
Frequently Asked Questions about How To Alter The Ventilation System On GE Microwave Model JNM3151Df1Ww
Was this page helpful?
At Storables.com, we guarantee accurate and reliable information. Our content, validated by Expert Board Contributors, is crafted following stringent Editorial Policies. We're committed to providing you with well-researched, expert-backed insights for all your informational needs.


0 thoughts on “How To Alter The Ventilation System On GE Microwave Model JNM3151Df1Ww”