
Articles
How To Vent A Microwave Range Hood Outside
Modified: October 29, 2024
Learn how to properly vent a microwave range hood outside with this informative article. Ensure proper ventilation in your kitchen for a healthier cooking environment.
(Many of the links in this article redirect to a specific reviewed product. Your purchase of these products through affiliate links helps to generate commission for Storables.com, at no extra cost. Learn more)
Introduction
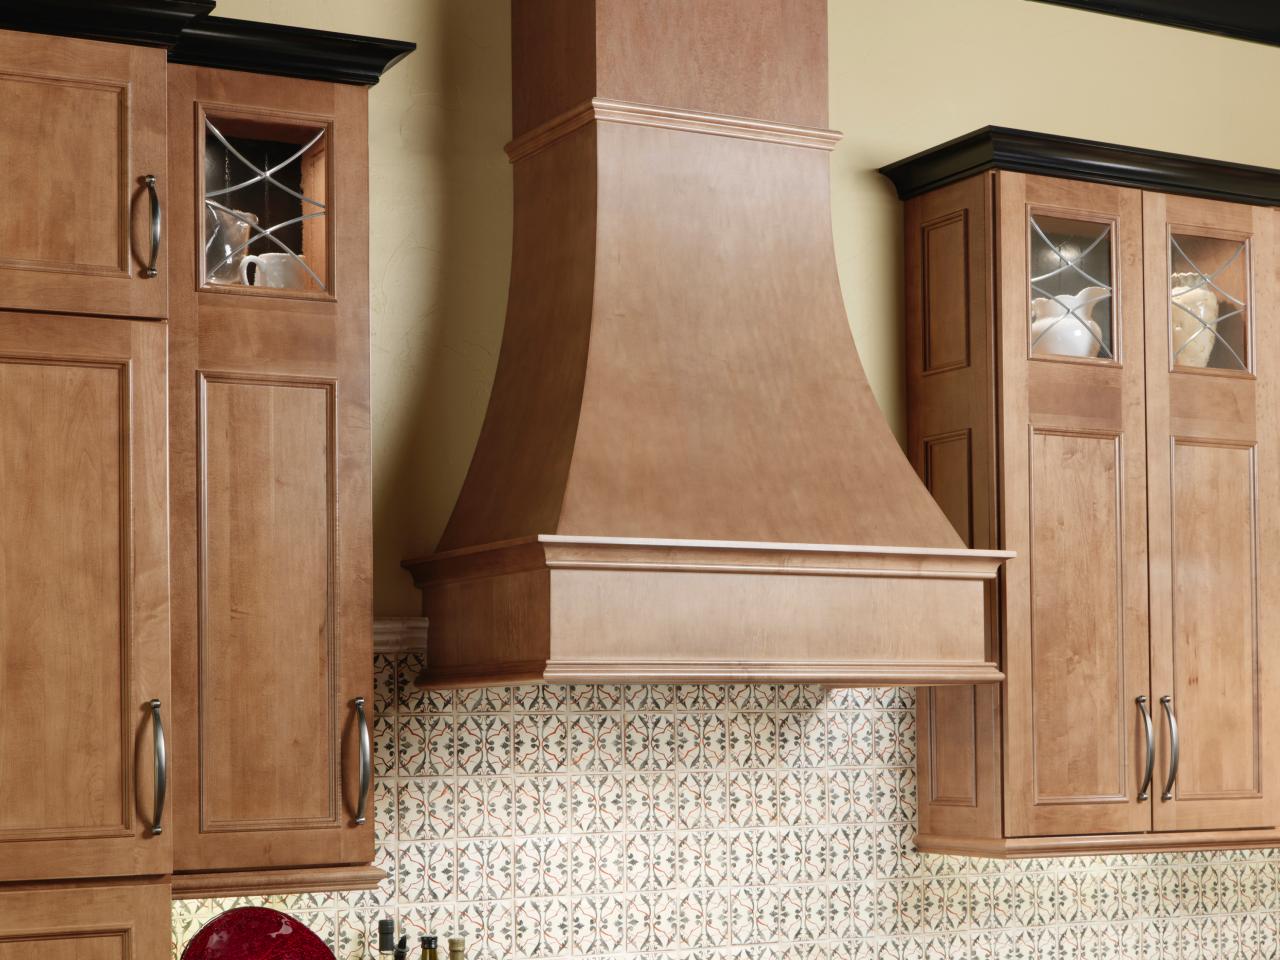
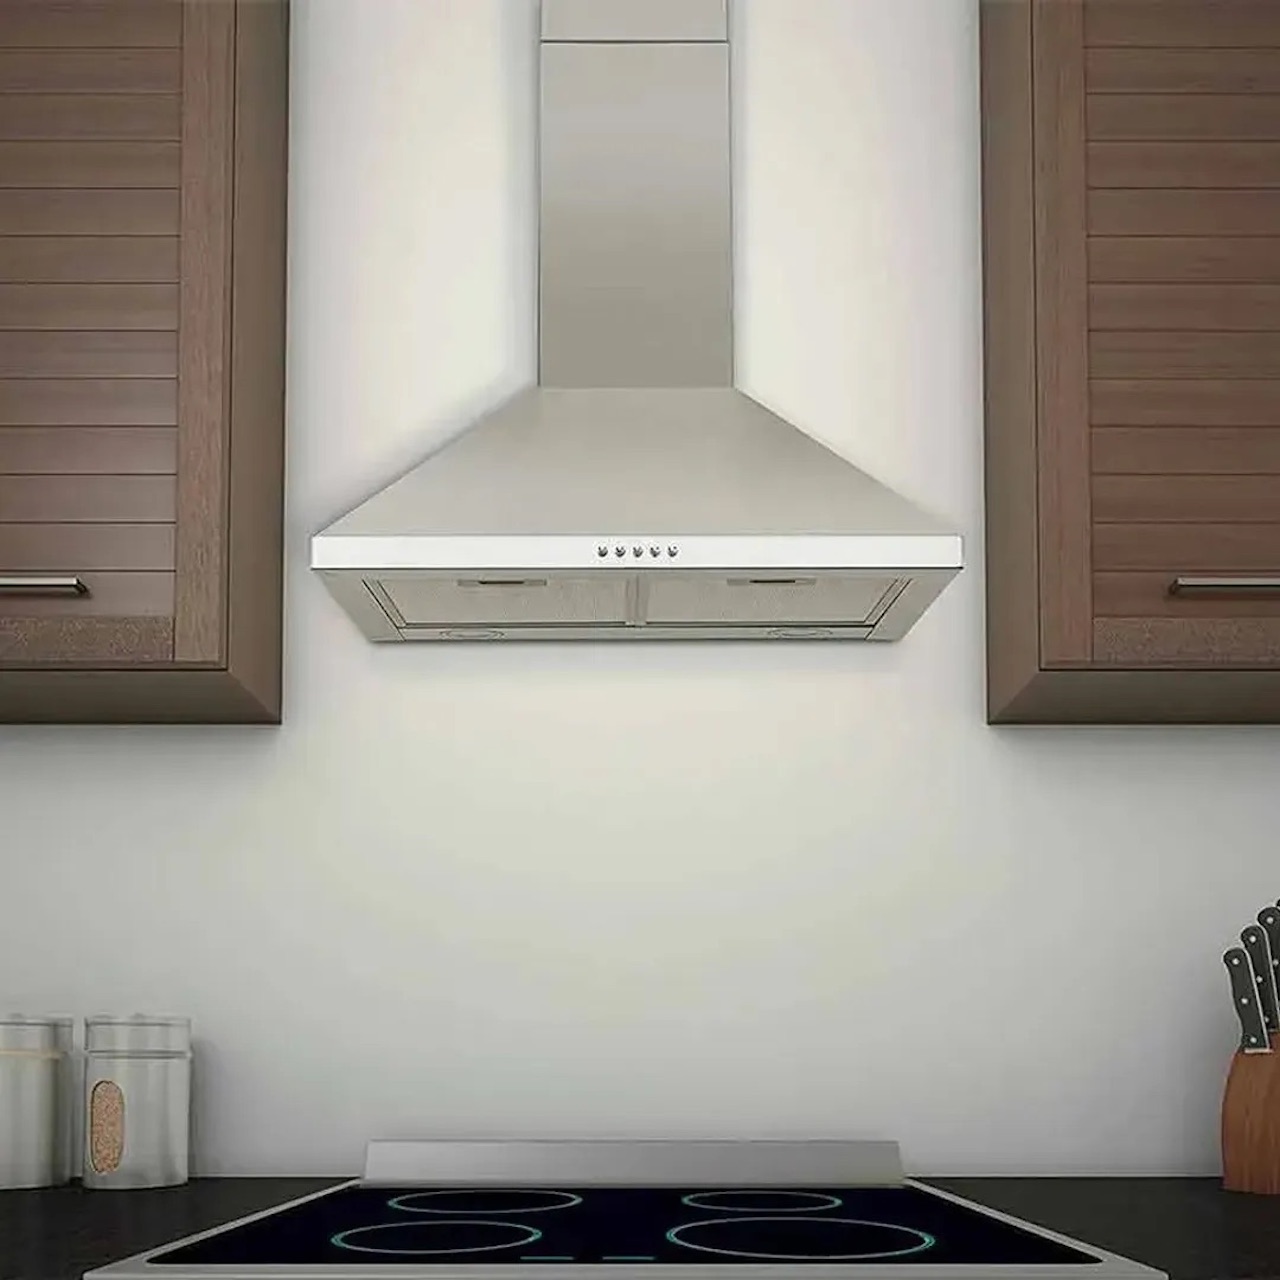
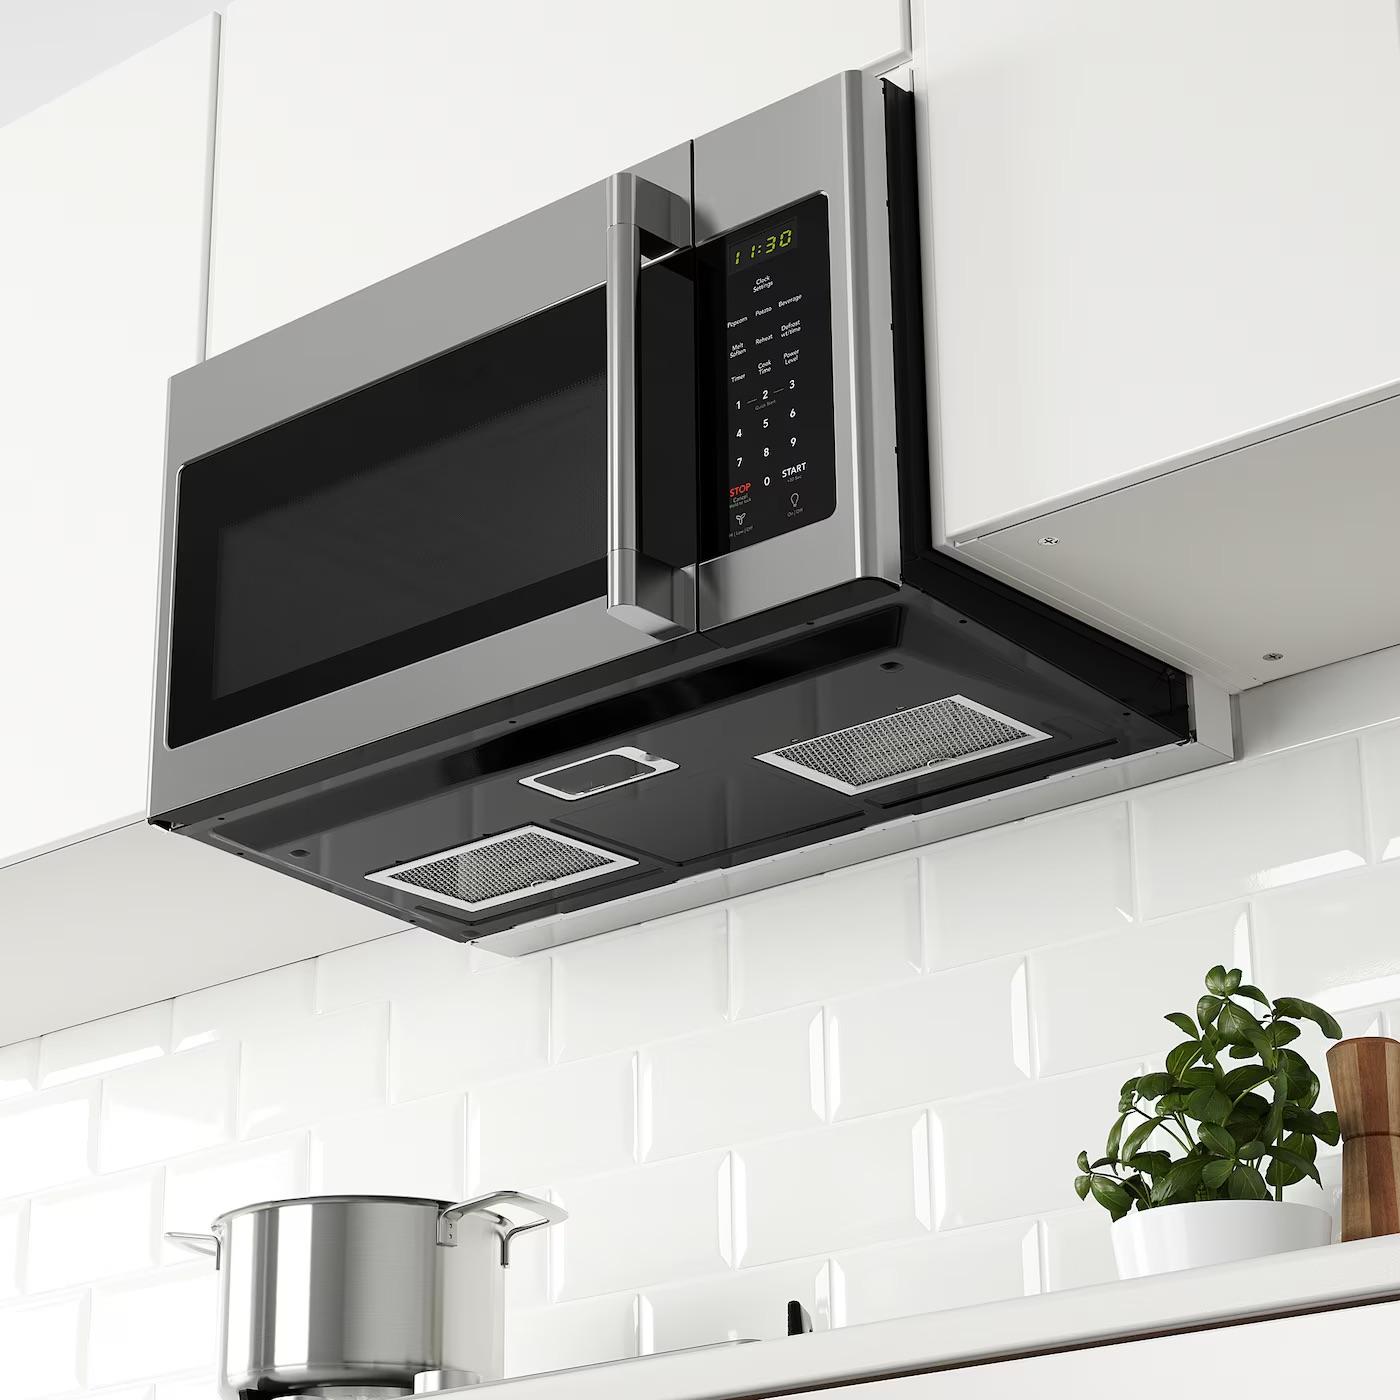
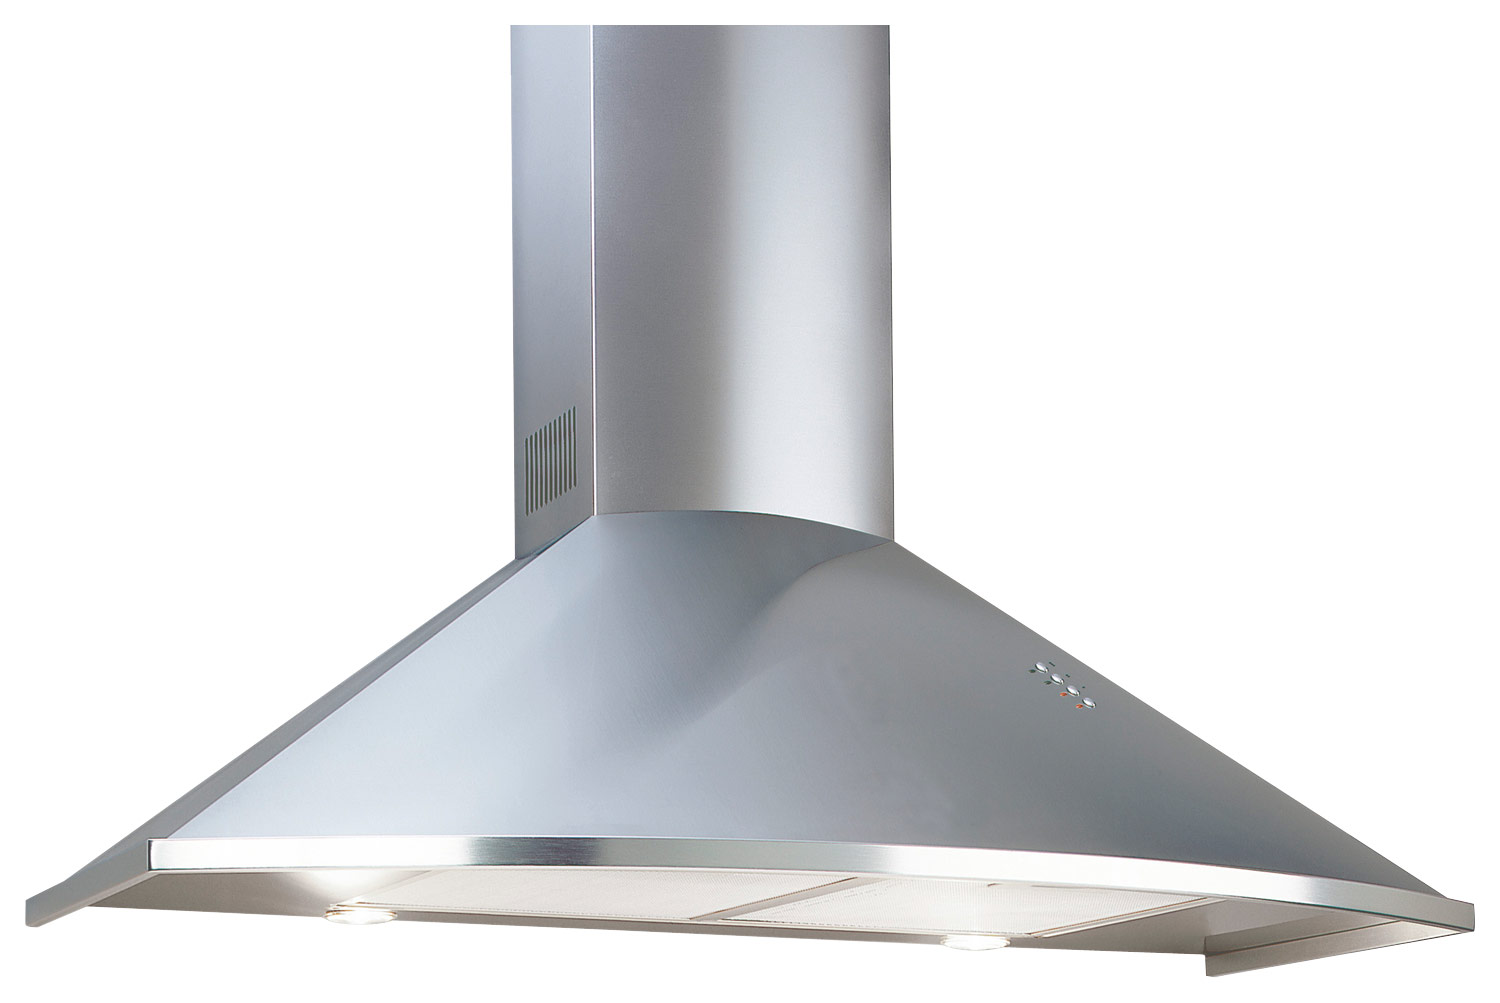
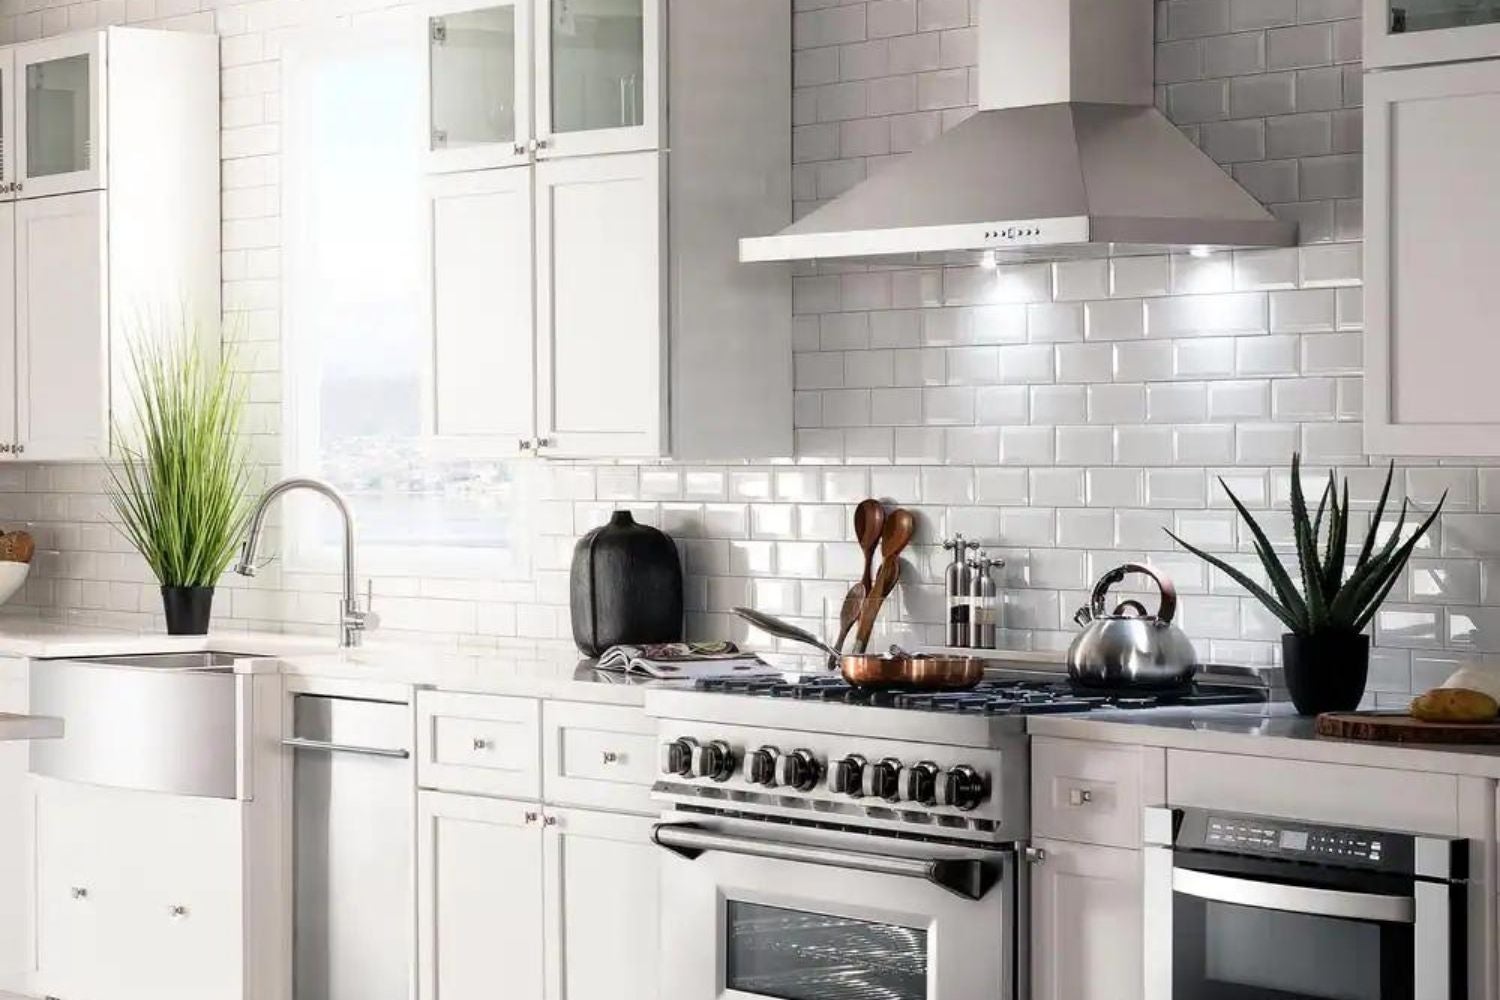
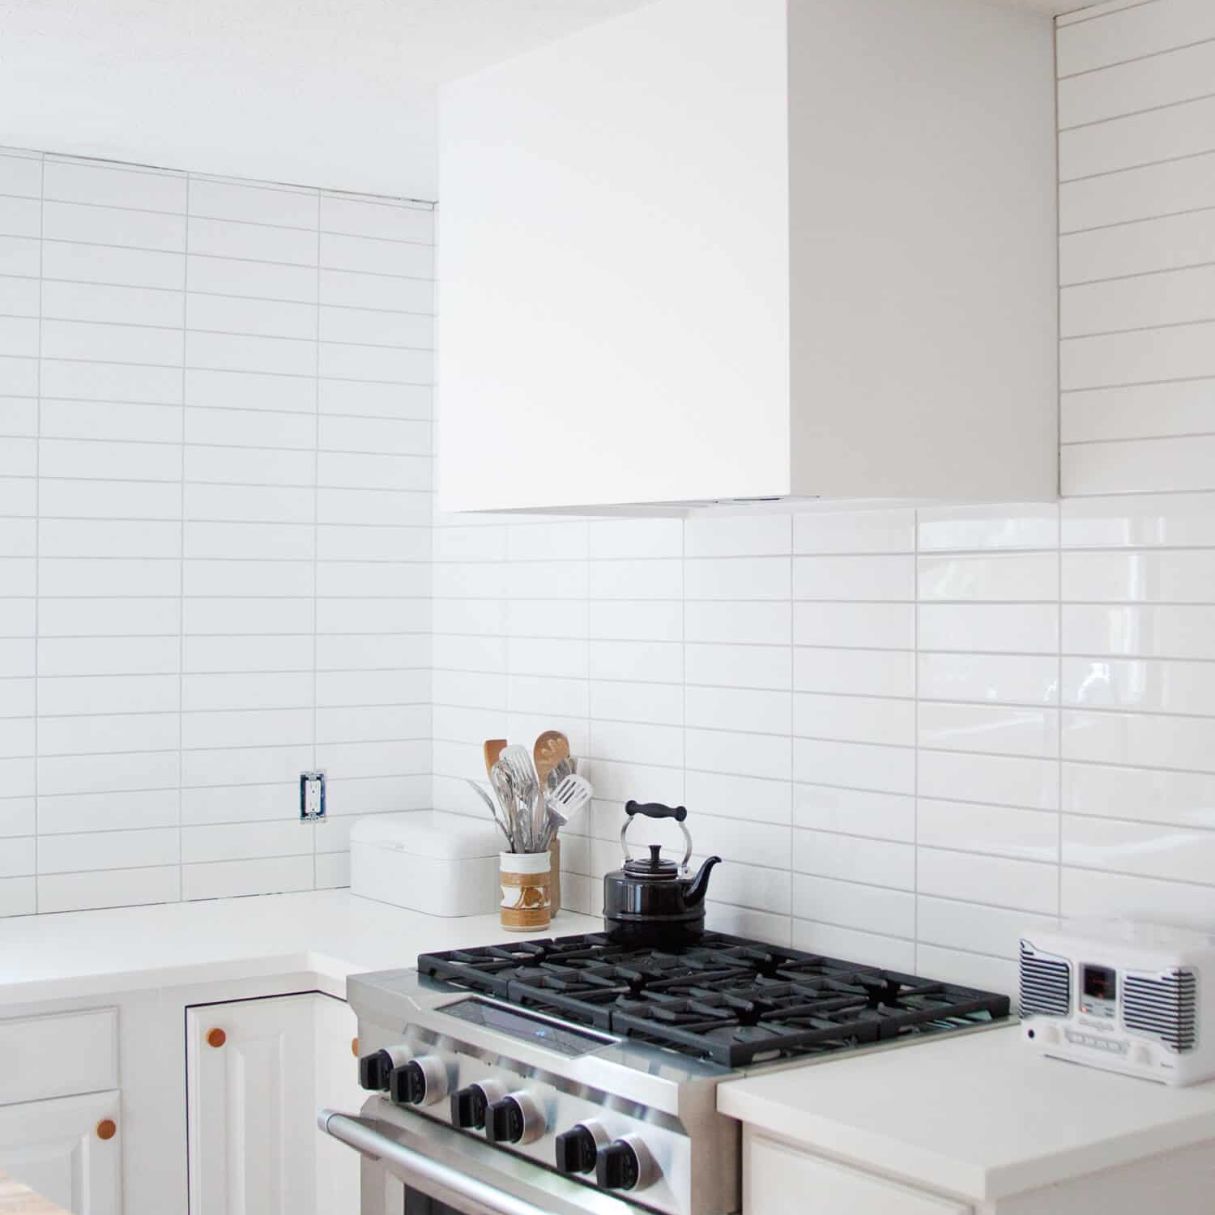
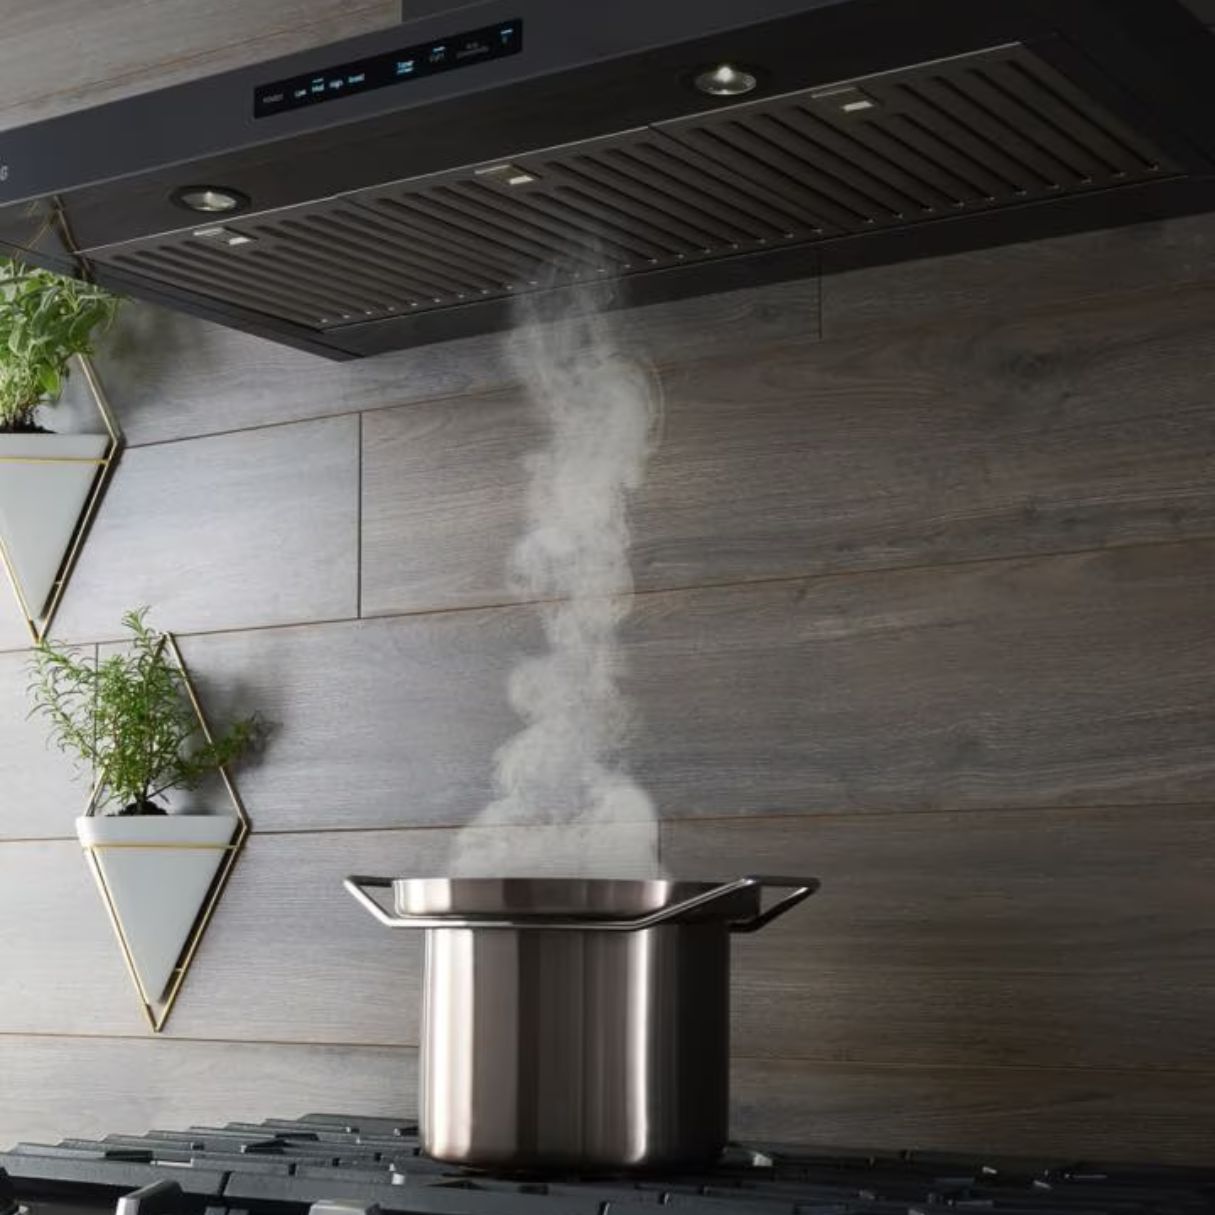
Welcome to our guide on how to vent a microwave range hood outside. A microwave range hood is an essential appliance in any kitchen, as it helps remove smoke, odors, and steam created during cooking. Venting the microwave range hood outside is important to ensure proper airflow and ventilation, preventing the buildup of moisture and improving the air quality in your kitchen.
Installing a vent to direct the exhaust outside is a simple yet effective solution. In this article, we will provide step-by-step instructions on how to vent a microwave range hood outside, including gathering the necessary tools and materials, determining the best location, drilling the vent hole, installing ductwork and a vent cover, and testing the ventilation system’s functionality.
Proper ventilation of a microwave range hood has several benefits. Firstly, it removes cooking fumes, smoke, and odors from your kitchen, keeping the air fresh and clean. This is especially important when cooking greasy foods or using strong spices, as it can help prevent lingering smells and potential health hazards.
Secondly, venting outside helps eliminate excess moisture produced during cooking. When moist air is not properly vented, it can condense on surfaces, leading to mold and mildew growth. This can damage your kitchen walls, cabinets, and countertops, and even cause health problems. Venting outside helps maintain a dry and comfortable kitchen environment.
Lastly, venting the microwave range hood outside also prevents the recirculation of air. Without proper venting, the hood can simply circulate the contaminated air back into the kitchen. This is not ideal for maintaining a clean and healthy kitchen environment, especially if you suffer from allergies or respiratory issues.
Now that we understand the importance of venting a microwave range hood outside, let’s dive into the step-by-step process of how to accomplish this. By following these instructions, you’ll be able to enjoy a well-ventilated kitchen and a more pleasant cooking experience.
Key Takeaways:
- Properly venting a microwave range hood outside is crucial for removing smoke, odors, and moisture, ensuring a clean and comfortable kitchen environment.
- Following the step-by-step instructions in this guide will help you enjoy a well-ventilated kitchen and a more enjoyable cooking experience.
Read more: How To Vent Range Hood Outside
Step 1: Gather the necessary tools and materials
Before you begin venting your microwave range hood outside, it is crucial to gather all the required tools and materials. Having everything prepared in advance will make the installation process smoother and more efficient.
Here is a list of tools and materials you will need:
- A stud finder
- A drill
- A jigsaw or reciprocating saw
- Screws or nails
- Measuring tape
- Pencil or marker
- Dust mask and goggles
- Protective gloves
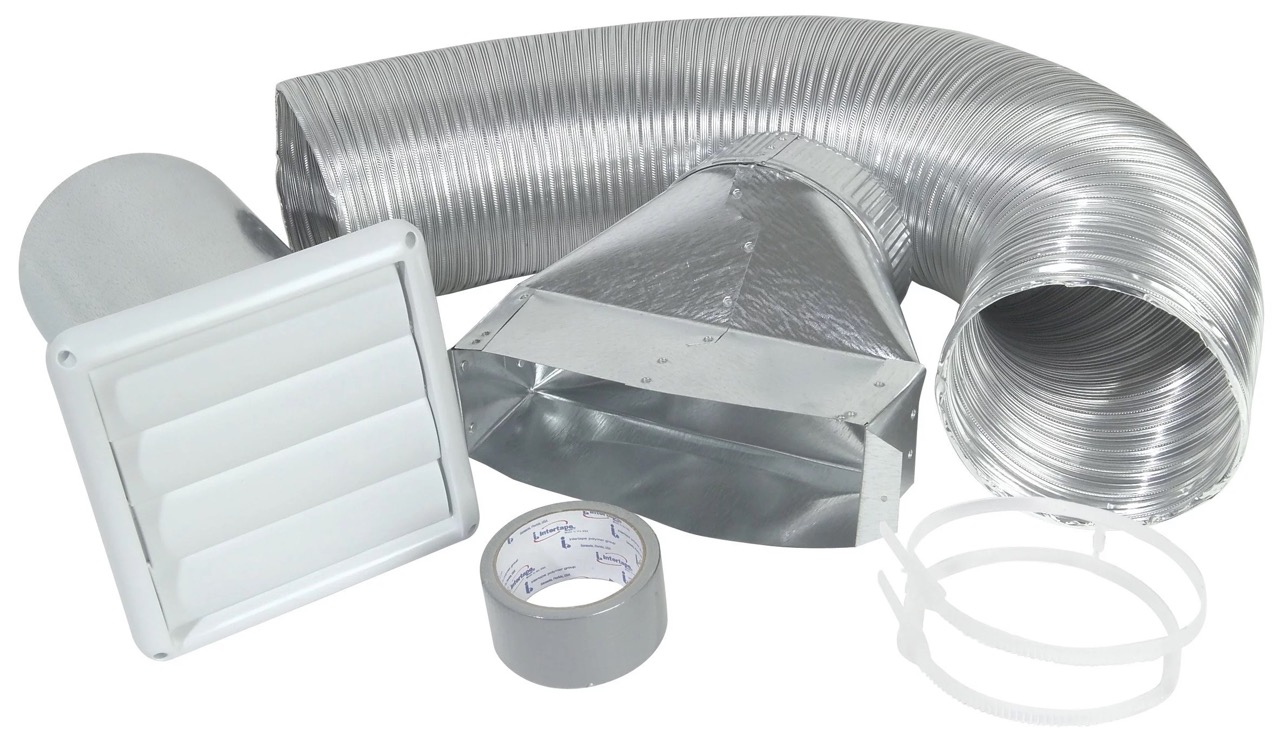
- Ductwork and duct tape
- Vent cover
- Screwdriver
- Caulk
The stud finder will help you locate the studs in the wall, which is important for securing the ductwork and Vent cover. The drill will be used to create a small pilot hole for the vent hole, while the jigsaw or reciprocating saw will be used for cutting the larger vent hole. Screws or nails will be necessary for securing the ductwork, and a measuring tape, pencil, or marker will help you accurately mark the vent hole’s location.
It is important to prioritize safety during the installation process. Dust masks and goggles will protect you from any debris or particles, while protective gloves will prevent any cuts or injuries. Make sure to wear these safety accessories throughout the entire process.
Ductwork and duct tape are crucial for connecting the vent to the microwave range hood and directing the airflow outside. The vent cover will be installed outside the house to protect the vent from weather elements and pests. A screwdriver will be needed for securing the vent cover, and caulk will be used to seal any gaps or openings.
Now that you have gathered all the necessary tools and materials, you are ready to move on to the next step: determining the best location for venting outside.
Step 2: Determine the best location for venting outside
Choosing the right location to vent your microwave range hood outside is essential for ensuring optimal airflow and ventilation. You want to find a spot that allows the exhaust to be easily expelled outside without any obstructions or interference.
Here are a few factors to consider when determining the best location:
- Proximity to an exterior wall: Look for a location that is close to an exterior wall, as this will make it easier to install the vent and ductwork.
- Accessibility: Ensure that the chosen location is easily accessible for installation and maintenance purposes. It should be reachable both from inside the kitchen and from outside the house.
- Avoiding obstructions: Check for any potential obstructions such as windows, doors, or other fixtures that may hinder the proper installation of the vent and obstruct the airflow.
- Compliance with local regulations: Make sure to research and comply with any local building codes or regulations regarding venting a microwave range hood outside. This may include restrictions on vent placement or specific requirements for the vent cover.
Once you have identified a suitable location, use a stud finder to locate any studs in the wall. Knowing the position of the studs will help you plan the installation of the ductwork and ensure secure attachment.
Mark the location for the vent hole on both the interior and exterior walls. Use a pencil or marker to make a clear and visible mark, ensuring that it aligns with the intended placement of the ductwork and vent cover.
Take into consideration the height of the vent as well. Ideally, it should be positioned high enough to prevent any splattering or heat damage, but not so high that it becomes difficult to reach for maintenance or cleaning purposes.
By carefully considering these factors and properly marking the location, you are one step closer to venting your microwave range hood outside. The next step will involve measuring and marking the exact spot for the vent hole.
Step 3: Measure and mark the vent hole location
Once you have determined the best location for venting your microwave range hood outside, it’s time to measure and mark the exact spot for the vent hole. Accuracy is crucial here to ensure a proper fit and efficient ventilation.
Here’s a step-by-step guide on how to measure and mark the vent hole location:
- Measure the size of the vent: Take measurements of the vent on the back of your microwave range hood. You’ll need these measurements to ensure the vent hole is the correct size to accommodate the ductwork.
- Prepare the interior wall: Using a pencil or marker, mark the center of the vent hole on the interior wall. This mark should align with the center of the ductwork that will be connected to the microwave range hood.
- Measure the wall thickness: Measure the thickness of the interior wall to determine the depth of the vent hole. This measurement will help you cut through the wall without damaging the exterior surface.
- Transfer the measurements to the exterior wall: From the interior mark, use a measuring tape to measure the same distance on the exterior wall. This will ensure that the vent hole is properly aligned between the interior and exterior walls.
- Mark the exterior wall: Using a pencil or marker, mark the center of the vent hole on the exterior wall. This will serve as a guide when cutting the hole from the outside.
Double-check your measurements to ensure accuracy before proceeding to the next step. It’s important to be precise at this stage to avoid any issues during the installation process.
Remember to take into account any obstructions or fixtures on the exterior wall, and adjust the location if necessary to ensure a clear path for the ductwork. Additionally, consider the height of the vent hole to ensure it aligns with the position of the microwave range hood and allows for easy connection.
By accurately measuring and marking the vent hole location, you are now ready to move on to the next step: drilling the vent hole.
Step 4: Drill the vent hole
With the vent hole location marked on both the interior and exterior walls, it’s time to proceed with drilling the hole. This step requires caution and precision to ensure a clean and accurate cut.
Follow these steps to drill the vent hole:
- Put on your safety gear: Before you begin drilling, put on your dust mask and goggles to protect yourself from any debris or particles that may be released.
- Choose the right drill bit: Select a drill bit that matches the size of your vent hole. It should be slightly larger than the diameter of the ductwork to allow for easy installation.
- Start with a pilot hole: Begin by drilling a small pilot hole at the center of the marked location on the interior wall. This will serve as a guide for the larger hole.
- Drill the vent hole: Switch to the appropriate-sized drill bit, and carefully drill through the interior wall using the pilot hole as a guide. Apply gentle pressure and maintain a steady hand to avoid any damage to the surrounding area.
- Check for obstructions: Once the interior hole is drilled, check for any obstructions within the wall. Use a flashlight or a small mirror to inspect the inside of the wall and ensure there are no electrical wires, plumbing pipes, or other obstacles that may interfere with the venting process.
- Proceed to the exterior wall: Once you have confirmed that the interior wall is clear, move to the exterior wall. Align the drill with the mark you made for the vent hole and carefully drill through the exterior wall.
During the drilling process, it’s important to work slowly and apply gentle pressure to avoid any damage to the walls or surrounding structures. It may be helpful to have someone assist you by holding a piece of plywood against the wall to provide stability and prevent any excessive vibrations.
Once the vent hole has been drilled, inspect both the interior and exterior walls to ensure a clean and properly aligned hole. Any rough or jagged edges can be smoothed using sandpaper or a file.
Congratulations! You have successfully drilled the vent hole for your microwave range hood. Now, it’s time to move on to the next step: installing the vent cover and ductwork.
Read more: How To Replace Range Hood With Microwave
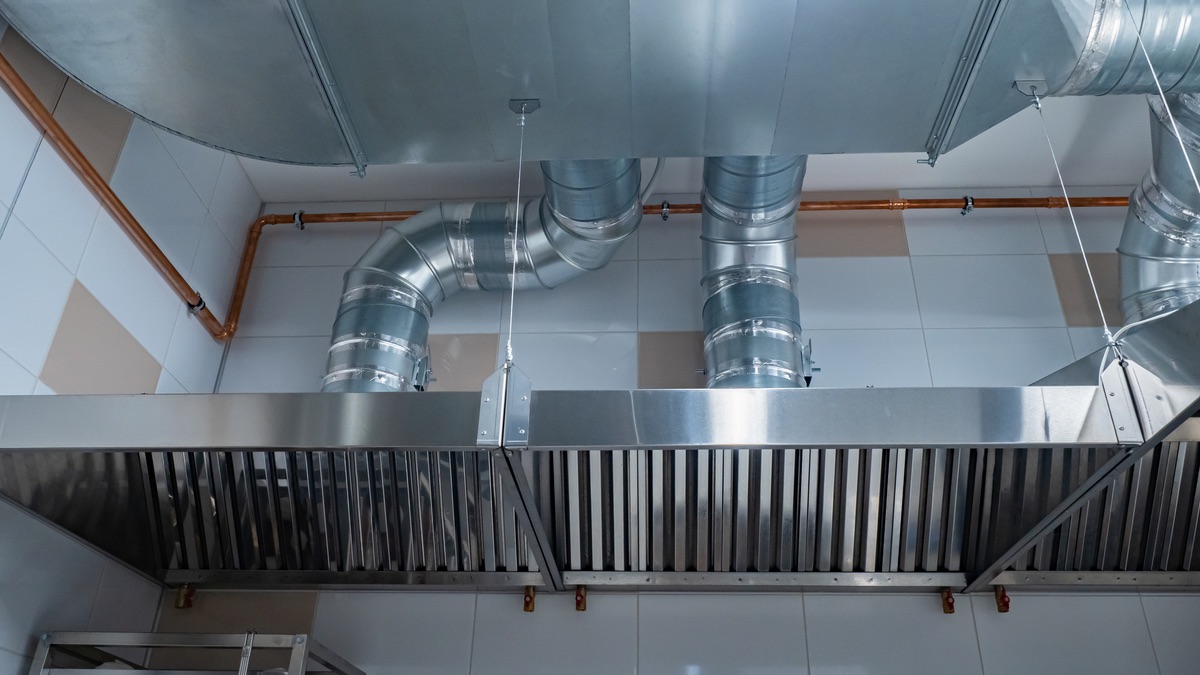
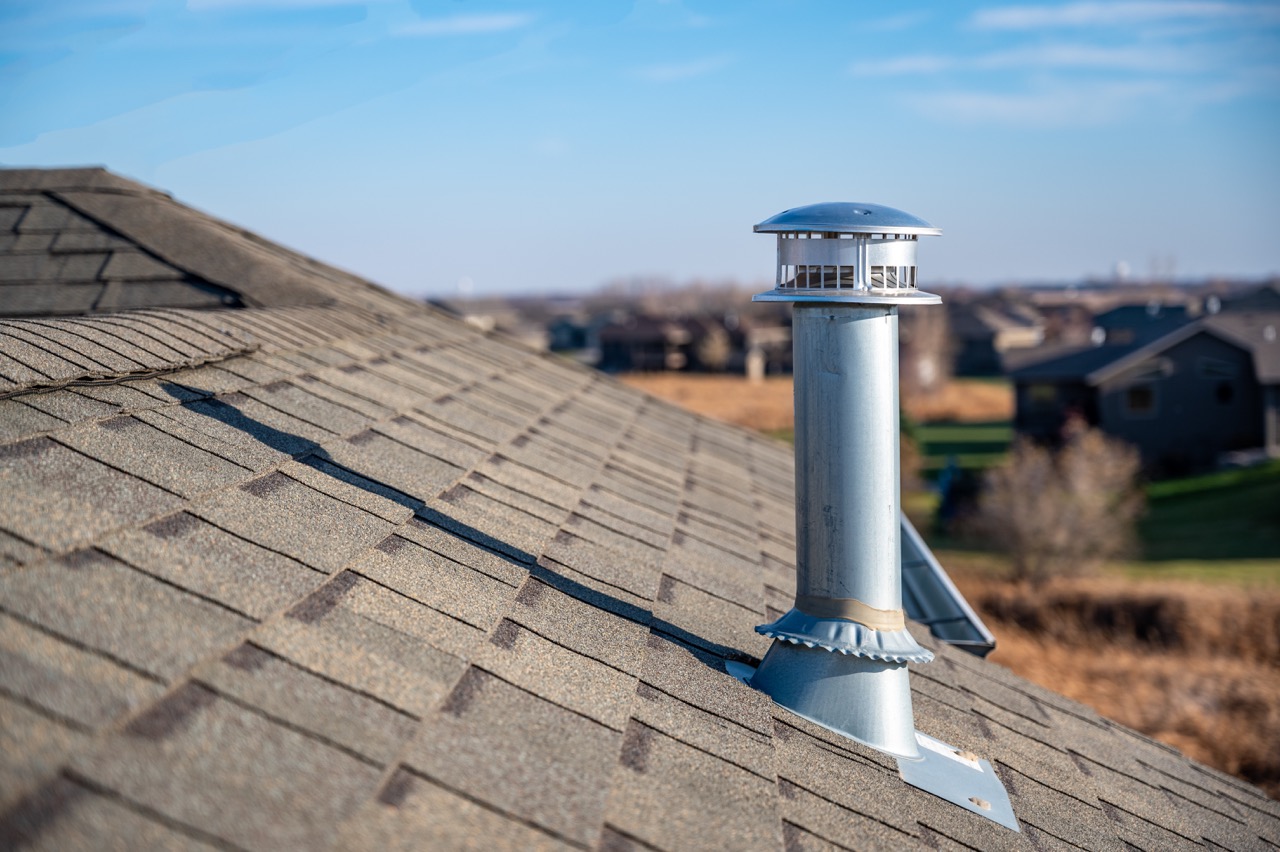
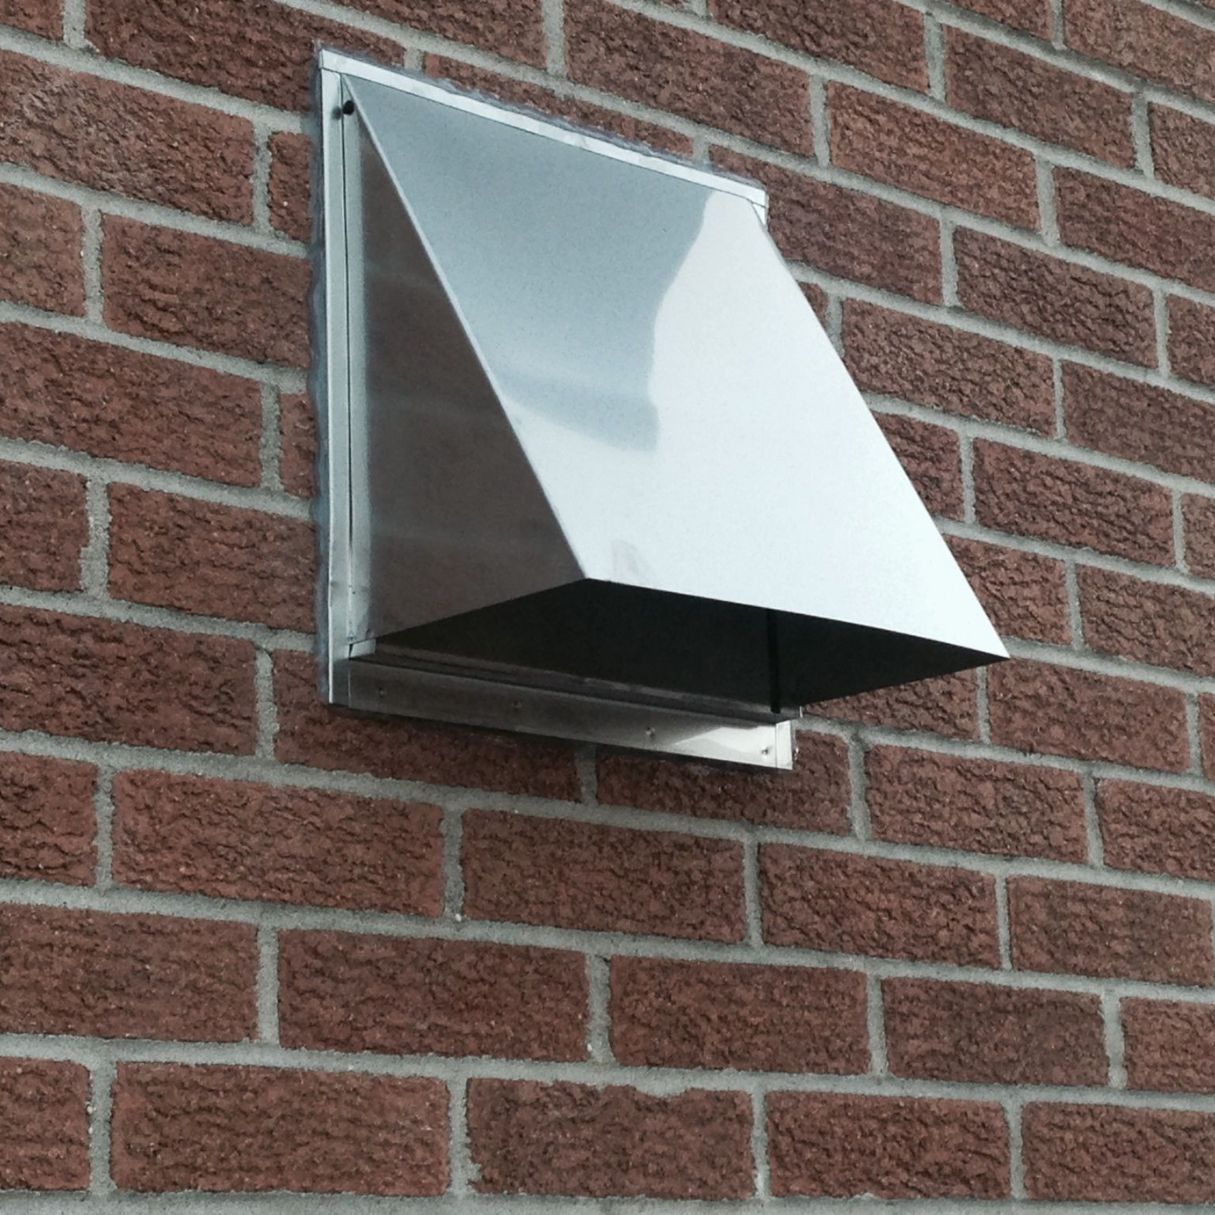
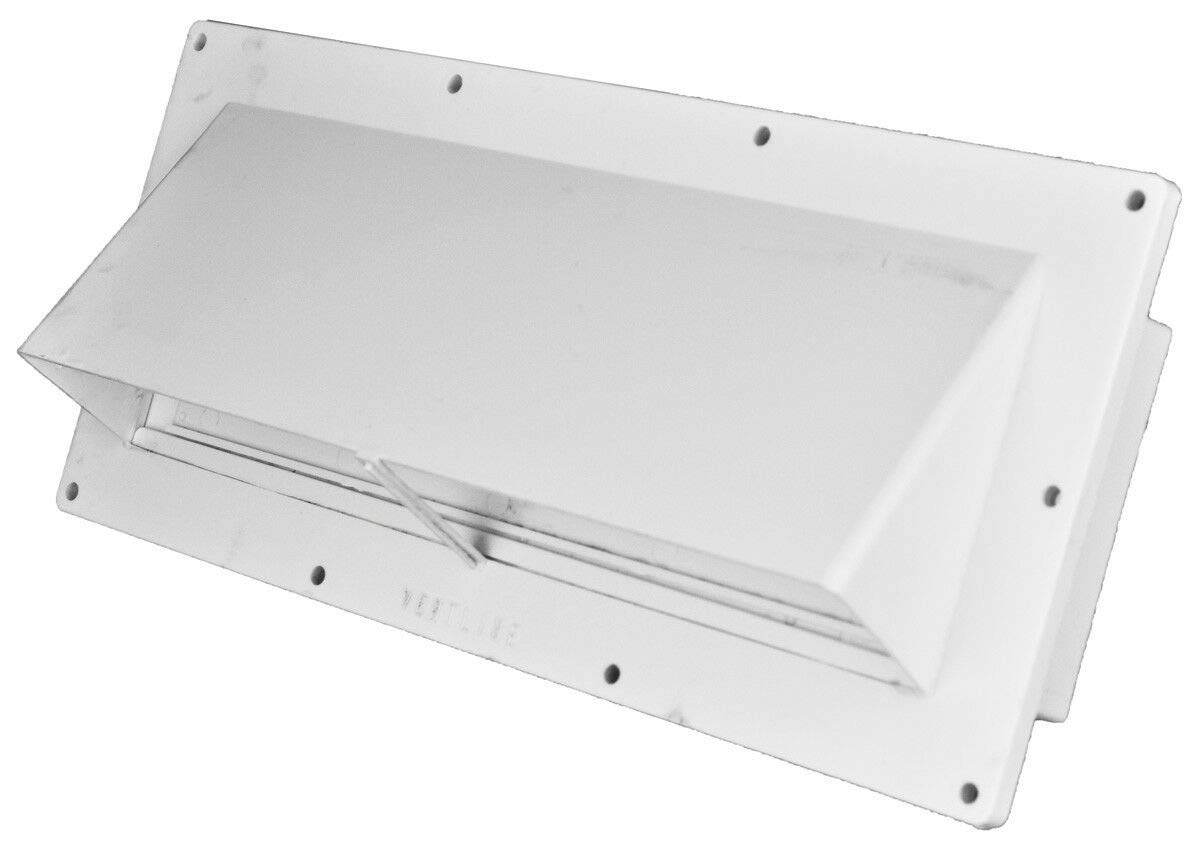
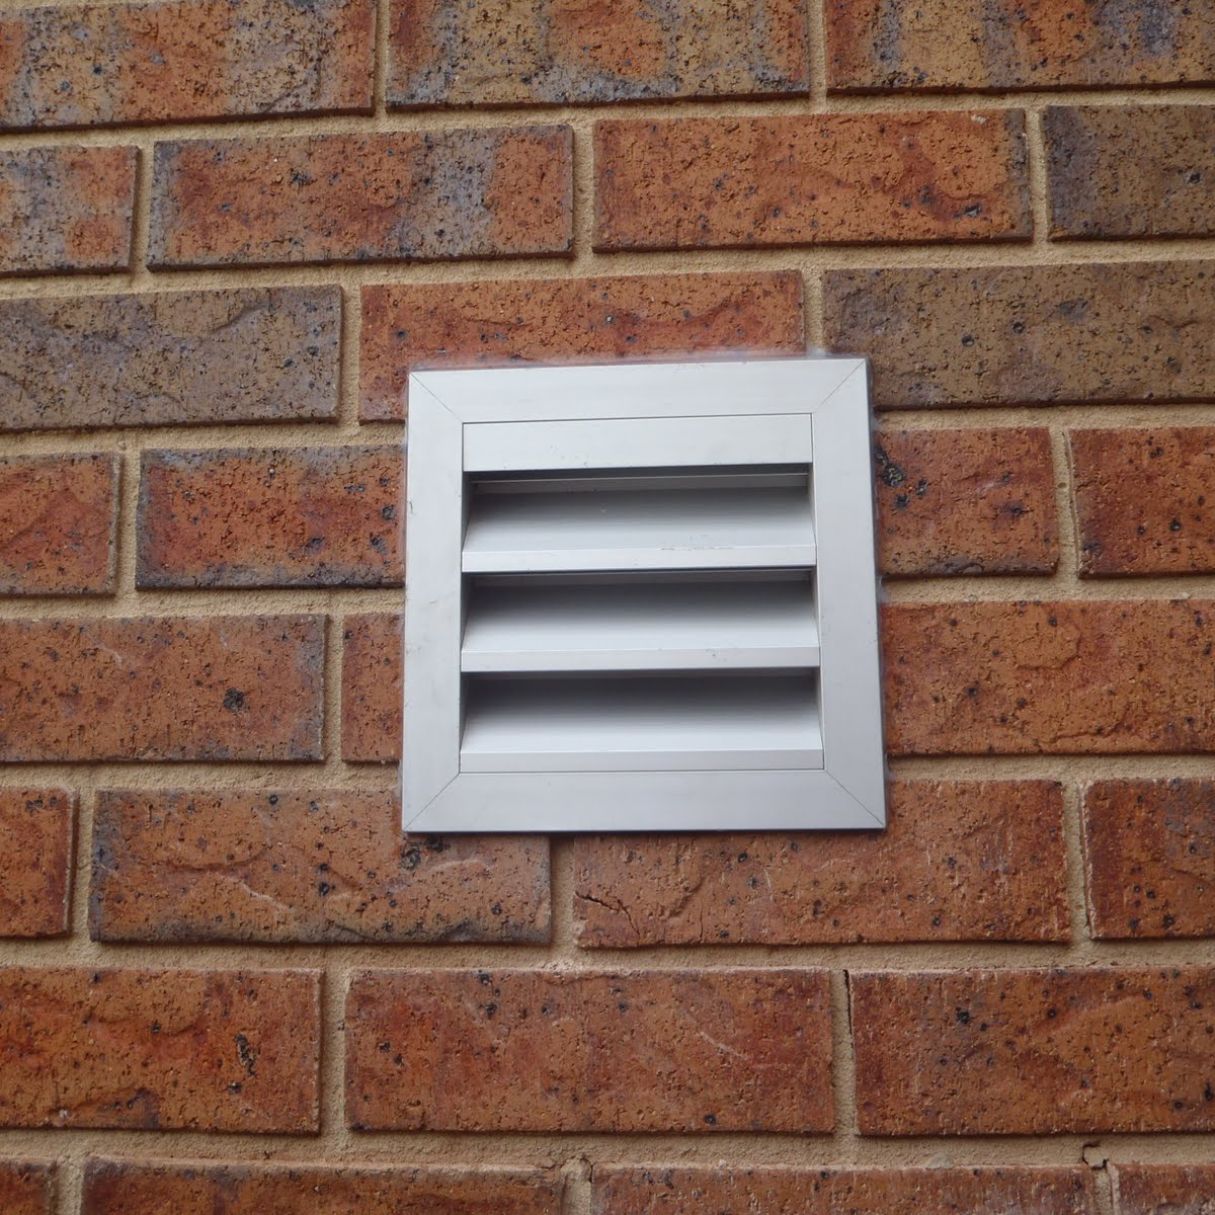
Step 5: Install the vent cover and ductwork
Now that you have drilled the vent hole, it’s time to install the vent cover and ductwork, which will help direct the airflow from your microwave range hood outside. This step is crucial for proper ventilation and ensuring that no air or debris comes back into your kitchen.
Follow these steps to install the vent cover and ductwork:
- Prepare the vent cover: Remove any protective film or packaging from the vent cover and ensure it is clean and free of any obstructions. If the vent cover requires assembly, follow the manufacturer’s instructions to put it together.
- Position the vent cover: Place the vent cover over the exterior hole, aligning it with the markings you made earlier. Make sure it is centered and level for a clean and professional installation.
- Secure the vent cover: Using the provided screws or nails, attach the vent cover to the exterior wall. Be careful not to over-tighten, as it may cause damage or distortion to the cover.
- Connect the ductwork: Measure the distance between the microwave range hood and the vent hole to determine the length of ductwork required. Cut the ductwork to the appropriate length using a jigsaw or shears.
- Attach the ductwork: Connect one end of the ductwork to the back of the microwave range hood, ensuring a secure fit. Use duct tape to seal the connection and prevent any air leakage.
- Extend the ductwork: Position the other end of the ductwork through the vent hole on the interior wall. If necessary, use additional ductwork pieces or elbows to extend the length and direct the airflow towards the vent cover.
- Secure the ductwork: Use screws or nails to secure the ductwork to the wall, ensuring it is stable and well-supported. Be cautious not to damage any electrical wires or plumbing pipes behind the wall during this process.
- Seal any gaps: Inspect the connections between the ductwork and the microwave range hood, as well as the vent cover and the exterior wall. Apply caulk or use duct tape to seal any gaps or openings to prevent air leakage.
As you install the vent cover and connect the ductwork, pay close attention to the alignment and tightness of the connections. The goal is to create a secure and airtight pathway for the airflow to exit your kitchen.
Once everything is installed and secured, double-check the connections and inspect the entire system for any potential issues or areas that may require additional sealing or adjustment.
Great job! You have successfully installed the vent cover and ductwork for your microwave range hood. Now, let’s move on to the next step: connecting the ductwork to the microwave range hood.
Make sure to use the correct size ductwork for your microwave range hood to ensure proper ventilation. A 6-inch duct is recommended for most models to effectively vent outside.
Step 6: Connect the ductwork to the microwave range hood
Connecting the ductwork to your microwave range hood is a crucial step in the venting process. It ensures that the airflow is properly directed from the hood to the vent cover outside, allowing for effective ventilation and odor removal. Follow these steps to connect the ductwork:
- Prepare the ductwork: Make sure the end of the ductwork that will connect to the microwave range hood is clean and free from any obstructions. If necessary, trim or adjust the ductwork to ensure a proper fit.
- Locate the duct connection point: Check the back of the microwave range hood for the designated duct connection point. It may be a round or rectangular opening, depending on the hood’s design. If needed, consult the manufacturer’s instructions for assistance.
- Align the ductwork: Position the end of the ductwork onto the duct connection point of the microwave range hood. Ensure that it fits securely and aligns with the opening for optimal airflow.
- Secure the connection: Use a screwdriver or appropriate fasteners provided by the manufacturer to secure the connection between the ductwork and the microwave range hood. This will prevent any air leakage and ensure a tight seal.
- Check the connection: Gently tug on the ductwork to confirm that it is securely connected to the microwave range hood. Verify that there are no gaps or looseness in the connection.
- Inspect for air leakage: Run your hands along the connection to feel for any air leakage. If you detect any, use duct tape or mastic sealant to seal the gaps and ensure an airtight connection.
It’s important to note that different microwave range hoods may have specific connection requirements. Always refer to the manufacturer’s instructions for the specific model you are working with to ensure a proper and secure connection.
Once the ductwork is securely connected to the microwave range hood, you have successfully completed this step. Now, let’s proceed to the next step: checking for proper ventilation and making any necessary adjustments.
Step 7: Check for proper ventilation and adjust if needed
After connecting the ductwork to your microwave range hood, it’s important to check for proper ventilation to ensure that the system is functioning effectively. This step involves testing the airflow and making any necessary adjustments to optimize the performance of your venting system. Follow these steps to check for proper ventilation and make adjustments if needed:
- Turn on the microwave range hood: Switch on the microwave range hood and set it to the highest fan speed. This will generate the maximum airflow and allow you to assess its effectiveness.
- Observe the vent cover airflow: Go outside and observe the vent cover to ensure that there is a steady and strong airflow coming out. Confirm that the exhaust is being expelled away from the house and not being recirculated.
- Check for any obstructions: While the microwave range hood is running, inspect the ductwork for any potential obstructions. Look for kinks, bends, or any objects that may be blocking the airflow. If you identify any issues, adjust the ductwork accordingly to ensure a free and unobstructed path for the air to exit.
- Listen for any abnormal sounds: Pay attention to any unusual sounds coming from the microwave range hood or ductwork while it is operating. Grinding, rattling, or excessive noise may indicate a mechanical issue that needs to be addressed. In such cases, it is recommended to consult a professional for assistance.
- Check for air leaks: While the microwave range hood is running, carefully inspect the connections between the ductwork and the microwave range hood, as well as the vent cover. Look for any signs of air leakage, such as noticeable drafts or loose fittings. Seal any gaps or leaks using duct tape or mastic sealant to ensure a proper seal.
- Assess indoor air quality: Stand in the kitchen and observe the air quality while the microwave range hood is in operation. The hood should effectively remove smoke, fumes, and odors from cooking, providing a clean and fresh environment. If you notice lingering smells or poor air quality, it may indicate an issue with the ventilation system that needs to be addressed.
It’s important to note that a properly installed and functioning venting system should effectively remove cooking byproducts, improve indoor air quality, and prevent the buildup of moisture and odors. If you encounter any issues or have concerns about the ventilation, consider seeking professional assistance to ensure optimal performance.
By thoroughly checking for proper ventilation and making any necessary adjustments, you will be able to enjoy a well-ventilated kitchen environment and a more pleasant cooking experience.
Step 8: Secure the ductwork and cover any gaps
Securing the ductwork and covering any gaps is an important step to ensure the proper functioning and efficiency of your venting system. This will help prevent air leakage, maintain a steady and unobstructed airflow, and enhance the overall performance of your microwave range hood. Follow these steps to secure the ductwork and cover any gaps:
- Inspect the ductwork: Thoroughly inspect the entire length of the ductwork, both inside and outside, for any loose connections, gaps, or areas that require additional reinforcement.
- Tighten the connections: Ensure that all connections between the ductwork sections are secure and tight. Use screws or appropriate fasteners, if needed, to reinforce the connections and prevent any movement.
- Seal the connections: Apply duct tape or mastic sealant to seal the joints between the ductwork sections. This will eliminate any potential gaps and prevent air leakage.
- Cover external joints: If there are any external joints or elbows in the ductwork, cover them with foil tape or mastic sealant. This will provide an extra layer of insulation and reinforcement.
- Cover any gaps or openings: Inspect both the interior and exterior walls around the vent hole for any gaps or openings. Use caulk or additional duct tape to seal any areas where air may be escaping.
- Smooth out any rough edges: If there are any rough edges on the ductwork, use sandpaper or a file to smooth them out. This will help prevent air turbulence and maintain a smoother flow of air.
- Ensure proper insulation: Inspect the ductwork for any areas where it may come into contact with insulation or other materials. Use insulation sleeves or foam insulation tape to provide proper insulation and prevent condensation.
- Perform a final check: Once you have secured the ductwork and covered any gaps, perform a final check to ensure that everything is properly sealed and there are no areas that require further attention.
Properly securing the ductwork and covering any gaps is crucial in maintaining optimal airflow and preventing any energy loss. It also ensures that the venting system operates as efficiently as possible, removing smoke, odors, and moisture effectively from your kitchen.
By taking the time to secure the ductwork and cover any gaps, you will have a well-functioning and properly sealed venting system for your microwave range hood.
Read more: What Size Vent Pipe For Range Hood
Step 9: Test the ventilation system for proper functioning
Once you have completed the installation and secured the ductwork, it’s important to thoroughly test the ventilation system to ensure it is functioning properly. This step allows you to confirm that the system is effectively removing smoke, odors, and moisture, and providing a clean and well-ventilated kitchen environment. Follow these steps to test the ventilation system:
- Turn on the microwave range hood: Switch on the microwave range hood and set it to the desired fan speed. Start with the lowest setting and gradually increase it to observe the airflow and performance of the system.
- Observe smoke and odor removal: Generate some smoke, such as from a lit match or a piece of burning paper, and hold it near the cooking surface. Observe how quickly the ventilation system removes the smoke and odor from the kitchen. The smoke should be effectively captured and vented outside, leaving the air clean and fresh.
- Monitor steam and moisture reduction: While cooking, pay attention to the removal of steam and moisture from the kitchen. The ventilation system should efficiently remove steam generated from boiling water or cooking food, preventing excessive condensation on surfaces and maintaining a dry environment.
- Listen for excessive noise or vibrations: As the ventilation system operates, listen for any unusual noises or excessive vibrations coming from the microwave range hood or the ductwork. Grinding, rattling, or loud noises could indicate a mechanical issue that needs attention.
- Check for proper airflow: Stand near the vent cover outside and feel the airflow. It should be steady, strong, and directed away from the house. If you notice weak airflow or air being recirculated, there may be an obstruction or an issue with the ductwork that requires further investigation.
- Assess overall performance: Evaluate the overall performance of the ventilation system, taking into account factors such as efficiency, air quality improvement, and the absence of lingering odors. If you have any concerns or notice any shortcomings, consider consulting a professional to address any potential issues.
Testing the ventilation system is crucial to ensure its proper functioning and effectiveness in maintaining a healthy and comfortable kitchen environment. It allows you to make necessary adjustments, troubleshoot any problems, and ensure that the system is operating optimally.
By carefully following these steps and conducting a thorough test, you can have confidence in the performance of your microwave range hood ventilation system.
Conclusion
Congratulations! You have successfully learned how to vent a microwave range hood outside. By following the step-by-step instructions in this guide, you have gained the knowledge and skills to enhance the ventilation and air quality in your kitchen.
Proper venting is essential for removing smoke, odors, and moisture created during cooking, ensuring a clean and comfortable kitchen environment. Venting your microwave range hood outside offers several benefits, including improved air quality, prevention of mold and mildew growth, and the elimination of recirculated air.
Throughout the process, you have gathered the necessary tools and materials, determined the best location for venting, measured and marked the vent hole, drilled the hole, installed the vent cover and ductwork, connected the ductwork to the microwave range hood, secured the ductwork, and tested the ventilation system for proper functionality.
Remember to prioritize safety by wearing appropriate protective gear and taking caution when working with power tools. It is essential to comply with local building codes and regulations to ensure a safe and compliant installation.
Regular maintenance of your venting system is important to maintain its efficiency and effectiveness. Clean the filters and ductwork regularly to remove any build-up of grease or debris. Check for any signs of wear or damage, and address them promptly to avoid any compromises in performance.
Following the steps outlined in this guide will help you enjoy a well-ventilated kitchen and a more enjoyable cooking experience. Breathe in the fresh air, cook your favorite meals without worry, and create a healthier environment in your home.
Thank you for choosing this guide to learn how to vent a microwave range hood outside. Happy cooking!
Frequently Asked Questions about How To Vent A Microwave Range Hood Outside
Was this page helpful?
At Storables.com, we guarantee accurate and reliable information. Our content, validated by Expert Board Contributors, is crafted following stringent Editorial Policies. We're committed to providing you with well-researched, expert-backed insights for all your informational needs.
0 thoughts on “How To Vent A Microwave Range Hood Outside”