Home>Articles>What Are The Hole Size Requirements For A 1/2 Inch Conduit
Articles
What Are The Hole Size Requirements For A 1/2 Inch Conduit
Modified: August 27, 2024
Learn about the ideal hole size for 1/2 conduit with our informative articles. Find expert advice and tips for a successful installation.
(Many of the links in this article redirect to a specific reviewed product. Your purchase of these products through affiliate links helps to generate commission for Storables.com, at no extra cost. Learn more)
Introduction
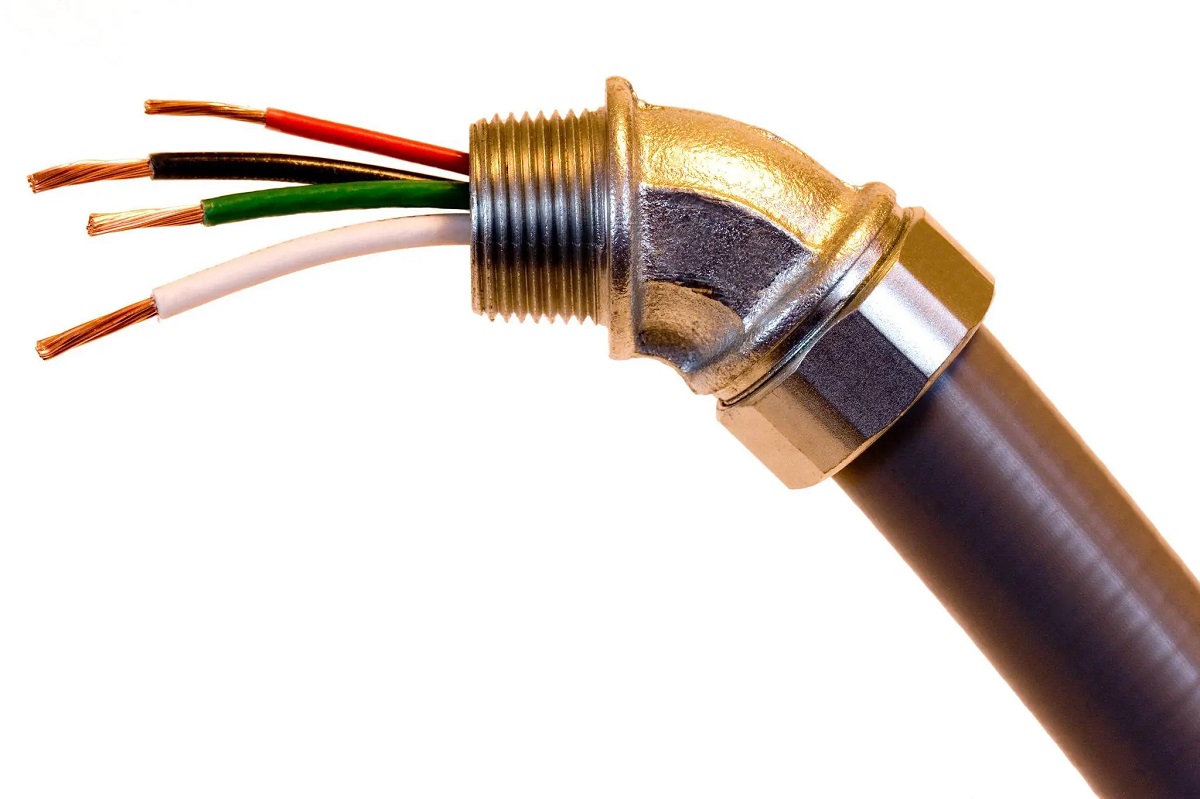
When it comes to electrical installations, a key aspect to consider is the proper routing and protection of wires. That’s where conduits come into play. Conduits are hollow tubes used to encase and protect electrical wires, ensuring safety and longevity of the electrical system.
Choosing the right size conduit is crucial to ensure a smooth and efficient installation process. In this article, we will specifically focus on the hole size required for 1/2″ conduit, as this is a commonly used size in residential and commercial electrical applications.
Understanding conduit sizes can be a bit confusing, especially for those who are new to electrical work. Conduit sizes are based on the internal diameter, which determines the maximum number of wires that can be safely accommodated. In the case of 1/2″ conduit, the actual internal diameter is slightly larger than half an inch, allowing for easy installation of standard-sized electrical wires.
However, simply knowing the size of the conduit is not enough. There are various factors that need to be considered when determining the appropriate hole size for 1/2″ conduit. Let’s dive into those factors in the next section.
Key Takeaways:
- Properly sizing the hole for 1/2″ conduit is crucial to ensure a smooth installation process and avoid difficulties when running wires. Consider factors like conduit type, wall material, and conduit fill ratio for a successful installation.
- When installing 1/2″ conduit, careful planning, accurate measurements, and the use of proper tools are essential. Follow best practices, consult guidelines, and seek professional help if needed to ensure a safe and reliable electrical system.
Understanding Conduit Sizes
Before delving into the specific hole size for 1/2″ conduit, it’s important to have a general understanding of conduit sizing. Conduits are typically available in a range of sizes, starting from 1/2″ and going all the way up to 6″. Each size corresponds to the internal diameter of the conduit.
The National Electrical Code (NEC) provides guidelines for the proper selection and installation of conduits. These guidelines ensure that electrical installations meet safety standards and minimize the risk of electrical hazards. The NEC specifies the maximum number of wires that can be safely installed in a given conduit size.
Conduit sizes are categorized into two main types: trade sizes and metric sizes. Trade sizes, denoted by fractions of an inch, are common in North America. Metric sizes, on the other hand, are denoted in millimeters and are more prevalent in other parts of the world.
In the case of 1/2″ conduit, the trade size designation refers to the internal diameter of the conduit, which is approximately 0.622 inches (15.8 mm).
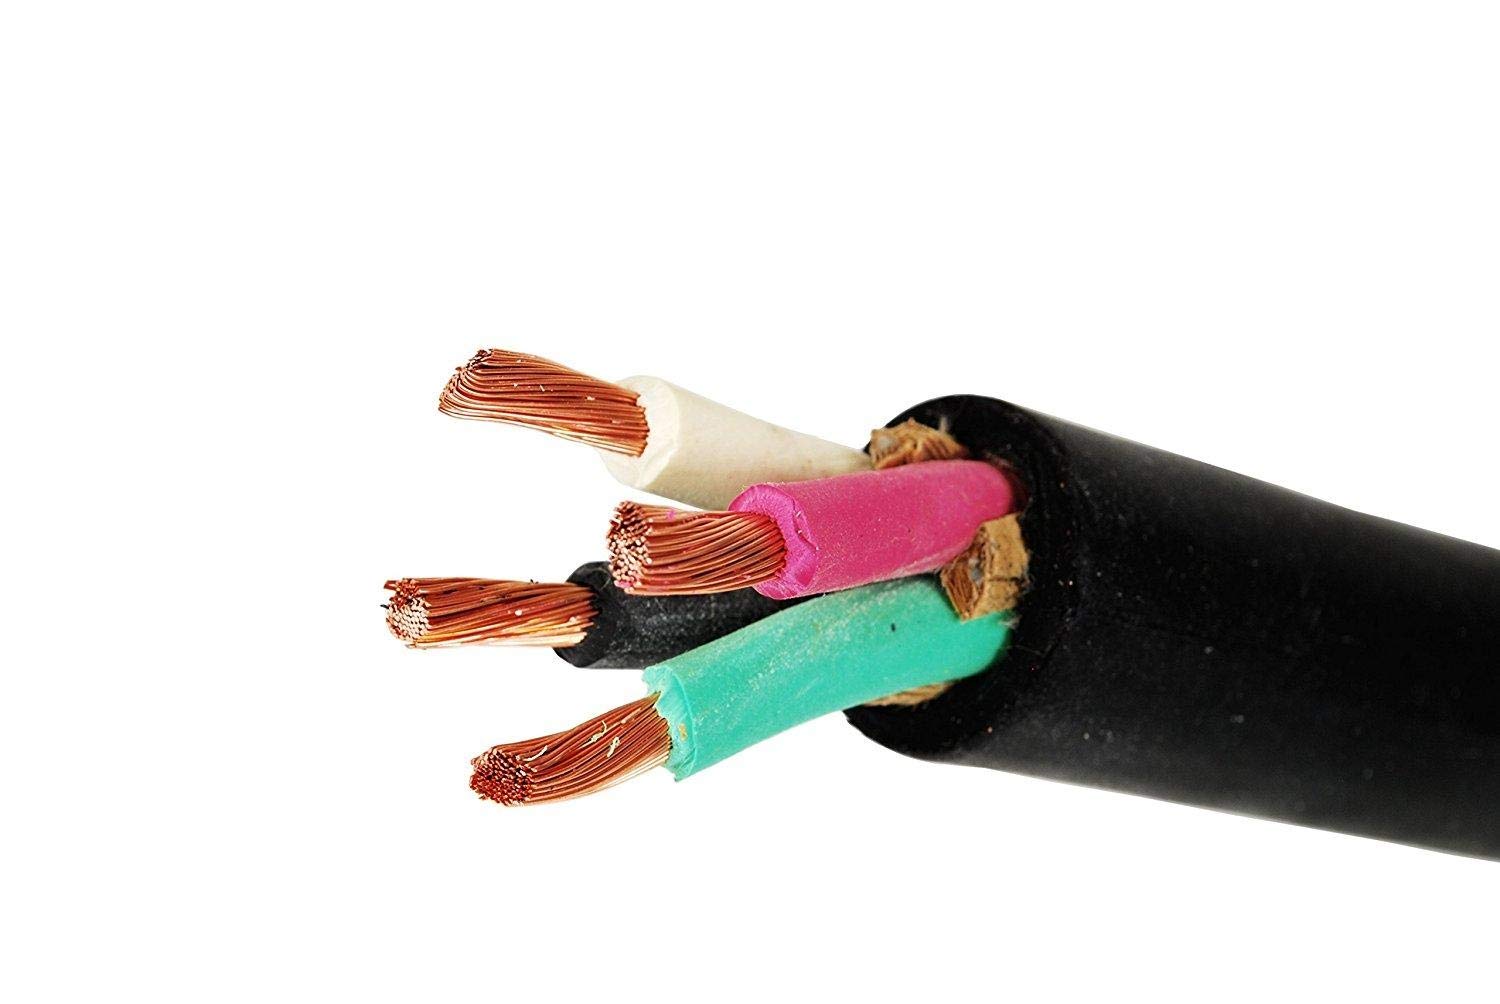
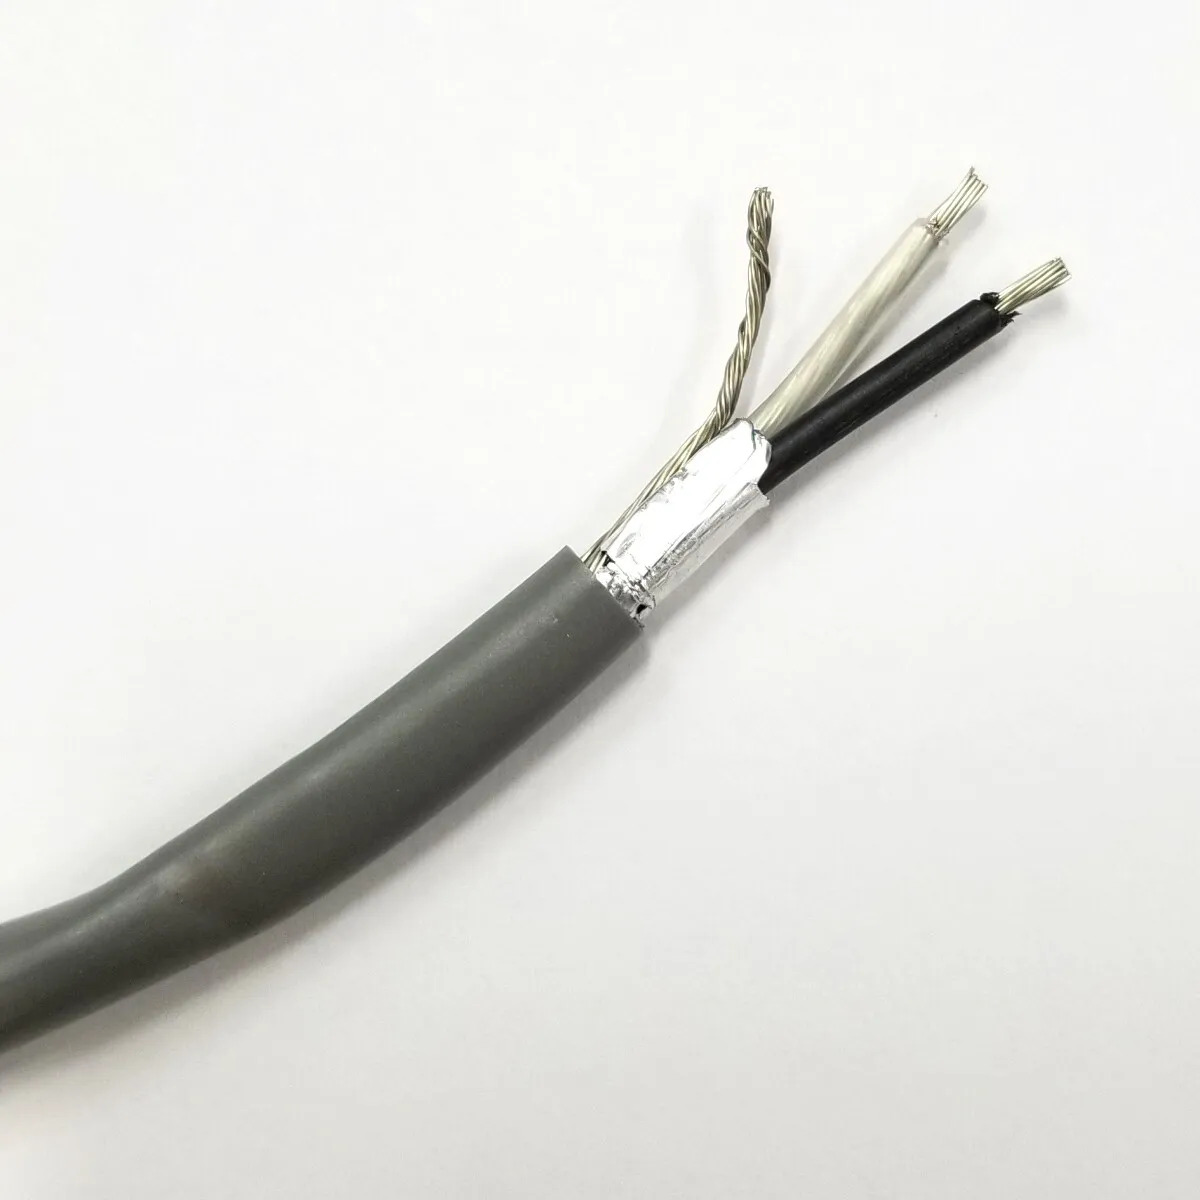
When selecting a conduit size, it’s important to consider not only the number of wires, but also the size and type of the wires themselves. This is because larger wires require more space within the conduit, necessitating a larger conduit size. Additionally, the type of insulation and whether the wires are single-conductor or multi-conductor can also impact the selection of conduit size.
Now that we have a basic understanding of conduit sizes, let’s move on to the factors that need to be considered when determining the appropriate hole size for 1/2″ conduit.
Factors to Consider
When determining the appropriate hole size for 1/2″ conduit, there are several factors that need to be taken into account to ensure a proper installation. These factors include:
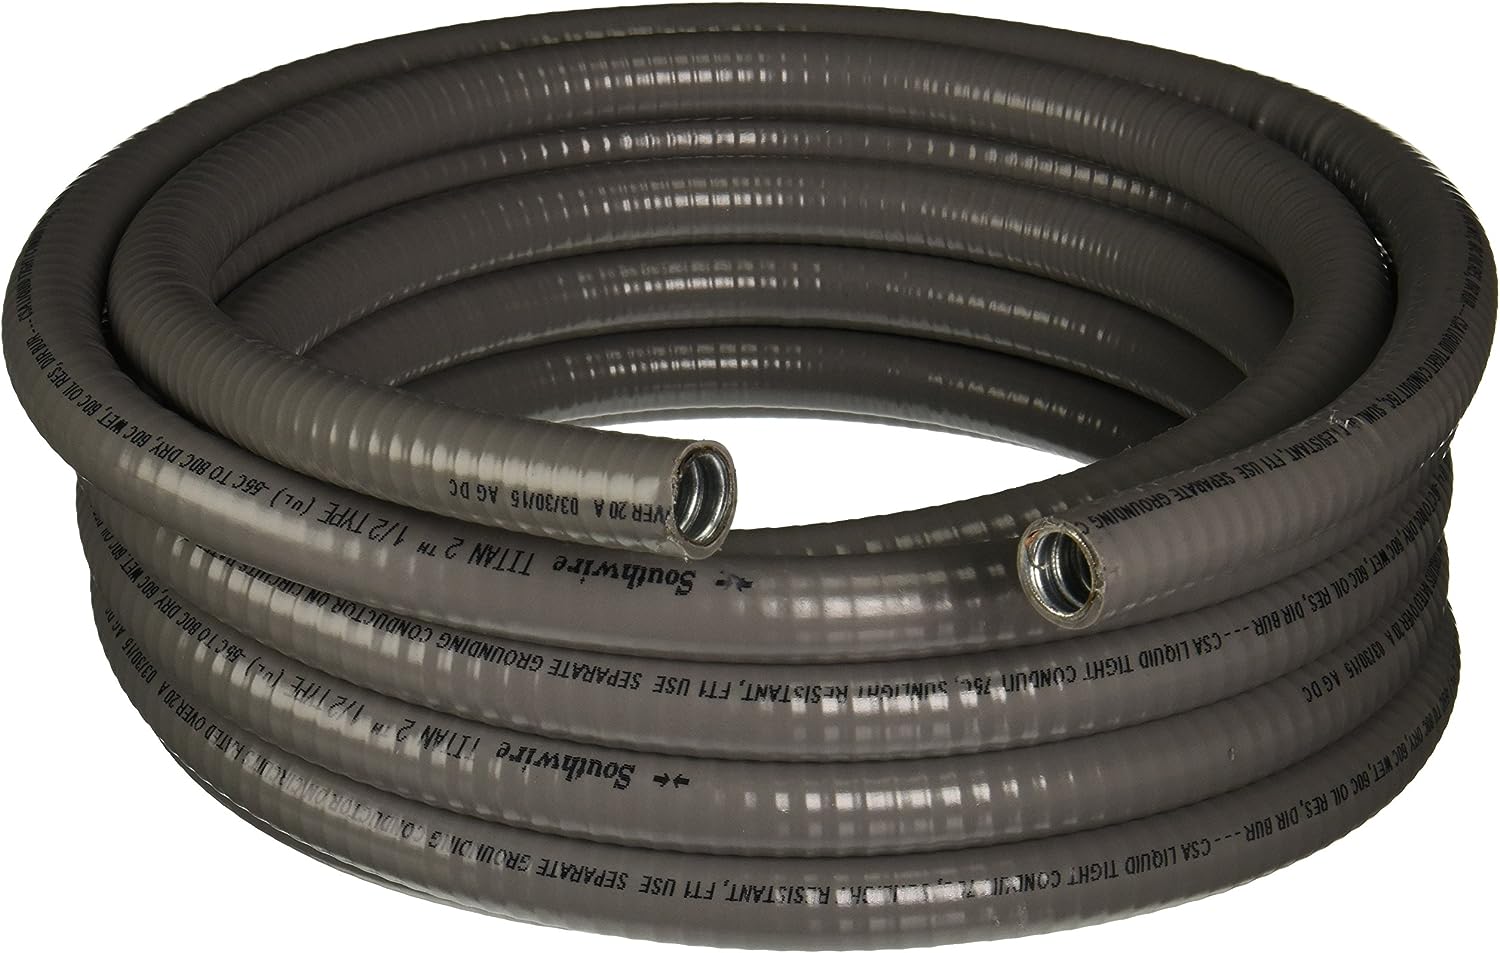
- Conduit Type: The type of conduit you are using can affect the required hole size. Common types of conduits include PVC, metal, and flexible conduits. Each type may have different dimensions and specifications, so it’s important to refer to the manufacturer’s guidelines for specific hole size recommendations.
- Wall Material: The material of the wall or surface where the conduit will be installed can impact the hole size. For example, drilling a hole through wood will require a different size compared to drilling through concrete or metal. Consider the hardness and thickness of the material when determining the hole size.
- Number of Conduits: If you are installing multiple 1/2″ conduits side by side, you may need to adjust the hole size accordingly. Leave enough space between each hole to ensure proper spacing and avoid overcrowding.
- Conduit Fill Ratio: The conduit fill ratio refers to the maximum percentage of the conduit’s cross-sectional area that can be occupied by wires. The NEC provides guidelines for conduit fill ratios to prevent overheating and ensure proper airflow. Be sure to calculate the conduit fill ratio and select an appropriate hole size that allows for the required number of wires without exceeding the maximum fill ratio.
- Expansion and Contraction: Temperature changes can cause conduits to expand and contract. This movement can put stress on the wires and potentially damage them. When determining the hole size, consider the potential for expansion and contraction and leave enough space to accommodate any movement.
By taking these factors into consideration, you can determine the appropriate hole size for 1/2″ conduit that will ensure a proper and safe installation.
When drilling a hole for 1/2″ conduit, use a 7/8″ drill bit to allow for easy installation and movement of the conduit.
Recommended Hole Sizes for 1/2″ Conduit
When it comes to drilling holes for 1/2″ conduit, there are general guidelines that can help determine the appropriate size. However, it’s important to note that these recommendations may vary depending on specific factors such as conduit type, wall material, and the number of conduits being installed.
For most standard installations with PVC or metal conduits, a hole size of approximately 7/8″ to 1″ is typically recommended for 1/2″ conduit. This allows for easy installation of the conduit, while leaving enough room for wires to be pulled through smoothly.
When drilling the hole, it’s important to ensure a clean and precise cut. Using a hole saw or a drill bit specifically designed for conduit installation can help achieve optimal results. Additionally, it’s crucial to follow proper safety precautions, such as wearing protective gear and securing the work area.
If you are working with a flexible conduit, it’s recommended to follow the manufacturer’s guidelines for the specific hole size. Flexible conduits may have different dimensions and requirements compared to rigid PVC or metal conduits.
Keep in mind that these recommendations are meant to serve as general guidelines. It’s always recommended to consult the NEC and any local electrical codes for specific requirements and regulations in your area. Additionally, seeking guidance from a qualified electrician or contractor can ensure that the hole size is appropriate for your specific installation needs.
Properly sizing the hole for 1/2″ conduit is crucial to ensure a smooth installation process and avoid any difficulties when running wires. By following recommended sizes and taking into account the specific factors mentioned earlier, you can ensure a successful and efficient conduit installation.
Conduit Installation Tips
Installing conduit requires careful planning and attention to detail to ensure a safe and effective electrical system. Here are some tips to consider when installing 1/2″ conduit:
- Plan the Route: Before beginning the installation, plan the route of the conduit carefully. Consider the locations of outlets, switches, and other electrical components. Avoid sharp bends or excessive lengths of conduit to prevent wire damage and difficulties in pulling wires through.
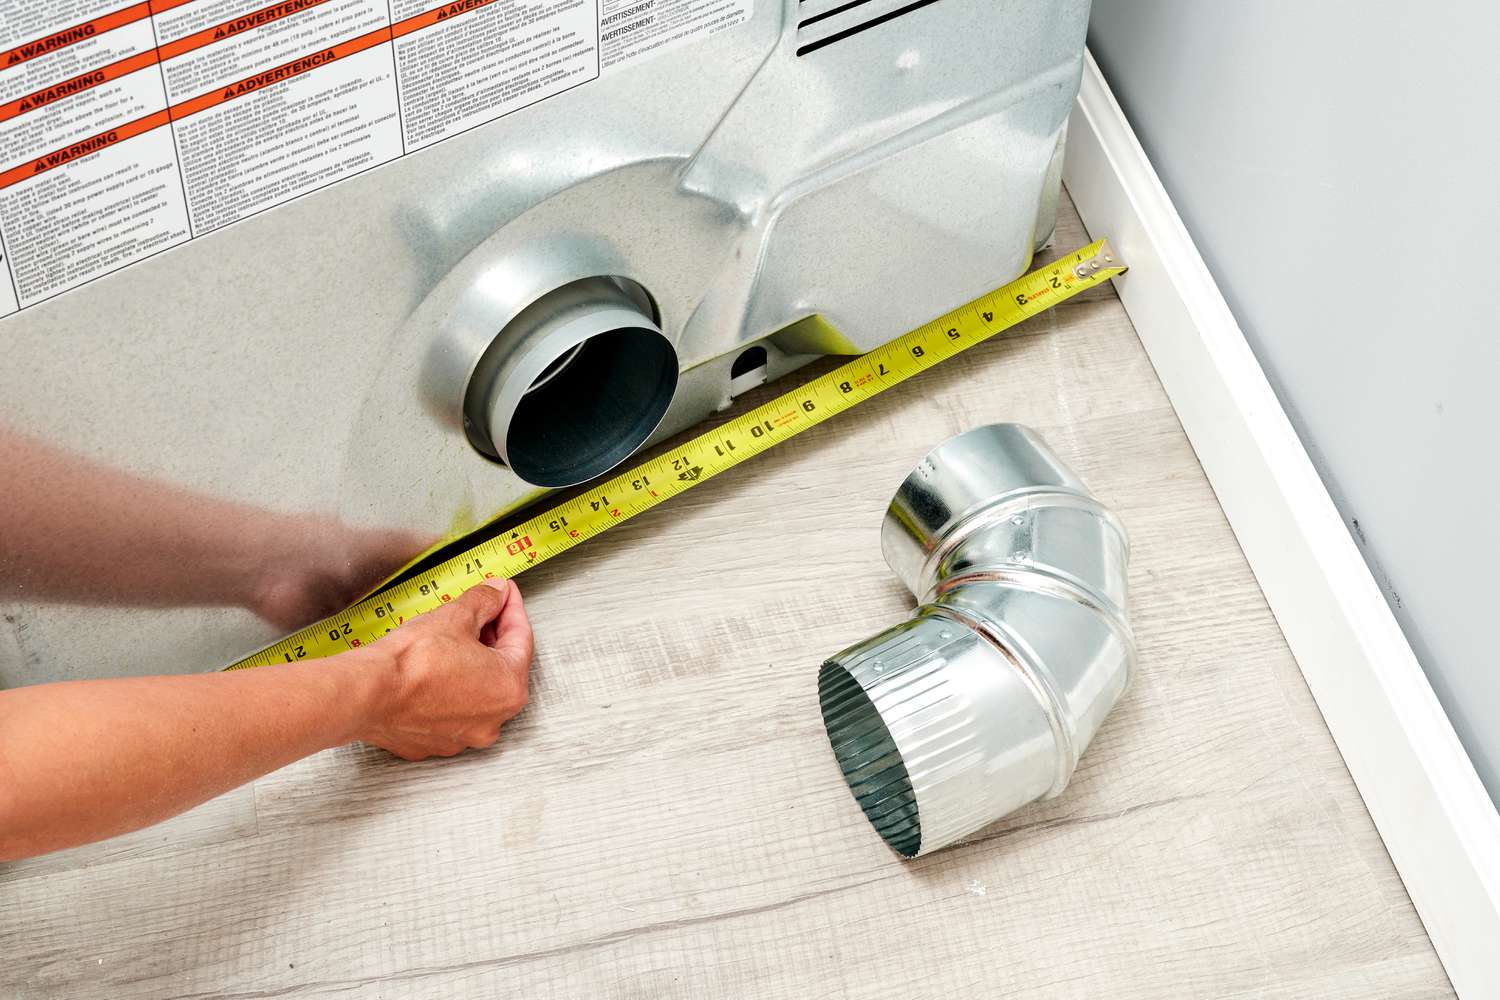
- Measure Twice, Cut Once: Accurate measurements are crucial for a successful conduit installation. Measure and mark the conduit accurately before cutting to prevent wasted materials and ensure a precise fit.
- Use the Right Tools: Select the appropriate tools for cutting, bending, and securing the conduit. This includes conduit cutters, benders, and straps. Using the right tools will result in clean cuts and proper fitting of conduit components.
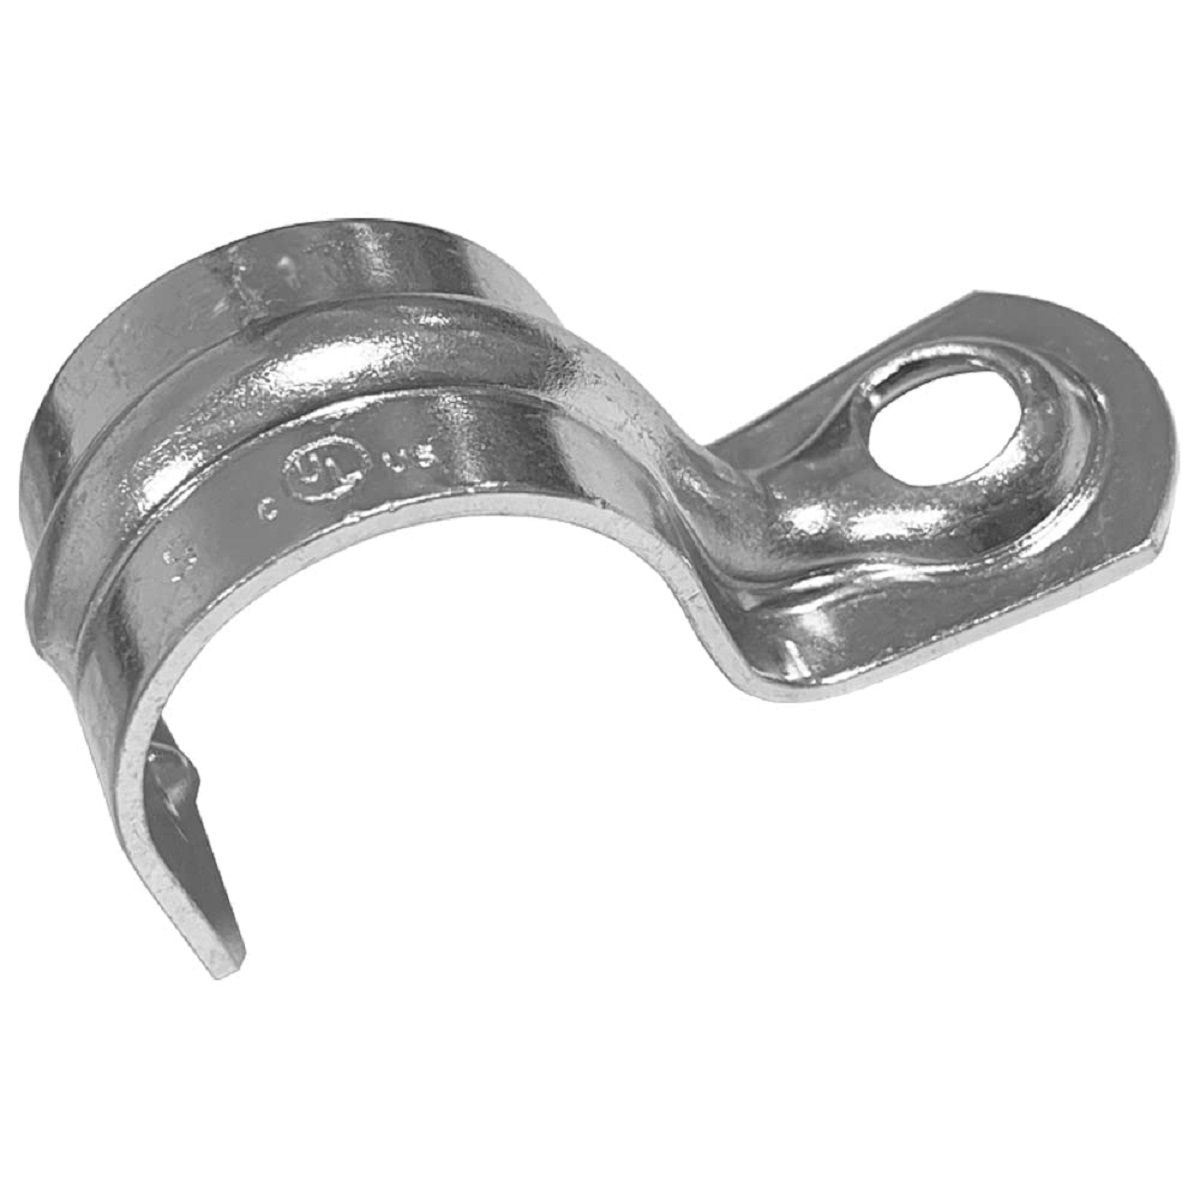
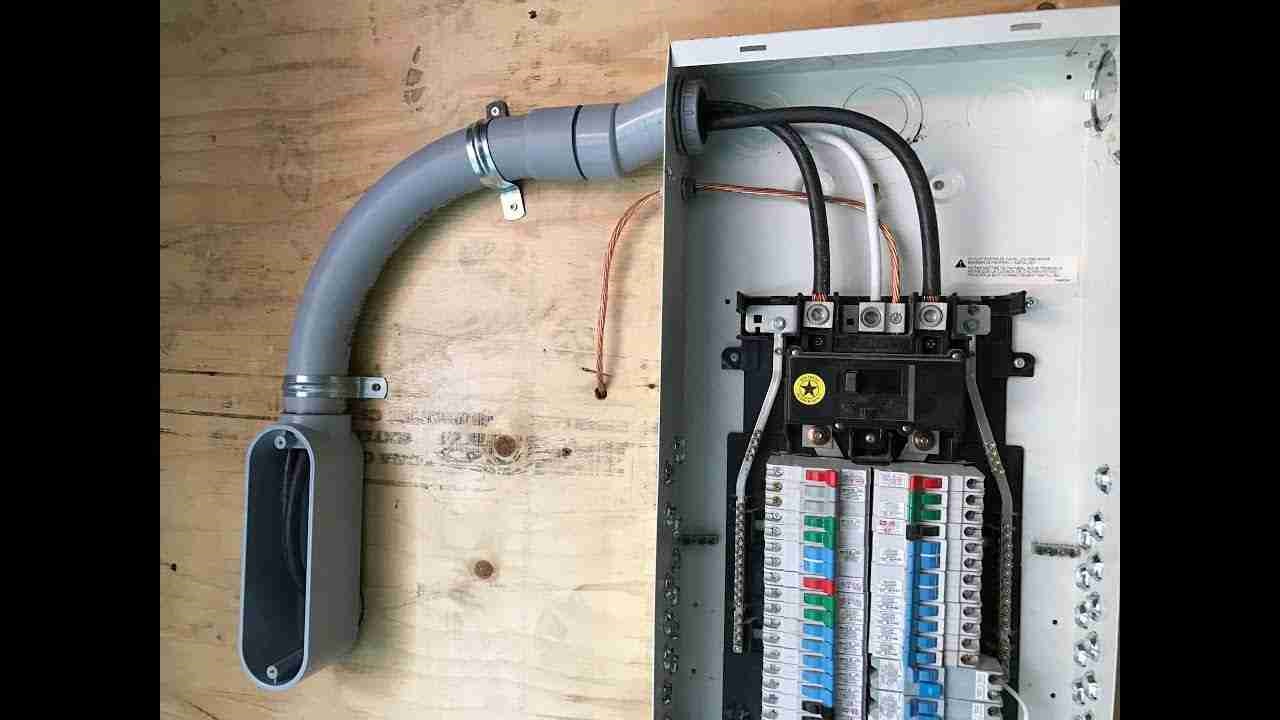
- Secure the Conduit Properly: Use straps or clamps to secure the conduit to the walls or surfaces. Proper support prevents excessive movement of the conduit and protects the wires inside. Follow local electrical codes for the recommended spacing between straps.
- Proper Grounding: Ensure that the conduit is properly grounded to protect against electrical faults and to comply with safety regulations. Use appropriate grounding techniques and materials as specified by the NEC and local electrical codes.
- Seal Conduit Entries: Use appropriate sealing materials to ensure that conduit entries are properly sealed. This prevents the entry of moisture, dust, or pests and helps maintain the integrity of the electrical system.
- Label the Conduit: Properly label each conduit to identify the circuits running through them. This will make future troubleshooting and maintenance easier.
- Test the System: Before completing the installation, test the conduit system to ensure all connections are secure and wires are properly installed. Use a voltage tester to confirm the presence of power and ensure that all components are functioning correctly.
Remember, if you are not confident in your ability to install the conduit yourself, it’s always best to hire a qualified electrician. They have the expertise and knowledge to ensure a safe and code-compliant installation.
By following these conduit installation tips, you can ensure a well-executed and reliable electrical system that will serve you for years to come.
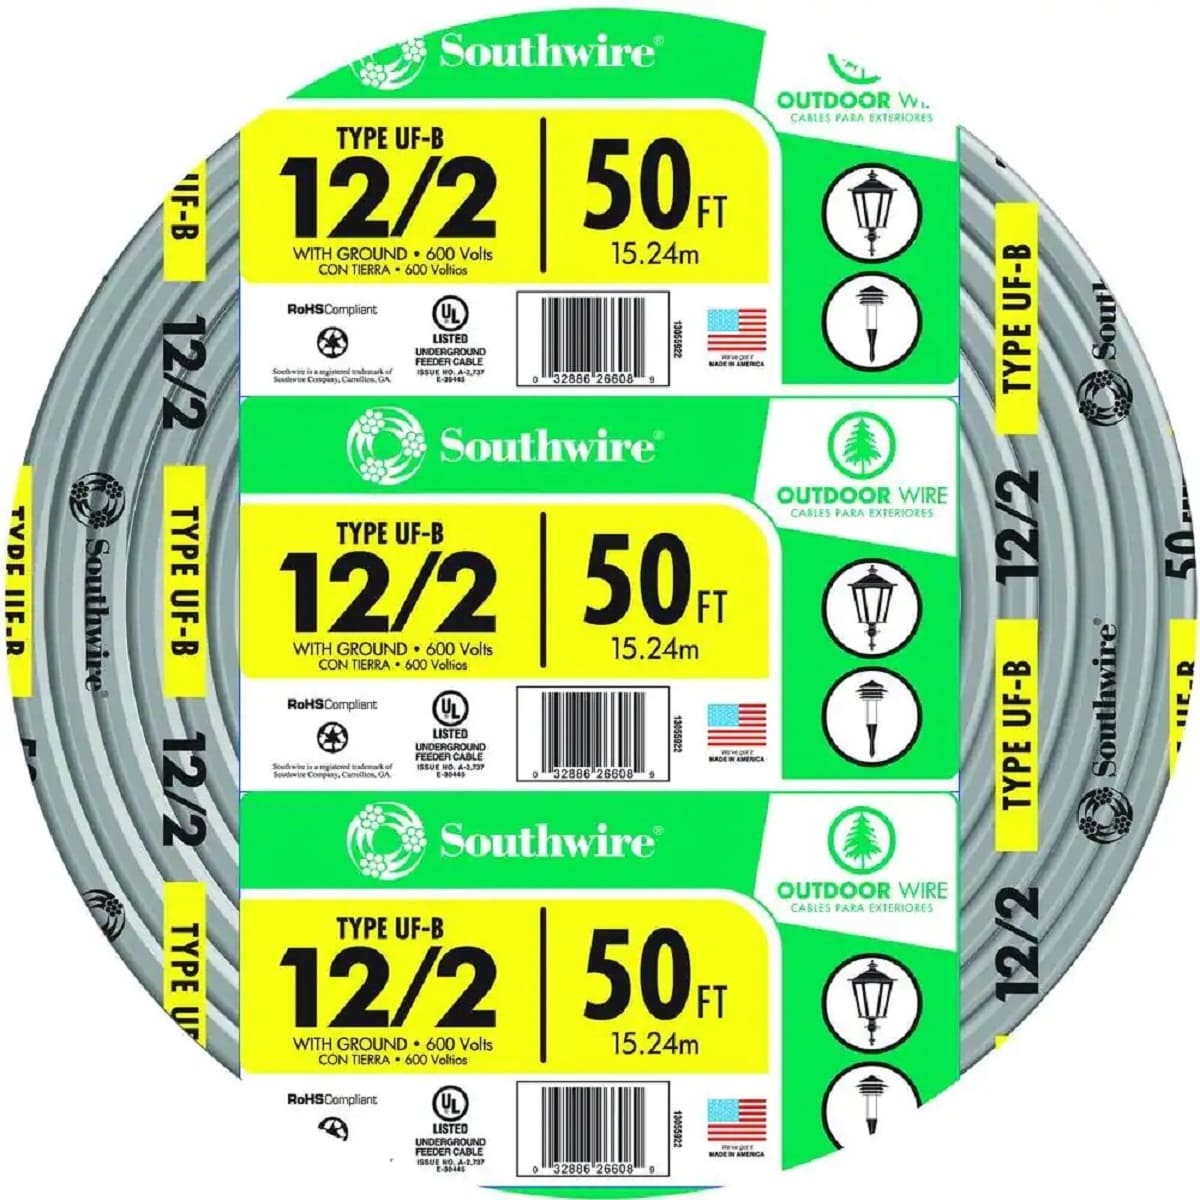
Read more: What Size Conduit For 12/2 Wire
Conclusion
Understanding the proper hole size for 1/2″ conduit is essential for a successful electrical installation. By considering factors such as conduit type, wall material, and the number of conduits, you can determine the appropriate hole size that allows for easy installation and smooth wire routing.
Remember to consult the manufacturer’s guidelines and local electrical codes for specific recommendations and regulations. These resources will provide valuable information to ensure a safe and code-compliant conduit installation.
When installing conduit, it’s important to follow best practices such as careful planning, accurate measurements, and the use of proper tools. Secure the conduit properly, ensure proper grounding, and seal conduit entries to maintain the integrity of the electrical system.
Testing the conduit system and labeling each conduit will help with troubleshooting and future maintenance. If you are uncertain about your abilities, it’s always advisable to seek the assistance of a qualified electrician.
By adhering to these guidelines and taking the necessary precautions, you can confidently and successfully install 1/2″ conduit for your electrical wiring needs.
Remember, safety should always be a top priority when working with electrical systems. Stay vigilant, follow proper procedures and guidelines, and seek professional help when needed.
With the right knowledge and precautions, you can ensure a reliable and efficient electrical system for your home or commercial space.
Curious about more ways to utilize your electrical conduit effectively? Check out our latest guide on top picks for 1/2 inch conduit, where you'll find options that really stand out in 2024. If you're tackling a hands-on project, our detailed walkthrough on conduit installation will help you secure conduits within walls seamlessly. Also, don't miss our practical advice on electrical wiring for extending power efficiently to your garage. Each article is packed with useful tips to make your projects smoother and more efficient.
Frequently Asked Questions about What Are The Hole Size Requirements For A 1/2 Inch Conduit
Was this page helpful?
At Storables.com, we guarantee accurate and reliable information. Our content, validated by Expert Board Contributors, is crafted following stringent Editorial Policies. We're committed to providing you with well-researched, expert-backed insights for all your informational needs.


0 thoughts on “What Are The Hole Size Requirements For A 1/2 Inch Conduit”