Articles
How To Replace Range Hood With Microwave
Modified: October 18, 2024
Looking to replace your range hood with a microwave? Check out our comprehensive articles for step-by-step guidance and expert tips.
(Many of the links in this article redirect to a specific reviewed product. Your purchase of these products through affiliate links helps to generate commission for Storables.com, at no extra cost. Learn more)
Introduction
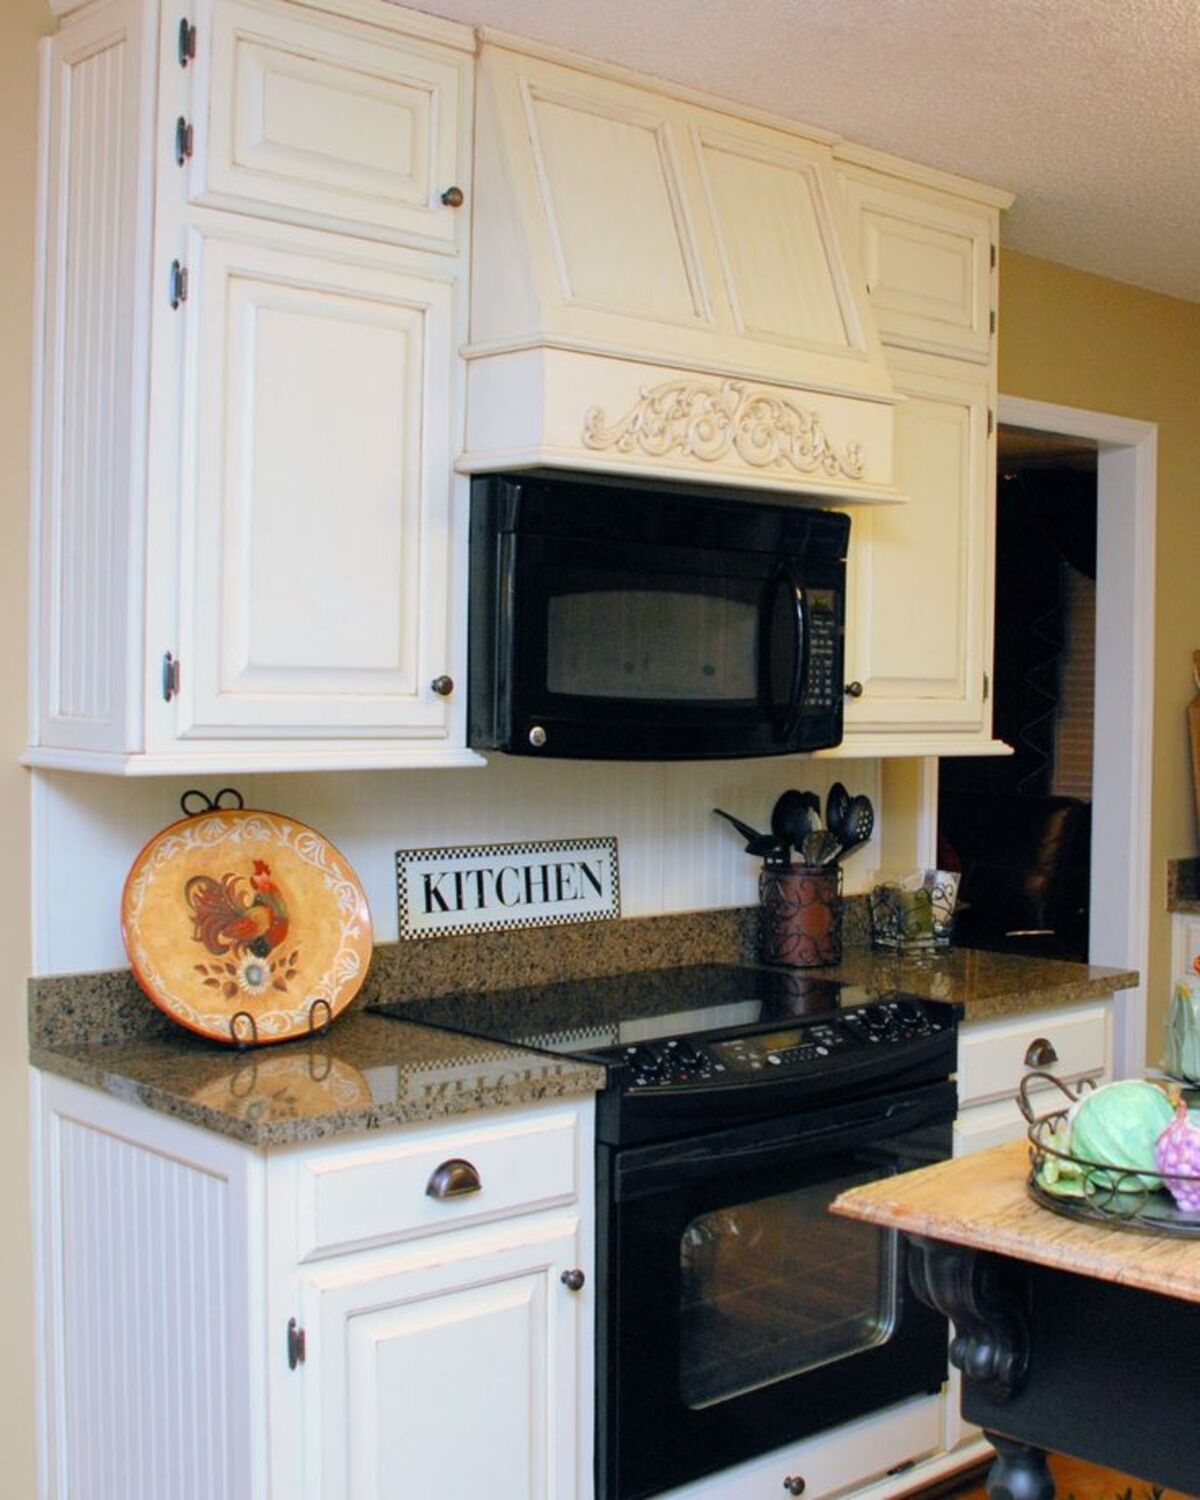
Are you looking to replace your old range hood with a new microwave? Maybe you want to free up some counter space or upgrade your kitchen appliances. Whatever the reason, replacing a range hood with a microwave can be a practical and convenient solution.
In this article, we will guide you through the step-by-step process of replacing your range hood with a microwave. We will provide detailed instructions and helpful tips to ensure a successful installation. So, let’s get started!
Before we begin, it’s important to note that this guide is intended for general informational purposes only. Always consult the manufacturer’s instructions and consider hiring a professional if you’re unsure about any aspect of the installation process.
Now, let’s gather the necessary materials and tools you’ll need to complete the installation.
Key Takeaways:
- Replacing a range hood with a microwave requires careful preparation, including gathering the necessary materials, preparing the workspace, and disconnecting the range hood. Following the step-by-step process ensures a successful and safe installation.
- Connecting the power and ventilation, as well as testing the microwave, are crucial final steps in the replacement process. Attention to detail and safety during each step guarantees the efficient and enjoyable use of the new microwave.
Read more: How To Replace A Range Hood
Step 1: Gather the necessary materials
Before you begin the installation process, make sure you have all the required materials and tools on hand. This will help ensure a smooth and efficient installation. Here’s a list of what you’ll need:
- Replacement microwave: Choose a microwave that fits the space left by the range hood. Make sure to check the dimensions and compatibility with your kitchen’s electrical system.
- Mounting bracket: Most microwaves come with a mounting bracket that needs to be installed. If the microwave you purchased doesn’t include one, you’ll need to purchase a compatible bracket separately.
- Screwdriver set: A set of screwdrivers with various sizes will be essential throughout the installation process.
- Measuring tape: Use a measuring tape to accurately measure the space where the range hood is currently installed. This will help ensure that the microwave fits properly.
- Electrical tape: Electrical tape will come in handy when connecting the microwave to the power source.
- Wire nuts: Depending on your electrical setup, you may need wire nuts to securely connect the electrical wires.
- Masking tape: Use masking tape to mark any measurements or reference points on the wall or cabinet.
- Level: A level will help you ensure that the microwave is properly aligned during installation.
- Protective gloves: It’s always a good idea to wear protective gloves when handling electrical components or sharp edges.
Once you have gathered all the necessary materials, you’re ready to move on to the next step: preparing the workspace.
Step 2: Prepare the workspace
Before you start the installation process, it’s important to prepare the workspace to ensure a safe and efficient installation. Follow these steps to prepare the area:
- Turn off the power: Locate the circuit breaker that controls the power to the range hood and switch it off. This will help prevent any electrical accidents during the installation process. It’s always better to be safe than sorry!
- Clear the area: Remove any items or obstacles from the area surrounding the range hood. This will give you a clear workspace and reduce the risk of accidents or damage to your belongings.
- Protect the countertops and floor: Place a protective covering, such as a thick cloth or plastic sheet, over the countertops and floor in the immediate vicinity of the installation area. This will prevent any damage from tools or accidental spills.
- Adjust lighting: Ensure that the workspace is well-lit to make the installation process easier and safer. Use additional lighting sources if needed.
- Have a helper: If possible, enlist the help of a friend or family member to assist you during the installation. They can help hold the microwave in place or hand you tools as needed.
By properly preparing the workspace, you’ll have a clear and safe area to work in. This will make the installation process smoother and more enjoyable. Now that the workspace is ready, let’s move on to disconnecting the range hood in the next step.
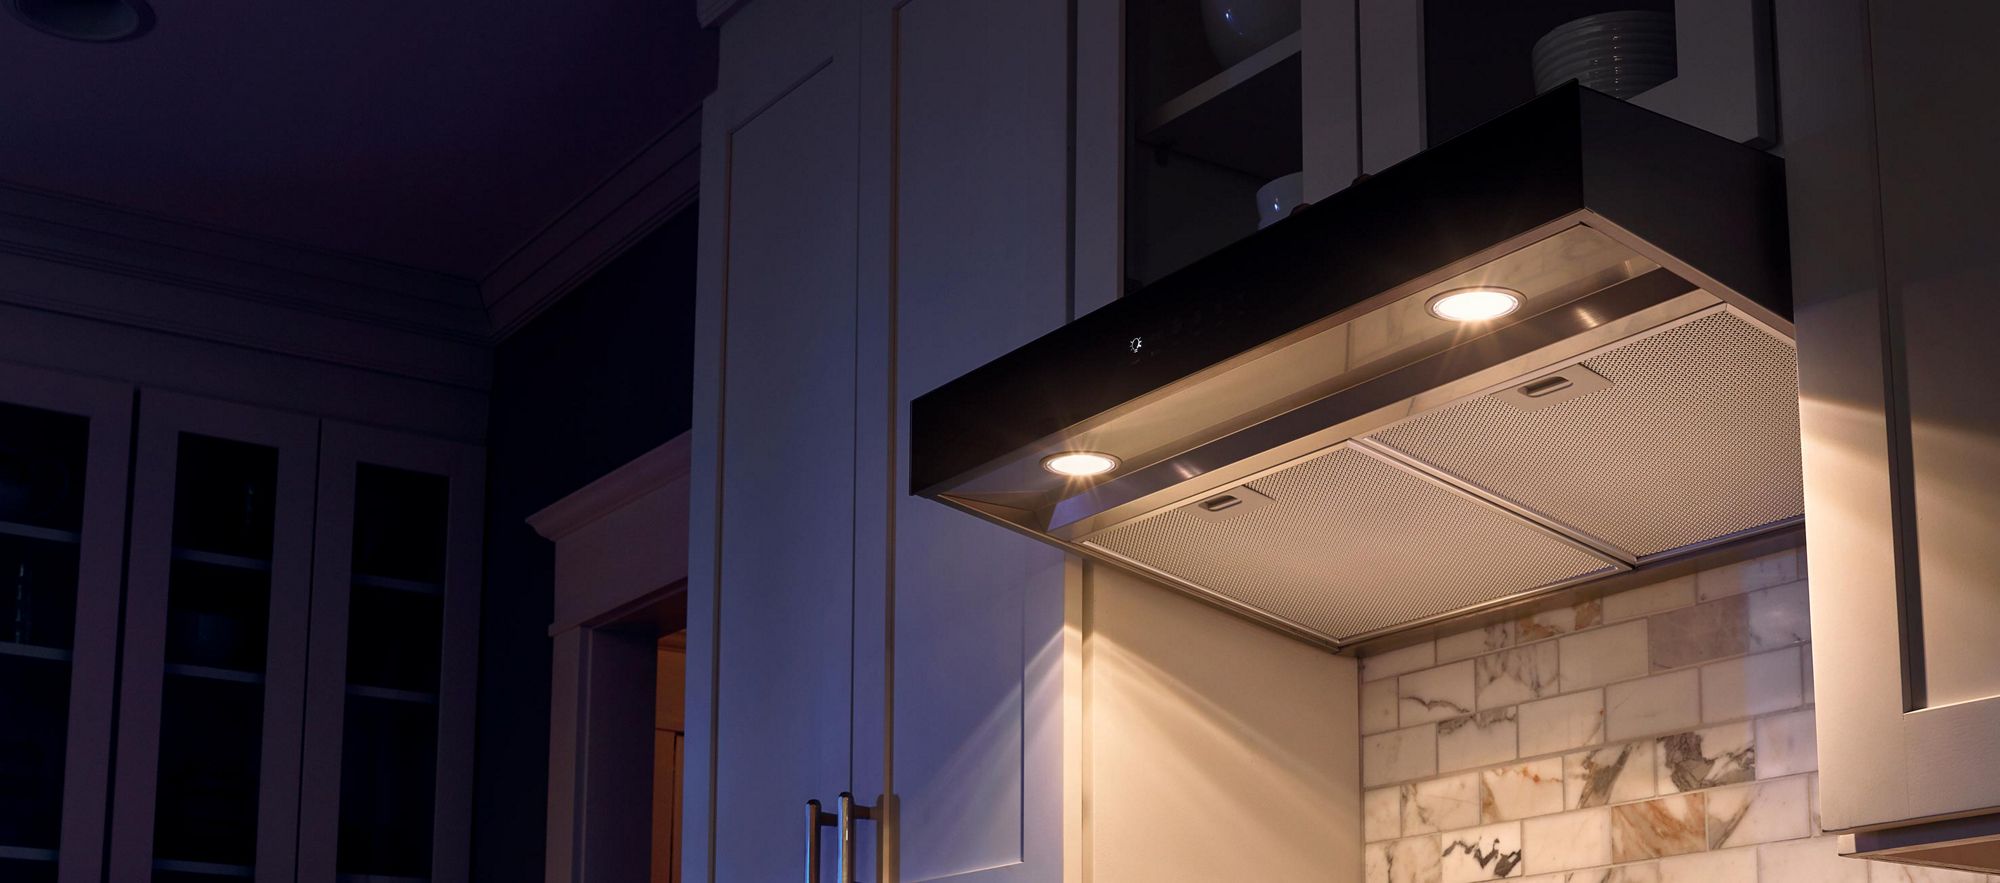
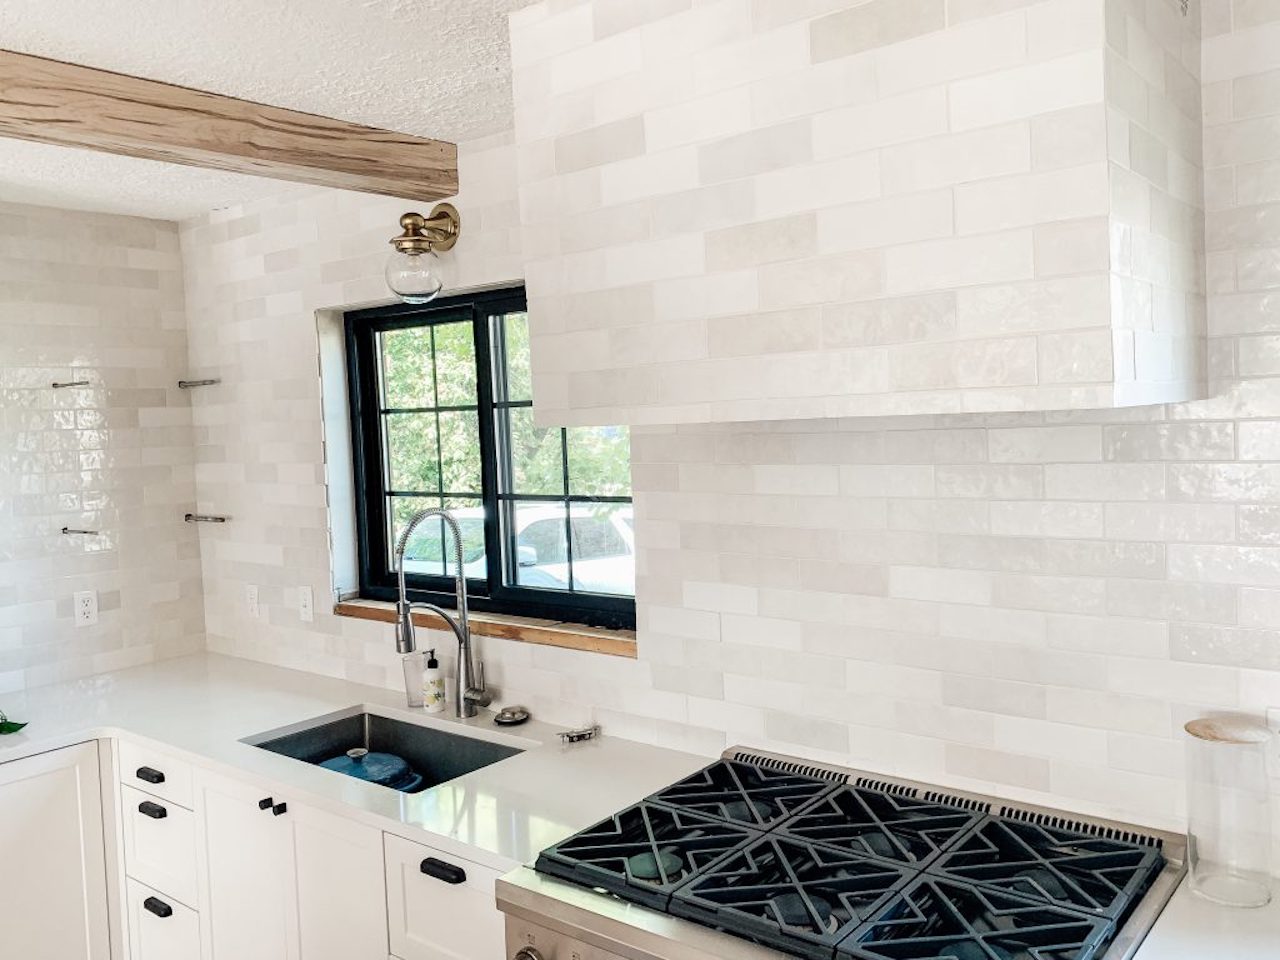
Step 3: Disconnect the range hood
Before you can install the new microwave, you’ll need to disconnect the existing range hood. Follow these steps to safely disconnect the range hood:
- Turn off the power: As a safety precaution, turn off the power supply to the range hood. Locate the circuit breaker associated with the range hood and switch it off.
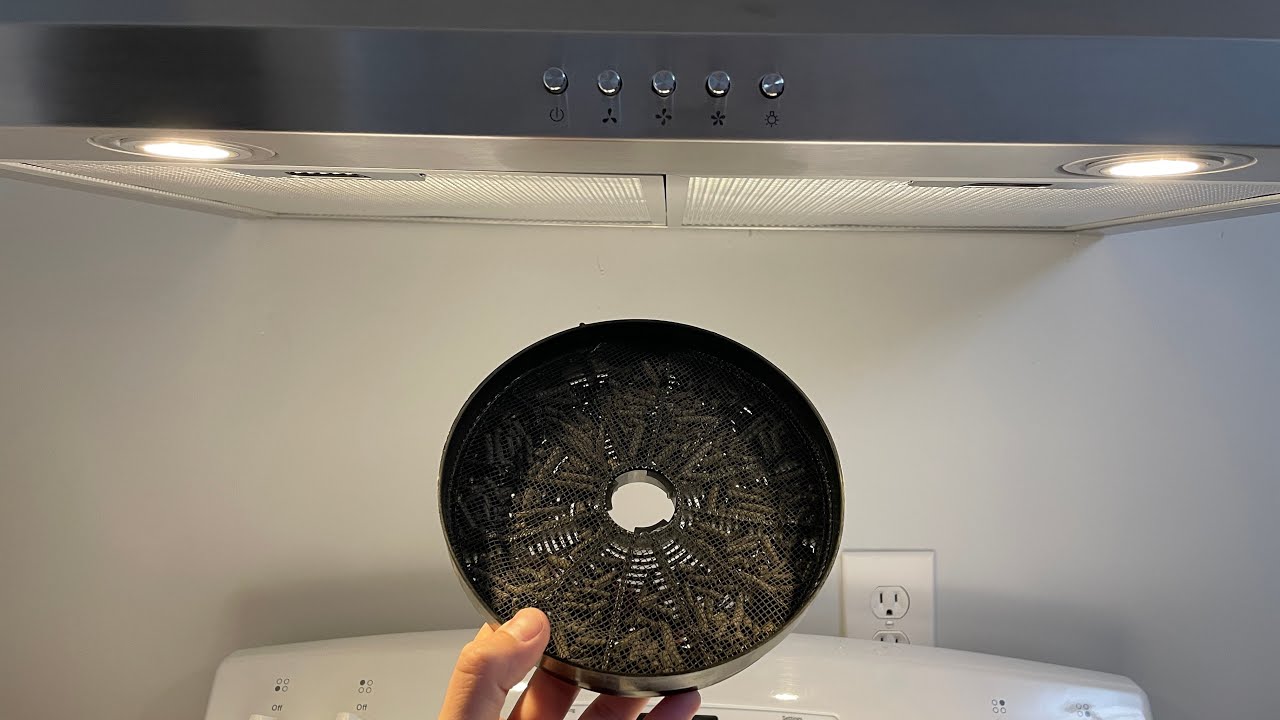
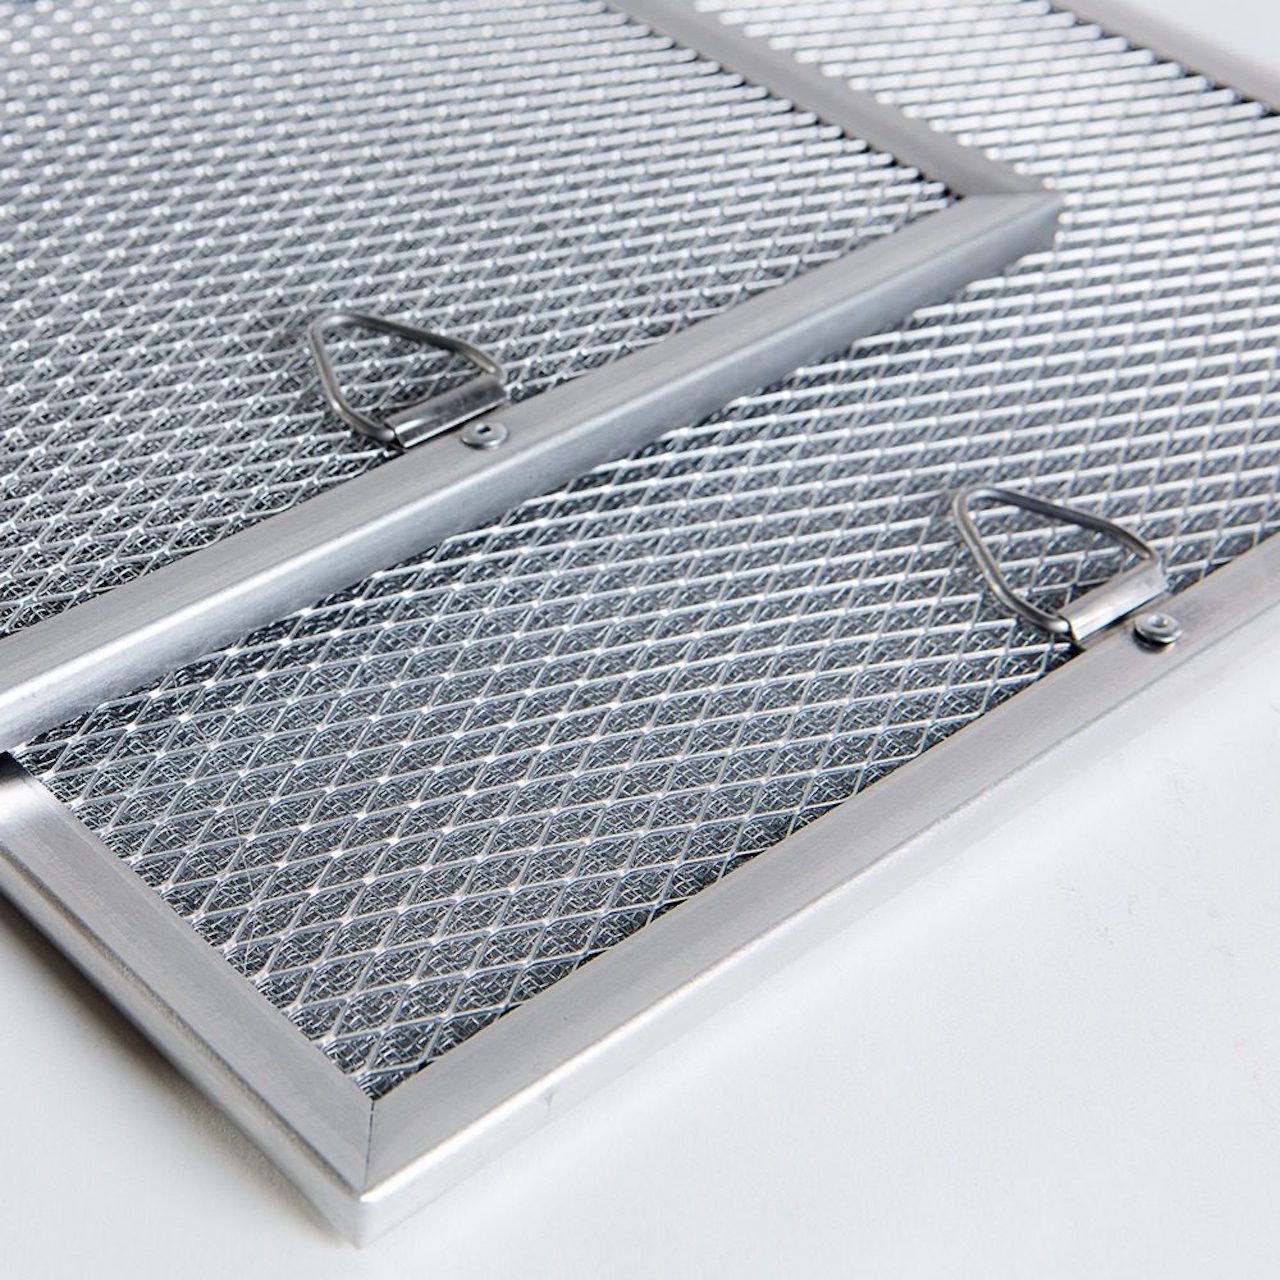
- Remove the filters: Most range hoods have filters that collect grease and other debris. Locate the filters and remove them. They are usually held in place with clips or screws. Set them aside for cleaning or replacement.
- Disconnect the electrical wiring: Carefully remove the range hood’s electrical wiring connections. Depending on how it is wired, you may find wire nuts or a plug connection. If there are wire nuts, use a screwdriver to loosen them and disconnect the wires. If it’s a plug connection, simply unplug it from the outlet.
- Remove the mounting screws: Use a screwdriver to remove the screws that secure the range hood to the wall or cabinet. Make sure to support the weight of the range hood as you remove the screws to prevent it from falling.
- Detach the range hood: Once the mounting screws are removed, carefully detach the range hood from the wall or cabinet. This may involve lifting the range hood off its mounting bracket or sliding it out of the mounting system. Be cautious of any sharp edges or protruding parts.
- Inspect and clean the area: After removing the range hood, take a moment to inspect the area for any damage, dirt, or grease. Clean the area as needed, ensuring a clean foundation for installing the new microwave.
By following these steps, you can safely disconnect the range hood and prepare the space for the installation of the new microwave. With the range hood out of the way, we can now move on to installing the microwave mounting bracket in Step 4.
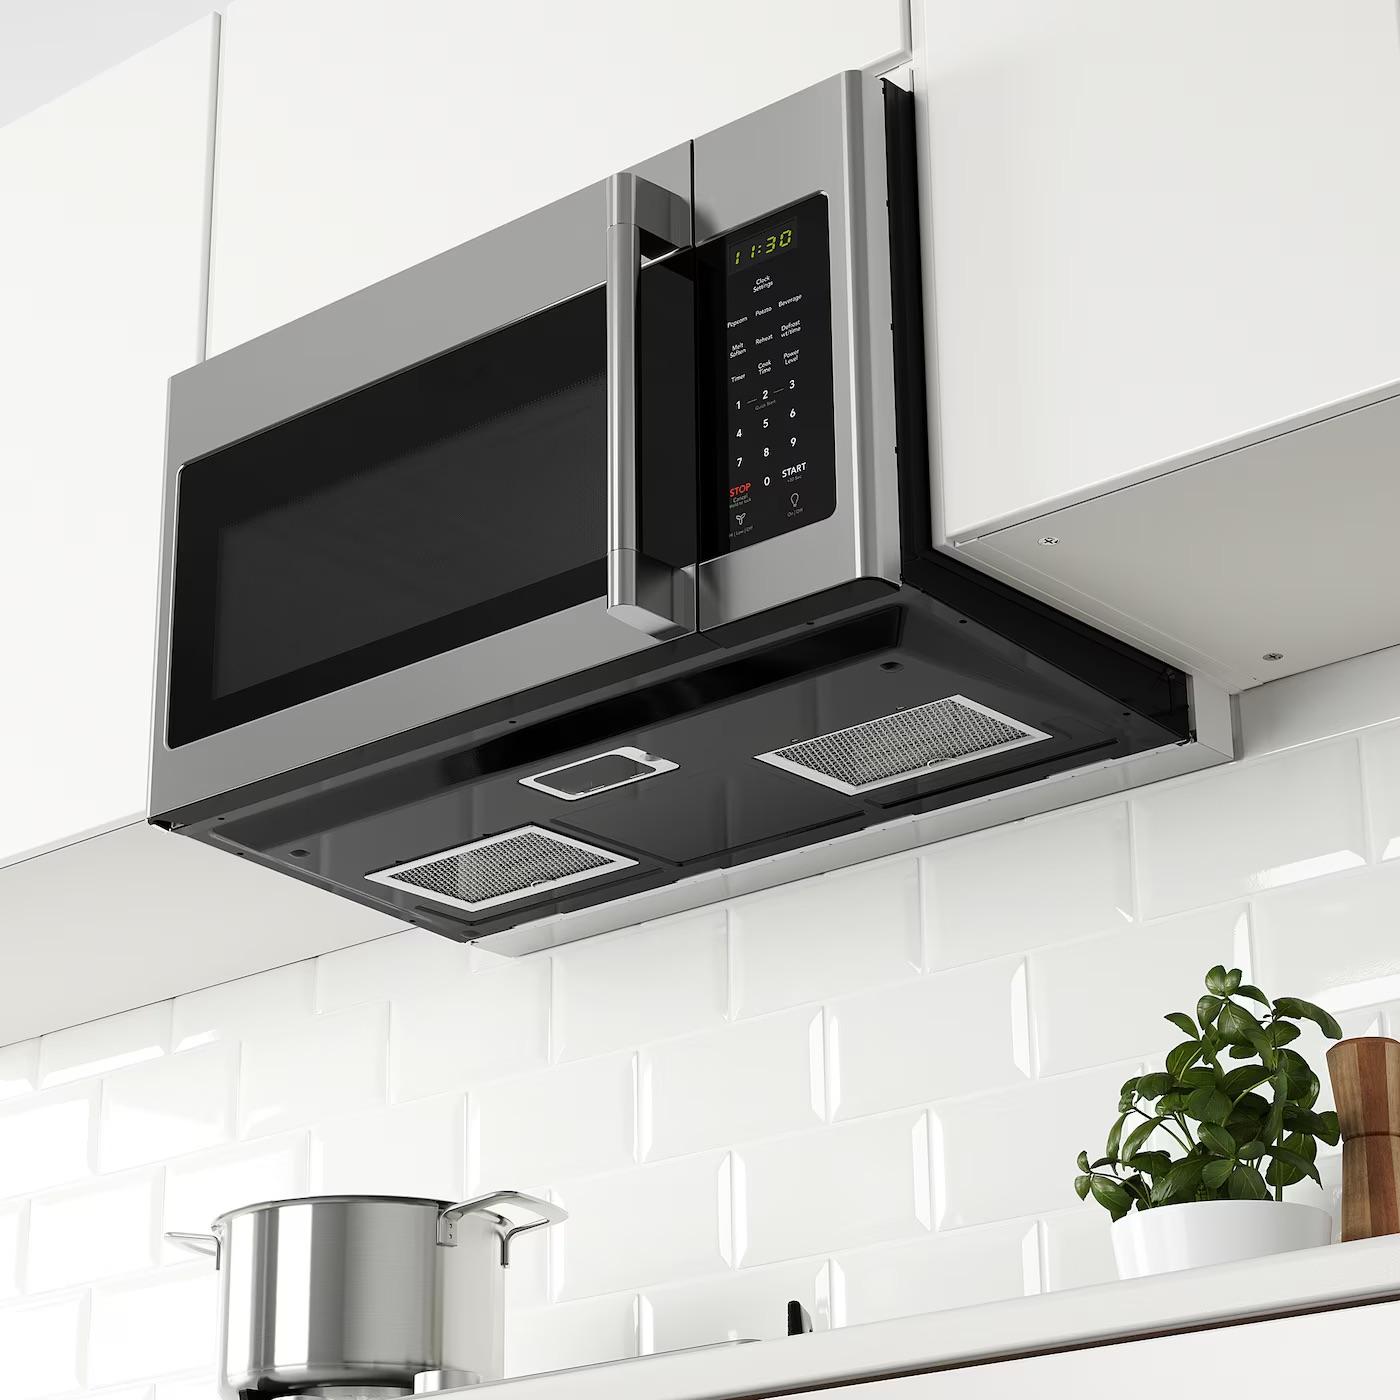
Step 4: Install the microwave mounting bracket
Installing a mounting bracket is an essential step when replacing a range hood with a microwave. The mounting bracket provides support and stability for the microwave. Follow these steps to install the mounting bracket:
- Refer to the microwave’s manual: Before starting the installation process, consult the manual that came with your microwave. It will provide specific instructions on how to install the mounting bracket.
- Measure and mark the wall: Use a measuring tape and a pencil to mark the placement of the mounting bracket on the wall. Make sure to align the marks with the centerline of the previous range hood for a neat and symmetrical installation.
- Attach the mounting bracket: Position the mounting bracket on the marked spots and align it with the centerline. Use a level to ensure it is straight and level. Once properly positioned, drill pilot holes into the wall or cabinet. Then, secure the mounting bracket using screws and a screwdriver.
- Double-check the stability: Give the mounting bracket a gentle shake to ensure it is firmly attached and stable. If it feels loose, tighten the screws or make necessary adjustments.
It’s important to follow the manufacturer’s instructions regarding the installation of the mounting bracket, as the process may vary depending on the specific microwave model. Once you have successfully installed the mounting bracket, you can proceed to the next step: mounting the microwave.
Before replacing your range hood with a microwave, make sure to measure the space to ensure the microwave will fit properly. Also, check the electrical and ventilation requirements for the new appliance.
Read more: How To Vent A Microwave Range Hood Outside
Step 5: Mount the microwave
Now that the mounting bracket is in place, it’s time to mount the microwave. Follow these steps to securely mount the microwave:
- Prepare the microwave: If your microwave came with a mounting plate, attach it to the back of the microwave according to the manufacturer’s instructions. This plate will ensure a stable connection to the mounting bracket.
- Lift the microwave: With the help of a friend or family member, carefully lift the microwave and position it onto the mounting bracket. Ensure that the microwave’s mounting plate aligns with the bracket.
- Secure the microwave: Once the microwave is in position, use the provided screws or bolts to secure it to the mounting bracket. Make sure to follow the manufacturer’s instructions for proper attachment.
- Check alignment: Double-check that the microwave is level and properly aligned with the surrounding cabinets or walls. Make any necessary adjustments before proceeding.
- Tighten the screws: Use a screwdriver or a wrench to tighten the screws or bolts that secure the microwave to the mounting bracket. Ensure that the microwave is securely fastened and doesn’t wobble.
It’s important to seek assistance when lifting and mounting the microwave to prevent injury or damage. Once the microwave is securely mounted, you can move on to connecting the power and ventilation in the next step.
Step 6: Connect the power and ventilation
Now that the microwave is mounted, it’s time to connect the power and ventilation to ensure proper functionality. Follow these steps to connect the power and ventilation:
- Locate the electrical outlet: Check the area around the mounted microwave for a nearby electrical outlet. Ensure that the outlet is compatible with the microwave’s power requirements.
- Measure and cut the power cord: If the power cord of the microwave is too long, measure the distance from the outlet to the microwave and trim the cord accordingly. Leave a little extra length for flexibility.
- Strip the wires: Use wire strippers to remove the insulation from the cut end of the power cord, revealing the wires.
- Connect the wires: Connect the corresponding colored wires from the power cord to the electrical wires in the wall or cabinet. Use wire nuts to secure the connections and wrap them with electrical tape for added protection.
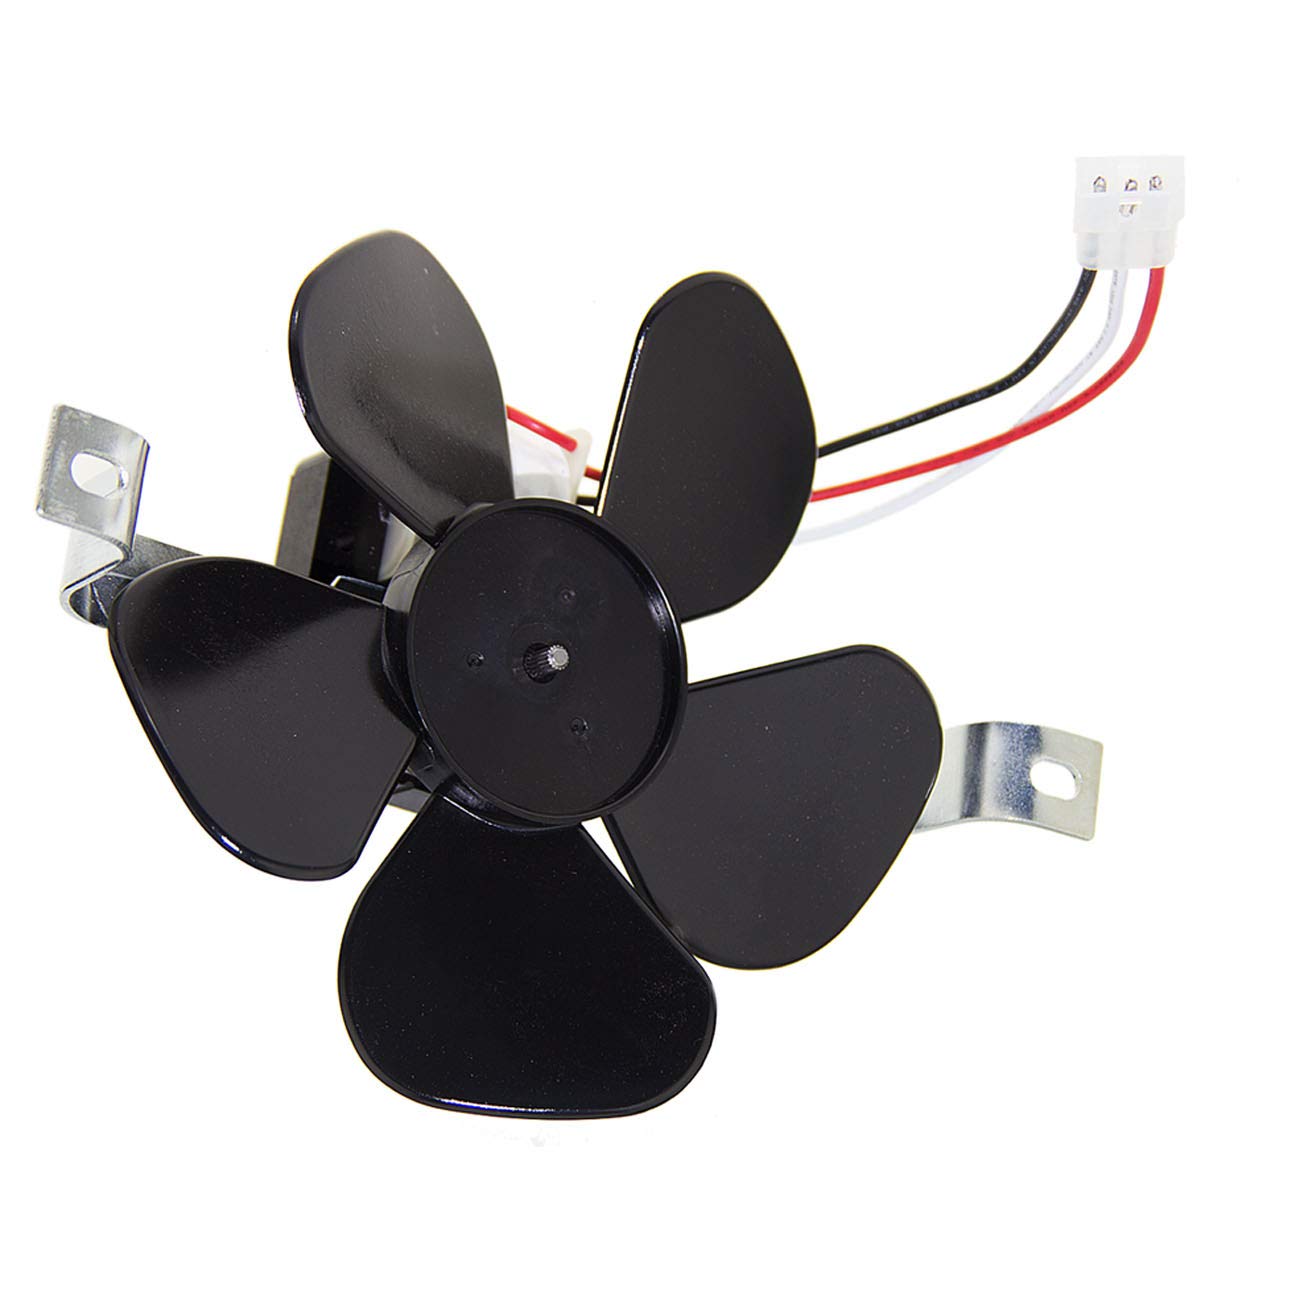
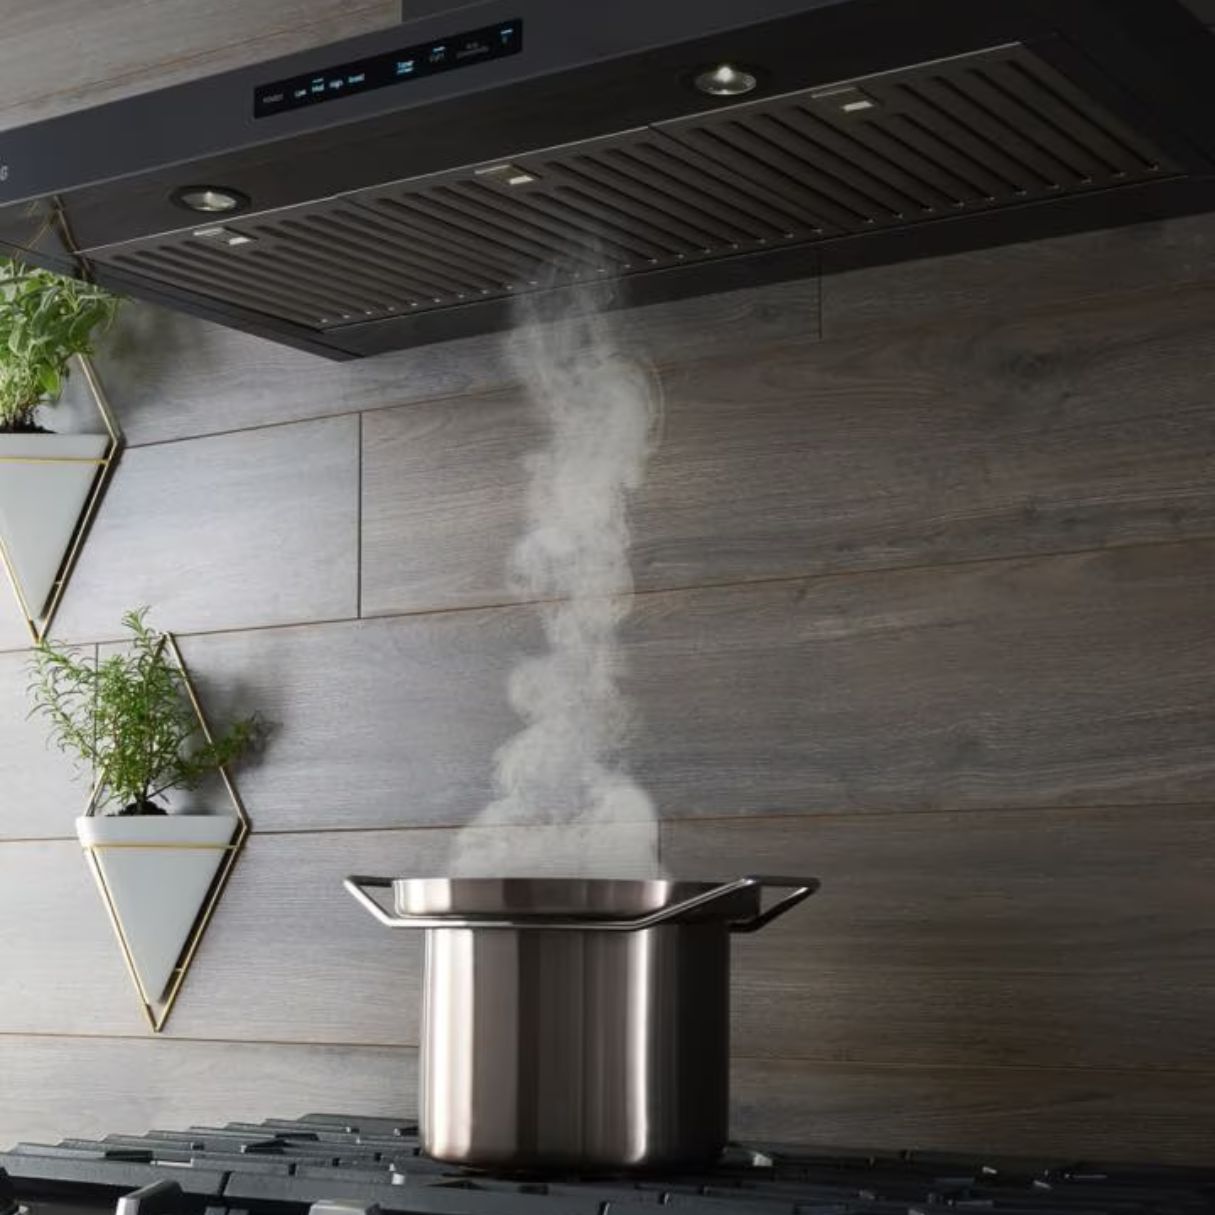
- Connect the ventilation: If your previous range hood was vented, you’ll need to connect the microwave’s ventilation system to the existing ductwork. Follow the manufacturer’s instructions for proper installation. If the microwave is installed as a recirculating unit, make sure to install the appropriate filters.
- Test the connections: Before proceeding further, turn on the power and test the microwave’s functionality. Ensure that it powers on, lights up, and the ventilation system is working properly.
It’s crucial to follow the manufacturer’s instructions for electrical connections and ventilation to ensure safety and efficiency. Once you have successfully connected the power and ventilation, you’re ready for the final step: testing the microwave.
Step 7: Test the microwave
After completing the installation and connecting the power and ventilation, it’s important to test the microwave to ensure it’s functioning properly. Follow these steps to test the microwave:
- Close the door: Make sure the microwave door is securely closed.
- Power on the microwave: Turn on the power to the microwave using the control panel or the designated power button.
- Set the time: Set the time on the microwave according to the manufacturer’s instructions. This will allow you to test the cooking functions.
- Test the cooking functions: Select a cooking function, such as heating a cup of water, and start the microwave. Observe and listen for any unusual noises or issues during operation.
- Check the ventilation: If the microwave has a ventilation system, verify that it is working effectively by feeling for the airflow near the vent and checking for any unusual odors or smoke.
- Monitor for safety: While the microwave is in operation, closely monitor it for any signs of overheating, sparking, or other safety concerns. If at any point you detect a potential issue, immediately turn off the microwave and consult the manufacturer or a professional.
By thoroughly testing the microwave, you can ensure that it’s functioning as expected and is safe to use. If everything is working correctly, you have successfully replaced your range hood with a microwave.
Congratulations! You’ve completed the installation process and can now enjoy the convenience of your new microwave. Should you have any questions or concerns, refer to the manufacturer’s manual or seek assistance from a professional. Happy cooking!
Conclusion
Replacing a range hood with a microwave is a practical and space-saving solution for your kitchen. By following the step-by-step installation process outlined in this guide, you can successfully replace your range hood and enjoy the benefits of a microwave in your kitchen.
We started by gathering the necessary materials and tools for the installation, ensuring we had everything we needed for a smooth process. Then, we prepared the workspace, clearing the area and ensuring proper lighting. Next, we disconnected the range hood, carefully removing it from its mounting and disconnecting the electrical wiring.
Afterwards, we installed the microwave mounting bracket, ensuring it was properly aligned and securely attached to the wall or cabinet. With the mounting bracket in place, we mounted the microwave onto it, making sure it was level and tightly secured.
Once the microwave was mounted, we proceeded to connect the power and ventilation, ensuring proper wiring and connection to the electrical outlet. We also addressed the ventilation, either connecting it to existing ductwork or installing filters for recirculating units.
Finally, we tested the microwave by powering it on, setting the time, and running a test cooking function. We paid attention to any unusual noises, issues during operation, and the effectiveness of the ventilation system. Safety was a top priority throughout the testing process.
By following these steps, you should have successfully installed your new microwave and completed the replacement of your old range hood. Enjoy the convenience of your new appliance!
Remember, always refer to the manufacturer’s instructions and consult a professional if you are unsure about any aspect of the installation process. By taking the time to carefully and correctly install your microwave, you can ensure its safe and efficient operation in your kitchen for years to come.
Excited about upgrading your kitchen with a new microwave? Our guide on microwave installation offers straightforward, step-by-step advice to help you do just that. And if you're feeling handy around the house, don't miss our insights on DIY home improvement for practical tips and tricks that make every project easier. Ready to transform your space? Dive into these helpful resources now!
Frequently Asked Questions about How To Replace Range Hood With Microwave
Was this page helpful?
At Storables.com, we guarantee accurate and reliable information. Our content, validated by Expert Board Contributors, is crafted following stringent Editorial Policies. We're committed to providing you with well-researched, expert-backed insights for all your informational needs.


0 thoughts on “How To Replace Range Hood With Microwave”