Home>Home Maintenance>How To Install Air Conditioning Ductwork

Home Maintenance
How To Install Air Conditioning Ductwork
Modified: March 6, 2024
Learn how to install air conditioning ductwork in your home with these helpful home maintenance tips. Ensure optimal cooling and airflow throughout your space.
(Many of the links in this article redirect to a specific reviewed product. Your purchase of these products through affiliate links helps to generate commission for Storables.com, at no extra cost. Learn more)
Introduction
Welcome to our comprehensive guide on how to install air conditioning ductwork. When it comes to home maintenance, having a properly functioning HVAC system is crucial, especially during the hot summer months. And one key component of an efficient HVAC system is well-designed ductwork. The ductwork is responsible for distributing the conditioned air throughout your home, ensuring that each room receives the optimum level of comfort.
While professional installation is always an option, it can be quite expensive. If you’re up for a DIY challenge and want to save some money, then installing air conditioning ductwork yourself can be a rewarding project. In this article, we’ll walk you through the process step by step, providing you with all the information you need to ensure a successful installation.
Before we dive into the nitty-gritty of installing ductwork, please note that this guide assumes you already have a basic understanding of HVAC systems, including how they work and the various components involved. Additionally, we recommend that you consult your local building codes and regulations before starting any ductwork installation, as requirements may vary depending on your location.
Now, let’s get started on preparing for the installation of your air conditioning ductwork.
Key Takeaways:
- Properly preparing for air conditioning ductwork installation is crucial. Assess your HVAC system, gather necessary tools, plan the layout, check for obstructions, ensure insulation, and protect your workspace for a successful project.
- Choosing the right ductwork material, size, insulation, sealing capability, and considering longevity and maintenance is essential for efficient airflow and system performance. Balancing cost, efficiency, and system requirements is key.
Read more: How To Install Ductwork For Range Hood
Preparing for Installation
Before you start installing your air conditioning ductwork, it’s essential to properly prepare for the project. Here are some key steps to follow:
- Assess your HVAC system: Begin by evaluating your existing HVAC system. Take note of its capacity and the type of air conditioning unit you have, whether it’s a central system or a split system. This information will help you determine the appropriate size and design of your ductwork.
- Gather the necessary tools and materials: To complete the installation, you’ll need a variety of tools and materials. Some essential items include tape measures, aviation snips, duct connectors, duct tape, metal hangers, and a drill. Gather all the required supplies beforehand to avoid any unnecessary delays.
- Plan the ductwork layout: Before you start installing the ducts, carefully plan the layout of your system. Consider factors such as the location of existing walls, ceiling joists, and floor plans. A well-designed layout ensures optimal airflow and efficient cooling throughout your home.
- Check for obstructions: Inspect the areas where you plan to install the ductwork for any obstructions. Clear any obstacles, such as electrical wires or plumbing pipes, to create a smooth path for your ducts. This step will make the installation process easier and prevent any damage to existing structures.
- Ensure proper insulation: Proper insulation is crucial to minimize energy loss and maintain consistent temperatures. Inspect the attic and crawl spaces for existing insulation and add more if necessary. Additionally, make sure to insulate any ducts that pass through unconditioned spaces to prevent condensation buildup.
- Protect your workspace: Installing ductwork can be a messy process. Take the necessary precautions to protect your furniture, floors, and walls. Consider using drop cloths and plastic sheeting to cover and secure the work area. This step will make the cleaning process much easier afterward.
By thoroughly preparing for the installation, you’ll set yourself up for a smoother and more successful project. Once you’ve completed these preliminary steps, you can move on to choosing the right ductwork for your system.
Choosing the Right Ductwork
When it comes to selecting the right ductwork for your air conditioning system, there are several factors to consider. The type and size of ductwork you choose will directly impact the airflow, efficiency, and overall performance of your HVAC system. Here are some key points to keep in mind:
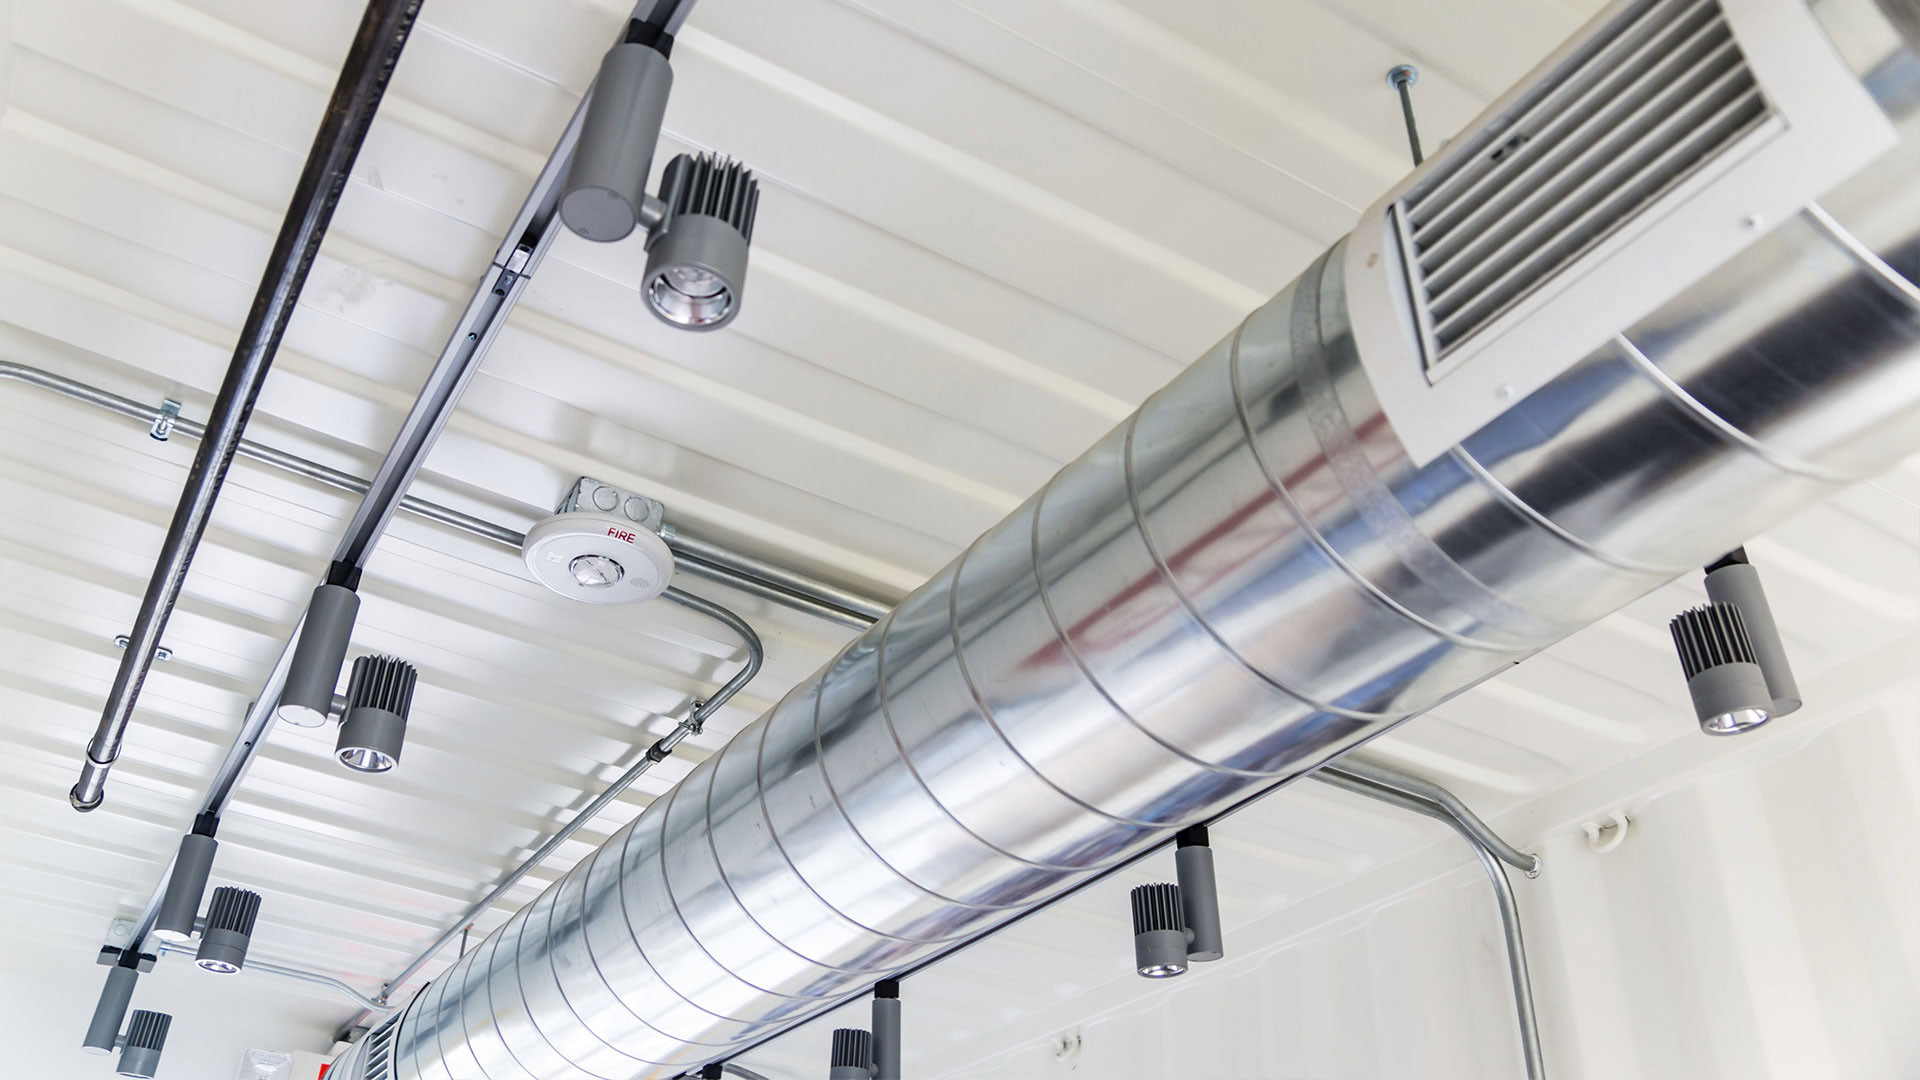
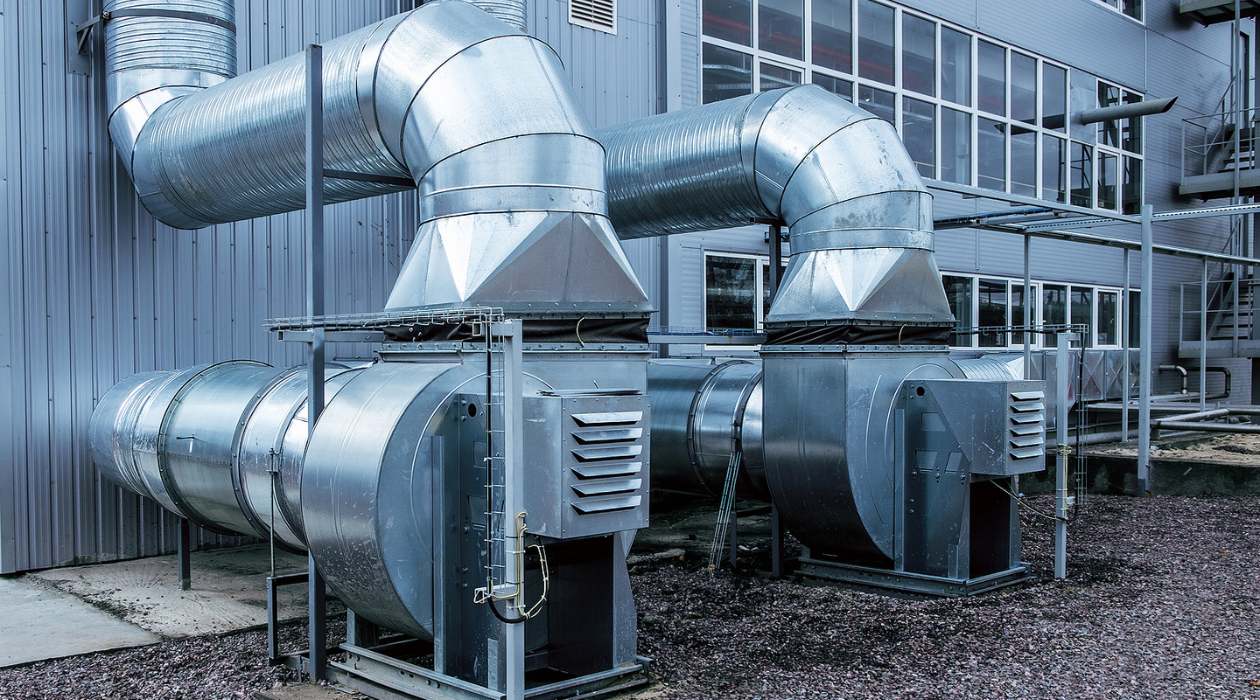
- Duct Material: There are different materials available for ductwork, including sheet metal, fiberglass duct board, flex duct, and PVC. Each material has its advantages and considerations. Sheet metal ductwork is durable and long-lasting but can be more challenging to install. Fiberglass duct board is an excellent option for its insulating properties. Flex duct is flexible and easy to install, making it ideal for retrofitting projects. PVC ductwork is resistant to corrosion and is commonly used for commercial applications.
- Duct Size: The size of your ducts plays a critical role in maintaining proper airflow. Undersized ducts can restrict airflow and reduce the efficiency of your system, while oversized ducts can lead to uneven cooling and wasted energy. Refer to the HVAC system’s manufacturer guidelines or consult a professional to determine the appropriate duct size based on the cooling load and the length of the duct runs.
- Duct Insulation: Insulating your ductwork is essential to prevent energy loss and condensation buildup. It also helps to reduce noise transmission. Depending on the location of your ducts, you may need different insulation materials. In areas with high humidity or extreme temperatures, consider using insulation with higher R-values to ensure maximum efficiency.
- Sealing Capability: Properly sealed ductwork is crucial to prevent air leaks, which can lead to energy loss and decreased cooling performance. Look for ductwork that has good sealing capability, such as ducts with factory-installed gaskets or those that can be easily sealed with tape or mastic.
- Longevity and Maintenance: Consider the durability and longevity of the ductwork material. While sheet metal ducts are known for their durability, other materials may require more frequent maintenance or replacement. Evaluate your maintenance capabilities and choose a duct material that aligns with your needs and budget.
Keep in mind that choosing the right ductwork involves balancing various factors, including cost, efficiency, and system requirements. If you’re unsure about the best type and size of ductwork for your specific needs, don’t hesitate to consult with a professional HVAC contractor who can provide you with expert advice.
Now that you have an understanding of the ductwork options available, it’s time to move on to determining the layout of your system.
Determining the Layout
Before you begin cutting and installing your air conditioning ductwork, you need to develop a well-thought-out layout plan. The layout will determine the path of the ducts and ensure efficient airflow throughout your home. Here are some guidelines to help you determine the layout:
- Consider the HVAC system location: Take note of the location of your HVAC unit and determine the shortest route to distribute the conditioned air. If possible, place the unit centrally in your home to minimize the length of duct runs.
- Identify the supply and return locations: Determine the areas where the supply vents and return grilles will be located. Supply vents should be placed in each room to evenly distribute the conditioned air, while return grilles should be strategically placed to allow for proper airflow circulation.
- Plan the main trunk line: The main trunk line carries the conditioned air from the HVAC unit to the various duct branches. These branches then lead to individual rooms. Determine the length and size of the main trunk line based on the airflow requirements of your system.
- Account for duct fittings: Consider the necessary fittings, such as elbows, tees, and wyes, to navigate around corners and obstacles. These fittings can impact airflow and pressure, so plan their placement carefully to maintain optimal system performance.
- Avoid tight bends and long duct runs: Try to minimize sharp bends in the ductwork, as they can create resistance and reduce airflow. Long duct runs can also decrease airflow efficiency. If unavoidable, consider upsizing the duct or adding additional supply vents to compensate for the potential airflow loss.
- Account for clearance and accessibility: Ensure that the ductwork is easily accessible for future maintenance and repairs. Leave enough clearance between the ducts and other structures to allow for easy inspection and cleaning.
By carefully planning the layout of your air conditioning ductwork, you can optimize the performance and efficiency of your HVAC system. Take measurements, sketch out your plan, and consider using software or online tools to visualize the layout before proceeding with the installation.
Next, we’ll move on to cutting and measuring the ducts to fit your layout plan.
Cutting and Measuring Ducts
Once you have determined the layout and design of your air conditioning ductwork, it’s time to start cutting and measuring the ducts to fit your plan. Here’s a step-by-step guide to help you through this process:
- Mark the measurements: Using a tape measure, mark the measurements for each piece of ductwork according to your layout plan. Be sure to include the length, width, and height of the ducts.
- Transfer measurements to the duct material: Transfer the measurements onto the appropriate duct material. If you’re using sheet metal, use a permanent marker or scribe to mark the dimensions. For other duct materials, such as fiberglass duct board or flex duct, use a straight edge and a utility knife to make precise cuts.
- Use the right tools: Depending on the duct material, you’ll need specific tools to make the cuts. For sheet metal ducts, aviation snips or tin snips are ideal for cutting straight lines. For fiberglass duct board, a utility knife with a sharp blade is necessary. Flex duct can be cut with a utility knife or special duct-cutting tools designed for the material.
- Make clean and accurate cuts: Take your time to ensure clean and accurate cuts. Use a steady hand and follow the markings carefully. For sheet metal ducts, it’s crucial to have sharp snips that can cut through the material smoothly. When cutting fiberglass duct board, make sure to score the surface deeply but not cut all the way through to prevent damage.
- Trim excess material: Once you’ve made the initial cuts, use a straight edge and a utility knife to trim off any excess material and ensure straight edges. This will make it easier to join the ducts together during the installation process.
- Label the duct pieces: To avoid confusion during installation, label each piece of ductwork with its corresponding location or room. This will help you match the ducts with your layout plan and streamline the installation process.
Remember to measure twice and cut once to ensure accuracy and minimize errors. Keep safety in mind as well by wearing appropriate protective gear, such as gloves and safety goggles, when handling sharp tools and materials.
Now that you’ve successfully cut and measured your ducts, it’s time to move on to attaching the ductwork to your HVAC system.
When installing air conditioning ductwork, make sure to properly seal all joints and connections to prevent air leaks. This will ensure efficient and effective cooling throughout the entire system.
Read more: How To Install HVAC Ductwork In Crawl Space
Attaching Ductwork to HVAC System
Now that you have your ducts cut and measured, it’s time to attach them to your HVAC system. Properly connecting the ductwork ensures a secure and efficient airflow. Follow these steps to attach the ductwork to your HVAC system:
- Locate the HVAC unit: Identify the location of your HVAC unit and ensure it is accessible. This is where the ductwork will be connected.
- Attach the plenum or air handler: Depending on the type of HVAC system you have, you will either have a plenum or an air handler. The plenum connects to the main supply duct, while the air handler is the device that heats or cools the air. Attach the appropriate component to your system using screws or metal straps, ensuring a secure connection.
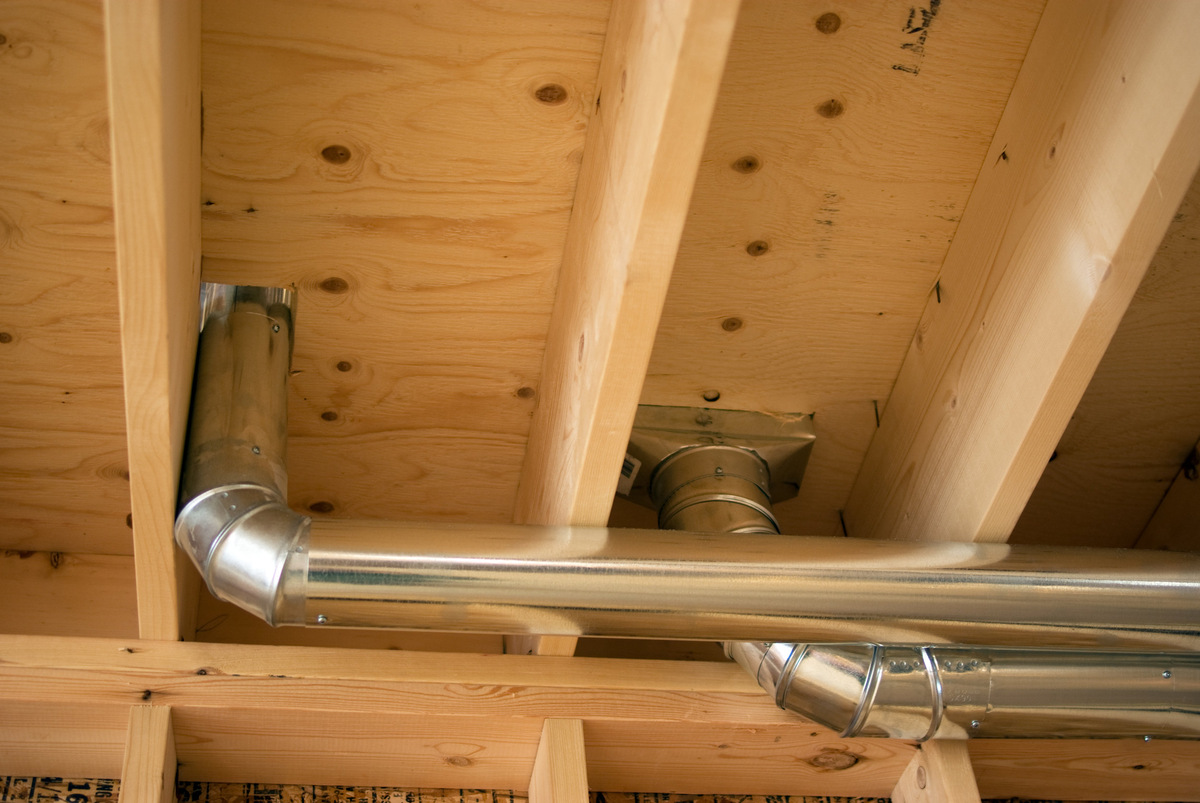
- Attach the main trunk line: Connect the main trunk line to the plenum or air handler. Using sheet metal screws or other appropriate connectors, secure the main trunk line in place. Make sure the connection is tight to prevent air leaks.
- Connect the branch ducts: Attach the branch ducts to the main trunk line. Use metal hangers or straps to secure the branch ducts in position, ensuring they are level and properly supported. Ensure a snug fit by using duct connectors, sealing them with duct tape or mastic for an airtight seal.
- Follow manufacturer guidelines: Refer to your HVAC system’s manufacturer guidelines for any specific instructions on connecting the ductwork. Different systems may have unique requirements, and it’s essential to follow the manufacturer’s recommendations to ensure optimal performance and safety.
- Inspect the connections: Once all the ductwork is connected, carefully inspect each connection to ensure a proper fit and tight seal. This step is crucial for preventing air leaks that can lead to energy loss and reduced system efficiency.
Throughout the attachment process, it’s important to handle the ductwork with care to avoid bending or damaging it. Additionally, make sure to align the ducts properly to ensure optimal airflow without any restrictions or blockages.
With the ductwork securely connected to your HVAC system, it’s time to focus on sealing and insulating the ducts to improve energy efficiency and maintain the desired temperature.
Sealing and Insulating Ductwork
Sealing and insulating your air conditioning ductwork is a crucial step to prevent air leaks, improve energy efficiency, and maintain consistent temperatures throughout your home. Follow these steps to properly seal and insulate your ducts:
- Inspect for air leaks: Before sealing, inspect the ductwork for any gaps, cracks, or loose connections that could result in air leaks. Use a flashlight to carefully examine the entire length of the ducts, paying close attention to joints, seams, and connections.
- Seal the gaps and joints: Use an appropriate sealant, such as mastic or foil tape, to seal any gaps or joints in the ductwork. Avoid using regular duct tape, as it is not as effective for long-term sealing. Apply the sealant generously and make sure to cover all areas that may be prone to air leakage.
- Insulate the ductwork: Insulating your ductwork helps to prevent energy loss and maintains consistent temperatures. Depending on your location and climate, choose insulation material with the appropriate R-value. Common insulation materials for ductwork include fiberglass duct wrap, rigid foam board, or spray foam insulation. Wrap the insulation around the ducts, ensuring a tight fit. Use insulation tape or fasteners to secure the insulation in place.
- Insulate accessible ducts in unconditioned spaces: If you have ductwork running through unconditioned spaces, such as attics or crawlspaces, it’s essential to insulate those areas as well. Insulate the accessible ducts in these spaces to prevent condensation buildup and heat loss.
- Consider professional help for inaccessible areas: If you have ductwork in hard-to-reach areas, it may be challenging to insulate them properly. In such cases, consider consulting a professional HVAC contractor who can use specialized tools and techniques to insulate these areas effectively.
- Regularly inspect and maintain the insulation: Over time, insulation may deteriorate or become damaged. Regularly inspect the insulation and make repairs or replacements as needed. Additionally, monitor for any signs of air leaks and reseal if necessary.
Properly sealing and insulating your ductwork not only improves energy efficiency but also enhances the comfort and performance of your HVAC system. It helps to maintain consistent temperatures, reduces energy waste, and minimizes the strain on your cooling system.
With your ductwork now sealed and insulated, the next step is to connect the air vents and registers to complete the installation process.
Connecting Air Vents and Registers
Connecting air vents and registers is the final step in the installation of your air conditioning ductwork. Properly installed vents and registers ensure efficient airflow and allow you to control the distribution of conditioned air throughout your home. Follow these steps to connect air vents and registers:
- Locate the placement of air vents and registers: Refer to your layout plan to identify the designated locations for air vents and registers. Ensure that they are strategically placed in each room to allow for optimal airflow and temperature control.
- Prepare the openings: Using the measurements from your layout plan, mark and prepare the openings on the walls, floors, or ceilings where the air vents and registers will be installed. Use a jigsaw, reciprocating saw, or appropriate tools to create clean and precise openings.
- Mount the air vents and registers: Attach the air vents or registers to the prepared openings. Depending on the type of vents or registers you have, you may need to use screws, brackets, or clips to secure them in place. Make sure they are secure and flush with the surrounding surface.
- Connect the vents to the ductwork: Once the vents and registers are mounted, connect them to the corresponding ducts using appropriate connectors, such as flexible duct connectors or duct elbows. Ensure a tight fit by using duct tape or clamps to secure the connection.
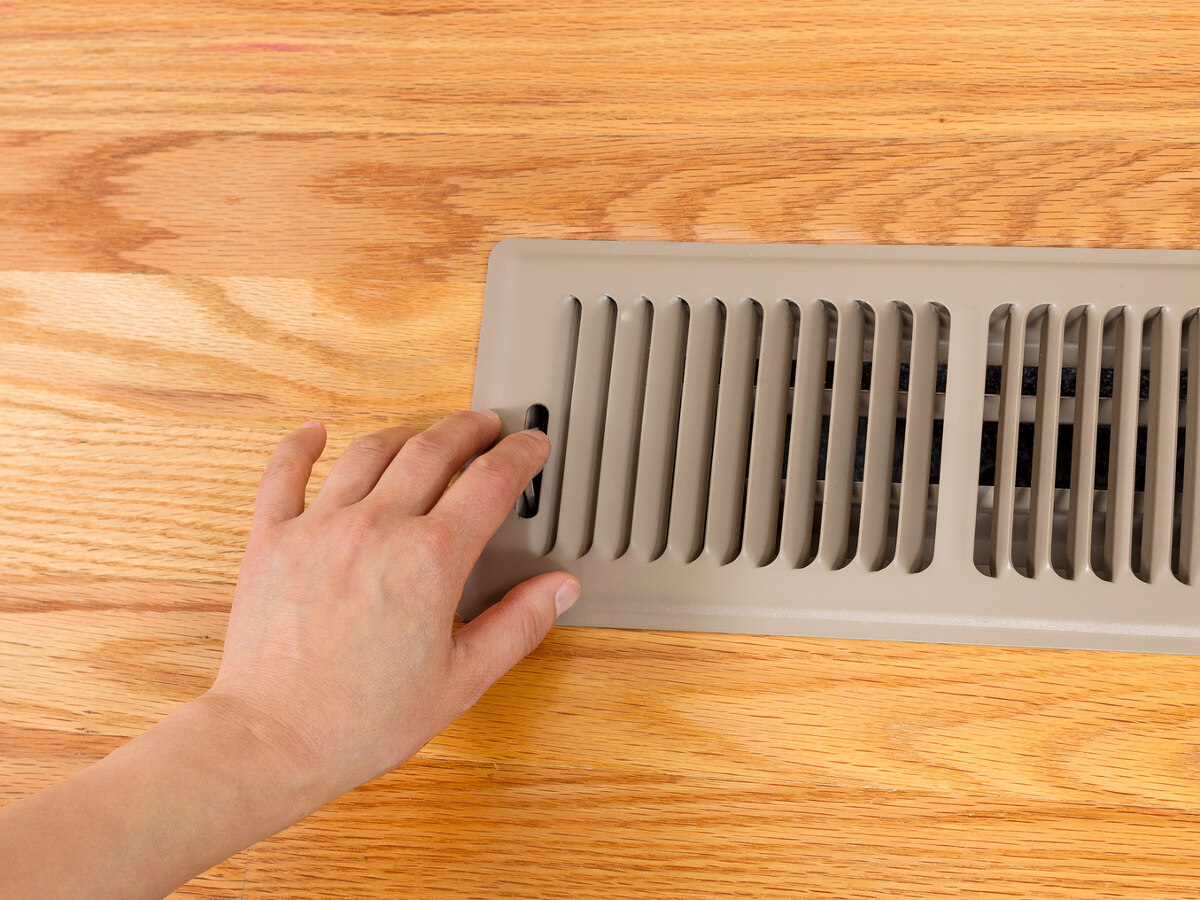
- Test and adjust airflow: After connecting the vents and registers, it’s essential to test the system for proper airflow. Turn on your HVAC system and carefully monitor the airflow from each vent. Make adjustments as needed to balance the airflow throughout your home. This can be done by partially closing or opening the dampers on each vent or register.
- Consider airflow direction: Depending on the design of your air vents and registers, you may have the option to adjust the airflow direction. Ensure that the airflow is directed away from walls, curtains, or furniture to maximize the efficiency of your cooling system.
Connecting air vents and registers allows for the controlled and even distribution of conditioned air to each room of your home. Properly balanced airflow ensures consistent temperatures and maintains comfort throughout your living spaces.
With the air vents and registers successfully connected, the next step is to test and balance the airflow to optimize the performance of your air conditioning system.
Testing and Balancing the Airflow
Testing and balancing the airflow in your air conditioning ductwork is the final step in ensuring the optimal performance of your HVAC system. Balancing the airflow helps to distribute the conditioned air evenly throughout your home, maximizing comfort and energy efficiency. Follow these steps to test and balance the airflow:
- Close all interior doors: Before conducting the airflow test, close all interior doors in your home. This allows for a more accurate measurement of the airflow in each room.
- Turn on the HVAC system: Start the HVAC system and let it run for a few minutes to stabilize. Ensure that the air filters are clean, as dirty filters can restrict airflow and affect the accuracy of the test.
- Measure airflow at each vent: Use an anemometer or airflow meter to measure the airflow at each air vent or register in your home. Place the device directly in front of the vent, and take note of the reading. Compare the airflow measurements between different vents to identify any significant discrepancies.
- Adjust dampers and registers: If you notice significant variations in airflow between rooms, adjust the dampers or registers accordingly. Opening or closing the dampers or adjusting the vanes on the registers can help balance the airflow. Make small adjustments and retest the airflow until it is evenly distributed.
- Consider zoning: If you have a larger home or rooms with different cooling requirements, consider implementing a zoning system. Zoning allows for individual temperature control in different areas of your home, ensuring the most comfortable and efficient cooling experience.
- Regularly monitor and adjust: Over time, airflow imbalances can occur due to changes in the system or adjustments made by occupants. Regularly monitor the airflow and make the necessary adjustments to maintain balanced airflow throughout your home.
Testing and balancing the airflow in your air conditioning ductwork is an ongoing process. It may require periodic adjustments to accommodate changes in your home’s layout or cooling needs. By maintaining a properly balanced airflow, you can ensure consistent comfort levels and optimize the energy efficiency of your HVAC system.
Congratulations! You have successfully installed and balanced your air conditioning ductwork. Regular maintenance and inspections are essential to keep your system in optimal condition. Enjoy the comfort and cooling provided by your newly installed ductwork!
Read more: How To Air Condition A Shed
Conclusion
Congratulations on completing the installation of your air conditioning ductwork! By following the steps outlined in this comprehensive guide, you have taken a DIY approach to improve the efficiency and performance of your HVAC system. Properly installed ductwork plays a crucial role in distributing conditioned air throughout your home, ensuring comfort and energy efficiency.
Throughout the installation process, you’ve learned the importance of preparing for installation, choosing the right ductwork, determining the layout, cutting and measuring ducts accurately, attaching ductwork to the HVAC system, sealing and insulating the ductwork, connecting air vents and registers, and testing and balancing the airflow. Each of these steps contributes to the overall success of your ductwork installation.
Remember to regularly inspect and maintain your ductwork. Check for any signs of air leaks, insulation deterioration, or obstructions that may impact its performance. Consult with professionals when needed and adhere to local building codes and regulations to ensure a safe and compliant installation.
With your newly installed ductwork, you can enjoy improved airflow, even temperature distribution, and enhanced energy efficiency. Your home will be more comfortable, allowing you to enjoy optimal conditions during hot summer months or throughout the year.
Thank you for choosing to embark on this DIY project and taking the time to read our comprehensive guide. We hope it has equipped you with the knowledge and confidence to install air conditioning ductwork successfully. Remember, if you have any doubts or concerns, it’s always best to consult with a professional HVAC contractor who can provide specific guidance tailored to your unique situation.
Enjoy the benefits of your newly installed air conditioning ductwork and may it contribute to a cool and comfortable living environment for years to come!
Frequently Asked Questions about How To Install Air Conditioning Ductwork
Was this page helpful?
At Storables.com, we guarantee accurate and reliable information. Our content, validated by Expert Board Contributors, is crafted following stringent Editorial Policies. We're committed to providing you with well-researched, expert-backed insights for all your informational needs.
