Home>Home Maintenance>How To Put Drainage Holes In The Garden Treasures Planters
Home Maintenance
How To Put Drainage Holes In The Garden Treasures Planters
Modified: March 7, 2024
Learn how to add drainage holes to your Garden Treasures planters for better home maintenance. Improve water drainage and prevent root rot with this simple tutorial.
(Many of the links in this article redirect to a specific reviewed product. Your purchase of these products through affiliate links helps to generate commission for Storables.com, at no extra cost. Learn more)
Introduction
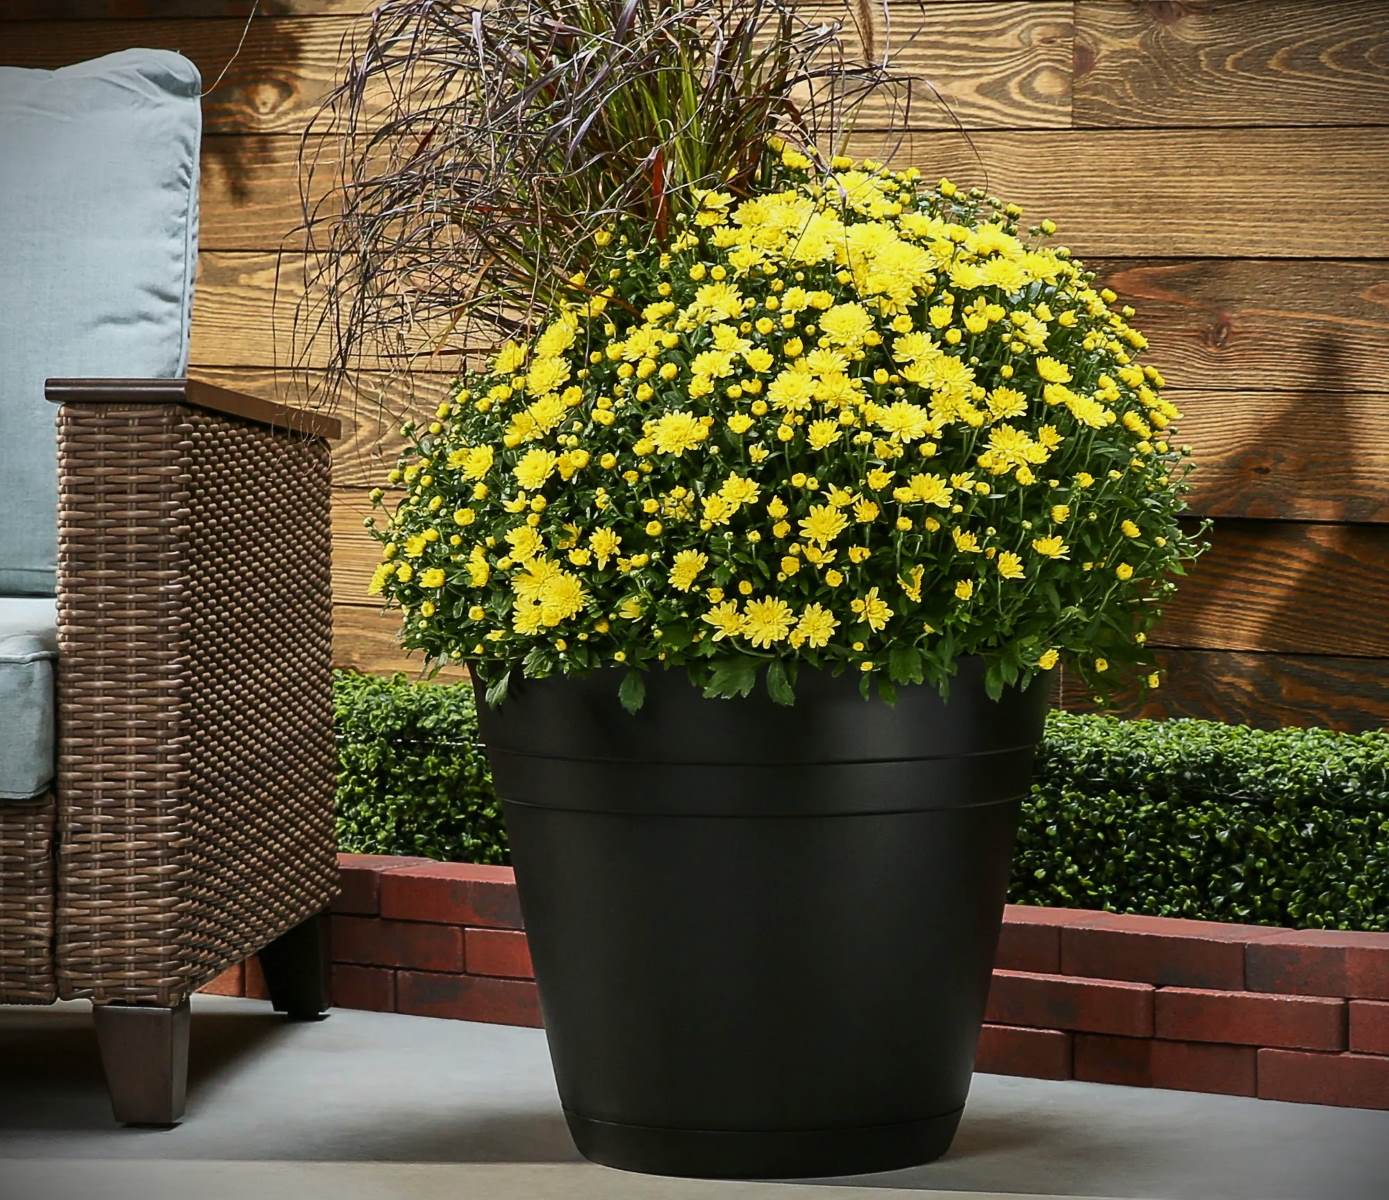
Welcome to the world of gardening! Whether you are a seasoned gardener or just starting out, one thing is certain – proper drainage is crucial for the health and well-being of your plants. Garden Treasures planters are a popular choice for many garden enthusiasts due to their durability and aesthetic appeal. However, these planters often lack drainage holes, which can lead to waterlogged soil and root rot.
In this article, we will guide you through the process of adding drainage holes to your Garden Treasures planters. By following these simple steps, you can ensure that your plants have optimal growing conditions and thrive in their new home.
Read on to discover the benefits of drainage holes, the tools and materials you will need, and a step-by-step guide to put drainage holes in Garden Treasures planters.
Key Takeaways:
- Proper drainage in Garden Treasures planters prevents waterlogging, soil compaction, and salt buildup, promoting healthy plant growth and preventing root rot.
- Before drilling, clean and inspect the planter, choose the right drill bit, and test the drainage to ensure optimal growing conditions for your plants.
Benefits of Drainage Holes in Garden Treasures Planters
Drainage holes play a crucial role in maintaining the health of your plants. Here are some key benefits of adding drainage holes to your Garden Treasures planters:
- Prevents waterlogging: Drainage holes allow excess water to escape from the planter, preventing water from pooling at the bottom. This helps to avoid overwatering and the associated problems such as root rot and fungal diseases.
- Prevents soil compaction: When water accumulates in the planter, it can lead to soil compaction. This makes it difficult for roots to access oxygen and nutrients, hindering their growth and compromising the overall health of the plant.
- Improves oxygen circulation: Proper drainage ensures that oxygen can reach the plant’s roots. Oxygen is essential for root respiration and nutrient uptake, promoting healthy growth and preventing suffocation of the plant.
- Controls moisture levels: Drainage holes allow excess water to drain out, helping to maintain optimal moisture levels in the soil. This prevents waterlogged conditions, which can attract pests and diseases.
- Prevents salt buildup: When water is unable to drain properly, it can lead to salt buildup in the soil. This can cause nutrient imbalances and inhibit the plant’s ability to take up essential minerals.
By ensuring proper drainage in your Garden Treasures planters, you are creating a healthy environment for your plants to thrive. Now that you understand the benefits, let’s move on to the tools and materials you will need for this project.
Tools and Materials Needed
Before you start adding drainage holes to your Garden Treasures planters, gather the following tools and materials:
- Drill: You will need a power drill for creating the drainage holes. Make sure it is charged or has a fresh battery before you begin.
- Drill Bit: Choose a drill bit with a diameter suitable for the size of drainage holes you want to create. A 1/4-inch or 3/8-inch drill bit is usually sufficient for most planters.
- Masking Tape: This will help prevent the drill bit from slipping and scratching the planter surface.
- Protective Gear: Wear safety goggles to protect your eyes from any debris that may fly off while drilling. If you are working with a large planter, consider wearing gloves to protect your hands.
- Watering Can: Once you have added drainage holes, you will need a watering can to water your plants.
- Potting Mix: Depending on the type of plants you are growing, you may need potting mix to fill your planter.
- Plants: Choose the plants you want to grow in your Garden Treasures planter. Consider their specific needs such as light requirements and water preferences.
Now that you have all the necessary tools and materials, let’s move on to the step-by-step guide for putting drainage holes in your Garden Treasures planters.
Step-by-Step Guide to Putting Drainage Holes in Garden Treasures Planters
Follow these simple steps to add drainage holes to your Garden Treasures planters:
- Prepare the Planter: Start by cleaning the planter thoroughly to remove any dirt or debris. This will ensure a smooth drilling process.
- Choose the Right Drill Bit: Select a drill bit with a diameter suitable for the size of drainage holes you want to create. Keep in mind that larger holes will allow for faster drainage, while smaller holes may retain more moisture.
- Mark the Hole Locations: Use masking tape to mark the spots where you want to drill the drainage holes. Space the holes evenly around the bottom of the planter, ensuring that there are enough to facilitate proper drainage.
- Secure the Planter: Place the planter on a stable surface or secure it in a vice grip to prevent it from moving during the drilling process.
- Start Drilling: Put on your safety goggles and begin drilling at the marked spots. Apply firm, steady pressure and keep the drill perpendicular to the planter surface. Start with a slow drill speed and gradually increase the speed as you go.
- Clean Up the Planter: Once you have drilled all the holes, remove the masking tape from the planter. Use a soft cloth or brush to wipe away any debris or dust that may have accumulated during the drilling process.
- Test the Drainage: Fill the planter with water and observe how quickly it drains out of the holes. If the water drains too slowly or if there is no drainage at all, you may need to drill additional holes.
- Plant and Water: Once you are satisfied with the drainage, you can fill the planter with potting mix and plant your desired plants. Water them thoroughly and monitor the moisture levels to ensure the optimal growing conditions.
By following these steps, you can easily add drainage holes to your Garden Treasures planters, providing a healthy environment for your plants to thrive. Remember to take proper safety precautions while drilling and always choose the right drill bit for the job. Happy gardening!
Preparing the Planter
Before you start drilling drainage holes in your Garden Treasures planter, it is important to properly prepare the planter to ensure a smooth and successful process. Follow these steps to prepare the planter:
- Clean the Planter: Begin by cleaning the planter to remove any dirt, debris, or residue that may be on the surface. Use a mild detergent and water to scrub the planter gently. This will create a clean surface for drilling and prevent any unwanted particles from interfering with the process.
- Inspect the Planter: Take a close look at the planter for any cracks, chips, or weak spots. If you notice any structural issues, it is recommended to replace the planter before adding drainage holes. Cracked or damaged planters may not provide adequate support for your plants, and the drilling process could worsen the damage.
- Choose the Planter Placement: Consider where you intend to place the planter. Ensure the location receives proper sunlight or shade according to the plant’s needs. Also, ensure the area has sufficient space for water runoff once the drainage holes are added.
- Choose a Stable Surface: Place the planter on a stable surface or secure it in a vice grip to prevent it from moving during the drilling process. This will help to maintain accuracy and prevent accidental slips or damages.
By taking the time to properly prepare your Garden Treasures planter, you set the foundation for a successful drilling process. Cleaning the planter ensures a clean surface while inspecting for any damages ensures the planter’s structural integrity. Additionally, considering the placement and stability of the planter ensures a hassle-free drilling experience. Now that the planter is prepared, it’s time to choose the right drill bit for the job.
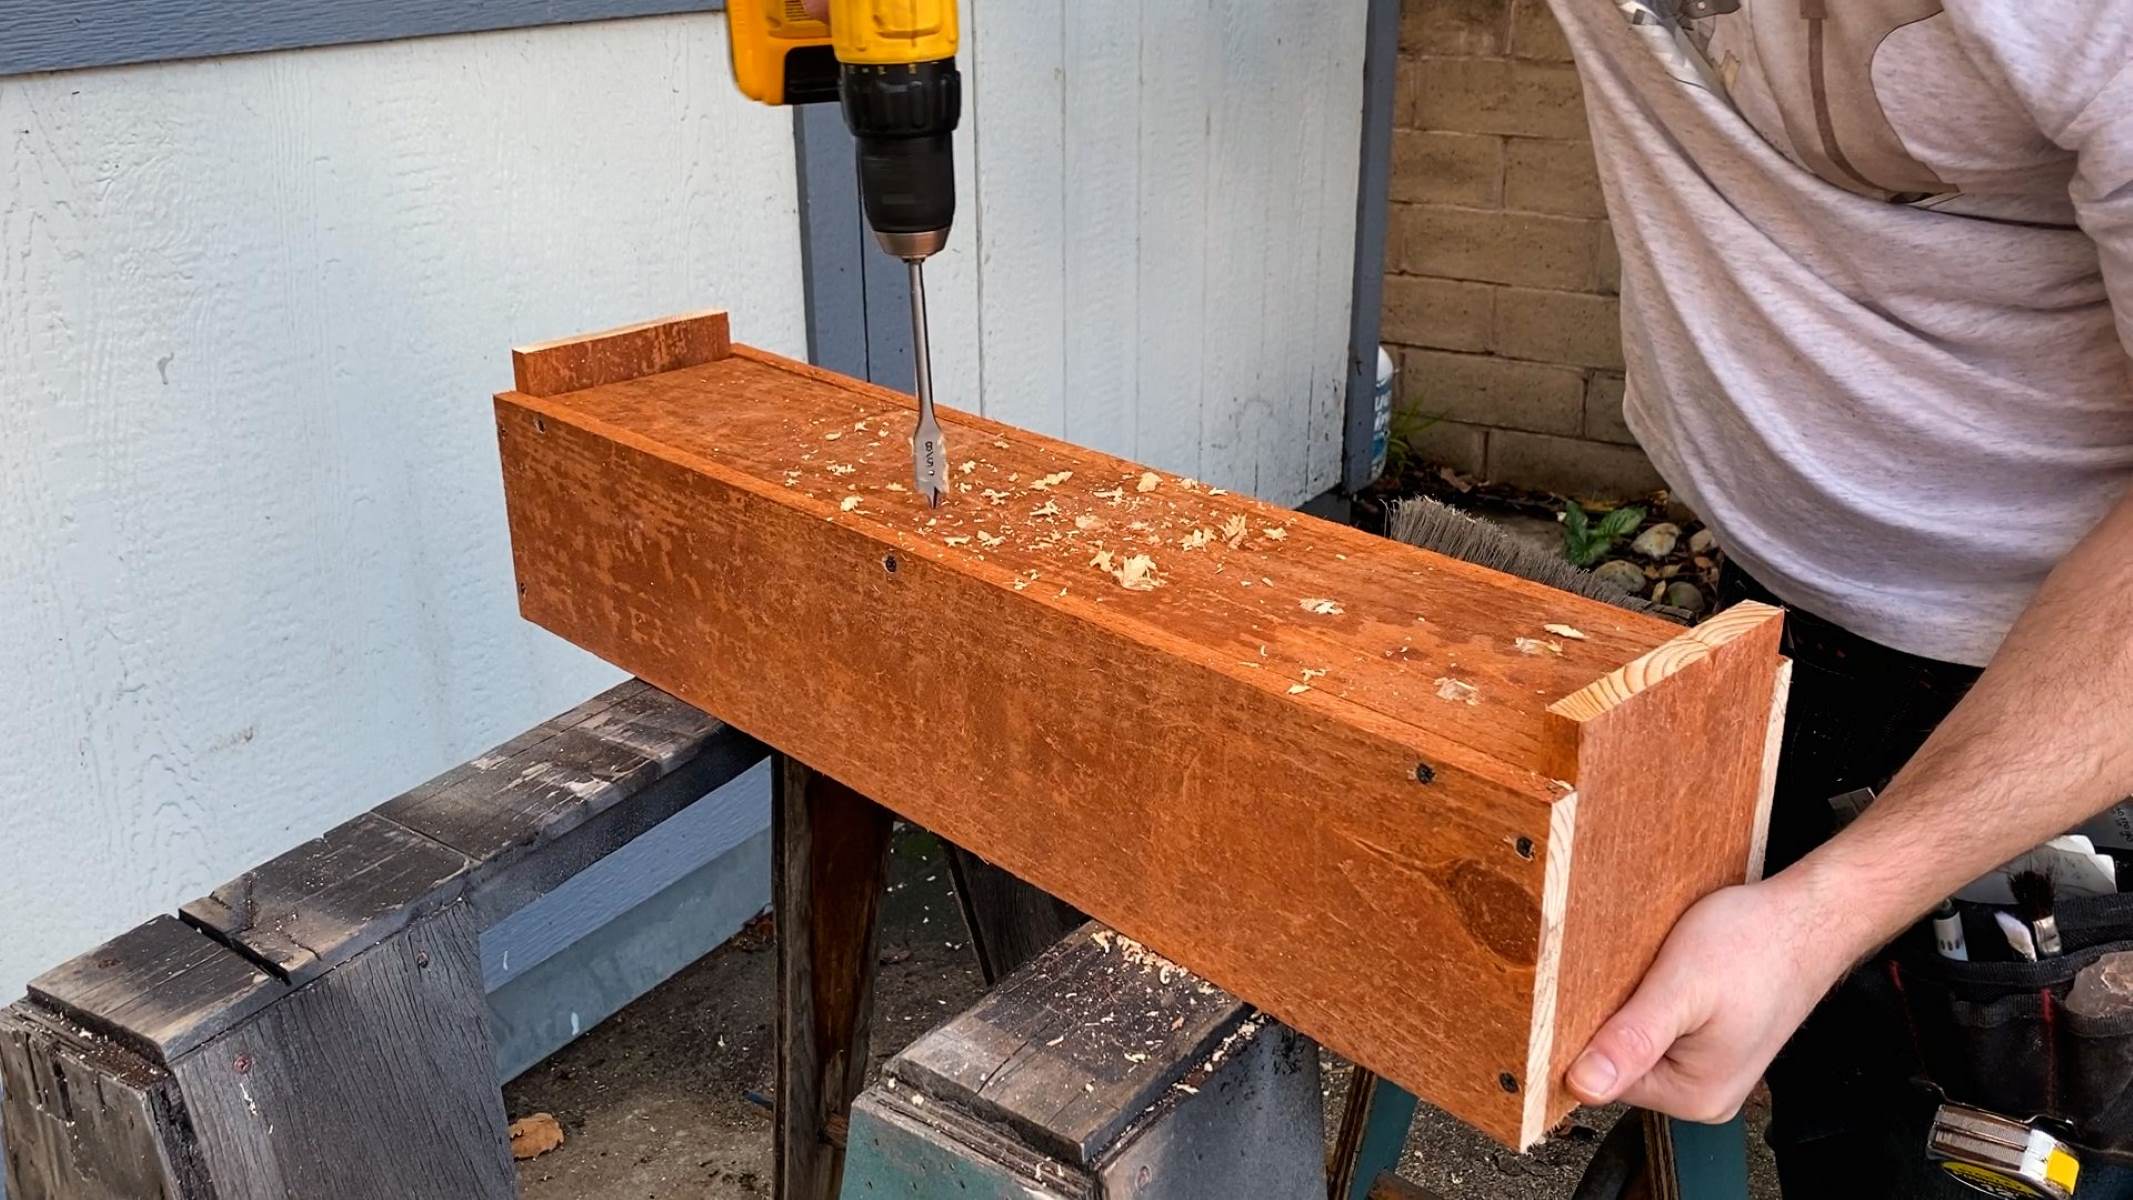
To put drainage holes in Garden Treasures planters, use a drill with a masonry bit to create 4-6 holes in the bottom. This will help prevent waterlogging and promote healthy plant growth.
Read more: How To Use A Planter Without Drainage Holes
Choosing the Right Drill Bit
Choosing the right drill bit is crucial when adding drainage holes to your Garden Treasures planter. The size and material of the drill bit will determine the quality and effectiveness of the holes. Follow these steps to choose the right drill bit:
- Determine the Hole Size: Consider the size of drainage holes you want to create. Typically, a 1/4-inch or 3/8-inch diameter is suitable for most planters. However, if you’re working with larger planters or plants that have specific drainage requirements, you may need to adjust the size accordingly.
- Consider the Planter Material: Take into account the material of your Garden Treasures planter. Common planters are made from materials such as ceramic, plastic, or metal. Each material may require a specific type of drill bit to ensure smooth and precise drilling.
- For Ceramic or Clay Planters: If your planter is made of ceramic or clay, it is recommended to use a masonry drill bit. A masonry drill bit has a carbide or diamond tip designed to drill into hard materials without cracking or damaging them.
- For Plastic or Metal Planters: For plastic or metal planters, a standard twist drill bit made of high-speed steel (HSS) is usually sufficient. HSS drill bits are versatile and can easily penetrate various materials.
- Consider Your Budget: While high-quality drill bits tend to be more expensive, they offer better durability and precision. Assess your budget and invest in a drill bit that will yield long-lasting results for future projects as well.
- Consult with Experts: If you are unsure about which drill bit to use, consult with professionals at your local hardware store or seek advice from experienced gardeners. They can provide guidance based on your specific planter and drilling needs.
By considering the size of the holes, the material of the planter, and your budget, you can choose the right drill bit for adding drainage holes to your Garden Treasures planter. Now that you have selected the appropriate drill bit, it’s time to move on to the next step – drilling the holes.
Drilling the Holes
Now that you have prepared your Garden Treasures planter and chosen the right drill bit, it’s time to drill the drainage holes. Follow these steps to ensure a successful drilling process:
- Secure the Planter: Place the planter on a stable surface or secure it in a vice grip to prevent it from moving during the drilling process. This will provide stability and accuracy while drilling.
- Mark the Hole Locations: Use masking tape to mark the spots where you want to drill the drainage holes. Space the holes evenly around the bottom of the planter, ensuring appropriate spacing based on the size of the planter.
- Put on Safety Gear: Prioritize your safety by wearing safety goggles to protect your eyes from any debris that may fly off while drilling. If you are working with a large planter or concerned about your hands, consider wearing gloves as well.
- Start Drilling: Hold the drill with a firm grip and align the drill bit with the first marked spot on the planter. Start drilling slowly using a low speed setting. Apply steady but gentle pressure to penetrate the planter surface. Ensure that the drill bit remains perpendicular to the planter as you drill.
- Control the Speed: As you continue drilling, gradually increase the speed to achieve a smooth and clean hole. However, avoid excessive force or high speeds, as they may cause the planter to crack or chip.
- Repeat the Process: Continue drilling at each marked spot until all the desired drainage holes have been created. Take breaks as needed to prevent the drill bit from overheating.
- Clean Up: Once you have drilled all the holes, remove the masking tape from the planter. Use a soft cloth or brush to wipe away any debris or dust that may have accumulated during the drilling process.
Remember to take your time and proceed with caution while drilling the drainage holes. Ensuring the planter is secured, marking the hole locations, wearing safety gear, and drilling at a controlled speed will help prevent any accidents or damage. With the holes drilled, it’s time to move on to the next step – cleaning up the planter.
Cleaning Up the Planter
After drilling the drainage holes in your Garden Treasures planter, it’s important to clean up any debris or dust that may have accumulated during the drilling process. Proper cleaning ensures that your planter is ready for planting and helps maintain a clean and attractive appearance. Follow these steps to clean up your planter:
- Remove the Masking Tape: Start by gently peeling off the masking tape that was used to mark the hole locations. Take care not to damage the surface of the planter while doing this.
- Brush or Wipe Away Debris: Use a soft brush, such as a paintbrush or a clean cloth, to sweep away any leftover debris or dust from the drilling process. Pay attention to the inside and outside of the planter as well as the rim. Ensure that no loose particles remain that could interfere with planting or watering.
- Inspect the Planter: Take a close look at the planter to ensure that there are no stray chips or cracks caused by the drilling process. If you notice any damage, assess whether it requires repair or replacement before proceeding with planting.
- Rinse or Wipe the Planter: If needed, rinse the planter with water and gently scrub the surface to remove any remaining dirt or residue. Alternatively, you can wipe down the planter with a damp cloth to achieve a clean finish. Allow the planter to dry completely before proceeding with planting.
- Dispose of Debris Properly: Dispose of the debris generated from the drilling process responsibly. This may include small pieces of plastic, clay, or dust. Collect the debris in a trash bag or bin, ensuring that it is properly sealed to prevent any mess or environmental impact.
Once you have completed the cleaning process, your Garden Treasures planter will be ready for planting. With the debris removed and the planter cleaned up, you can move on to the exciting step of testing the drainage to ensure optimal plant growth.
Testing the Drainage
After adding drainage holes to your Garden Treasures planter, it’s crucial to test the drainage to ensure that water can flow freely through the holes. This step is important for preventing waterlogging and ensuring the health of your plants. Follow these steps to test the drainage:
- Fill the Planter with Water: Start by filling the planter with water until it is about three-quarters full. This will simulate regular watering and allow you to observe how quickly the water drains out.
- Observe the Drainage: Pay close attention to how quickly the water drains through the newly drilled holes. Ideally, the water should flow freely and steadily out of the planter. If the water drains too slowly or if there is no drainage at all, it may indicate that the holes need to be enlarged or additional holes need to be drilled.
- Adjust the Drainage: If you notice poor drainage, you can adjust it by enlarging the existing holes with an appropriate drill bit. Alternatively, you can drill additional holes in strategic areas to improve water flow. Ensure that the drainage holes are evenly spaced and cover the entire bottom surface of the planter.
- Empty the Excess Water: Once you have assessed the drainage, empty the excess water from the planter. This can be done by tilting the planter slightly or using a siphon or drain tube to remove the water. It’s important not to leave water sitting in the planter, as it can lead to waterlogged soil and root rot.
- Monitor Plant Growth: After testing the drainage, observe the growth of your plants over time. Proper drainage will provide a healthier environment for the roots, promoting vigorous growth and preventing water-related issues. Adjust the watering frequency based on the moisture needs of your specific plants.
By testing the drainage of your Garden Treasures planter, you can ensure that your plants have the ideal growing conditions. Observing the water flow and making necessary adjustments will help create an environment where plants can thrive. With the drainage tested, you’re now ready to start planting and enjoying the fruits of your labor!
Conclusion
Adding drainage holes to your Garden Treasures planters is a simple but essential step in creating a healthy growing environment for your plants. By following the step-by-step guide provided in this article, you can ensure that your plants thrive and avoid common issues such as waterlogged soil and root rot.
The benefits of proper drainage cannot be overstated. Drainage holes prevent waterlogging, soil compaction, and salt buildup while improving oxygen circulation and controlling moisture levels. These factors are crucial for the overall health and growth of your plants.
Before drilling, it is important to prepare the planter by cleaning it and inspecting for any damages. Choose the right drill bit based on the desired hole size and material of the planter. Take safety precautions, secure the planter, and mark the hole locations before drilling.
Cleaning up the planter after drilling ensures a neat and tidy appearance. Testing the drainage helps identify any issues and allows you to make necessary adjustments to enhance water flow. With the drainage holes in place, you can plant your desired plants and enjoy watching them flourish.
Remember to monitor your plants’ growth and adjust watering accordingly. Regular maintenance, including keeping an eye on the drainage holes and cleaning them as needed, will help ensure your plants stay healthy and vibrant.
Now that you possess the knowledge and steps to put drainage holes in your Garden Treasures planters, it’s time to get started. Add those drainage holes, create the optimal growing conditions, and watch as your plants thrive and beautify your garden.
Frequently Asked Questions about How To Put Drainage Holes In The Garden Treasures Planters
Was this page helpful?
At Storables.com, we guarantee accurate and reliable information. Our content, validated by Expert Board Contributors, is crafted following stringent Editorial Policies. We're committed to providing you with well-researched, expert-backed insights for all your informational needs.
0 thoughts on “How To Put Drainage Holes In The Garden Treasures Planters”