Home>Home Maintenance>How To Plant In Pots With Drainage Holes
Home Maintenance
How To Plant In Pots With Drainage Holes
Modified: March 7, 2024
Learn how to effectively plant in pots with drainage holes for optimal home maintenance. Enhance your gardening skills and promote healthy plant growth.
(Many of the links in this article redirect to a specific reviewed product. Your purchase of these products through affiliate links helps to generate commission for Storables.com, at no extra cost. Learn more)
Introduction
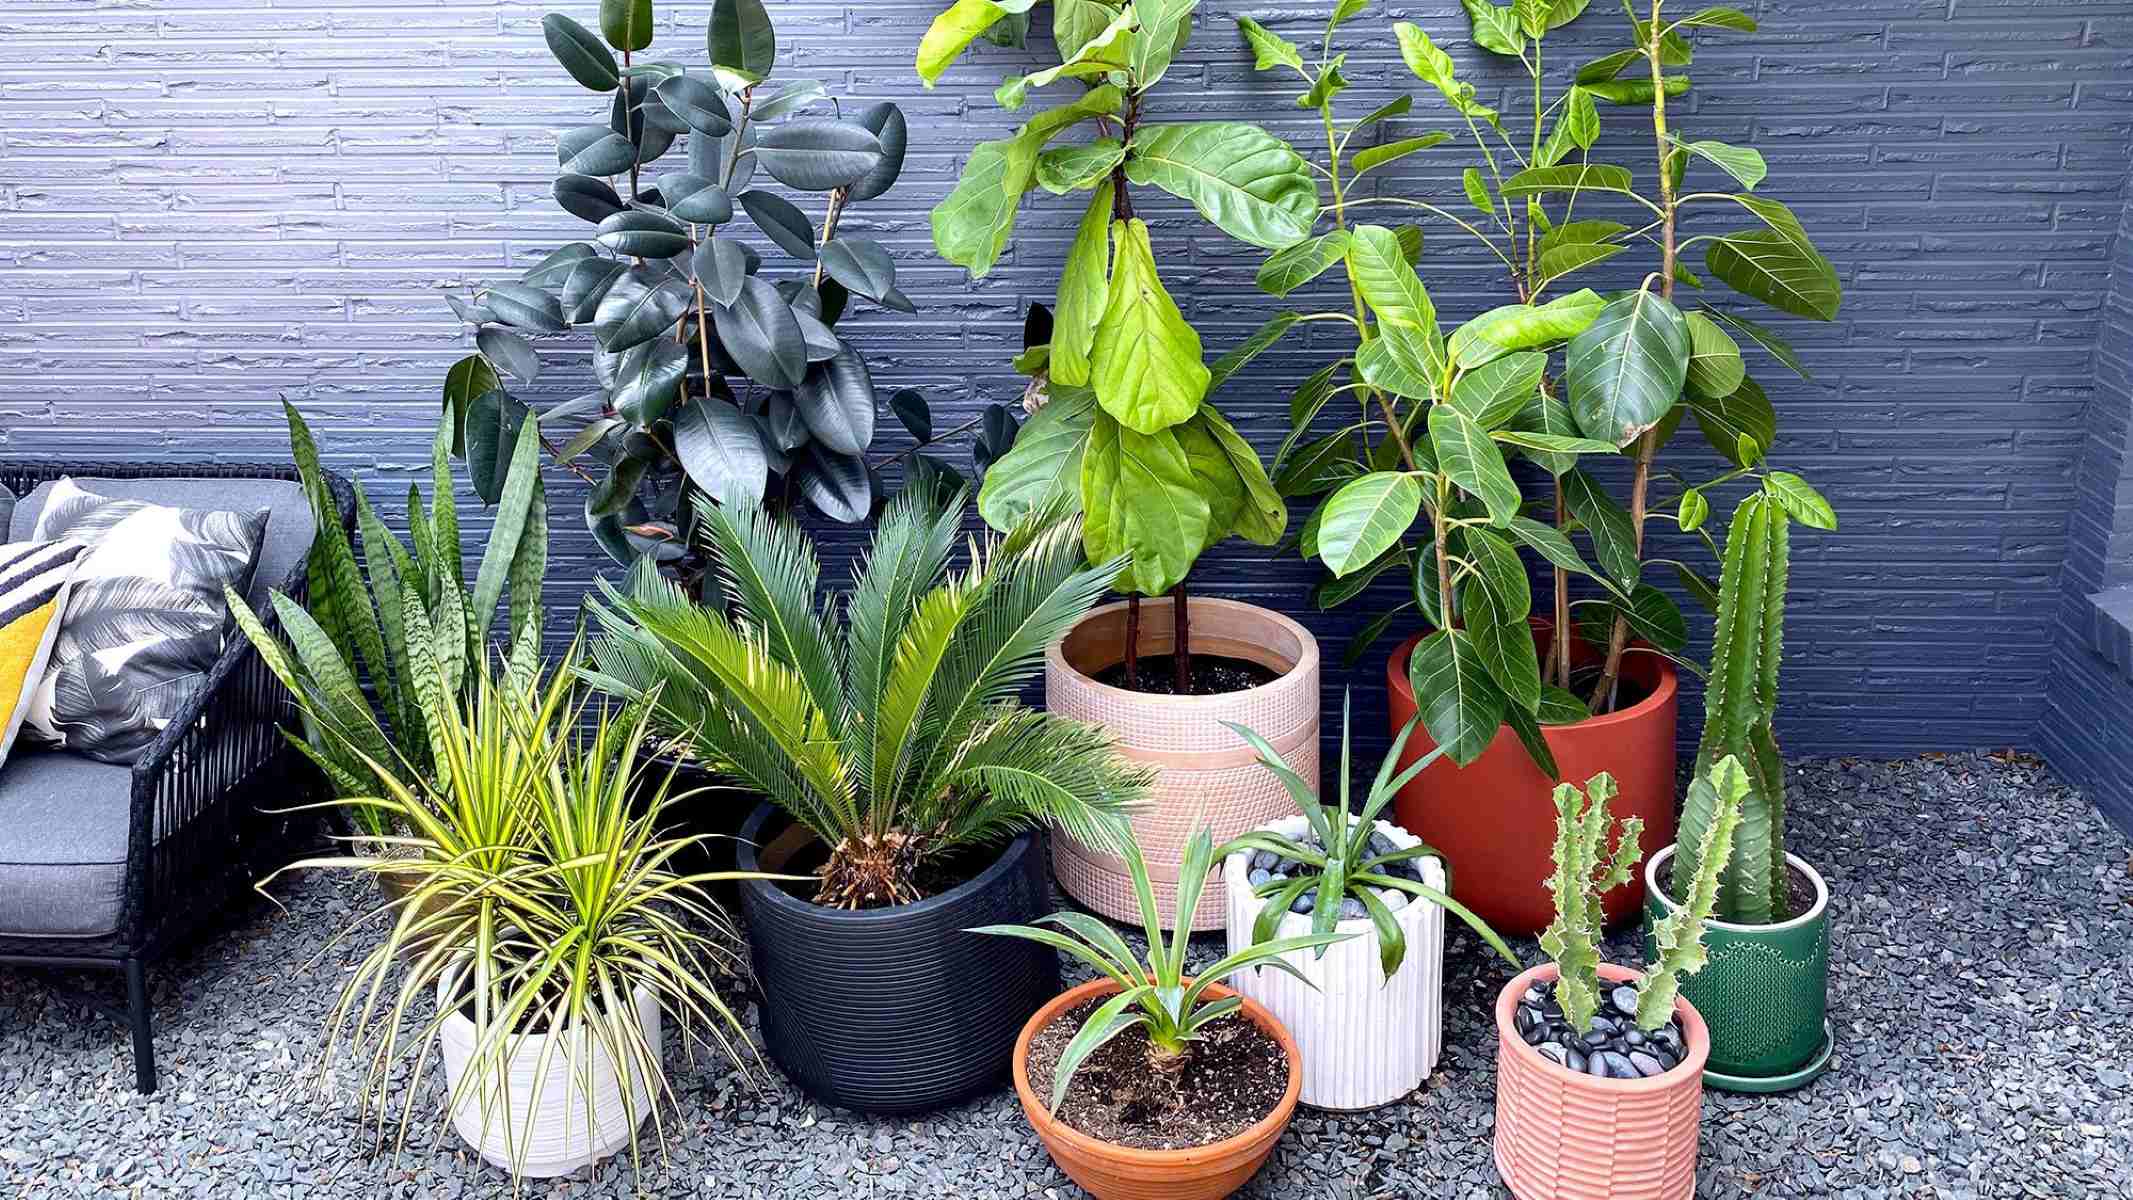
Welcome to our comprehensive guide on how to plant in pots with drainage holes. Whether you’re an avid gardener or a beginner looking to add some greenery to your home, using pots with drainage holes is a crucial aspect of successful container gardening. In this article, we will discuss the benefits of using pots with drainage holes, selecting the right potting soil, choosing the proper containers, preparing the pots, and various techniques to ensure the health and longevity of your potted plants.
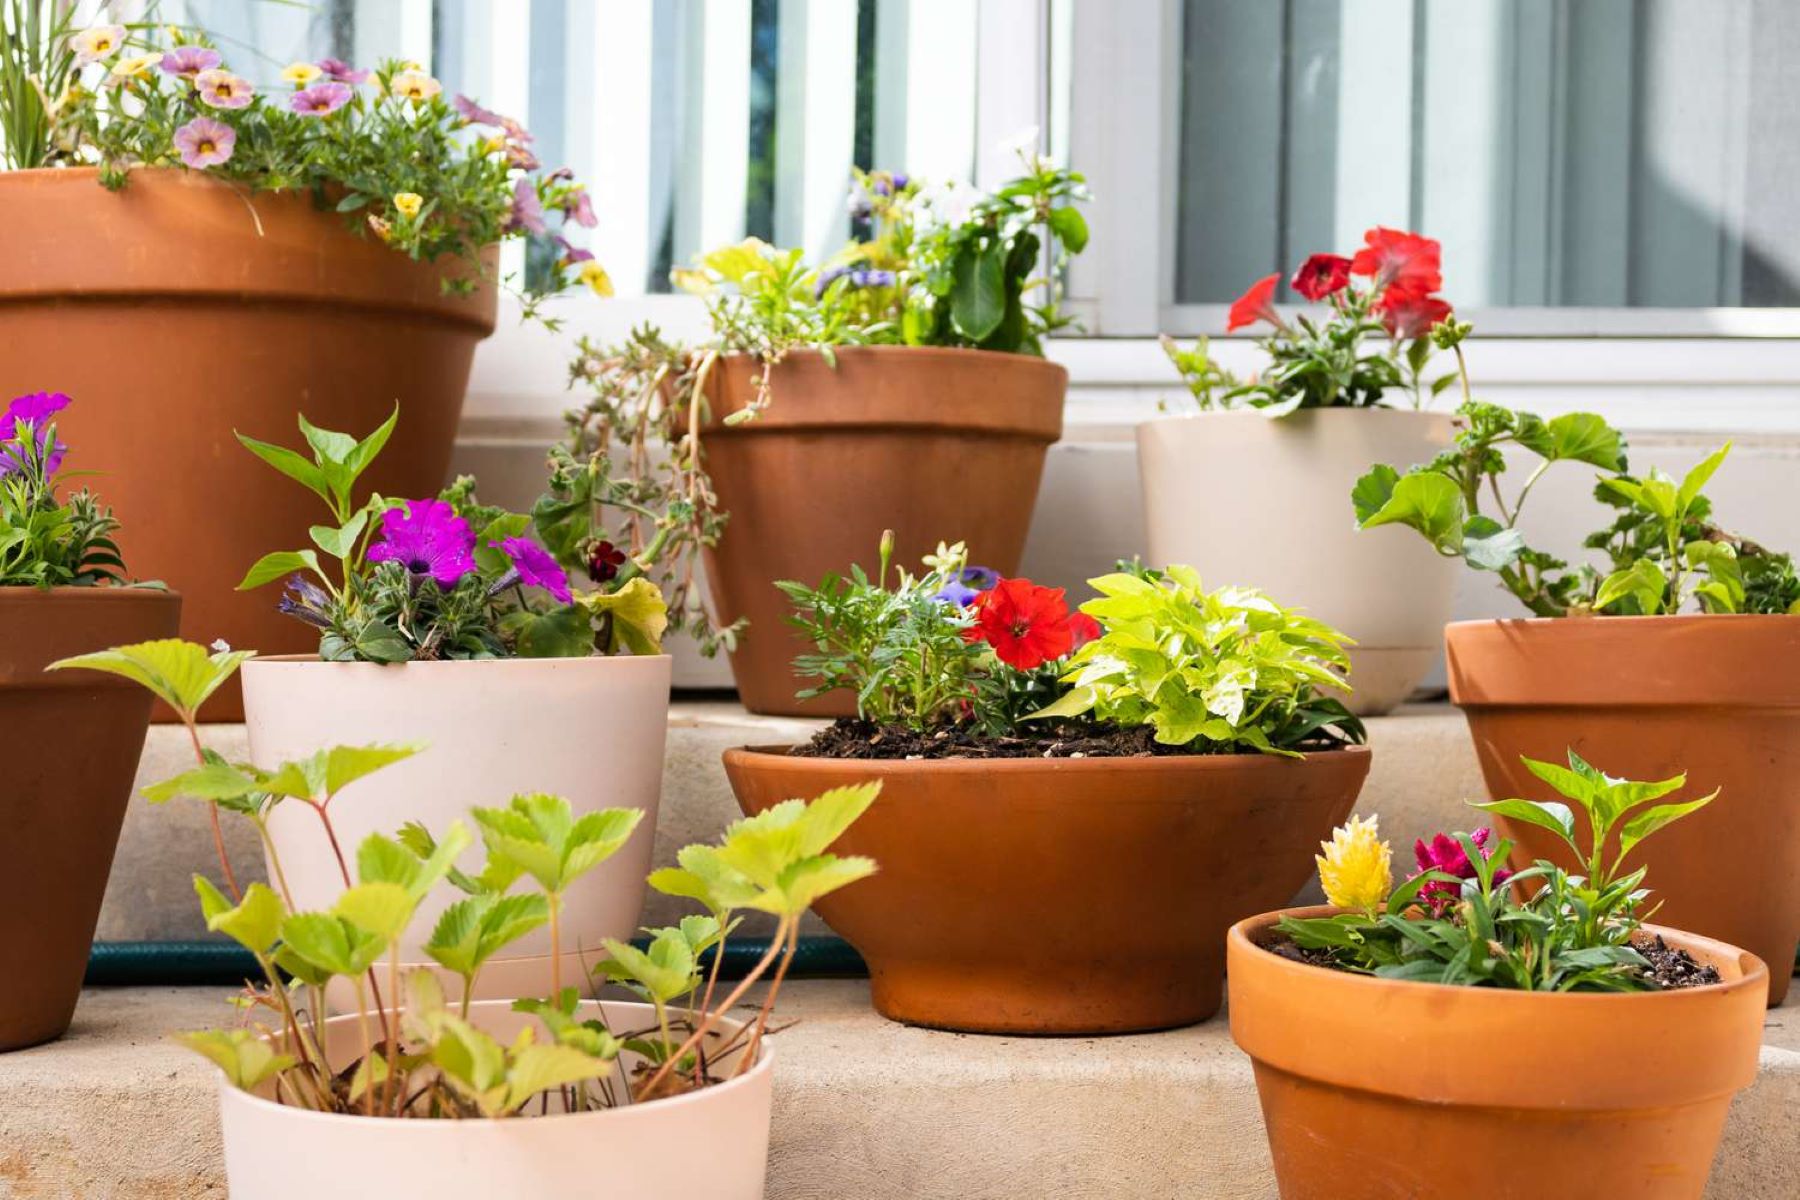
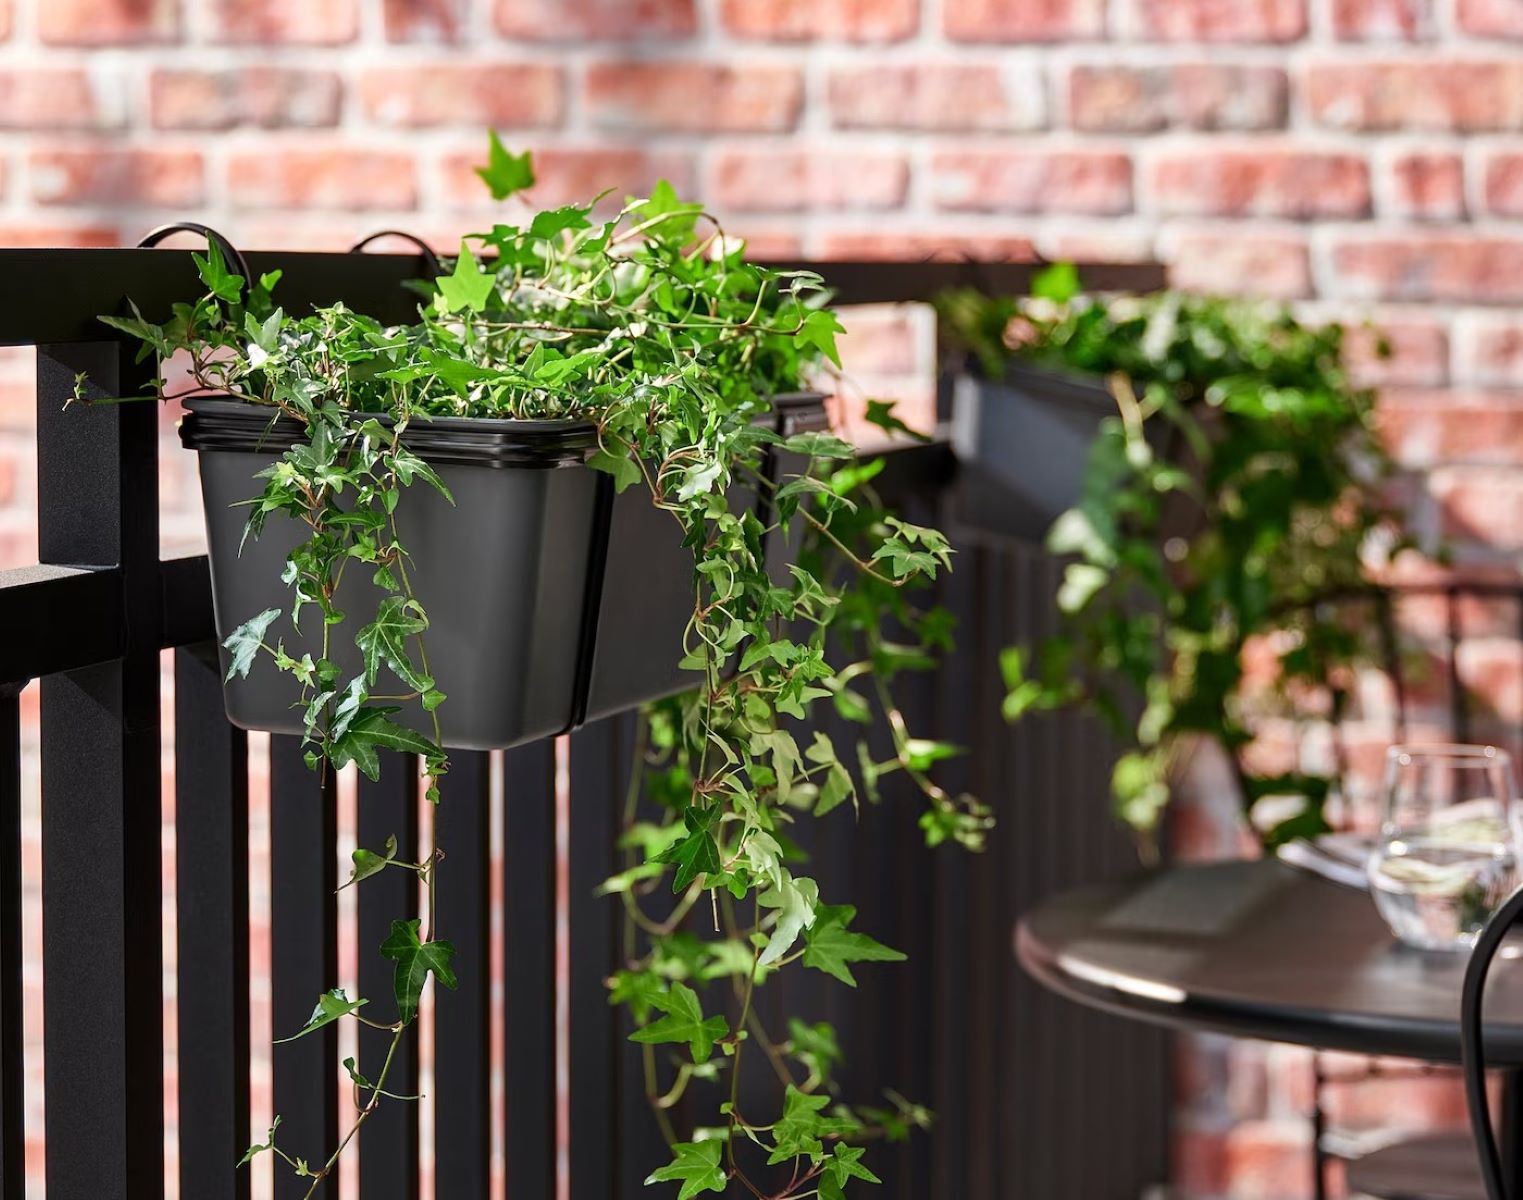
Container gardening has become increasingly popular due to its versatility and convenience. With limited space or lack of a traditional garden, pots provide an excellent solution for bringing nature indoors or adding a touch of green to balconies, patios, or small outdoor spaces.
Using pots with drainage holes is essential because it allows excess water to escape, preventing waterlogging and ensuring proper oxygenation of the roots. Without proper drainage, the roots can become waterlogged, leading to rot, disease, and ultimately plant death.
In this guide, we will walk you through the step-by-step process of planting in pots with drainage holes, from selecting the right containers and potting soil to proper watering techniques and plant maintenance. By following the tips and techniques outlined in this article, you’ll be equipped with the knowledge and confidence to create thriving, beautiful potted gardens.
So, let’s dive in and learn how to create an ideal environment for your plants by planting in pots with drainage holes!
Key Takeaways:
- Using pots with drainage holes is crucial for healthy potted plants. It prevents waterlogging, improves soil aeration, and reduces the risk of root rot, promoting thriving and beautiful gardens.
- Selecting the right potting soil, containers, and proper watering techniques are essential for successful container gardening. Monitoring and maintaining potted plants regularly ensures their health and vitality.
Benefits of Using Pots with Drainage Holes
Using pots with drainage holes offers several key benefits for successful container gardening. These benefits ensure the overall health and longevity of your potted plants. Let’s explore the advantages of using pots with drainage holes:
- Prevents Waterlogging: The primary advantage of using pots with drainage holes is that they prevent waterlogging. When excess water cannot escape from the pot, it accumulates at the bottom, leading to poor root oxygenation, root rot, and plant diseases. Drainage holes allow excess water to drain out, ensuring a healthy root system.
- Improves Soil Aeration: Proper soil aeration is crucial for healthy plant growth. Drainage holes allow air to circulate through the soil, preventing the roots from becoming compacted and suffocated. Good soil aeration helps roots absorb nutrients and promotes overall plant vitality.
- Prevents Overwatering: Overwatering is a common mistake made by many gardeners. With pots that lack drainage holes, it’s easy to unintentionally overwater, as excess water has nowhere to escape. Using pots with drainage holes helps you avoid overwatering, as the excess water drains out, allowing the soil to maintain a balanced moisture level.
- Reduces Risk of Root Rot: Root rot is a fungal disease that occurs when the roots remain constantly wet. It can quickly spread and lead to plant decay. By using pots with drainage holes, you minimize the risk of root rot, as the excess water is flushed out, leaving the roots in a well-drained environment.
- Promotes Nutrient Uptake: Proper drainage helps facilitate nutrient uptake by the roots. When water is allowed to move freely through the soil, it carries essential nutrients along with it, making them readily available to the plant roots. This promotes healthy growth and ensures your plants receive the necessary nutrients for optimal development.
Overall, using pots with drainage holes is essential for maintaining a healthy and thriving potted garden. The benefits of proper drainage include preventing waterlogging, improving soil aeration, reducing the risk of overwatering and root rot, and promoting nutrient uptake. Now that you understand the importance of using pots with drainage holes, let’s move on to the next step in successful container gardening: selecting the right potting soil.
Choosing the Right Potting Soil
Choosing the right potting soil is crucial for the success of your potted plants. The right soil provides the necessary nutrients, moisture retention, and drainage capacity for healthy root development. When selecting potting soil, consider the following factors:
- Moisture Retention: A good potting soil should have adequate moisture retention capacity, allowing it to hold water without becoming waterlogged. Look for soil mixes that contain materials like coconut coir or peat moss, which help retain moisture while also providing good drainage.
- Drainage Capacity: While moisture retention is important, the soil should also have good drainage to prevent waterlogging. Look for potting soil brands that include materials like perlite or vermiculite, which enhance drainage and prevent the soil from becoming too compacted.
- Nutrient Content: Potting soil should provide essential nutrients for plant growth. Look for soil mixes that contain organic matter, such as compost or well-rotted manure, as they enrich the soil with nutrients and promote healthy root development.
- pH Balance: Different plants thrive in different pH levels. Some prefer acidic soil, while others prefer alkaline. Consider the specific requirements of your plants and choose a potting soil that aligns with their pH needs. Most potting soils are pH balanced, but it’s always a good idea to double-check.
- Sterility: It’s important to use sterile potting soil to prevent the introduction of pests, diseases, or weed seeds into your pots. Look for potting soil that is labeled as sterile or pasteurized to ensure a clean and healthy growing environment for your plants.
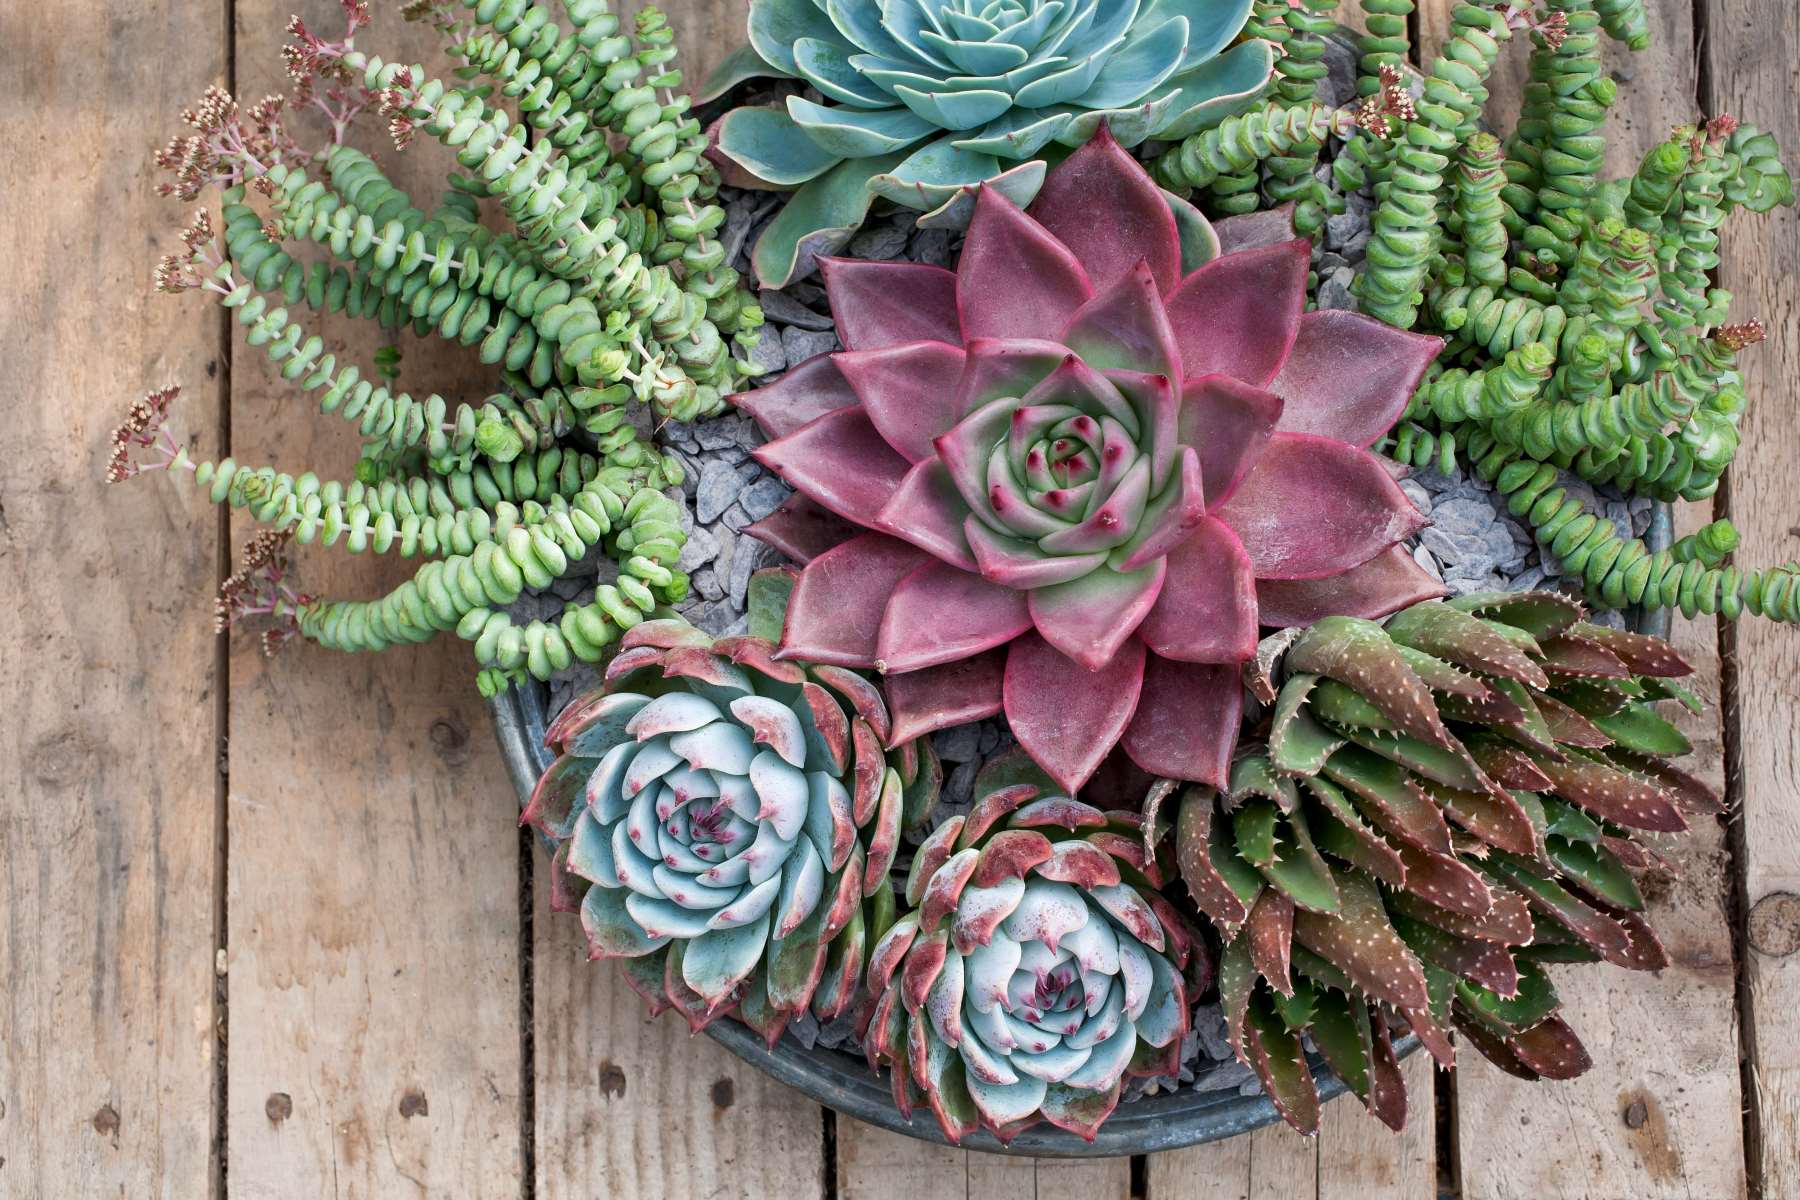
- Specialized Mixes: Certain plants, such as succulents or orchids, have specific soil requirements. Consider using specialized mixes designed for these types of plants to provide the ideal growing conditions they need.
When selecting potting soil, you can choose between pre-packaged options or create your own DIY mix. Pre-packaged potting soils are convenient and provide a good balance of nutrients and drainage. However, if you prefer to customize your mix, you can create a blend using equal parts garden soil, compost, and perlite or vermiculite for improved drainage and moisture retention.
Remember to choose a potting soil that suits the specific needs of your plants. Consider factors such as moisture retention, drainage capacity, nutrient content, pH balance, sterility, and any specialized requirements for certain plant types. Providing your plants with the right potting soil sets them up for success from the start.
Now that you’ve selected the right potting soil, the next step is to choose the proper containers for your potted plants. We’ll discuss this in detail in the following section.
Selecting the Proper Containers
When it comes to selecting containers for your potted plants, there are a few key factors to consider. The right container not only provides a suitable growing environment for your plants but also adds aesthetic appeal to your space. Here are some tips for selecting the proper containers:
- Size: Consider the size of your plants and their root systems when choosing the container size. A pot that is too small may restrict root growth, while a pot that is too large can lead to excessive moisture retention. Ideally, choose a pot that allows for proper root development while leaving some room for growth.
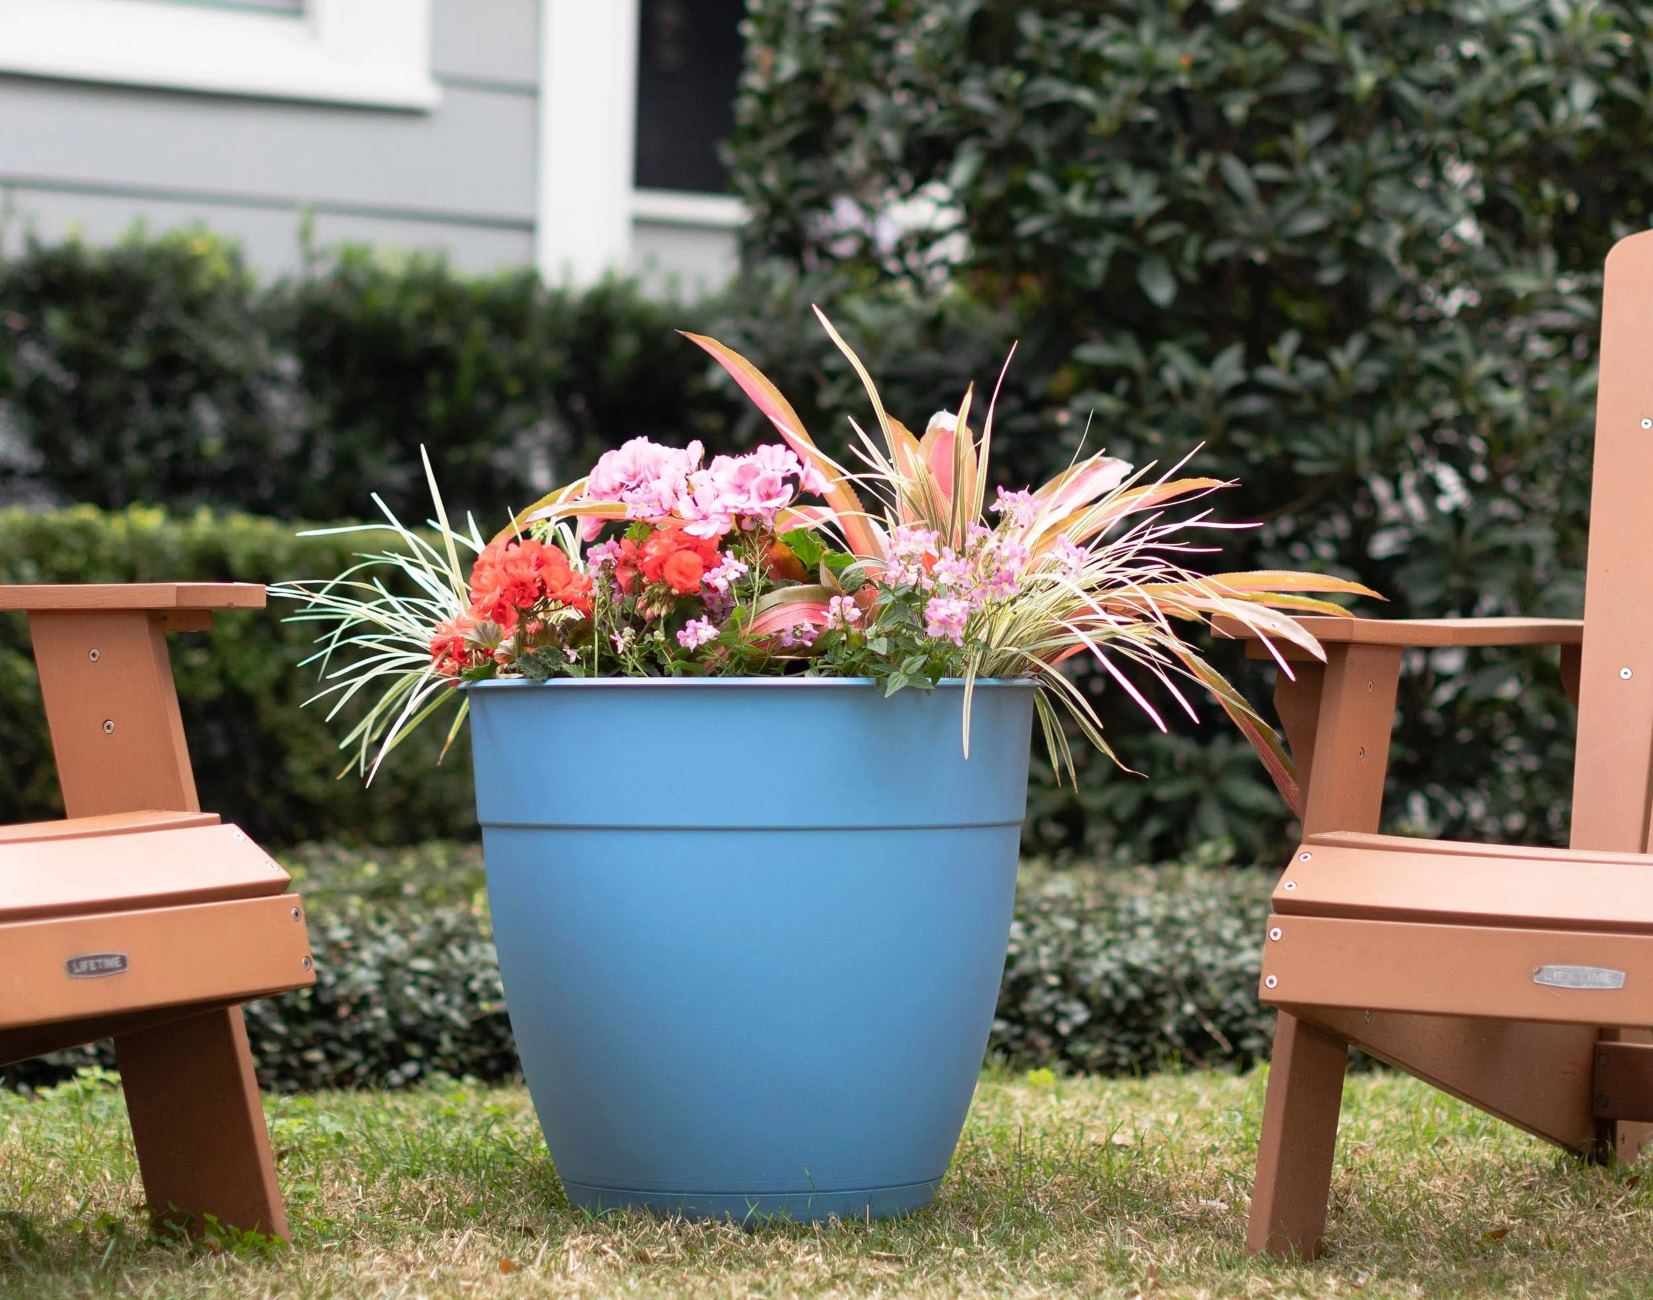
- Material: Containers come in various materials, including clay, ceramic, plastic, and fabric. Each material has its pros and cons. Clay and ceramic pots are porous, allowing for better airflow, but they can also dry out faster. Plastic pots are lightweight and retain moisture well, but they may not offer as much breathability. Fabric pots provide excellent drainage and aeration but may require more frequent watering. Consider the specific needs of your plants to determine the best material for your containers.
- Drainage Holes: As discussed earlier, using pots with drainage holes is crucial for the health of your plants. Ensure that the containers you choose have drainage holes or the ability to create them. If you have fallen in love with a container that doesn’t have drainage holes, you can use a drill to create them yourself.
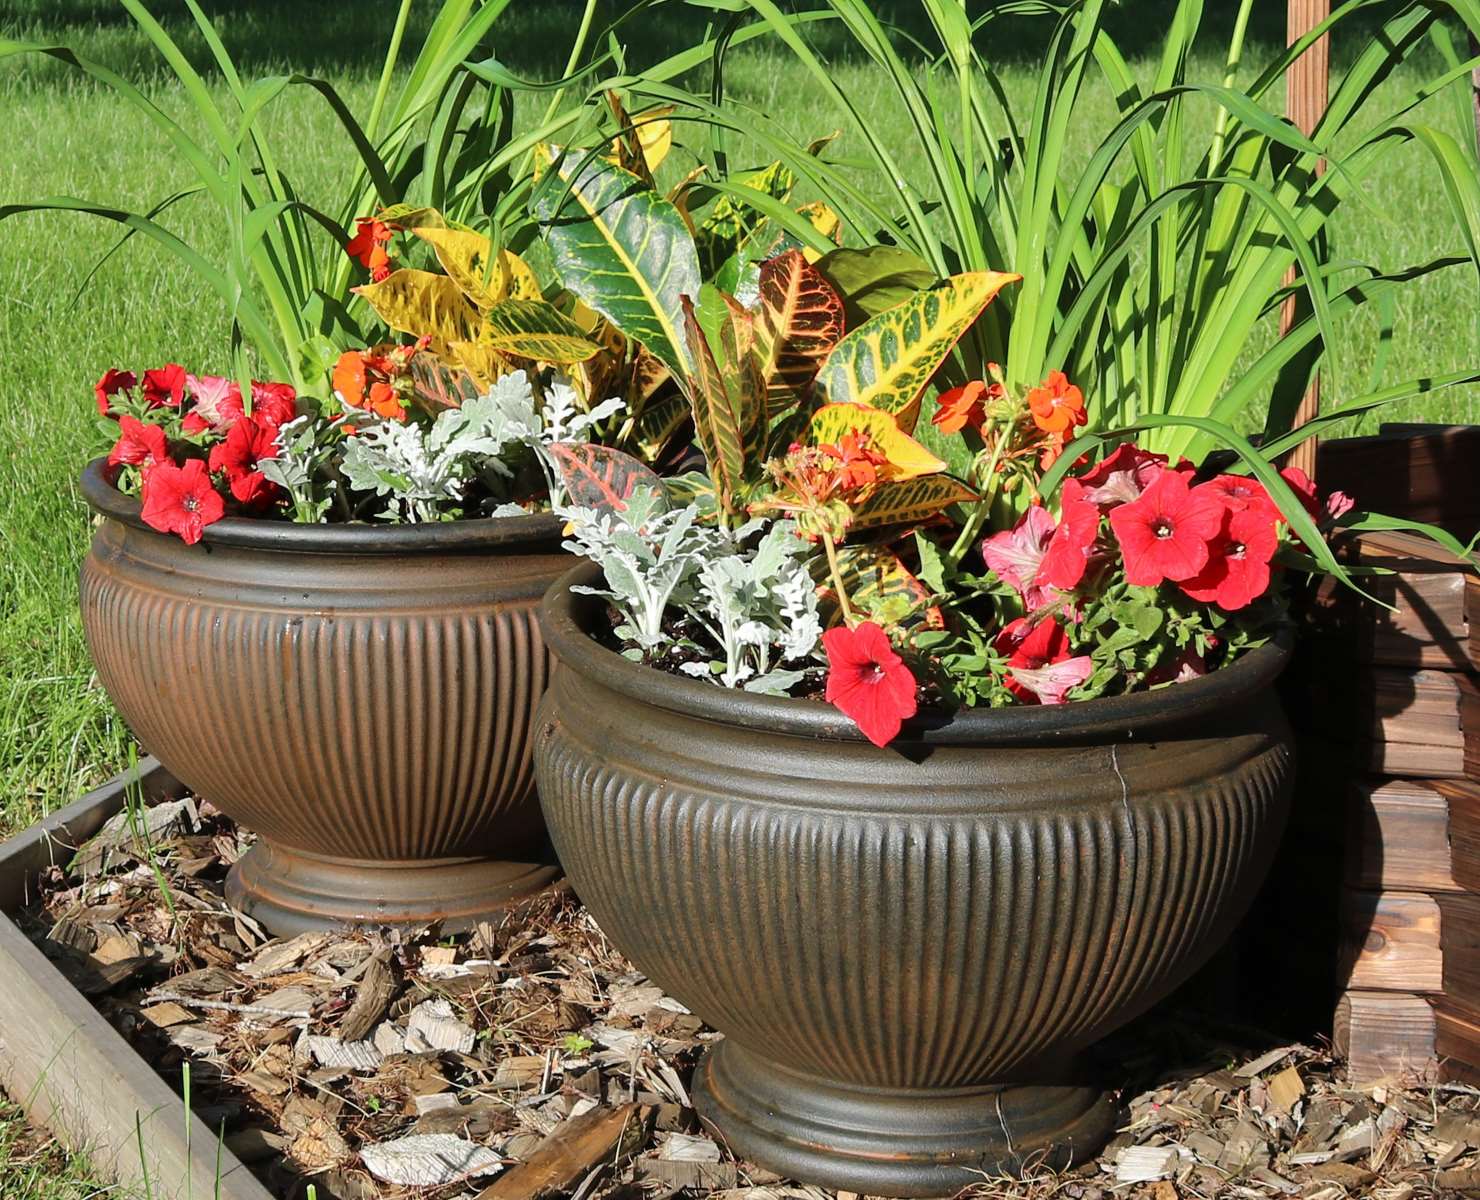
- Visual Appeal: The aesthetic aspect of your containers is important, as they can enhance the overall look of your space. Choose containers that complement your home decor or personal style. Consider the color, shape, and texture of the containers to create a visually appealing arrangement.
- Functionality: Consider practical aspects such as weight, portability, and maintenance when selecting containers. If you plan on moving your pots frequently or have limited strength, opt for lightweight containers. Additionally, choose containers that are easy to clean and maintain to ensure the longevity of your plants.
- Multiple Containers: If you plan on grouping multiple plants together, consider selecting containers of varying heights, sizes, and textures. This will create visual interest and allow each plant to have its own space to grow.
Remember to assess the specific needs of your plants and take into account factors like size, material, drainage holes, visual appeal, functionality, and the use of multiple containers. By selecting the proper containers, you create an environment that promotes healthy plant growth while adding beauty to your living space.
Now that you have chosen the right containers, let’s move on to preparing them for planting in the next section.
Preparing the Pots
Before planting your potted plants, it’s essential to properly prepare the pots to create an optimal environment for healthy root development and plant growth. Here are the steps to follow to prepare your pots:
- Clean the Pots: Start by cleaning the pots to remove any dirt, debris, or remnants from previous plantings. Wash the pots with warm water and mild soap, scrubbing gently if needed. Rinse thoroughly and allow them to dry completely before proceeding.
- Disinfect the Pots: Once the pots are clean and dry, it’s a good idea to disinfect them to eliminate any harmful pests, diseases, or fungus that may be present. You can use a diluted bleach solution (1 part bleach to 9 parts water) or a commercial disinfectant product specifically designed for gardening. Apply the disinfectant to the pots and allow it to sit for a few minutes before rinsing thoroughly.
- Inspect for Damage: It’s important to check each pot for any signs of damage, such as cracks, chips, or broken edges. Damaged pots can hinder root growth and cause soil erosion. If you notice any damaged pots, either repair them if possible or replace them with new ones.
- Provide Insulation: In hotter climates or during extreme temperature fluctuations, it can be beneficial to provide insulation for the pots. This helps regulate soil temperature and prevents heat stress or freezing damage to the roots. You can use materials like bubble wrap, foam sheets, or burlap to insulate the pots. Wrap the pots with the insulating material, leaving the drainage holes uncovered.
- Elevate the Pots: Elevating the pots helps improve drainage and prevents water from pooling underneath, which can lead to root rot. Place the pots on pot feet, bricks, or any other stable structures to ensure proper airflow and drainage.
- Label the Pots: Labeling the pots is a good practice, especially if you are planting multiple plants or different varieties. Use plant markers or write directly on the pots with a waterproof marker to keep track of what you’ve planted.
By properly preparing the pots, you create a clean and healthy environment for your plants. Cleaning and disinfecting the pots remove any potential pests or diseases, and inspecting for damage ensures the pots will support healthy root growth. Providing insulation for extreme temperatures and elevating the pots for proper drainage further optimize the growing conditions. Lastly, labeling the pots helps you keep track of your plants and their specific needs.
Now that the pots are ready, it’s time to add drainage material to ensure proper water flow. Stay tuned for the next section on adding drainage material to your pots!
Adding Drainage Material
Adding drainage material to your pots is an important step in ensuring proper water flow and preventing waterlogging. The drainage material helps create a space for excess water to flow out of the pot, allowing the soil to remain well-drained. Here’s how to add drainage material to your pots:
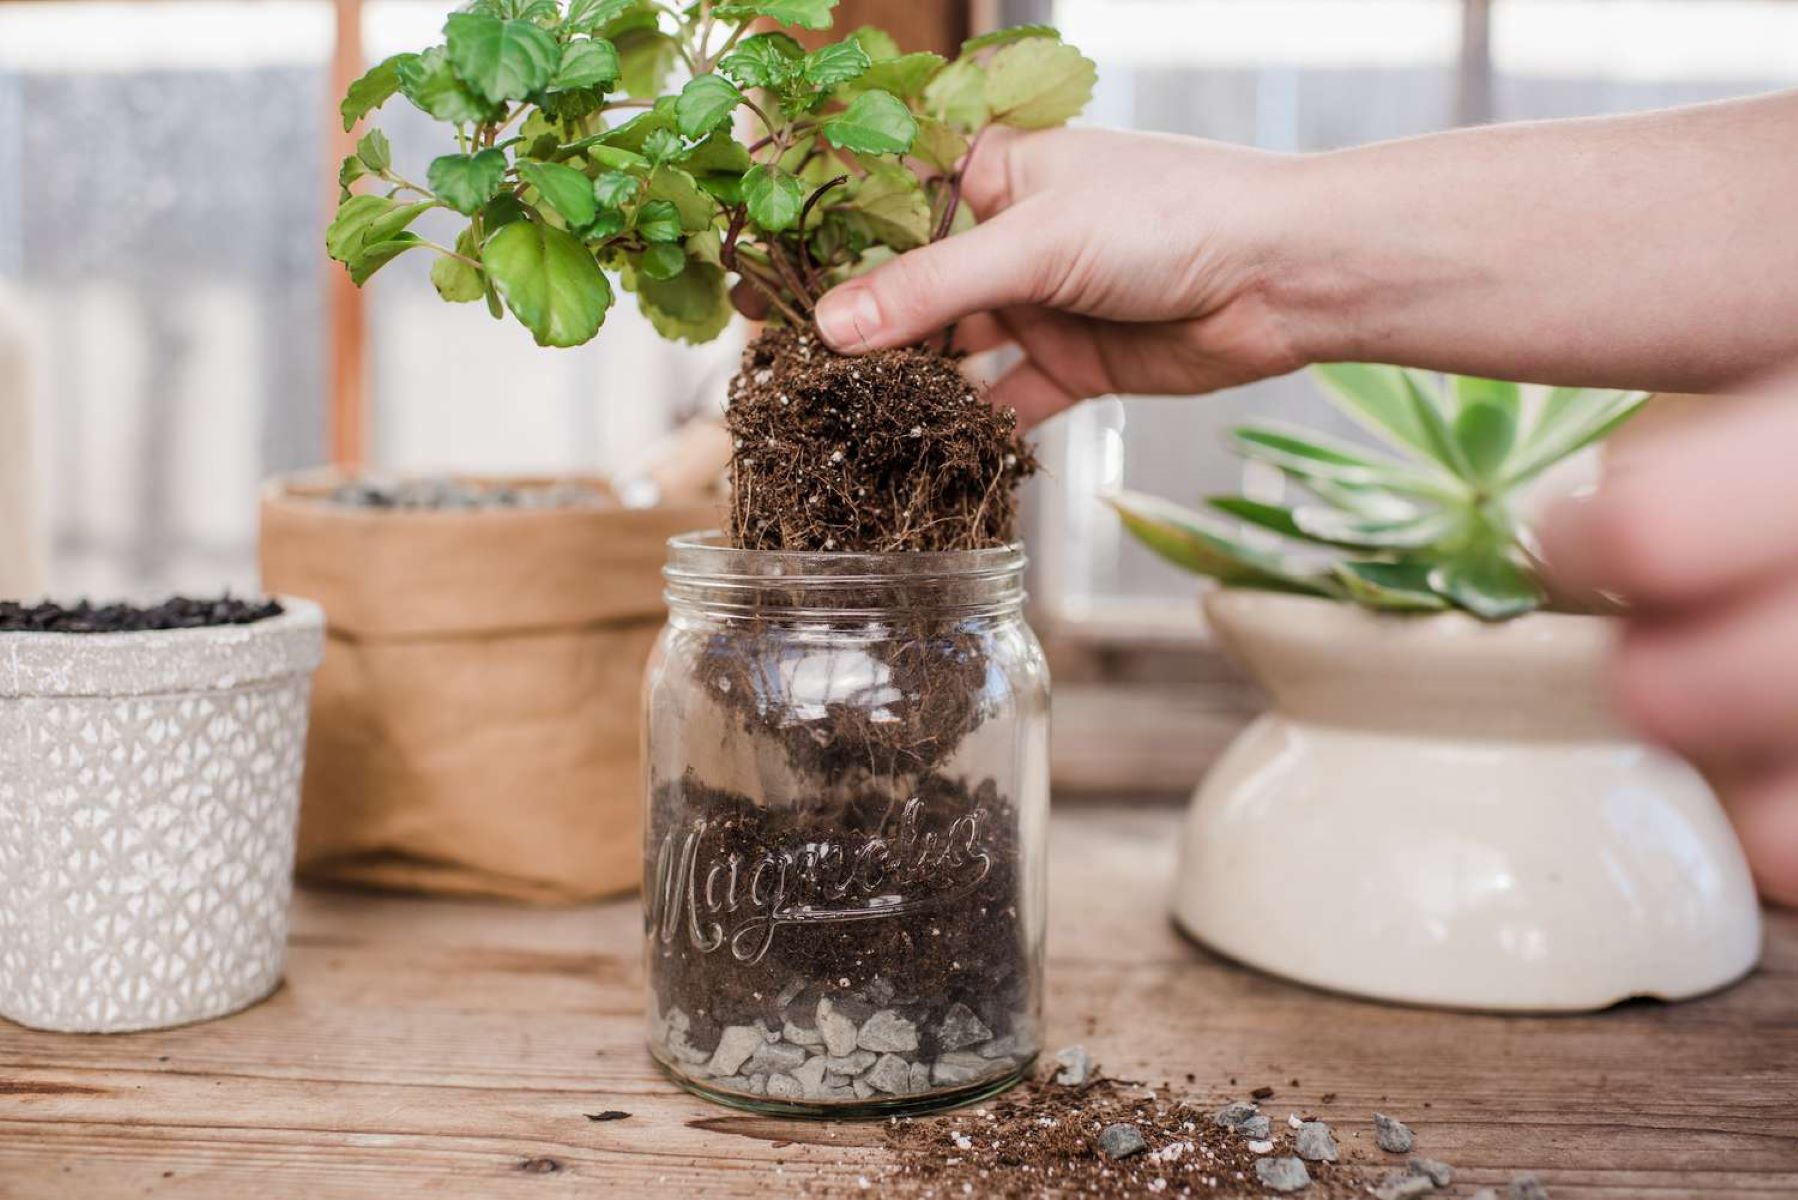
- Cover the Drainage Holes: Start by covering the drainage holes at the bottom of the pot. This prevents the potting soil from escaping while still allowing water to drain out. You can use small pieces of broken pottery, gravel, or even a coffee filter to cover the holes.
- Add a Layer of Drainage Material: Next, add a layer of drainage material on top of the covered drainage holes. This layer helps facilitate water flow and prevents the soil from becoming compacted. Common drainage materials include pebbles, small rocks, or perlite. Make sure the layer is about one to two inches thick, depending on the size of the pot.
- Choose the Right Amount of Material: The amount of drainage material needed depends on the size of the pot. Larger pots may require a thicker layer of drainage material to ensure proper water flow. However, avoid placing too much drainage material, as it can displace the potting soil and impede root growth.
- Arrange the Material Evenly: Once you’ve added the drainage material, use your fingers or a small tool to arrange it evenly at the bottom of the pot. This ensures that water can flow freely throughout the layer, preventing any potential blockages.
By adding drainage material to your pots, you create a pathway for excess water to escape, preventing waterlogging and providing optimal growing conditions for your plants. The covered drainage holes, layer of drainage material, and even distribution of the material all work together to promote proper water flow.
Now that the drainage material is in place, it’s time to fill the pots with the right potting soil. Stay tuned for the next section on filling the pots with soil!
When planting in pots with drainage holes, always use a well-draining potting mix to prevent waterlogged soil. This will help promote healthy root growth and prevent root rot.
Filling the Pot with Soil
Filling the pot with the right type of soil is essential for providing a nourishing and supportive environment for your potted plants. The right soil promotes root growth, nutrient uptake, and overall plant health. Here’s how to fill the pot with soil:
- Choose the Right Potting Soil: As discussed earlier, selecting the appropriate potting soil is crucial. Use a high-quality potting mix specifically formulated for container gardening. Avoid using garden soil, as it may be too dense and lack the proper drainage and nutrient balance required for potted plants.
- Half-Fill the Pot: Begin by filling the pot about halfway full with potting soil. This provides a base for the plant and allows you to adjust its position before adding more soil.
- Position the Plant: Gently remove the plant from its nursery pot, being careful not to damage the roots. Place the plant in the center of the pot, ensuring that it sits at the same depth it was in its original container. Adjust the position as needed to achieve the desired arrangement.
- Fill in Soil Around the Plant: Once the plant is positioned, begin filling in the remaining space around it with potting soil. Use your fingers or a small trowel to carefully distribute the soil, avoiding any excessive pressure on the roots. Fill the pot until the soil level is about an inch below the rim, allowing for proper watering and preventing soil overflow.
- Gently Firm the Soil: After filling the pot with soil, lightly tamp it down to ensure it settles around the roots. Avoid compacting the soil too tightly, as this can hinder water penetration and root growth. The soil should be firm enough to provide support but loose enough to allow for proper aeration and drainage.
- Water the Plant: Once the pot is filled with soil, give the plant a thorough watering. This helps settle the soil further and ensures that it is evenly moistened. Allow any excess water to drain out of the pot to prevent waterlogging.
By filling the pot with the right potting soil and properly positioning the plant, you create a favorable environment for root development and overall plant growth. The gentle firming of soil and adequate watering promote good soil contact around the roots and ensure that they receive the moisture they need.
Now that your pots are filled with soil, you’re ready to start planting. In the next section, we’ll discuss the techniques for planting in pots with drainage holes. Stay tuned!
Planting in Pots with Drainage Holes
Now that your pots are prepared and filled with soil, it’s time to plant your desired greenery. Planting in pots with drainage holes is a straightforward process, but there are a few techniques to ensure successful transplantation. Follow these steps to effectively plant in pots with drainage holes:
- Prepare the Plant: Gently remove the plant from its nursery container, being careful not to disturb the roots too much. If the roots are tightly packed, you can gently loosen them with your fingers to encourage healthy growth.
- Make a Hole: Create a hole in the soil using your fingers or a small trowel. The hole should be deep enough to accommodate the plant’s root ball without crowding or bending the roots.
- Place the Plant: Position the plant in the hole, making sure it is centered and upright. The top of the root ball should sit slightly below the soil surface to allow for proper watering and prevent soil overflow when irrigating.
- Backfill with Soil: Gently backfill the hole with potting soil, making sure to fill in around the roots. Lightly firm the soil around the plant, ensuring there are no air pockets. Avoid compacting the soil too tightly, as this can hinder root development and water penetration.
- Water Thoroughly: Give the newly planted plant a thorough watering immediately after planting. This helps settle the soil, eliminate air pockets, and ensures that the roots have access to moisture from the start. Allow any excess water to drain out of the pot.
- Mulch the Surface: Consider adding a layer of organic mulch, such as shredded bark or wood chips, to the surface of the soil. The mulch helps retain moisture, regulates soil temperature, and suppresses weed growth. Leave a small gap around the plant stem to prevent moisture buildup and potential rot.
By following these steps, you can effectively plant in pots with drainage holes. The proper preparation of the plant, making a hole, placing the plant securely, backfilling with soil, and watering thoroughly all contribute to a successful transplant. Adding a layer of mulch on top helps maintain soil moisture and overall plant health.
In the next section, we’ll discuss essential techniques for watering your potted plants, ensuring they receive the right amount of moisture for healthy growth. Stay tuned!
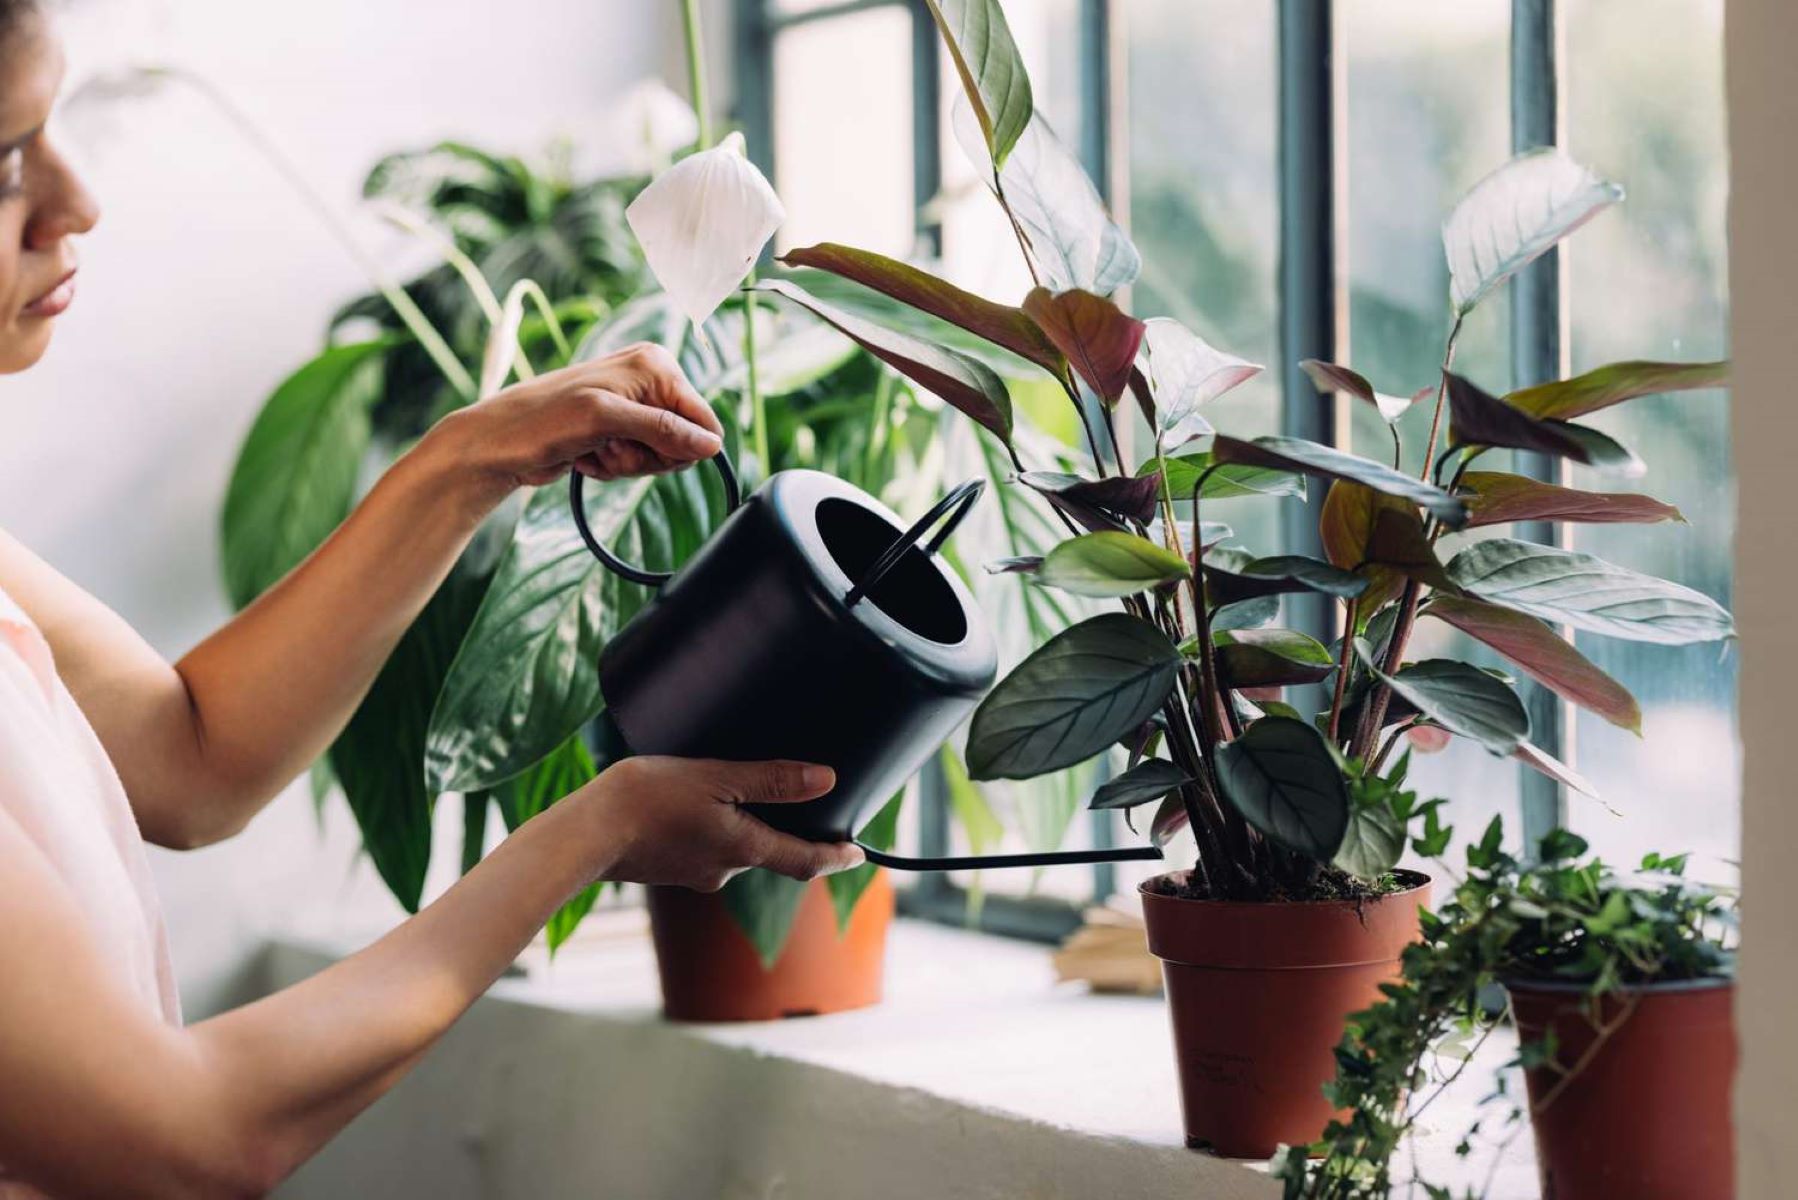
Watering Techniques
Watering your potted plants is a vital aspect of their care, and using the right watering techniques is crucial for their health and overall growth. Proper watering ensures that your plants receive the right amount of moisture without becoming waterlogged or suffering from drought. Here are some essential watering techniques for potted plants:
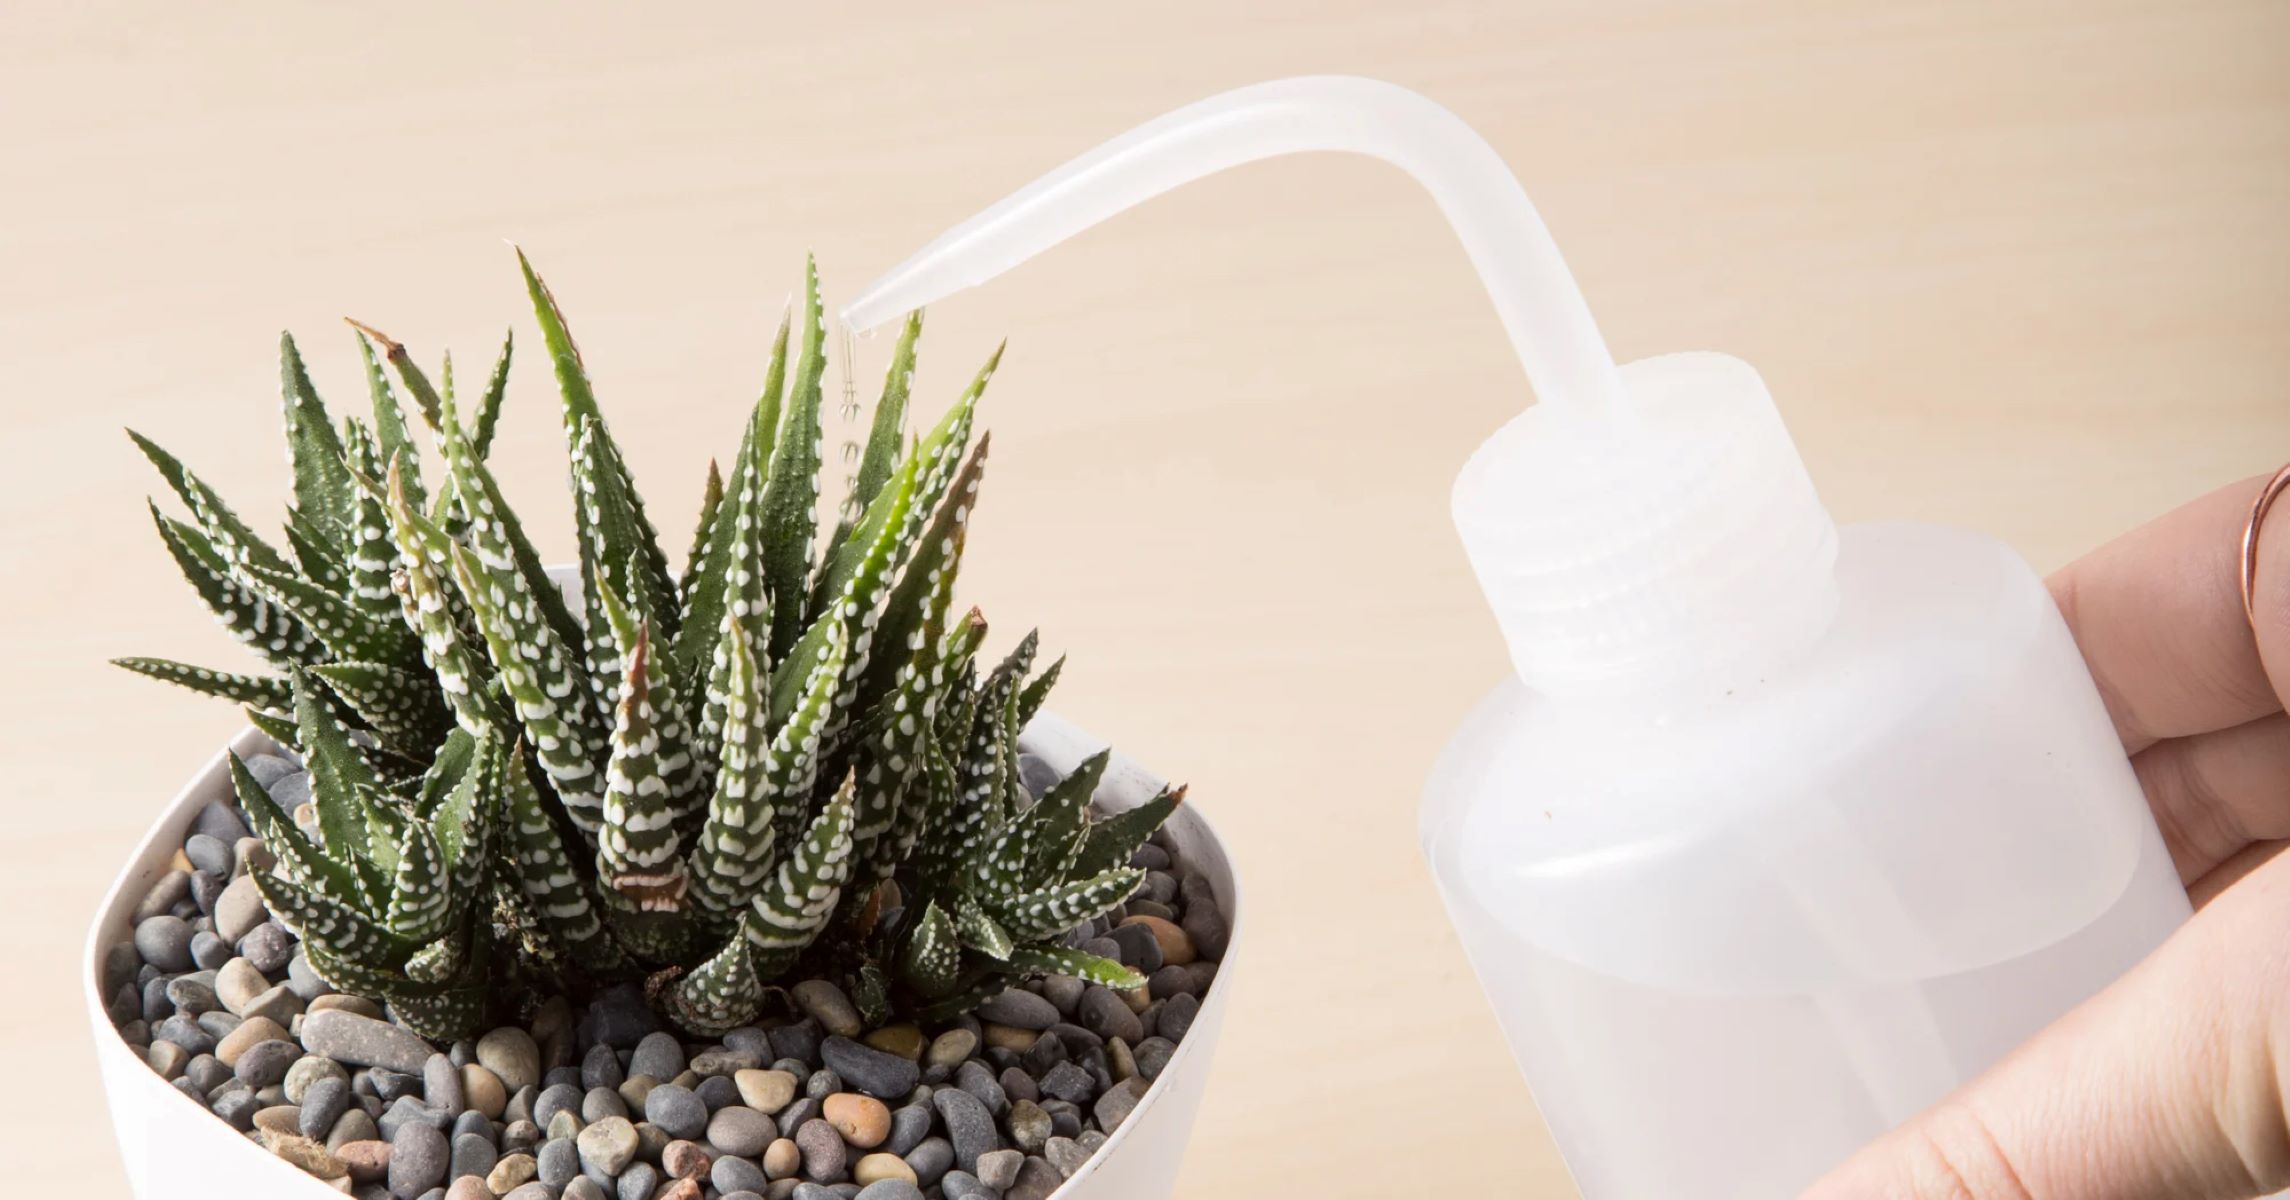
- Check the Moisture Level: Before watering, it’s important to check the moisture level of the soil. Insert your finger about an inch into the soil to assess its dryness. If the soil feels moist, wait a bit longer before watering. If it feels dry, it’s time to water the plant.
- Water Thoroughly: When watering your plants, it’s important to provide a thorough soaking. Water the plants until you see water flowing out from the drainage holes. This ensures that the entire root ball is soaked and ensures proper hydration.
- Water from the Base: To avoid wetting the leaves unnecessarily, it’s best to water the plants at the base. Direct the water at the soil level, aiming to keep the foliage as dry as possible. This helps prevent the onset of diseases caused by excessive moisture on the leaves.
- Be Consistent: Consistency is key when it comes to watering. Establish a regular watering schedule and stick to it, taking into consideration the specific needs of your plants. Factors like plant type, pot size, and environmental conditions (such as temperature and humidity) will influence how often you need to water.
- Don’t Overwater: Overwatering can be just as detrimental as underwatering. Avoid the temptation to water too frequently or in excessive amounts. Water only when the soil is dry and needs moisture. Overwatering can lead to root rot, fungal diseases, and the demise of your plants.
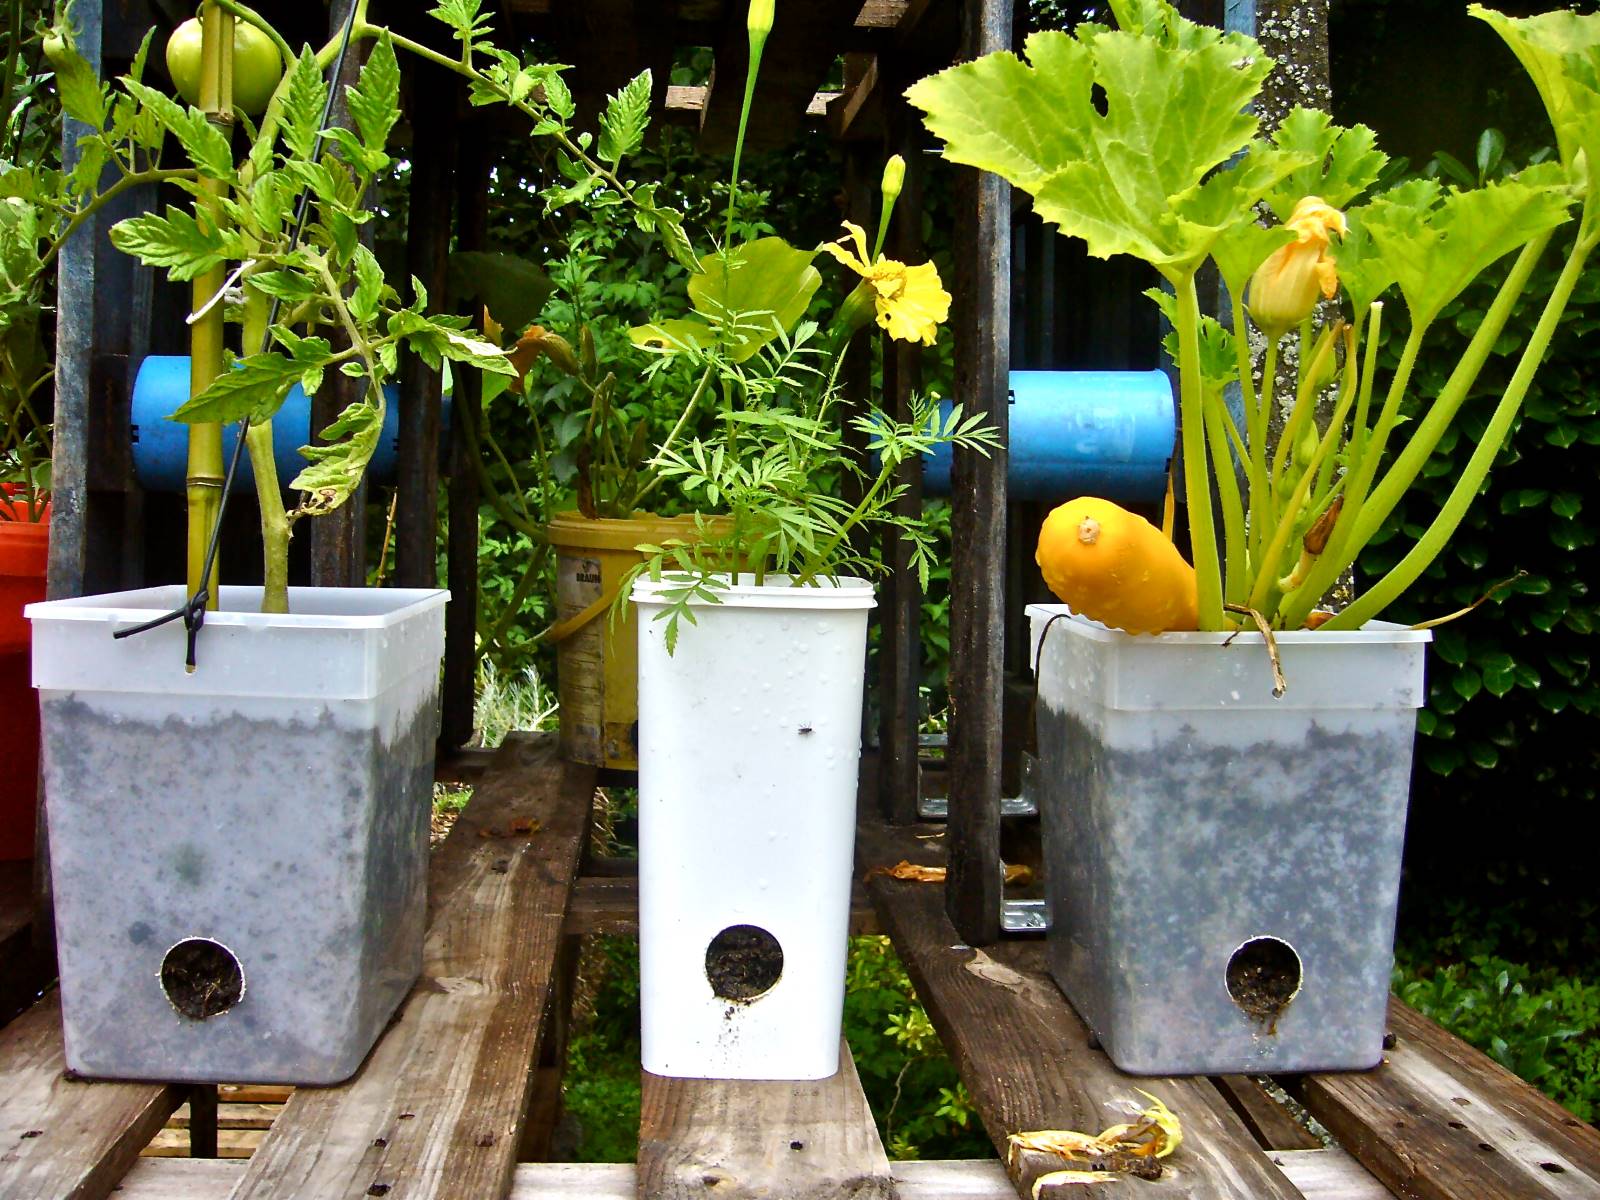
- Consider Self-Watering Systems: If you’re concerned about not being able to water your plants consistently, consider using self-watering systems. These systems typically consist of a reservoir that holds water, allowing the plant to take in moisture as needed through a wicking or capillary action. Self-watering systems can help maintain consistent soil moisture levels and reduce the risk of over or underwatering.
- Observe and Adjust: Every plant is unique, and different factors can influence their watering needs. Observe your plants closely and pay attention to signs of over or underwatering, such as wilting, leaf discoloration, or soil that remains constantly wet or dry. Adjust your watering schedule and habits accordingly to best meet the needs of your plants.
By following these watering techniques, you can ensure that your potted plants receive the right amount of moisture for optimal growth. Checking the moisture level, watering thoroughly, avoiding overwatering, and being consistent in your watering routine are key practices to keep in mind. By understanding the specific needs of your plants and adjusting as necessary, you can provide them with the perfect balance of hydration.
In the next section, we’ll discuss how to monitor and maintain your potted plants to keep them healthy and thriving. Stay tuned!
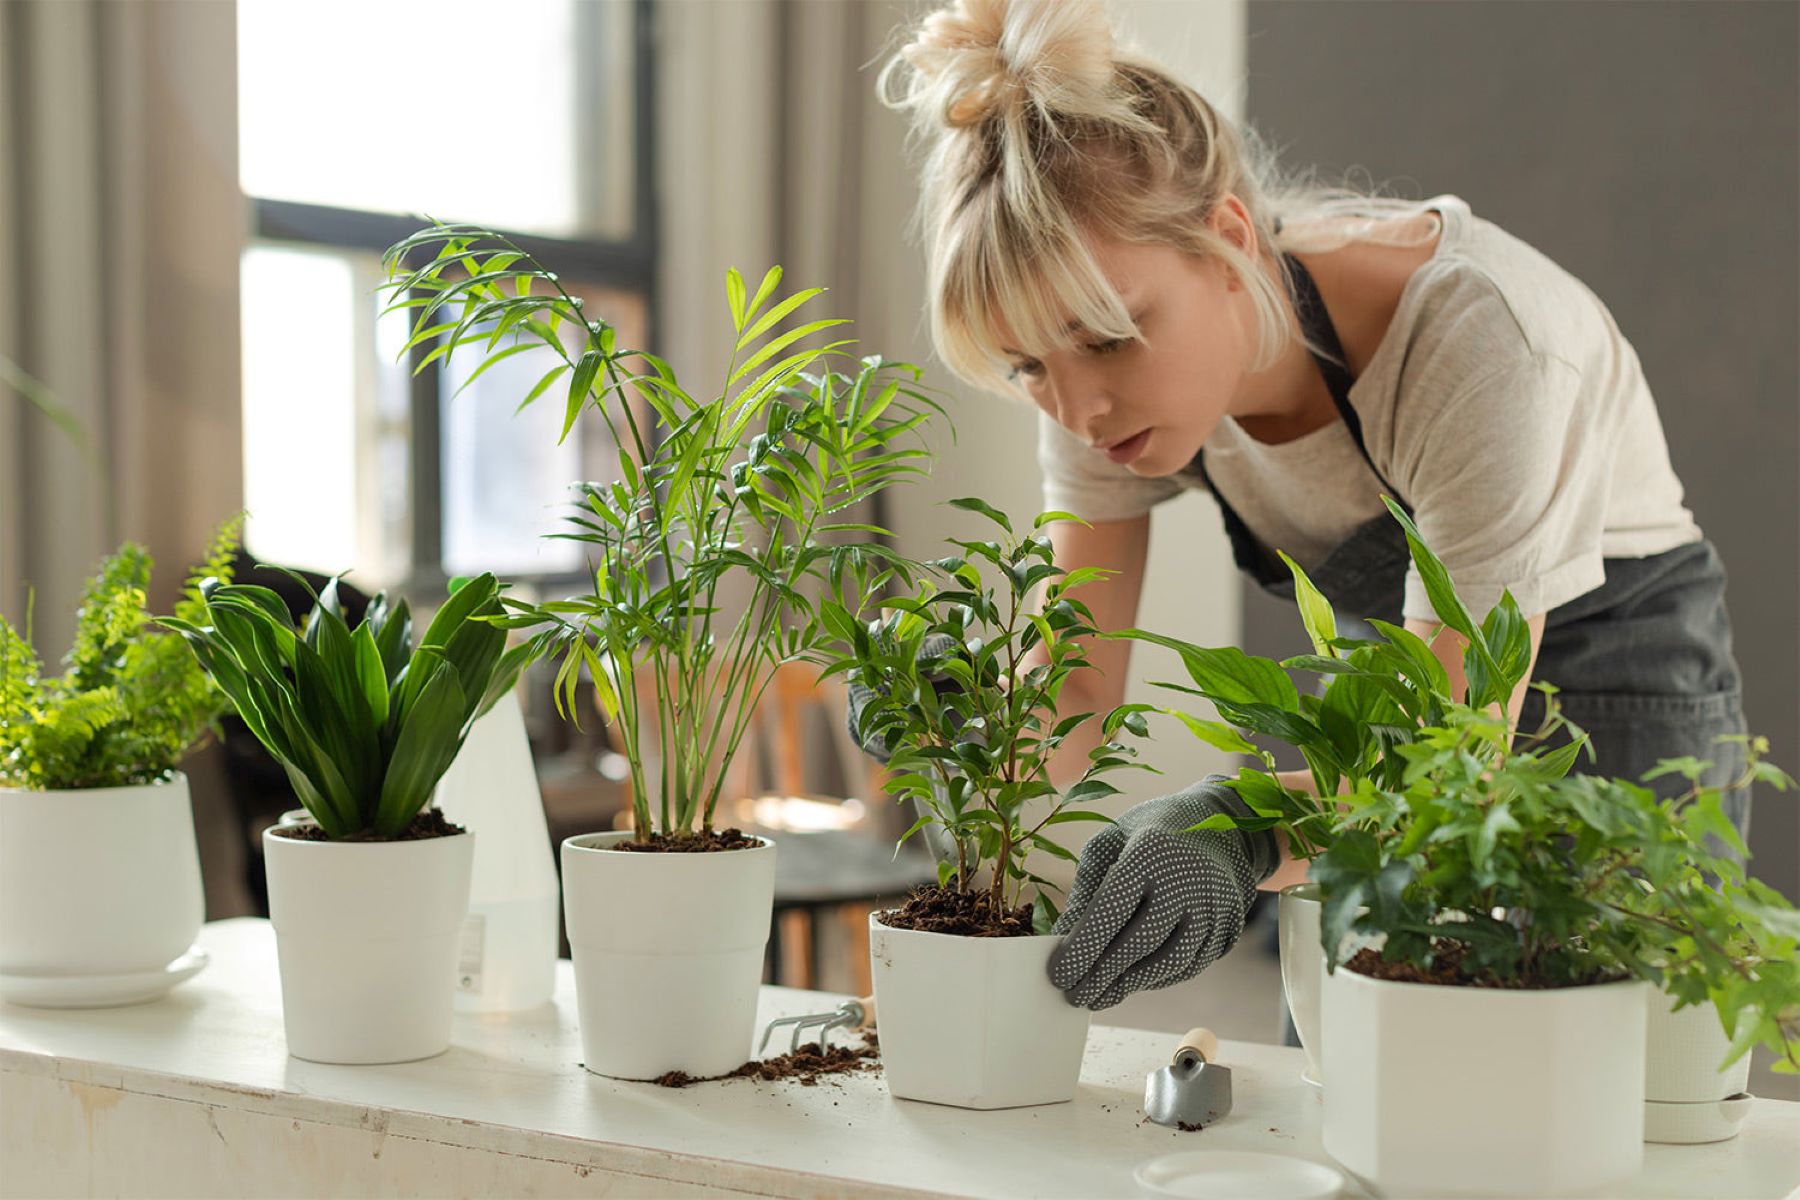
Monitoring and Maintaining the Plants
Monitoring and maintaining your potted plants is essential to keep them healthy and thriving. Regular observation and care allow you to address any issues promptly, ensure optimal growth, and prevent problems before they escalate. Here are some key steps to effectively monitor and maintain your potted plants:
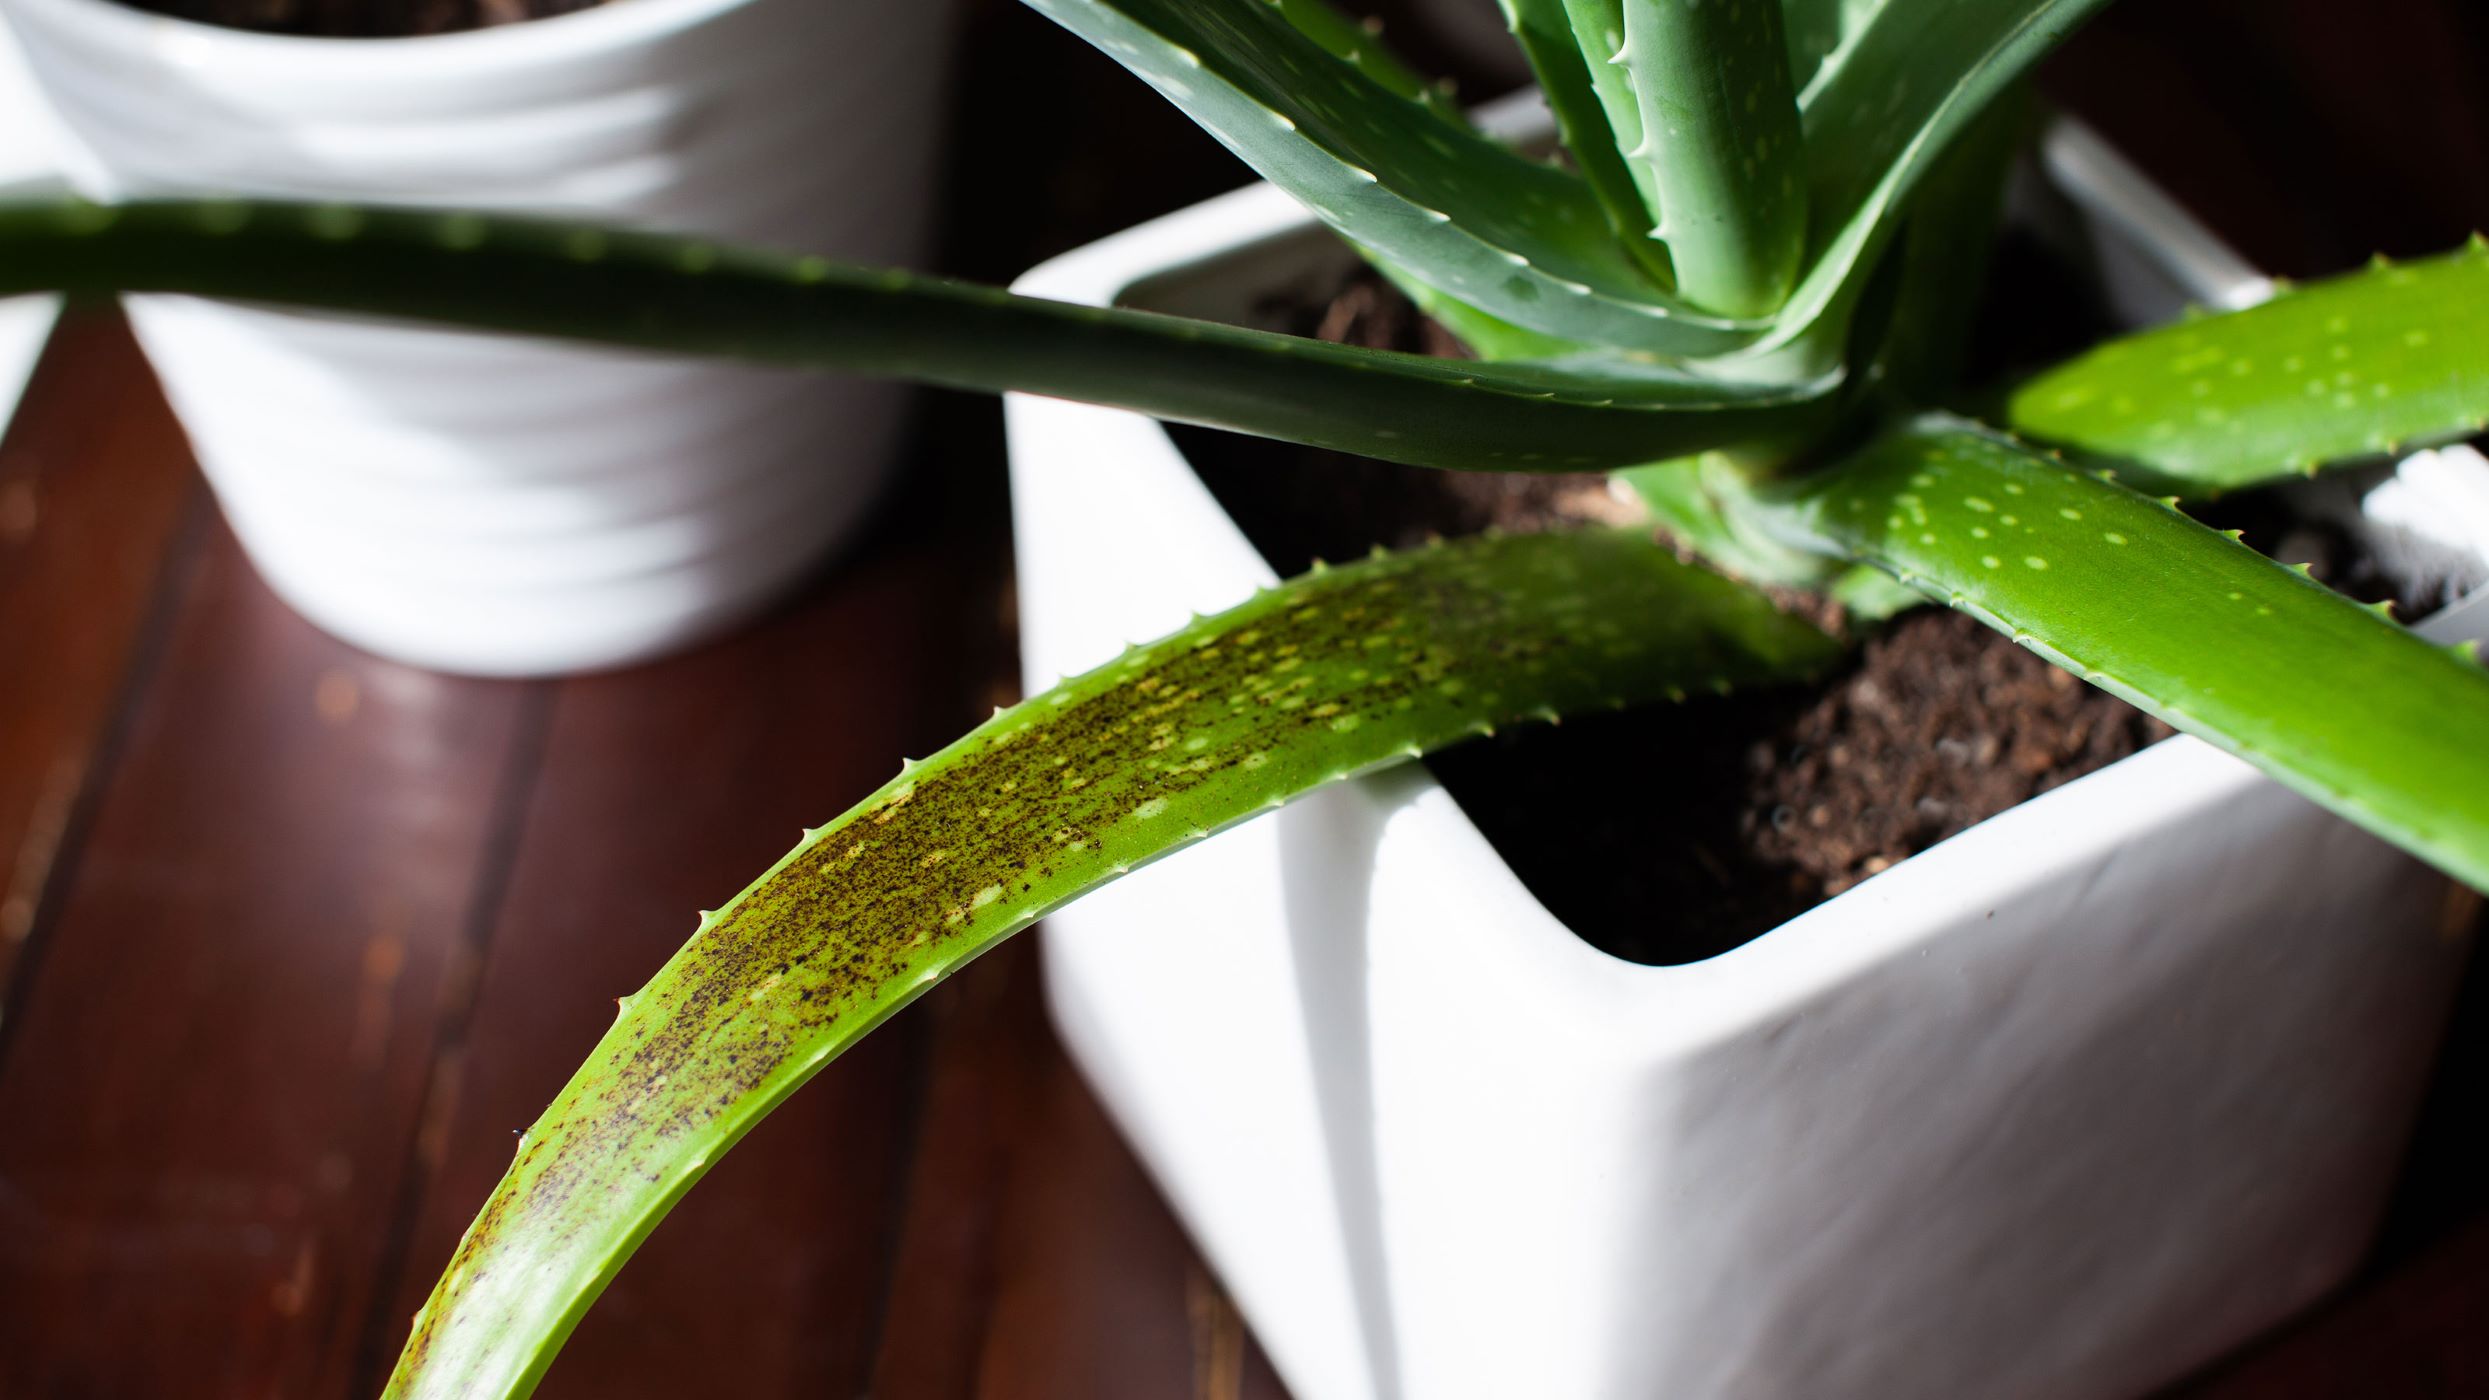
- Check for Signs of Stress: Regularly inspect your plants for signs of stress, such as wilting, yellowing leaves, or pests. These signs can indicate problems with watering, lighting, nutrient deficiencies, or pests and diseases. Catching these issues early allows you to intervene and provide the necessary care.
- Trim and Prune: Regular pruning and trimming help maintain the shape, health, and overall appearance of your plants. Remove any dead, damaged, or diseased foliage or branches. Additionally, trimming encourages bushier growth and prevents the plant from becoming leggy or overgrown.
- Fertilize Appropriately: Potted plants often require regular fertilization to ensure an adequate supply of nutrients. Choose a balanced, slow-release fertilizer specifically formulated for container plants. Follow the instructions on the fertilizer package to determine the appropriate timing and application rate for your plants.
- Monitor Lighting Conditions: Pay attention to the lighting conditions your plants receive. Observe if they are getting enough sunlight or if they need to be moved to a location with brighter or more diffused light. Adjust the position of the pots as needed to provide optimal lighting for your plants’ specific requirements.
- Watch for Pests and Diseases: Potted plants are susceptible to pests such as aphids, mealybugs, and spider mites, as well as fungal and bacterial diseases. Regularly inspect your plants for any signs of pests or diseases, such as discolored leaves, webbing, or unusual growths. If you detect an issue, promptly treat it using organic or chemical methods, depending on your preference and the severity of the infestation.
- Rotate and Reposition: To ensure even growth and prevent plants from leaning towards the light source, rotate and reposition them every few weeks. This helps promote balanced growth and prevents any areas from receiving too much or too little light or airflow.
- Regularly Clean and Maintain: Cleanliness is important for the health of your plants. Regularly remove any dead leaves, debris, or weeds from the pots. Keep an eye out for signs of excessive dust or pests on the leaves, and gently wipe them with a damp cloth if necessary.
By monitoring and maintaining your potted plants regularly, you can catch any issues early on and provide the necessary care. Checking for signs of stress, pruning, fertilizing appropriately, monitoring lighting conditions, watching for pests and diseases, rotating and repositioning, and regular cleaning and maintenance are all vital steps to ensure the health and vitality of your plants.
Remember to enjoy the process of caring for your potted plants and celebrate their growth and beauty. With proper monitoring and maintenance, you’ll create a thriving and stunning potted garden that brings joy and nature into your home.
Now that you have learned how to monitor and maintain your plants, let’s conclude this comprehensive guide on planting in pots with drainage holes.
Conclusion
Congratulations! You’ve reached the end of our comprehensive guide on planting in pots with drainage holes. By following the steps and techniques outlined in this article, you are now equipped with the knowledge and skills to create a thriving and beautiful potted garden.
We discussed the importance of using pots with drainage holes and the benefits they provide, including preventing waterlogging, improving soil aeration, and reducing the risk of root rot. We also explored the critical aspects of choosing the right potting soil, selecting the proper containers, preparing the pots, adding drainage material, filling the pots with soil, and planting effectively.
Additionally, we covered essential techniques for watering your potted plants, such as checking soil moisture levels, watering thoroughly, and avoiding overwatering. We emphasized the importance of monitoring and maintaining your potted plants by regularly checking for signs of stress, pruning and trimming, fertilizing appropriately, and addressing pests and diseases promptly.
Remember, successful container gardening requires a balance of proper care, attention, and understanding of your plants’ specific needs. Each plant is unique and may require adjustments in watering, lighting, and positioning. By observing and adapting to the individual requirements of your plants, you’ll create an optimal environment for their growth and flourishing.
Now, it’s time to put your newfound knowledge into practice and embark on your own potted gardening journey. Whether you’re cultivating herbs, flowers, or even small vegetables, the beauty and rewards of a well-maintained potted garden are truly fulfilling.
Happy planting and may your potted plants flourish with vibrant growth and abundant beauty!
Frequently Asked Questions about How To Plant In Pots With Drainage Holes
Was this page helpful?
At Storables.com, we guarantee accurate and reliable information. Our content, validated by Expert Board Contributors, is crafted following stringent Editorial Policies. We're committed to providing you with well-researched, expert-backed insights for all your informational needs.

0 thoughts on “How To Plant In Pots With Drainage Holes”