Home>Home Maintenance>How Do You Put Drainage Holes In A Plastic Plant Rail Holder
Home Maintenance
How Do You Put Drainage Holes In A Plastic Plant Rail Holder
Modified: March 7, 2024
Learn how to add drainage holes to a plastic plant rail holder for improved home maintenance. Enhance your gardening experience with this simple DIY project.
(Many of the links in this article redirect to a specific reviewed product. Your purchase of these products through affiliate links helps to generate commission for Storables.com, at no extra cost. Learn more)
Introduction
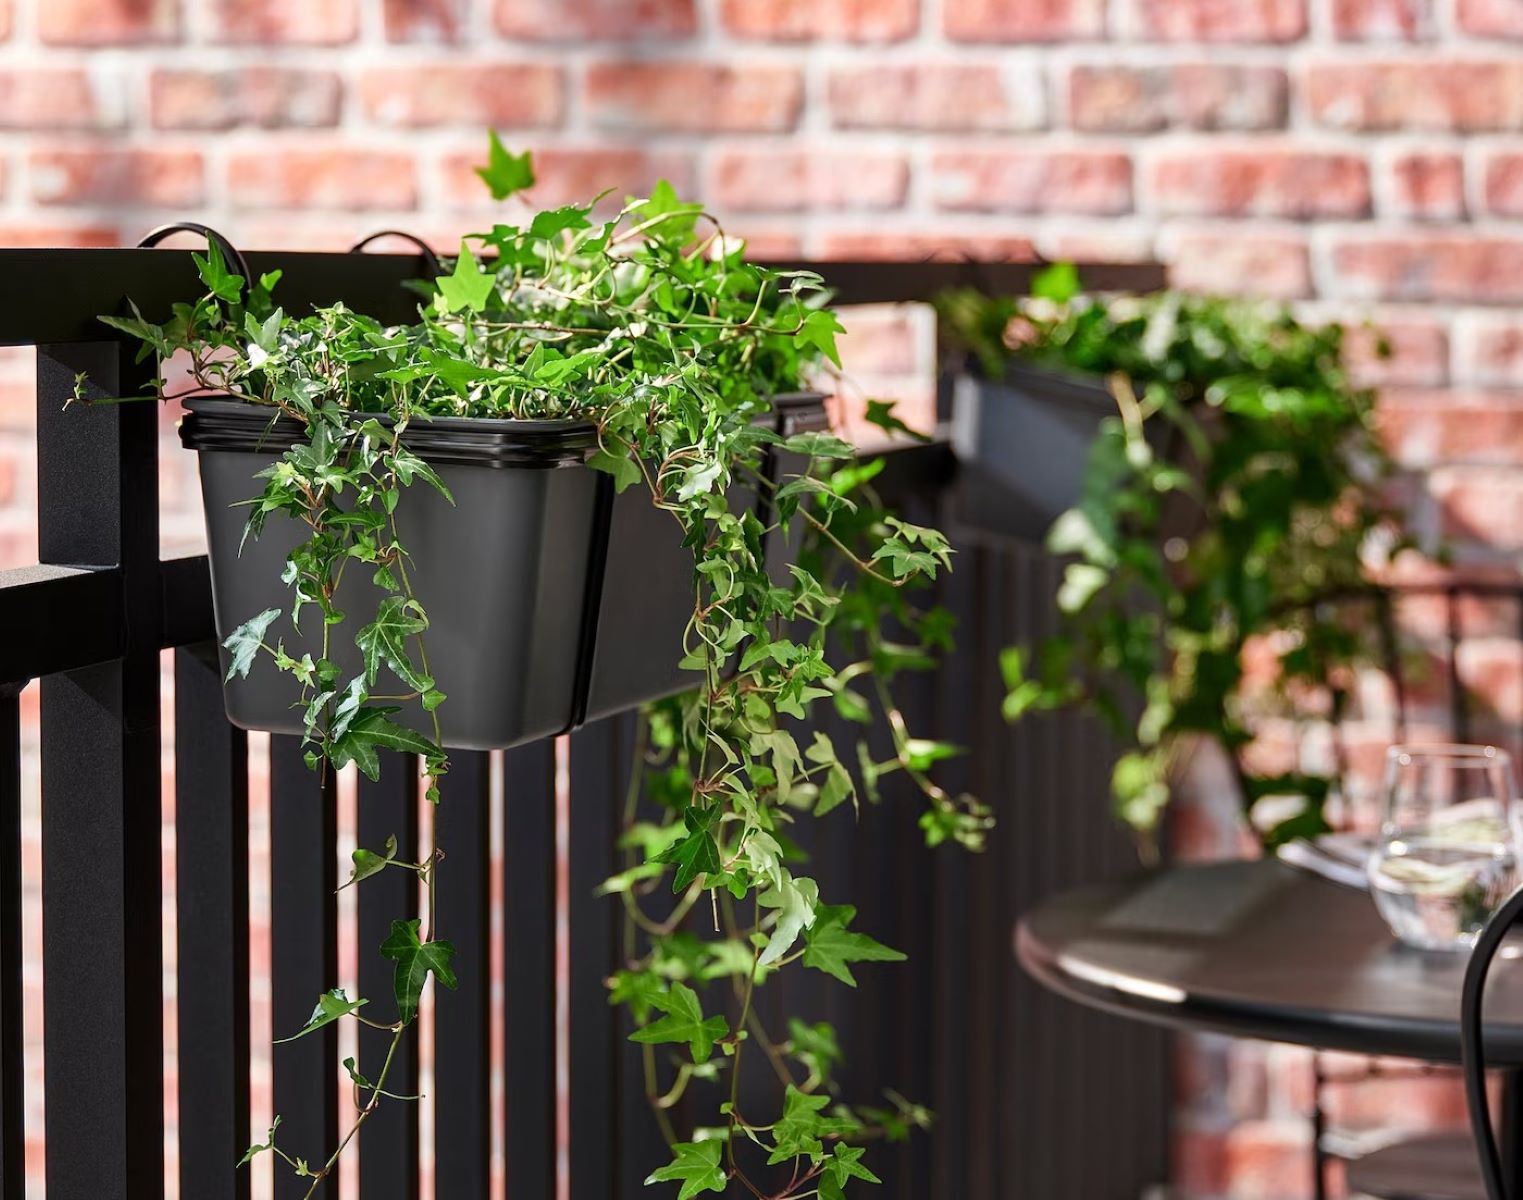
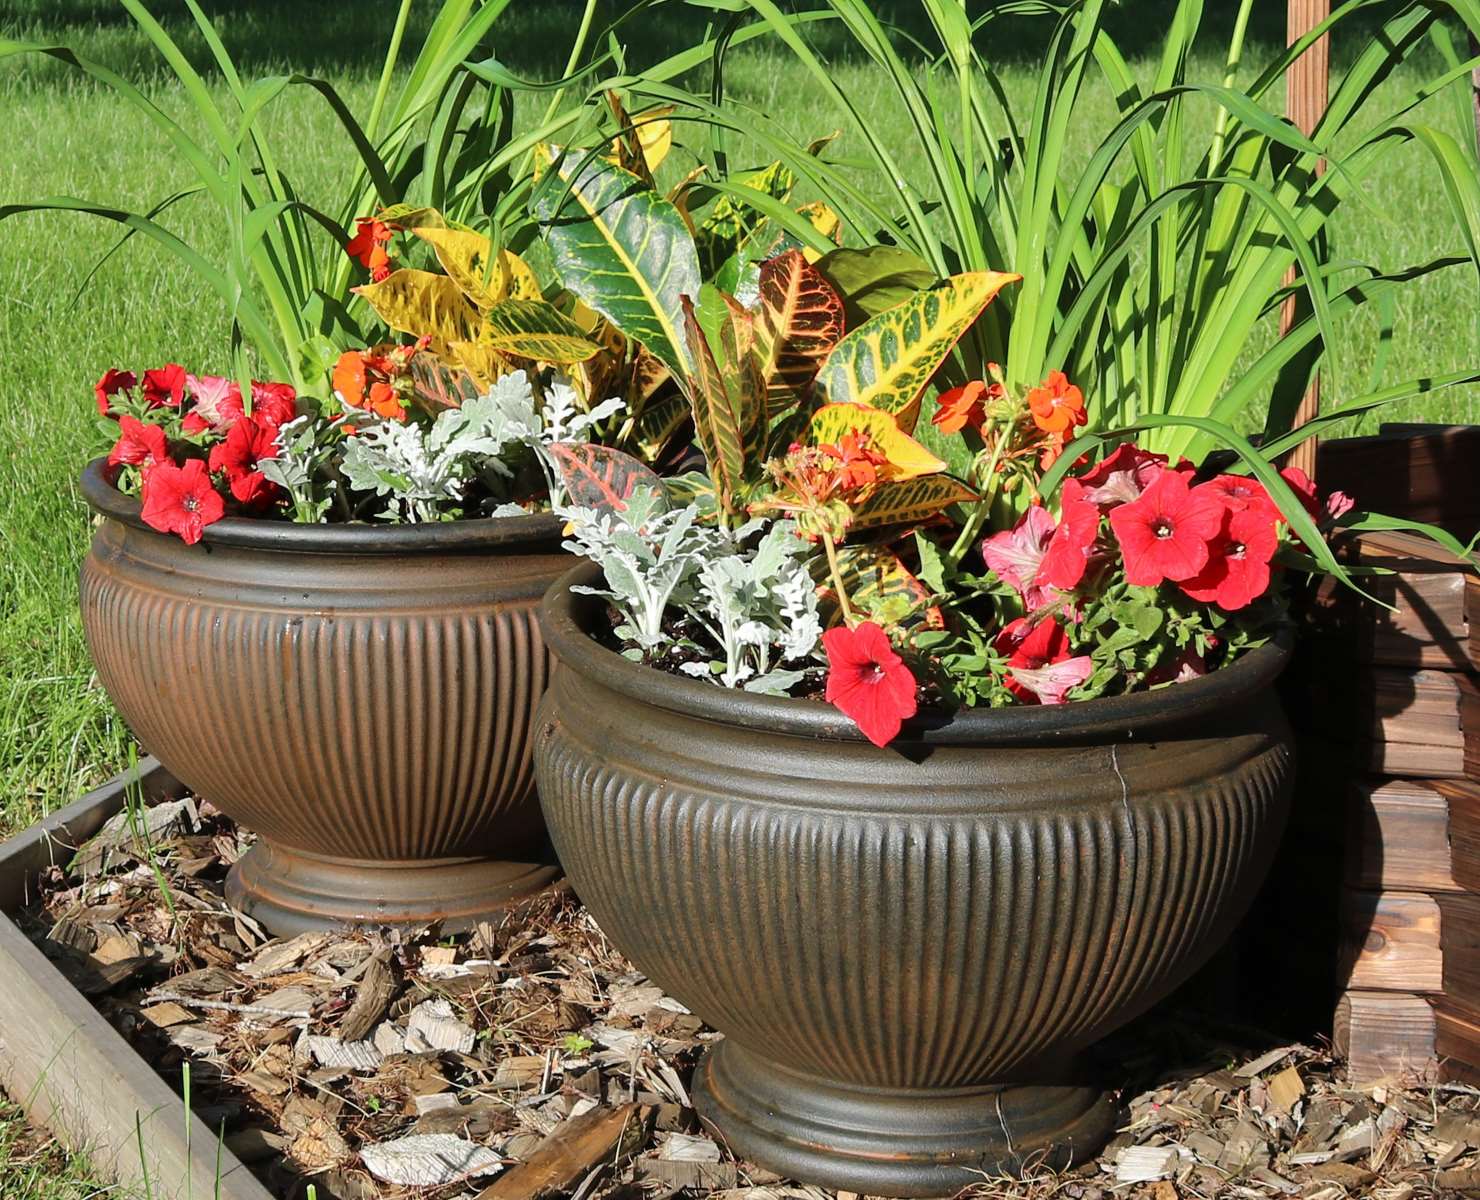
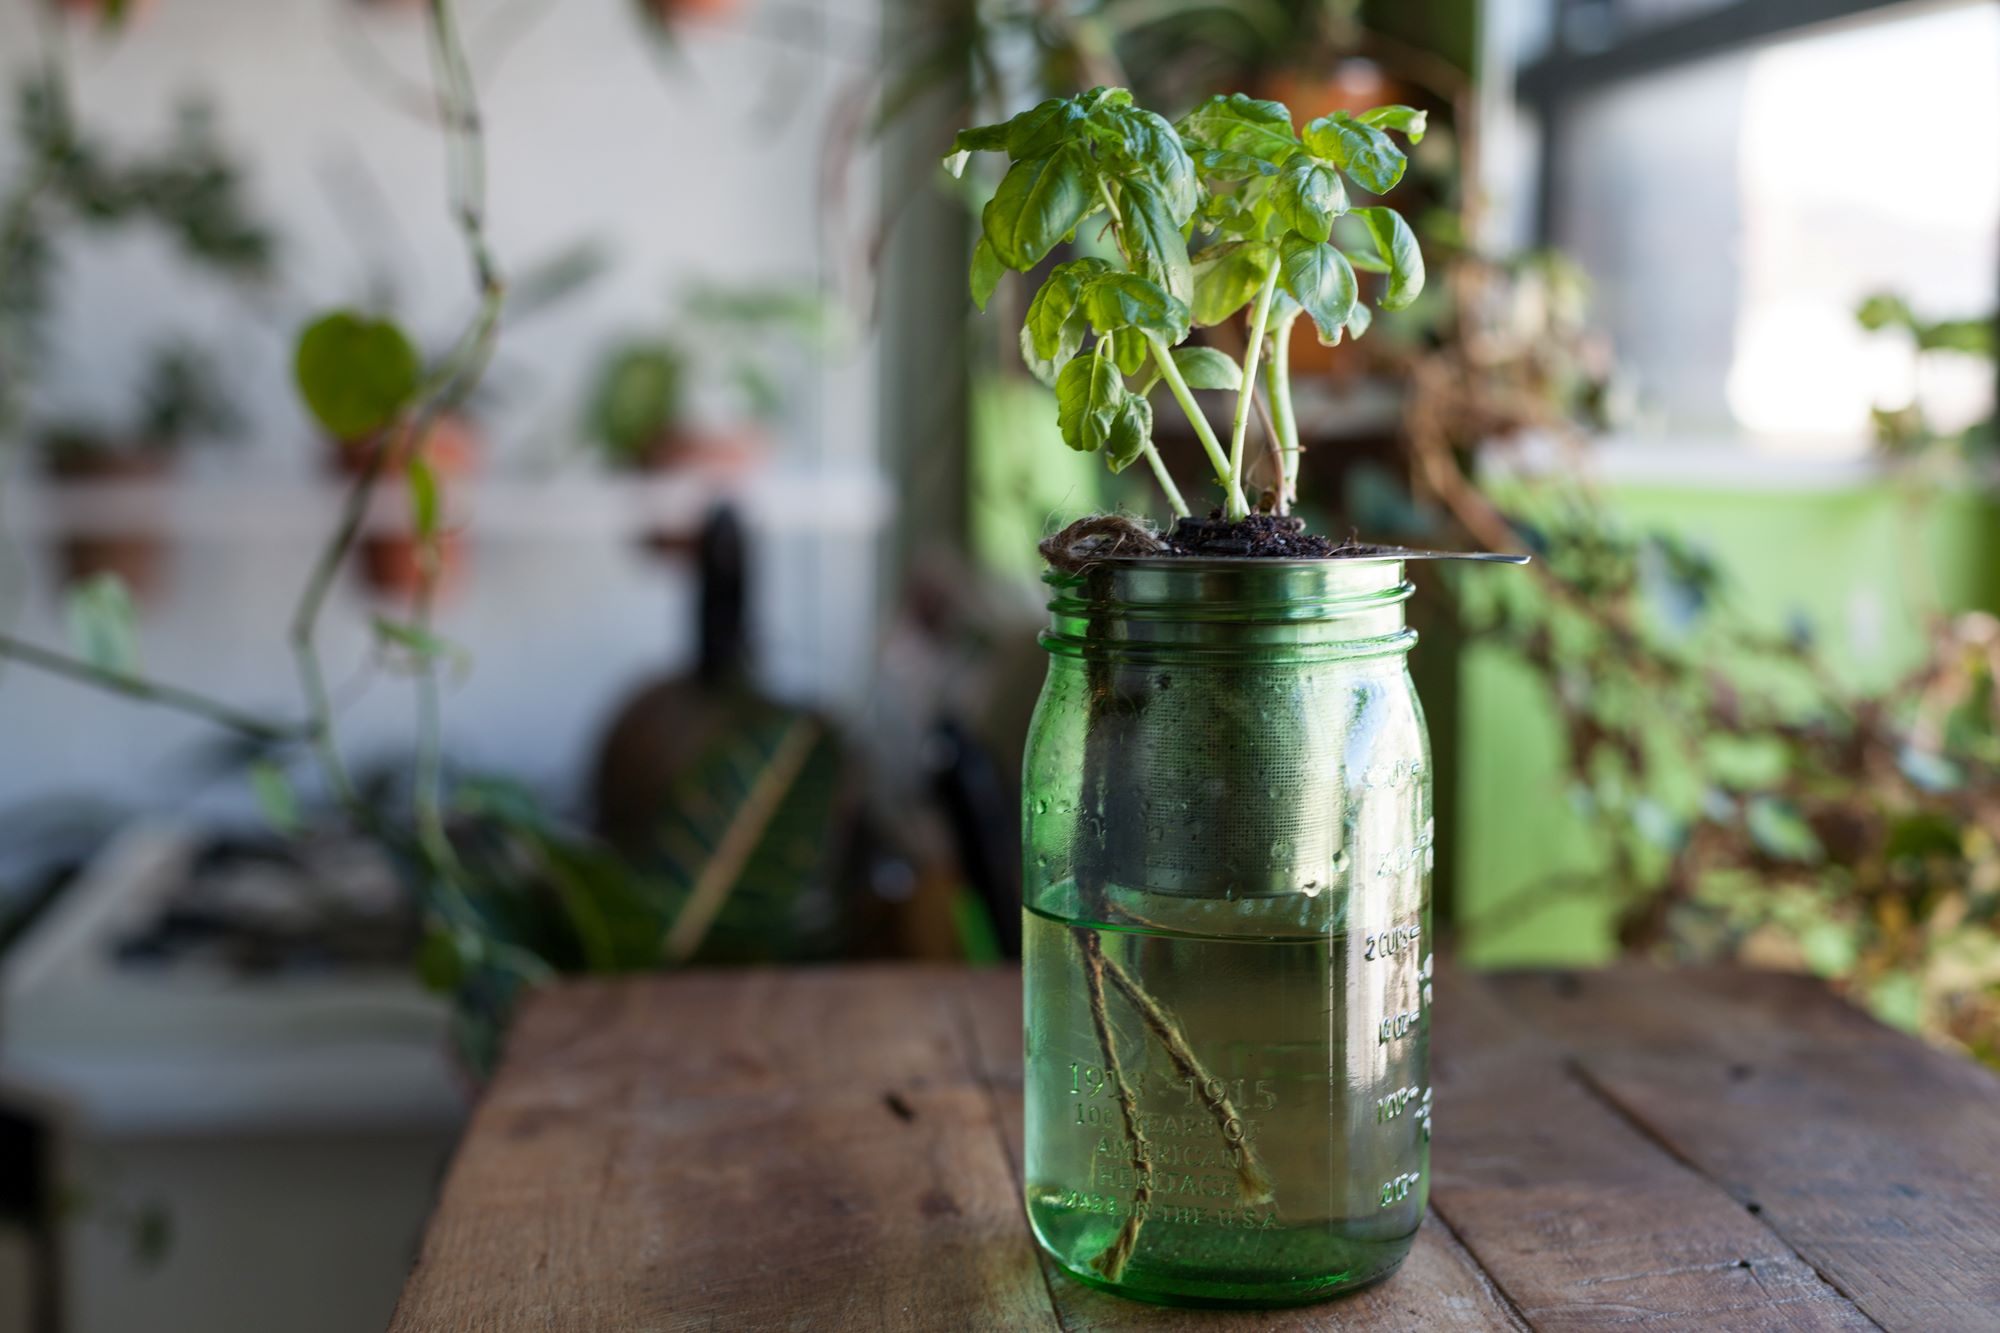
Welcome to the world of gardening! If you’re new to the art of plant care, you may have come across plastic plant rail holders that lack proper drainage holes. Drainage holes play a crucial role in preventing overwatering, allowing excess water to escape and keeping your plants healthy and thriving.
Don’t worry if your plastic plant rail holder doesn’t have drainage holes. In this article, we will explore different methods for adding drainage holes to your plastic plant rail holder. These simple techniques will help ensure that your plants have the appropriate drainage they need.
Before we dive into the methods, let’s go over the materials you’ll need:
Key Takeaways:
- Don’t let a lack of drainage holes in your plastic plant rail holder hinder your gardening journey. With simple tools like a drill or hot nail, you can easily create the necessary drainage for healthy, thriving plants.
- Prioritize safety and choose the method that suits you best to add drainage holes to your plastic plant rail holder. With proper drainage, you can prevent waterlogged soil and create an environment where your plants can thrive.
Materials Needed
Before you begin adding drainage holes to your plastic plant rail holder, gather the following materials:
- A plastic plant rail holder
- A drill with a small drill bit
- A hot nail or screwdriver
- A hot metal rod
- A hole puncher
- Safety goggles
- Protective gloves
- A piece of scrap wood or cardboard
Having all these materials on hand will ensure that you can safely and effectively add drainage holes to your plastic plant rail holder, regardless of which method you choose.
Now that you have your materials ready, let’s explore the different methods for adding drainage holes.
Method 1: Using a Drill
Using a drill is a straightforward and effective method for adding drainage holes to your plastic plant rail holder. Here’s how you can do it:
- Put on your safety goggles and protective gloves to ensure your safety while drilling.
- Place the plastic plant rail holder on a piece of scrap wood or cardboard to protect your work surface.
- Select a small drill bit that is suitable for creating drainage holes, typically around 1/4 inch in diameter.
- Hold the drill steady and position the drill bit on the bottom of the plastic plant rail holder where you want to create the drainage hole.
- Slowly start drilling, applying gentle pressure. Be careful not to push too hard, as it may crack or damage the plastic.
- Continue drilling until you have created the desired number of drainage holes.
- Once you have finished drilling, remove any plastic debris from the holes and wipe down the rail holder to remove any lingering particles.
Using a drill provides precise and evenly spaced drainage holes in your plastic plant rail holder. Remember to take your time and work carefully to avoid accidentally damaging the plastic.
Now that you’ve learned how to use a drill, let’s move on to another method: using a hot nail or screwdriver.
Method 2: Using a Hot Nail
If you don’t have access to a drill, using a hot nail is a simple and effective alternative for adding drainage holes to your plastic plant rail holder. Follow these steps to get started:
- Put on your safety goggles and protective gloves to ensure your safety while working with heat and hot objects.
- Heat up a nail by holding it over a flame. Alternatively, you can use a heat source like a stove burner or a torch.
- Place the plastic plant rail holder on a heat-resistant surface, such as a piece of scrap wood or metal, to protect your work surface.
- Position the heated nail over the bottom of the plant rail holder where you want to create a drainage hole.
- Gently press and rotate the hot nail into the plastic, applying gentle pressure to create the hole.
- Repeat the process to create additional drainage holes as needed.
- Once you have finished, allow the plastic to cool down before handling the rail holder.
Using a hot nail allows you to create precise and controlled holes in the plastic. Just be cautious when working with heat and ensure that the plastic has cooled down before moving or handling the rail holder.
Now, let’s explore another method of adding drainage holes using a hot screwdriver.
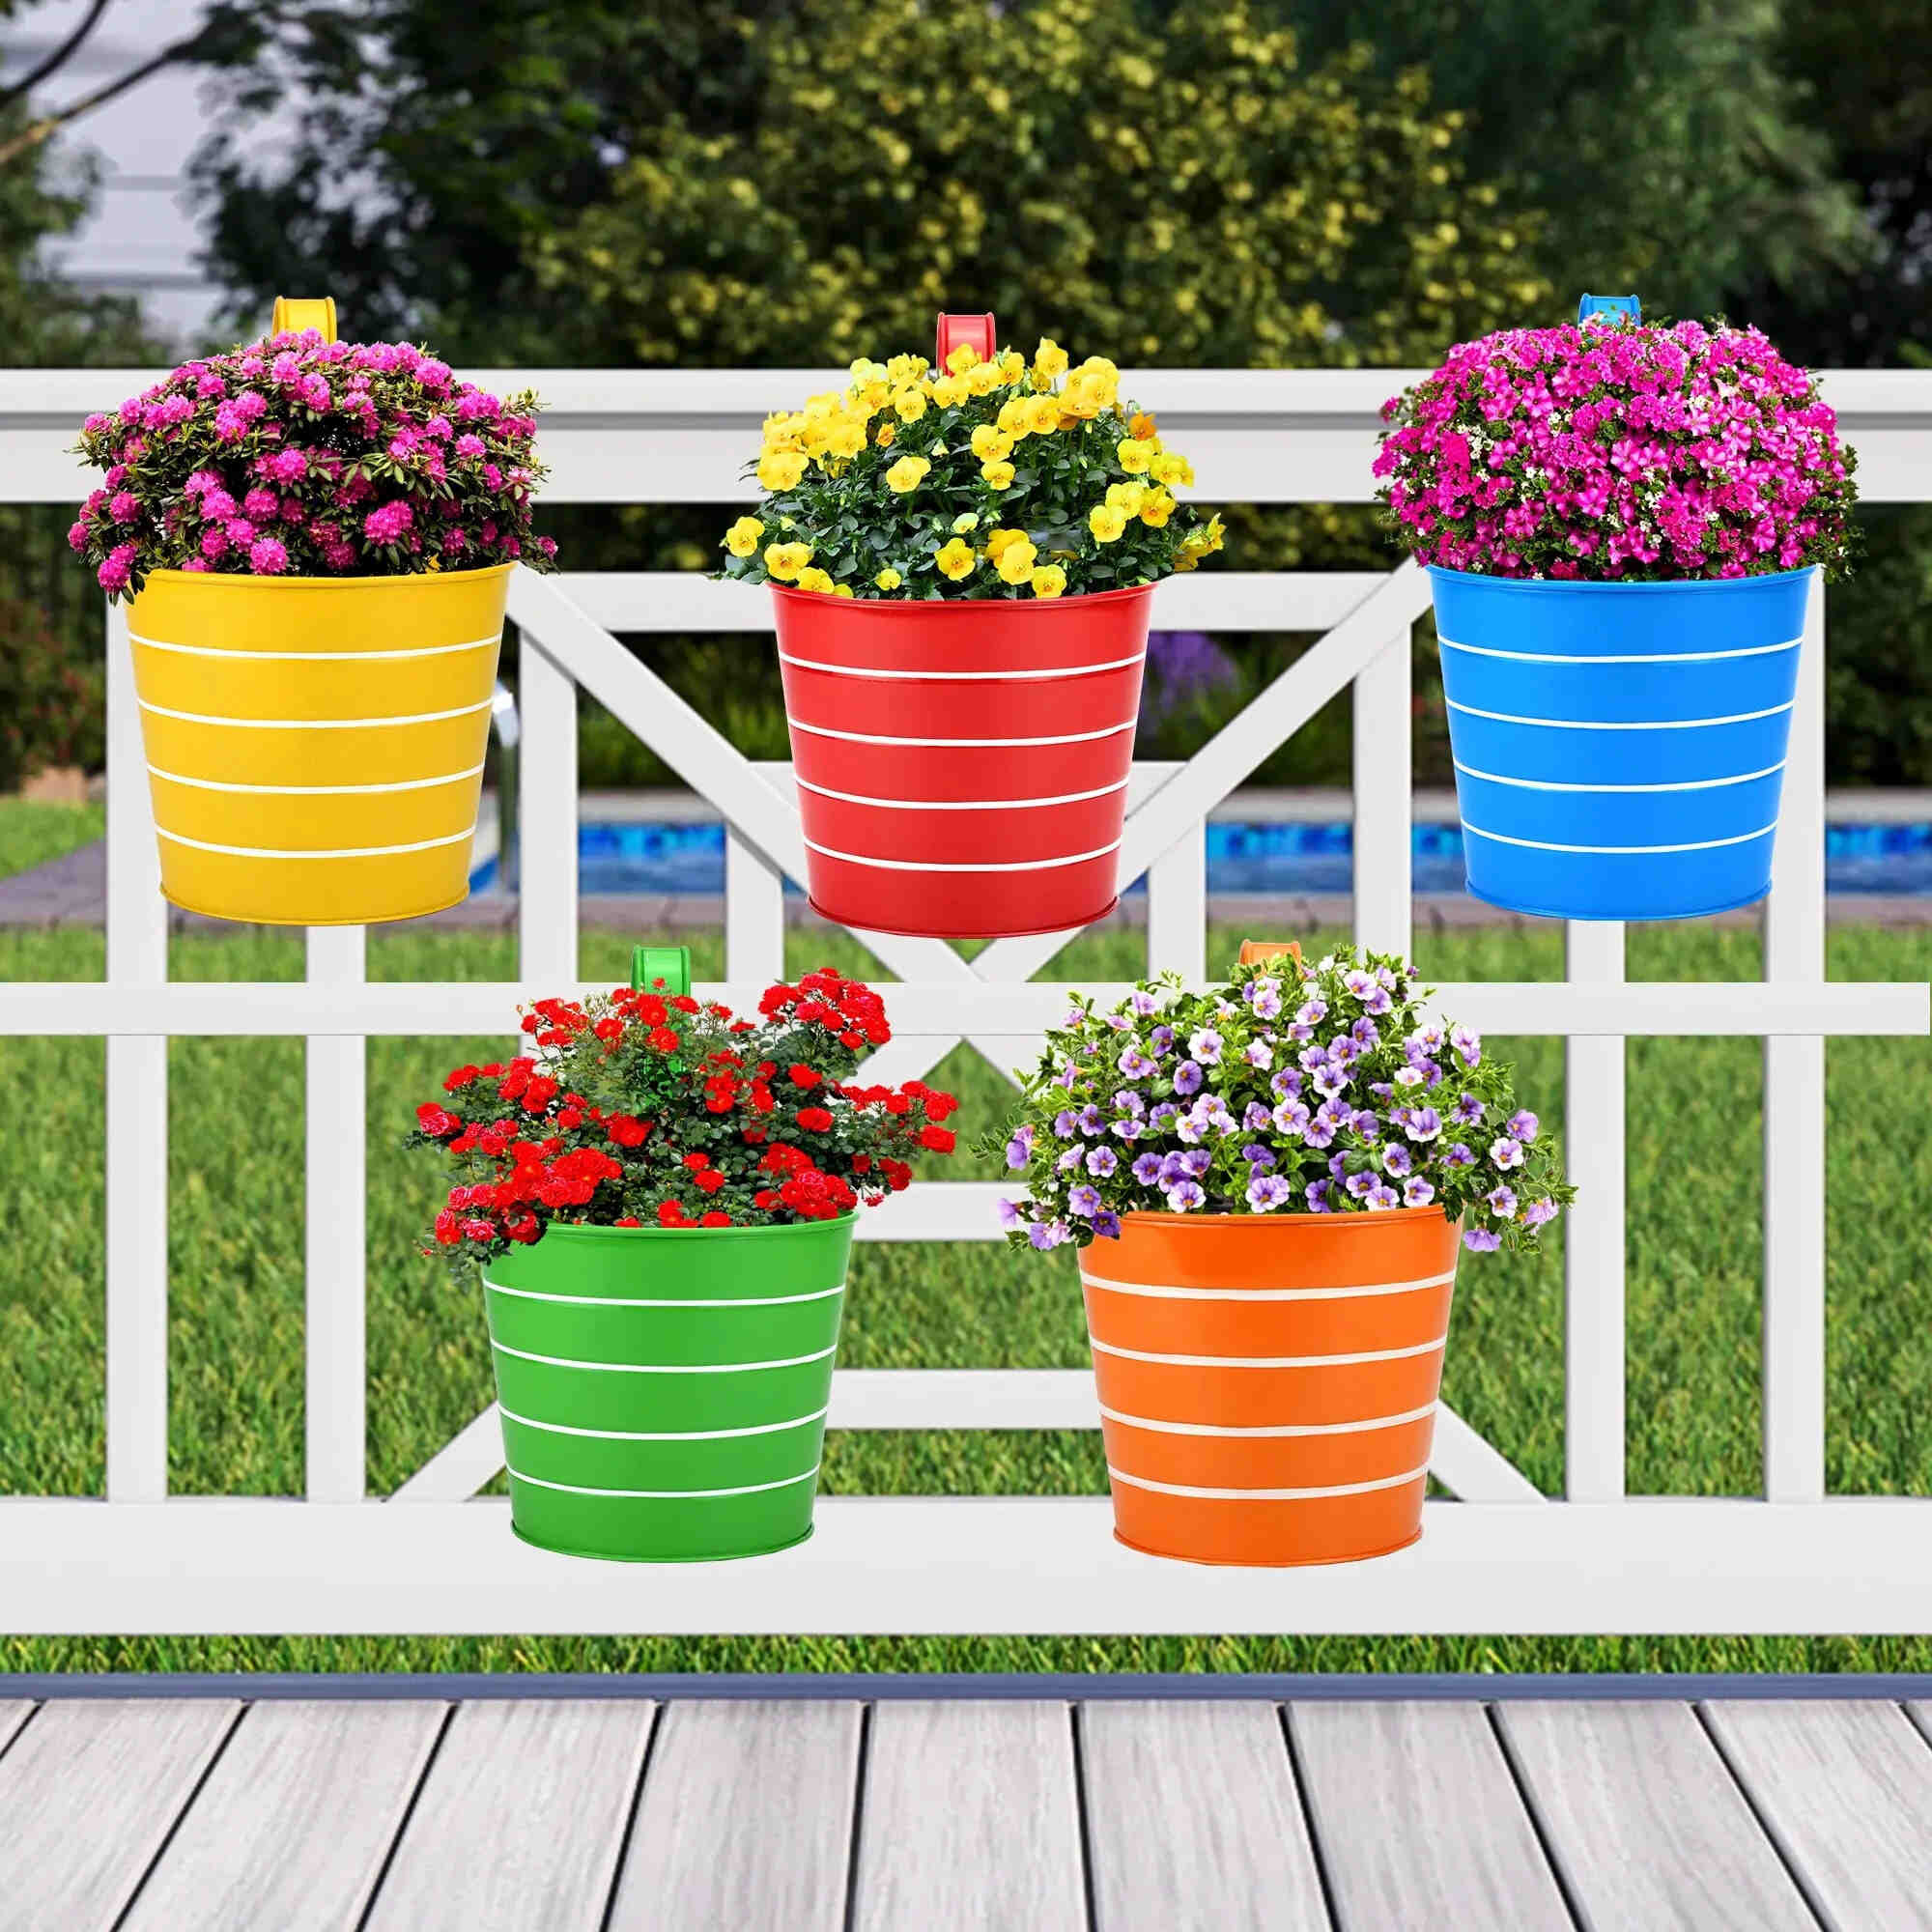
Use a drill with a small bit to make drainage holes in the bottom of the plastic plant rail holder. Start with a few holes and add more if needed for proper drainage.
Method 3: Using a Hot Screwdriver
A hot screwdriver is another effective method for adding drainage holes to your plastic plant rail holder. Here’s how you can do it:
- Put on your safety goggles and protective gloves to protect yourself while working with heat and hot objects.
- Heat up the tip of a screwdriver by holding it over a flame or using a heat source like a stove burner or torch.
- Place the plastic plant rail holder on a heat-resistant surface, such as a piece of scrap wood or metal, to protect your work surface.
- Position the heated tip of the screwdriver over the bottom of the plant rail holder where you want to create a drainage hole.
- Gently press and rotate the hot screwdriver into the plastic, applying even pressure to create a hole.
- Repeat the process to create additional drainage holes as needed.
- Let the plastic cool down before handling the rail holder.
Using a hot screwdriver provides you with precise control over the size and location of the drainage holes. Please exercise caution when working with heat, and ensure that the plastic has completely cooled down before touching or moving the plant rail holder.
Next, let’s move on to another method: using a hot metal rod.
Method 4: Using a Hot Metal Rod
If you have access to a hot metal rod, it can be a great tool for adding drainage holes to your plastic plant rail holder. Follow these steps to use a hot metal rod effectively:
- Put on your safety goggles and protective gloves to ensure your safety while working with heat and hot objects.
- Heat up the metal rod using a heat source such as a flame, stove burner, or torch.
- Place the plastic plant rail holder on a heat-resistant surface, such as a piece of scrap wood or metal, to protect your work surface.
- Position the heated metal rod over the bottom of the plant rail holder where you want to create a drainage hole.
- Apply gentle pressure and slowly insert the hot metal rod into the plastic, twisting it slightly to create a hole.
- Repeat the process to create additional drainage holes as needed.
- Allow the plastic to cool down completely before handling the rail holder.
Using a hot metal rod allows you to create precise and clean holes in the plastic. Remember to exercise caution when working with heat and make sure the plastic has cooled down before handling the rail holder.
Lastly, let’s explore another method: using a hole puncher.
Method 5: Using a Hole Puncher
Using a hole puncher is a convenient and efficient method for adding drainage holes to your plastic plant rail holder. Here’s how you can do it:
- Ensure that you have a hole puncher suitable for punching through plastic.
- Place the plastic plant rail holder on a stable surface.
- Position the hole puncher over the bottom of the plant rail holder where you want to create a drainage hole.
- Press down firmly on the hole puncher, applying enough pressure to punch through the plastic.
- Repeat the process to create additional drainage holes as needed.
- Remove any plastic debris from the holes and wipe down the rail holder to remove any remnants.
Using a hole puncher provides you with clean and precise drainage holes without the need for heat or power tools. It is a user-friendly method that allows for quick and easy hole creation.
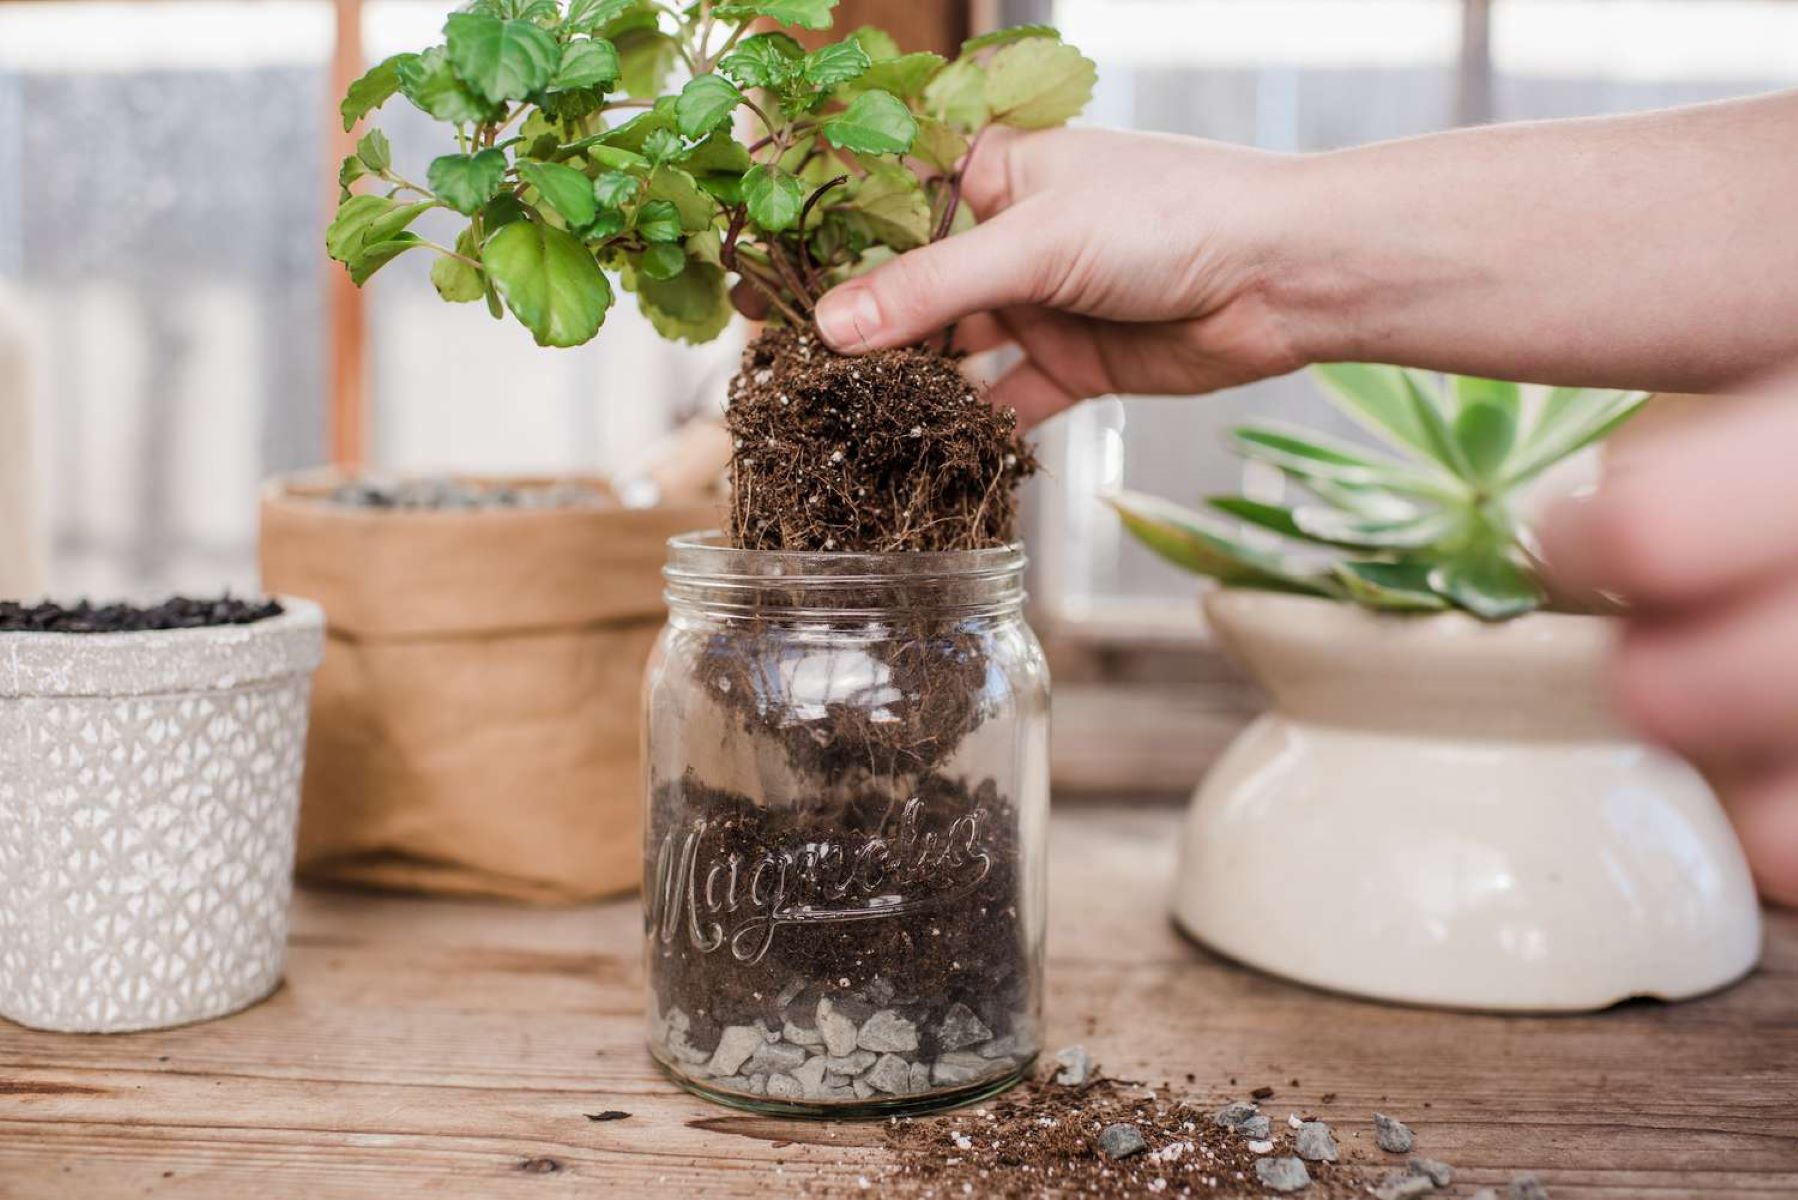
Regardless of the method you choose, adding drainage holes to your plastic plant rail holder will greatly benefit the health and longevity of your plants. Ensuring proper drainage will prevent water from pooling at the bottom of the holder, reducing the risk of root rot and other plant diseases.
Now that you know different methods to add drainage holes, you can confidently transform your plastic plant rail holder into a suitable home for your plants.
Remember, safety is paramount when working with tools and heat sources. Always wear protective gear and take necessary precautions to avoid accidents or injuries.
Happy gardening!
Conclusion
Adding drainage holes to a plastic plant rail holder is a crucial step in maintaining the health and well-being of your plants. Proper drainage allows excess water to escape, preventing waterlogged soil and root rot.
In this article, we explored five different methods for adding drainage holes to your plastic plant rail holder:
- Using a drill
- Using a hot nail
- Using a hot screwdriver
- Using a hot metal rod
- Using a hole puncher
Each method has its advantages, and the choice depends on the tools and resources available to you. The drill method provides precise and evenly spaced holes, while the hot nail, hot screwdriver, and hot metal rod provide controlled and customizable hole creation. On the other hand, the hole puncher offers a user-friendly and efficient option.
Remember to prioritize safety while working with tools and heat sources. Wear safety goggles and protective gloves to avoid any accidents or injuries.
By adding drainage holes to your plastic plant rail holder, you are taking an important step in ensuring the optimal growth and health of your plants. With proper drainage, you can prevent waterlogged soil and create an environment where your plants can thrive.
So go ahead, choose the method that suits you best, gather the necessary materials, and start adding those drainage holes to your plastic plant rail holder. Your plants will thank you for it!
Happy gardening!
Frequently Asked Questions about How Do You Put Drainage Holes In A Plastic Plant Rail Holder
Was this page helpful?
At Storables.com, we guarantee accurate and reliable information. Our content, validated by Expert Board Contributors, is crafted following stringent Editorial Policies. We're committed to providing you with well-researched, expert-backed insights for all your informational needs.

0 thoughts on “How Do You Put Drainage Holes In A Plastic Plant Rail Holder”