Home>Home Maintenance>How To Put Drainage Holes In Plastic Plant Pots
Home Maintenance
How To Put Drainage Holes In Plastic Plant Pots
Modified: March 7, 2024
Learn how to add drainage holes to plastic plant pots for better home-maintenance and healthier plants. Enhance your gardening skills with this easy DIY guide.
(Many of the links in this article redirect to a specific reviewed product. Your purchase of these products through affiliate links helps to generate commission for Storables.com, at no extra cost. Learn more)
Introduction
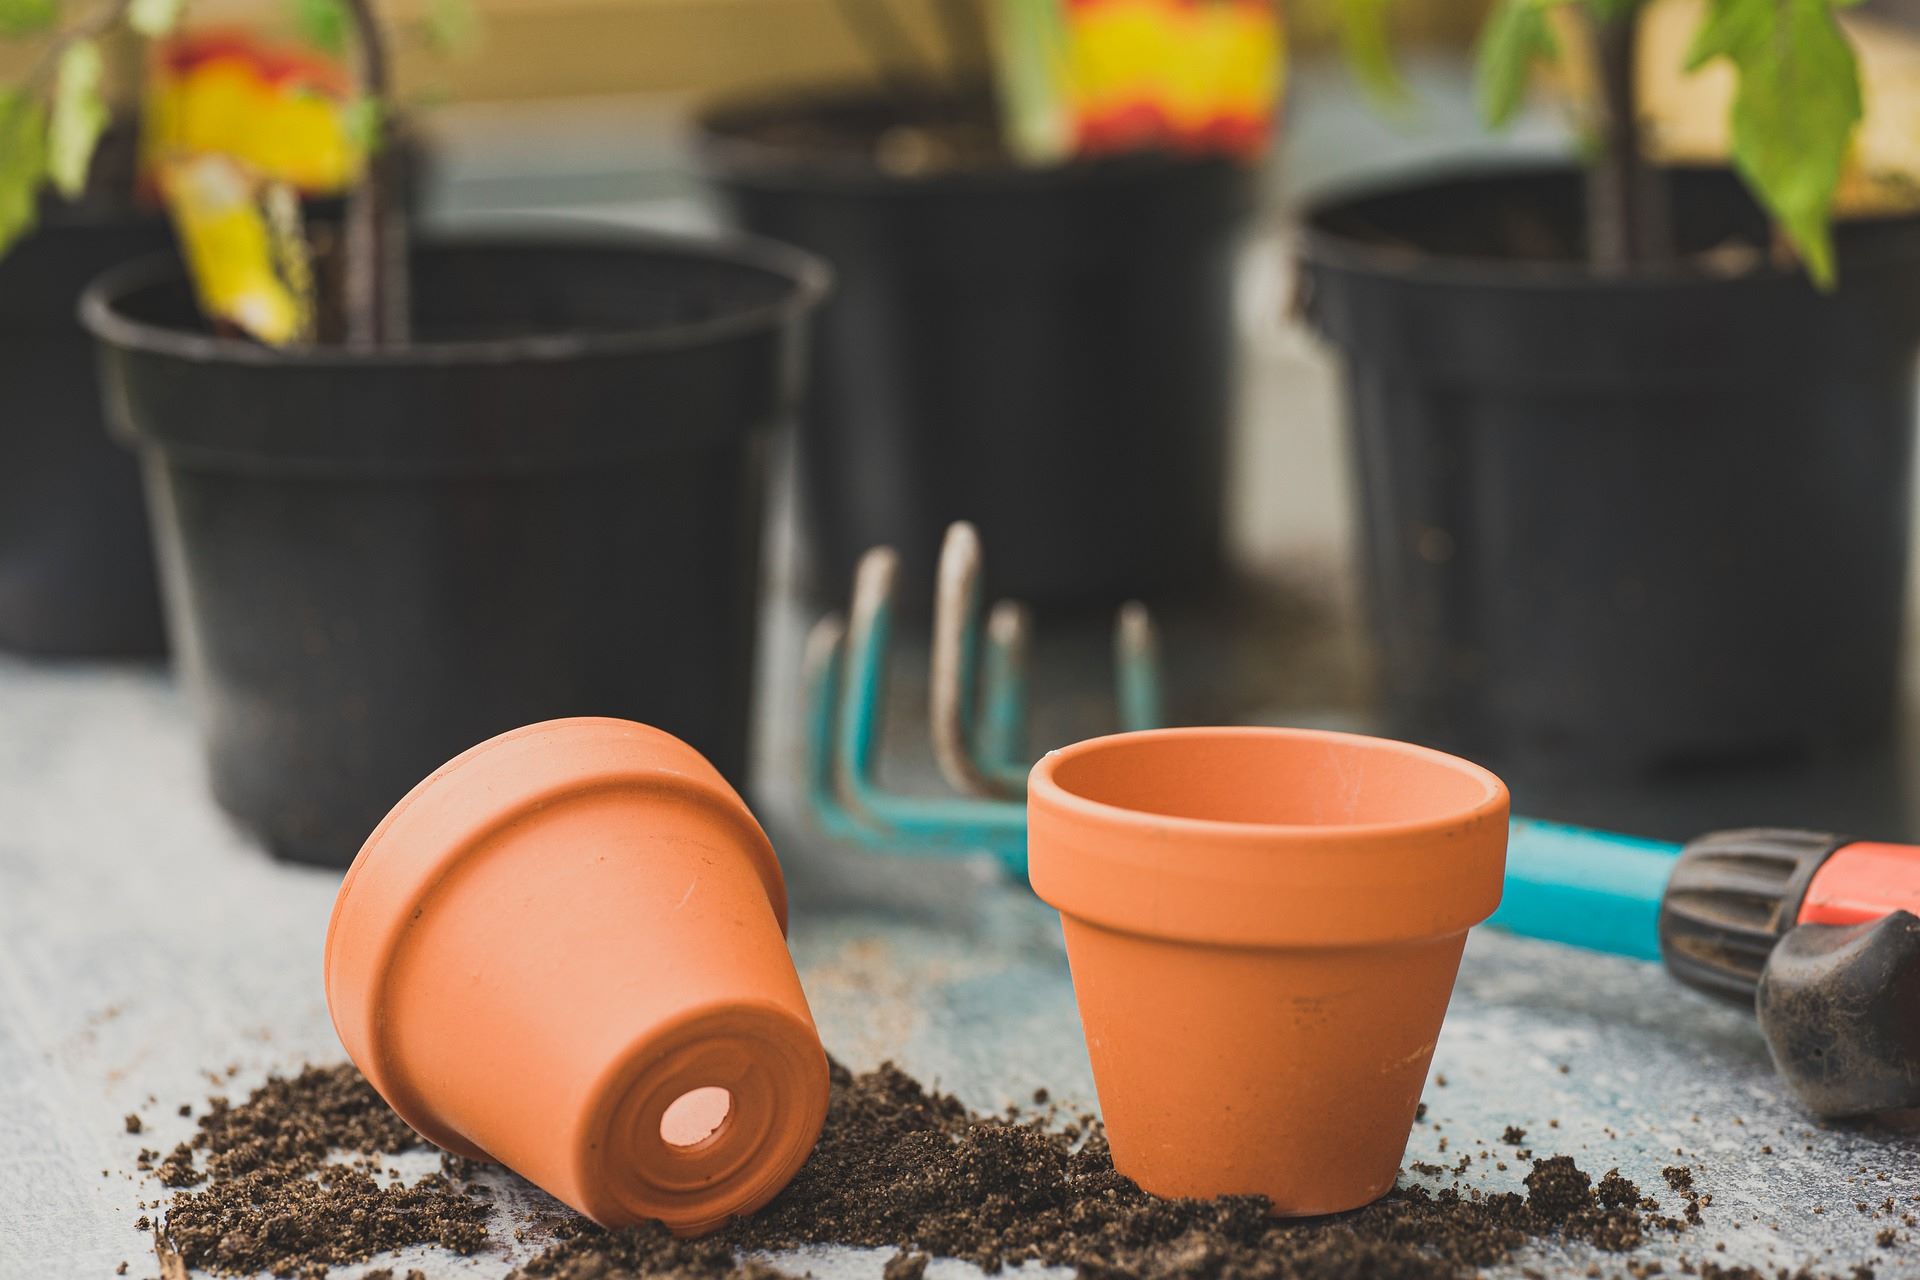
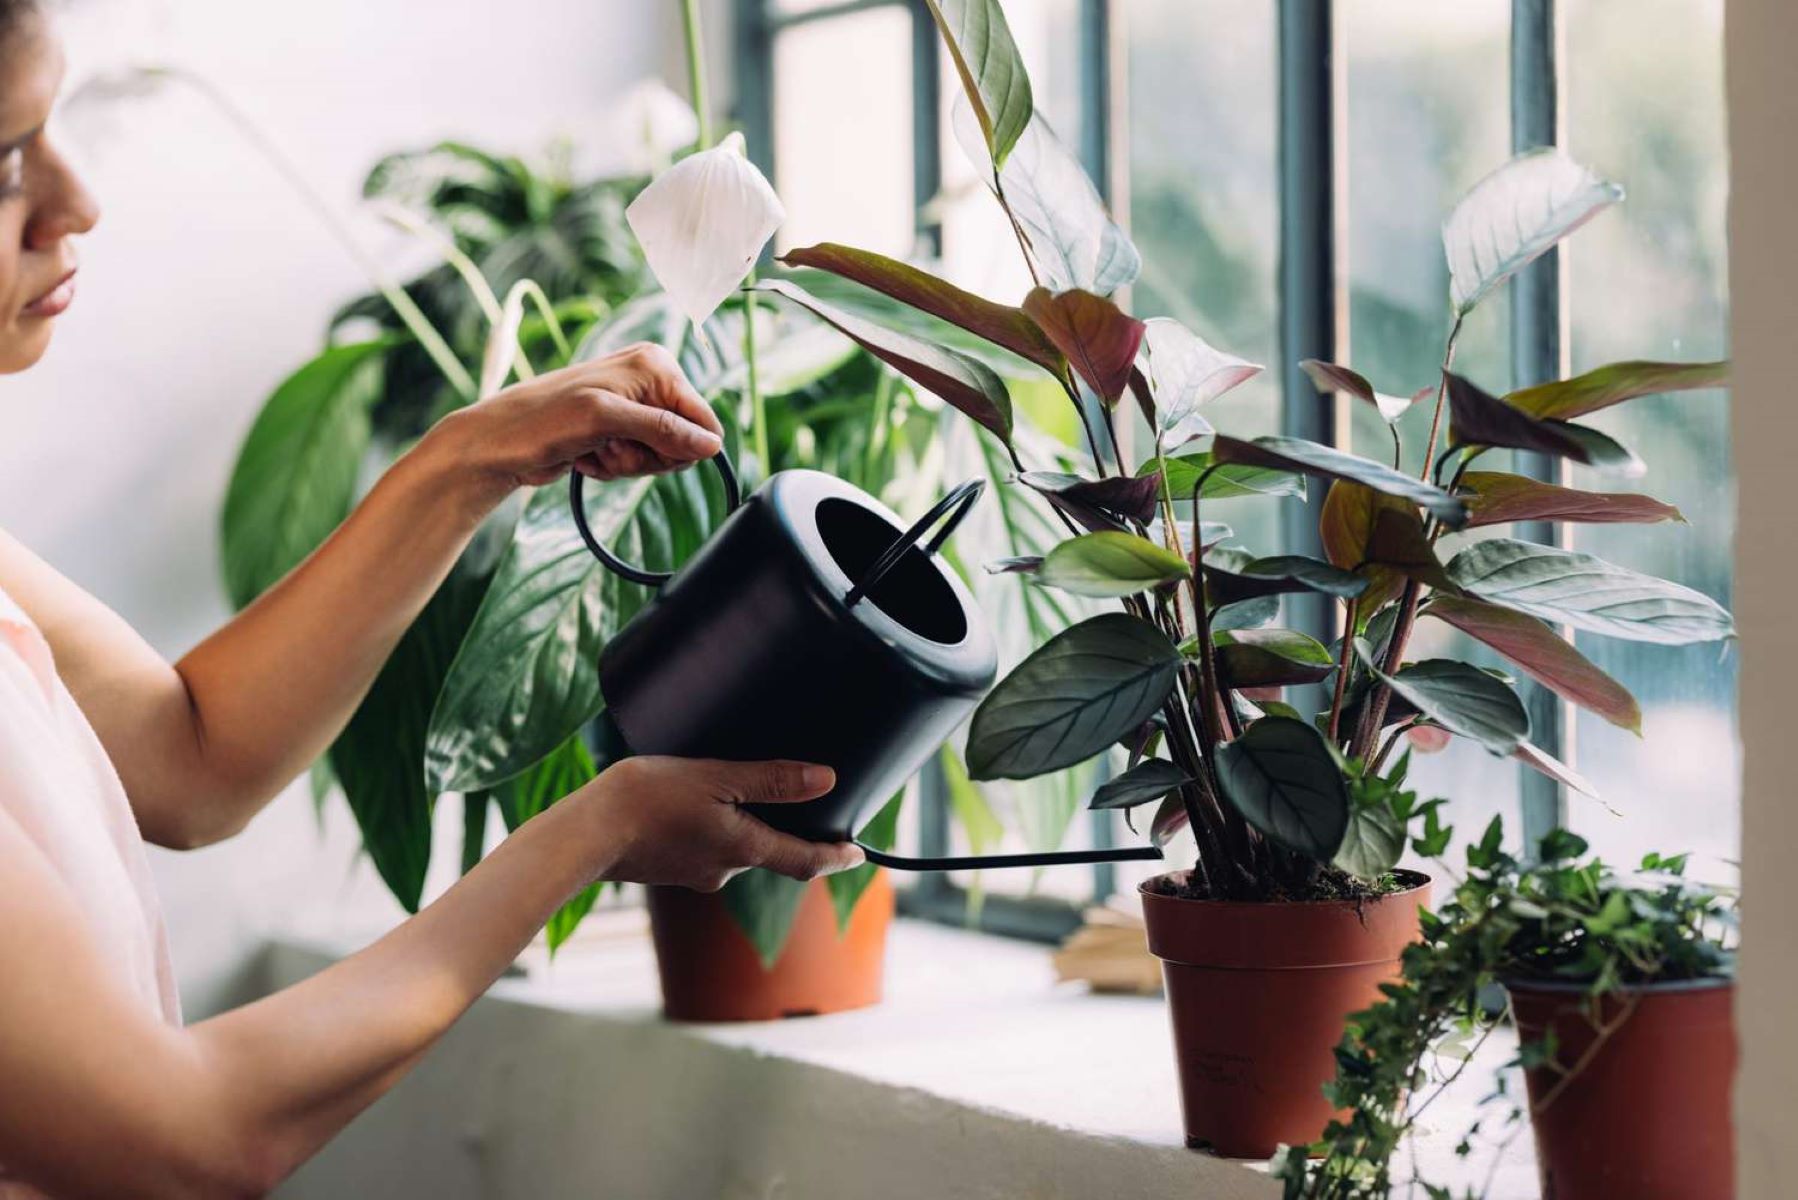
When it comes to maintaining healthy plants, proper drainage is essential. Plastic plant pots are a popular choice among gardeners due to their durability and affordability. However, many plastic pots come without drainage holes, which can cause water to accumulate and lead to root rot and other plant health issues.
Adding drainage holes to your plastic plant pots is a simple yet crucial step in ensuring optimal plant growth. In this article, we will guide you through the process of putting drainage holes in your plastic plant pots, providing you with the knowledge and tools you need for successful home maintenance.
Key Takeaways:
- Proper drainage holes in plastic plant pots are crucial for healthy plant growth, preventing root rot, and ensuring oxygen flow to the roots. Follow the step-by-step guide for successful home maintenance.
- Choose the right pot size, use well-draining soil, and monitor watering habits to create an optimal drainage system for plastic plant pots. These tips promote healthy root development and overall plant well-being.
Importance of Drainage Holes in Plastic Plant Pots
Drainage holes play a vital role in the overall health and well-being of your plants. Here are some key reasons why drainage holes are important in plastic plant pots:
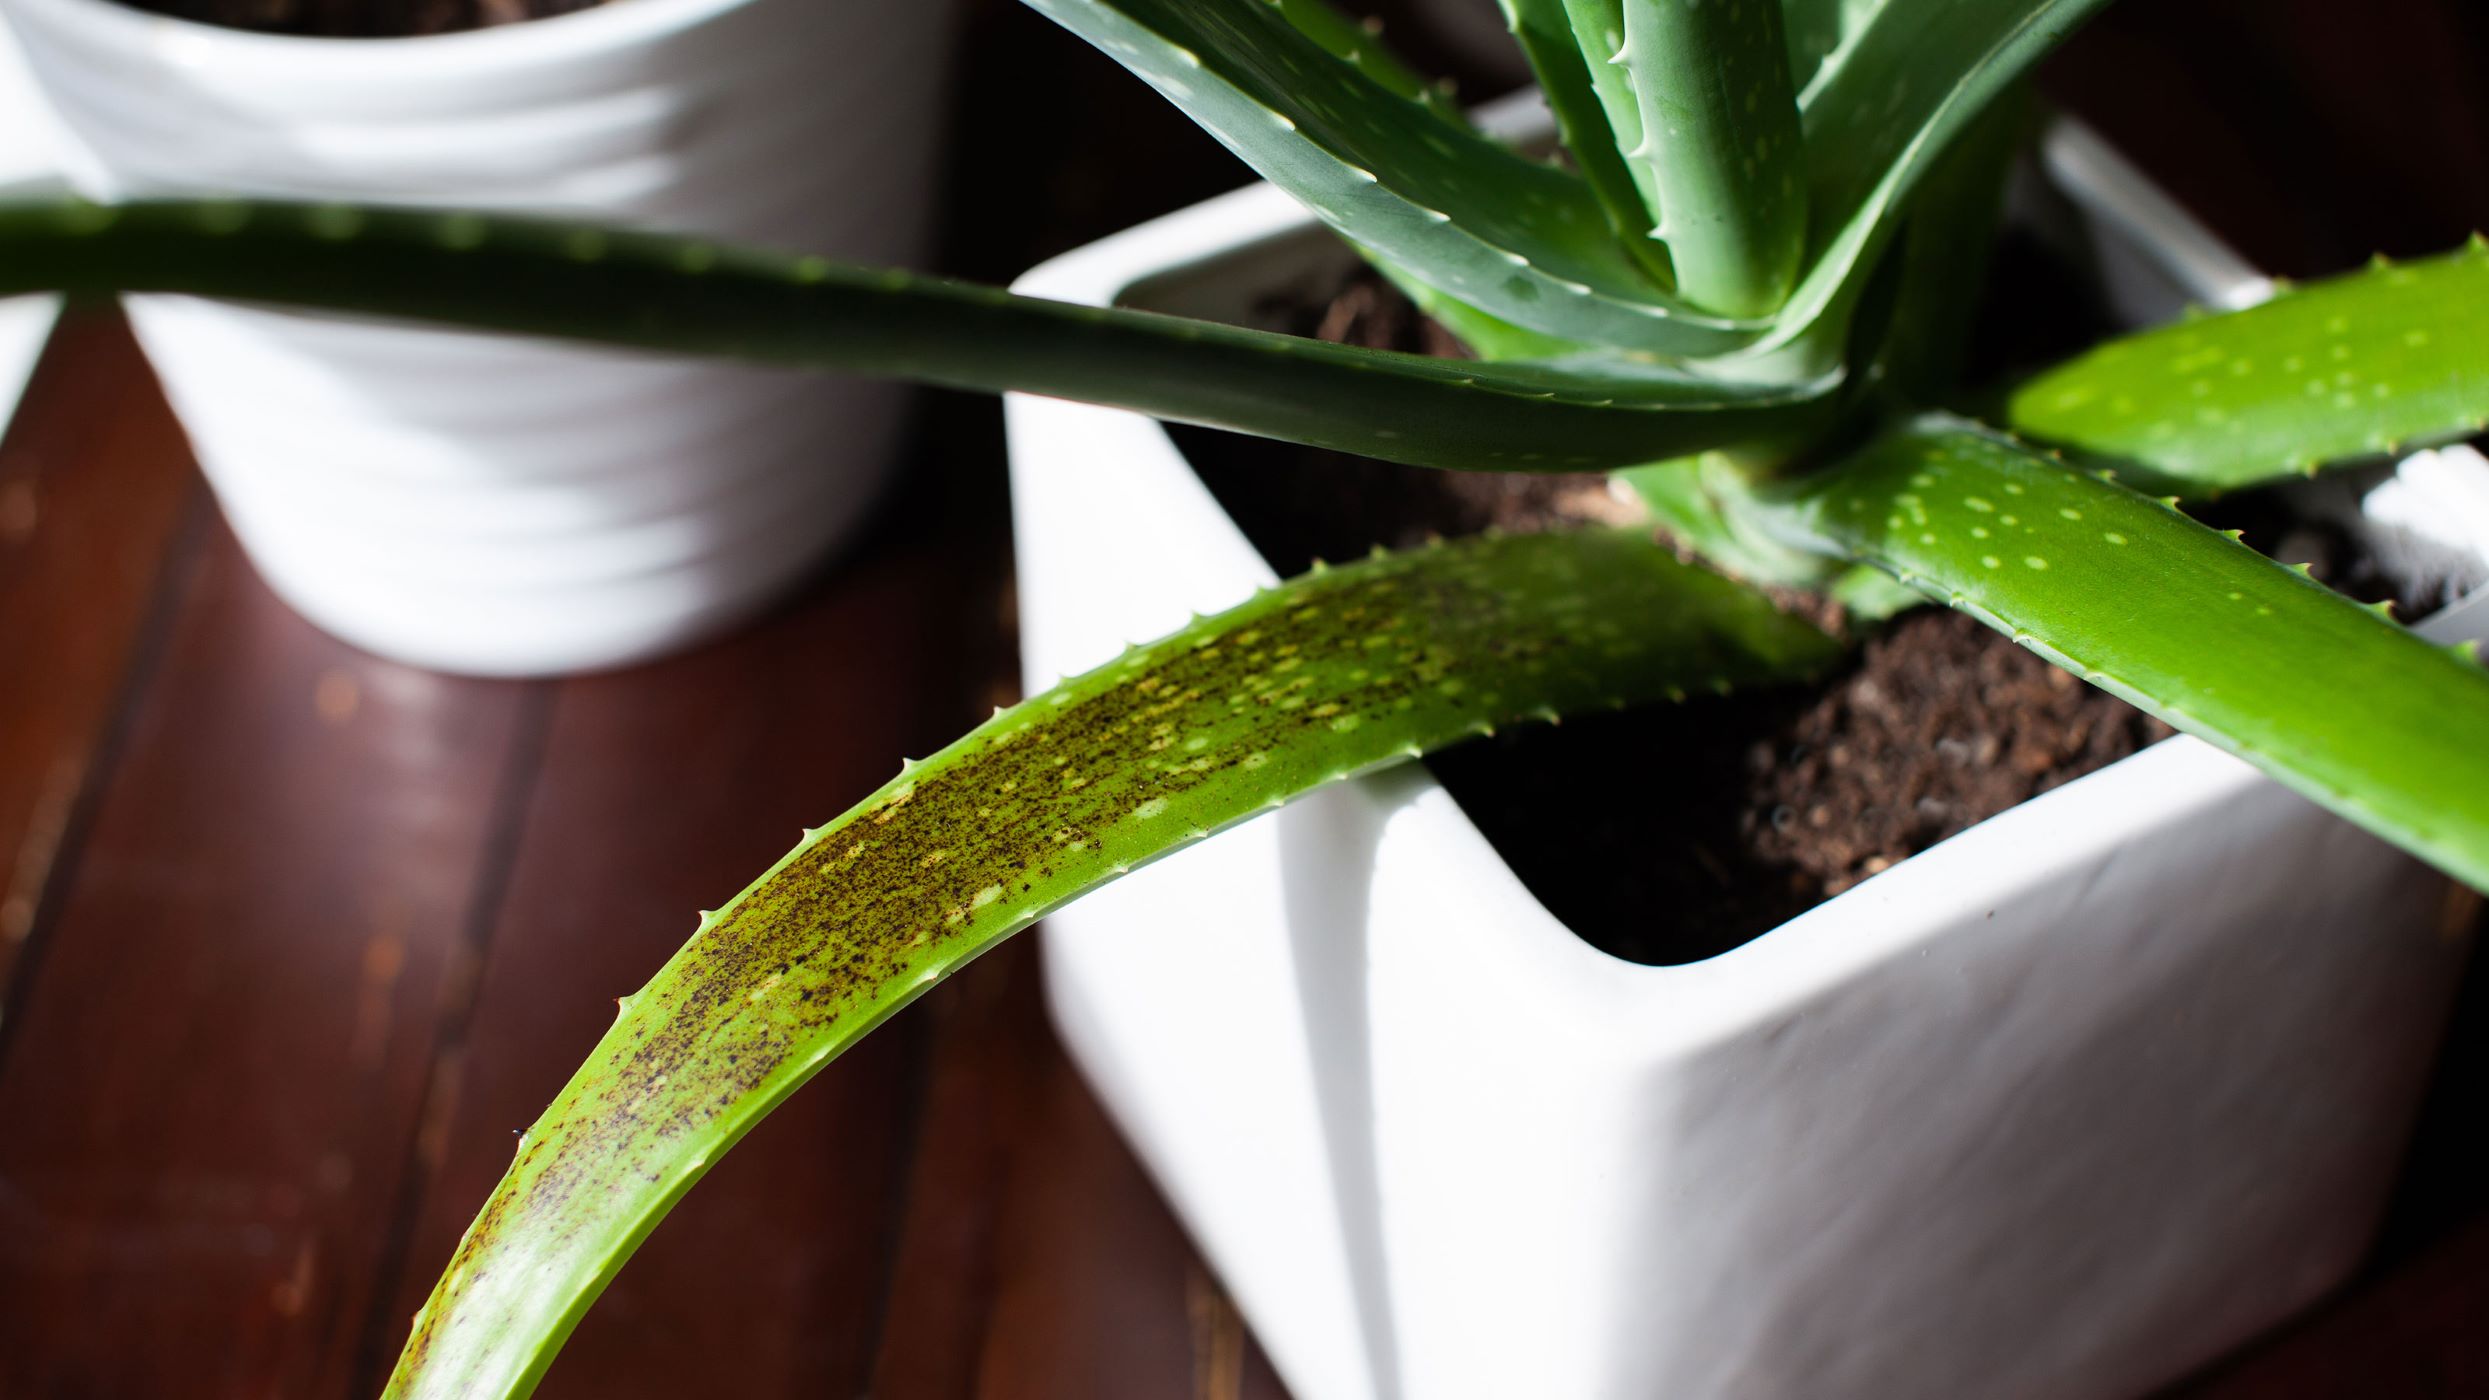
- Prevent Waterlogging: Without drainage holes, excess water has no way to escape, causing it to pool at the bottom of the pot. This creates an environment where the plant’s roots are constantly immersed in water, leading to root rot and eventual death of the plant.
- Allow Oxygen Flow: Adequate drainage ensures that there is enough oxygen circulating in the soil. Oxygen is vital for the roots’ respiration process, promoting healthy growth and preventing suffocation.
- Prevent Nutrient Buildup: When water cannot drain properly, it can cause salts and mineral deposits to accumulate in the soil. This buildup can disrupt the plant’s nutrient uptake and create an imbalance that affects overall plant health.
- Regulate Moisture Levels: Drainage holes help maintain the right balance of moisture in the soil. They allow excess water to escape, ensuring the soil doesn’t become oversaturated, yet still retains enough moisture for the plants to thrive.
- Prevent Pest Infestation: Standing water attracts pests such as mosquitoes and fungus gnats. Having proper drainage holes reduces the risk of these pests multiplying and infesting your plants.
By understanding the importance of drainage holes, you can create a favorable growing environment for your plants, increasing their chances of thriving and flourishing.
Tools and Materials Required
Before you begin adding drainage holes to your plastic plant pots, gather the following tools and materials:
- Plastic plant pots: Choose the size and shape of pots that suit your gardening needs.
- Drill or screwdriver: Use a drill with a small drill bit or a screwdriver with a sharp point to create the drainage holes.
- Masking tape: This will help prevent the pot from cracking or splitting while drilling the holes.
- Pencil or marker: Use this to mark the spots where you will drill the holes.
- Protective goggles: Wear goggles to protect your eyes from any debris or particles.
- Work gloves: Gloves will provide a better grip while drilling and help protect your hands.
- Watering can or hose: You’ll need this to water your plants once the drainage holes are in place.
Having these tools and materials ready will ensure a smooth and efficient process when adding drainage holes to your plastic plant pots.
Step-by-Step Guide to Putting Drainage Holes in Plastic Plant Pots
Follow these simple steps to successfully add drainage holes to your plastic plant pots:
- Prepare the pot: Clean the plastic pot thoroughly to remove any dirt or debris. Dry it completely before moving on to the next step.
- Choose the drilling spots: Determine where you want the drainage holes to be positioned on the pot’s bottom. It’s recommended to have multiple holes evenly spaced to ensure proper drainage.
- Mark the drilling spots: Use a pencil or marker to mark the chosen spots on the outside of the pot’s bottom. This will serve as a guide while drilling.
- Secure the pot: Place the pot on a stable surface and use masking tape to secure it in place. This will prevent the pot from moving or cracking while you drill.
- Put on your protective gear: Wear goggles to protect your eyes from any debris or particles that may be generated during the drilling process. You may also consider wearing work gloves for better grip and hand protection.
- Drill the holes: Using a drill with a small drill bit or a sharp-pointed screwdriver, carefully begin drilling into the marked spots. Start slow to prevent the plastic from cracking. Apply gentle pressure and continue drilling until the holes are fully formed.
- Remove any residue: Once the holes are drilled, wipe away any plastic residue or shavings from both the inside and outside of the pot.
- Test the drainage: Fill the pot with water to check if the drainage holes allow water to flow out freely. If the water drains properly, the holes are adequate. If not, you may need to drill additional holes.
- Final touches: Once you are satisfied with the drainage, remove the masking tape and clean the pot one more time to ensure it’s free from any debris.
Now that you’ve successfully added drainage holes to your plastic plant pot, you can proceed to transplant your plants or use the pots for new plantings. Remember to water your plants according to their specific needs, allowing the excess water to drain away through the newly created holes.
Use a drill with a small bit to make 4-6 holes in the bottom of the plastic pot for drainage. Make sure to space them evenly and avoid cracking the plastic.
Alternative Methods for Creating Drainage Holes
If you don’t have access to a drill or prefer alternative methods, here are a few other ways to create drainage holes in your plastic plant pots:
- Nail and hammer: Using a sharp nail and a hammer, gently tap the nail through the bottom of the pot to create small drainage holes. Continue doing this until you have an adequate number of holes.
- Hot nail method: Heat a nail over a flame or stove and carefully press it through the bottom of the pot. The hot nail should melt through the plastic, creating the drainage holes. Be cautious when using this method, as the hot nail can cause burns.
- Electric soldering iron: If you have an electric soldering iron, you can use it to melt holes in your plastic plant pots. Place the tip of the soldering iron against the bottom of the pot and slowly move it around to create the desired size of the holes.
- Use a heated skewer: Heat a metal skewer over a flame and use it to melt holes in the pot. Similar to the hot nail method, be cautious when working with hot objects.
- Pre-drilled pot liners: Another option is to purchase pre-drilled plastic pot liners that fit inside your plastic plant pots. These liners already have drainage holes, allowing for proper water drainage while protecting the outer pot.
When using alternative methods, it’s important to exercise caution and work in a well-ventilated area. Always prioritize safety and take necessary precautions to prevent accidental injuries or damage to the pot. After creating the drainage holes, ensure that they are large enough to allow for adequate water flow.
Remember, the goal is to provide proper drainage for your plants, regardless of the method you choose. Whichever approach you take, make sure you achieve adequate drainage to maintain the health and vitality of your plants.
Tips for Proper Drainage in Plastic Plant Pots
Ensuring proper drainage in your plastic plant pots is crucial for the health and growth of your plants. Here are some tips to help you achieve optimal drainage:
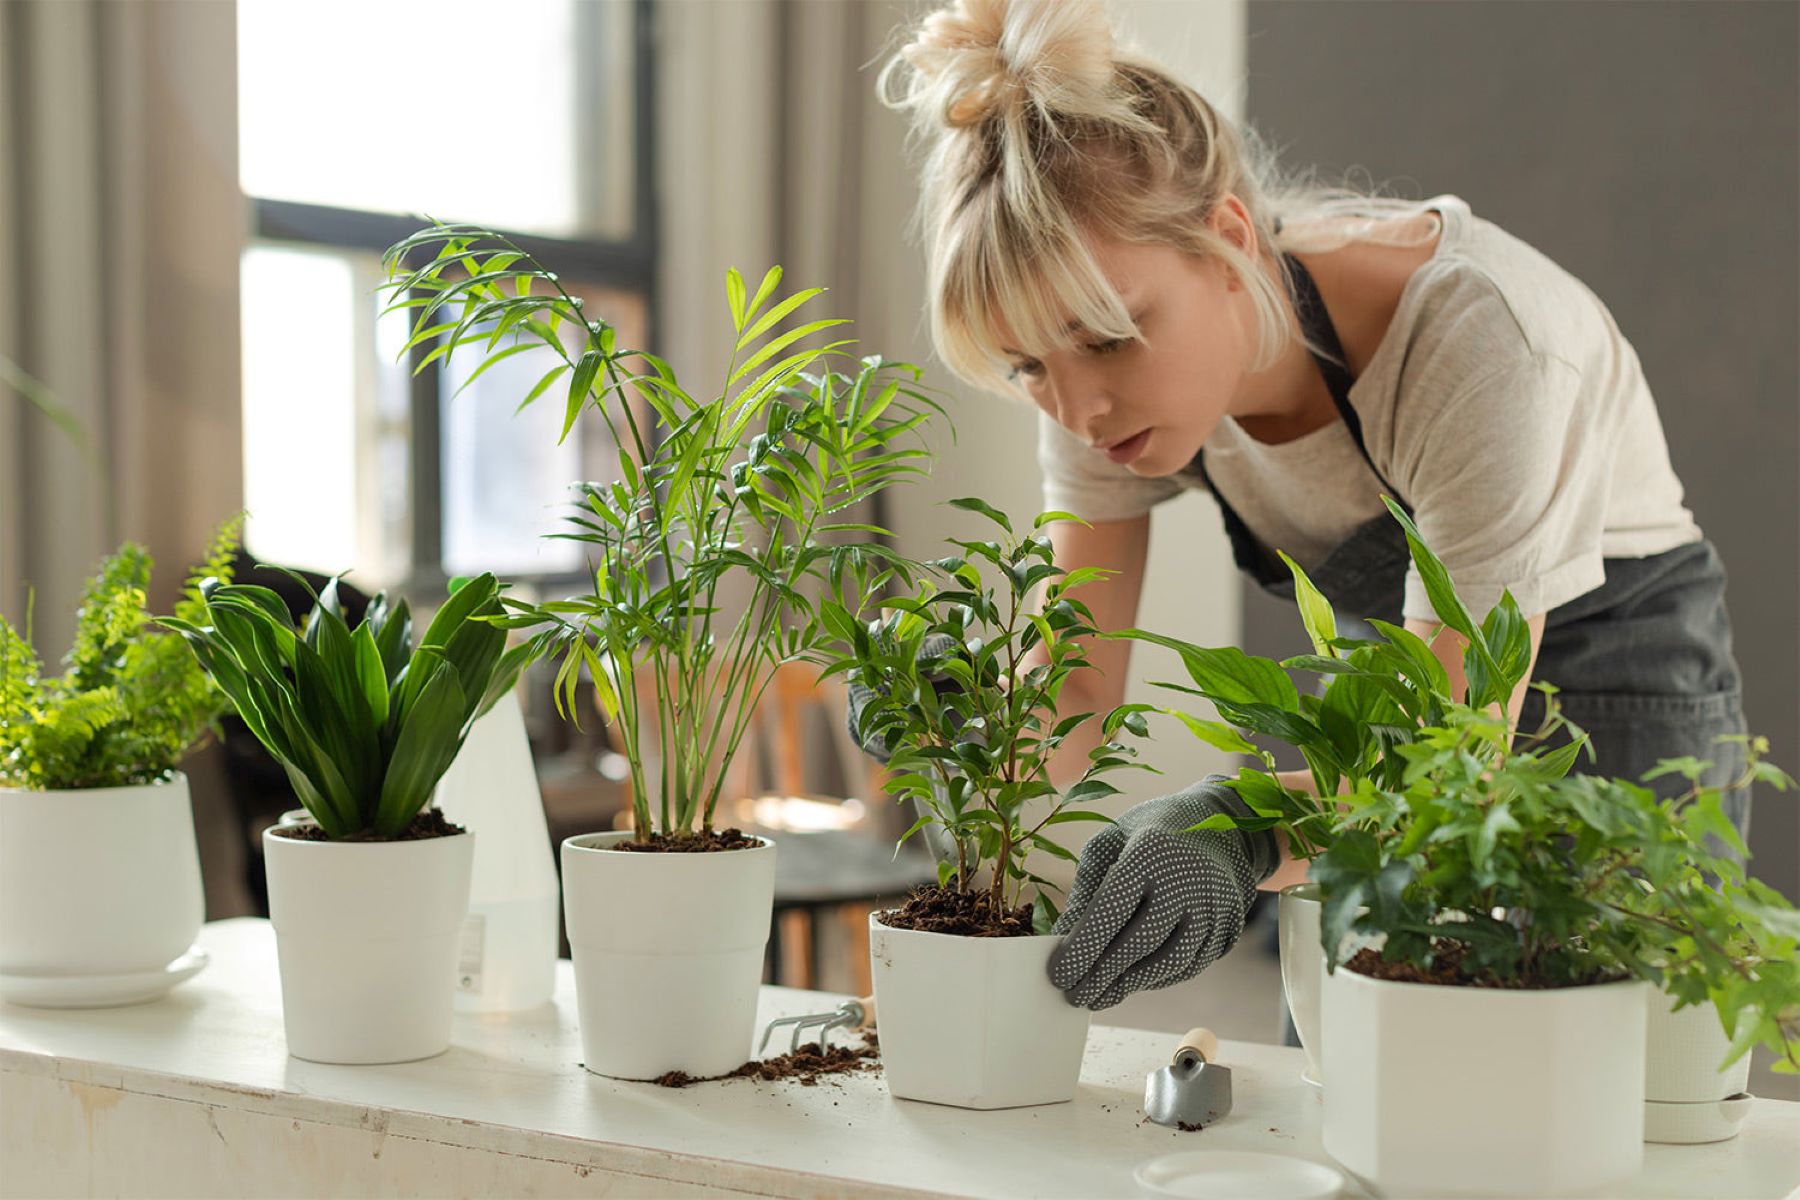
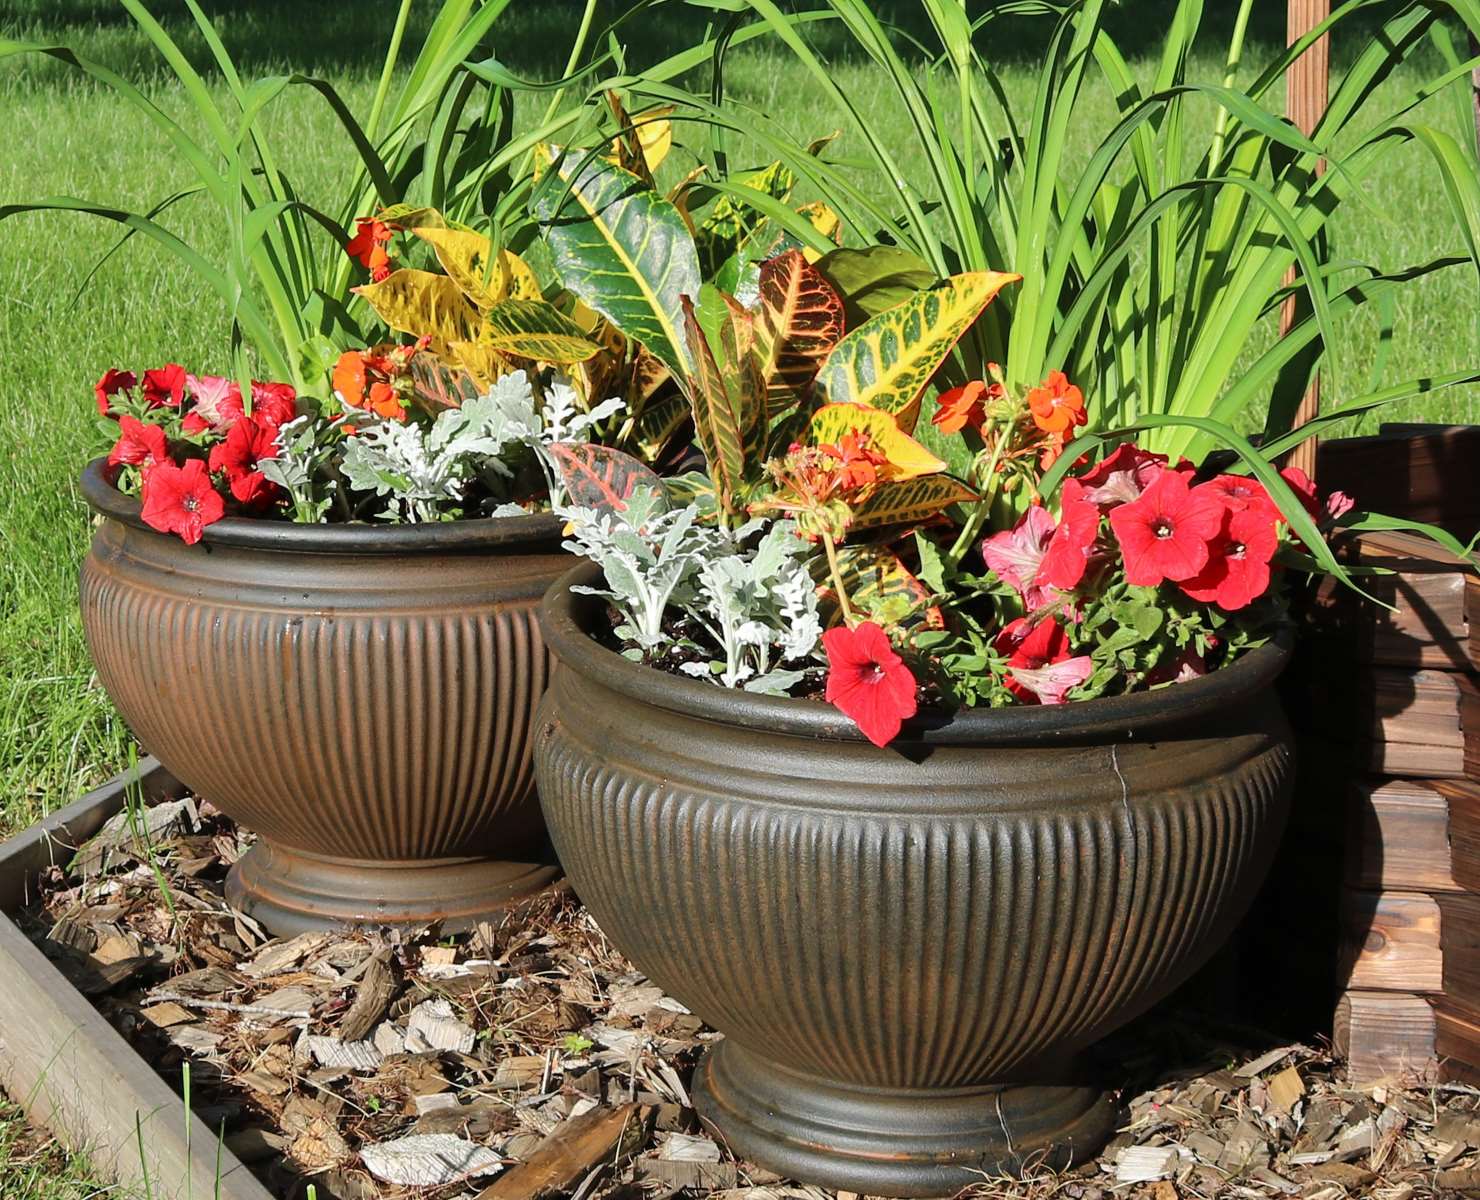
- Choose the right pot size: Select a pot that is appropriate for the size of your plant. A pot that is too small can restrict root growth and hinder drainage, while a pot that is too large can lead to overwatering.
- Use well-draining soil: Opt for a high-quality potting mix that provides excellent drainage. Avoid heavy soils that retain too much moisture, as they can lead to waterlogging.
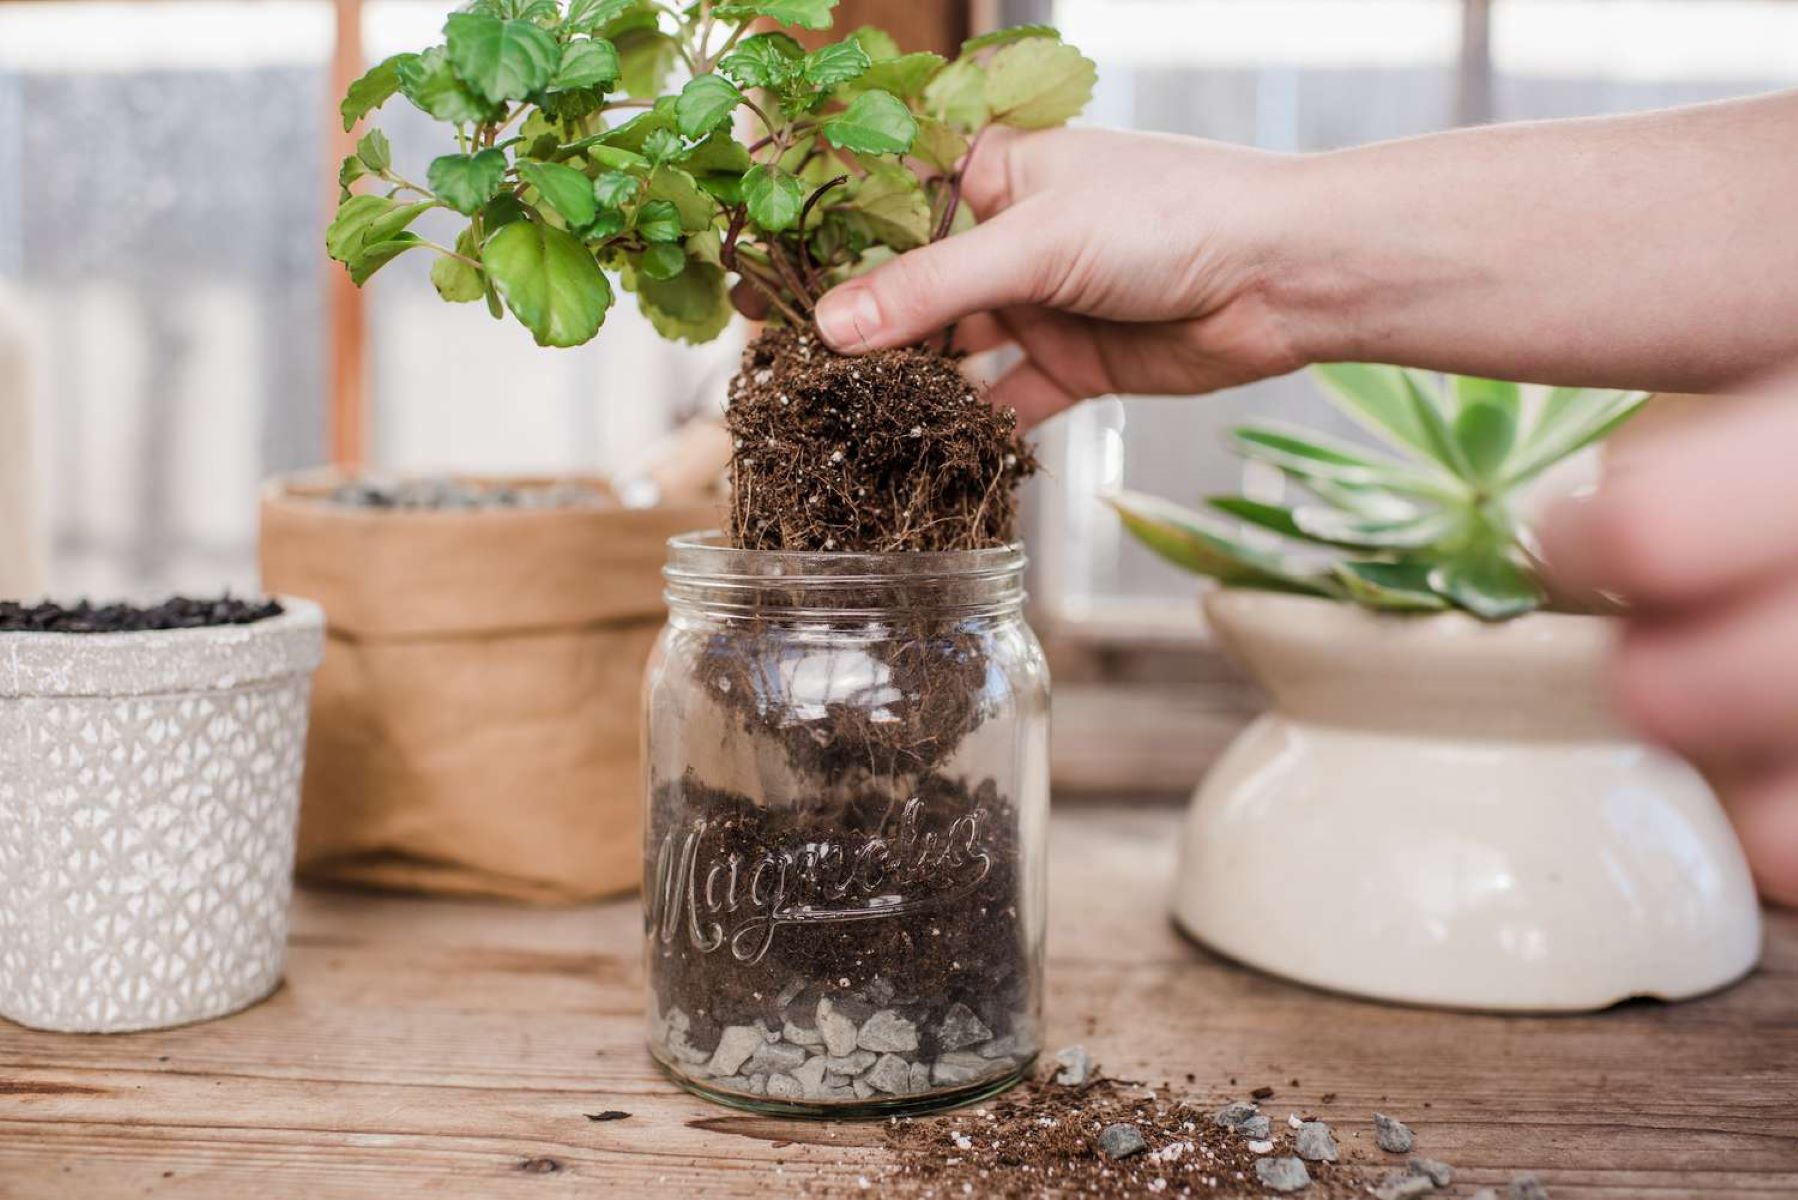
- Add drainage materials: Place a layer of small pebbles, broken pottery shards, or gravel at the bottom of the pot before adding soil. These materials can enhance drainage by creating a space for excess water to accumulate without saturating the roots.
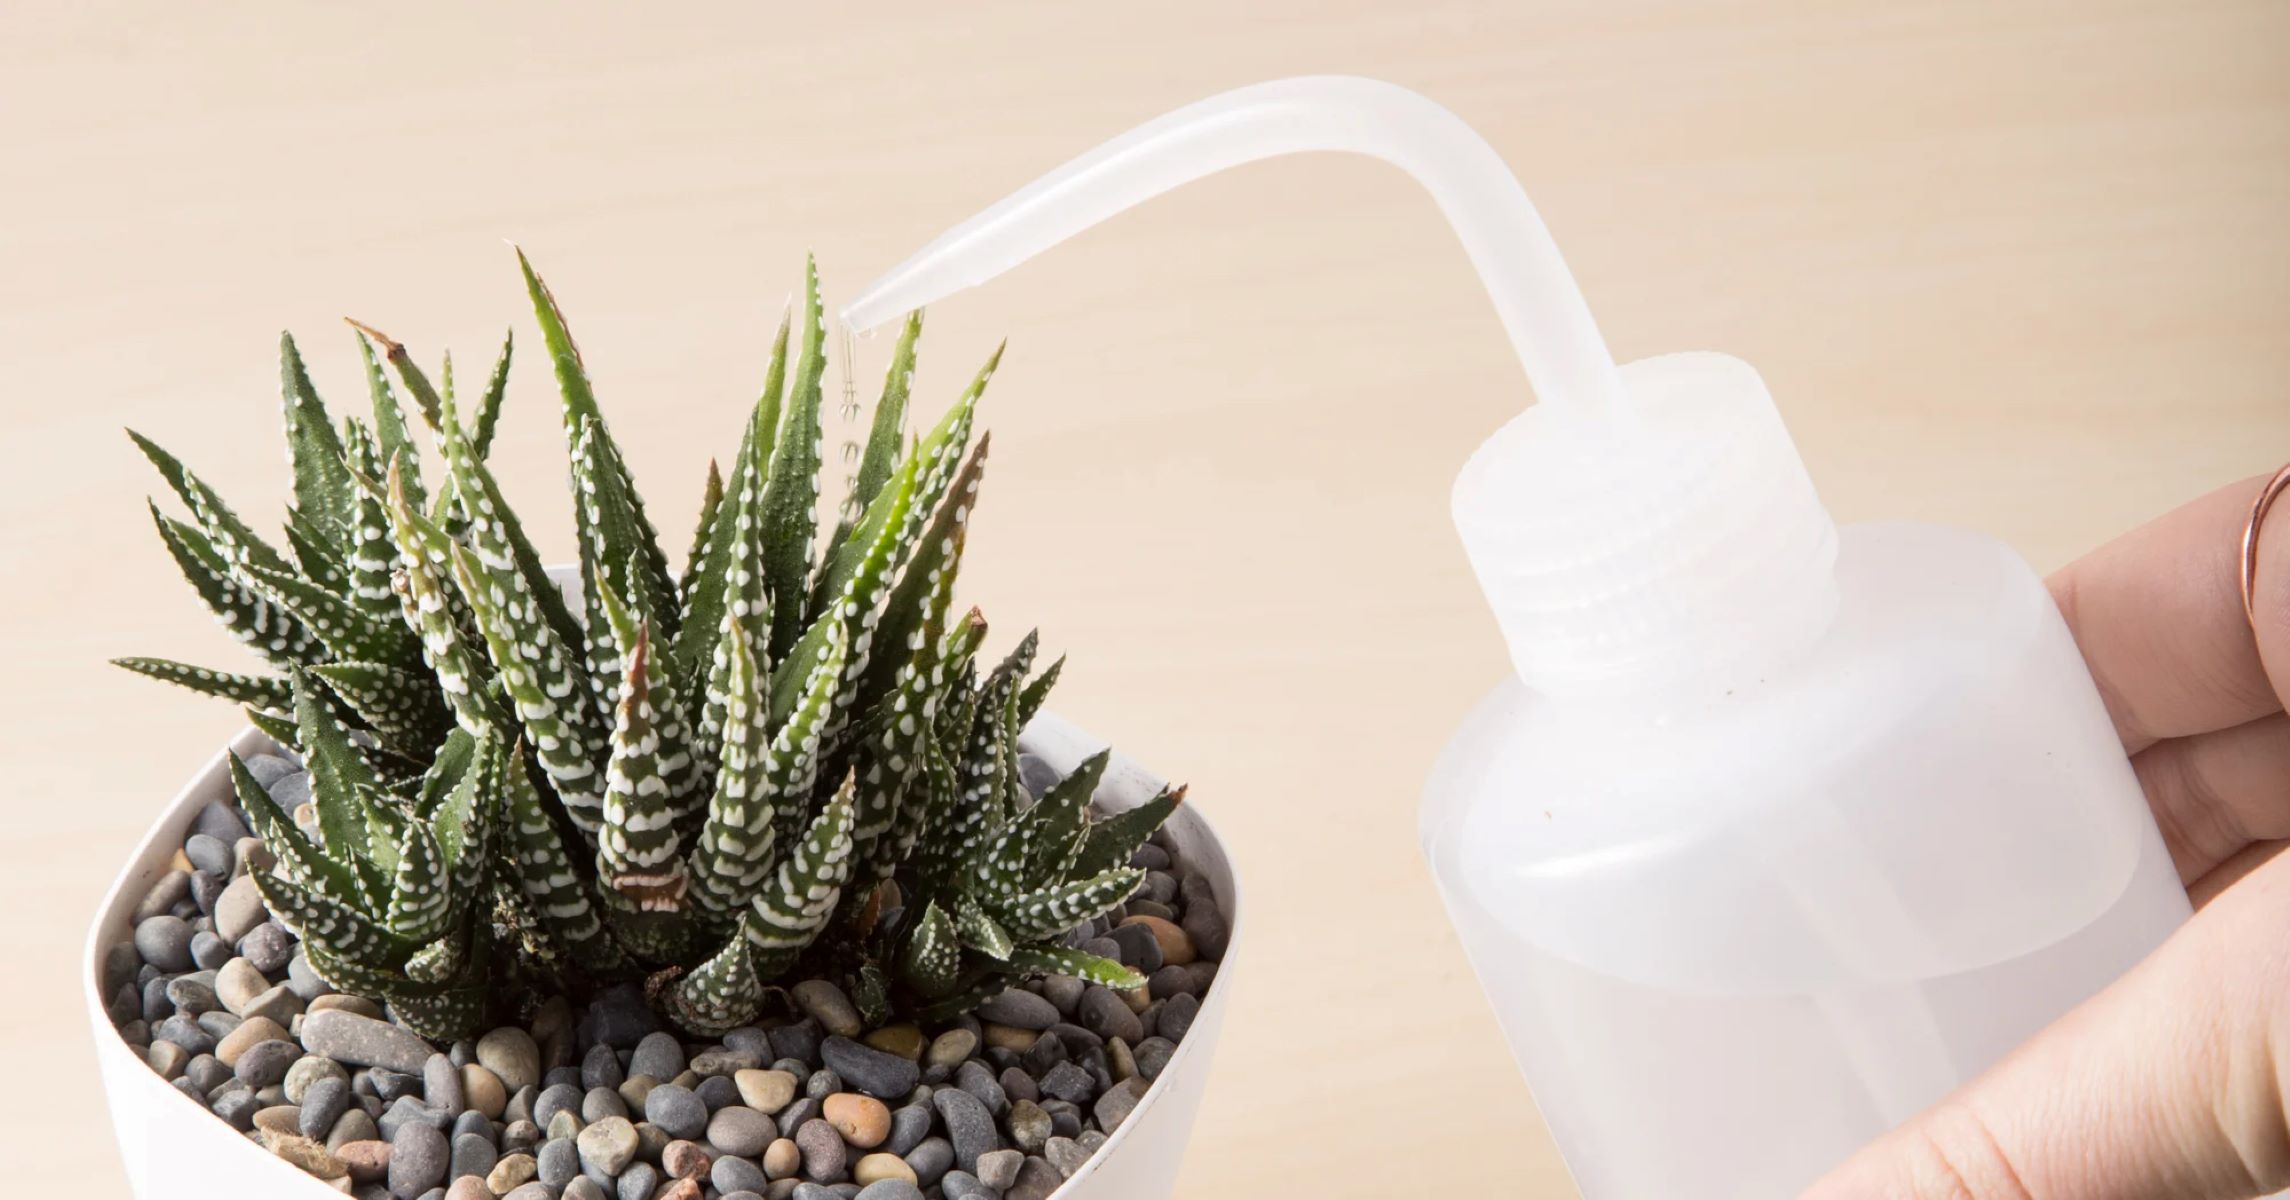
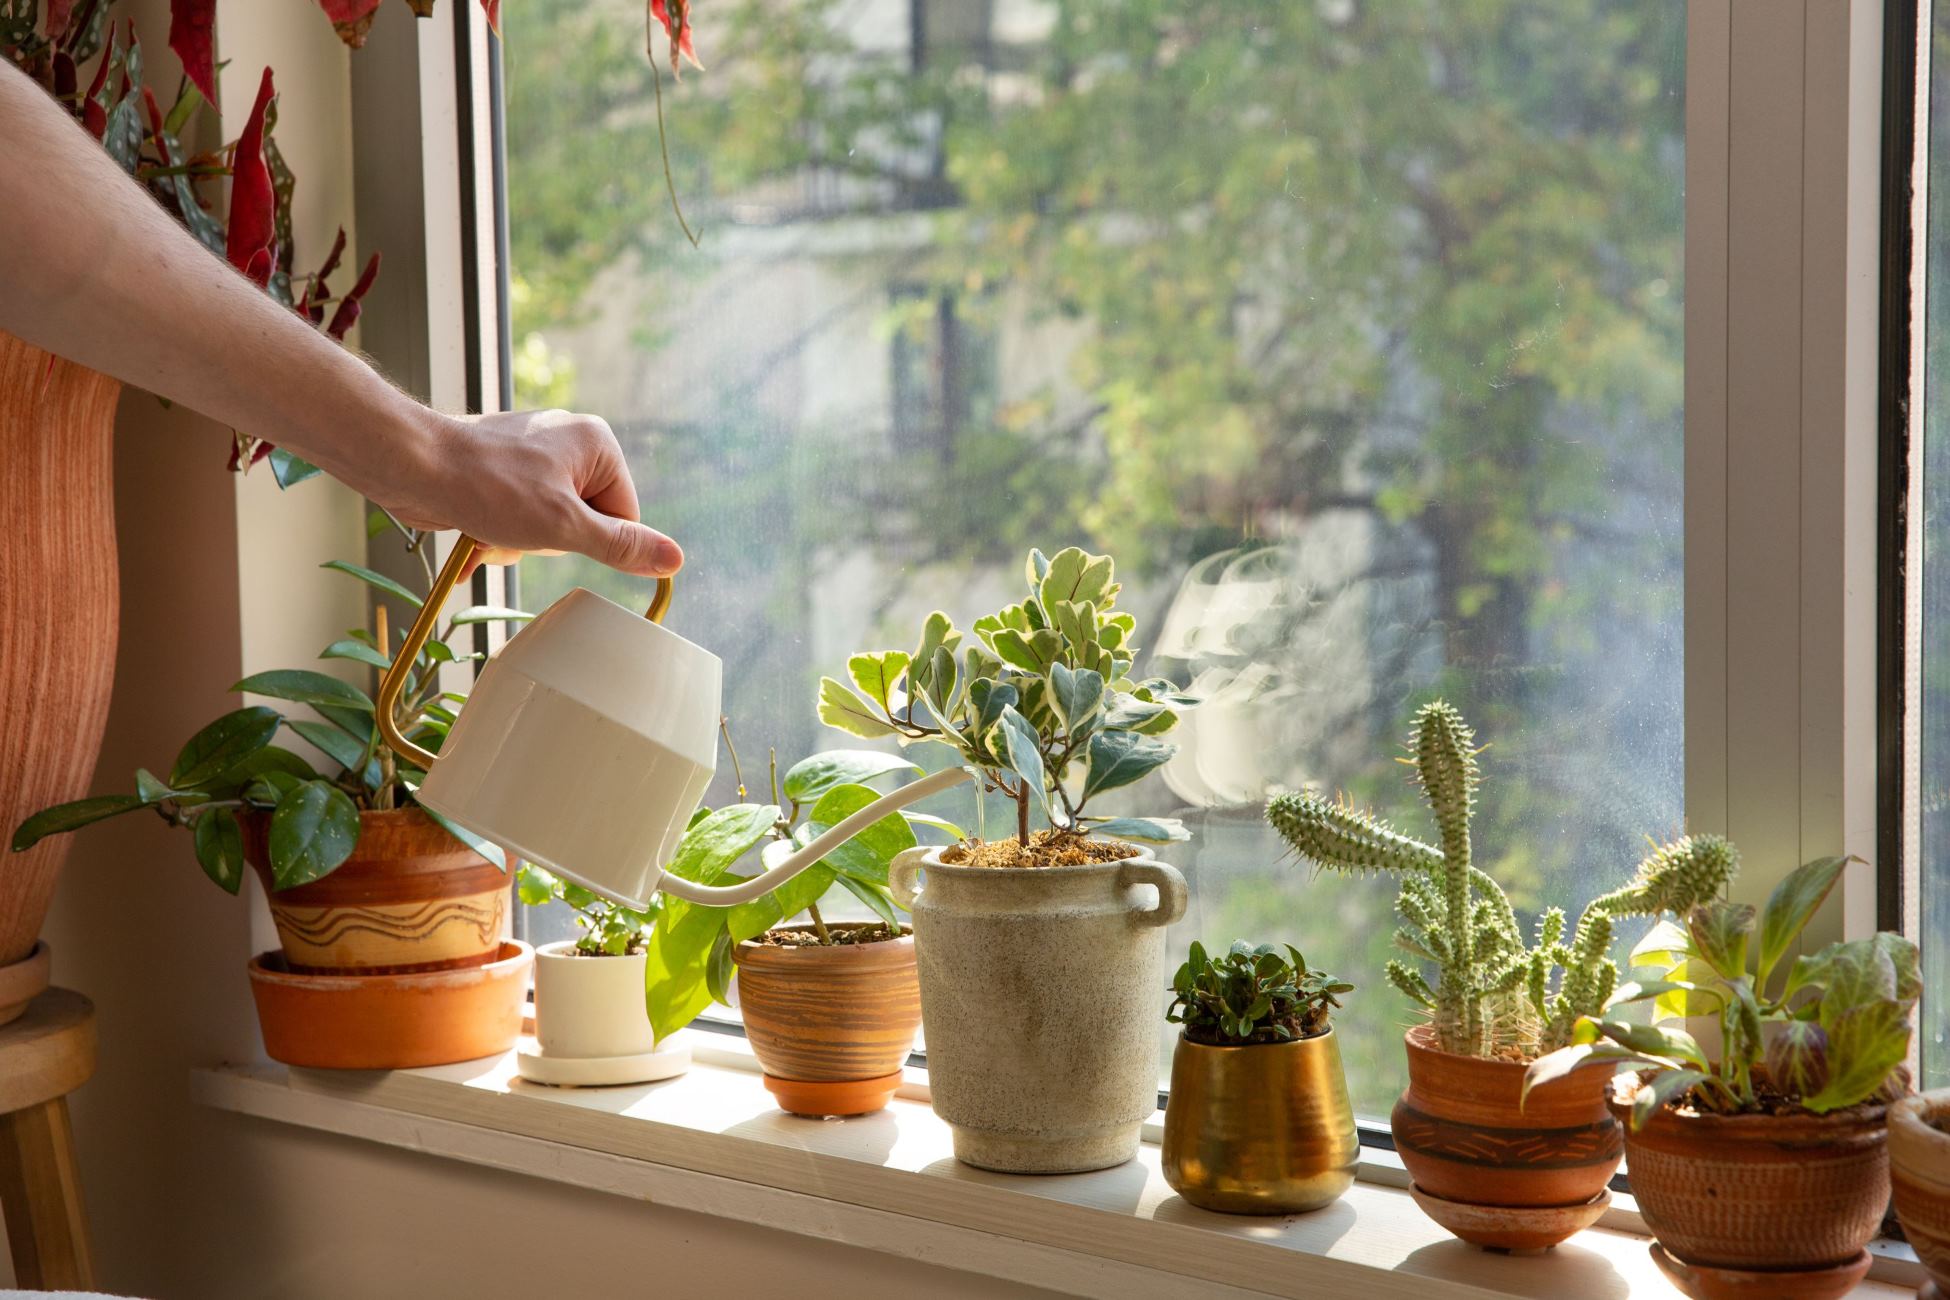
- Monitor watering habits: Avoid overwatering your plants. Instead, water them thoroughly and allow the excess water to drain out through the holes. Only water again when the top inch of soil feels dry.
- Elevate the pot: Placing the pot on pot feet or using a saucer with raised ridges can prevent the pot from sitting in waterlogged runoff. This promotes better airflow and drainage.
- Regularly inspect the drainage holes: Check the drainage holes periodically to ensure they are not clogged with debris or roots. If you notice any blockages, clear them gently with a toothpick or small brush.
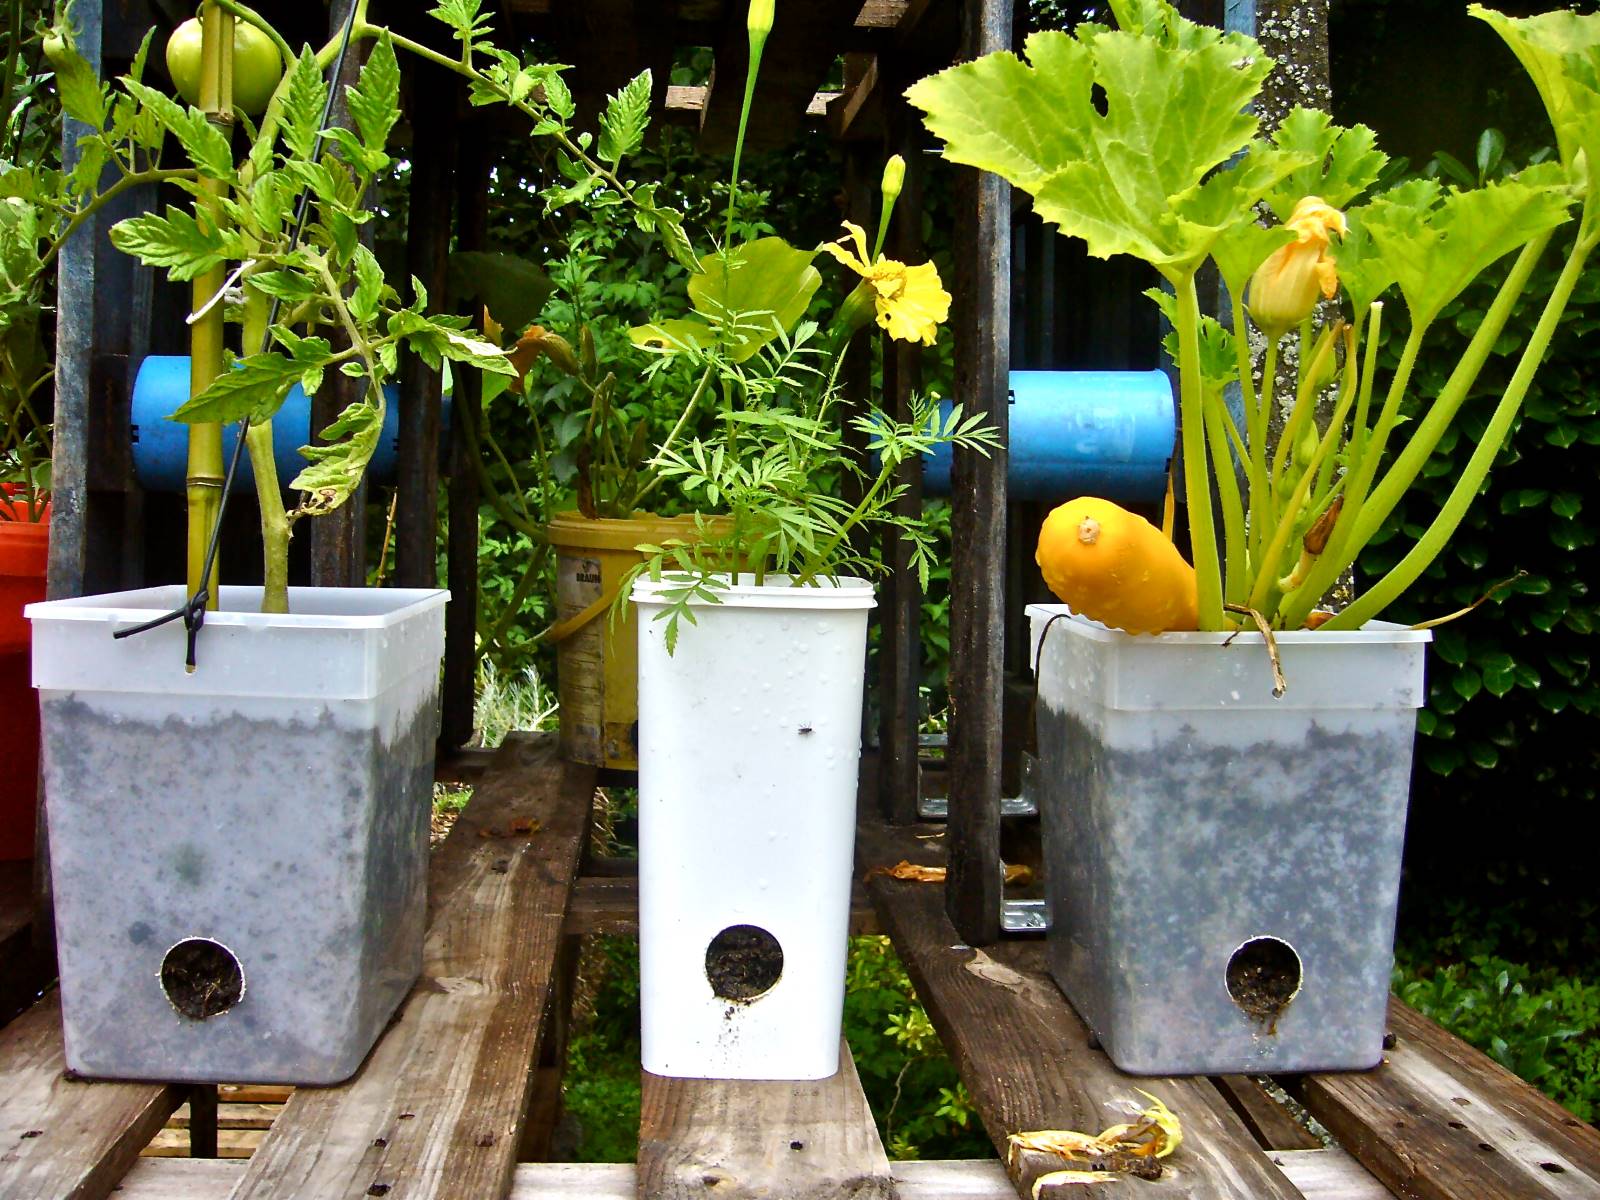
- Consider using self-watering pots: Self-watering pots have built-in reservoirs that provide consistent moisture for your plants while preventing overwatering. These pots have a wicking mechanism that allows the roots to draw water as needed.
- Provide adequate sunlight: Ensure that your plants receive enough sunlight, as this helps regulate moisture levels in the soil. Proper exposure to sunlight can also prevent water accumulation from excessive evaporation.
By implementing these tips, you can create an optimal drainage system for your plastic plant pots, promoting healthy root development, preventing water-related issues, and ensuring the overall well-being of your plants.
Conclusion
Adding drainage holes to your plastic plant pots is a crucial step in maintaining the health and vitality of your plants. By allowing excess water to drain out, you can prevent waterlogging, promote proper root respiration, and avoid nutrient imbalance issues.
In this article, we have provided you with a comprehensive guide on how to put drainage holes in your plastic plant pots. We discussed the importance of drainage holes, the tools and materials you will need, and provided step-by-step instructions for drilling the holes. We also explored alternative methods for creating drainage holes for those without access to a drill.
Additionally, we shared some useful tips for ensuring proper drainage in your plastic plant pots, such as selecting the right pot size, using well-draining soil, and monitoring your watering habits. By incorporating these tips, you can create an ideal growing environment for your plants and promote their overall well-being.
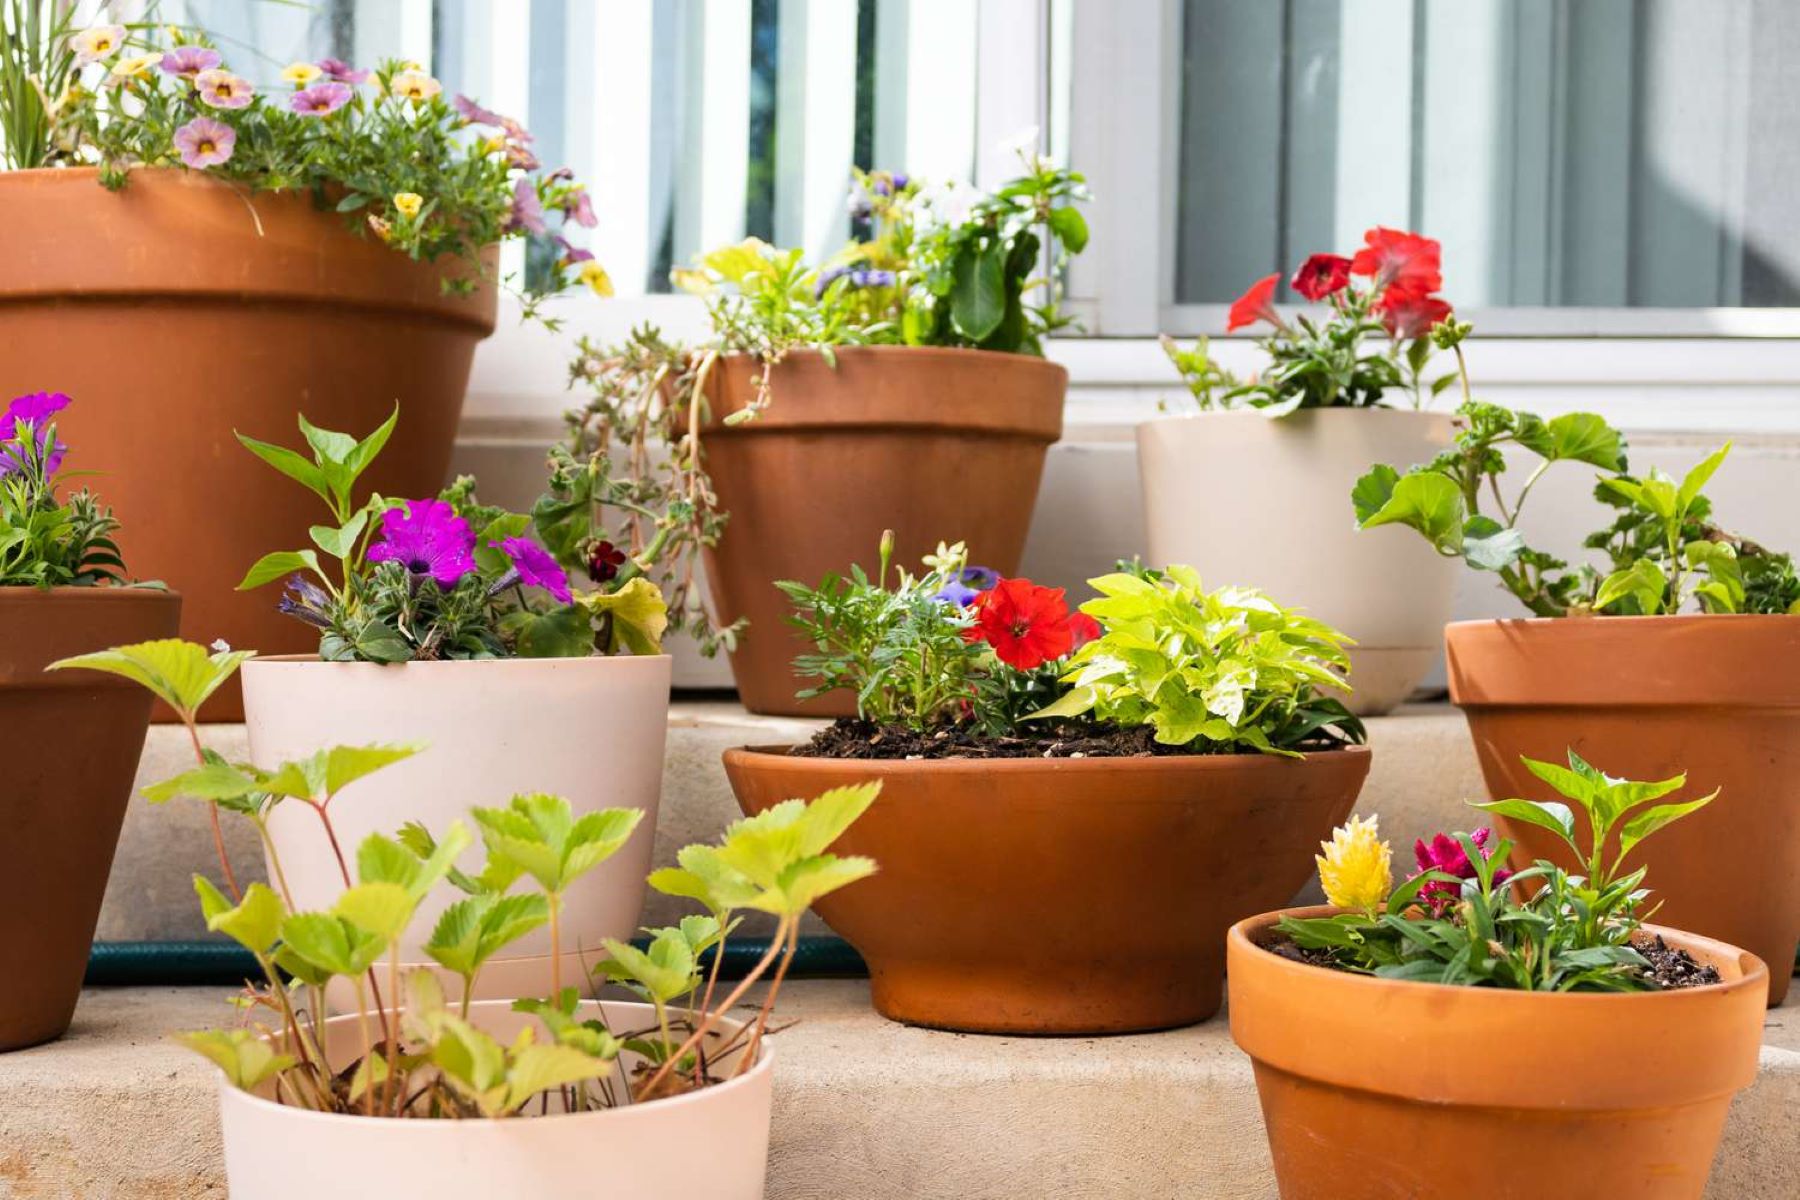
Remember, a healthy root system is the foundation for healthy plants. By providing proper drainage and avoiding waterlogged conditions, you can encourage robust growth, vibrant foliage, and beautiful blooms.
So, whether you’re an experienced gardener or just starting out, don’t forget the importance of drainage holes in your plastic plant pots. Take the time to add the necessary holes and follow our tips for optimal drainage. Your plants will thank you with lush and thriving growth, and you’ll enjoy the satisfaction of a beautiful and well-maintained garden.
Frequently Asked Questions about How To Put Drainage Holes In Plastic Plant Pots
Was this page helpful?
At Storables.com, we guarantee accurate and reliable information. Our content, validated by Expert Board Contributors, is crafted following stringent Editorial Policies. We're committed to providing you with well-researched, expert-backed insights for all your informational needs.

0 thoughts on “How To Put Drainage Holes In Plastic Plant Pots”