Home>Home Maintenance>How To Drill Drainage Holes In An Urn Planter
Home Maintenance
How To Drill Drainage Holes In An Urn Planter
Modified: October 20, 2024
Learn how to easily drill drainage holes in an urn planter to improve home maintenance. Transform your garden with this simple DIY project.
(Many of the links in this article redirect to a specific reviewed product. Your purchase of these products through affiliate links helps to generate commission for Storables.com, at no extra cost. Learn more)
Introduction
Welcome to this comprehensive guide on how to drill drainage holes in an urn planter. Proper drainage is crucial for the health and longevity of your plants, and drilling drainage holes in your urn planter is an essential step to ensure excess water can escape and prevent root rot. Whether you’re a gardening enthusiast or a DIY hobbyist, this step-by-step tutorial will provide you with the knowledge and skills to successfully drill drainage holes in your urn planter.
Before we dive into the process, it’s essential to understand the importance of drainage in planters. When water cannot freely drain from the container, it accumulates around the plant roots, creating a waterlogged environment. This leads to oxygen deprivation, root rot, and the eventual death of your plants. By allowing excess water to escape through drainage holes, you provide your plants with adequate water drainage, preventing potential issues and promoting healthy plant growth.
Drilling drainage holes in an urn planter can seem intimidating, especially if you’re new to DIY projects. However, with the right equipment, proper technique, and a bit of patience, you’ll be able to complete this task safely and efficiently. So, let’s gather our materials and get started on transforming your urn planter into a haven for thriving plants.
Key Takeaways:
- Ensure your plants thrive by drilling drainage holes in your urn planter. Proper drainage prevents root rot and promotes healthy growth, creating a flourishing container garden.
- Select the right urn planter, mark drilling points accurately, and test drainage effectiveness for a successful DIY project. Enjoy a thriving container garden with improved water drainage.
Read more: How To Use A Planter Without Drainage Holes
Materials Needed
Before you begin drilling drainage holes in your urn planter, gather the following materials:
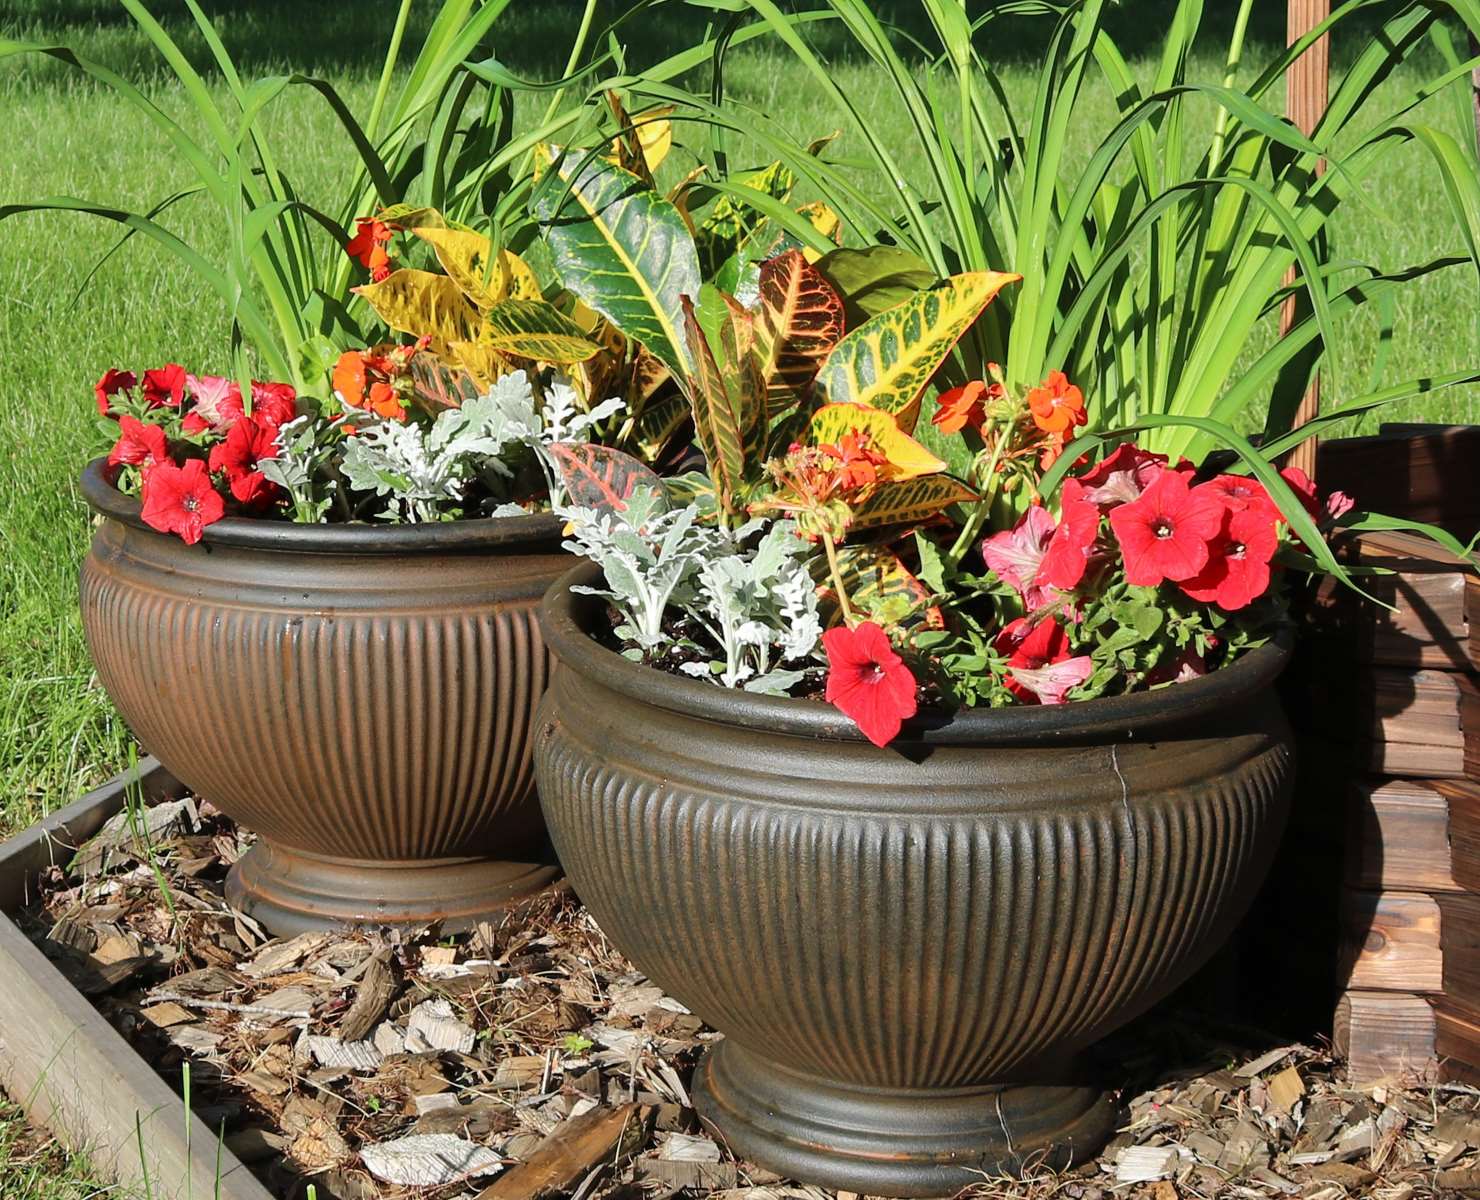
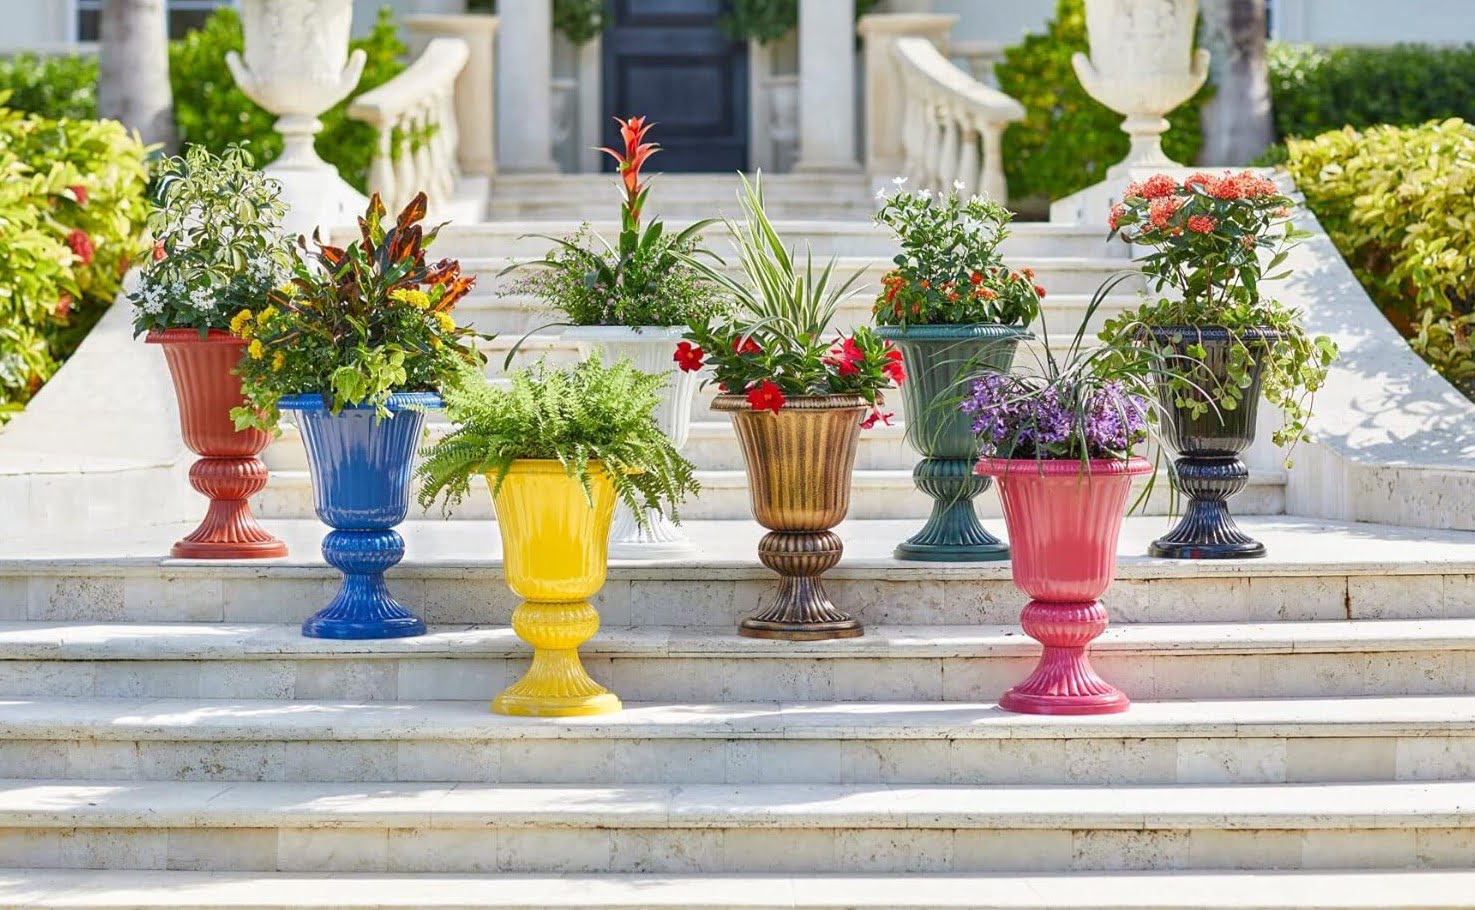
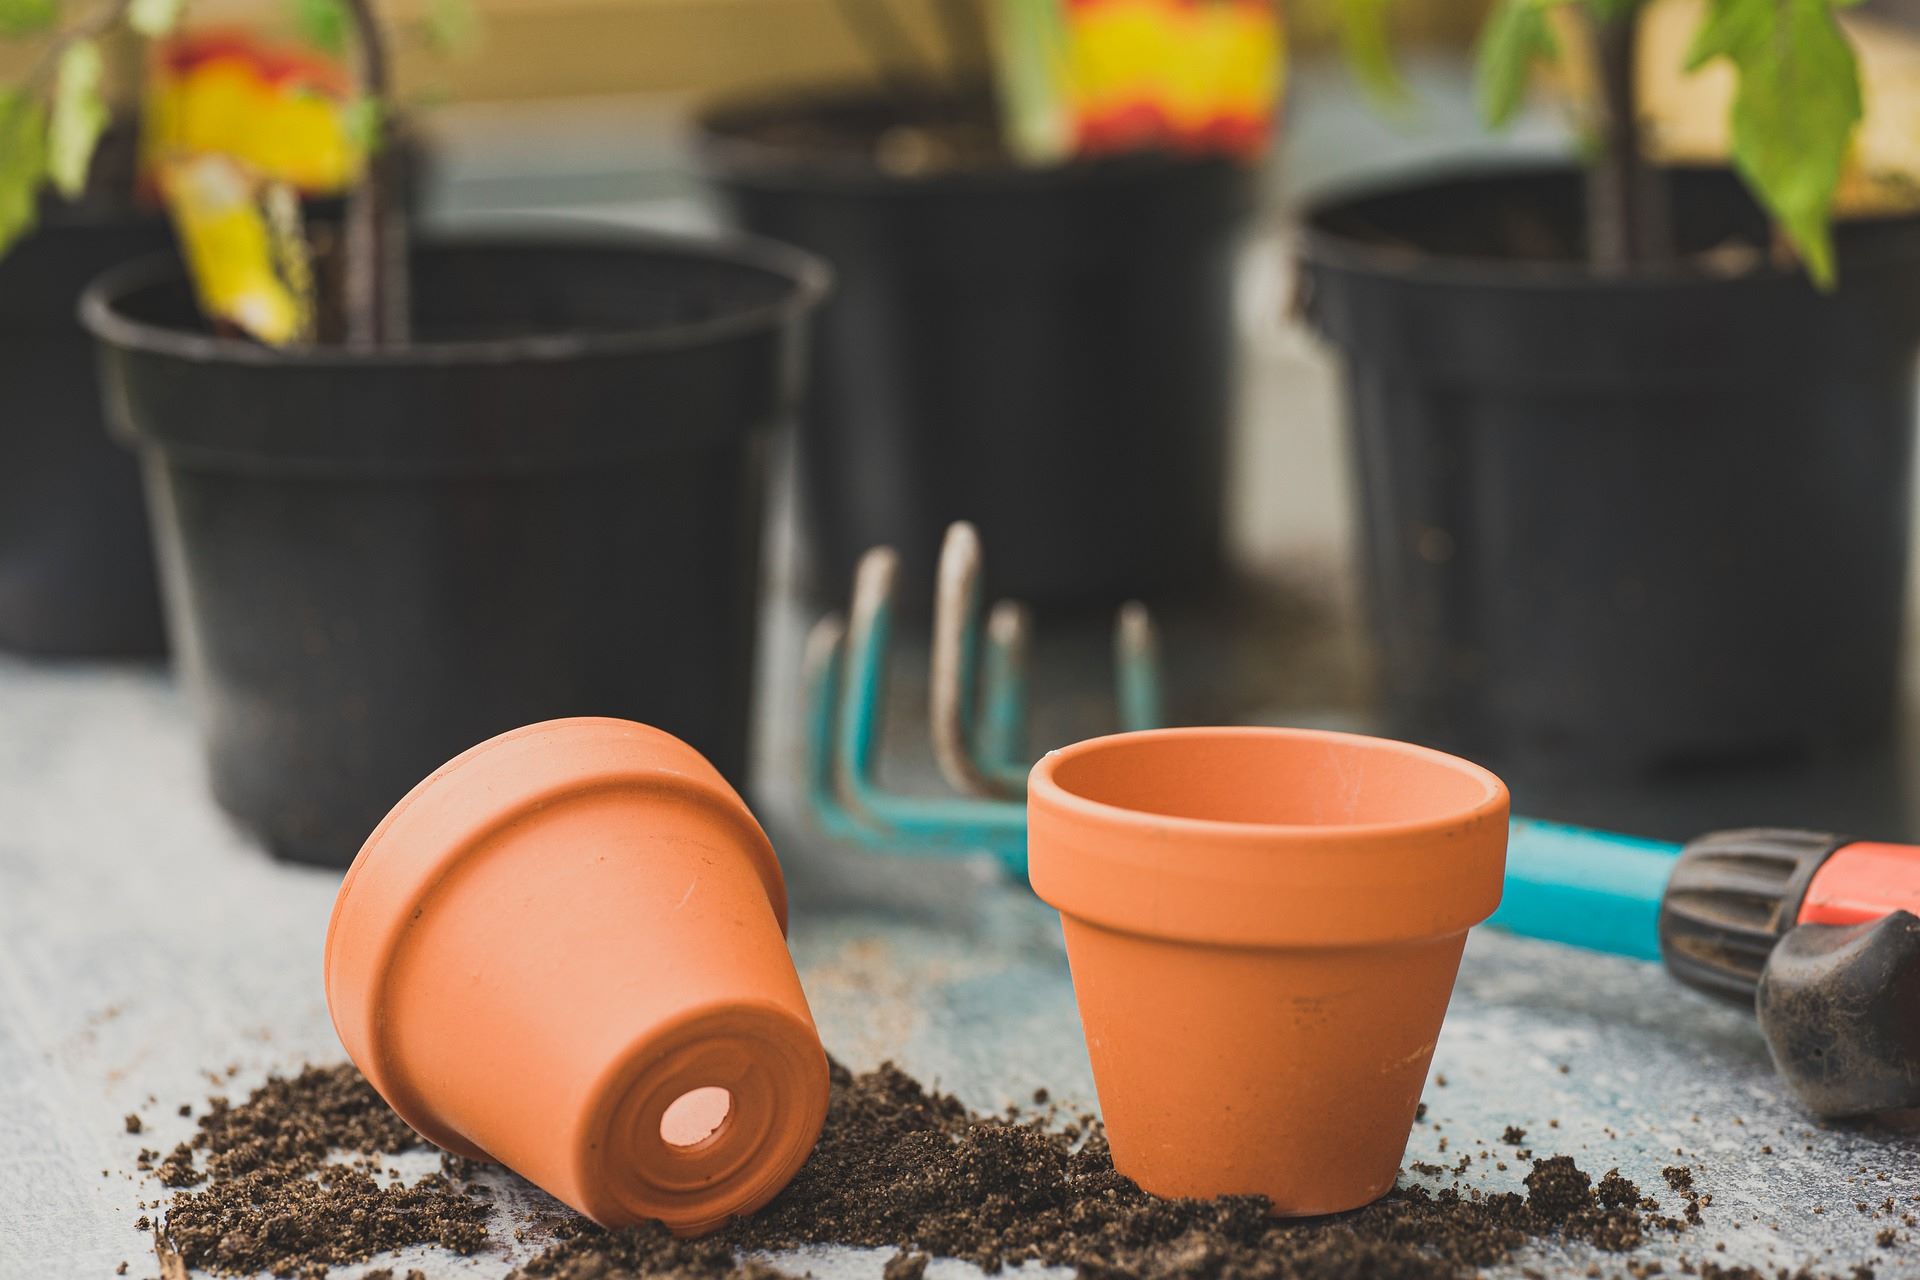
- An urn planter: Choose a sturdy and durable urn planter made of materials like ceramic, terracotta, or plastic. Ensure it is the appropriate size for your plants and has a flat bottom for stability.
- A tape measure or ruler: This will help you measure and mark the drilling points accurately.
- A pencil or marker: Use this to mark the spots where you’ll be drilling the drainage holes.
- A power drill: Select a drill that is suitable for the material of your urn planter. A cordless drill is recommended for easy maneuverability.
- A drill bit: Choose a drill bit specifically designed for drilling holes in the material of your urn planter, such as a ceramic or masonry drill bit.
- Safety goggles: Protect your eyes from flying debris or shards while drilling.
- Work gloves: Wear gloves to safeguard your hands and provide a better grip on the drill.
- A dust mask: If you’re drilling into a material that produces dust particles, such as ceramic or concrete, wear a dust mask to avoid inhaling any harmful substances.
- A damp cloth or sponge: Keep a cloth or sponge nearby to wipe away any dust or debris that accumulates during the drilling process.
- Sandpaper: After drilling the drainage holes, you’ll need sandpaper to smooth any sharp edges or rough surfaces around the holes.
- A water source: Finally, have access to water for rinsing the urn planter and checking the effectiveness of the drainage holes.
Once you have gathered all the necessary materials, you’re ready to move on to the next step – selecting the right urn planter for drilling.
Step 1: Select the Right Urn Planter
The first step in drilling drainage holes in an urn planter is to choose the right planter for the job. Consider the following factors when selecting your urn planter:
- Material: Urn planters come in various materials, including ceramic, terracotta, plastic, and metal. Each material has its own pros and cons. Ceramic and terracotta are durable but may be more challenging to drill due to their hardness. Plastic is lightweight and easy to drill but may not be as aesthetically pleasing. Metal urn planters are durable, but you may need specific tools to drill into them.
- Size: Consider the size of your plants and their root systems when choosing the urn planter. Make sure it is large enough to accommodate the plant’s growth but not too big that it becomes difficult to handle or transport.
- Shape: Urn planters come in various shapes, such as round, square, or rectangular. Choose a shape that complements your garden or outdoor space and allows for proper plant placement.
- Design: Consider the overall design and style of the urn planter. Look for one that matches your aesthetic preferences and complements the surrounding environment.
Once you’ve found the perfect urn planter, it’s time to move on to the next step – choosing the right location for drilling the drainage holes.
Step 2: Choose the Right Location for Drilling
Choosing the right location for drilling drainage holes in your urn planter is crucial for the overall health and functionality of your plants. Here are some important considerations:
- Bottom of the planter: The drainage holes should be located at the bottom of the urn planter. This ensures that excess water can properly drain out, preventing waterlogging and root rot.
- Spacing: Determine the number of drainage holes needed based on the size of your planter. As a general rule of thumb, aim for 1-2 drainage holes per square foot of planter space. However, the exact number may vary depending on the size and material of the planter.
- Distance from edges: Place the drainage holes at least 1-2 inches away from the edges of the planter. This helps to maintain the structural integrity of the planter and prevents any potential cracking or damage during the drilling process.
- Even distribution: Distribute the drainage holes evenly across the bottom of the planter. This allows for uniform drainage and avoids creating areas where water might pool.
Before marking the drilling points, be sure to thoroughly clean and dry the planter to ensure accurate measurements and avoid any dust or debris interfering with the drilling process. Once you have determined the appropriate location for the drainage holes, it’s time to gather your safety equipment and proceed with the next step of the process.
Step 3: Gather Safety Equipment
Before you begin drilling drainage holes in your urn planter, it’s essential to gather the necessary safety equipment to protect yourself during the process. Here are the items you’ll need:
- Safety goggles: Protect your eyes from flying debris, dust, or accidental contact with the drill. Safety goggles should fit snugly and provide clear vision while covering your eyes completely.
- Work gloves: Wear sturdy work gloves to safeguard your hands from potential injuries. The gloves should provide a good grip and protect against possible cuts or abrasions.
- Dust mask: If you’re drilling into a material like ceramic, terracotta, or concrete that may produce dust particles, it’s essential to wear a dust mask. This will prevent you from inhaling any harmful substances and keep your respiratory system protected.
- Protective clothing: Wear long-sleeved shirts, long pants, and closed-toe shoes to protect your skin and reduce the risk of injury from accidental contact with the equipment or sharp edges.
Ensure your safety equipment is in good condition and fits properly before you start the drilling process. It’s important to prioritize your safety and take appropriate precautions to prevent any accidents or injuries.
Now that you have gathered the necessary safety equipment, it’s time to move on to the next step – marking the drilling points on your urn planter.
Step 4: Mark the Drilling Points
Now that you have all the necessary safety equipment, it’s time to mark the drilling points on your urn planter. This step will ensure precision and accuracy during the drilling process. Follow these steps:
- Clean and dry the bottom surface of your urn planter to remove any dust or debris. This will help you make clear and accurate markings.
- Using a tape measure or ruler, measure and mark the desired locations for your drainage holes. Remember to leave enough space between the holes to allow for proper water drainage.
- For round planters, mark the center point of each hole with a small dot using a pencil or marker. If you’re working with a rectangular or square planter, mark the corners of each hole.
- Double-check your measurements and markings to ensure they are accurate. This will help you avoid any mistakes during the drilling process.
By taking the time to precisely mark the drilling points, you’ll be able to create neat and symmetrical drainage holes. This will not only enhance the functionality of your urn planter but also add a professional touch to your DIY project.
Now that you have marked the drilling points, it’s time to move on to the next step – drilling the drainage holes in your urn planter.
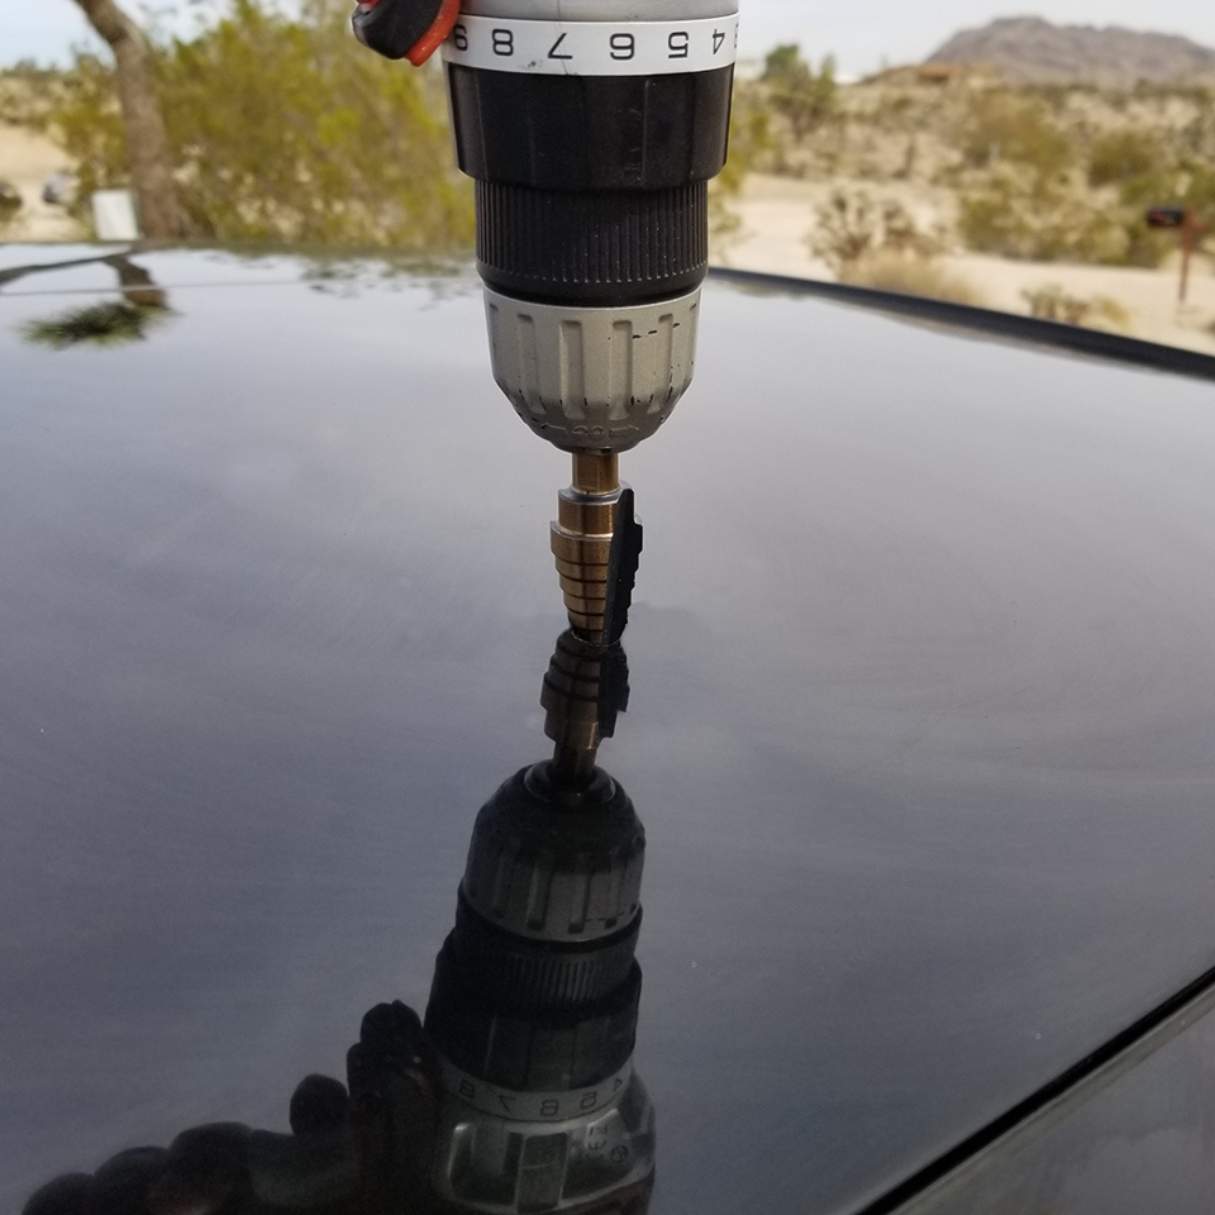
Use a masonry drill bit to make 1/4 inch holes in the bottom of the urn for drainage. Place a piece of tape on the spot to prevent the bit from slipping.
Step 5: Start Drilling
With your drilling points marked, it’s time to start drilling the drainage holes in your urn planter. Follow these steps to ensure a successful drilling process:
- Put on your safety goggles, work gloves, and dust mask to protect yourself from any potential hazards.
- Choose the appropriate drill bit for your urn planter’s material. For example, if you’re drilling into ceramic or terracotta, use a ceramic or masonry drill bit. If you’re drilling into plastic, a regular wood drill bit should suffice.
- Insert the drill bit into your power drill, making sure it is securely fastened.
- Position the drill bit directly over the first marked drilling point on your urn planter.
- Apply gentle and steady pressure as you slowly start drilling into the material. Avoid pushing too hard or forcing the drill, as this can damage the planter or cause the drill bit to break.
- Continue drilling with a slow and steady motion until the drill bit penetrates through the bottom of the planter, creating the drainage hole.
- If you’re drilling multiple holes, repeat the process for each marked drilling point, taking breaks if needed to prevent overheating of the drill or planter.
Remember to maintain a consistent speed and not rush the drilling process. Take your time to ensure each hole is drilled properly and with precision.
Once you have drilled all the drainage holes, proceed to the next step to take necessary precautions before moving forward in the process.
Step 6: Take Precautions while Drilling
While drilling drainage holes in your urn planter, it’s important to take necessary precautions to ensure your safety and the protection of your planter. Follow these precautions:
- Keep a firm grip on the drill and maintain control throughout the drilling process. This will prevent any accidental slips or mishaps.
- Apply consistent, gentle pressure while drilling. Excessive force can damage the drill bit, the planter, or cause the drill to kick back.
- Do not rush the drilling process. Take breaks if needed to prevent overheating of the drill or the planter’s material.
- Monitor the drilling area for any signs of cracking or damage to the planter. If you notice any cracks, stop drilling immediately.
- Keep the drill bit and the planter lubricated with water or a lubricating oil to reduce friction and prevent overheating.
- Periodically clean the drill bit to remove any debris or buildup that may hinder the drilling process.
- If you’re drilling into ceramic or terracotta, consider placing a piece of masking tape over the drilling point. This can help prevent the material from cracking or chipping during the drilling process.
By following these precautions, you can ensure a safe and successful drilling process without causing any damage to yourself or your planter.
Now that you have taken necessary precautions while drilling, let’s move on to the next step – cleaning and sanding the drainage holes for a better finish.
Step 7: Clean and Sand the Drainage Holes
After drilling the drainage holes in your urn planter, it’s important to clean and sand the holes to ensure they are smooth and free from any rough edges. Follow these steps to clean and sand the drainage holes:
- Using a damp cloth or sponge, wipe away any dust or debris that may have accumulated around the drainage holes during the drilling process. This will help you get a clear view of the holes and ensure they are clean.
- Inspect the drainage holes for any sharp edges or rough surfaces. If you notice any, use sandpaper to gently sand down the edges and make them smooth. This will prevent any potential damage to the roots of your plants.
- Continue sanding until the edges are smooth and there are no rough spots around the drainage holes.
- Once you have finished sanding, use a clean cloth or sponge to wipe away any residue or fine particles left from the sanding process.
Cleaning and sanding the drainage holes not only improves their appearance but also ensures optimal functionality. Smooth holes allow water to flow freely without any obstructions or potential harm to your plants.
Now that you have cleaned and sanded the drainage holes, it’s time to move on to the final step – testing the effectiveness of the drainage holes.
Read more: How To Drill A Hole In Glass
Step 8: Test the Drainage Holes
Before you pot your plants in the urn planter, it’s important to test the effectiveness of the drainage holes. This will ensure that water can properly drain out, preventing any potential issues with waterlogging or root rot. Follow these steps to test the drainage holes:
- Fill the urn planter with water, ensuring that it reaches the level of the drainage holes.
- Observe how quickly the water drains out of the planter. Ideally, the water should flow out steadily and smoothly.
- If there are any signs of water pooling or the drainage is slow, it may indicate that the drainage holes are not large enough or there may be obstructions. In this case, you may need to drill additional holes or recheck the existing ones for any blockages.
- Once you are satisfied with the drainage, empty the water from the planter and allow it to dry completely before proceeding with potting your plants.
By testing the drainage holes, you can ensure that your plants will have a suitable environment for healthy growth. Proper drainage enables the plants’ roots to access oxygen and prevents them from sitting in stagnant water, which can lead to root rot or other diseases.
Congratulations! You have successfully drilled drainage holes in your urn planter and tested their effectiveness. Now you can proceed with potting your plants and enjoying the benefits of a well-drained and healthy container garden.
Remember to regularly monitor the drainage of your urn planter and adjust as needed to create an optimal environment for your plants. Happy gardening!
Conclusion
Congratulations on completing the process of drilling drainage holes in your urn planter! By following the steps outlined in this guide, you have taken a crucial step towards creating a healthy and thriving container garden. Proper drainage is essential for the overall health and longevity of your plants, preventing root rot and ensuring optimal growth.
Throughout this process, we discussed the importance of selecting the right urn planter, choosing the appropriate location for drilling, and gathering the necessary safety equipment. We also covered the steps involved in marking the drilling points, drilling the drainage holes, taking precautions, and cleaning and sanding the holes for a polished finish. Lastly, we emphasized the significance of testing the drainage holes to ensure their effectiveness before potting your plants.
Now that you have successfully drilled drainage holes in your urn planter, you can enjoy the benefits of improved water drainage and a healthier environment for your plants. Remember to regularly monitor the drainage status and adjust as needed to promote optimal plant growth.
By taking the time and effort to create proper drainage in your urn planter, you have set the foundation for a beautiful and flourishing container garden. Enjoy the process of potting your favorite plants and witnessing them thrive in their new home.
Thank you for following this comprehensive guide. Happy gardening!
Frequently Asked Questions about How To Drill Drainage Holes In An Urn Planter
Was this page helpful?
At Storables.com, we guarantee accurate and reliable information. Our content, validated by Expert Board Contributors, is crafted following stringent Editorial Policies. We're committed to providing you with well-researched, expert-backed insights for all your informational needs.


0 thoughts on “How To Drill Drainage Holes In An Urn Planter”