Home>Home Maintenance>How To Turn On The Air Conditioner
Home Maintenance
How To Turn On The Air Conditioner
Modified: October 20, 2024
Learn how to effectively turn on your air conditioner with these essential home maintenance tips. Keep your space cool and comfortable all summer long.
(Many of the links in this article redirect to a specific reviewed product. Your purchase of these products through affiliate links helps to generate commission for Storables.com, at no extra cost. Learn more)
Introduction
Welcome to the complete guide on how to turn on your air conditioner. As temperatures rise and the summer heat intensifies, it becomes essential to have a cool and comfortable home environment. An air conditioner is a vital appliance that can provide relief from the scorching heat and create a pleasant indoor atmosphere.
However, if you’re new to using an air conditioner or have recently installed one, you might be unsure of how to turn it on and optimize its performance. Don’t worry; this article will walk you through the step-by-step process of turning on your air conditioner and ensuring that it functions optimally.
Before we dive into the steps, it’s important to note that each air conditioning unit may have different features and controls. Therefore, it is always recommended to refer to the manufacturer’s manual for specific instructions. With that said, let’s get started with the basic steps.
Key Takeaways:
- Keep your air conditioner running smoothly by regularly cleaning or replacing air filters, maintaining proper airflow, and scheduling professional maintenance. This ensures optimal cooling efficiency and helps save on energy costs.
- To turn on your air conditioner, locate the unit, check the power supply, adjust the thermostat settings, and ensure proper airflow. Regular maintenance, such as cleaning the outdoor unit and checking for air leaks, is essential for reliable performance and longevity.
Read more: When To Turn On The Air Conditioner
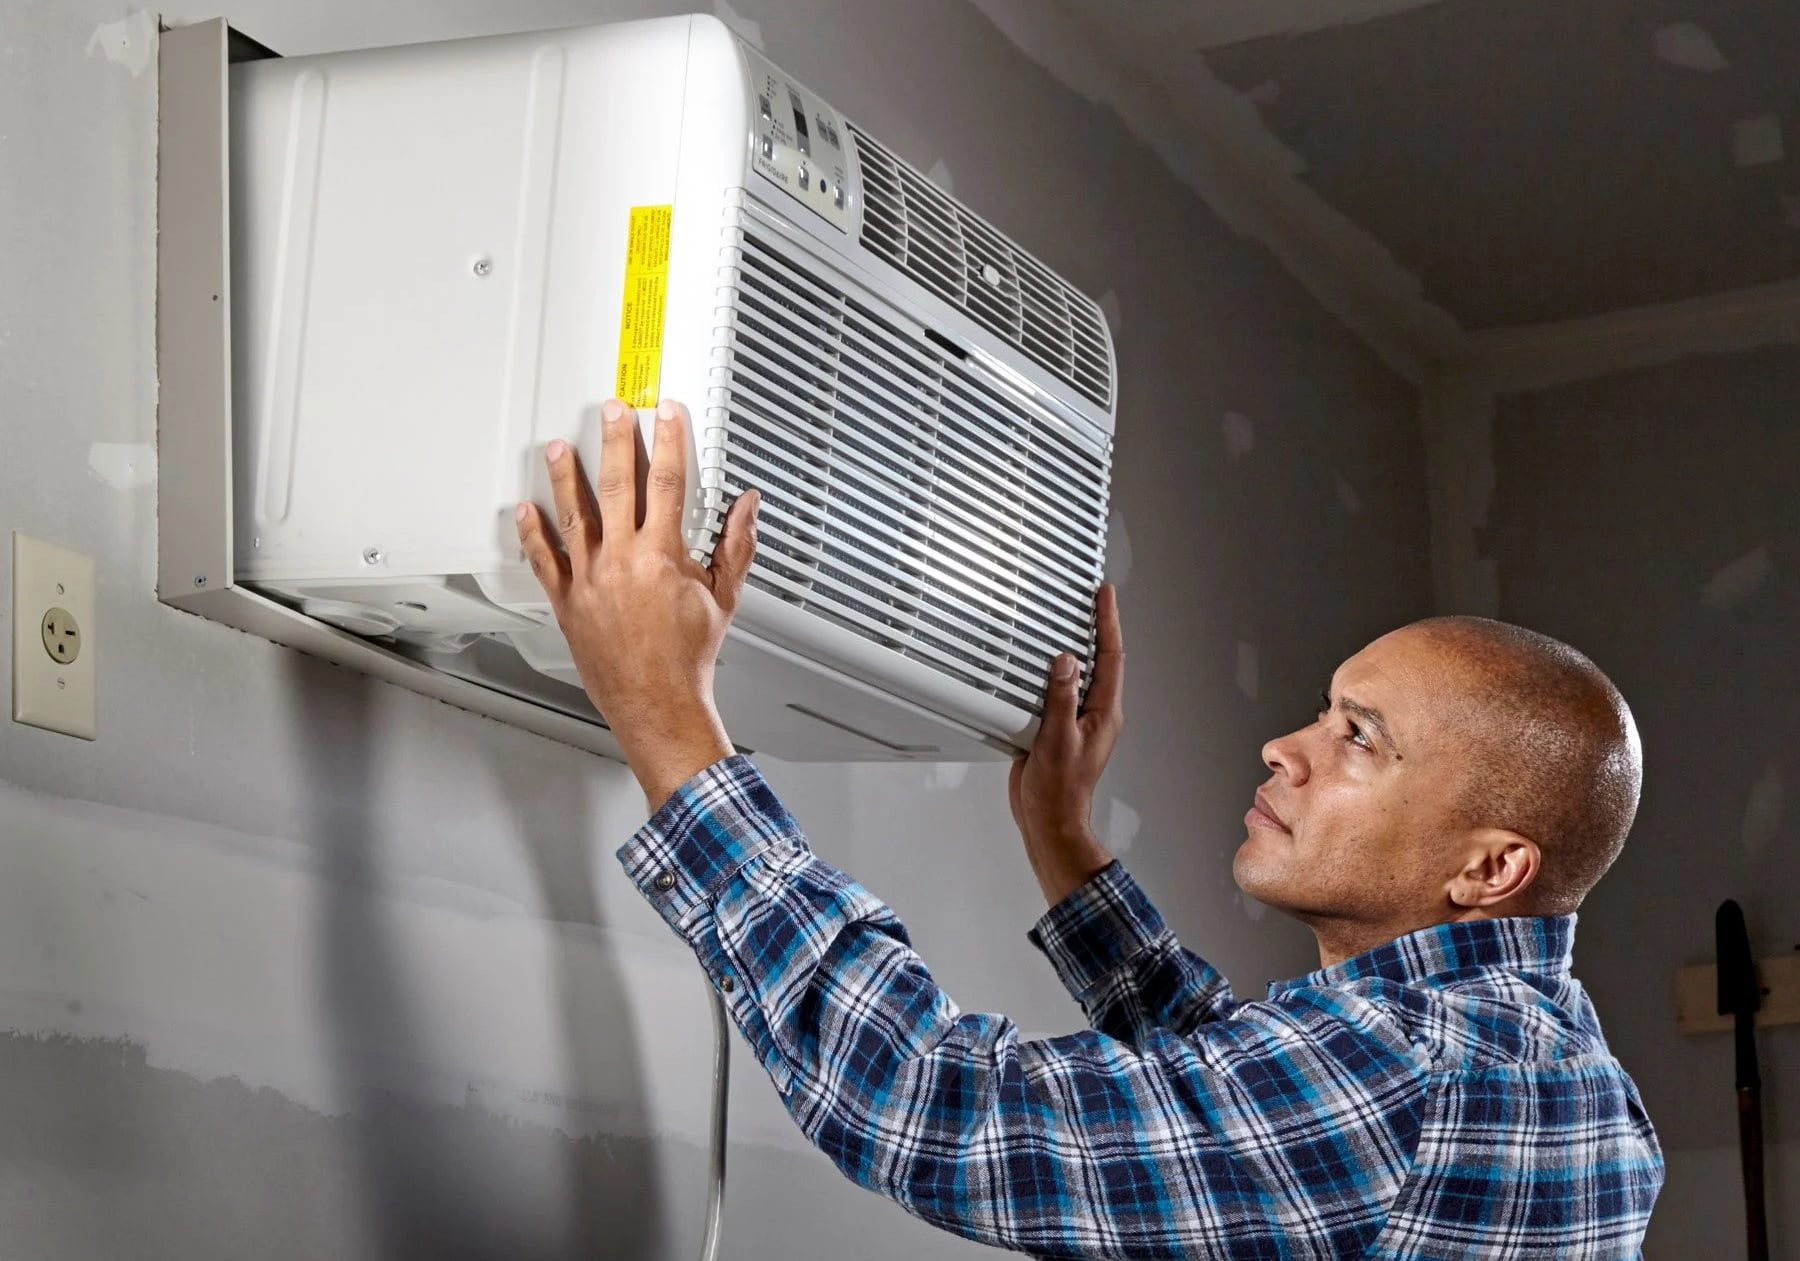
Step 1: Locate the Air Conditioner Unit
The first step in turning on your air conditioner is to locate the unit itself. In most homes, the air conditioner is installed either outside the house or in a designated area such as a utility room or basement.
If your air conditioner is an outdoor unit, you will typically find it positioned on a concrete pad or mounted on the side of your house. Take a walk around the exterior of your home and look for the outdoor unit. It will have a large fan and grille-like vents.
If your air conditioner is an indoor unit, it is usually installed in a closet or a utility room. Look for a large metal box or a cabinet-like enclosure. These indoor units are connected to the outdoor unit through refrigerant lines and electrical wiring.
Once you have located the air conditioner unit, make sure there is enough space around it for proper airflow. Remove any debris or obstructions that may have accumulated near the unit. This will ensure that the air conditioner operates efficiently and effectively.
Remember, safety is paramount when working with electrical appliances. If you are unsure about locating or handling your air conditioner unit, it is always best to consult a professional.
Step 2: Check the Power Supply
Before turning on your air conditioner, it is crucial to ensure that it has a reliable power supply. This step will help prevent any electrical issues or malfunctions when operating your unit.
Start by checking if the air conditioner is plugged into a grounded electrical outlet. Inspect the power cord for any signs of damage, such as frayed wires or exposed insulation. If you notice any issues, it is important to replace the power cord before proceeding.
Next, locate the circuit breaker or the fuse box that controls the power supply to your air conditioner. Ensure that the breaker or fuse for the air conditioner is in the “ON” position. If it’s in the “OFF” position, flip it to the “ON” position to restore power.
If your air conditioner uses a dedicated circuit, meaning it has its own breaker or fuse, make sure it is not tripped or blown. In the event of tripped circuit breakers or blown fuses, reset the breaker or replace the fuse as necessary.
It is also important to note that some air conditioner units have a disconnect switch, typically installed near the outdoor unit. Ensure that this switch is in the “ON” position to allow power flow to the air conditioner.
Once you have confirmed that the air conditioner has an uninterrupted power supply, you can proceed to the next step of turning it on.
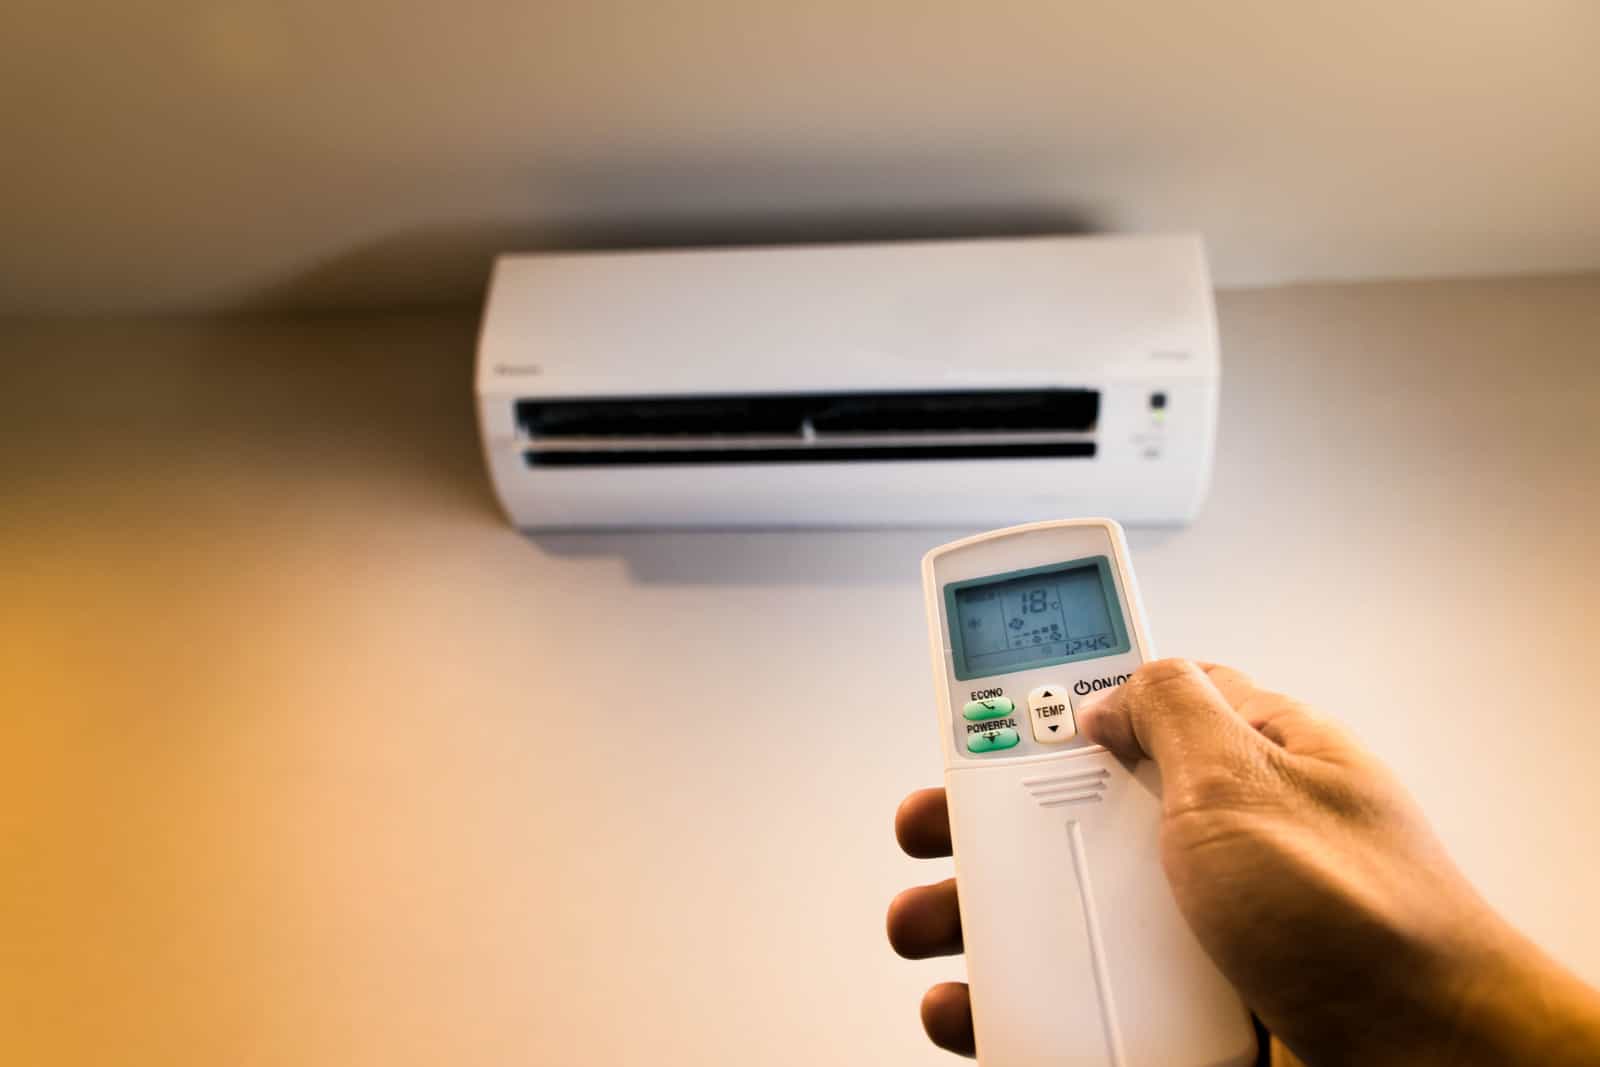
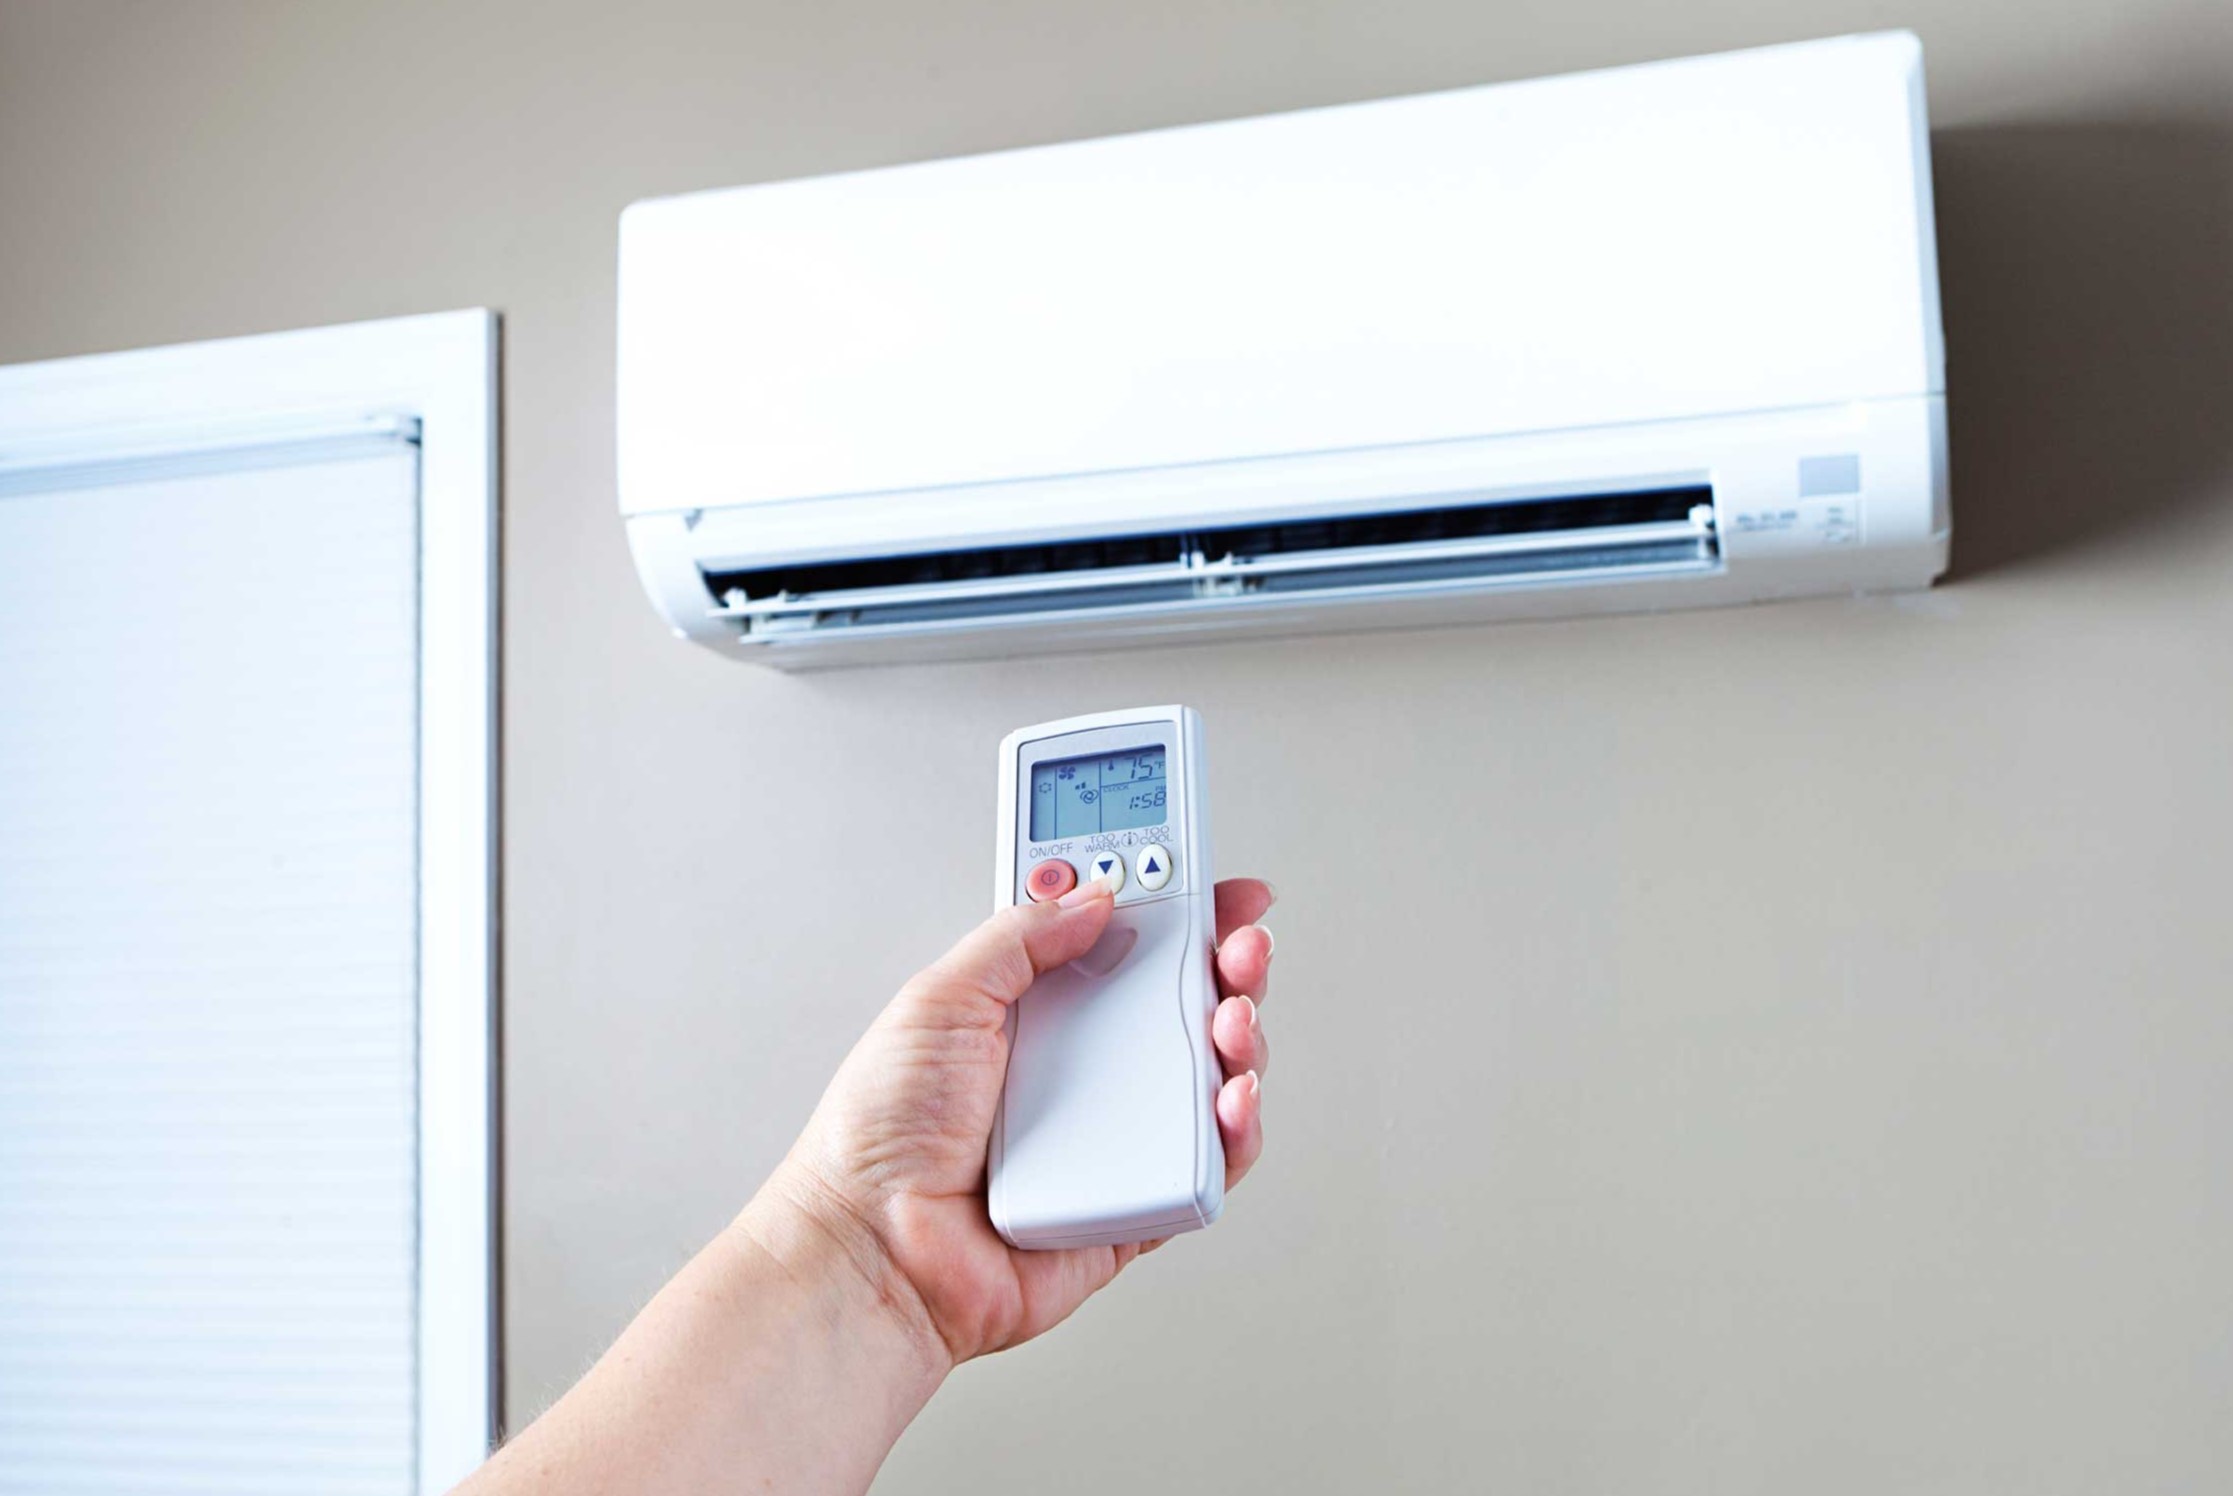
Step 3: Adjust the Thermostat Settings
Now that you have ensured a proper power supply to the air conditioner, it’s time to adjust the thermostat settings. The thermostat is the control panel that allows you to set the desired temperature for your home.
Locate the thermostat, which is usually mounted on a wall in a central area of your home. Depending on the type of thermostat you have, it may be a traditional dial, a digital display, or a smart thermostat that can be controlled remotely through a mobile app.
If you have a traditional dial thermostat, simply rotate the dial to your desired temperature. For digital or smart thermostats, follow the instructions provided by the manufacturer to adjust the temperature settings. Most digital thermostats have buttons or touchscreens to increase or decrease the temperature.
When adjusting the thermostat, consider your comfort preferences and energy efficiency. Setting it to a slightly higher temperature in the summer can help save energy and reduce your electricity bill. Aim for a temperature that keeps you comfortable without straining the air conditioner too much.
It’s worth noting that some thermostats offer additional features such as programmable schedules or smart home integration. These features allow you to set specific temperature settings based on your daily routine or control the thermostat remotely through your smartphone. Explore the capabilities of your thermostat and utilize these features to maximize comfort and efficiency.
Once you have adjusted the thermostat settings, you’re ready to move on to the next step of turning on the air conditioner.
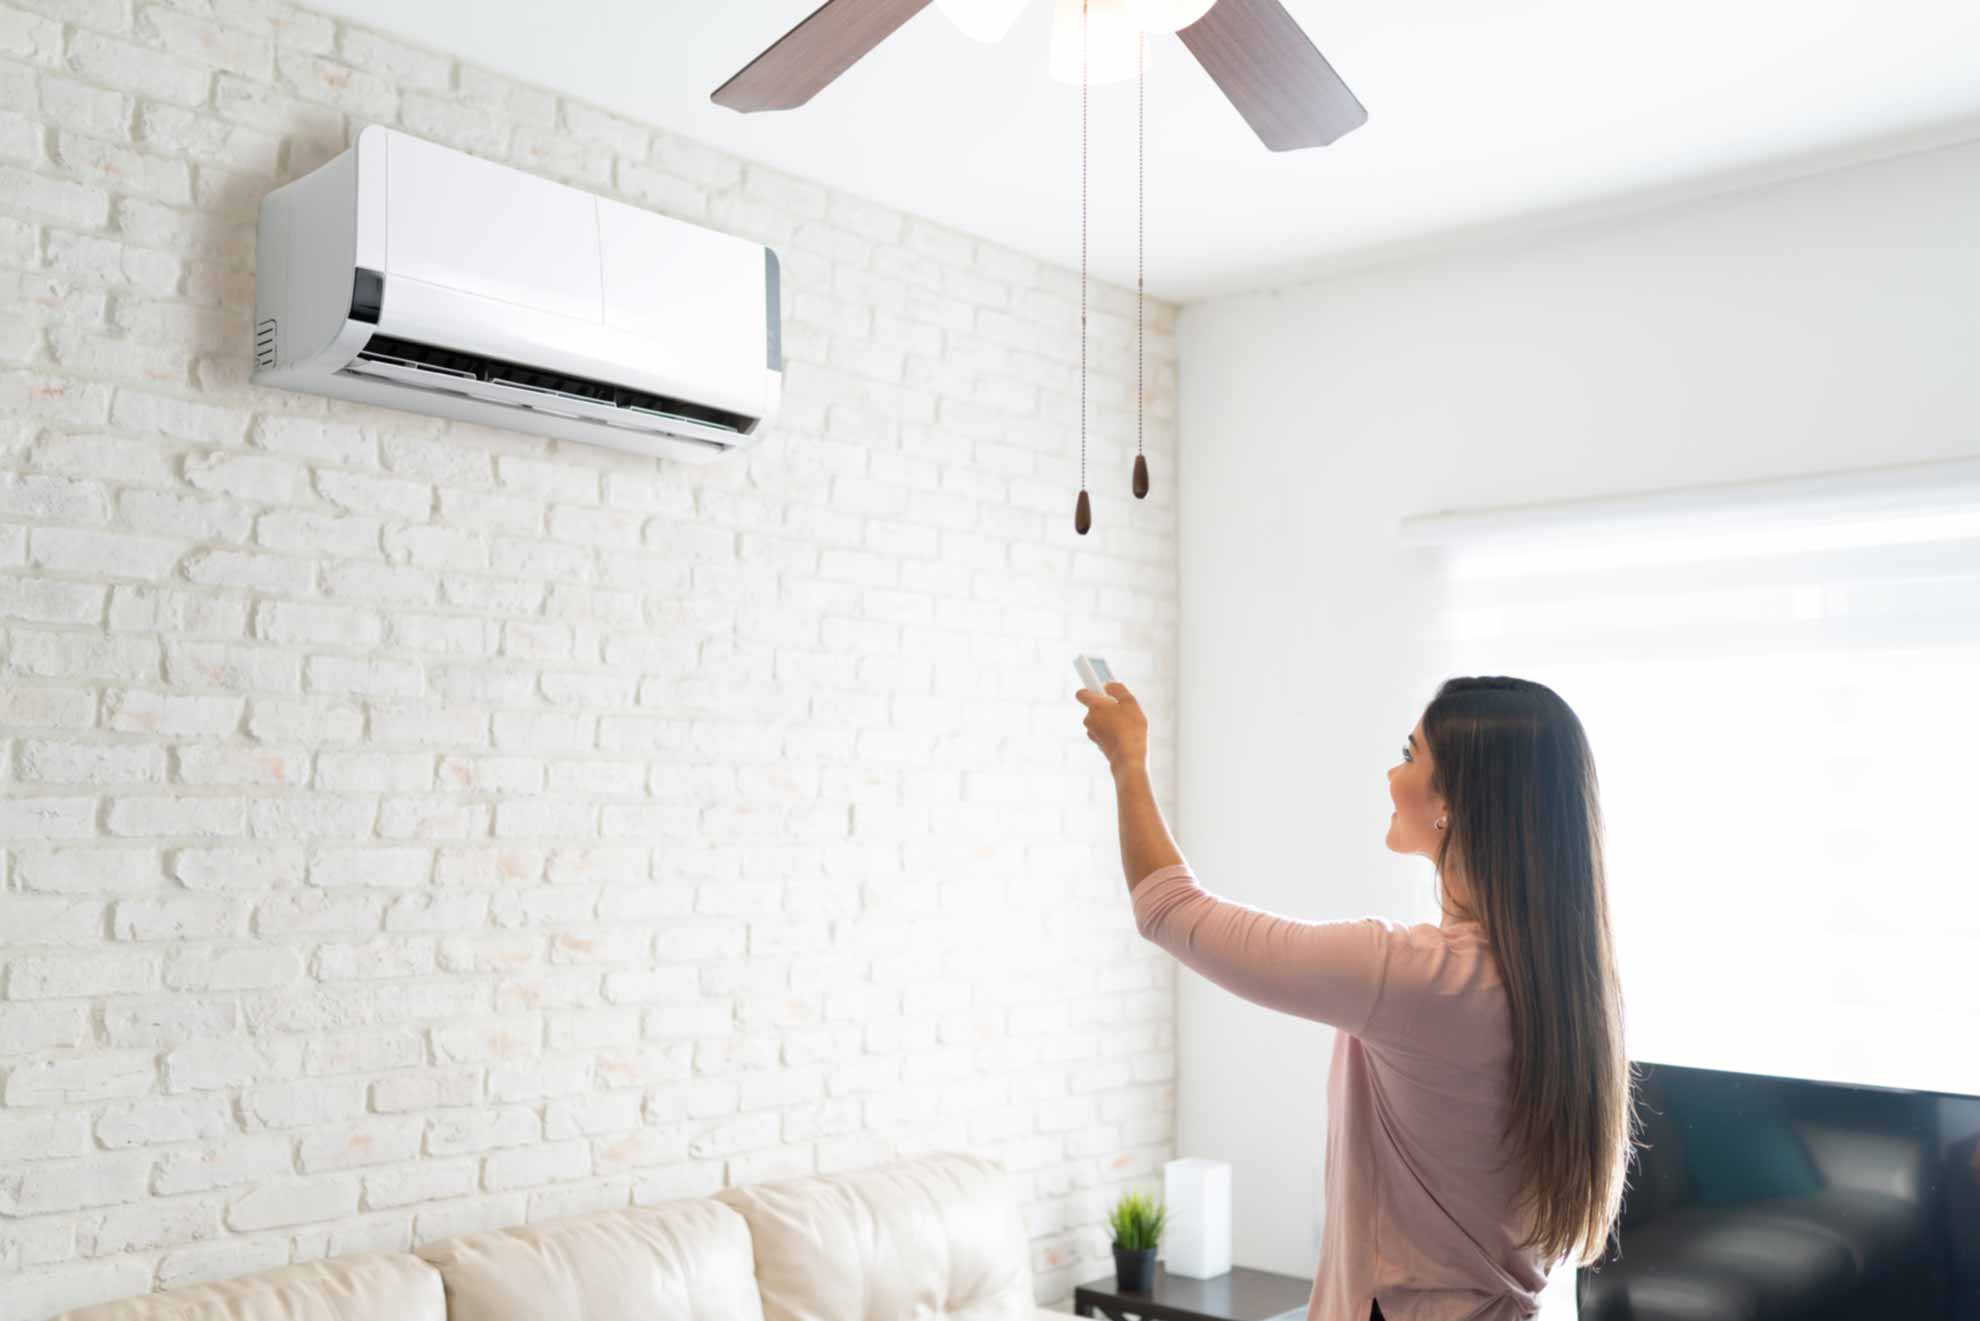
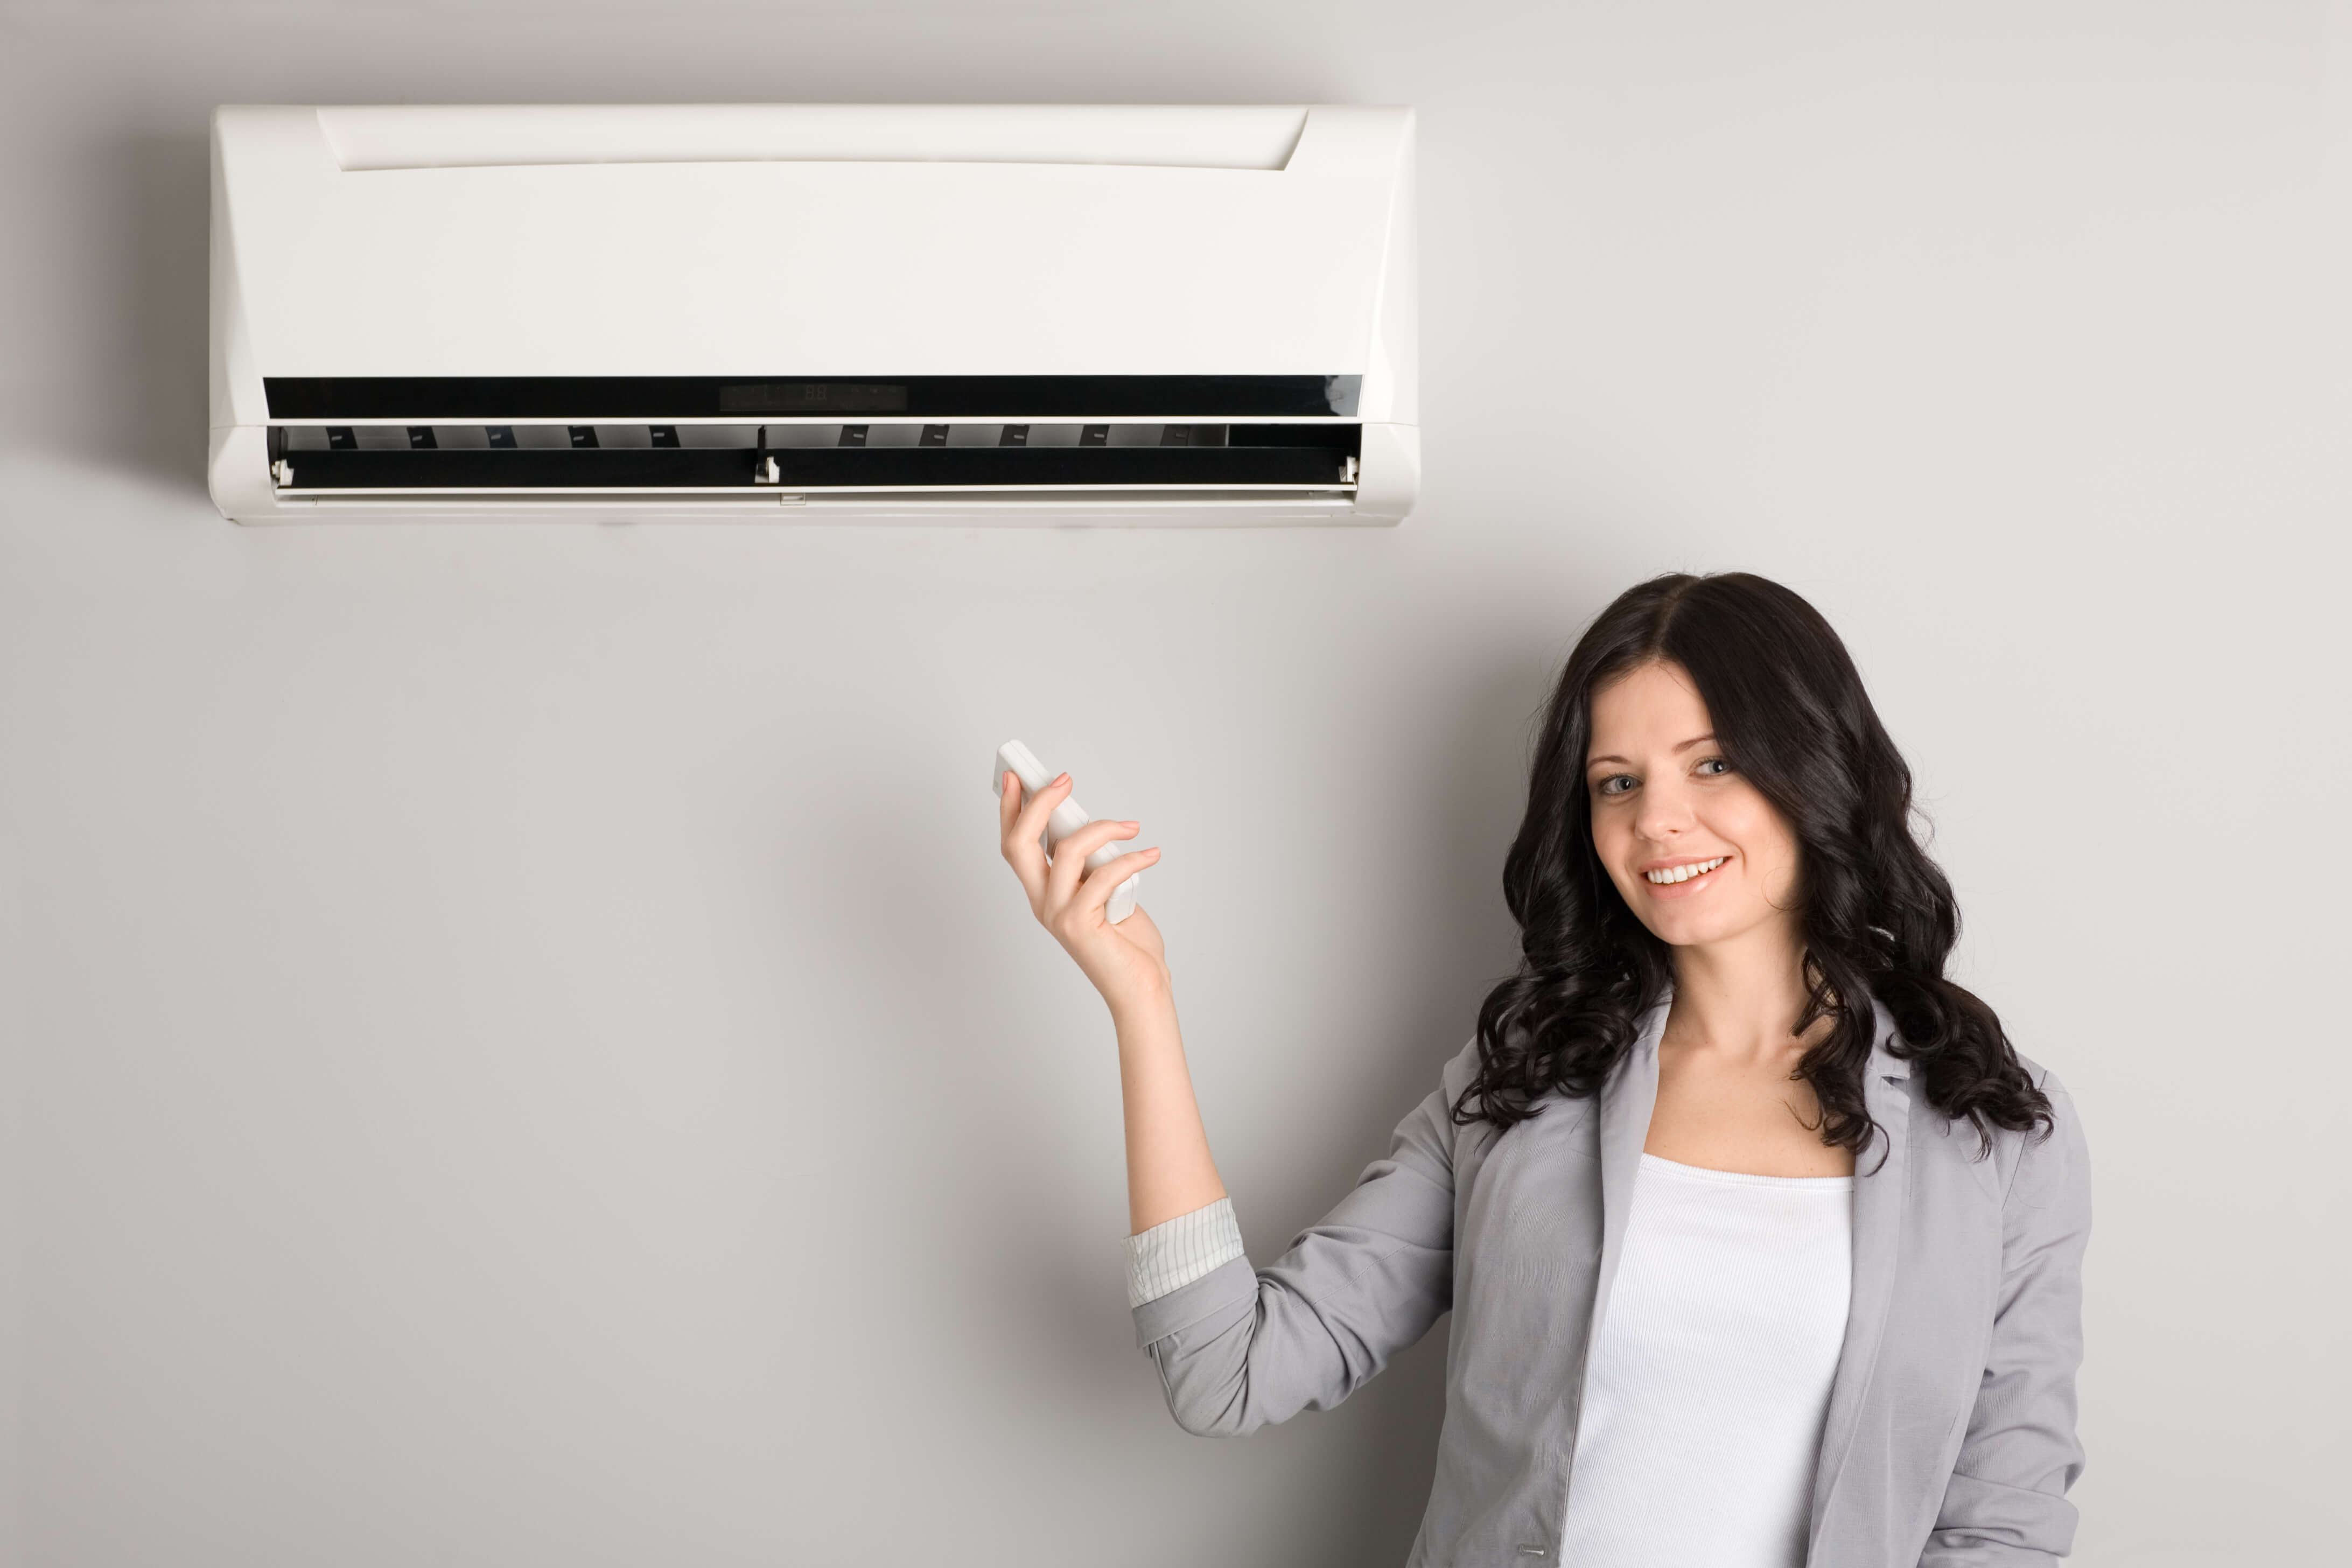
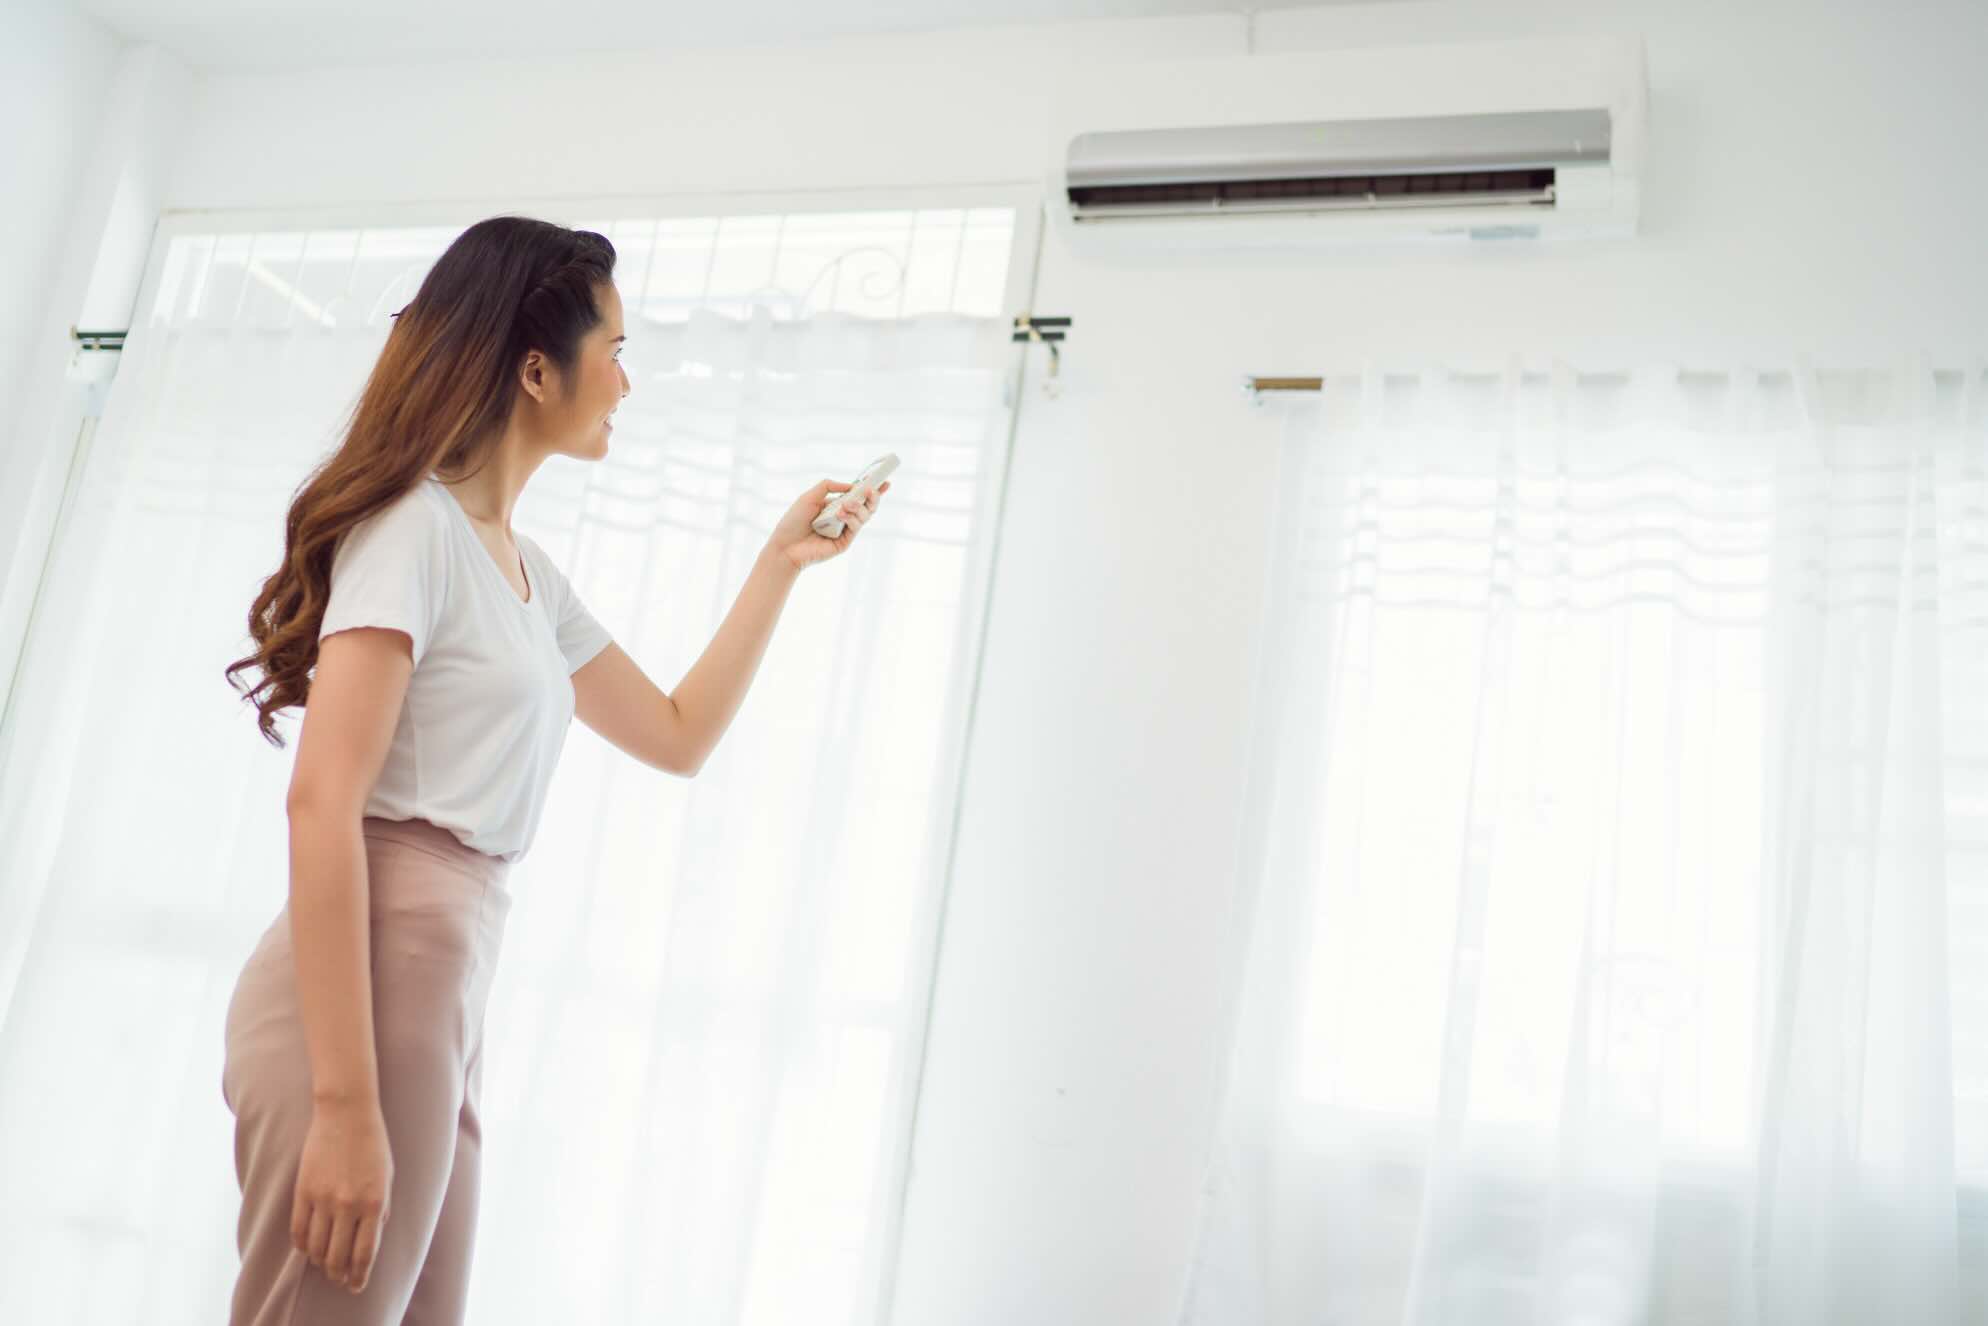
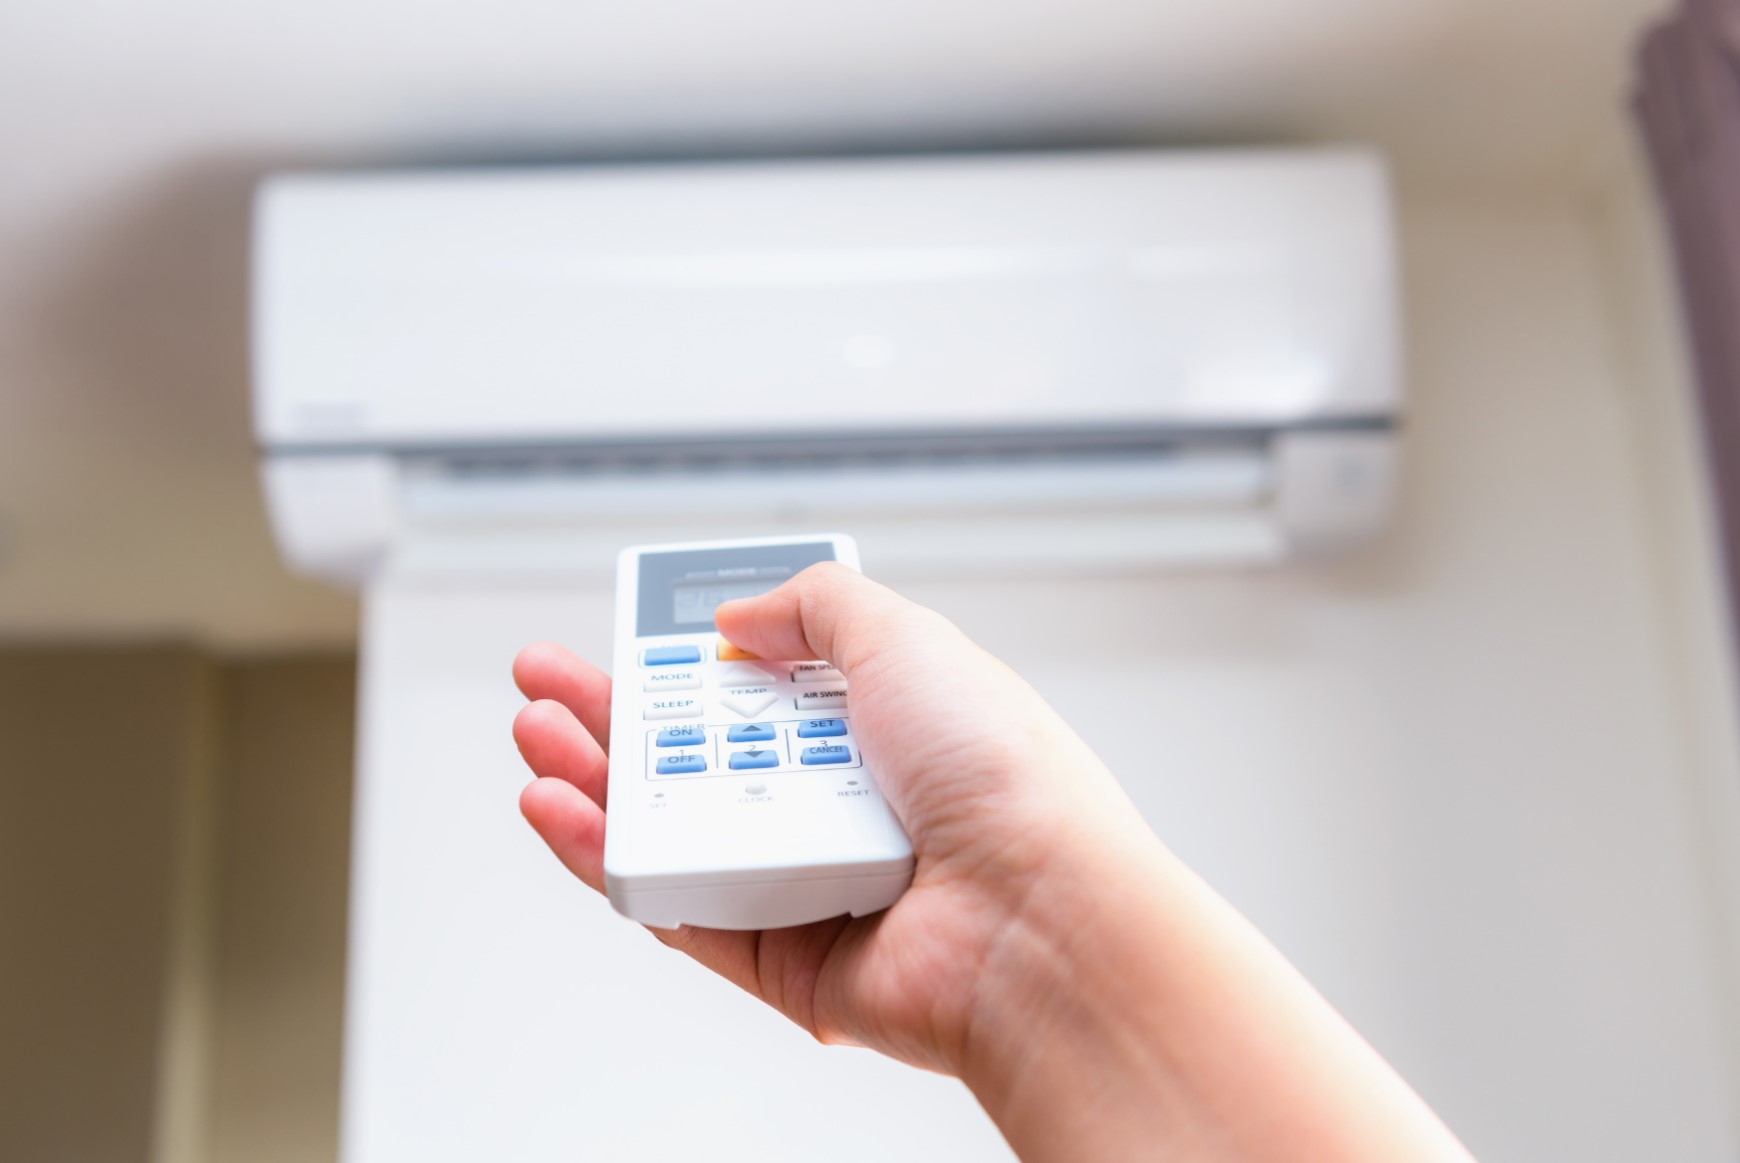
Step 4: Turn on the Air Conditioner
With the thermostat settings adjusted, it’s time to turn on the air conditioner and start enjoying the cool air. This step is relatively straightforward but may vary depending on the type of air conditioner you have.
If you have a central air conditioning system, typically seen in larger homes or commercial buildings, the process involves switching on the main power switch located near the indoor unit or in the electrical panel. Flip the switch to the “ON” position, and you should hear the air conditioner start up.
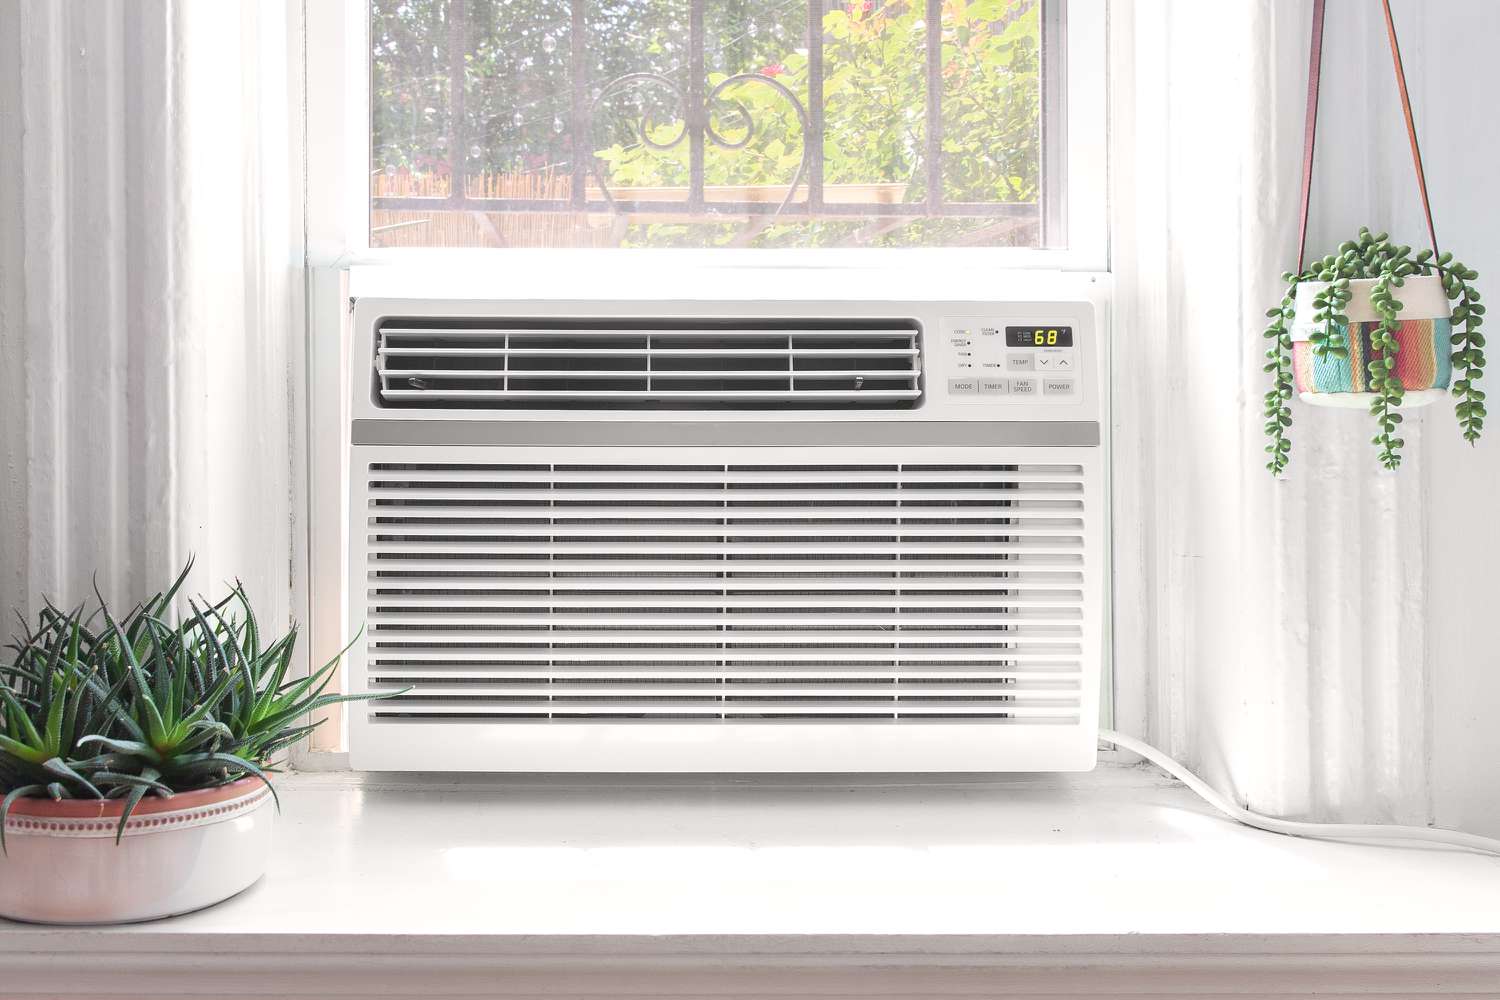
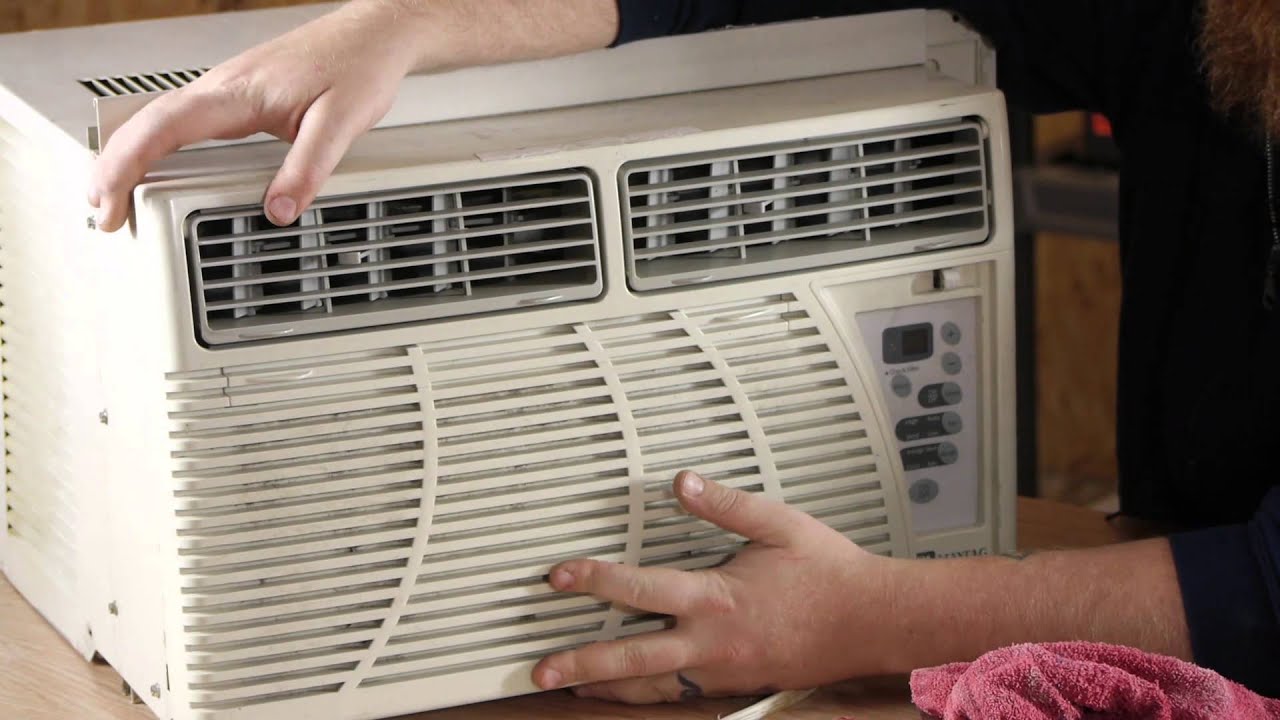
For window or wall-mounted air conditioners, the power switch is usually located on the front of the unit or on the control panel. Look for a button or switch labeled “ON” or a power symbol. Press the button or flip the switch to activate the air conditioner.
Once the air conditioner is turned on, listen for the sound of the compressor and fan running. You should also feel cool air coming from the vents or the front of the unit for window or wall-mounted air conditioners.
If you don’t hear or feel any signs of the air conditioner operating, double-check the power supply and thermostat settings. Make sure that the circuit breaker or fuse has not tripped, the thermostat is set to cool mode, and the temperature is lowered enough to activate the air conditioner.
If you encounter any issues or the air conditioner fails to turn on, it is recommended to consult a professional HVAC technician for assistance. They can diagnose and resolve any underlying problems with your air conditioner.
Once the air conditioner is successfully turned on, you can proceed to set the desired temperature and adjust additional settings for optimal comfort.
Make sure the thermostat is set to “cool” and the temperature is lower than the current room temperature. Then, switch the air conditioner to the “on” position.
Read more: How To Turn Off An Air Conditioner
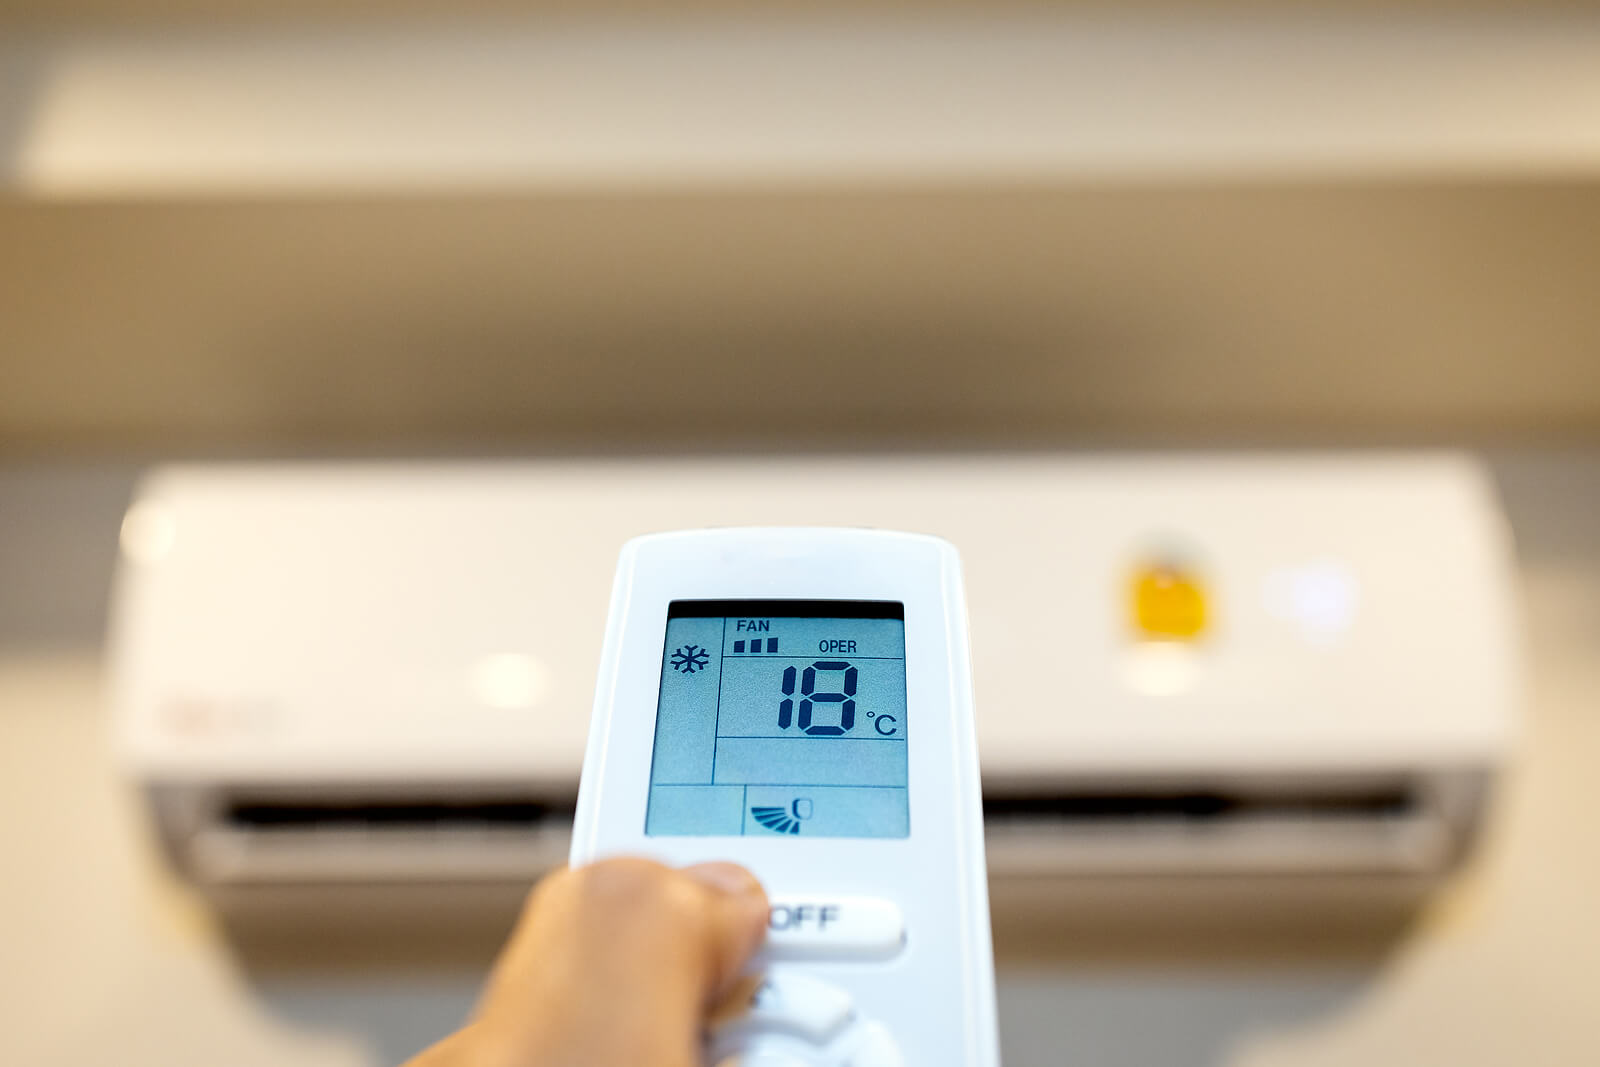
Step 5: Set the Desired Temperature
After turning on your air conditioner, the next step is to set the desired temperature for your indoor space. This ensures that the air conditioner runs efficiently and provides the level of cooling that you find most comfortable.
Refer to your thermostat, which is the control panel for adjusting the temperature settings. It may be a dial, a digital display, or a touchscreen, depending on the type of thermostat you have.
To set the desired temperature, use the temperature controls provided. For a traditional dial thermostat, rotate the dial to the desired temperature. For digital or touchscreen thermostats, follow the manufacturer’s instructions to increase or decrease the temperature to your preference.
When setting the temperature, it’s important to strike a balance between comfort and energy efficiency. Setting the temperature too low may lead to excessive energy consumption and higher electricity bills. Aim for a temperature that keeps you cool and comfortable without putting undue strain on the air conditioner.
Consider the climate of your region and any personal preferences you have for indoor temperature. A temperature range between 72-78 degrees Fahrenheit (22-25 degrees Celsius) is generally recommended for cooling during the summer months, but feel free to adjust within that range according to your comfort level.
Remember that air conditioners work by removing heat and humidity from the indoor air. Setting the temperature too low may cause your air conditioner to cycle on and off frequently, which can reduce its efficiency and increase wear and tear on the system.
Once you have set the desired temperature, allow the air conditioner some time to reach and maintain that temperature. It may take a few minutes for the cooling effect to be noticeable, especially if the indoor space was significantly warmer before turning on the air conditioner.
Now that you have set the desired temperature, you can move on to adjusting the fan speed for optimal airflow and comfort.
Step 6: Adjust the Fan Speed
Adjusting the fan speed of your air conditioner can help optimize airflow and enhance your comfort level. Most air conditioners offer multiple fan speed settings, allowing you to customize the amount of air circulated in your space.
Locate the fan speed control on your air conditioner unit or on the thermostat. It may be labeled as “Fan,” “Speed,” or have different fan icons indicating the speed options.
Typically, air conditioners offer three fan speed options: low, medium, and high. The low-speed setting is ideal for quieter operation, energy efficiency, and maintaining a constant temperature throughout the space. The medium-speed setting provides a balance between efficiency and air circulation. The high-speed setting delivers maximum airflow and is suitable for quickly cooling down a room.
Consider your personal preferences and the current temperature conditions when selecting the fan speed. During exceptionally hot weather, you may opt for a higher fan speed to cool the room quickly. On milder days, a lower fan speed may be sufficient to maintain a comfortable temperature.
Another factor to consider is noise level. Higher fan speeds tend to generate more noise, which may be undesirable if you prefer a quieter environment. In that case, selecting the low or medium-speed options can offer a more peaceful and relaxing atmosphere.
Experiment with different fan speed settings to find the balance that suits your needs. Keep in mind that the fan speed can be adjusted at any time, so you can change it as needed based on changing weather conditions or personal preferences.
Once you have set the fan speed, ensure that there is proper airflow in the room and move on to the next step to ensure optimal cooling efficiency.
Step 7: Ensure Proper Airflow
Proper airflow is essential to maximize the cooling efficiency of your air conditioner and create a comfortable environment in your home. By ensuring adequate airflow, you can evenly distribute the cooled air throughout the space and prevent hotspots or stagnant areas.
Here are a few tips to ensure proper airflow:
- Clean or Replace Air Filters: Dirty or clogged air filters can restrict airflow and reduce the efficiency of your air conditioner. Regularly clean or replace the air filters according to the manufacturer’s instructions. This will keep the air flowing freely and maintain optimal cooling performance.
- Clear Obstructions: Make sure that there are no obstructions blocking the vents or air intake of your air conditioner unit. Ensure that furniture, curtains, or other objects are not blocking the airflow. Keeping the areas around the air conditioner unit clear will allow for better air circulation.
- Ventilation: Ensure that there is proper ventilation in the room or space where the air conditioner is installed. Good ventilation helps to regulate air circulation and prevent stale air from accumulating. Open windows or use exhaust fans to promote fresh air exchange.
- Seal Air Leaks: Check for air leaks around doors, windows, and other openings in the room. Seal any gaps or cracks to prevent cool air from escaping and hot air from entering. This will help maintain a consistent temperature and improve the efficiency of your air conditioner.
- Use Ceiling Fans: Utilize ceiling fans in conjunction with your air conditioner to enhance airflow. Ceiling fans can help distribute the cool air more effectively throughout the room. Set the ceiling fans to rotate counterclockwise during the summer months for a cooling breeze.
- Regular Maintenance: Schedule regular maintenance for your air conditioner, including professional inspections and cleaning. A well-maintained air conditioner will operate more efficiently and provide optimal airflow.
By following these steps, you can ensure proper airflow in your home and improve the overall cooling efficiency of your air conditioner. Enjoy the refreshing and comfortable atmosphere created by your well-functioning air conditioning system.
Step 8: Regular Maintenance Tips
Regular maintenance is crucial to keep your air conditioner in optimal condition and ensure its longevity. By performing routine maintenance tasks, you can prevent potential issues, improve energy efficiency, and extend the lifespan of your air conditioning system.
Here are some essential maintenance tips to follow:
- Clean or Replace Air Filters: As mentioned earlier, regularly clean or replace the air filters in your air conditioner. Clogged filters restrict airflow and force the system to work harder, reducing its efficiency. Refer to the manufacturer’s guidelines for filter cleaning or replacement intervals.
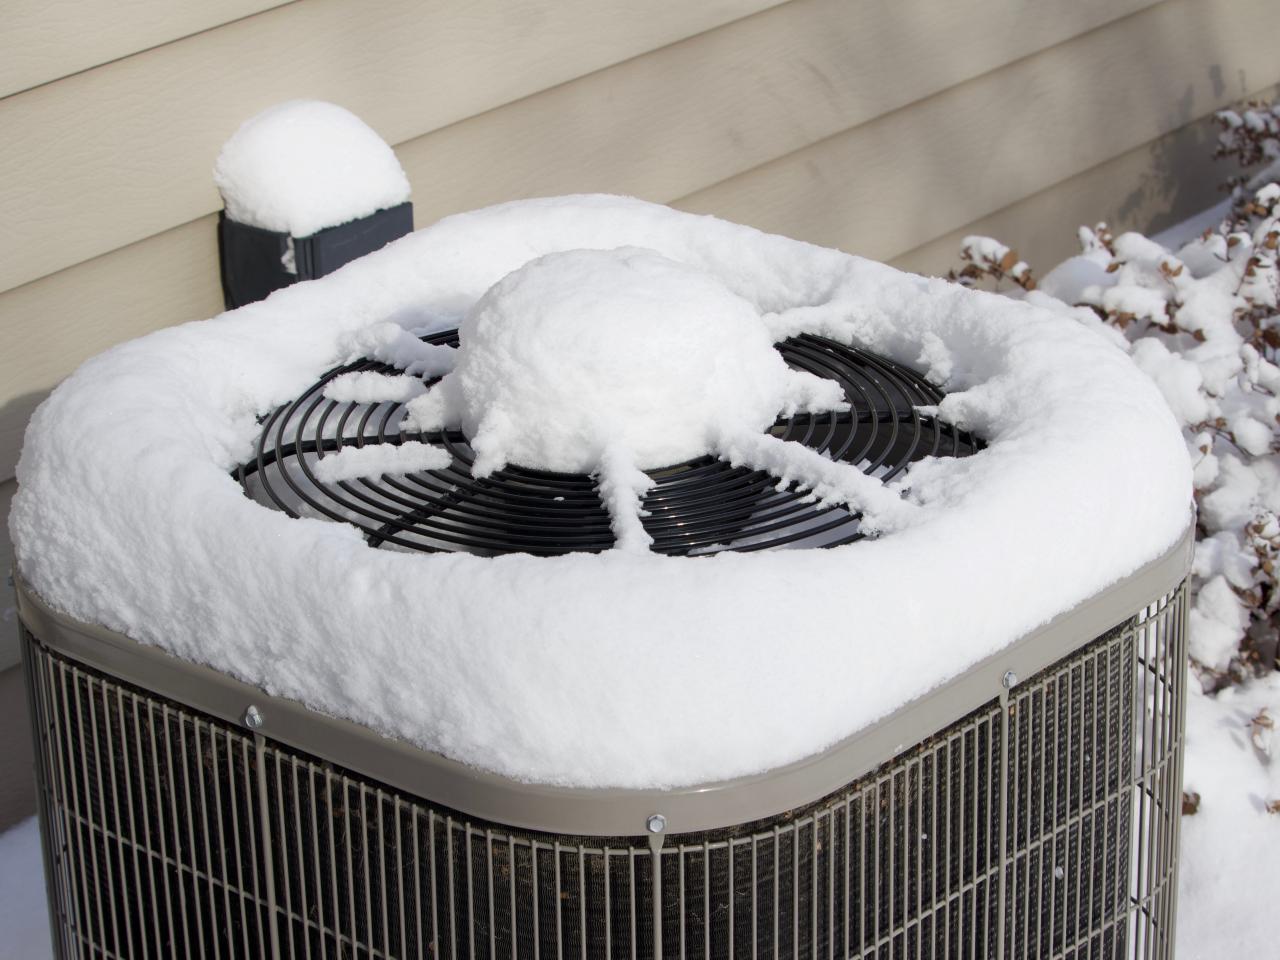
- Clean the Outdoor Unit: If you have a central air conditioning system with an outdoor unit, make sure to keep it clean and free from debris. Regularly remove leaves, grass clippings, dirt, and other debris that may accumulate on the unit. Ensure that the unit is not obstructed by vegetation or any objects.
- Check and Clean Vents: Inspect the vents and registers inside your home to ensure they are clean and free from blockages. Vacuum or dust them to remove any accumulated dirt or dust that may hinder airflow.
- Inspect and Clean the Evaporator Coil: Over time, the evaporator coil in your air conditioner can collect dirt and dust, affecting its efficiency. Schedule regular inspections and cleaning of the evaporator coil to maintain optimal cooling performance.
- Check Condensate Drain: Locate the condensate drain line and ensure it is not clogged or obstructed. Clean the drain line regularly to prevent water backup, which could lead to leaks or moisture-related issues.
- Professional Maintenance: Consider scheduling annual professional maintenance for your air conditioner. HVAC technicians can perform comprehensive inspections, cleanings, and tune-ups to identify any potential problems and ensure that your air conditioner operates at its best.
- Keep Surrounding Area Clean: Maintain a clean and clutter-free area around your air conditioner unit. Trim any vegetation, remove debris, and ensure that there are no objects that could interfere with the airflow.
By following these regular maintenance tips, you can keep your air conditioner running smoothly and efficiently. This will not only provide optimal cooling but also help you save on energy costs and reduce the likelihood of breakdowns or costly repairs.
Remember to always refer to the manufacturer’s guidelines for specific maintenance instructions and consult with a professional technician for any complex maintenance tasks.
Conclusion
Congratulations! You have now learned how to turn on your air conditioner and optimize its performance for a comfortable and cool home environment. By following the step-by-step guide outlined in this article, you can confidently operate and maintain your air conditioner with ease.
Remember, the key steps in turning on your air conditioner include locating the unit, checking the power supply, adjusting the thermostat settings, and turning on the unit itself. Additionally, setting the desired temperature, adjusting the fan speed, ensuring proper airflow, and performing regular maintenance are vital for optimal cooling efficiency.
Proper maintenance, such as regularly cleaning or replacing air filters, keeping the outdoor unit clean and free of debris, and scheduling professional inspections, will help extend the lifespan of your air conditioner and ensure its reliable performance for years to come. Don’t forget to check for any air leaks, seal them, and utilize ceiling fans to enhance airflow and comfort.
By implementing these practices, you can create a pleasant indoor environment while maximizing energy efficiency and reducing operating costs. Remember to consult the manufacturer’s manual and seek professional assistance when needed.
Now, take the knowledge you have gained and enjoy the refreshing coolness provided by your well-functioning air conditioner. Stay comfortable and beat the summer heat!
Frequently Asked Questions about How To Turn On The Air Conditioner
Was this page helpful?
At Storables.com, we guarantee accurate and reliable information. Our content, validated by Expert Board Contributors, is crafted following stringent Editorial Policies. We're committed to providing you with well-researched, expert-backed insights for all your informational needs.