Home>Home Maintenance>Why Is My Air Conditioner Not Turning On
Home Maintenance
Why Is My Air Conditioner Not Turning On
Modified: October 20, 2024
If your air conditioner is not turning on, it may be a sign of a home maintenance issue. Discover the common reasons and how to troubleshoot them here.
(Many of the links in this article redirect to a specific reviewed product. Your purchase of these products through affiliate links helps to generate commission for Storables.com, at no extra cost. Learn more)
Introduction
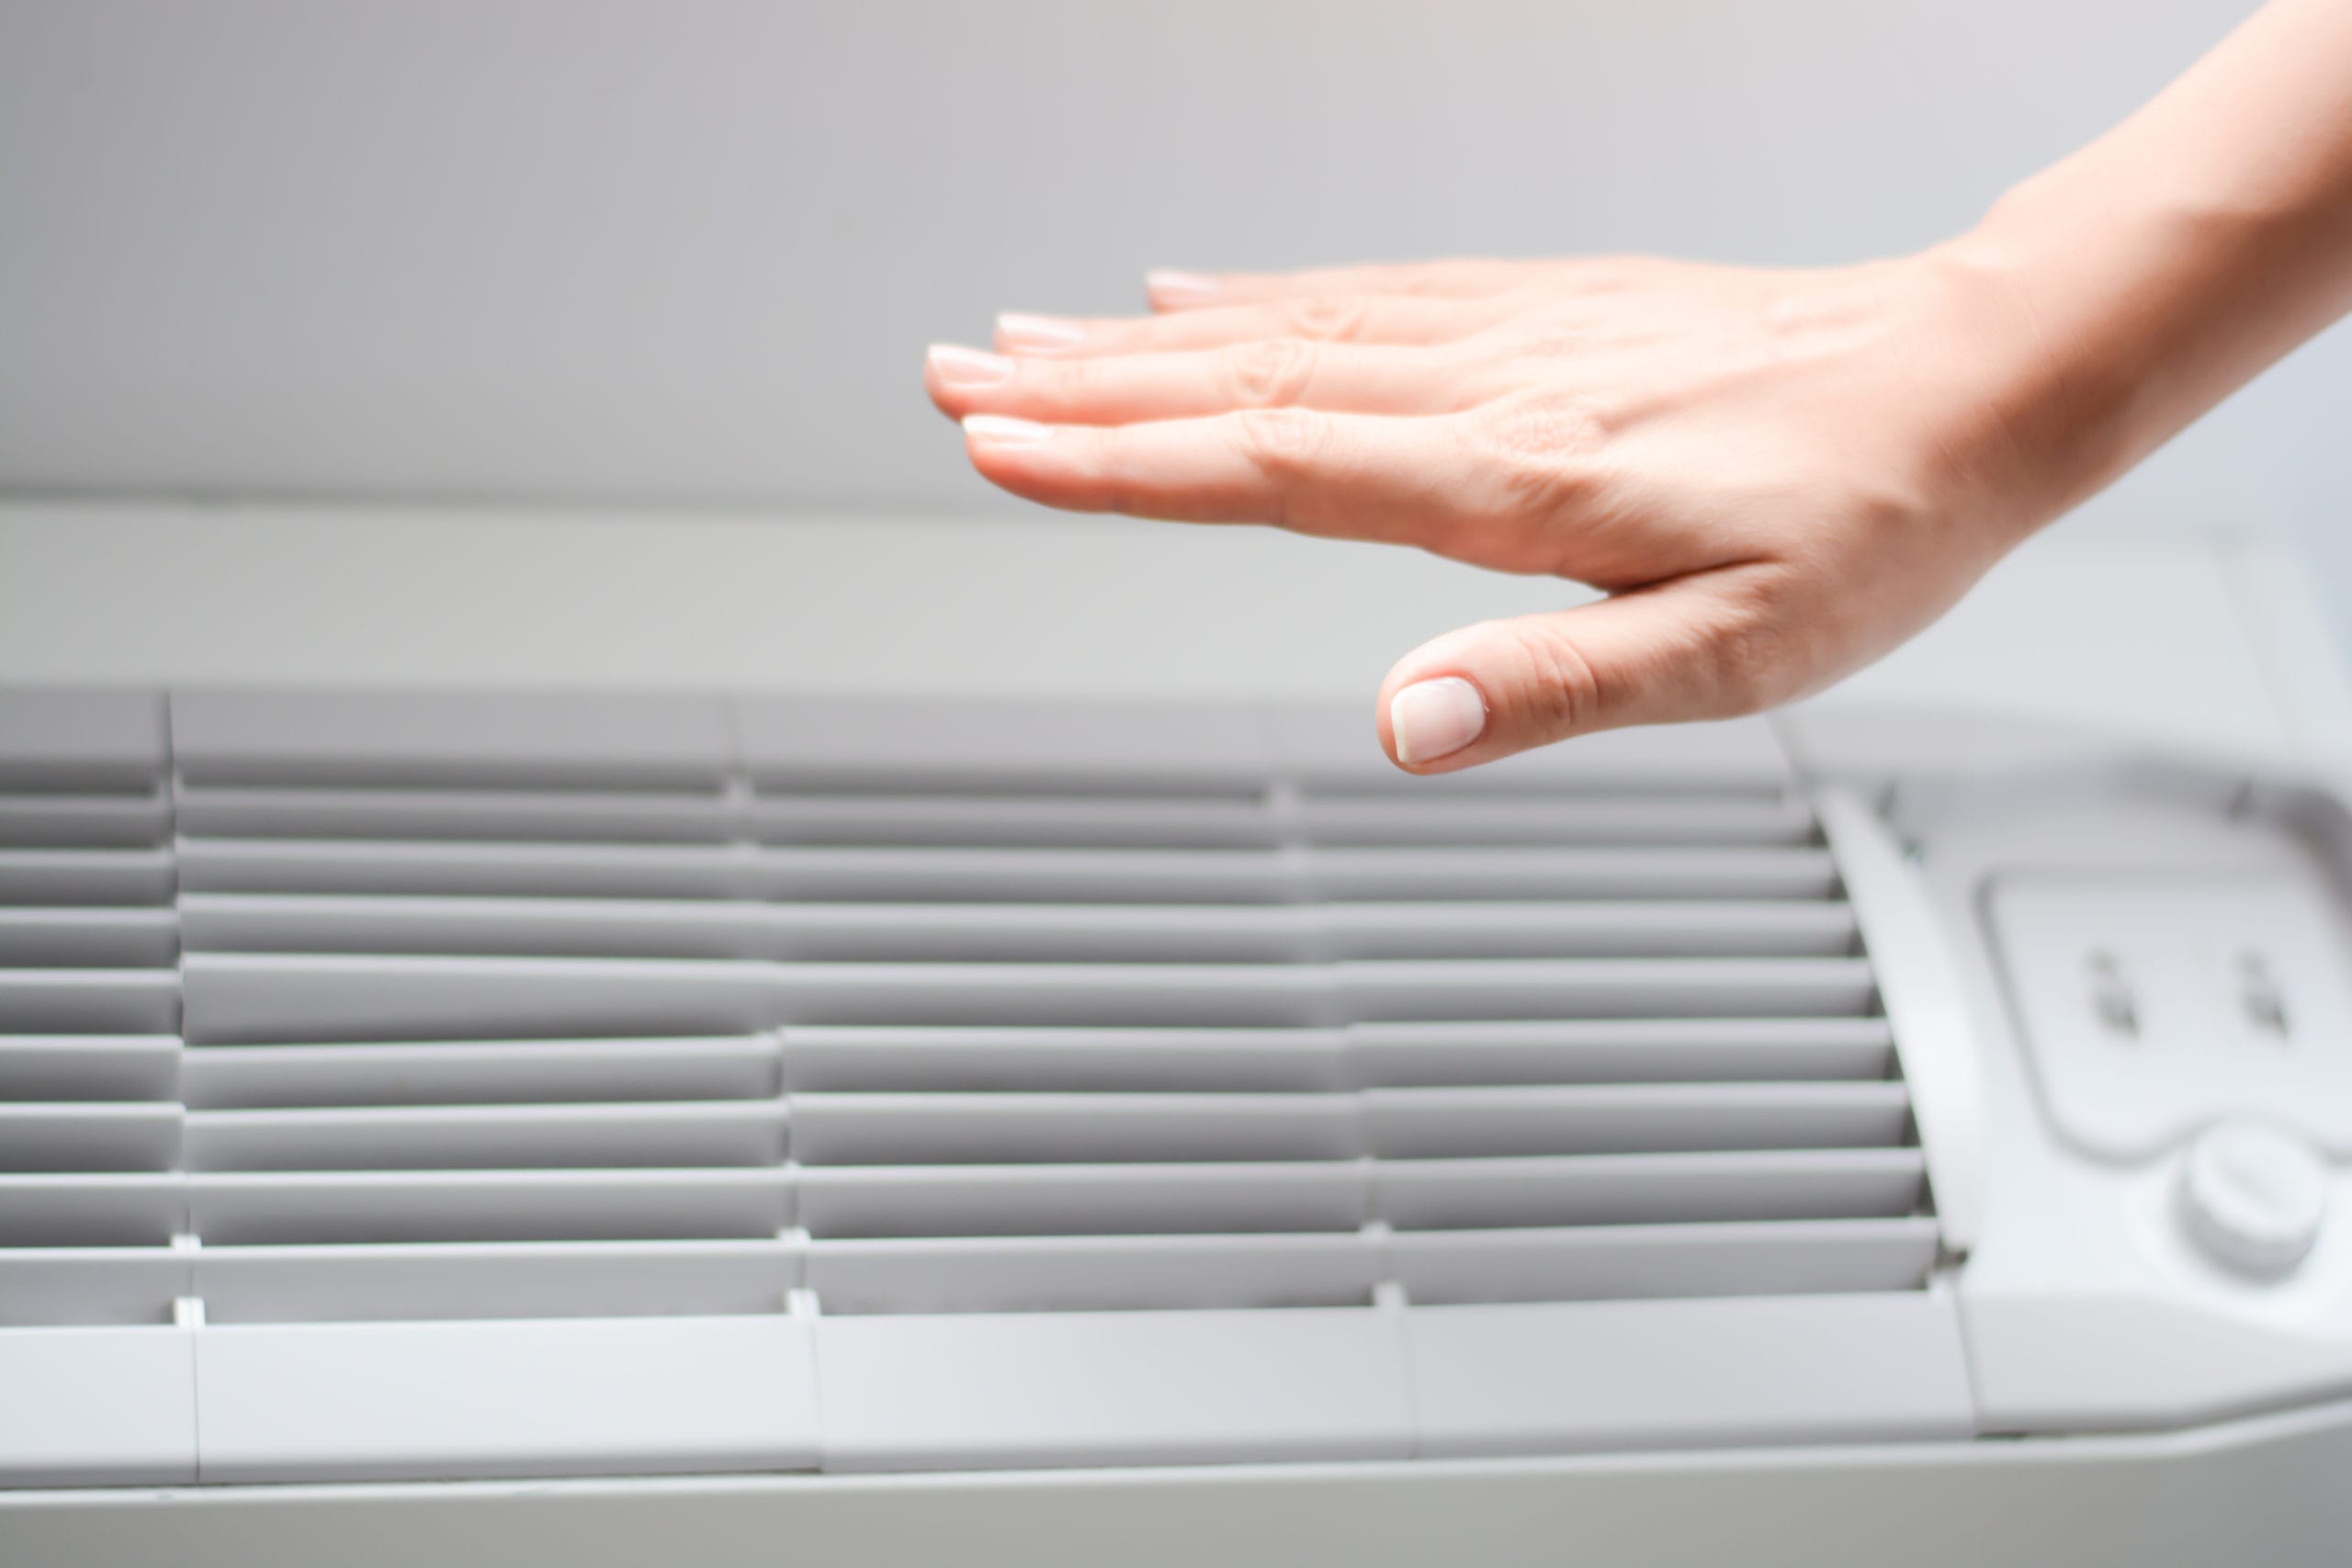
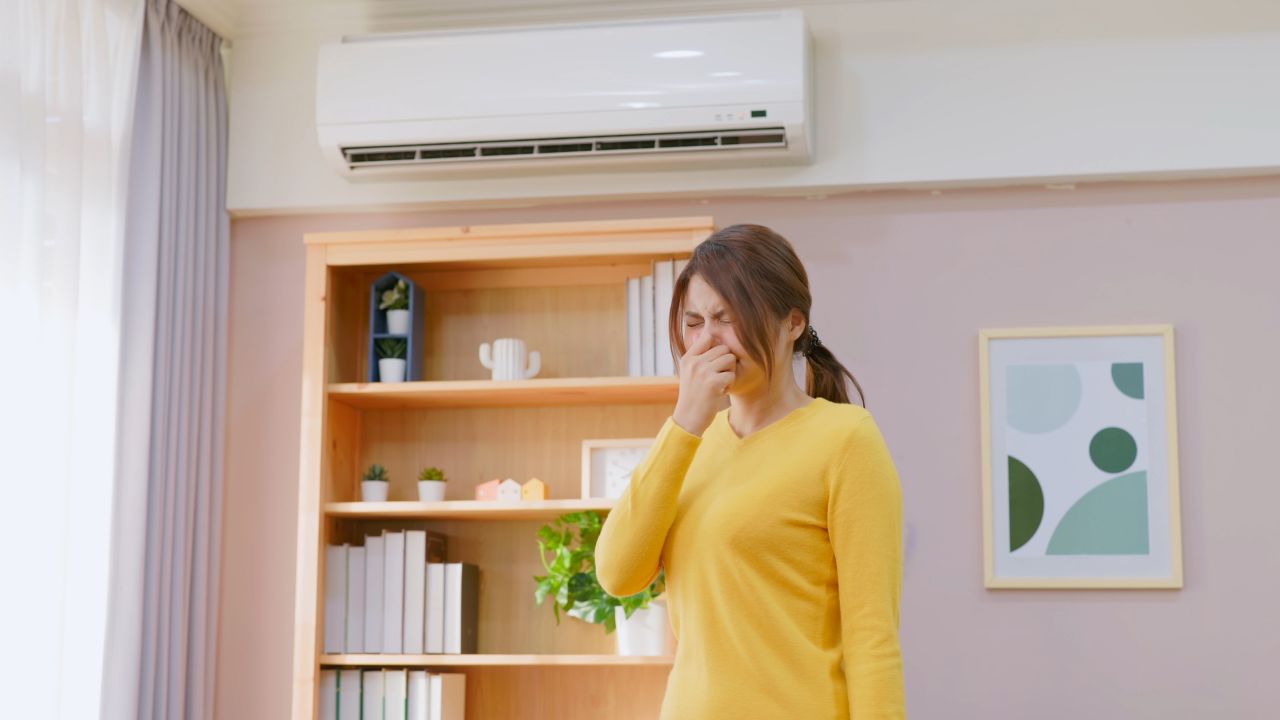
During the scorching summer months, there’s nothing more frustrating than realizing that your air conditioner is not turning on. Your home can quickly become uncomfortable and unbearable without the cool air provided by your AC unit. However, before you fret and dial the nearest HVAC technician, there are a few troubleshooting steps you can take to determine the cause of the problem.
In this article, we will explore the possible reasons why your air conditioner is not turning on and guide you through the troubleshooting process. By understanding these common issues and knowing how to address them, you may be able to get your AC unit up and running again without the need for professional assistance.
So, join us as we dive into the world of air conditioner troubleshooting and unravel the mysteries of unexpected AC failure.
Key Takeaways:
- Troubleshooting your air conditioner not turning on? Check power, thermostat, and filters first. If issues persist, consult a professional for compressor, motor, or refrigerant problems.
- Regular maintenance and proactive troubleshooting can keep your air conditioner running smoothly. Address power, thermostat, and filter issues, and seek professional help for complex problems.
Read more: Why Is My Air Conditioner Not Turning Off
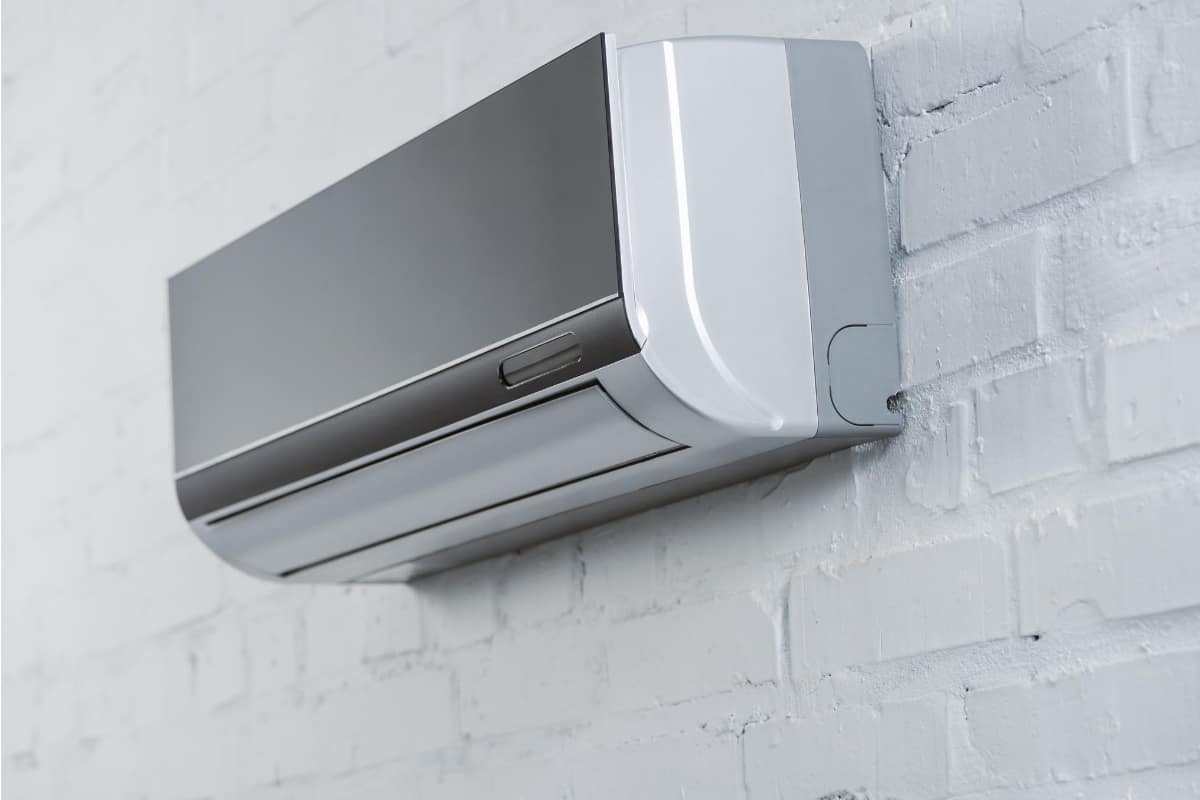
Possible Reasons for Air Conditioner Not Turning On
When your air conditioner fails to turn on, it can be a source of frustration and discomfort. Understanding the potential causes of this issue can help you identify the problem and take the appropriate steps to resolve it. Here are some common reasons why your air conditioner may not be turning on:
- Power Issues: One of the most common reasons for an air conditioner to not turn on is a power-related issue. Check if the unit is plugged in properly and if there is power running to the outlet. Additionally, inspect the circuit breaker or fuse box to ensure that the breaker has not been tripped or the fuse has not blown.
- Thermostat Problems: A faulty or improperly set thermostat can prevent your air conditioner from turning on. Ensure that the thermostat is set to the desired temperature and in the cooling mode. Replace the batteries if needed and consider calibrating the thermostat to ensure accurate temperature readings.
- Clogged Air Filter: A dirty or clogged air filter can restrict airflow and cause your air conditioner to struggle to operate. Check the filter and clean or replace it if necessary. Regularly cleaning or replacing your air filter is essential for efficient air conditioner performance.
- Faulty Capacitor: The capacitor is responsible for providing the initial jolt of electricity necessary to start the motor in your air conditioner. A faulty capacitor can prevent the unit from turning on. If you suspect a faulty capacitor, it is recommended to have a professional technician replace it.
- Tripped Circuit Breaker: If the circuit breaker trips frequently when the air conditioner is running, it could indicate an electrical issue. Reset the circuit breaker and monitor it for any further tripping. If the problem persists, consult an electrician to address the underlying electrical problem.
- Blown Fuse: Similar to a tripped circuit breaker, a blown fuse can cause the air conditioner to stop working. Locate the fuse box and check for any blown fuses. Replace them with new ones of the same amperage rating.
- Blocked Condensate Drain Line: Over time, the condensate drain line in your air conditioner can become clogged with dirt, debris, or algae growth. This blockage can trigger a safety mechanism, preventing the unit from turning on. Clear the blockage by flushing the drain line with a mixture of water and vinegar.
- Compressor Issues: The compressor is the heart of the air conditioning system and is responsible for pumping refrigerant through the system. If the compressor is faulty or not functioning properly, the air conditioner may not turn on. Compressor issues typically require professional repair or replacement.
- Faulty Motor: A malfunctioning motor can prevent the air conditioner from starting. Listen for any strange noises coming from the unit and check for signs of overheating. If you suspect a faulty motor, it is best to consult a professional technician for repair or replacement.
- Low Refrigerant Levels: Insufficient refrigerant levels can cause the air conditioner to malfunction and fail to turn on. Low refrigerant levels may indicate a leak in the system, which should be addressed by a trained technician. They can repair the leak and recharge the refrigerant to the appropriate level.
These are just some of the possible reasons why your air conditioner may not be turning on. By familiarizing yourself with these potential issues, you can have a better understanding of what may be causing the problem and take the necessary steps to resolve it.
Power Issues
When your air conditioner fails to turn on, one of the first things to consider is whether there is a power issue. While it may seem obvious, it’s important to check the power supply before diving into more complex troubleshooting steps.
Here are some steps to follow when dealing with potential power issues:
- Check the power source: Make sure that your air conditioner is properly plugged into a functioning outlet. Verify that there is electricity running to the outlet by plugging in another device and testing if it powers on.
- Inspect the circuit breaker: Locate the circuit breaker or fuse box and check if the breaker has been tripped or the fuse has blown. If the breaker has tripped or the fuse is blown, reset the breaker or replace the fuse. It’s important to determine why the breaker tripped or the fuse blew, as this may indicate an underlying electrical issue.
- Check for a GFCI outlet: Some air conditioning units are connected to a ground fault circuit interrupter (GFCI) outlet. If the GFCI outlet has tripped, press the “reset” button to restore power to the outlet. If it immediately trips again, there may be a fault in the unit or the outlet itself.
If none of the above steps resolve the power issue, it’s recommended to consult with a licensed electrician to address any underlying electrical problems.
Remember, safety should always be a priority when dealing with electrical components. If you are unsure or uncomfortable working with electricity, it’s best to seek professional assistance.
By checking the power source and addressing any potential power issues, you can rule out simple causes for your air conditioner not turning on. If the power is not the problem, move on to the next potential cause on the list of troubleshooting steps.
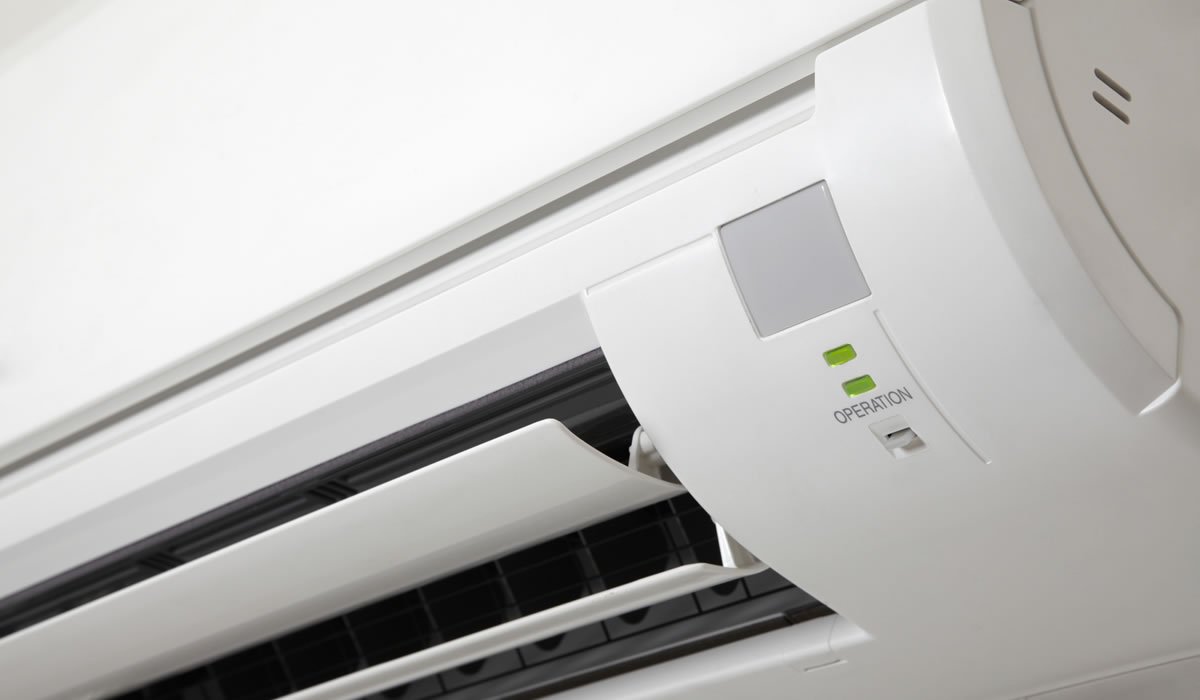
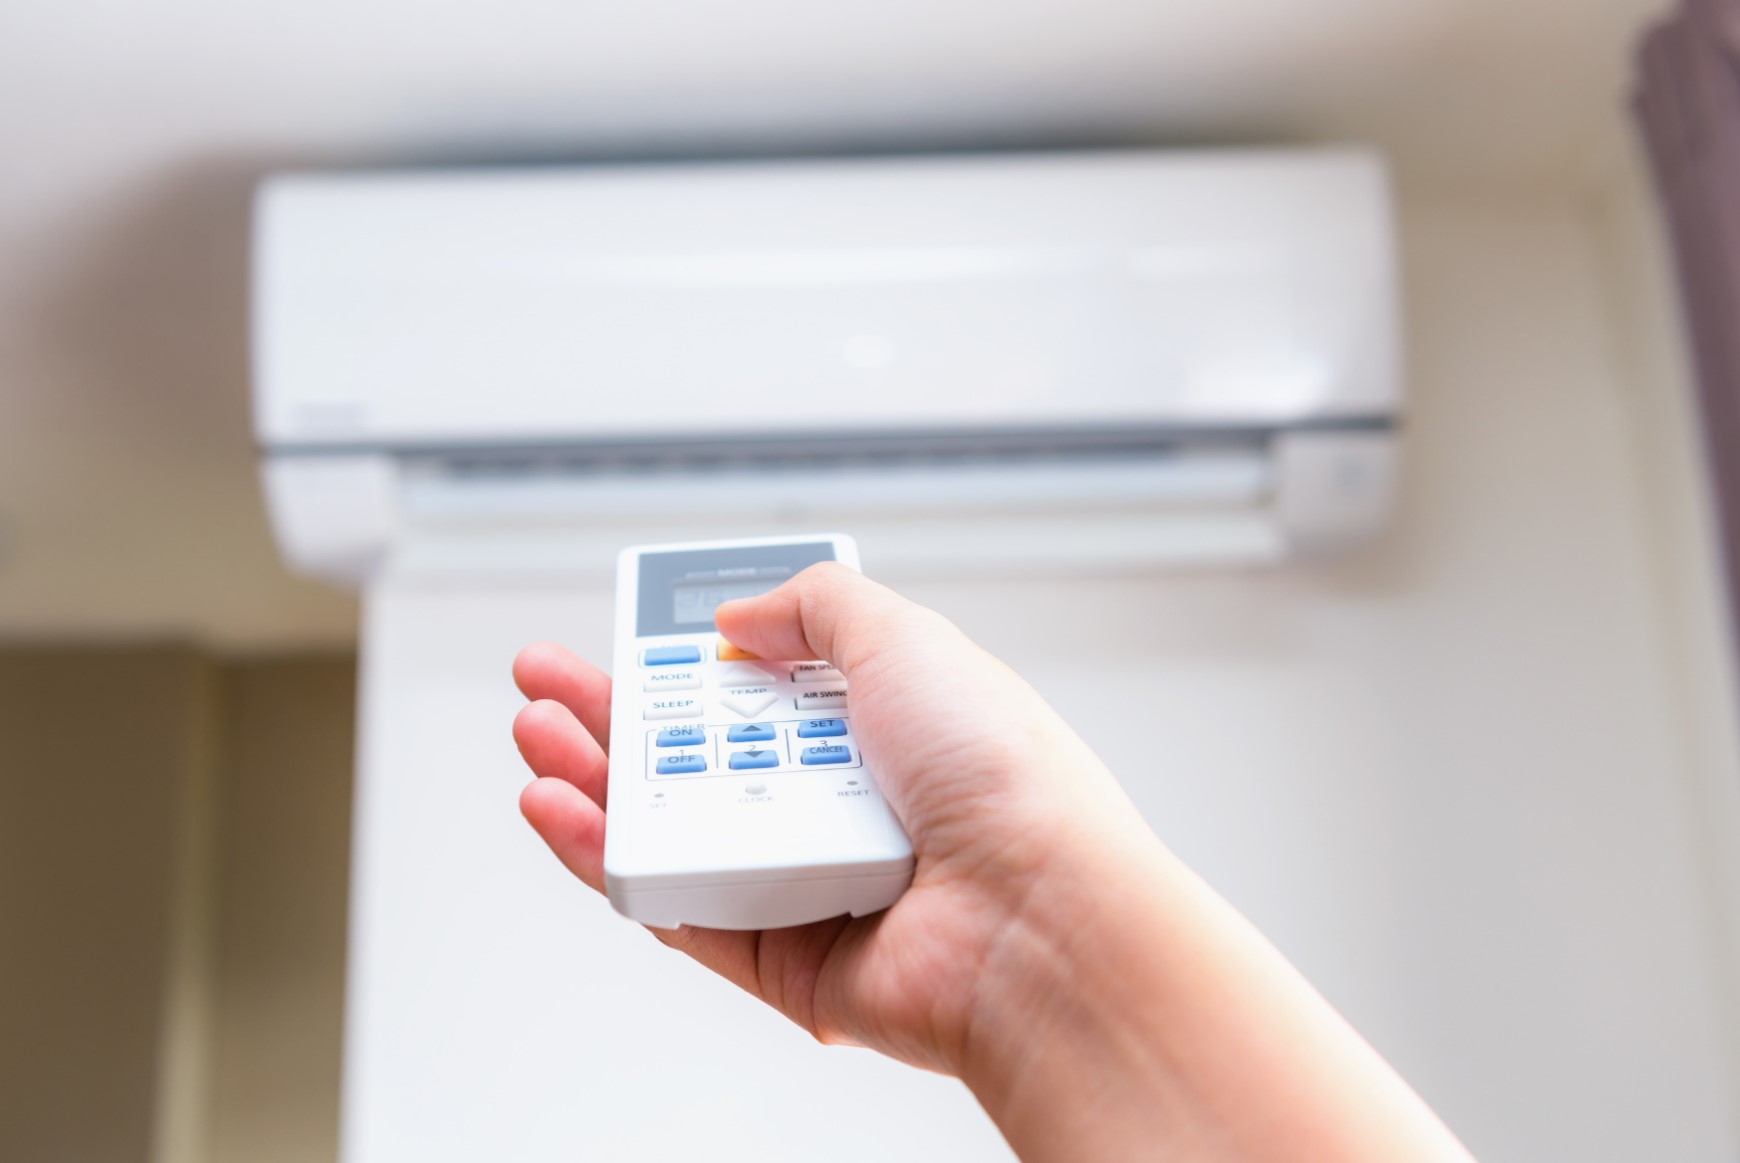
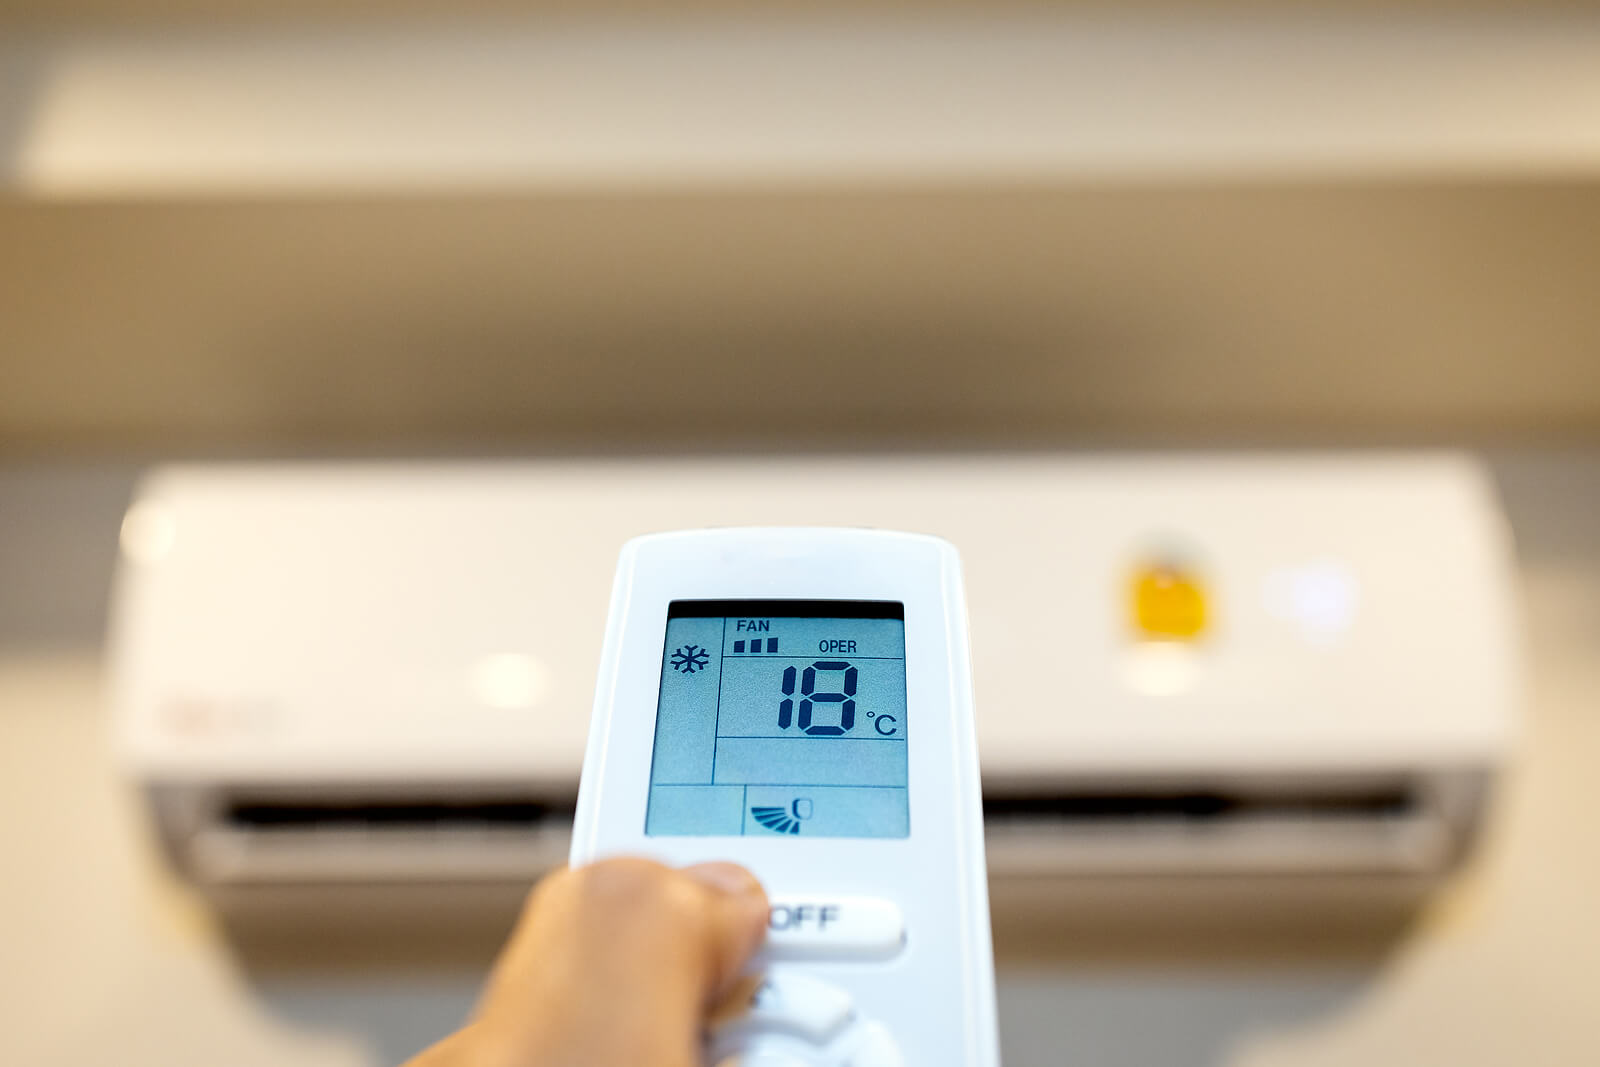
Thermostat Problems
A malfunctioning thermostat can be the culprit behind your air conditioner not turning on. The thermostat is responsible for monitoring the temperature in your home and signaling the air conditioner to start cooling when necessary. If there is an issue with the thermostat, it may not be sending the correct signals to your AC unit.
Here are some steps to troubleshoot thermostat problems:
- Check the thermostat settings: Verify that the thermostat is set to the desired temperature and in the cooling mode. Sometimes, the thermostat settings can be accidentally adjusted or switched off, preventing the air conditioner from turning on.
- Replace the thermostat batteries: If your thermostat operates on batteries, low battery power can cause it to malfunction. Replace the batteries and see if that resolves the issue. It’s a good practice to replace the thermostat batteries annually to ensure consistent performance.
- Calibrate the thermostat: A poorly calibrated thermostat can provide inaccurate temperature readings, leading to improper cooling. Consult the manufacturer’s instructions to learn how to recalibrate your thermostat or consider hiring a professional to ensure accurate temperature control.
- Check for loose connections: Inspect the wires and connections behind the thermostat, ensuring they are secure and properly connected. Loose connections can disrupt the communication between the thermostat and the air conditioner, resulting in a failure to turn on.
- Consider upgrading to a programmable thermostat: If you’re still experiencing thermostat issues, you may want to consider upgrading to a programmable thermostat. These advanced devices offer more precise temperature control and scheduling options, reducing the chances of a malfunction.
If you’ve attempted these troubleshooting steps, but the thermostat problems persist, it may be time to consult with an HVAC professional. They can test and diagnose the thermostat and make any necessary repairs or replacements.
Remember, the thermostat acts as the command center for your air conditioning system. Ensuring it is functioning properly is essential for efficient cooling and overall comfort in your home.
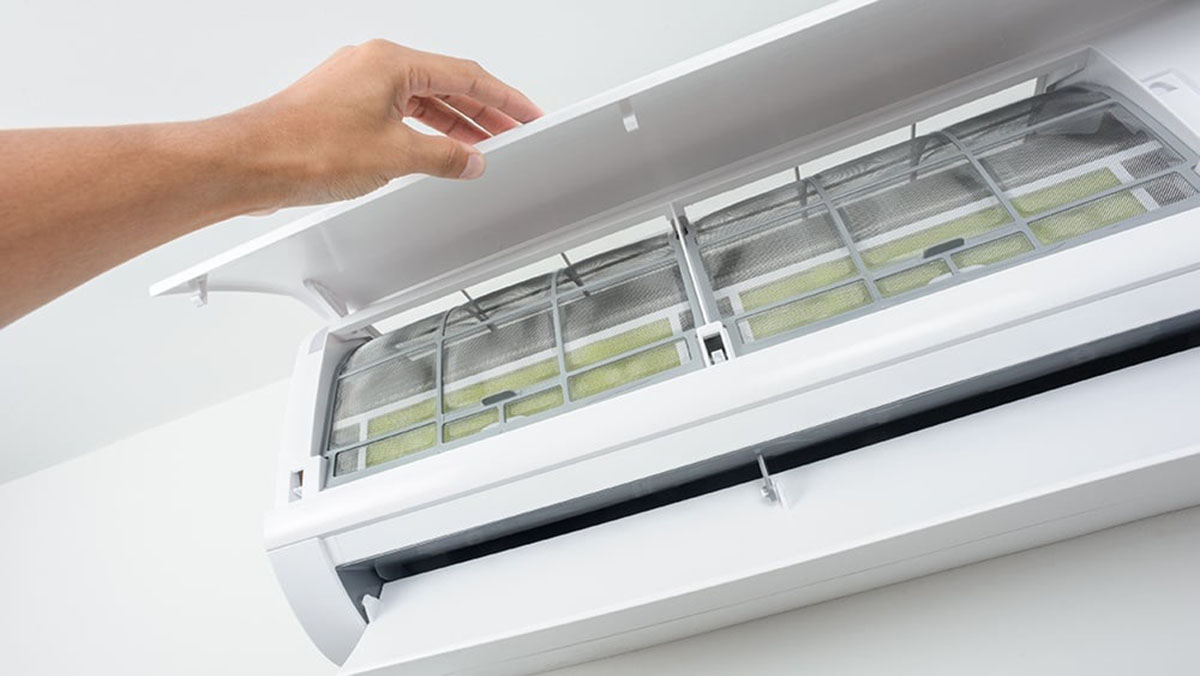
Clogged Air Filter
A clogged or dirty air filter can cause numerous issues with your air conditioner, including preventing it from turning on. The air filter is responsible for trapping dust, dirt, and other particles from circulating through the system. Over time, these particles accumulate, obstructing airflow and reducing the unit’s efficiency.
Here’s how to address a clogged air filter:
- Locate the air filter: The air filter is typically located inside the air handler or return air grille. Refer to your air conditioner’s manual if you’re unsure where to find it.
- Inspect the air filter: Remove the air filter and inspect it for dirt, dust, and debris. A clogged filter may appear discolored or have a thick layer of accumulated particles.
- Clean or replace the air filter: If the air filter is washable, follow the manufacturer’s instructions to clean it thoroughly. Allow it to dry completely before reinstalling it. If the air filter is disposable, replace it with a new one. It’s recommended to check and clean or replace the air filter every one to three months, depending on usage and environmental factors.
- Test the air conditioner: After cleaning or replacing the air filter, turn on the air conditioner to see if it starts running. A clogged filter can cause the unit to overheat, triggering a safety mechanism that prevents it from turning on. Clearing the obstruction should resolve the issue.
Regular maintenance of your air filter is crucial for optimal air conditioner performance and energy efficiency. A clean filter allows for better airflow, improves indoor air quality, and helps prolong the lifespan of your AC unit.
If cleaning or replacing the air filter doesn’t resolve the problem of your air conditioner not turning on, it’s advisable to consult with a professional technician. They can further diagnose the issue and recommend the appropriate course of action.
Read more: Why Is My Air Conditioner Surging
Faulty Capacitor
A faulty capacitor is another potential reason why your air conditioner may not be turning on. The capacitor is a small electronic component that provides the initial jolt of electricity to start the motor in your AC unit. Over time, capacitors can wear out or fail, preventing the motor from starting and the air conditioner from turning on.
Here’s what you can do if you suspect a faulty capacitor:
- Turn off the power: Before inspecting or replacing the capacitor, ensure that the power to your air conditioner is turned off at the main electrical panel. This prevents any risk of electric shock or injury.
- Locate the capacitor: The capacitor is typically located in the outdoor condenser unit or near the air handler inside your home. Consult your air conditioner’s manual or seek professional advice if you’re unsure of its location.
- Inspect the capacitor: Examine the capacitor for any signs of physical damage, such as bulging, leaking, or burnt marks. These are indications of a faulty capacitor that needs to be replaced.
- Replace the capacitor: If you’re comfortable and have the necessary knowledge, you can take the DIY route and replace the faulty capacitor. However, it’s strongly recommended to involve a professional technician, as capacitors store electrical energy and can be dangerous if mishandled.
- Consult a professional technician: If you’re uncertain about inspecting or replacing the capacitor yourself, it’s best to contact a licensed HVAC technician. They have the expertise and proper equipment to safely diagnose and replace the faulty capacitor.
Addressing a faulty capacitor is crucial for restoring proper functionality to your air conditioner. Ignoring this issue can lead to further damage to the AC unit or other components of the system.
Remember to prioritize safety when dealing with electrical components. If you’re unsure or uncomfortable working with capacitors or any electrical parts, seek professional assistance.
Tripped Circuit Breaker
If your air conditioner is not turning on, a tripped circuit breaker could be the culprit. Circuit breakers serve as a safety mechanism to protect electrical circuits from overload. When a circuit draws too much electrical current, the breaker trips, cutting off power to that circuit.
Here’s what you can do if you suspect a tripped circuit breaker:
- Locate the electrical panel: Find the electrical panel in your home, which is usually located in a basement, utility room, or garage.
- Identify the tripped breaker: Inspect the breakers in the electrical panel and look for the one that has shifted to the middle or “off” position. It will be out of alignment with the other breakers.
- Reset the tripped breaker: To reset the breaker, firmly push it to the “off” position, and then flip it back to the “on” position. You should hear a click when it engages.
- Test the air conditioner: Turn on your air conditioner to see if it starts running. Resetting the tripped breaker should restore power to the circuit and allow the AC unit to function properly.
If the breaker trips again immediately or shortly after resetting it, there might be an underlying issue causing the overload. In such cases, it’s best to consult with a licensed electrician to investigate and address the problem.
It’s important to note that circuit breakers trip for a reason, which could be an overloaded circuit, a short circuit, or a ground fault. If the breaker continues to trip repeatedly, it’s crucial to have a professional diagnose and fix the underlying electrical issue to prevent further damage or safety hazards.
Remember, working with electrical components can be dangerous, so if you’re unsure or uncomfortable dealing with circuit breakers, it’s always best to seek professional assistance.
Check the thermostat to make sure it’s set to cool and the temperature is lower than the current room temperature. Also, check the circuit breaker to make sure it hasn’t tripped. If these don’t solve the issue, it may be a problem with the AC unit itself and you should call a professional for help.
Blown Fuse
If your air conditioner is not turning on, another potential cause to consider is a blown fuse. The fuse in your air conditioning system acts as a safety device, protecting the electrical components from excessive current flow. When a fuse blows, it disrupts the circuit and prevents the air conditioner from functioning.
Here’s how you can address a blown fuse:
- Locate the fuse box: Identify the fuse box in your home. It is typically located in the basement, utility room, or near the main electrical panel.
- Identify the blown fuse: Inspect the fuses in the fuse box and look for the one that has a broken metal strip or appears cloudy. These are indications of a blown fuse.
- Replace the blown fuse: Carefully remove the blown fuse from its socket and replace it with a new one of the same amperage rating. Make sure to use the appropriately sized fuse to prevent any electrical hazards. Refer to your air conditioner’s manual or consult a professional if you’re unsure about the correct fuse size.
- Test the air conditioner: After replacing the blown fuse, turn on your air conditioner to see if it starts running. A blown fuse can cause the unit to lose power, and replacing it should restore the circuit and enable the AC unit to function properly.
Keep in mind that a blown fuse can be a symptom of an underlying issue, such as a short circuit or an electrical overload. If the new fuse blows immediately or shortly after replacement, it’s recommended to consult with a licensed electrician to investigate and resolve the root cause of the problem.
Remember to prioritize safety when dealing with fuses and electrical components. If you’re unsure or uncomfortable working with fuses or electrical systems, it’s best to seek professional assistance to ensure a safe and proper resolution.
Blocked Condensate Drain Line
When your air conditioner fails to turn on, a blocked condensate drain line may be to blame. The condensate drain line is responsible for removing the moisture that accumulates within the AC unit during the cooling process. Over time, dirt, debris, or algae can accumulate in the drain line, leading to a blockage that triggers a safety mechanism, preventing the unit from turning on.
To address a blocked condensate drain line, follow these steps:
- Locate the condensate drain line: The condensate drain line is typically located near the indoor air handler or inside the AC unit. Refer to your air conditioner’s manual if you’re unsure where to find it.
- Inspect the drain line: Examine the drain line for any signs of a blockage. Look for an accumulation of dirt, debris, or algae growth. A clogged drain line may cause water to back up, triggering the safety mechanism that prevents the unit from turning on.
- Clear the blockage: There are several methods you can use to clear a blocked drain line. One effective method is to mix equal parts of water and vinegar and pour the solution into the drain line. Let it sit for about 30 minutes to break down the clog. Then, flush the drain line with water to remove any remaining debris.
- Maintain the drain line: Regular maintenance of the condensate drain line is essential to prevent future blockages. Consider using a condensate drain line cleaner or installing a drain line trap to catch debris before it enters the line.
If you’re unsure about clearing the blockage yourself or if the problem persists even after attempting these steps, it’s recommended to consult with a professional HVAC technician. They have the expertise and proper equipment to effectively clear the blockage and ensure proper functioning of the condensate drain line.
Remember, a blocked condensate drain line can cause water damage and affect the performance of your air conditioning system. It’s important to address the issue promptly to prevent further complications.
Read more: Why Is There Ice On My Air Conditioner
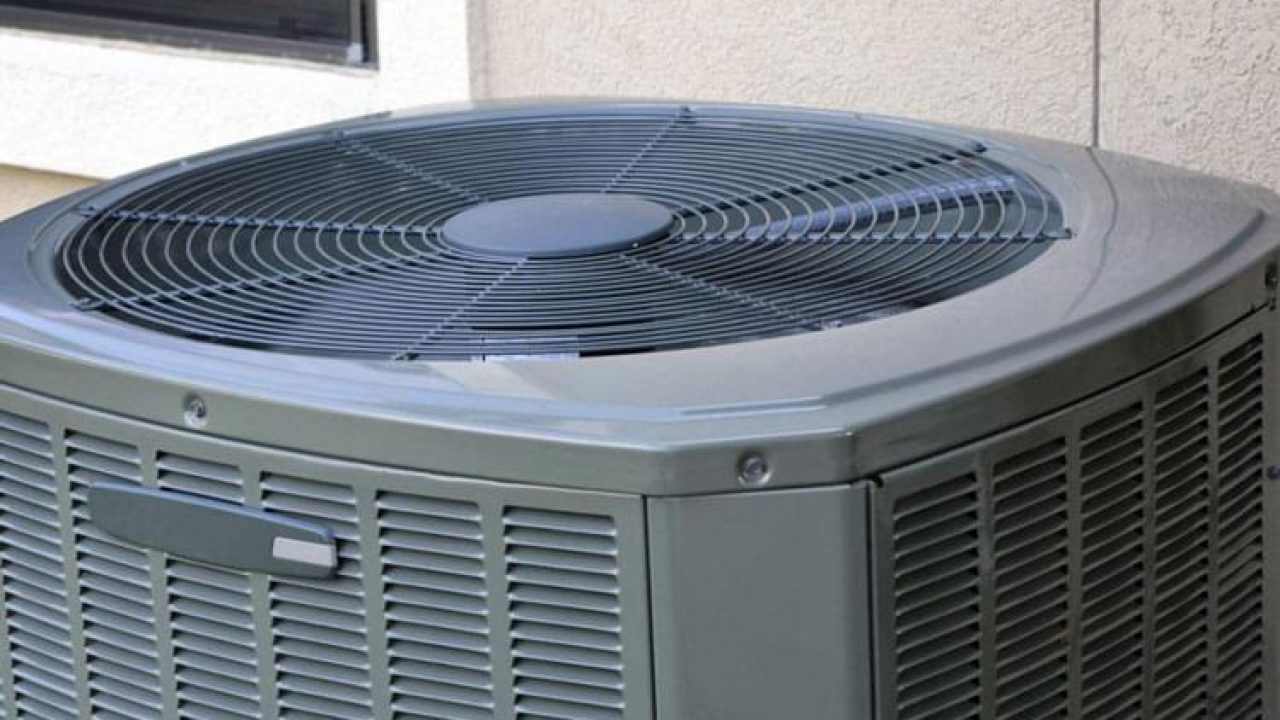
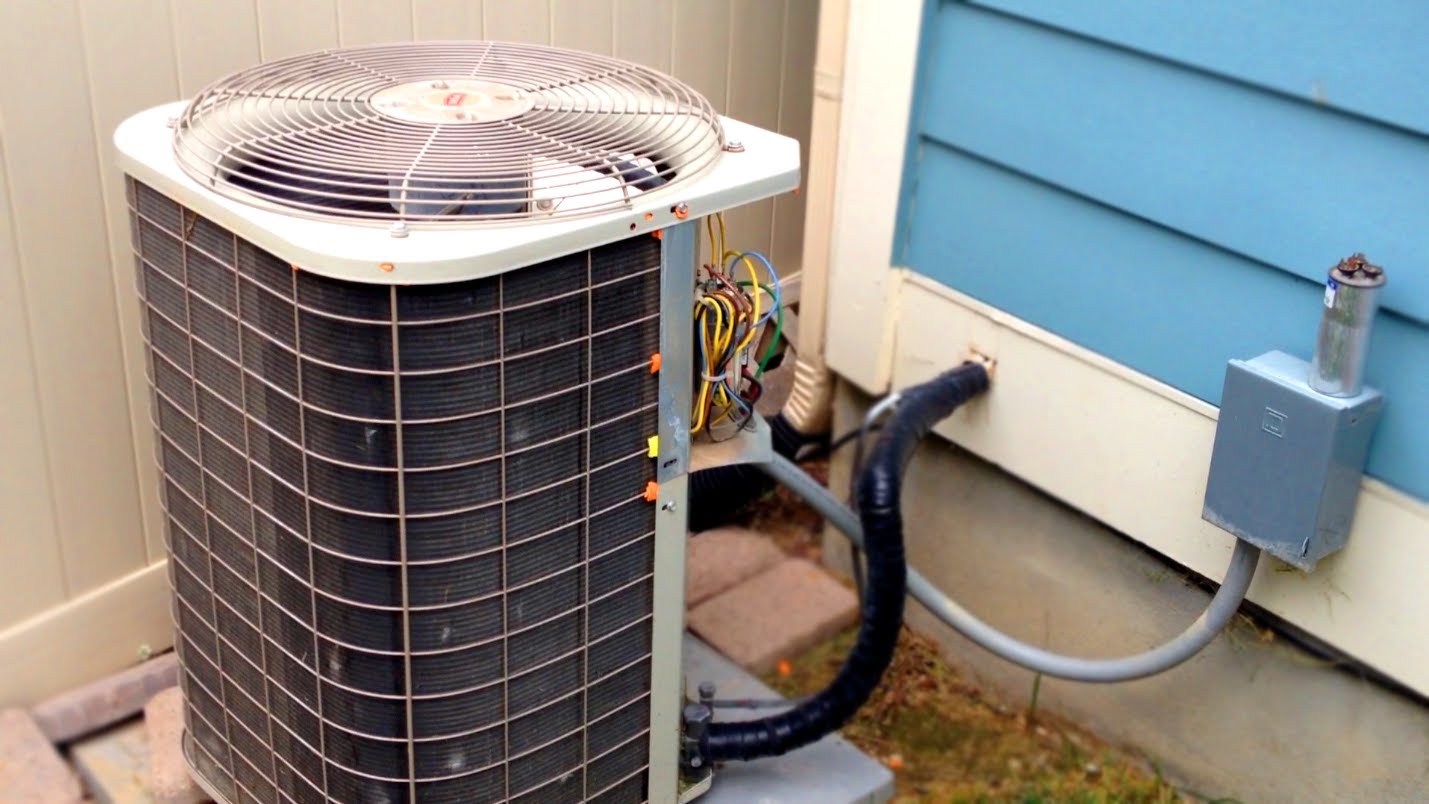
Compressor Issues
If your air conditioner is not turning on, a possible culprit could be issues with the compressor. The compressor is a vital component of the air conditioning system responsible for pumping refrigerant throughout the unit. It is in charge of compressing the refrigerant, which enables the cooling process.
Here are some signs and troubleshooting steps for compressor issues:
- Unusual noises: If you hear strange noises such as clanking, rattling, or grinding coming from the outdoor unit, it may indicate a problem with the compressor. These noises can occur due to mechanical issues, such as a worn-out motor or loose components.
- Lack of cooling: If the air conditioner is not producing cool air or fails to cool the room adequately, it could be a sign that the compressor is not functioning correctly. A malfunctioning compressor may struggle to pump refrigerant through the system, resulting in insufficient cooling capacity.
- Tripped circuit breaker: If the air conditioner repeatedly trips the circuit breaker when attempting to turn on, it could indicate a problem with the compressor. The increased electrical load caused by compressor issues can trigger the breaker to trip as a safety measure.
- Consult a professional: Compressor issues are typically complex and require the expertise of a professional HVAC technician. Attempting to diagnose or repair compressor problems without proper training or equipment can be dangerous and may further damage the system.
- Regular maintenance: Regular maintenance of your air conditioner is crucial for preventing compressor issues. Schedule routine maintenance with a qualified technician to clean and inspect the system, including the compressor. This can help identify early signs of problems and extend the lifespan of the compressor.
- Consider compressor replacement: In some cases, a faulty compressor may need to be replaced. This is a significant repair that should only be performed by a trained professional. They will conduct a proper assessment and recommend the best course of action.
Remember, the compressor is a vital component of the air conditioning system, and any issues with it should be addressed promptly to avoid further damage to the unit. If you suspect compressor issues, it’s best to consult with a professional HVAC technician for a thorough diagnosis and appropriate repair or replacement.
Faulty Motor
If your air conditioner is not turning on, a faulty motor could be the cause. The motor in your AC unit plays a crucial role in powering the fan and other components necessary for the cooling process. A malfunctioning motor can prevent the air conditioner from starting and may require repair or replacement.
Here are some signs and troubleshooting steps related to a faulty motor:
- Strange noises: A faulty motor can produce unusual noises like grinding, screeching, or squealing. These noises may indicate worn-out bearings, loose components, or other mechanical issues with the motor.
- Lack of airflow: If the air conditioner is not blowing air or the airflow is significantly reduced, it could be a sign of a faulty motor. The motor is responsible for driving the fan that circulates the cool air throughout your home. A malfunctioning motor may not generate enough power to maintain adequate airflow.
- Hot motor: If you notice the motor is excessively hot to the touch, it could indicate a problem. Overheating can occur due to issues such as motor overload, lack of lubrication, or electrical problems. An overheating motor can cause further damage to the air conditioner if not addressed promptly.
- Consult a professional: Dealing with a faulty motor requires the expertise of a trained HVAC technician. They have the knowledge and tools to accurately diagnose motor issues and recommend the appropriate solution, whether it be motor repair or replacement.
- Regular maintenance: Regular maintenance of your air conditioner can help prevent motor issues. Schedule annual maintenance with a professional technician to ensure that the motor is kept in optimal condition. This may involve lubricating the motor, inspecting the electrical connections, and cleaning any debris that may affect its performance.
- Motor replacement: In some cases, a faulty motor may need to be replaced. Attempting to replace the motor yourself is not recommended, as it requires specific knowledge and expertise. A professional technician will be able to source the correct replacement motor and properly install it.
Remember, dealing with a faulty motor involves working with electrical components, so it’s important to prioritize safety. If you suspect a faulty motor, it’s best to consult with a professional HVAC technician who can accurately diagnose and resolve the issue.
Low Refrigerant Levels
If your air conditioner is not turning on, one possible cause could be low refrigerant levels. Refrigerant is the substance responsible for absorbing heat from the indoor air and transferring it outside, thus providing cooling. When the refrigerant levels are low, the air conditioner may struggle to effectively cool your home or may fail to turn on altogether.
Here are some signs and troubleshooting steps related to low refrigerant levels:
- Insufficient cooling: If your air conditioner is blowing warm air or not providing adequate cooling, it could be a sign of low refrigerant levels. Without enough refrigerant, the AC unit is unable to absorb heat effectively and cool the air in your home.
- Ice buildup: Another common sign of low refrigerant levels is the presence of ice on the evaporator coil or refrigerant lines. When refrigerant levels are low, the coil may become too cold, causing condensation to freeze on its surface. This restricts airflow and further impedes the cooling process.
- Hissing or bubbling sounds: If you hear hissing or bubbling sounds near the refrigerant lines, it can indicate a refrigerant leak. A refrigerant leak leads to decreased refrigerant levels and must be addressed by a professional as soon as possible.
- Consult a professional: Dealing with refrigerant issues requires the expertise of a trained HVAC technician. They have the necessary tools and knowledge to accurately diagnose refrigerant levels and repair or recharge the system.
- Troubleshooting the cause: Low refrigerant levels are often the result of a leak in the system. A professional technician will be able to locate and repair the leak before recharging the system with the appropriate amount of refrigerant. It’s important to note that simply adding more refrigerant without addressing the leak will not solve the problem in the long term.
- Preventive maintenance: Regular maintenance of your air conditioner can help identify refrigerant leaks early on, preventing low refrigerant levels. Schedule annual maintenance with a professional technician to inspect and service the system, including checking refrigerant levels and ensuring there are no leaks.
Remember, refrigerant is a regulated substance and should only be handled by qualified professionals. If you suspect low refrigerant levels, it’s best to contact a licensed HVAC technician who can accurately assess and address the issue.
Troubleshooting Steps for Air Conditioner Not Turning On
If your air conditioner is not turning on, here are some troubleshooting steps you can take to identify and potentially resolve the issue:
- Check the power: Ensure that the air conditioner is properly plugged into an outlet and that there is power running to the outlet. Verify if the circuit breaker has tripped or if a fuse has blown. Reset the breaker or replace the fuse if necessary.
- Inspect the thermostat: Check if the thermostat is set to the desired temperature and in the cooling mode. Replace the batteries if needed and consider calibrating the thermostat for accurate temperature readings.
- Clean or replace the air filter: A clogged air filter can obstruct airflow and prevent the air conditioner from operating efficiently. Check the air filter and clean or replace it if necessary. Regularly maintaining the air filter is vital for optimal performance.
- Check the capacitor: A faulty capacitor can result in the air conditioner not turning on. Inspect the capacitor for any signs of damage or wear. If you suspect a faulty capacitor, it is recommended to have a professional technician replace it.
- Reset the circuit breaker: If the circuit breaker trips frequently when the air conditioner is running, there may be an electrical issue. Reset the breaker and monitor it for further tripping. If it continues to trip, consult an electrician to address the underlying problem.
- Replace blown fuses: In the event of a blown fuse, locate the fuse box and check for any blown fuses. Replace them with new ones of the same amperage rating.
- Clear the condensate drain line: A blocked condensate drain line can trigger a safety mechanism that prevents the air conditioner from turning on. Flush the drain line with a mixture of water and vinegar to clear any blockage.
- Check for compressor issues: Inspect the outdoor unit for any unusual noises or signs of compressor malfunction. If you suspect compressor issues, it’s best to consult with a professional technician for diagnosis and repair.
- Inspect the motor: A faulty motor can prevent the air conditioner from starting. Listen for strange noises or check for lack of airflow. If motor issues are suspected, consult a professional technician for inspection and repair.
- Address low refrigerant levels: Low refrigerant levels can hinder the air conditioner’s ability to cool effectively. Look out for signs of insufficient cooling, ice buildup on the evaporator coil, or hissing sounds near the refrigerant lines. Consult a professional technician to diagnose and resolve the issue.
If you’ve gone through these troubleshooting steps and the air conditioner still doesn’t turn on, it’s best to contact a qualified HVAC technician. They have the expertise and tools to diagnose and address complex issues, ensuring your air conditioner gets back up and running efficiently.
Remember, safety should always be the top priority when dealing with electrical components. If you are unsure or uncomfortable with any troubleshooting steps, don’t hesitate to seek professional assistance.
Read more: Why Is My Air Conditioner Crackling
Conclusion
When your air conditioner fails to turn on, it can be frustrating and uncomfortable, especially during hot summer days. However, by understanding the potential causes and taking the necessary troubleshooting steps, you may be able to resolve the issue and restore your AC unit to proper working condition.
In this article, we explored the possible reasons why your air conditioner may not be turning on, including power issues, thermostat problems, clogged air filters, faulty capacitors, tripped circuit breakers, blown fuses, blocked condensate drain lines, compressor issues, faulty motors, and low refrigerant levels. Each of these issues requires specific attention and may require professional assistance to fully address.
By following the troubleshooting steps outlined in this article, you can take a systematic approach to identify and potentially resolve the problem. Checking the power supply, inspecting and calibrating the thermostat, cleaning or replacing air filters, and addressing common issues like tripped circuit breakers and blown fuses are essential initial troubleshooting steps.
If these troubleshooting steps do not resolve the issue, it may indicate more complex problems such as compressor issues, faulty motors, or low refrigerant levels. In such cases, it is advisable to engage the services of a qualified HVAC technician who can accurately diagnose the problem and recommend the appropriate repairs or replacements.
Remember to prioritize safety throughout the troubleshooting process. If you are unsure or uncomfortable with any of the steps, it is always best to seek professional assistance to avoid potential hazards.
Regular maintenance of your air conditioning system is crucial to prevent issues and ensure its long-term performance. Schedule annual maintenance with a professional technician to keep your AC unit in optimal condition and address any potential problems before they escalate.
By understanding the possible reasons why your air conditioner may not be turning on and taking proactive measures, you can keep your home cool and comfortable all summer long.
Frequently Asked Questions about Why Is My Air Conditioner Not Turning On
Was this page helpful?
At Storables.com, we guarantee accurate and reliable information. Our content, validated by Expert Board Contributors, is crafted following stringent Editorial Policies. We're committed to providing you with well-researched, expert-backed insights for all your informational needs.