Home>Home Maintenance>How To Winterize An Air Conditioner
Home Maintenance
How To Winterize An Air Conditioner
Modified: October 28, 2024
Learn how to properly winterize your air conditioner for home maintenance. Keep your HVAC system in top shape during the colder months.
(Many of the links in this article redirect to a specific reviewed product. Your purchase of these products through affiliate links helps to generate commission for Storables.com, at no extra cost. Learn more)
Introduction
As the cold winter months approach, it’s important to take the necessary steps to protect your air conditioner from potential damage caused by freezing temperatures and harsh weather conditions. Winterizing your air conditioner not only ensures its longevity but also helps optimize its performance when you begin using it again in the spring.
In this comprehensive guide, we’ll walk you through the step-by-step process of how to winterize your air conditioner. From turning off the power to covering the unit and checking for any leaks or damage, we’ll cover everything you need to know to keep your air conditioner in top shape during the winter months.
Whether you have a central air conditioner or a window unit, these winterization tips apply to all types of air conditioning systems. By following these guidelines, you can save yourself potentially expensive repairs and ensure that your air conditioner is ready to cool your home when the warm weather returns.
So, let’s dive right in and learn how to winterize an air conditioner with ease!
Key Takeaways:
- Protect your air conditioner from winter damage by turning off the power, cleaning, covering, and insulating it. Clear the surrounding area and store it properly for a smooth transition back to cooling in the spring.
- Consider professional maintenance and follow regular maintenance recommendations to ensure your air conditioner remains in peak condition and operates efficiently when needed.
Step 1: Turning off the Power
Before you begin any maintenance or winterization tasks, it’s essential to turn off the power to your air conditioner. This step will ensure your safety as you work on the unit and prevent any electrical mishaps.
To turn off the power to your air conditioner, follow these simple steps:
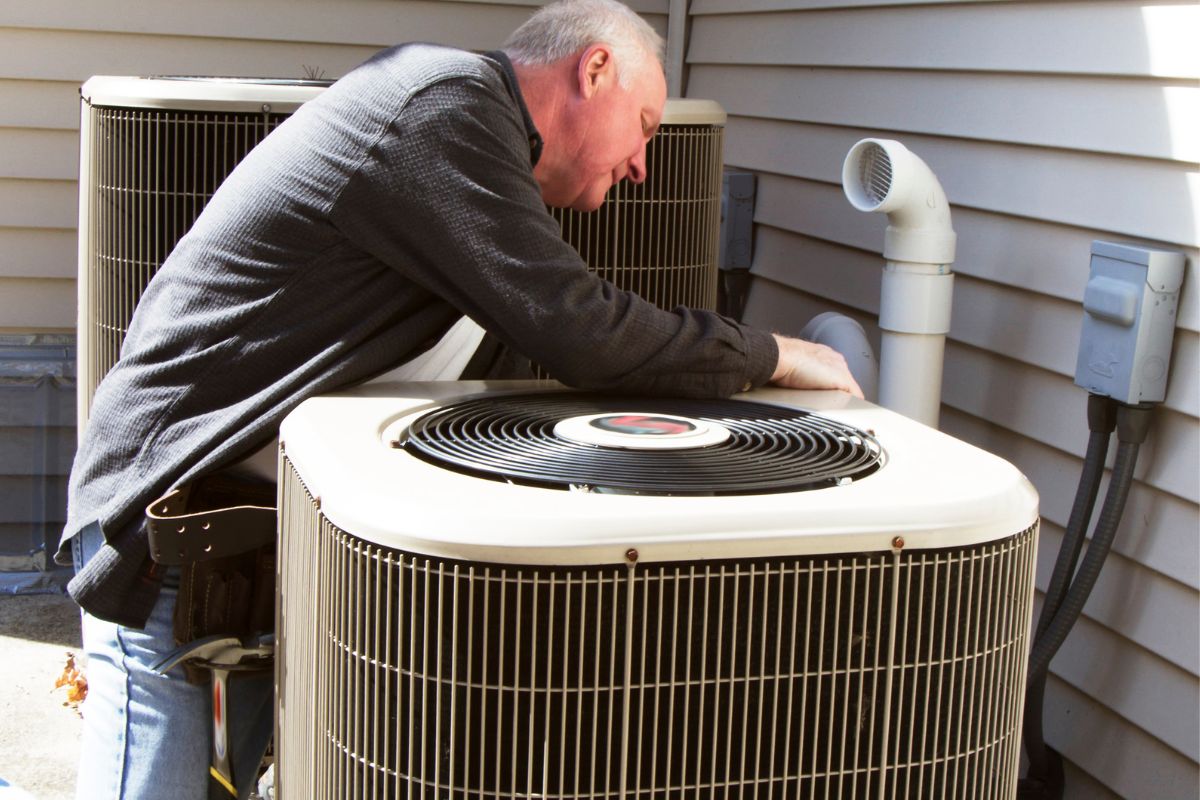
- Locate the circuit breaker box or the electrical disconnect near your outdoor unit.
- Open the circuit breaker box or flip the electrical disconnect switch to the “off” position.
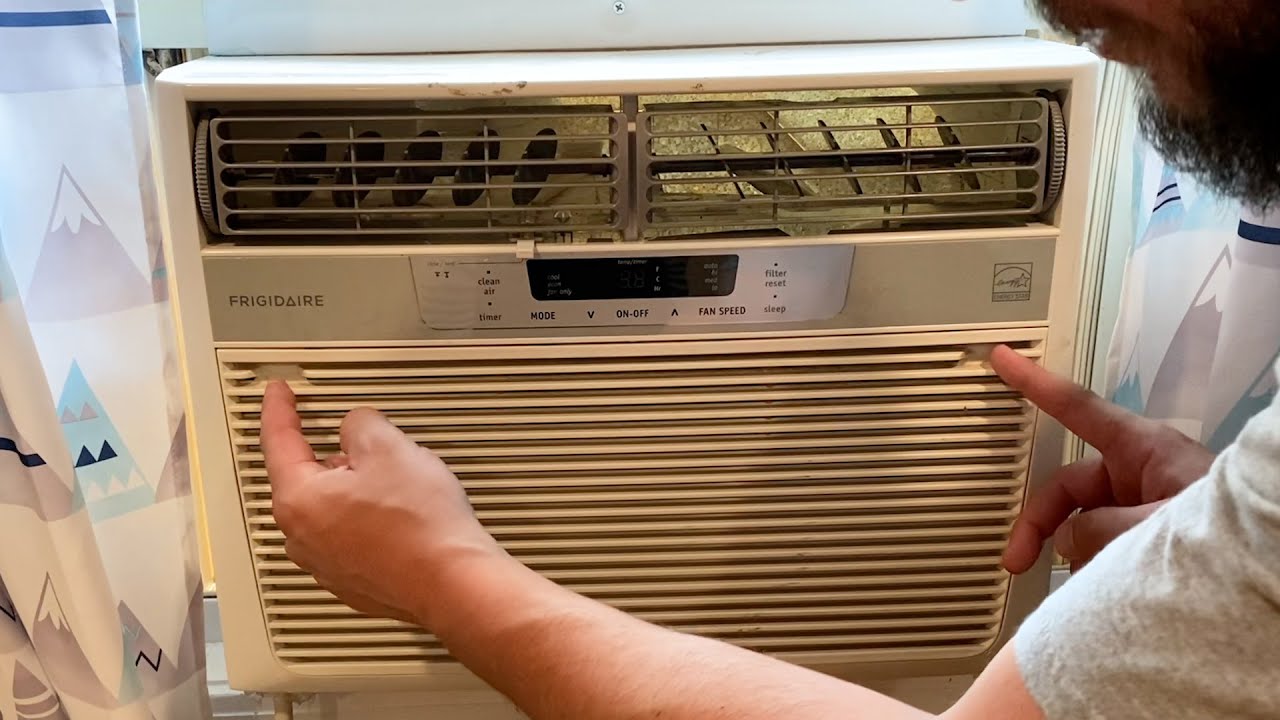
- Double-check that the power to the unit is indeed off by attempting to turn on the air conditioner from your thermostat or pressing the AC buttons on the control panel. Ensure that there is no response from the unit.
By turning off the power, you minimize the risk of electrical accidents and give yourself peace of mind while performing the necessary winterization tasks.
Once you have successfully turned off the power, you can move on to the next step of cleaning the unit.
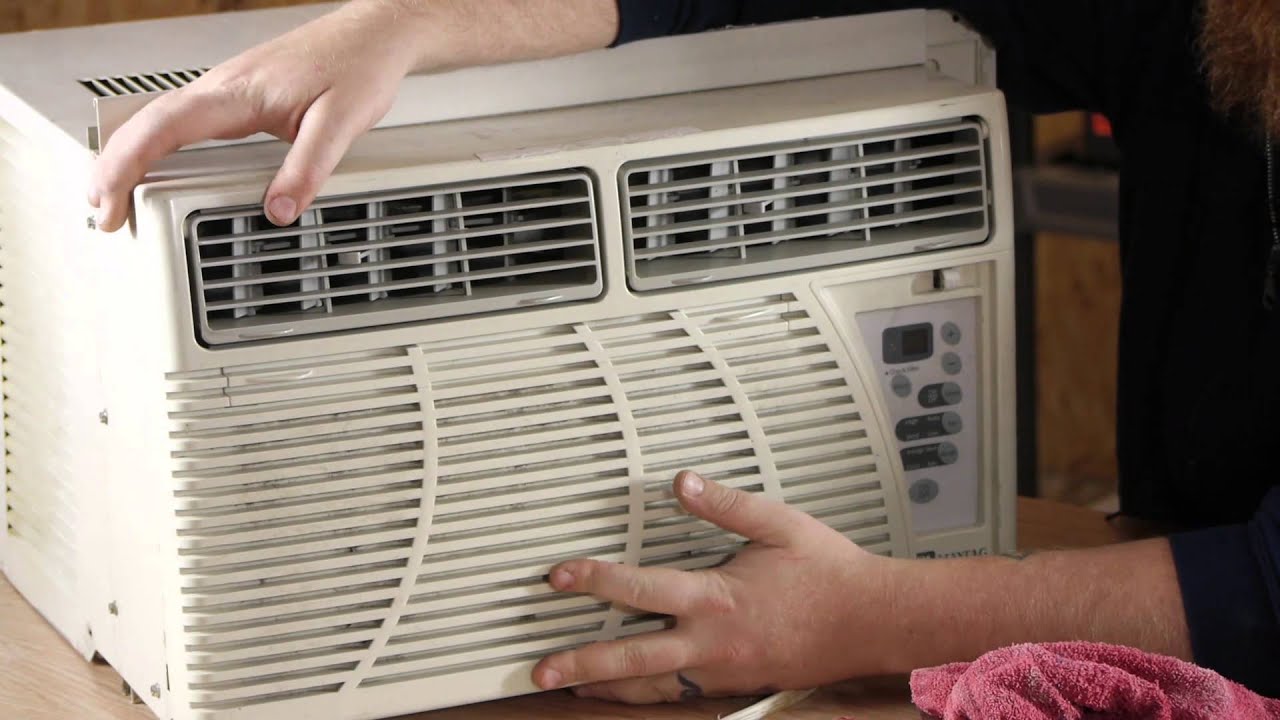
Step 2: Cleaning the Unit
After turning off the power, it’s time to clean your air conditioner to remove any dirt, debris, or dust that may have accumulated during the warmer months. Cleaning the unit ensures optimal performance and prevents clogs or blockages that can restrict airflow.
Here’s how to effectively clean your air conditioner:
- Start by removing any leaves, branches, or other debris from around the outdoor unit. Use a rake or broom to clear the area.
- Gently brush or vacuum the exterior of the unit to remove loose dirt and debris. Be cautious not to apply too much pressure to prevent damaging the delicate fins of the condenser coil.
- Next, remove the fan cage or grille on the top of the unit. This may require using a screwdriver or wrench depending on the model of your air conditioner. Set aside any screws or fasteners in a safe place.
- Carefully clean the fan blades and the inside of the unit using a soft brush or cloth. If there is significant dirt buildup, you can use a mild detergent diluted with water to gently scrub away the grime.
- Inspect the condenser coil for any heavy dirt or debris. If necessary, use a coil cleaner specifically designed for air conditioners. Follow the instructions on the cleaner and rinse thoroughly with water.
- Once the unit is free from dirt and debris, reassemble the fan cage or grille, ensuring that it is securely fastened in place.
Remember, regular cleaning of your air conditioner not only improves its efficiency but also prolongs its lifespan. By removing dirt and debris, you allow for better airflow and prevent potential blockages that could lead to system malfunctions.
Now that you have cleaned the air conditioner, let’s move on to the next step: covering the unit to protect it from the winter elements.
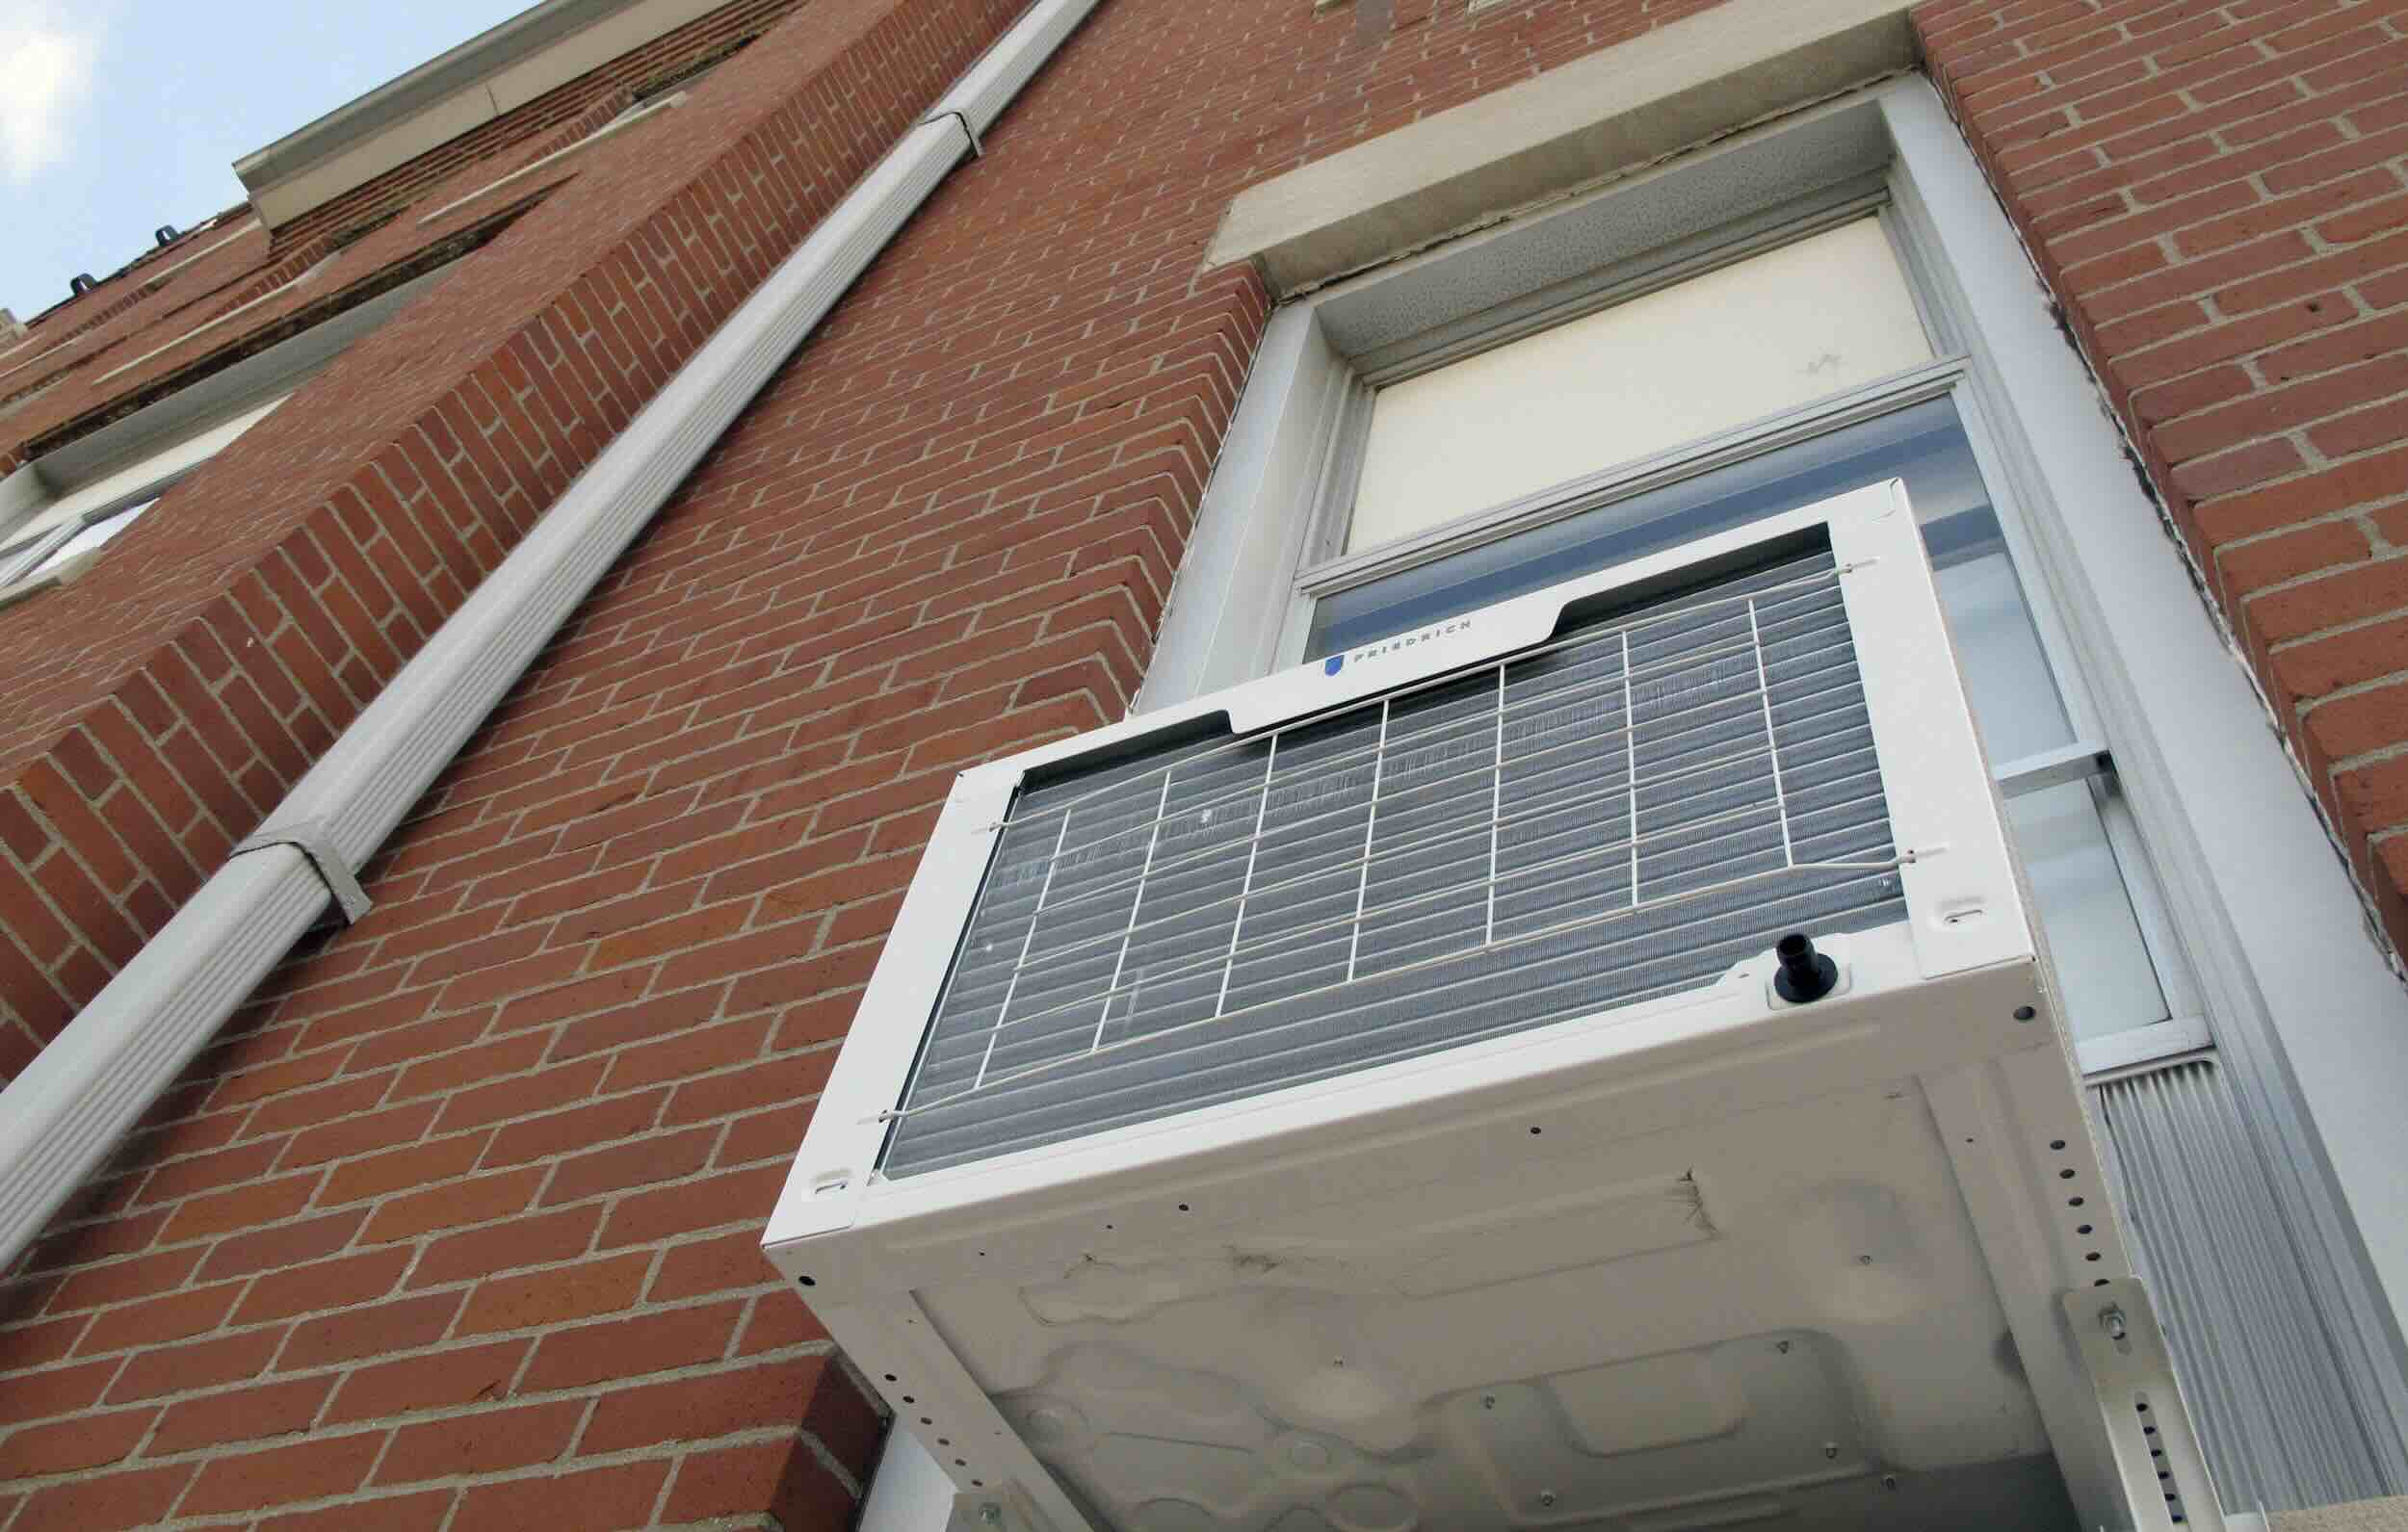
Step 3: Covering the Air Conditioner
Once you have cleaned the air conditioner, the next step in winterizing it is to cover the unit to shield it from the harsh winter weather. This protective covering will help prevent snow, ice, and debris from accumulating and potentially damaging the unit.
Here’s how to properly cover your air conditioner:
- First, measure the dimensions of your air conditioner to ensure you purchase a cover that fits snugly over the unit. It’s essential to choose a cover specifically designed for air conditioners, as it will have the necessary features to provide proper protection.
- Remove any debris or moisture from the top and sides of the unit before placing the cover. This extra step ensures that no foreign objects or moisture are trapped underneath, potentially causing rust or other damage.
- Carefully position the cover over the air conditioner, ensuring that it fully covers the unit. Fasten the cover securely using the provided straps, buckles, or drawstrings.
- Make sure that the cover is tight and secure but not overly tight, as this may cause unnecessary strain on the air conditioner’s components.
It’s important to note that covering your air conditioner should only be done once you have completed all necessary maintenance tasks, as it prevents the entry of any debris or moisture that could contribute to damage or rust.
By taking the extra step to cover your air conditioner, you protect it from potential winter hazards and extend its lifespan.
Now that you have successfully covered your air conditioner, let’s move on to step 4: clearing the surrounding area.
Step 4: Clearing the Surrounding Area
In addition to cleaning and covering your air conditioner, it’s essential to clear the surrounding area to ensure optimal performance and prevent any potential damage during the winter months. Removing debris and maintaining proper airflow around the unit is crucial for its overall efficiency.
Follow these steps to clear the surrounding area of your air conditioner:
- Remove any leaves, twigs, branches, or other debris that may have accumulated around the unit. Use a rake or broom to clear the area thoroughly.
- Trim any shrubs, bushes, or plants that are within two feet of the unit. This clearance allows for proper airflow and prevents any vegetation from obstructing the unit’s operation.
- Ensure that there are no objects like furniture, gardening tools, or other items placed near the air conditioner that could restrict airflow or impede access for maintenance purposes.
- Check the area for potential water pooling or drainage issues. If necessary, make sure any drainage holes or channels are clear and functioning correctly, allowing water to flow away from the unit.
- Inspect the ground beneath the unit for any signs of sinking or settling. If you notice any unevenness, consider leveling the ground or using a concrete pad to provide stable support for the air conditioner.
Clearing the surrounding area of your air conditioner not only helps maintain its efficiency but also reduces the risk of damage caused by debris or restricted airflow. Creating a clear and well-maintained space around the unit allows for optimal performance when you start using it again in the warmer months.
Now that you have cleared the area surrounding your air conditioner, let’s move on to step 5: insulating the unit for added protection.
Remember to clean or replace the air filter, cover the outdoor unit, and insulate any exposed pipes to protect your air conditioner during the winter months.
Read more: How To Winterize Toilet
Step 5: Insulating the Unit
Insulating your air conditioner is an important step in winterizing it, as it helps to prevent heat loss and keep the cold air out. By properly insulating the unit, you can improve energy efficiency and protect it from freezing temperatures.
Follow these steps to effectively insulate your air conditioner:
- Start by inspecting the unit for any gaps or openings where cold air can enter. Common areas to check include around the pipes, electrical connections, and any openings in the unit’s housing.
- Use weatherstripping or foam insulation tape to seal any gaps or openings you find. Cut the weatherstripping or foam tape to the appropriate size and apply it tightly to create a proper seal.
- For additional insulation, consider using a specialized air conditioner cover with built-in insulation properties. These covers are designed to provide an extra layer of protection against the cold and minimize heat loss.
- Ensure that any insulation materials used do not obstruct or cover important ventilation areas of the air conditioner. It’s crucial to maintain proper airflow for the unit’s operation.
Insulating your air conditioner helps to retain heat and prevent cold air from seeping inside. This not only protects the unit from potential damage but also helps to save energy and reduce heating costs during the winter months.
Now that you have successfully insulated your air conditioner, let’s move on to step 6: checking for leaks or damage.
Step 6: Checking for Leaks or Damage
Before fully winterizing your air conditioner, it’s important to thoroughly inspect the unit for any leaks or damage. Identifying and addressing these issues now can prevent further damage and ensure that your air conditioner is in proper working condition when you need it again in the warmer months.
Follow these steps to check for leaks or damage:
- Inspect the refrigerant lines and connections for any signs of leaks. Look for oily residue or moisture around the fittings and joints. If you notice any leaks, it’s best to contact a professional HVAC technician to address the issue.
- Examine the electrical components for any signs of damage or wear. Check for loose or frayed wires, corrosion, or burnt connections. If you notice any electrical issues, it’s crucial to seek assistance from a qualified electrician.
- Inspect the fins on the condenser coil for any bending or damage. If you find any bent fins, you can use a fin comb or a gentle combing motion with a soft brush to straighten them. Take care not to apply excessive force, as delicate fins can be easily damaged.
- Check the fan blades for any signs of wear or imbalance. If you notice any significant damage or imbalance, it’s recommended to have the blades inspected by a professional technician.
- Make sure that all fasteners, brackets, and screws are securely tightened. Loose components can cause vibrations or unnecessary strain on the unit.
- Listen for any unusual sounds coming from the unit when it is turned on. Unusual noises such as grinding, squealing, or rattling could indicate mechanical issues that require professional attention.
By checking for leaks or damage, you can address any issues promptly and avoid further damage to your air conditioner during the winter months. If you are unsure about any aspect of the inspection, it’s always a good idea to consult with a qualified HVAC technician for assistance.
Now that you have thoroughly inspected your air conditioner, it’s time to move on to step 7: storing the air conditioner.
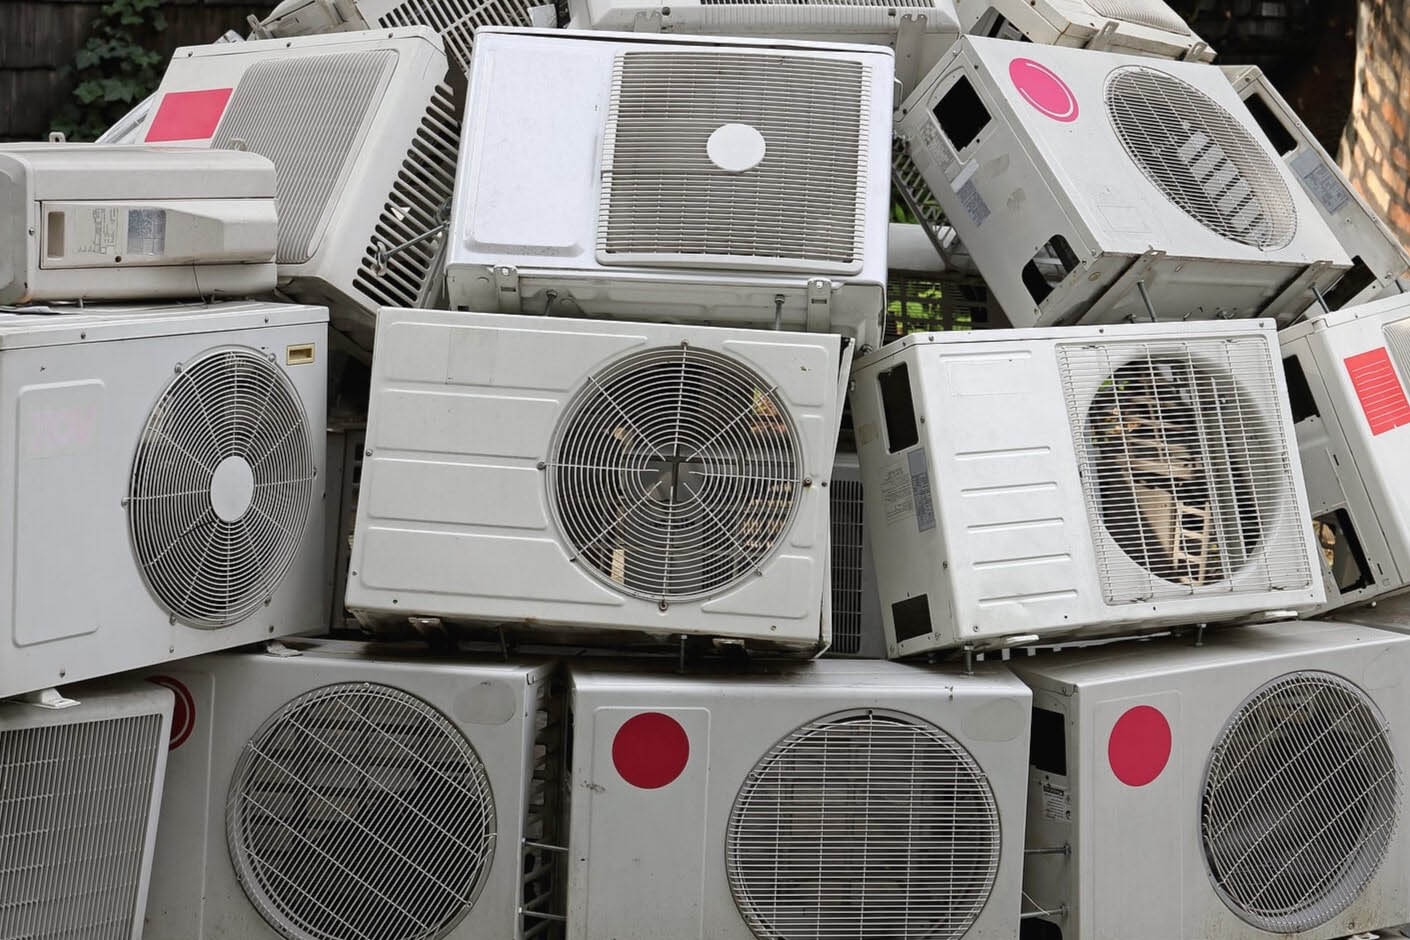
Step 7: Storing the Air Conditioner
Storing your air conditioner properly during the winter months is crucial to protect it from potential damage and ensure its longevity. By taking the time to store it correctly, you can ensure that it remains in good condition and functions optimally when you need it again.
Follow these steps to store your air conditioner:
- Remove any covers or insulation materials that were applied to the air conditioner during the winterization process.
- Clean the unit one final time to remove any dirt or debris that may have accumulated during the winter months.
- Ensure that the unit is completely dry before moving it to the storage location. Any moisture left inside the air conditioner can lead to mold or corrosion.
- Choose a clean and dry storage area for your air conditioner. It should be away from any potential sources of moisture or extreme temperature fluctuations.
- Place the unit on a sturdy pallet or elevated surface to prevent it from resting directly on the ground.
- If you have the original packaging or a suitable air conditioner cover, use it to protect the unit during storage. Otherwise, you can use a breathable, waterproof cover specifically designed for air conditioners.
- Store any detached parts, such as the fan grille, securely with the air conditioner to avoid misplacing them.
It’s important to note that if you are storing a window unit indoors, make sure to follow the manufacturer’s instructions regarding proper ventilation requirements.
By storing your air conditioner correctly, you can safeguard it from potential damage and ensure that it remains in excellent condition until you need it again in the warmer months.
Now that you have successfully stored your air conditioner, let’s move on to the final step: professional maintenance recommendations.
Step 8: Professional Maintenance Recommendations
While you’ve taken the necessary steps to winterize your air conditioner, it’s important to consider professional maintenance to ensure its optimal performance and longevity. Regular maintenance performed by qualified HVAC technicians can address any underlying issues, improve energy efficiency, and help prevent major malfunctions. Here are some professional maintenance recommendations:
- Schedule a professional HVAC inspection before the start of the cooling season. A qualified technician will thoroughly inspect and tune up your air conditioner, checking for any potential problems and ensuring all components are in good working order.
- Consider signing up for an annual maintenance plan with a reputable HVAC company. These plans typically include regular maintenance visits, discounts on repairs, and priority service when you need it most.
- Change the air filters regularly according to the manufacturer’s recommendations. Dirty or clogged filters can restrict airflow and strain the system, leading to decreased efficiency and potential damage.
- Keep the outdoor unit clear of any debris throughout the year. Regularly check for and remove any leaves, grass, or debris that may accumulate around the unit to maintain proper airflow.
- Have the condenser coil cleaned by a professional technician annually. Over time, the coil can accumulate dirt and grime, reducing its efficiency. Professional cleaning ensures optimal performance and helps prevent damage to the unit.
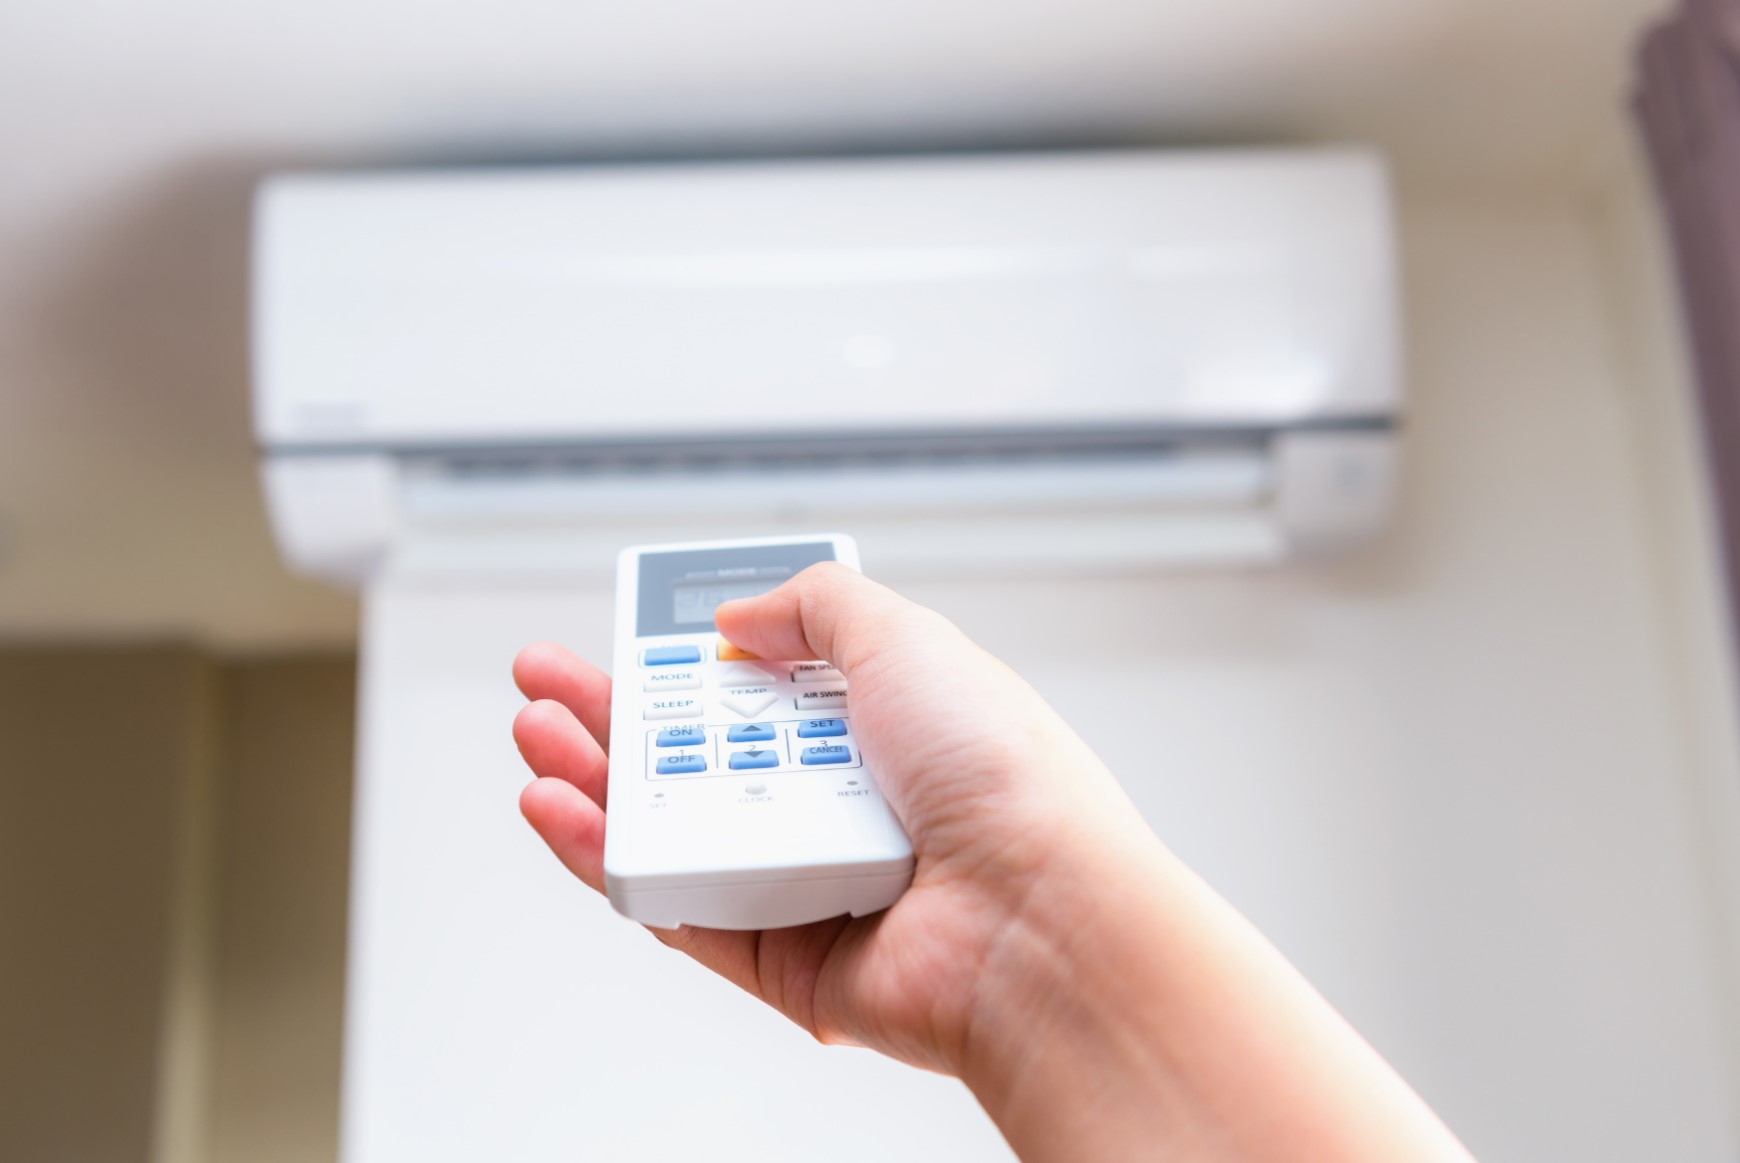
- Consider investing in a programmable thermostat or a smart thermostat. These advanced thermostats allow for precise temperature control and scheduling, optimizing energy usage and efficiency.
By following these professional maintenance recommendations, you can ensure that your air conditioner remains in peak condition and operates at its best when you need it most.
Congratulations! You have successfully winterized your air conditioner by following these eight simple steps. By taking the time to turn off the power, clean the unit, cover it, clear the surrounding area, insulate it, check for leaks and damage, store it properly, and consider professional maintenance, you have minimized potential winter-related damage and set yourself up for a smooth transition back to cooling when the warmer months arrive.
Remember, regular maintenance and care are key to extending the lifespan of your air conditioner and ensuring its optimal performance. So, don’t neglect the importance of seasonal maintenance and professional inspections.
Thank you for reading our comprehensive guide on how to winterize an air conditioner. Stay cool and enjoy a comfortable home all year round!
Read more: How To Use An Air Conditioner
Conclusion
As winter approaches, taking the necessary steps to winterize your air conditioner is crucial to protect it from potential damage caused by freezing temperatures and harsh weather conditions. By following the eight steps outlined in this comprehensive guide, you can ensure that your air conditioner remains in optimal condition and performs efficiently when you’re ready to cool your home again in the spring.
Remember, the winterization process starts with turning off the power and cleaning the unit to remove dirt and debris. Then, covering the air conditioner provides protection from snow, ice, and debris. Clearing the surrounding area ensures proper airflow, while insulating the unit minimizes heat loss. Checking for leaks or damage helps identify any issues that require professional attention.
Once you have completed the necessary maintenance tasks, properly storing the air conditioner in a dry and clean area will protect it during the winter months. Finally, considering professional maintenance and adhering to regular maintenance recommendations will further enhance the performance and longevity of your air conditioner.
By following these steps and incorporating professional maintenance, you can ensure that your air conditioner remains in top condition, ready to provide reliable cooling when the warmer weather returns. Winterizing your air conditioner not only safeguards its functionality but also saves you from potential costly repairs.
Now that you have the knowledge and understanding of how to winterize your air conditioner, you can confidently prepare your unit for the colder months ahead. By taking the time to protect and maintain your air conditioner, you can enjoy a comfortable and efficient cooling system for years to come.
Thank you for reading our comprehensive guide. Stay proactive in your air conditioner maintenance, and have a wonderful winter season!
Frequently Asked Questions about How To Winterize An Air Conditioner
Was this page helpful?
At Storables.com, we guarantee accurate and reliable information. Our content, validated by Expert Board Contributors, is crafted following stringent Editorial Policies. We're committed to providing you with well-researched, expert-backed insights for all your informational needs.