Home>Home Maintenance>How To Unfreeze Air Conditioner
Home Maintenance
How To Unfreeze Air Conditioner
Modified: March 7, 2024
Learn how to unfreeze your air conditioner with these home maintenance tips. Keep your home cool and comfortable all summer long.
(Many of the links in this article redirect to a specific reviewed product. Your purchase of these products through affiliate links helps to generate commission for Storables.com, at no extra cost. Learn more)
Introduction
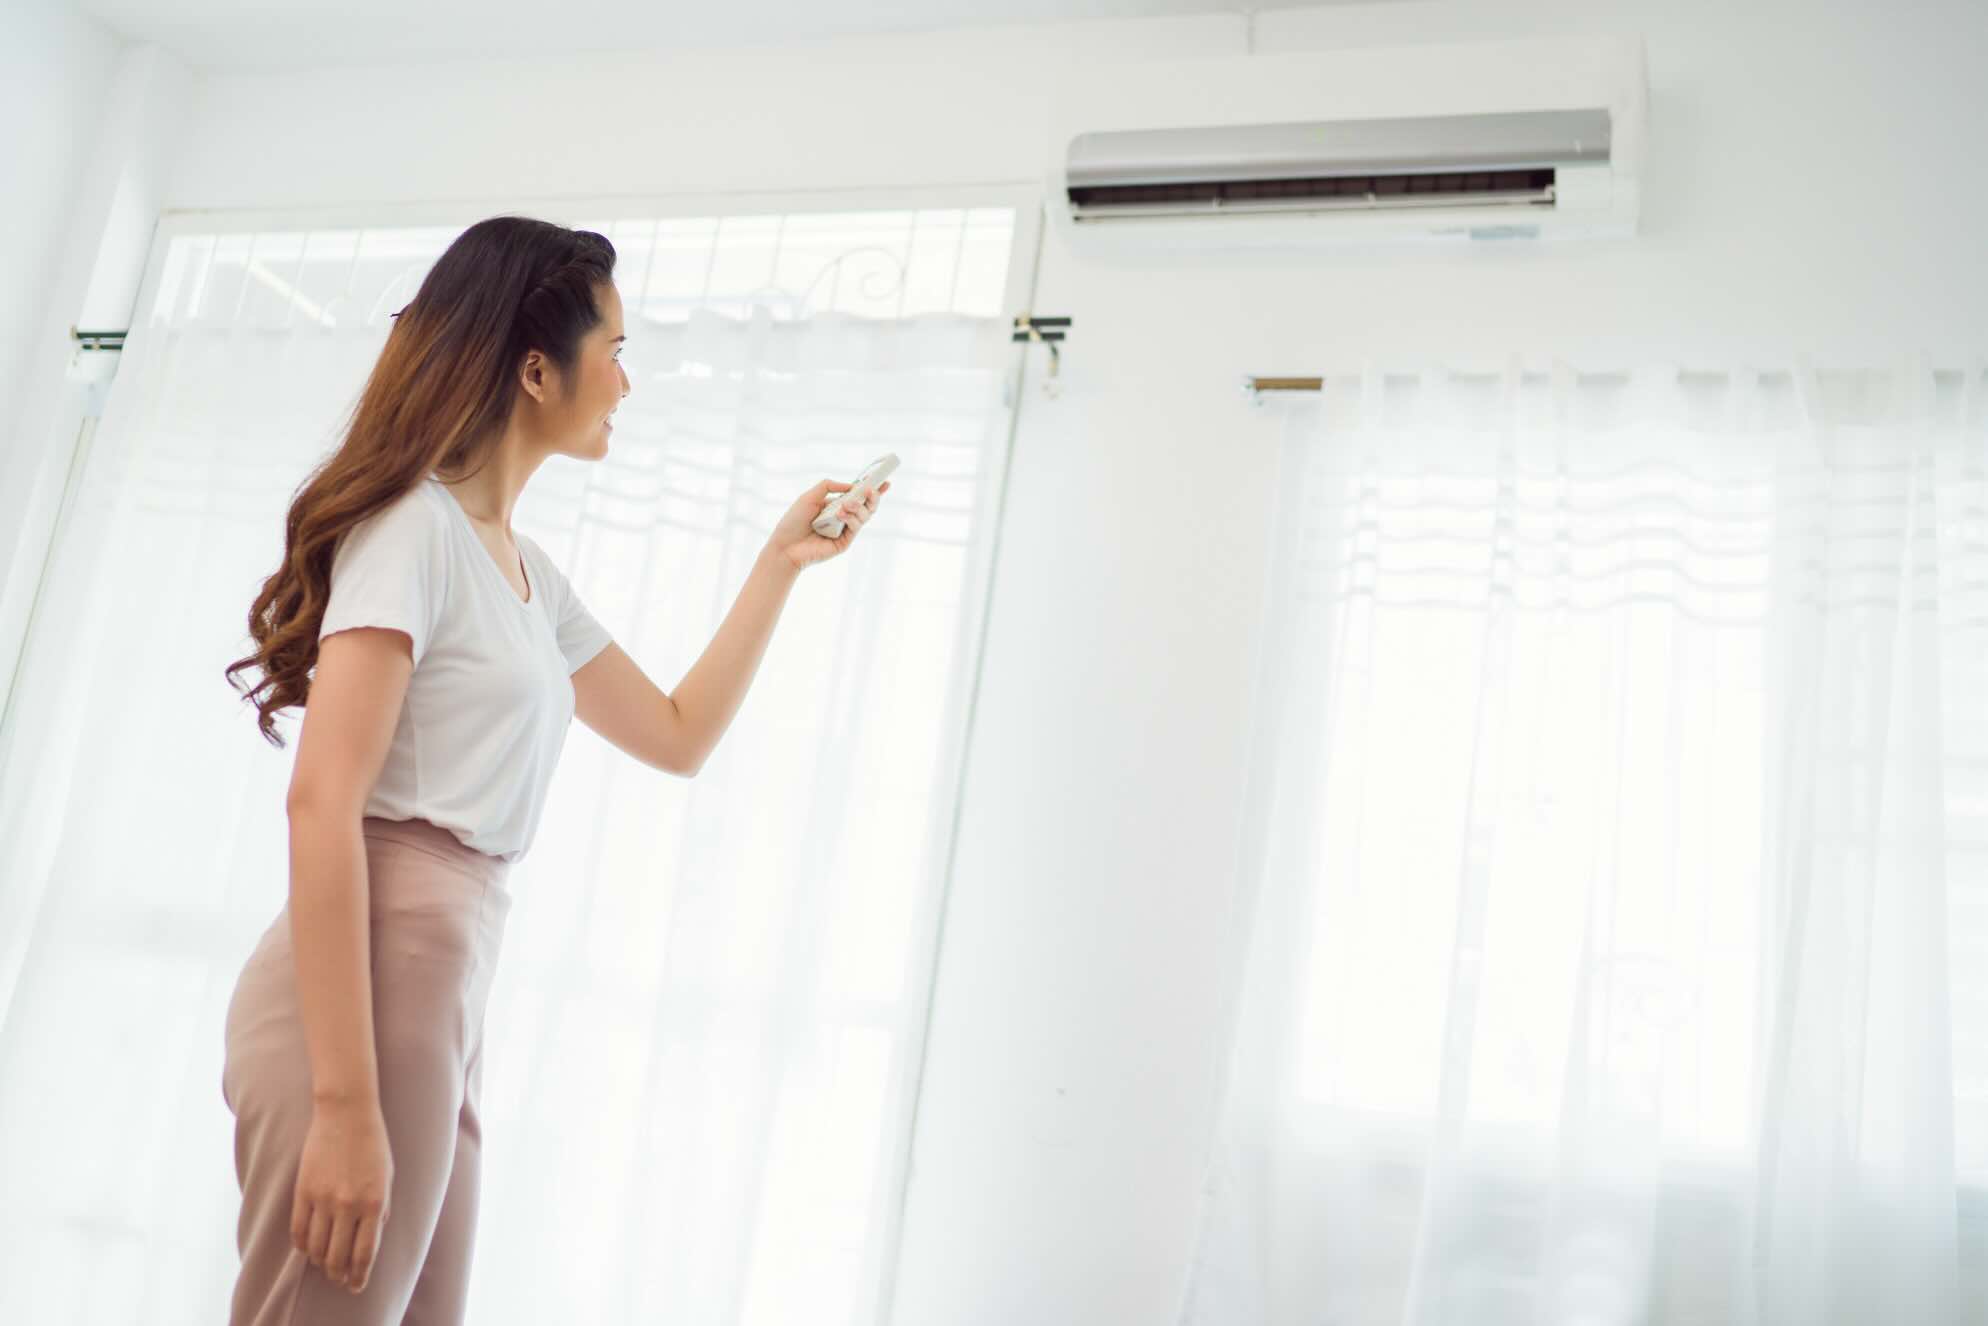
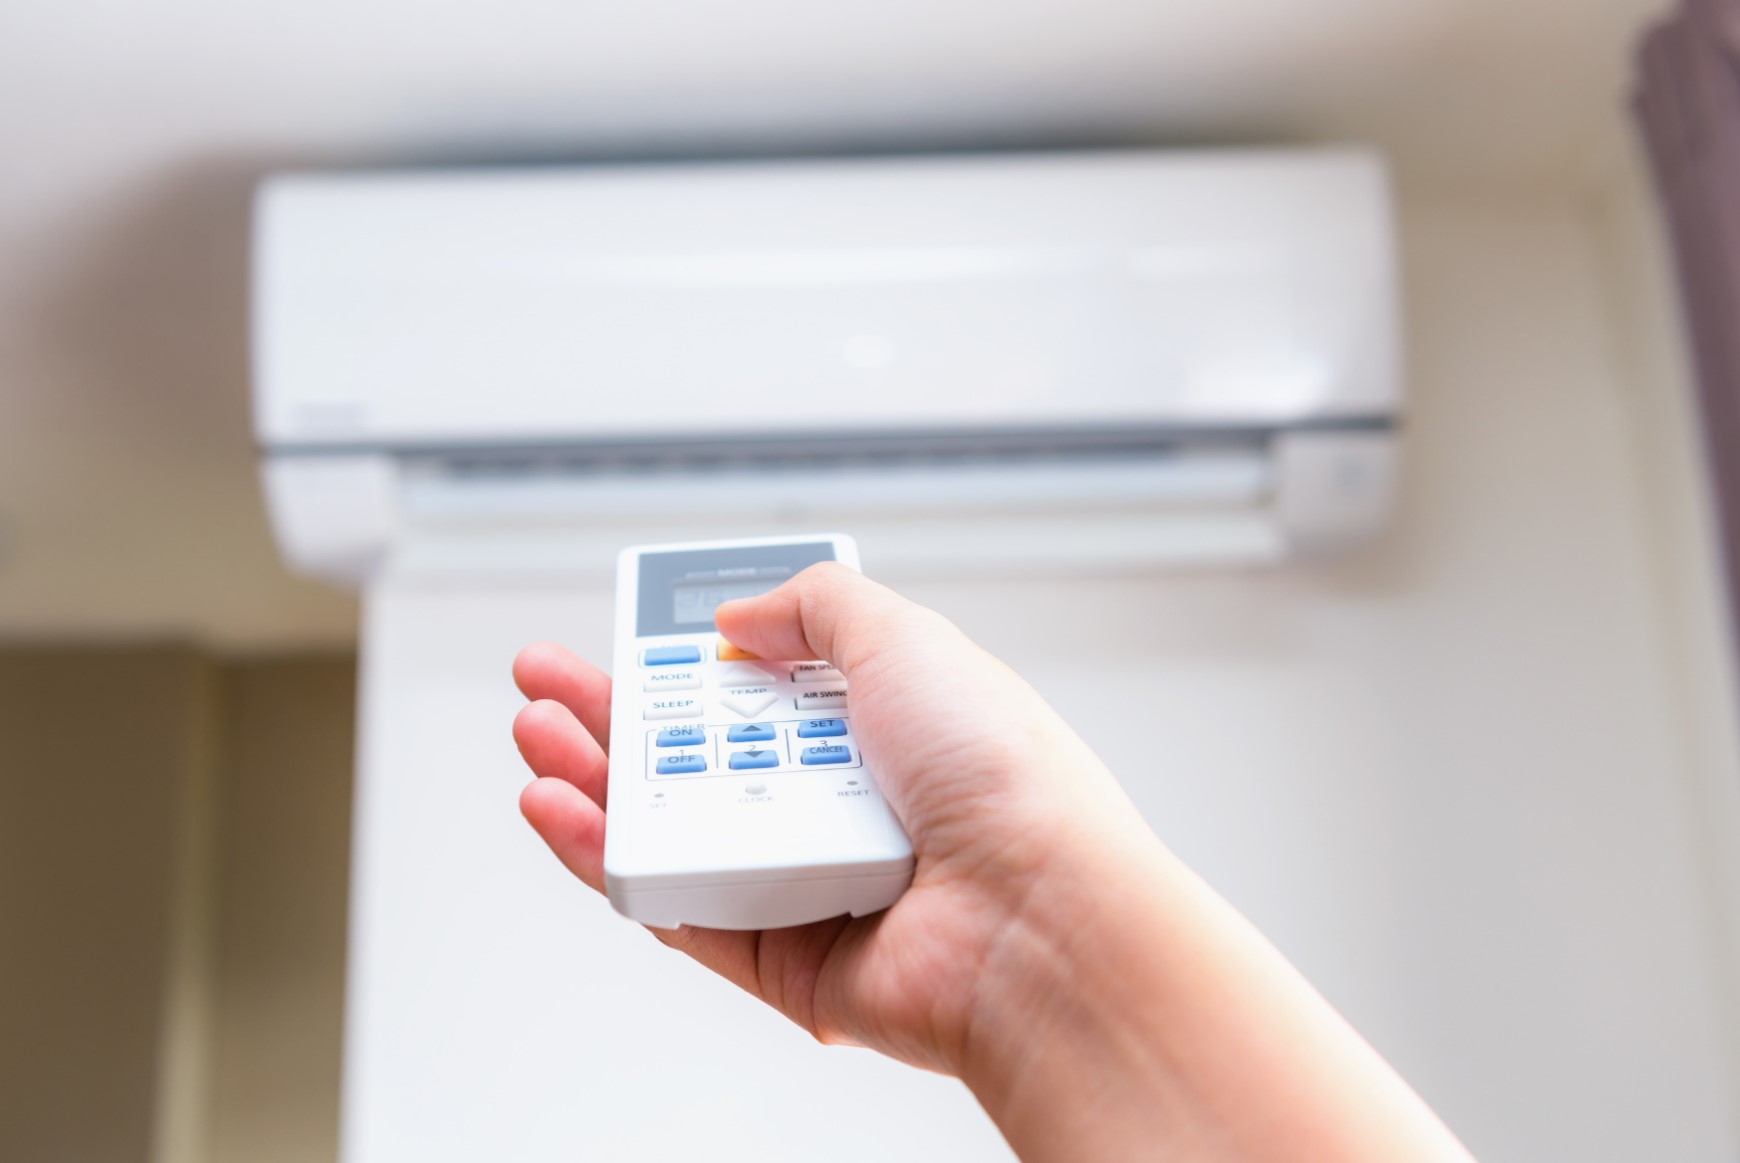
Having an air conditioner is a great way to keep your home cool and comfortable during hot summer months. However, there may be times when your air conditioner freezes up and stops working efficiently. This can be a frustrating and inconvenient problem, but with the right knowledge and steps, you can resolve the issue and prevent it from happening again.
In this article, we will discuss the common causes of air conditioner freezing, signs that indicate your air conditioner is frozen, and the steps you can take to unfreeze it. We will also provide some preventive measures to help you avoid future freezing problems.
By following the tips and techniques outlined in this article, you can ensure that your air conditioner operates smoothly and keeps your home comfortable all summer long.
Key Takeaways:
- Air conditioners can freeze due to lack of airflow, low refrigerant levels, or dirty coils. Signs of a frozen unit include warm air, reduced airflow, ice buildup, water leakage, and unusual sounds.
- To unfreeze an air conditioner, turn it off, allow it to thaw naturally, inspect and clean the air filter, check the air vents for proper airflow, and ensure the evaporator coils and refrigerant levels are in good condition. Regular maintenance and preventive measures can help avoid freezing issues.
Read more: How To Unfreeze An Air Conditioner Unit
Common Causes of Air Conditioner Freezing
There are several factors that can contribute to an air conditioner freezing up. Understanding these common causes can help you identify the root of the problem and take appropriate action to prevent it from happening again. Here are some of the most common causes of air conditioner freezing:
- Lack of airflow: One of the main reasons an air conditioner freezes is a lack of proper airflow. This can occur when the air filter is dirty or clogged, preventing sufficient airflow to the evaporator coils. Poorly designed or sealed ductwork can also restrict airflow.
- Low refrigerant levels: Refrigerant is responsible for absorbing heat from the air and cooling your home. If your air conditioner has low refrigerant levels due to a leak or other issues, it can cause the evaporator coils to become too cold and freeze up.
- Thermostat issues: A malfunctioning thermostat can cause your air conditioner to run longer than necessary, resulting in overcooling and freezing of the evaporator coils.
- Dirty evaporator coils: Over time, the evaporator coils can accumulate dirt, dust, and debris, reducing their efficiency and causing them to freeze. Regular cleaning is essential to keep the coils functioning optimally.
- Blocked or closed vents: Blocked or closed vents can disrupt the airflow in your home, causing the evaporator coils to become excessively cold and freeze.
These are just a few of the most common causes of air conditioner freezing. Other factors such as improper system installation, malfunctioning components, or inadequate insulation can also contribute to the problem.
Now that you have an understanding of the common causes, let’s move on to the next section to learn how to recognize the signs of a frozen air conditioner.
Signs of a Frozen Air Conditioner
Recognizing the signs of a frozen air conditioner is crucial in order to address the issue promptly and prevent further damage to your cooling system. Here are some common signs that indicate your air conditioner may be frozen:
- Warm air blowing: If your air conditioner is frozen, you may notice warm or room temperature air coming out of the vents instead of cool air.
- Reduced airflow: A frozen air conditioner often results in reduced or weak airflow. You may notice that the airflow from your vents is weak or barely noticeable.
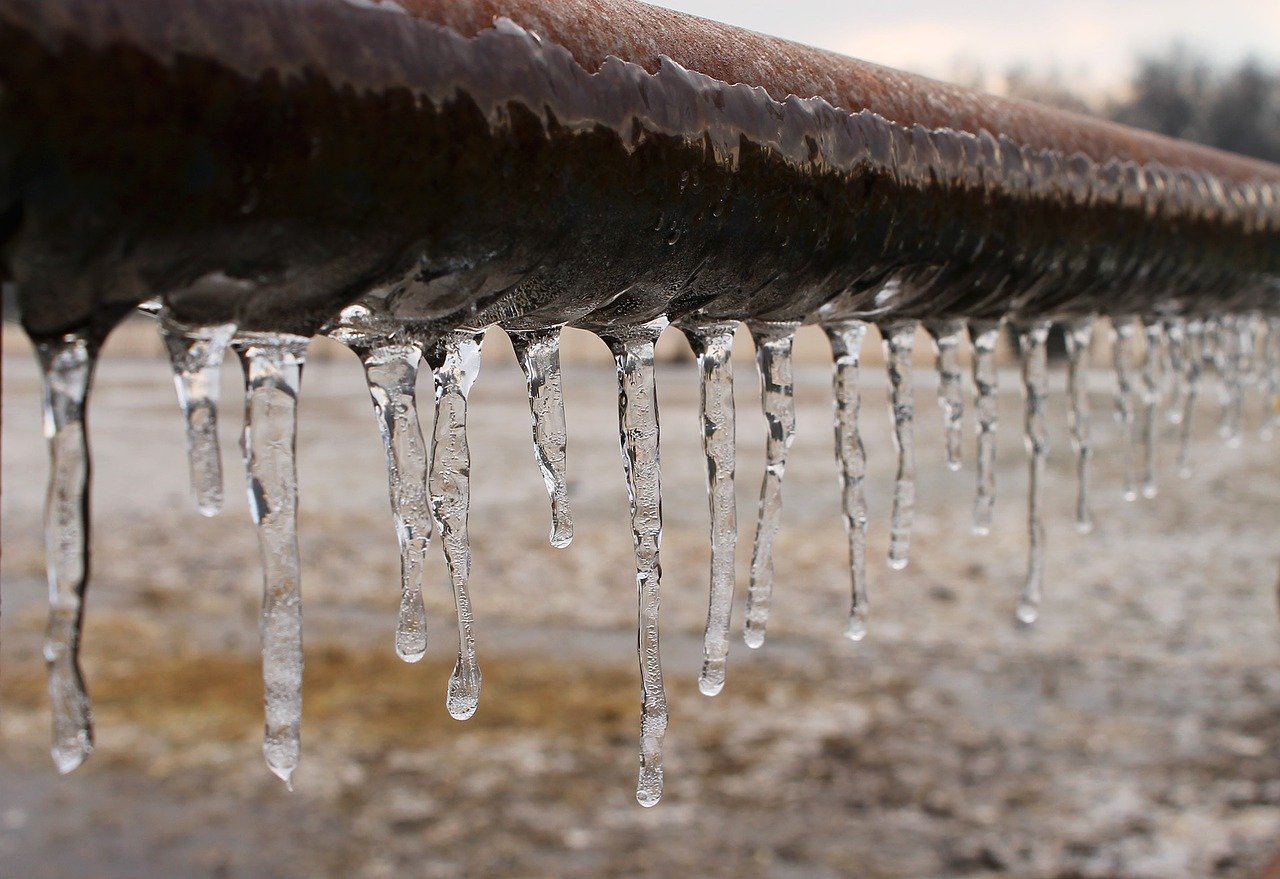
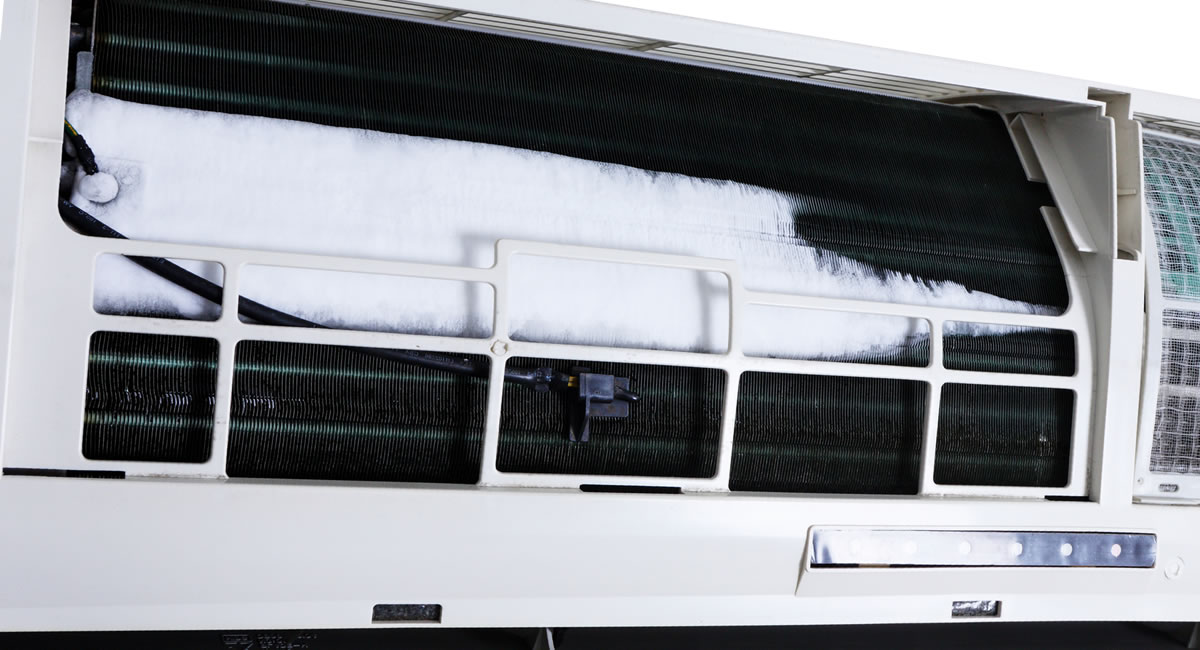
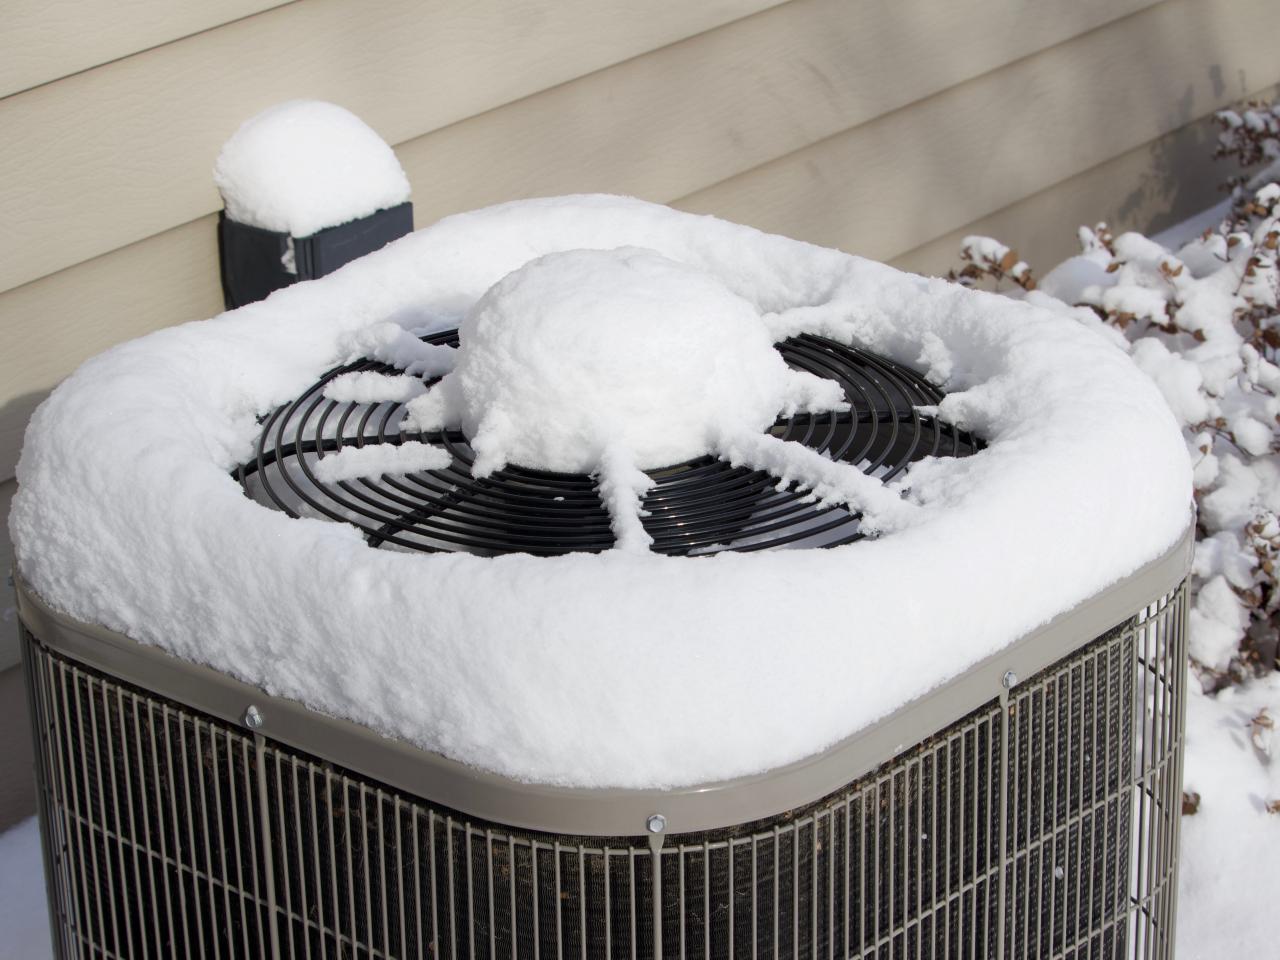
- Ice buildup: Check the indoor unit of your air conditioner. If you see ice or frost buildup on the evaporator coils or any other components, it is a clear sign that your air conditioner is frozen.
- Water leakage: A frozen air conditioner can cause the ice to melt rapidly, leading to water leakage from the indoor unit. If you notice water pooling around your air conditioner, it is a sign that your system is frozen.
- Unusual sounds: When an air conditioner is frozen, you may hear strange noises coming from the unit. This can include buzzing, hissing, or sizzling sounds caused by the refrigerant flowing through the frozen coils.
It’s important to note that if you suspect your air conditioner is frozen, you should turn off the unit immediately to prevent further damage and call a professional HVAC technician to assess and fix the problem.
Now that you know how to identify the signs of a frozen air conditioner, let’s move on to the next section to learn how to unfreeze it.
Turning Off the Air Conditioner
If you have determined that your air conditioner is frozen, the first step in unfreezing it is to turn off the unit. It’s essential to do this to prevent further damage to the system and allow it to thaw properly. Here’s what you need to do:
- Locate the thermostat: Find the thermostat in your home that controls your air conditioner.
- Set the thermostat to “Off”: Turn the thermostat setting to the “Off” position.
- Turn off the power: Locate the electrical switch or breaker connected to your air conditioner and turn it off. This will ensure that the unit is completely powered off.
- Wait for the unit to thaw: Leave the air conditioner off and give it time to thaw naturally. It may take a few hours for all the ice to melt, depending on the severity of the freezing.
Once you have turned off the air conditioner and allowed it to thaw, you can move on to the next step of inspecting and cleaning the air filter.
It’s important to note that if you are unsure or uncomfortable with turning off the power to your air conditioner, it’s best to consult with a professional HVAC technician for assistance.
Now that you have turned off the air conditioner, let’s proceed to the next section to learn how to thaw the unit and get it back to its optimal functioning state.
Thawing the Air Conditioner
Now that you have turned off your air conditioner and allowed it to thaw naturally, it’s time to facilitate the thawing process and ensure the unit is fully free of ice and frost. Here’s how you can efficiently thaw your air conditioner:
- Remove any visible ice: Carefully inspect the evaporator coils and remove any visible ice or frost buildup using a soft cloth or towel. Be gentle to avoid damaging the coils.
- Use a fan: Set up a portable fan near the indoor unit to increase airflow and speed up the thawing process. The increased airflow helps to melt any remaining ice or frost on the coils.
- Avoid using heat sources: While it may be tempting to use heat sources like hairdryers or heat guns to thaw the air conditioner quickly, it is not recommended. Direct heat can cause damage to the coils and other components of the unit.
- Patience is key: Thawing your air conditioner may take several hours. It’s important to be patient and allow the unit to thaw naturally. Rushing the process can lead to further damage.
Once the air conditioner is completely thawed and there is no more ice or frost present, you can proceed to the next step of inspecting and cleaning the air filter.
Remember, if you are unsure about any aspects of thawing your air conditioner, it’s always best to consult with a professional HVAC technician for guidance and assistance.
Now that you have successfully thawed your air conditioner, let’s move on to the next section to learn about inspecting and cleaning the air filter.
Inspecting and Cleaning the Air Filter
The air filter plays a vital role in maintaining the efficiency and performance of your air conditioner. A dirty or clogged air filter can restrict airflow, leading to freezing issues. To prevent this, it’s important to inspect and clean the air filter regularly. Here’s how you can do it:
- Locate the air filter: The air filter is usually located inside the indoor unit of your air conditioner. It can be behind the front panel or in a separate filter compartment.
- Remove the air filter: Carefully remove the air filter from its housing. Take note of how it is positioned, as you will need to place it back correctly later.
- Inspect the air filter: Examine the air filter for dust, dirt, and debris buildup. If it appears dirty or clogged, it needs to be cleaned or replaced.
- Clean the air filter: If the air filter is reusable, gently wash it with warm water and mild detergent. Rinse it thoroughly and allow it to dry completely before reinstallation. If it is a disposable filter, replace it with a new one.
- Reinstall the air filter: Put the air filter back in its original position, ensuring it is correctly aligned and securely in place.
By regularly cleaning or replacing the air filter, you can improve airflow, prevent freezing, and ensure efficient operation of your air conditioner.
Now that you have inspected and cleaned the air filter, let’s move on to the next section to check the air vents for proper airflow.
To unfreeze an air conditioner, turn off the unit and let the ice melt. Check for clogged filters or low refrigerant levels. Once the ice is melted and the issue is resolved, the air conditioner should start working again.
Checking the Air Vents
The air vents in your home play a crucial role in delivering the cooled air from your air conditioner to each room. Blocked or closed vents can disrupt the airflow, contributing to the freezing of your air conditioner. To ensure proper airflow and prevent freezing, it’s important to regularly check and maintain the air vents. Here’s what you need to do:
- Inspect the air vents: Take a walk around your home and inspect each air vent. Look for any obstructions such as furniture, curtains, or objects that may be blocking the airflow.
- Clear obstructions: If you find any obstructions, move them away to allow unrestricted airflow. Ensure that the air vents are free from any hindrances that could impede the proper distribution of cooled air.
- Open all vents: Check if any air vents are closed or partially closed. Fully open all the vents in your home to ensure that the air can flow smoothly and evenly throughout the space.
- Ensure proper airflow: Stand in front of each vent and feel the airflow. Ensure that the air is flowing with sufficient force and that there are no noticeable reductions in airflow. If you suspect any issues, it may require professional attention to inspect and address the problem.
By regularly checking and maintaining the air vents in your home, you can ensure proper airflow and prevent your air conditioner from freezing up.
Now that you have checked the air vents, let’s move on to the next section to inspect and clean the evaporator coils.
Inspecting and Cleaning the Evaporator Coils
The evaporator coils in your air conditioner are responsible for absorbing heat from the air, allowing it to cool down and circulate throughout your home. Over time, these coils can accumulate dirt, dust, and debris, reducing their efficiency and leading to freezing issues. Regular inspection and cleaning of the evaporator coils are crucial to maintain optimal performance. Here’s how you can do it:
- Turn off the air conditioner: Before inspecting and cleaning the evaporator coils, make sure your air conditioner is turned off and the power is safely disconnected.
- Locate the evaporator coils: The evaporator coils are typically located inside the indoor unit of the air conditioner, behind the front panel or access panel. Consult your air conditioner’s manual or contact a professional if you’re unsure about the exact location.
- Inspect the coils: Carefully examine the evaporator coils for any signs of dirt, dust, or debris buildup. Look for visible blockages or discoloration that may indicate a need for cleaning.
- Clean the coils: If you notice dirt or debris on the evaporator coils, you can clean them using a soft brush or a vacuum cleaner with a brush attachment. Gently brush or vacuum away the dirt, taking care not to damage the delicate fins of the coils. You can also use a coil cleaning solution or mild detergent mixed with water to wipe away stubborn dirt. However, be sure to follow the manufacturer’s instructions and use proper safety precautions.
- Rinse with water: Once the coils are cleaned, use a spray bottle or a hose with a gentle spray to rinse them with water. Ensure that all cleaning solution and residue are thoroughly rinsed away to prevent any potential damage to the coils.
- Allow the coils to dry: After cleaning and rinsing, allow the evaporator coils to air dry completely before reassembling the indoor unit and turning on the air conditioner.
By regularly inspecting and cleaning the evaporator coils, you can improve the efficiency of your air conditioner, prevent freezing issues, and prolong the lifespan of the unit.
Now that you have learned how to inspect and clean the evaporator coils, let’s move on to the next section to check the refrigerant level of your air conditioner.
Checking the Refrigerant Level
The refrigerant in your air conditioner is responsible for absorbing heat from the air and cooling your home. Low refrigerant levels can cause the evaporator coils to become too cold, leading to freezing issues. It’s important to regularly check the refrigerant level to ensure optimal performance. Here’s how you can do it:
- Turn off the air conditioner: Before checking the refrigerant level, make sure your air conditioner is turned off and the power is safely disconnected.
- Locate the refrigerant lines and service valves: The refrigerant lines typically connect the indoor and outdoor units of the air conditioner. Look for two service valves – a larger one known as the suction line and a smaller one known as the liquid line. These valves are usually located near the outdoor unit.
- Observe the refrigerant lines: Inspect the refrigerant lines for any signs of damage or leaks. Look for oil stains or frost buildup, which can indicate a refrigerant leak. If you suspect a leak, it’s best to consult with a professional HVAC technician for repair.
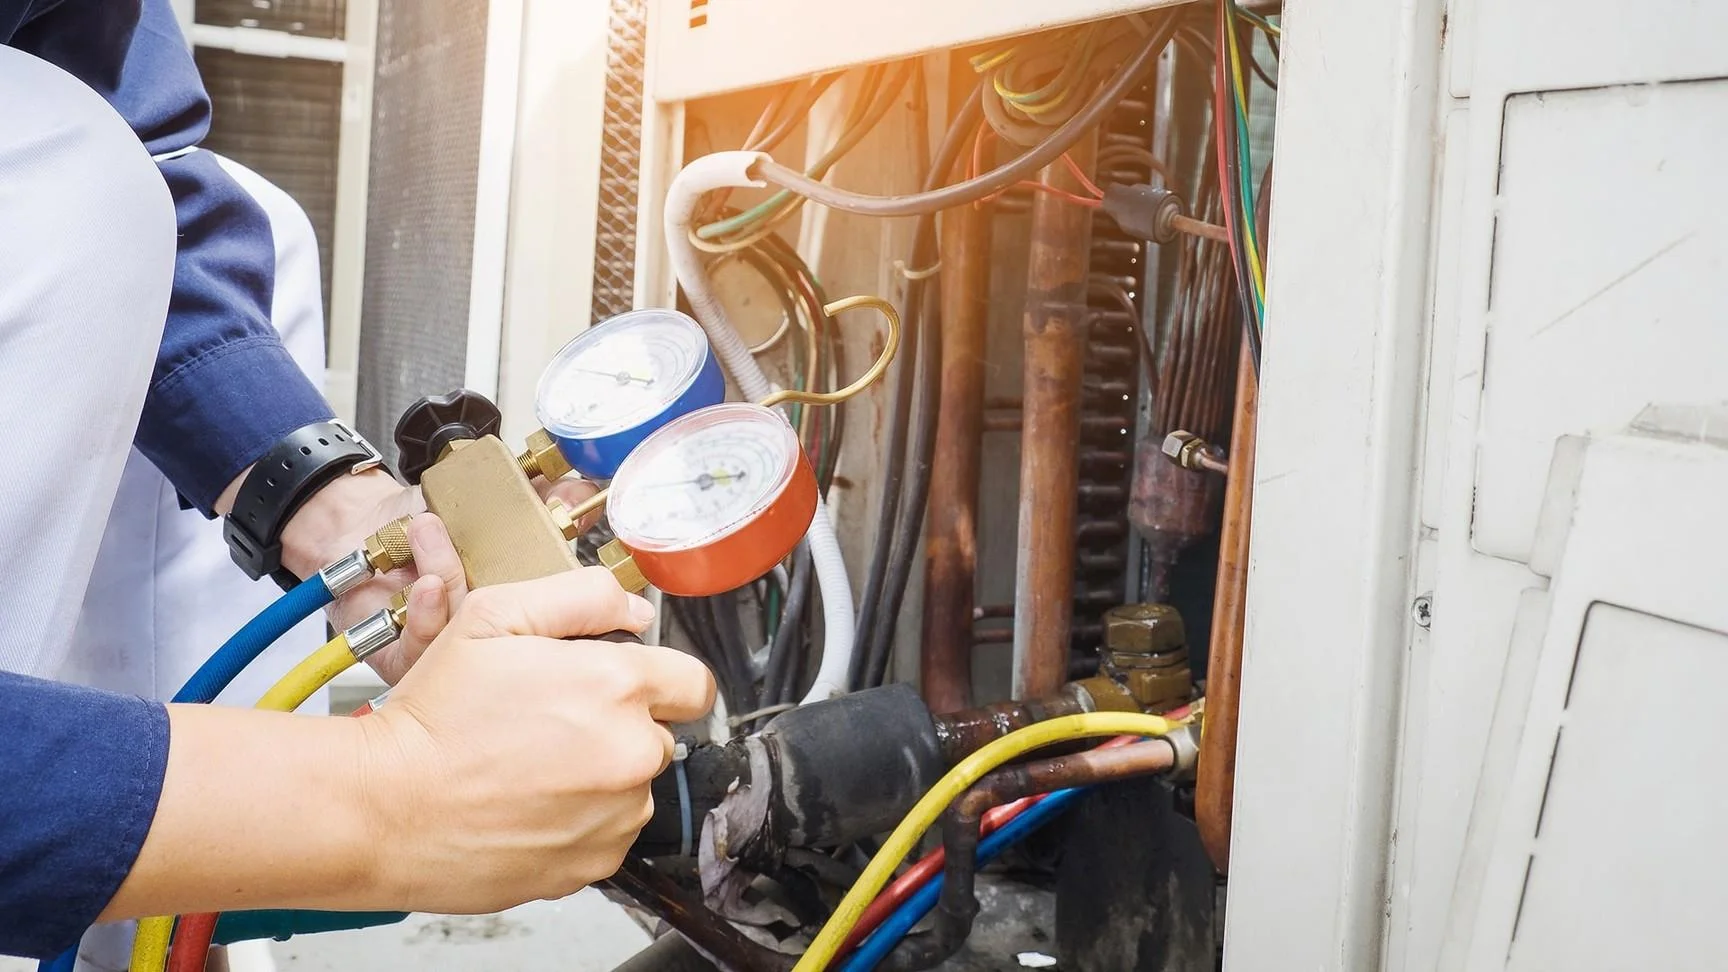
- Check the refrigerant pressure: If there are no visible signs of leaks, you can check the refrigerant level by using a pressure gauge. Attach the gauge to the service valve on the suction line of the air conditioner. Refer to the manufacturer’s instructions to determine the ideal pressure range for your specific unit.
- Consult a professional: Checking and adjusting the refrigerant level is a complex task that requires specialized tools and expertise. It’s recommended to consult with a professional HVAC technician to ensure accurate readings and proper adjustments if needed.
By regularly checking the refrigerant level and addressing any issues promptly, you can maintain the efficiency and cooling performance of your air conditioner, reducing the risk of freezing.
Now that you have learned how to check the refrigerant level, let’s move on to the next section to examine potential airflow restrictions in your air conditioner.
Read more: How To Unfreeze Bathtub Drain
Checking for Airflow Restrictions
Airflow restrictions in your air conditioning system can contribute to freezing issues. By checking for and addressing any airflow restrictions, you can ensure optimal performance and prevent the air conditioner from freezing. Here are the steps to follow:
- Inspect the air ducts: Start by inspecting the air ducts connected to your air conditioner. Look for any visible damage, such as disconnected or crushed ducts, that could restrict airflow. Repair or replace any damaged ducts as necessary.
- Ensure open supply vents: Check all the supply vents in your home and make sure they are fully open and unobstructed. Move any furniture, curtains, or objects that might be blocking the airflow from the vents.
- Clean the supply vents: Dust and dirt can accumulate on the supply vents, hindering airflow. Use a vacuum cleaner or a soft brush to remove any debris or dust from the vents.
- Inspect the return air vents: The return air vents are responsible for drawing in air from your home to be cooled by the air conditioner. Ensure that the return air vents are free from any obstructions or debris that could restrict airflow.
- Clean or replace air filters: As mentioned earlier, dirty air filters can significantly impede airflow. Inspect the air filter and clean or replace it if it’s dirty. Remember to follow the manufacturer’s guidelines for cleaning or replacing the air filter.
- Consider professional duct cleaning: Over time, dust and debris can build up within the ductwork, restricting airflow. If you suspect your ducts are excessively dirty, consider hiring a professional to clean them thoroughly.
By checking for and removing any airflow restrictions in your air conditioning system, you can ensure proper and efficient cooling, minimizing the risk of freezing.
Now that you have learned how to check for airflow restrictions, let’s move on to the final section to discover preventive measures to avoid air conditioner freezing.
Preventive Measures to Avoid Freezing
Preventing air conditioner freezing is essential to keep your cooling system running efficiently and avoid the inconvenience of unexpected breakdowns. By implementing these preventive measures, you can minimize the risk of freezing and ensure optimal performance:
- Regular maintenance: Schedule regular maintenance for your air conditioner. Professional maintenance includes cleaning coils, checking refrigerant levels, inspecting ductwork, and ensuring proper airflow. This helps identify and address potential issues before they lead to freezing problems.
- Change air filters: Regularly clean or replace air filters according to the manufacturer’s guidelines. This ensures good airflow and prevents dust and debris from accumulating on the evaporator coils.
- Keep vents clear: Ensure all supply and return air vents are free from obstructions such as furniture, curtains, or other objects that could restrict airflow. This allows for proper circulation of air throughout your home.
- Inspect and seal ductwork: Periodically inspect the ductwork for leaks, disconnected sections, or damage. Seal any leaks using appropriate duct sealant and ensure proper insulation to minimize energy loss and maintain airflow.
- Maintain proper thermostat settings: Set your thermostat to a reasonable temperature and avoid constantly adjusting it. Rapid and frequent changes in temperature can strain the system and increase the risk of freezing.
- Keep the area around the outdoor unit clear: Ensure the outdoor unit is free from debris, leaves, and other foliage. Trim any nearby vegetation to allow for adequate airflow around the unit.
- Monitor refrigerant levels: Periodically check the refrigerant levels in your air conditioner and consult with a professional if there are any significant changes or signs of leakage.
- Seek professional assistance: If you notice any ongoing issues with your air conditioner or experience frequent freezing problems, it’s essential to consult with a professional HVAC technician. They can provide expert guidance, perform necessary repairs, and ensure your system operates efficiently.
By implementing these preventive measures, you can maintain the optimal performance and efficiency of your air conditioner, reducing the risk of freezing and ensuring consistently cool and comfortable indoor temperatures.
With these tips in mind, you now have the knowledge and tools to prevent air conditioner freezing and enjoy uninterrupted cooling during the hot summer months.
Frequently Asked Questions about How To Unfreeze Air Conditioner
Was this page helpful?
At Storables.com, we guarantee accurate and reliable information. Our content, validated by Expert Board Contributors, is crafted following stringent Editorial Policies. We're committed to providing you with well-researched, expert-backed insights for all your informational needs.