Home>Home Security and Surveillance>How Can I Stop Shadows From Causing My Nest Outdoor Camera From Sending Me A Notification
Home Security and Surveillance
How Can I Stop Shadows From Causing My Nest Outdoor Camera From Sending Me A Notification
Modified: March 6, 2024
Discover effective ways to prevent shadows from triggering unnecessary notifications on your Nest Outdoor Camera. Enhance your home security and surveillance system for a hassle-free and accurate monitoring experience.
(Many of the links in this article redirect to a specific reviewed product. Your purchase of these products through affiliate links helps to generate commission for Storables.com, at no extra cost. Learn more)
Introduction
Welcome to our comprehensive guide on how to prevent shadows from triggering notifications on your Nest Outdoor Camera. We understand how frustrating it can be to constantly receive unnecessary alerts, as shadows can often cause false alarms. In this article, we will provide you with a variety of solutions and adjustments you can make to ensure that your camera’s notifications are only triggered by actual events of interest.
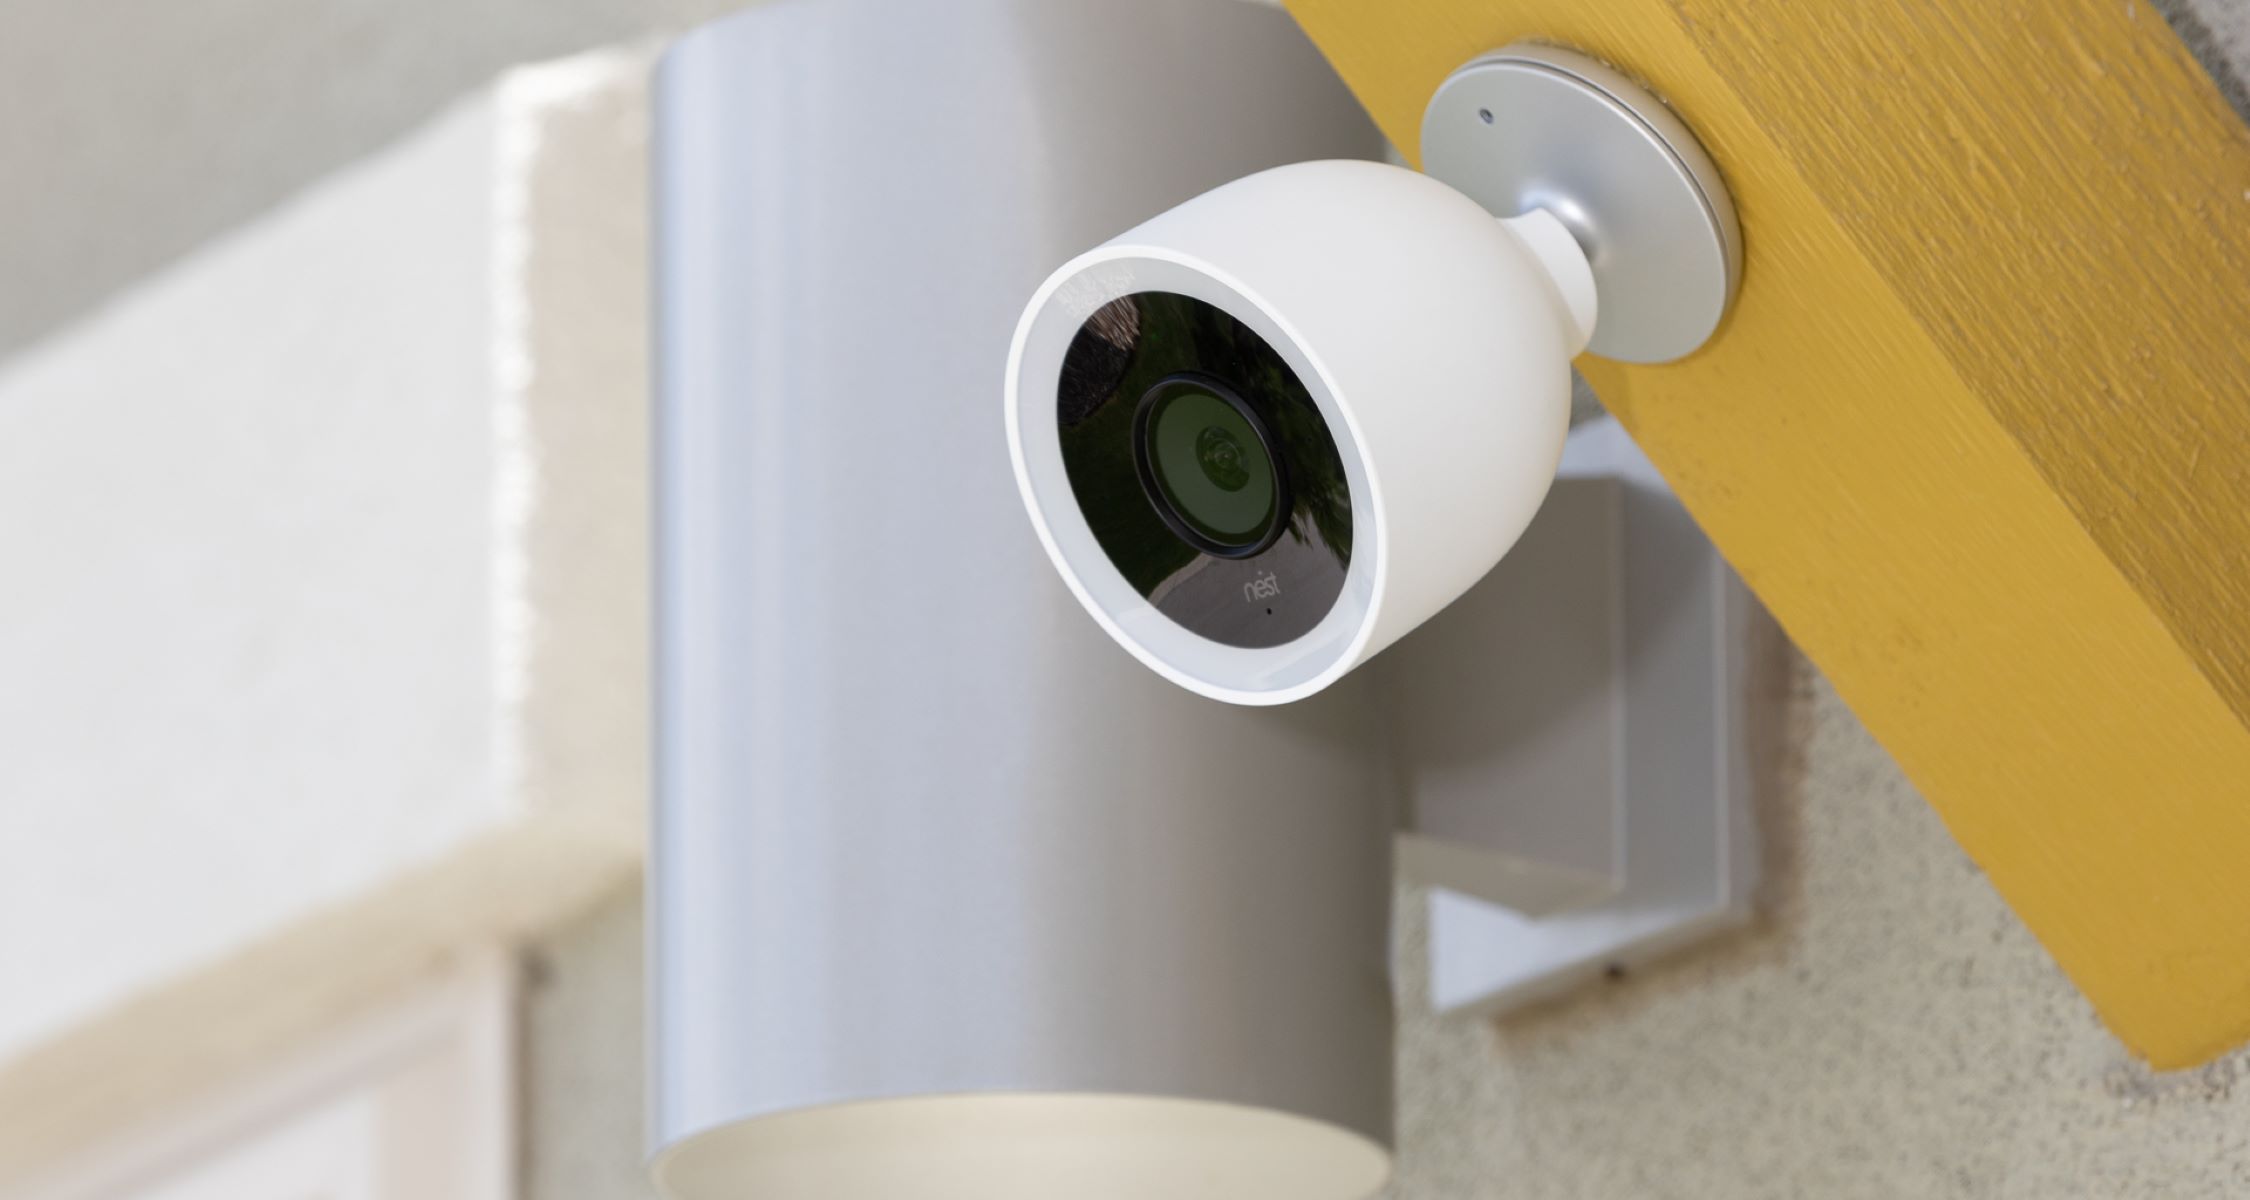
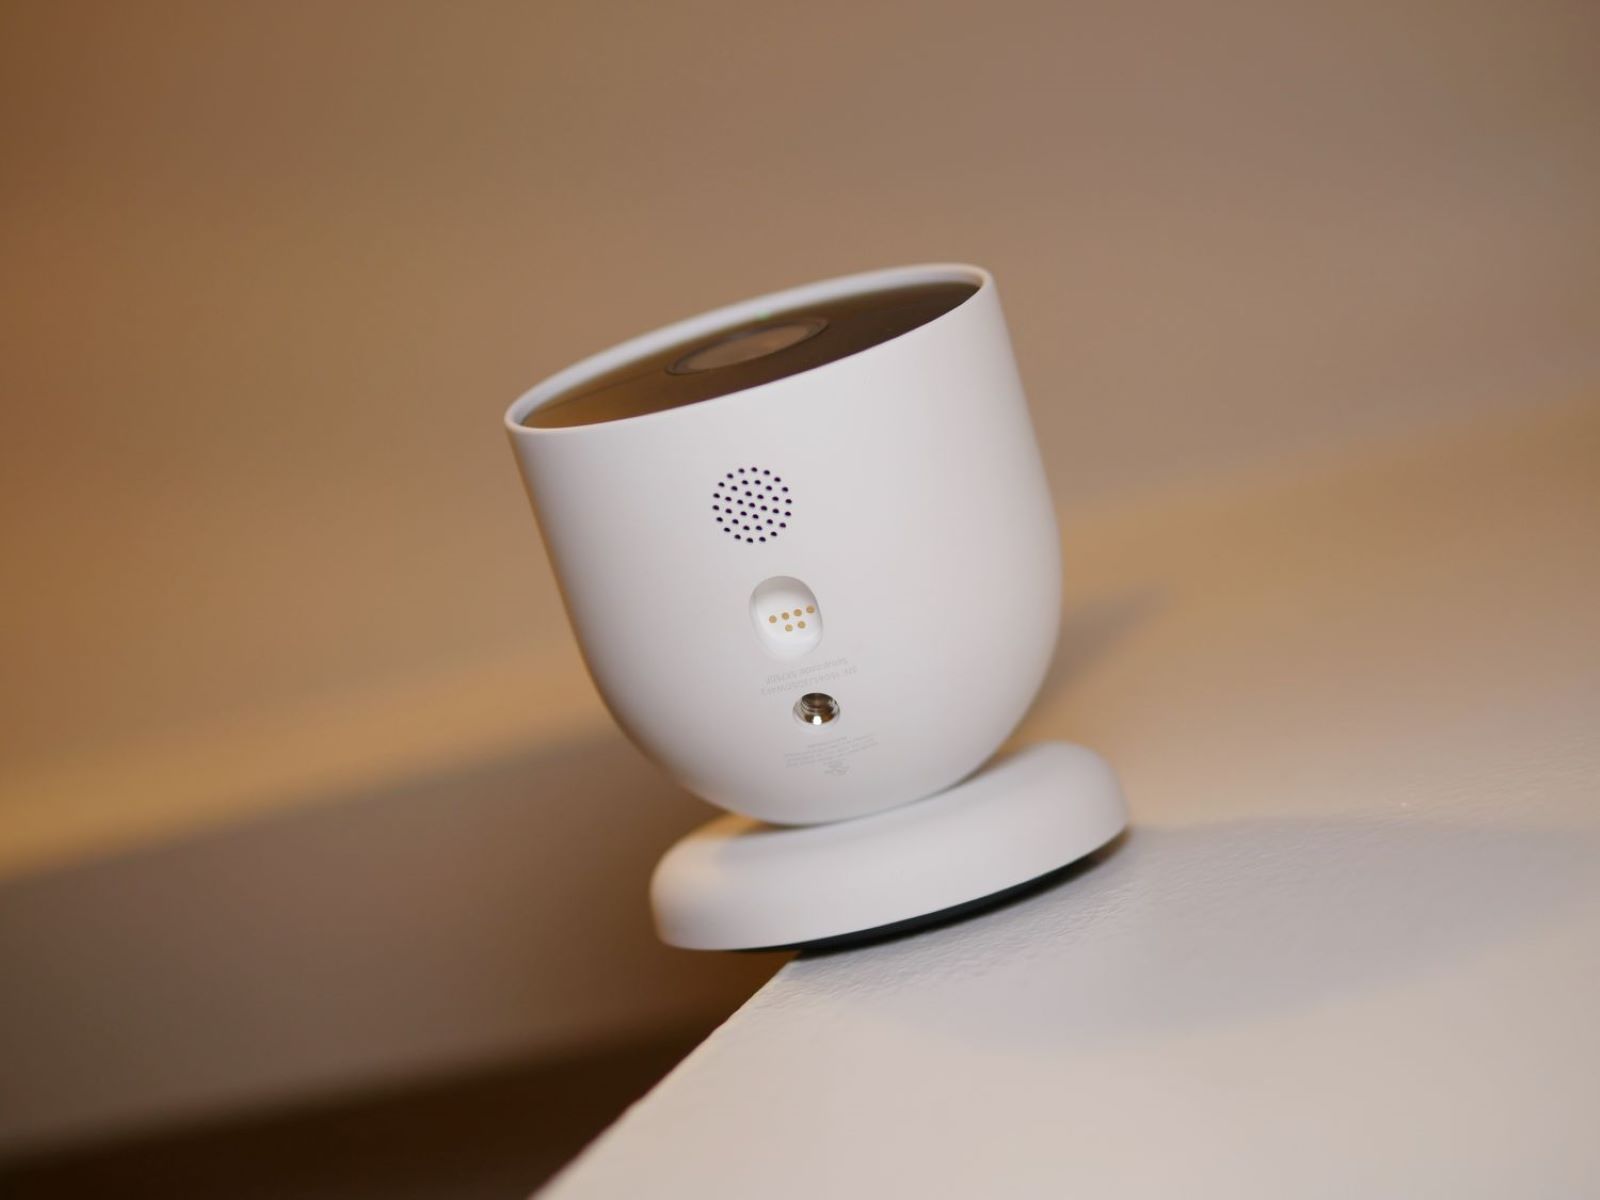
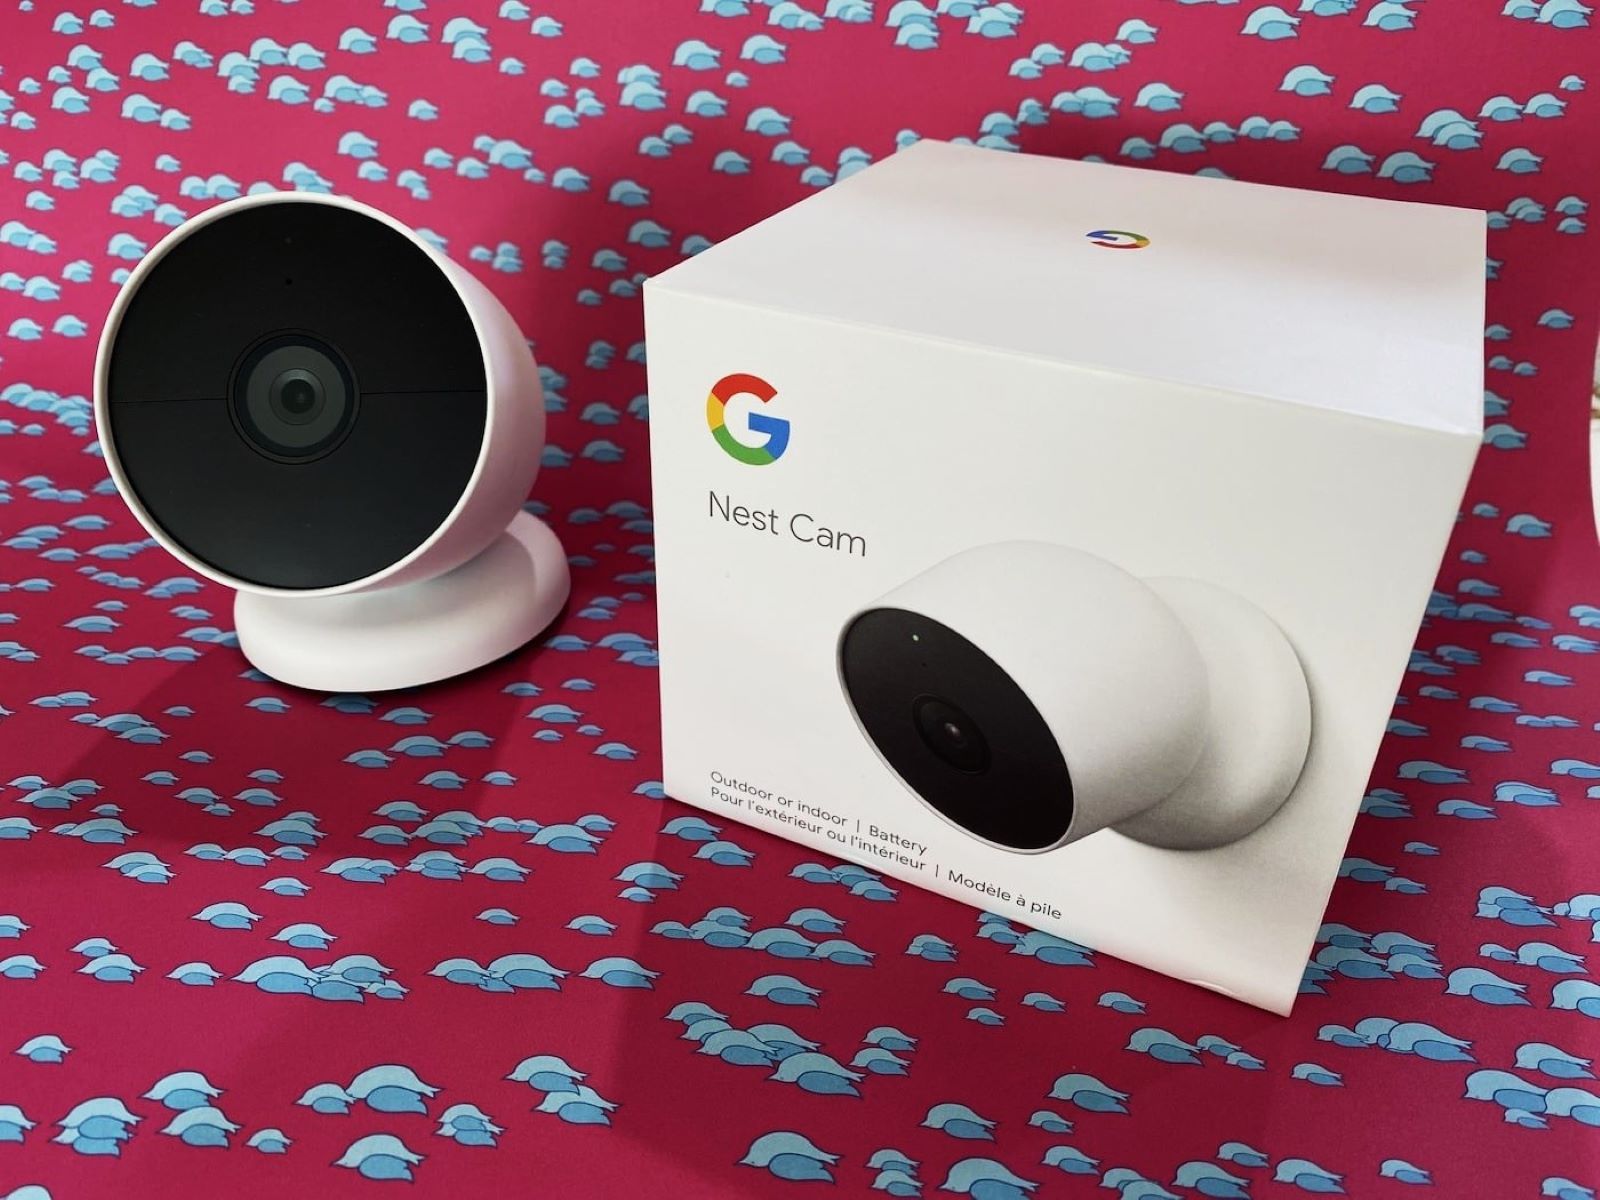
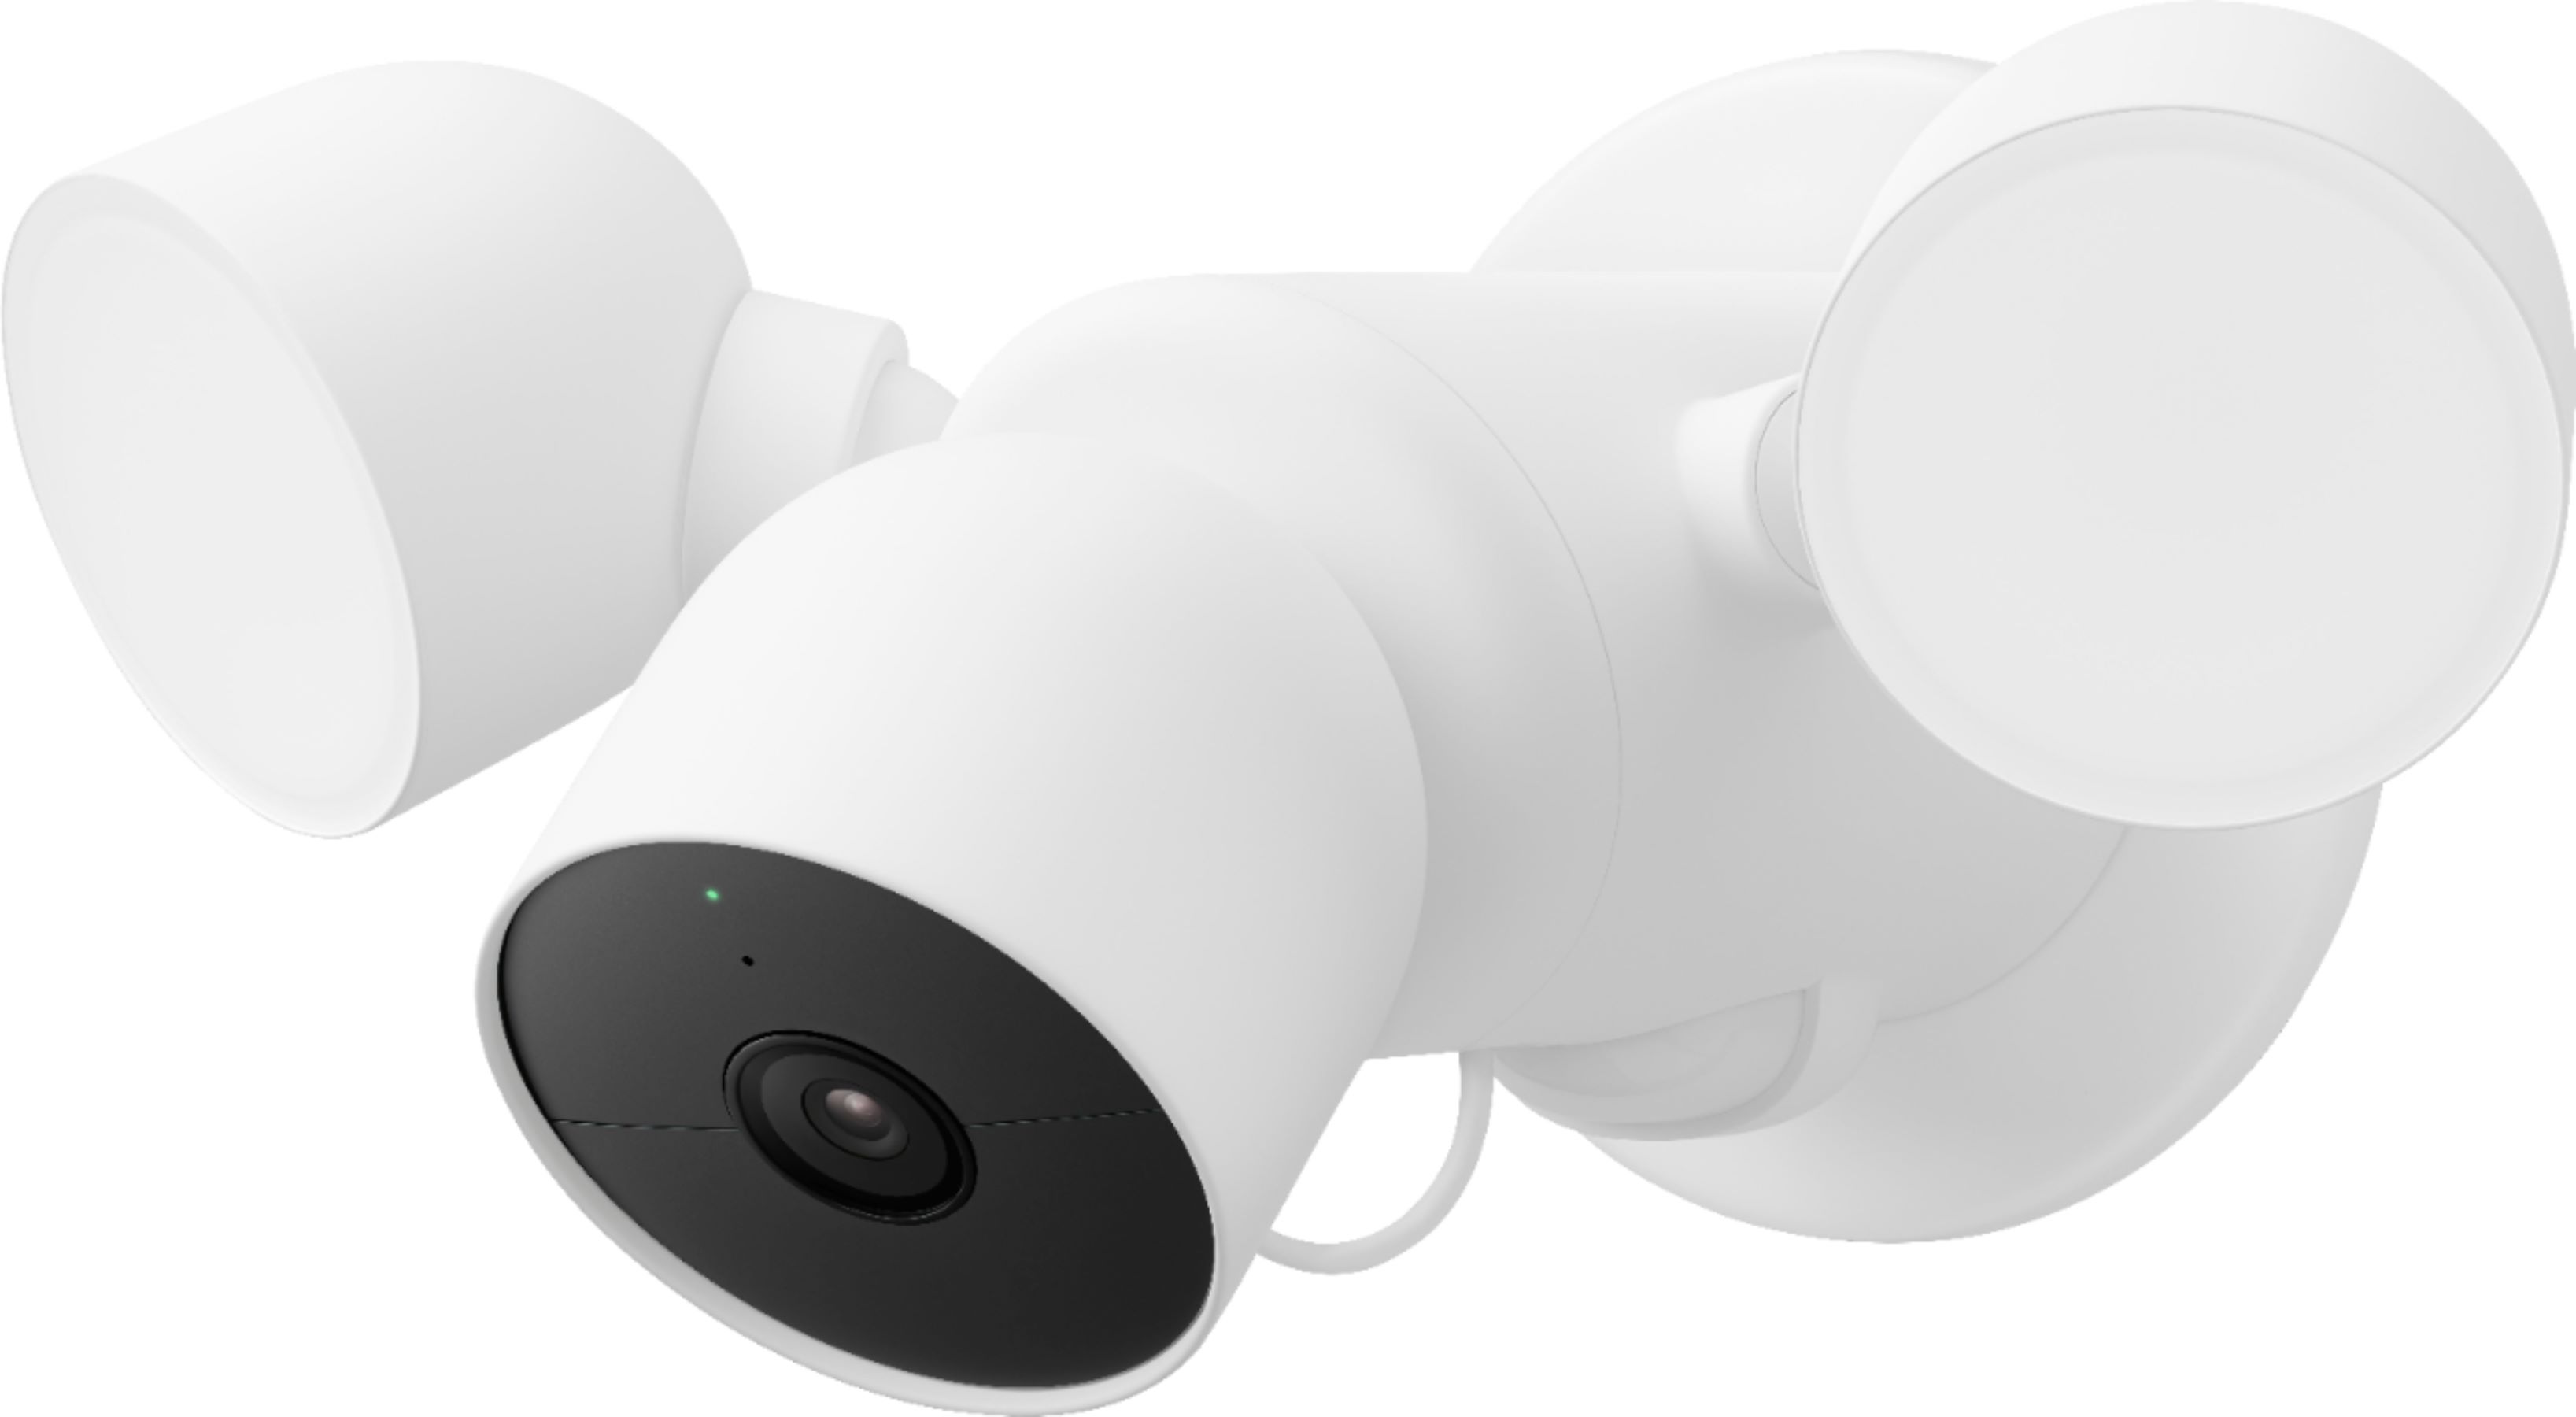
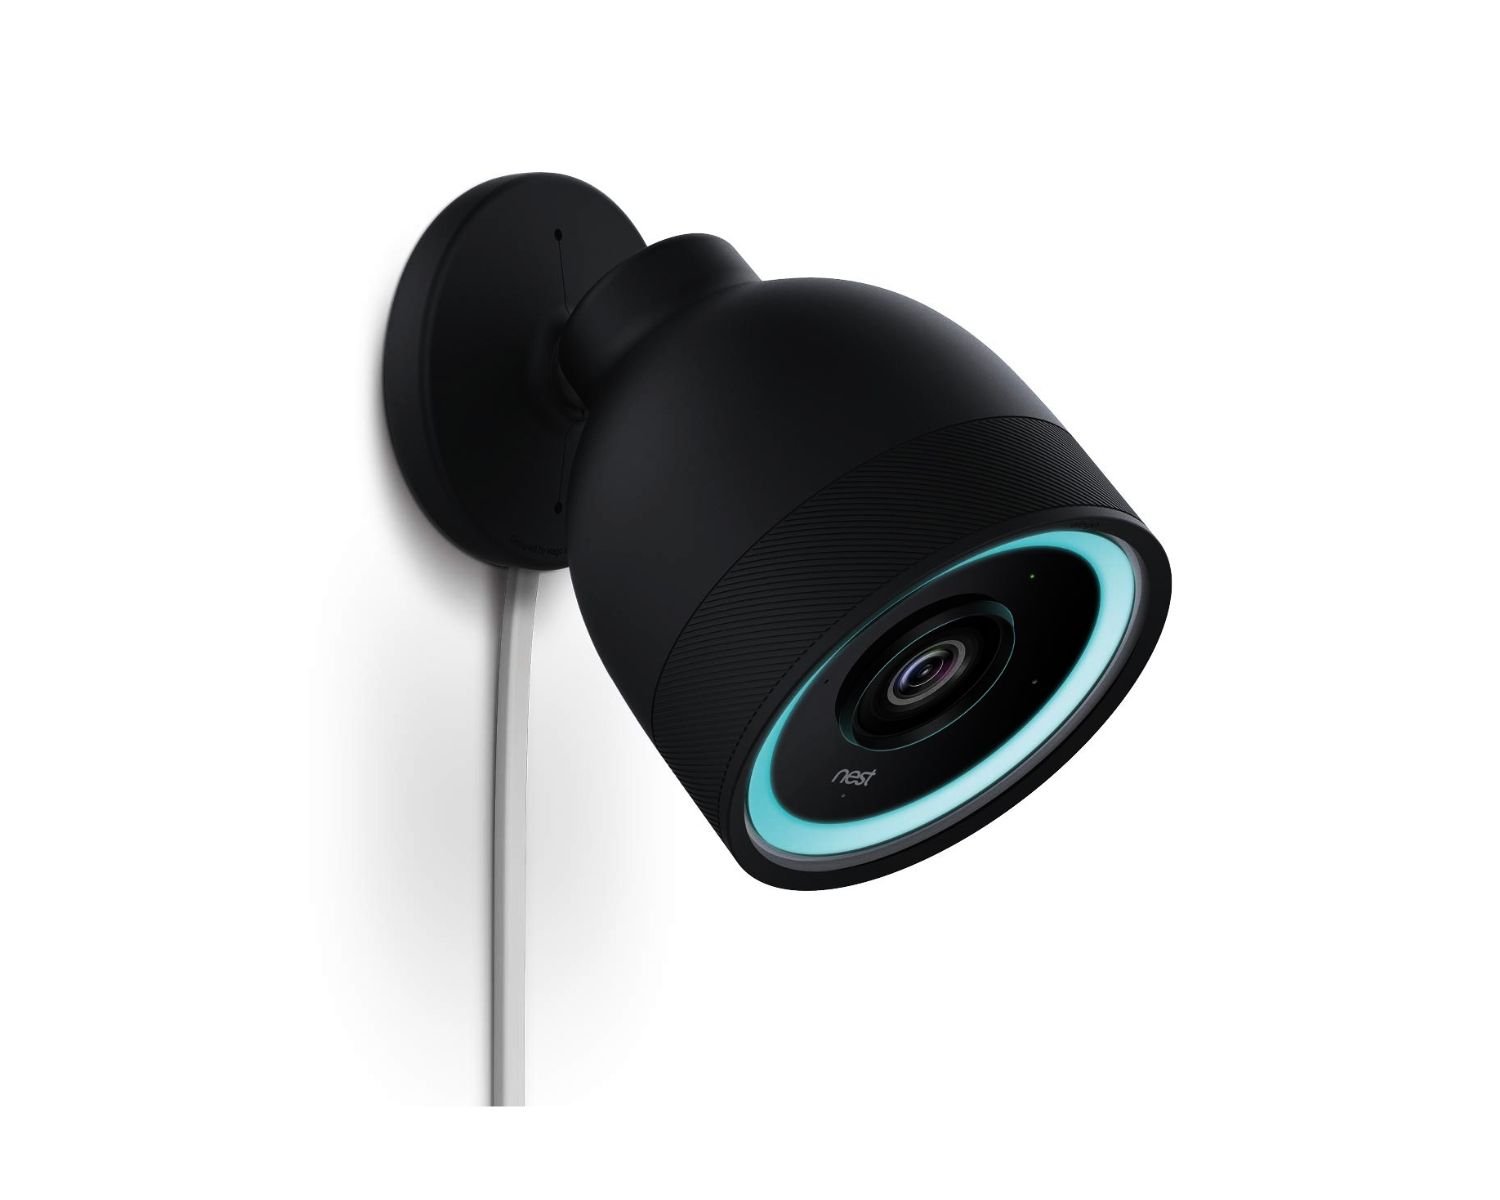
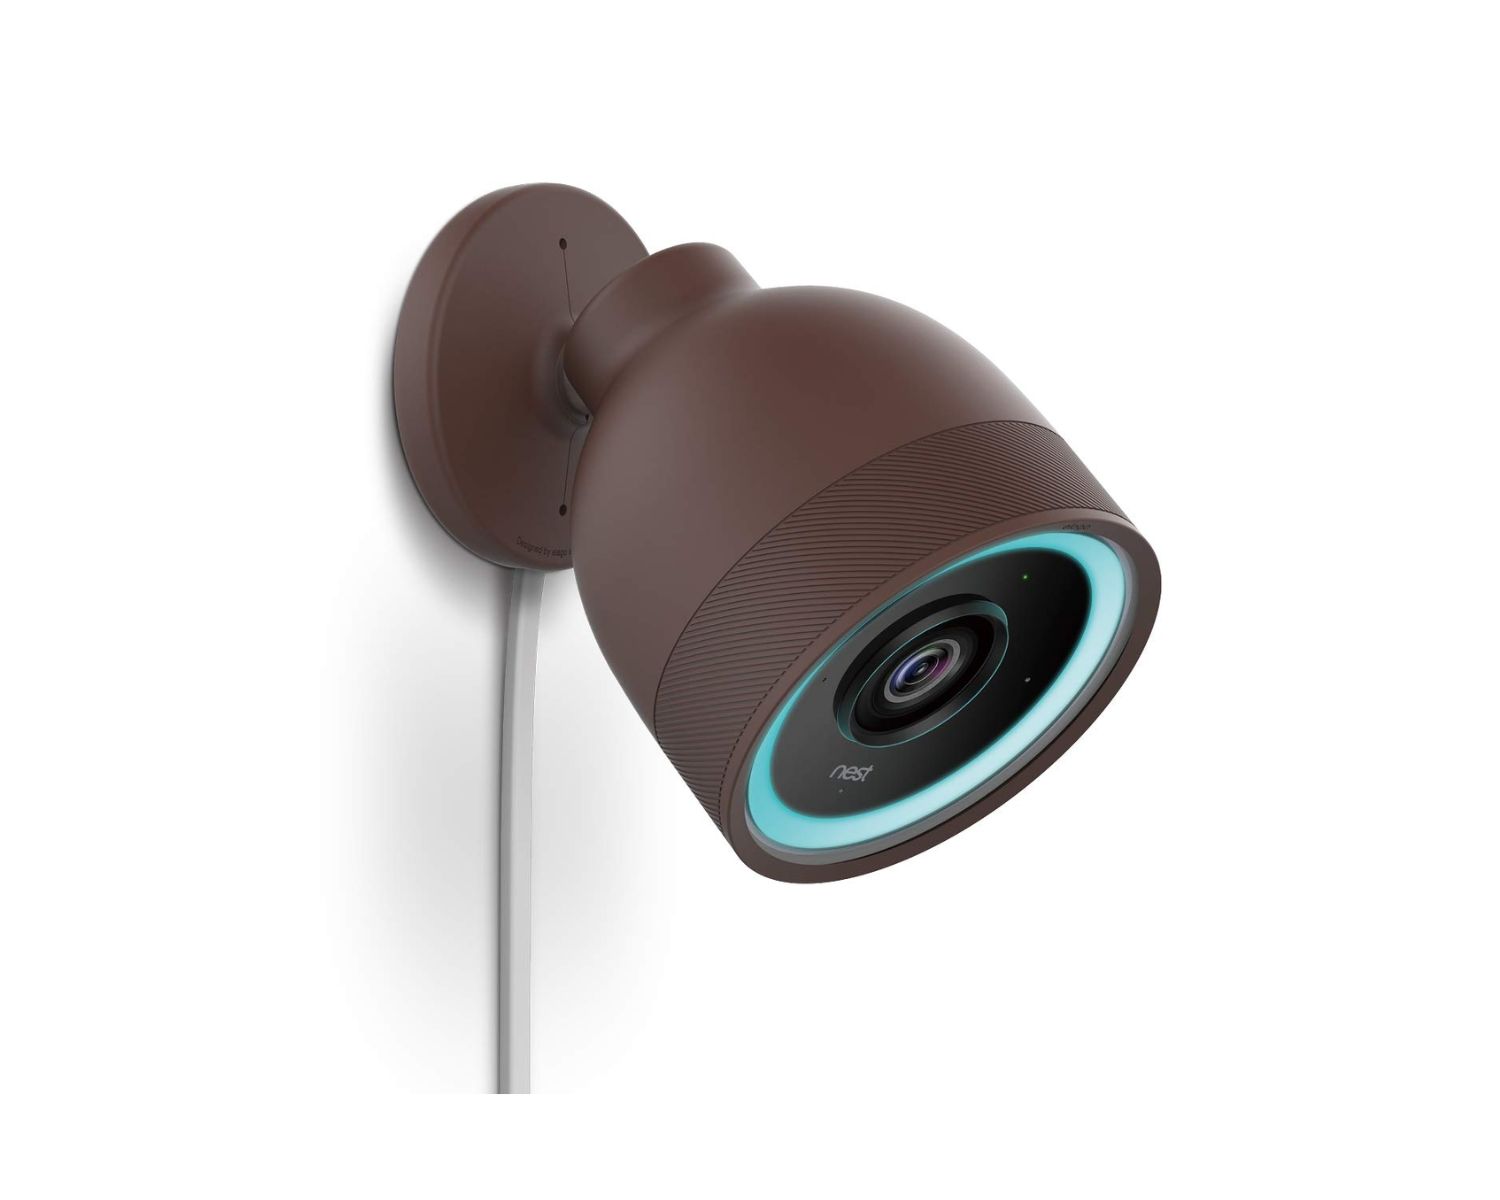
The Nest Outdoor Camera is an excellent security device that helps monitor and protect your property. However, shadows can pose a challenge when it comes to distinguishing between actual motion and harmless movement caused by changes in lighting conditions. Luckily, there are several strategies you can employ to minimize false notifications and optimize the performance of your camera.
In the following sections, we will explore various methods, including adjusting the camera’s position, utilizing artificial light sources, adjusting camera settings, utilizing motion zones, updating firmware, and troubleshooting connection issues. By implementing these tips, you can significantly reduce the impact of shadows on your camera’s notifications and enjoy a more accurate and reliable surveillance system.
So let’s dive in and learn how to overcome the issue of shadows triggering unwanted notifications on your Nest Outdoor Camera.
Key Takeaways:
- Don’t let pesky shadows bother your Nest Outdoor Camera! Adjust its position, use artificial lights, and customize settings to minimize false alerts caused by shadows and enjoy accurate motion detection.
- Keep your Nest Outdoor Camera on top of its game by updating firmware, creating motion zones, and troubleshooting connection issues. With these strategies, you can outsmart shadows and boost your home security.
Read more: How Many Nest Outdoor Cameras Can I Have
Understanding the Issue
Before we delve into the solutions, it’s important to understand why shadows can cause false notifications on your Nest Outdoor Camera. Shadows are formed when objects block or partially block a light source, resulting in variations in lighting conditions. These changes in light intensity can confuse the camera’s motion detection system, causing it to trigger notifications even when there is no actual movement or activity.
Shadows can be cast by various objects, such as trees, buildings, or even moving clouds. These dynamic changes in lighting conditions can lead to false alerts, which can be frustrating and may undermine the effectiveness of your camera’s surveillance capabilities.
Another factor to consider is the positioning of your camera. If the camera is directly facing a source of light, such as the sun or a bright streetlight, the shadows can be more pronounced and result in increased false notifications. Understanding these factors will help you choose the most suitable solutions to address the issue.
Now that we have a clearer understanding of the problem, let’s explore the different strategies to prevent shadows from triggering notifications on your Nest Outdoor Camera.
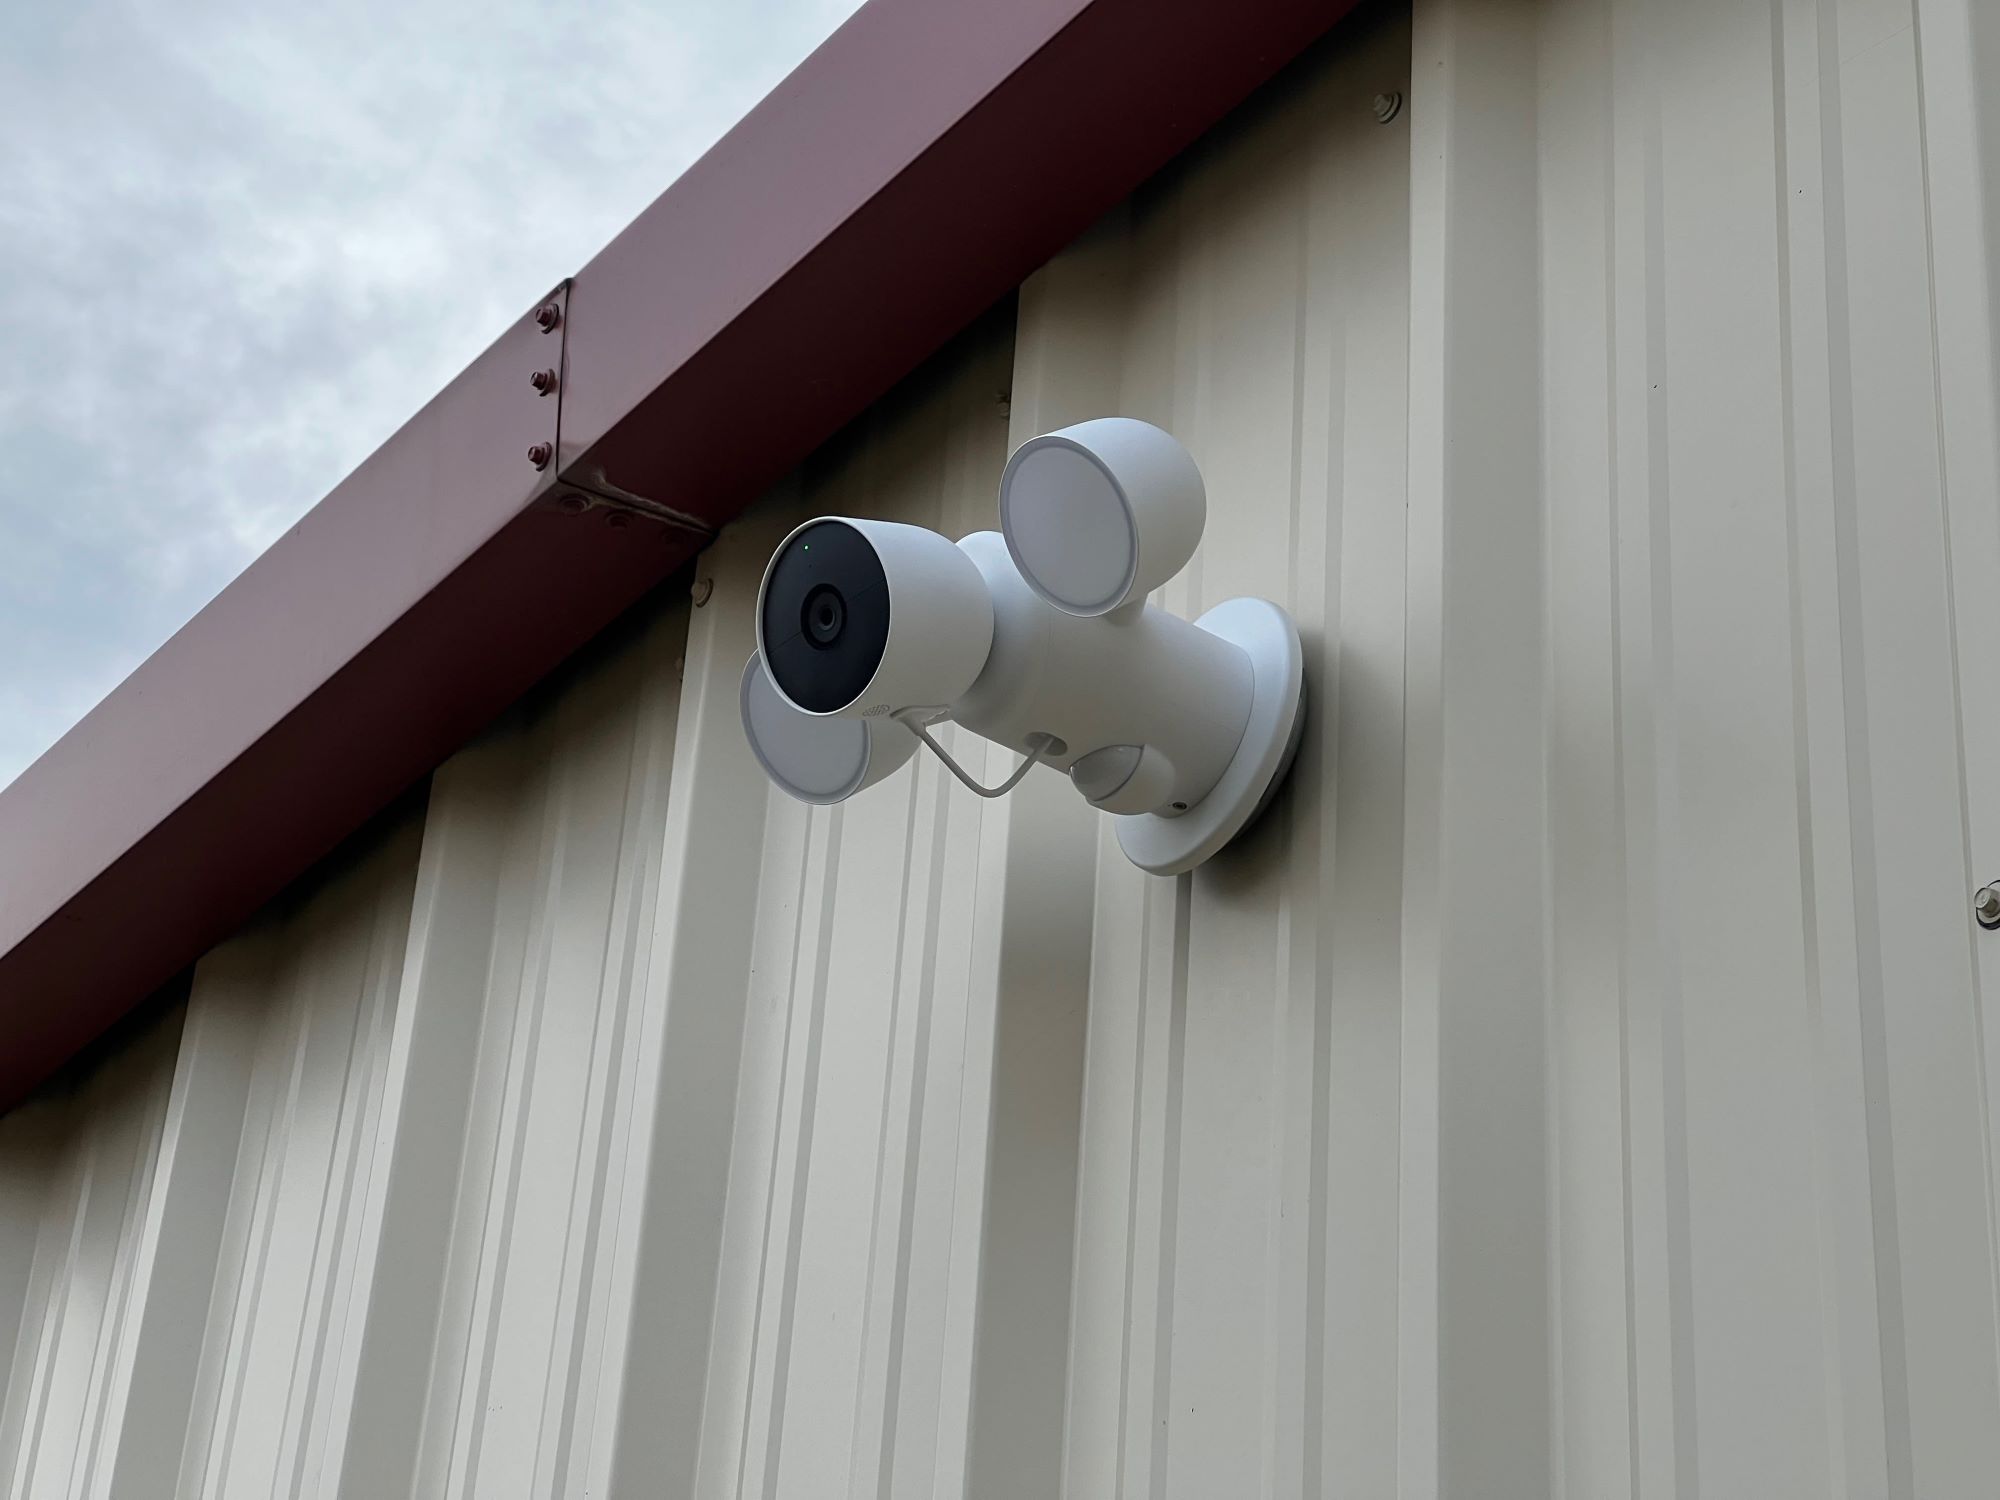
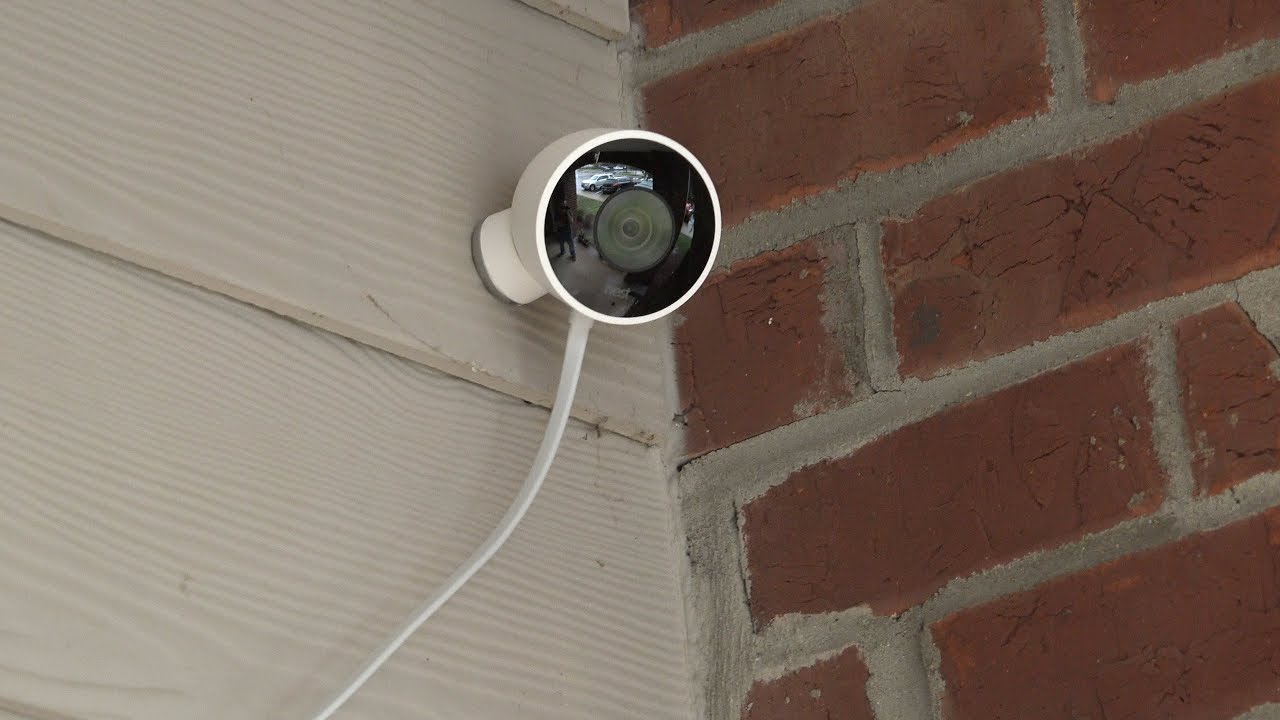
Adjusting Camera Position
One of the first solutions to consider when dealing with shadows triggering notifications is adjusting the position of your Nest Outdoor Camera. By experimenting with the camera’s placement, you can minimize the impact of shadows and improve the accuracy of motion detection.
Here are a few tips to help you adjust the camera position effectively:
- Change the angle: If you notice that shadows are constantly triggering false notifications, try repositioning the camera to adjust the angle. Tilt it slightly downwards or sideways to reduce the chances of shadows falling directly onto the camera’s field of view.
- Find the optimal height: Experiment with different mounting heights to find the sweet spot where shadows are less likely to interfere with motion detection. Lowering the camera can help reduce the impact of taller objects or structures casting shadows.
- Consider the light source: Take into account the position of the primary light source in relation to your camera. If possible, position the camera so that it faces away from the light source to minimize the impact of shadows.
- Trim vegetation: If trees or bushes are casting noticeable shadows, consider trimming them to reduce their interference with the camera’s view. Removing or pruning obstructing branches can significantly improve the camera’s performance.
Remember to make small adjustments and monitor the camera’s performance after each change. This will help you determine the optimal position that minimizes shadow-induced false notifications.
By strategically adjusting the camera’s position, you can mitigate the impact of shadows and improve the overall accuracy of motion detection on your Nest Outdoor Camera.
Using Artificial Light Sources
In addition to adjusting the camera’s position, utilizing artificial light sources can effectively reduce the impact of shadows on your Nest Outdoor Camera and improve motion detection accuracy.
Here are a few ways to incorporate artificial lighting to minimize false notifications:
- Add outdoor lights: Installing outdoor lights near the camera’s field of view can help illuminate areas that are prone to shadows. This additional lighting can significantly enhance visibility and reduce the chances of shadows triggering false motion alerts.
- Use motion-activated lights: Motion-activated lights are a great option to pair with your Nest Outdoor Camera. These lights will only turn on when motion is detected, making them ideal for illuminating areas of interest and minimizing the impact of shadows on your camera’s performance.
- Invest in infrared lights: Infrared lights emit a wavelength of light that is invisible to the human eye but can be detected by your Nest Outdoor Camera. By installing infrared lights around your camera, you can provide consistent illumination throughout the night, reducing the reliance on natural light sources and minimizing the effects of shadows.
When using artificial light sources, make sure to position them strategically to avoid casting additional shadows or causing glare that can interfere with the camera’s image clarity. Experiment with different light sources and placements to find the optimal setup that minimizes false notifications.
Remember that lighting conditions can vary throughout the day, so it’s important to consider both daytime and nighttime scenarios when implementing artificial light sources. By supplementing natural lighting with artificial lights, you can significantly improve the accuracy and reliability of your Nest Outdoor Camera’s motion detection capabilities.
Adjusting Camera Settings
Another effective way to prevent shadows from triggering notifications on your Nest Outdoor Camera is by adjusting the camera settings. The Nest app provides various customizable options that can help optimize motion detection and reduce false alerts caused by shadows. Here are some key settings to consider:
- Sensitivity settings: Fine-tuning the camera’s sensitivity settings can help reduce false notifications. Lowering the sensitivity level can make the camera less prone to detecting minor changes in lighting caused by shadows, while increasing it can improve detection accuracy for more significant movements.
- Activity zones: Utilize activity zones to define specific areas within the camera’s field of view where you want to receive notifications. By excluding areas prone to shadow movements or irrelevant activity, you can minimize false alerts triggered by shadows and focus on important events.
- Notification frequency: Adjust the frequency of notifications within the Nest app to avoid being overwhelmed by constant alerts. Setting a longer cooldown period between notifications can help filter out repetitive shadow-triggered alerts.
- Video quality: Evaluating and adjusting the camera’s video quality settings can have an impact on motion detection accuracy. Lowering the video quality may reduce the sensitivity to minor lighting changes caused by shadows.
- Filters and algorithms: Explore additional features available in the Nest app, such as filters or algorithms that are designed to minimize false notifications. These features leverage advanced technology to distinguish between true motion events and shadow-induced movements.
Experimenting with these settings and finding the right combination that works for your specific environment and lighting conditions can significantly improve the accuracy and reliability of your Nest Outdoor Camera’s motion detection capabilities.
Remember to regularly monitor and test the camera’s performance after adjusting the settings to ensure optimal results. Fine-tuning these settings may require some trial and error, but the end goal is to minimize false notifications caused by shadows and maximize the camera’s ability to detect actual events of interest.
To prevent shadows from triggering notifications on your Nest Outdoor Camera, try adjusting the camera’s sensitivity settings or repositioning it to avoid direct sunlight and moving shadows.
Utilizing Motion Zones
Creating motion zones is an effective technique to prevent shadows from triggering unnecessary notifications on your Nest Outdoor Camera. By defining specific areas within the camera’s field of view where you want to focus on detecting motion, you can minimize false alerts caused by shadows in irrelevant areas.
Here’s how you can utilize motion zones:
- Access the Nest app: Open the Nest app on your mobile device and navigate to the camera’s settings.
- Select motion zones: Look for the option to customize motion zones and choose the desired areas where you want motion detection to be active.
- Draw the zones: Use your finger to draw shapes or polygons on the camera’s live view to create motion zones. Ensure that the zones exclude areas that are prone to shadow movements or other irrelevant activity.
- Adjust sensitivity: Fine-tune the sensitivity settings for each motion zone to optimize detection within those areas. Lower sensitivity settings can help reduce false notifications caused by shadows.
- Test and refine: After setting up the motion zones, test the camera’s performance by monitoring the notifications and making necessary adjustments to the zone size or sensitivity level. This iterative process ensures that the camera is accurately detecting motion in the desired areas without being triggered by shadows.
By strategically defining motion zones and customizing the sensitivity settings within those zones, you can significantly reduce false notifications caused by shadows in irrelevant areas and focus on detecting motion in the areas that matter most.
Remember to periodically review and adjust the motion zones to account for seasonal changes, such as fluctuating sunlight or changing foliage, which can affect shadow patterns and potentially trigger false alerts.
Utilizing motion zones is a powerful feature that can enhance the performance of your Nest Outdoor Camera, providing more accurate motion detection while minimizing the impact of shadows on your surveillance system.
Updating Firmware
Updating the firmware of your Nest Outdoor Camera is essential for maintaining optimal performance and addressing any potential software-related issues. Firmware updates often include bug fixes, performance improvements, and enhancements to motion detection algorithms, which can help reduce false notifications caused by shadows.
Here’s how you can update the firmware of your Nest Outdoor Camera:
- Check for updates: Open the Nest app on your mobile device and navigate to the camera’s settings.
- Look for firmware updates: In the settings menu, search for the option to check for firmware updates. The app will automatically detect if there’s a newer version available.
- Initiate the update: If a firmware update is available, simply follow the prompts within the app to start the update process. Ensure that your camera remains connected to a stable Wi-Fi network during the update.
- Monitor the update progress: The Nest app will display the progress of the firmware update. It may take a few minutes for the update to complete, so be patient and avoid interrupting the process.
- Verify successful update: After the update is finished, the app will indicate that the firmware is up to date. Double-check this information to ensure that the update was successful.
Regularly checking for and installing firmware updates is crucial for maximizing the performance and reliability of your Nest Outdoor Camera. These updates often include optimizations that can help reduce false notifications caused by shadows, improving the overall accuracy of your surveillance system.
It’s a good practice to enable automatic firmware updates within the Nest app settings. This way, your camera will receive the latest updates as soon as they become available, ensuring that you always have the latest bug fixes and improvements.
By keeping your camera’s firmware up to date, you can take advantage of the latest advancements and improvements, minimizing the impact of shadows on false notifications and maintaining the highest level of performance from your Nest Outdoor Camera.
Troubleshooting Connection Issues
If you’re experiencing frequent connection issues with your Nest Outdoor Camera, it can lead to unreliable motion detection and potential false notifications. Troubleshooting and addressing these connection issues are crucial for ensuring the camera’s optimal performance. Here are some steps to help you diagnose and resolve connection issues:
- Check Wi-Fi signal strength: Make sure that your camera is within range of your Wi-Fi router and that the Wi-Fi signal is strong. Weak or unstable signals can result in intermittent connectivity problems. Consider repositioning your router or installing Wi-Fi extenders to improve coverage.
- Restart the camera and router: Power cycle both your camera and Wi-Fi router by turning them off for a few seconds and then turning them back on. This simple step can often resolve temporary connection issues.
- Verify Wi-Fi credentials: Double-check that you have entered the correct Wi-Fi credentials in the Nest app. Incorrectly entered passwords can prevent the camera from connecting to your network.
- Check for interference: Identify any potential sources of interference near your camera. Devices such as cordless phones, baby monitors, or other Wi-Fi networks operating on the same channel can interfere with the camera’s connection. Try moving such devices away from your camera or switch to a less congested Wi-Fi channel.
- Update router firmware: Ensure that your Wi-Fi router’s firmware is up to date. Outdated firmware can cause compatibility issues and affect the camera’s connectivity. Check the manufacturer’s website or refer to the router’s user manual for instructions on updating the firmware.
- Contact customer support: If you have followed the above steps and are still experiencing connection issues, reach out to Nest customer support for further assistance. They can provide specialized guidance and troubleshooting specific to your camera and network setup.
By diagnosing and addressing any connection issues, you can improve the reliability and performance of your Nest Outdoor Camera. This, in turn, helps prevent false notifications caused by intermittent or unstable connections, providing peace of mind knowing your surveillance system is running smoothly.
Regularly monitoring the camera’s connection status and taking proactive steps to optimize connectivity will help maintain a reliable and uninterrupted connection with your Nest Outdoor Camera.
Conclusion
Dealing with shadows triggering false notifications on your Nest Outdoor Camera can be frustrating, but with the right strategies and adjustments, you can significantly reduce these unwanted alerts and enhance the accuracy of your surveillance system.
In this comprehensive guide, we explored various methods to prevent shadows from causing false notifications on your Nest Outdoor Camera. By adjusting the camera position, utilizing artificial light sources, customizing camera settings, creating motion zones, updating firmware, and troubleshooting connection issues, you can optimize the camera’s performance and minimize the impact of shadows.
Remember to experiment with different approaches and settings to find the best combination for your specific environment and lighting conditions. Fine-tuning these factors may require some trial and error, but the end result will be a more reliable and accurate motion detection system.
Regularly monitoring and maintaining your Nest Outdoor Camera, including checking for firmware updates, adjusting settings as needed, and addressing any connection issues, will ensure the continued efficiency and effectiveness of your surveillance system.
If you encounter any challenges or have further questions, don’t hesitate to reach out to the Nest customer support for personalized assistance.
With these strategies in place, you can enjoy the peace of mind of having a Nest Outdoor Camera that is optimized to detect actual events of interest, while minimizing false notifications caused by shadows.
Protecting your home and property is of the utmost importance, and by implementing the tips and techniques discussed in this guide, you can make the most out of your Nest Outdoor Camera and enhance your overall home security and surveillance system.
Frequently Asked Questions about How Can I Stop Shadows From Causing My Nest Outdoor Camera From Sending Me A Notification
Was this page helpful?
At Storables.com, we guarantee accurate and reliable information. Our content, validated by Expert Board Contributors, is crafted following stringent Editorial Policies. We're committed to providing you with well-researched, expert-backed insights for all your informational needs.